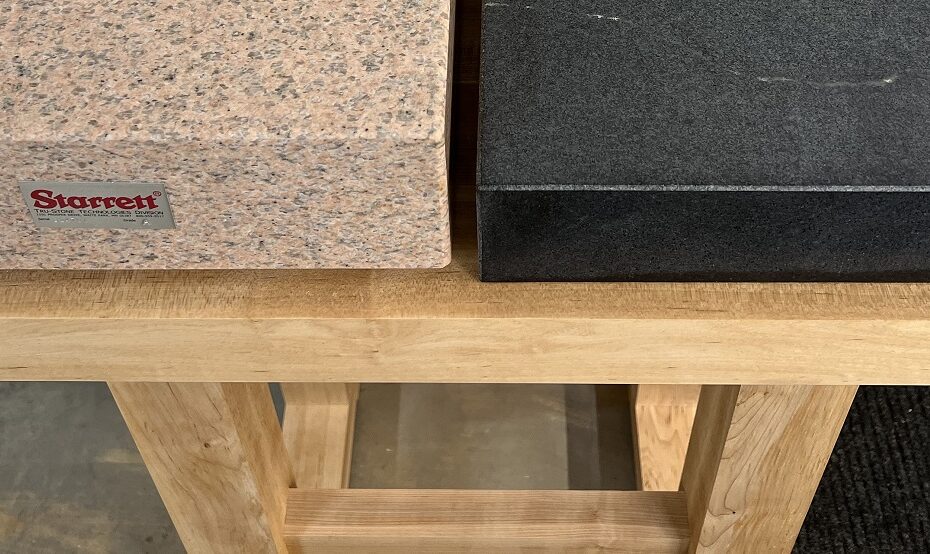
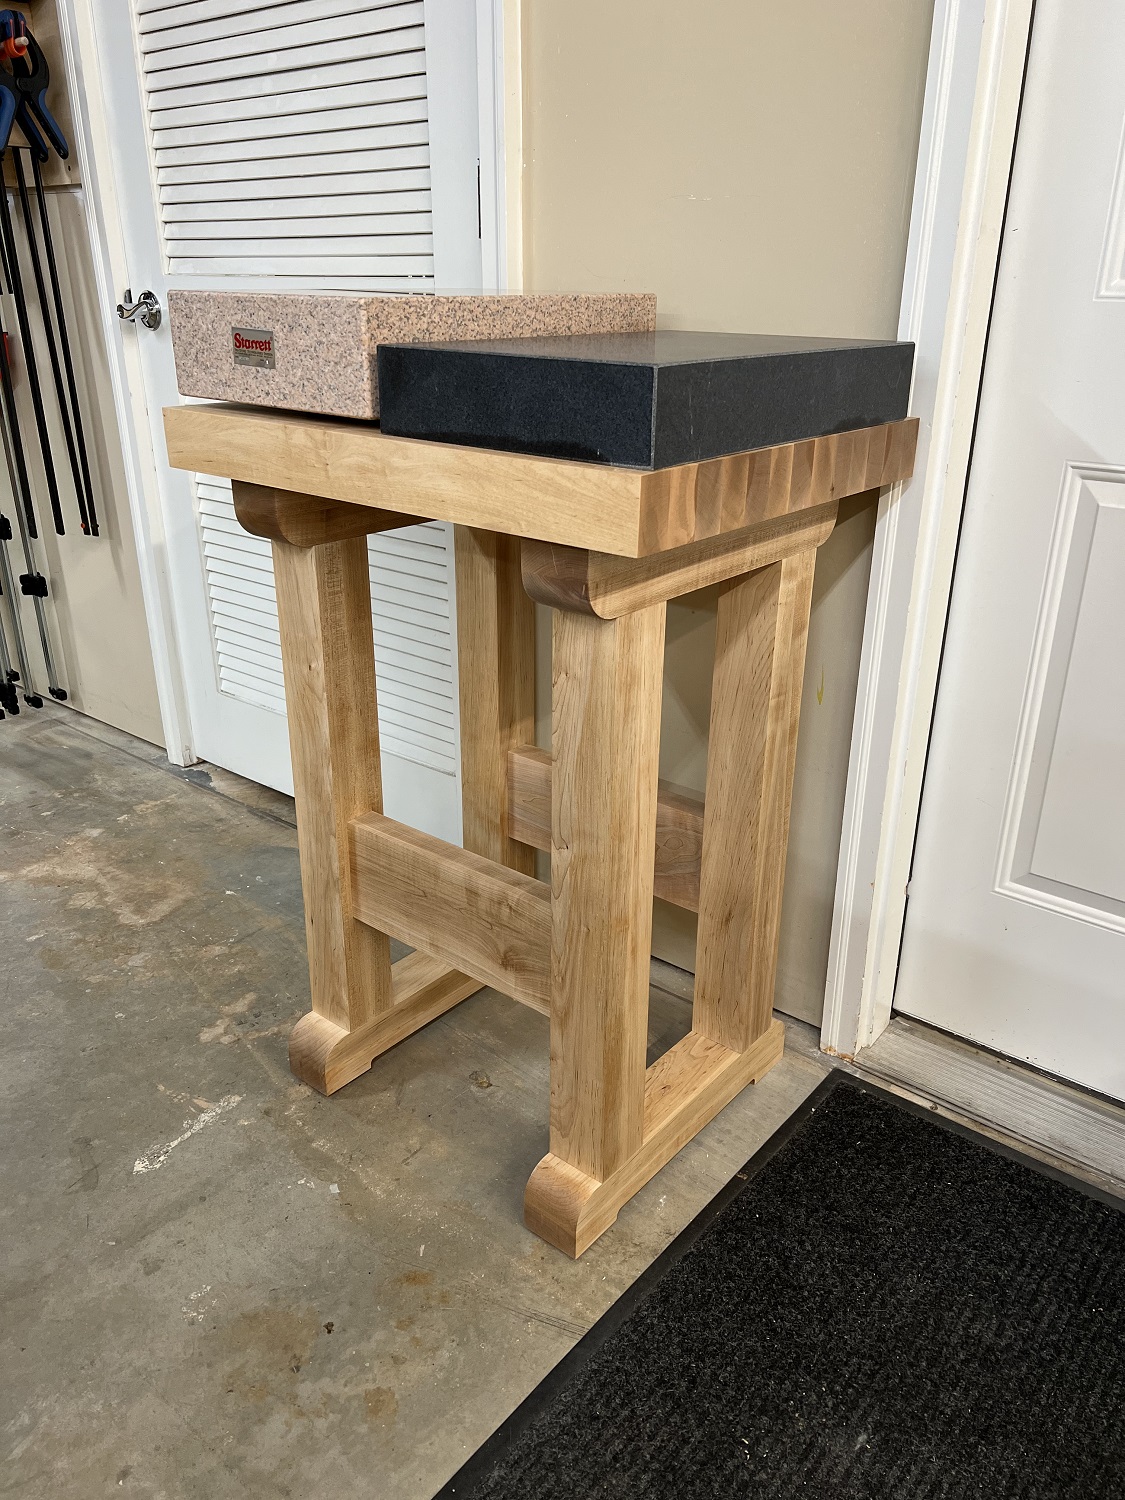
There are two 12″ x 18″ surface plates in the shop. One is a Grade A Starrett pink granite stone, and the other is an HHIP Grade B shop stone. One is for work, the other for reference. They are overkill for a woodshop, where we are not doing metrology to produce precision metal parts on a mill, but they are nice to have. You can learn a lot about the quality and condition of your tools with a flat reference surface that is known to be accurate, and they’re great for flattening larger things, like plane soles and irons. That said, they’re kind of like putting your car on a dyno when you are doing horsepower mods–they both create a lot of disappointment, with a few thrilling victories from time to time.
I built a table for the stones to keep them out of harm’s way and provide a stout, flat, stable surface to rest upon. The table is made of maple and is generally designed to complement the maple work bench with 3″ square legs, 5 3/8″ stretchers, and a 2 1/2″ thick butcher block top.

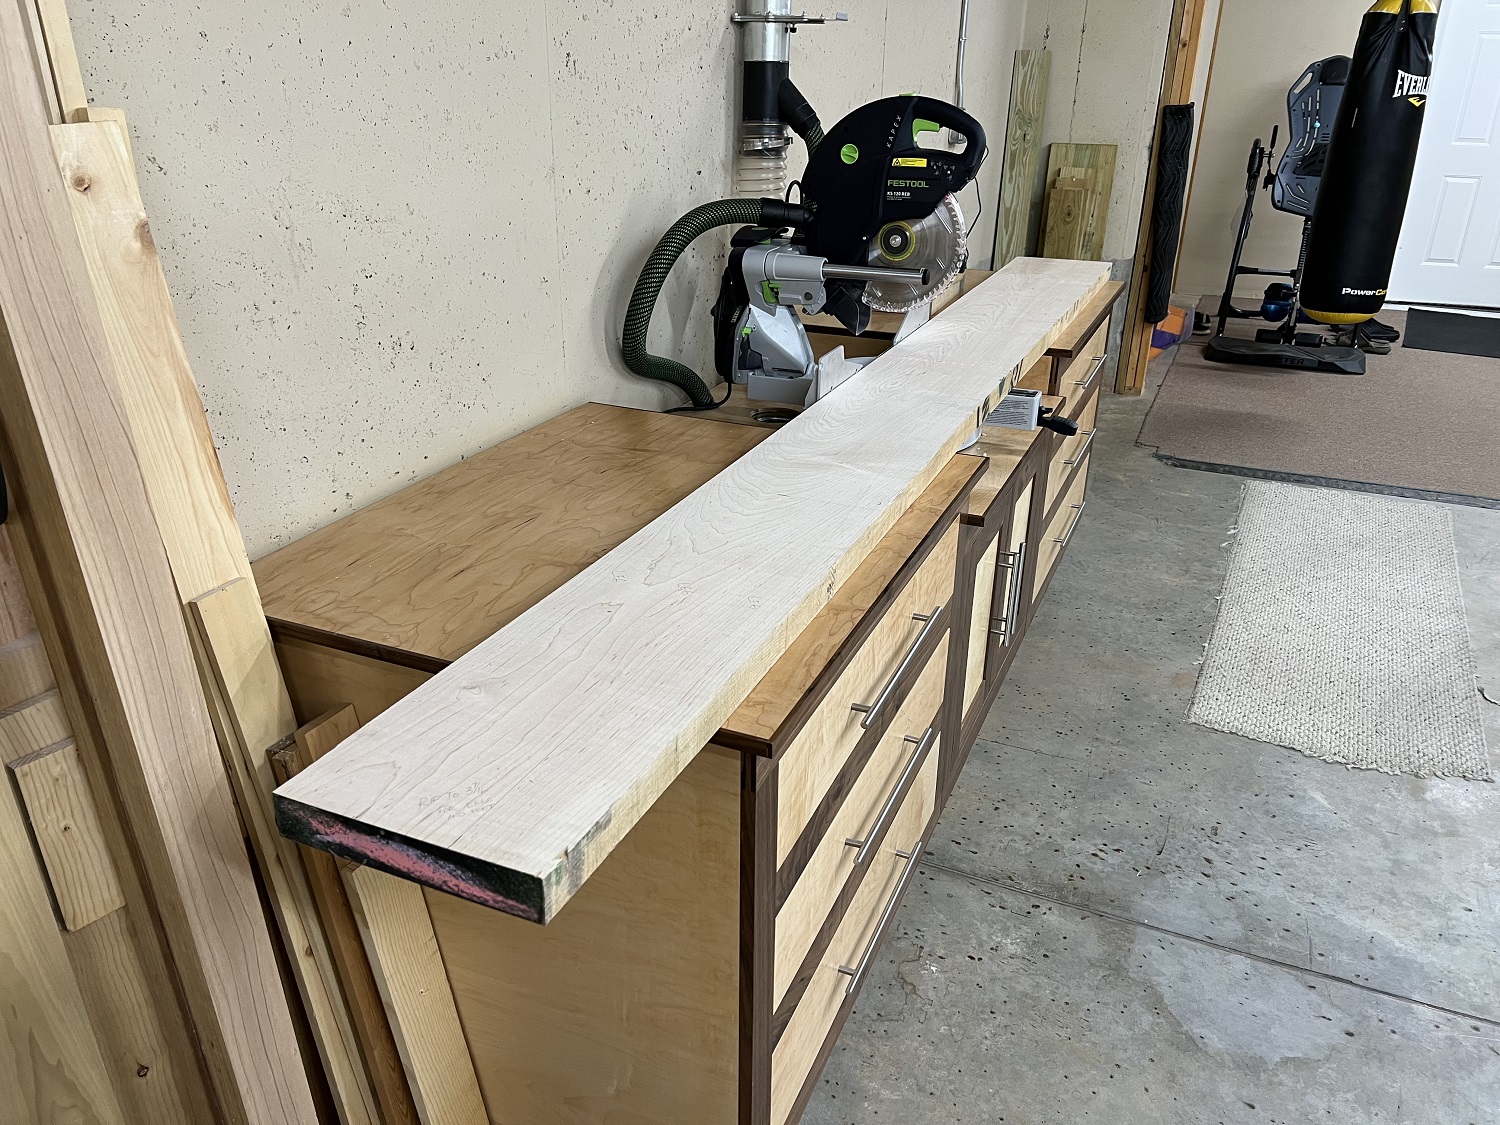
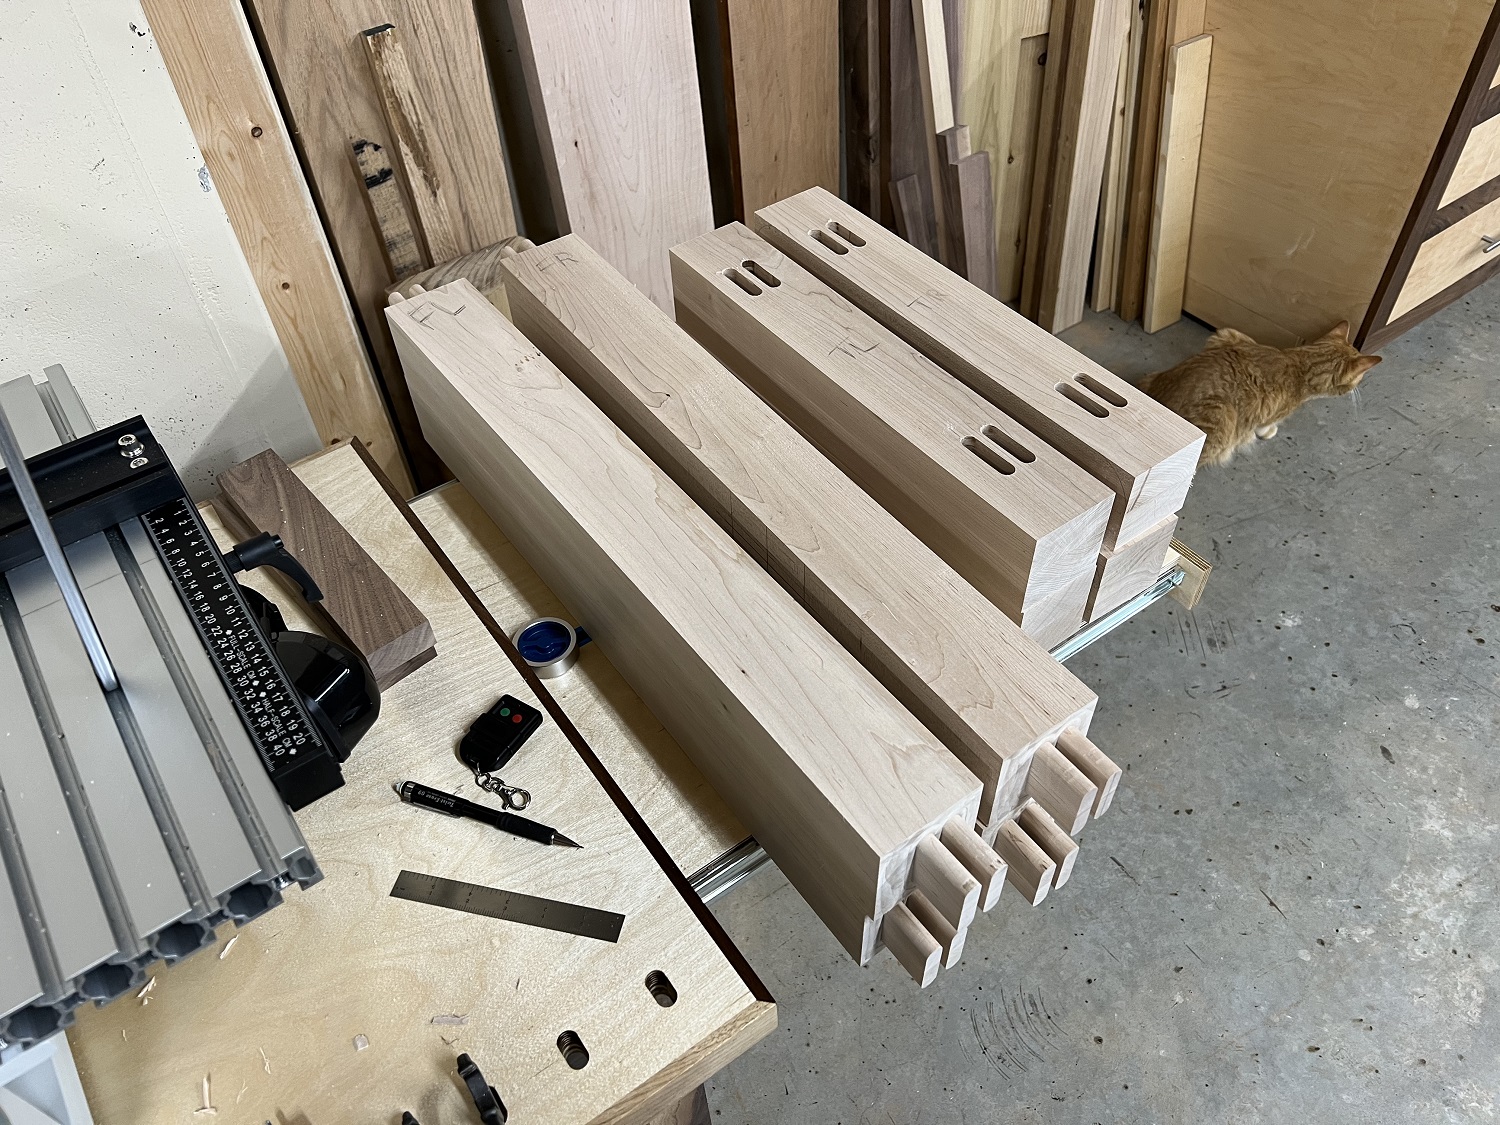
The table started its life from these four 8/4 maple boards.

I use SketchUp Pro for design. Everything is built using components and materials so I can use the Open Cut List plugin to create a cut plan and cut list. Automatic generation of a parts list with final dimensions is great, but Open Cut List is particularly useful when building cabinets or other projects that include sheet goods. It lays out your parts on the panel, taking into account panel size, grain direction, trim margins and saw kerfs. I really like Sketchup, it’s a great tool.
I rotated the legs, table supports and feet 90 degrees during the actual build, so that the faces were seamless. The through mortises in the drawing result from how I made the components in Sketchup, the table won’t have through mortises.

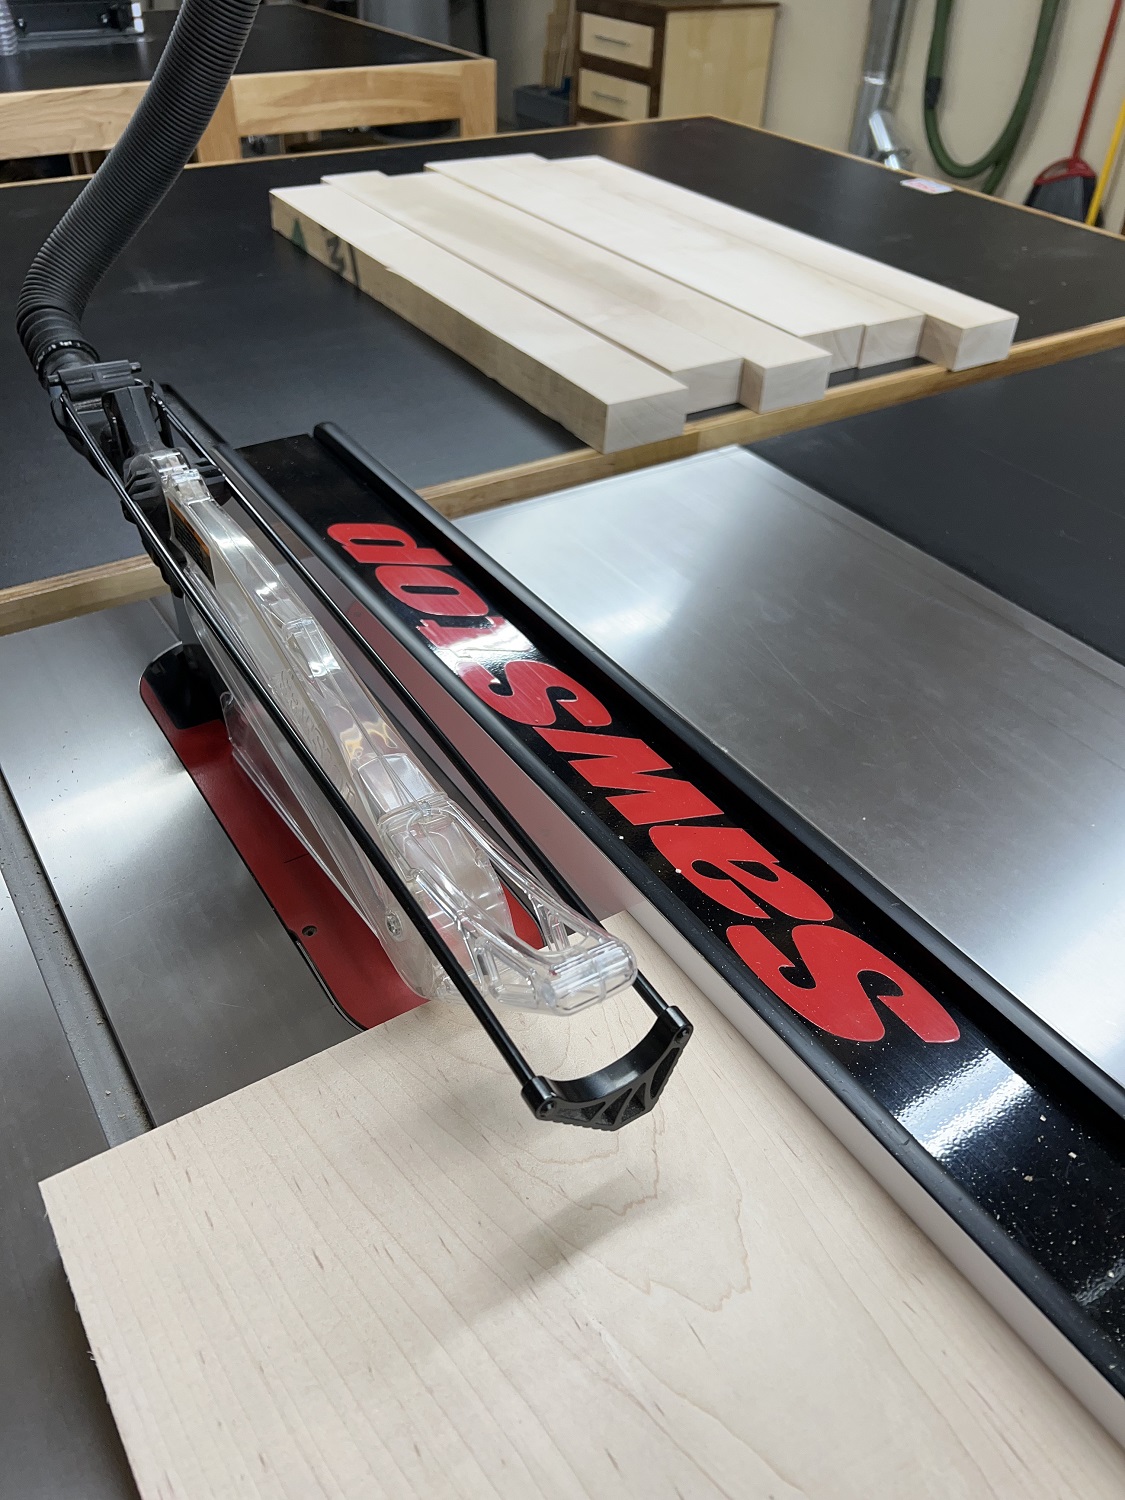
Over to the miter station to cut the boards to rough length.

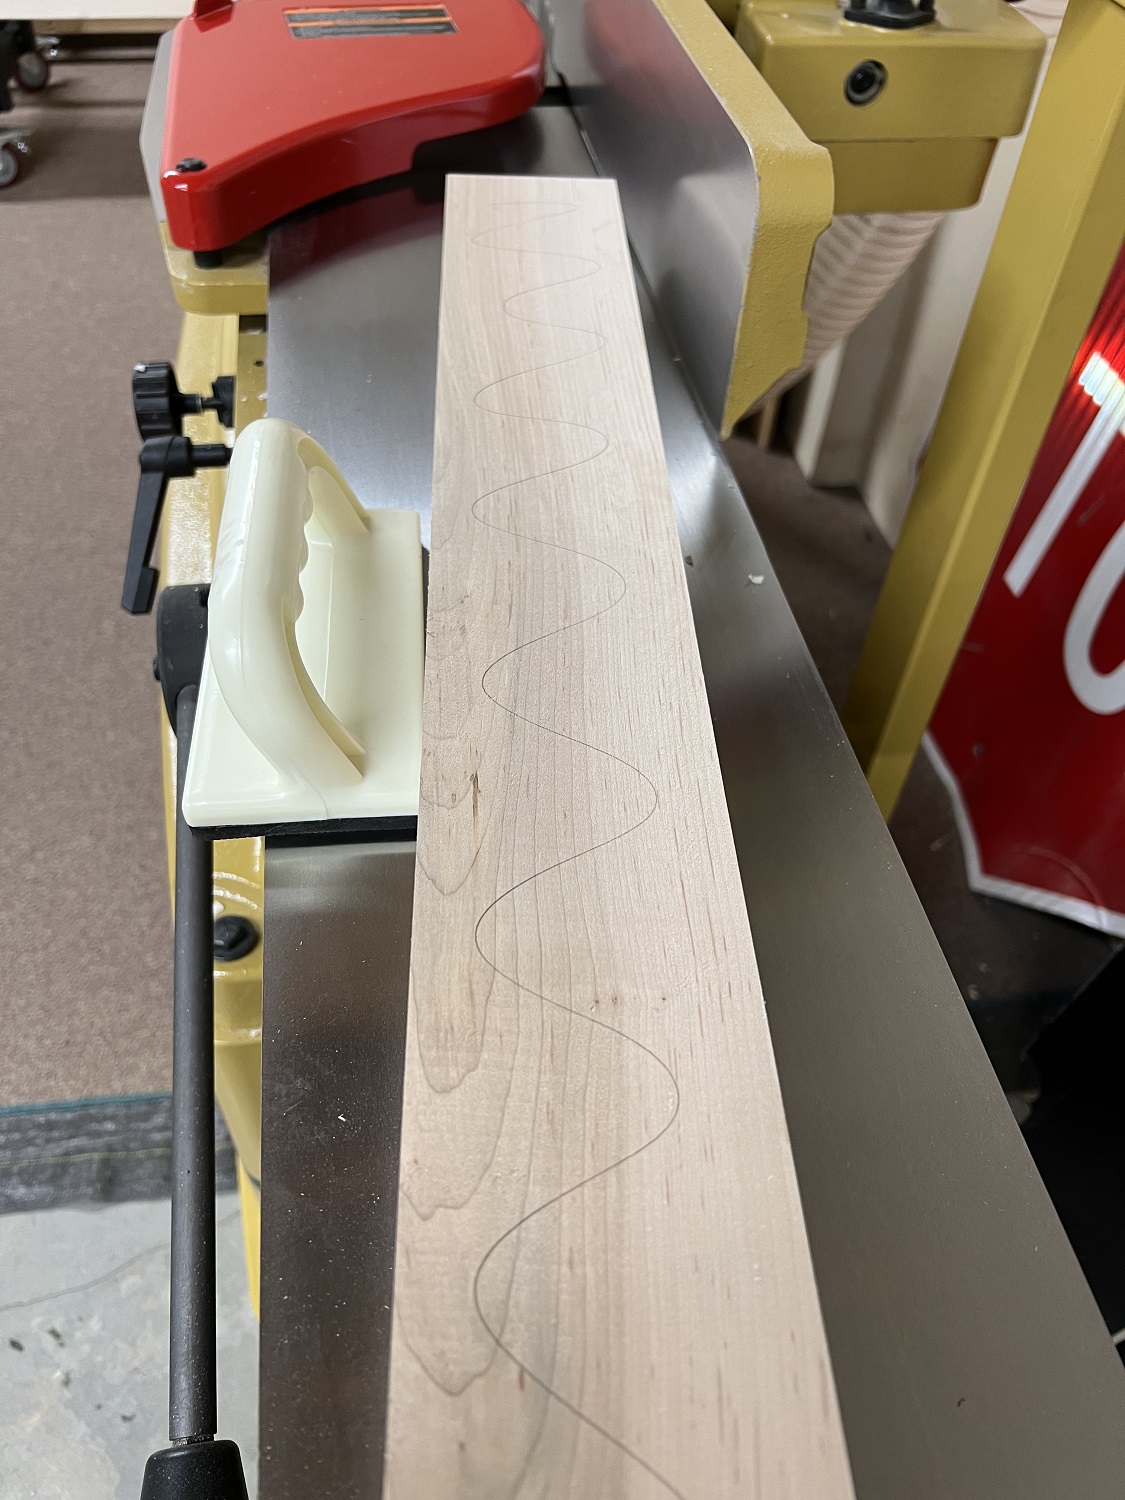
Then to the jointer, thickness planer and table saw to mill the leg, feet and table support parts to final dimension.
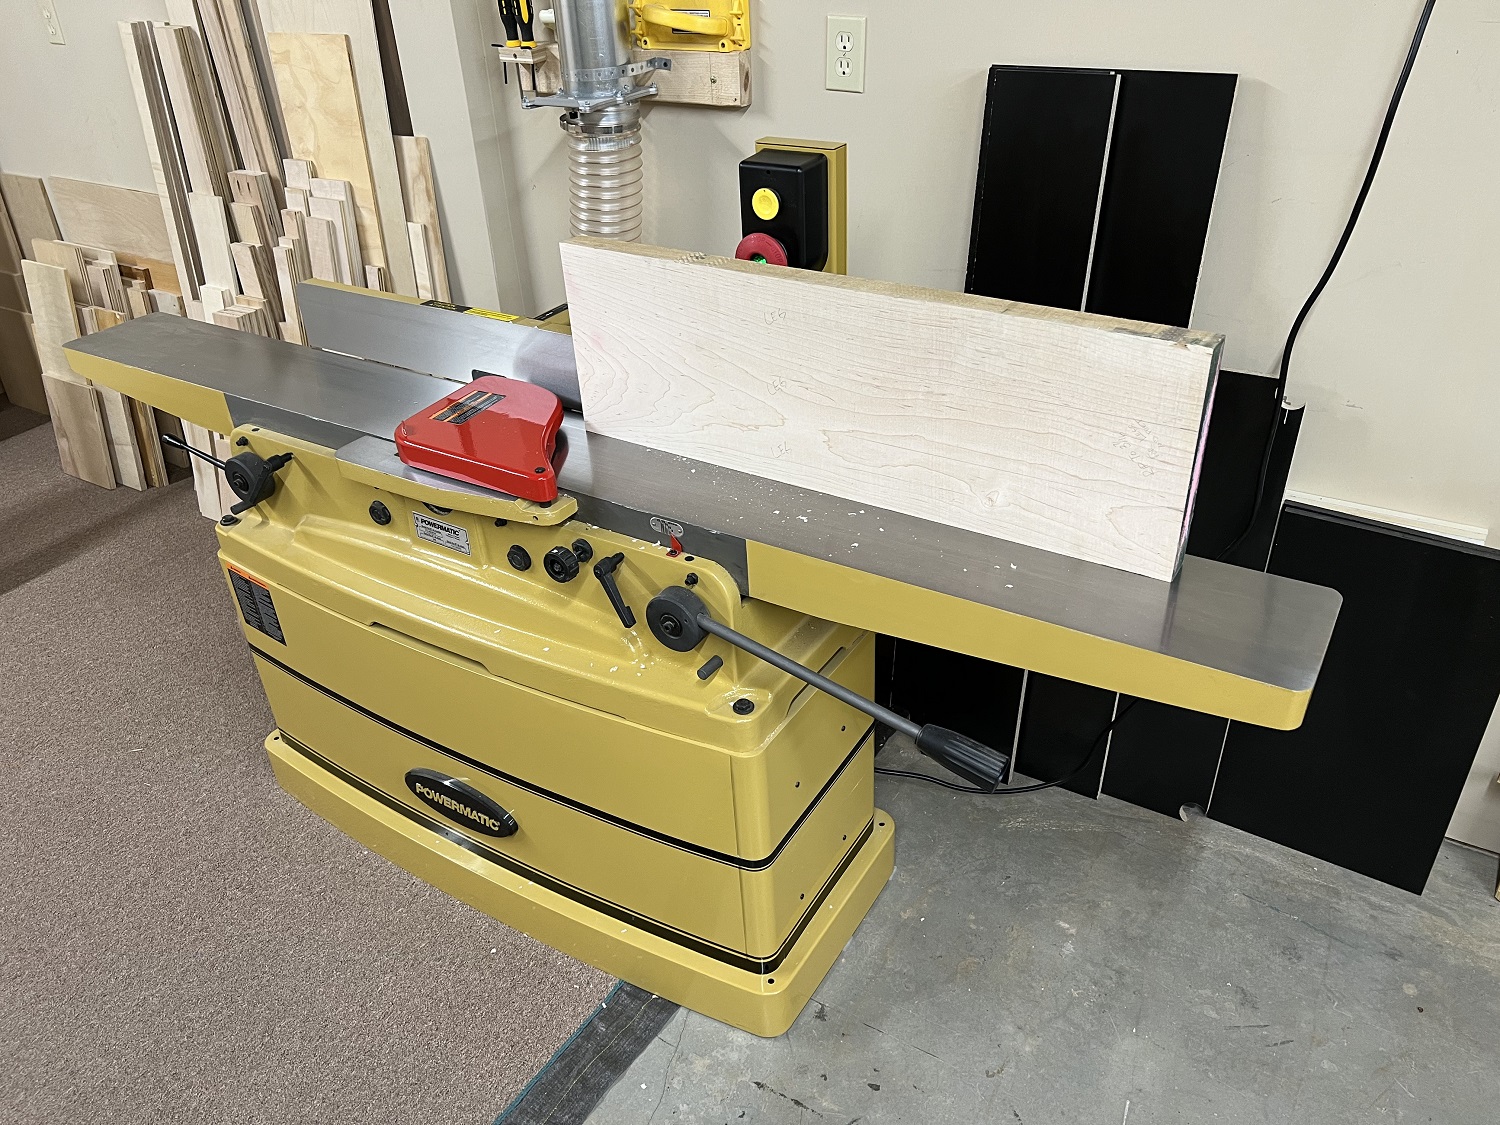
Next is the glue up of the legs and feet.

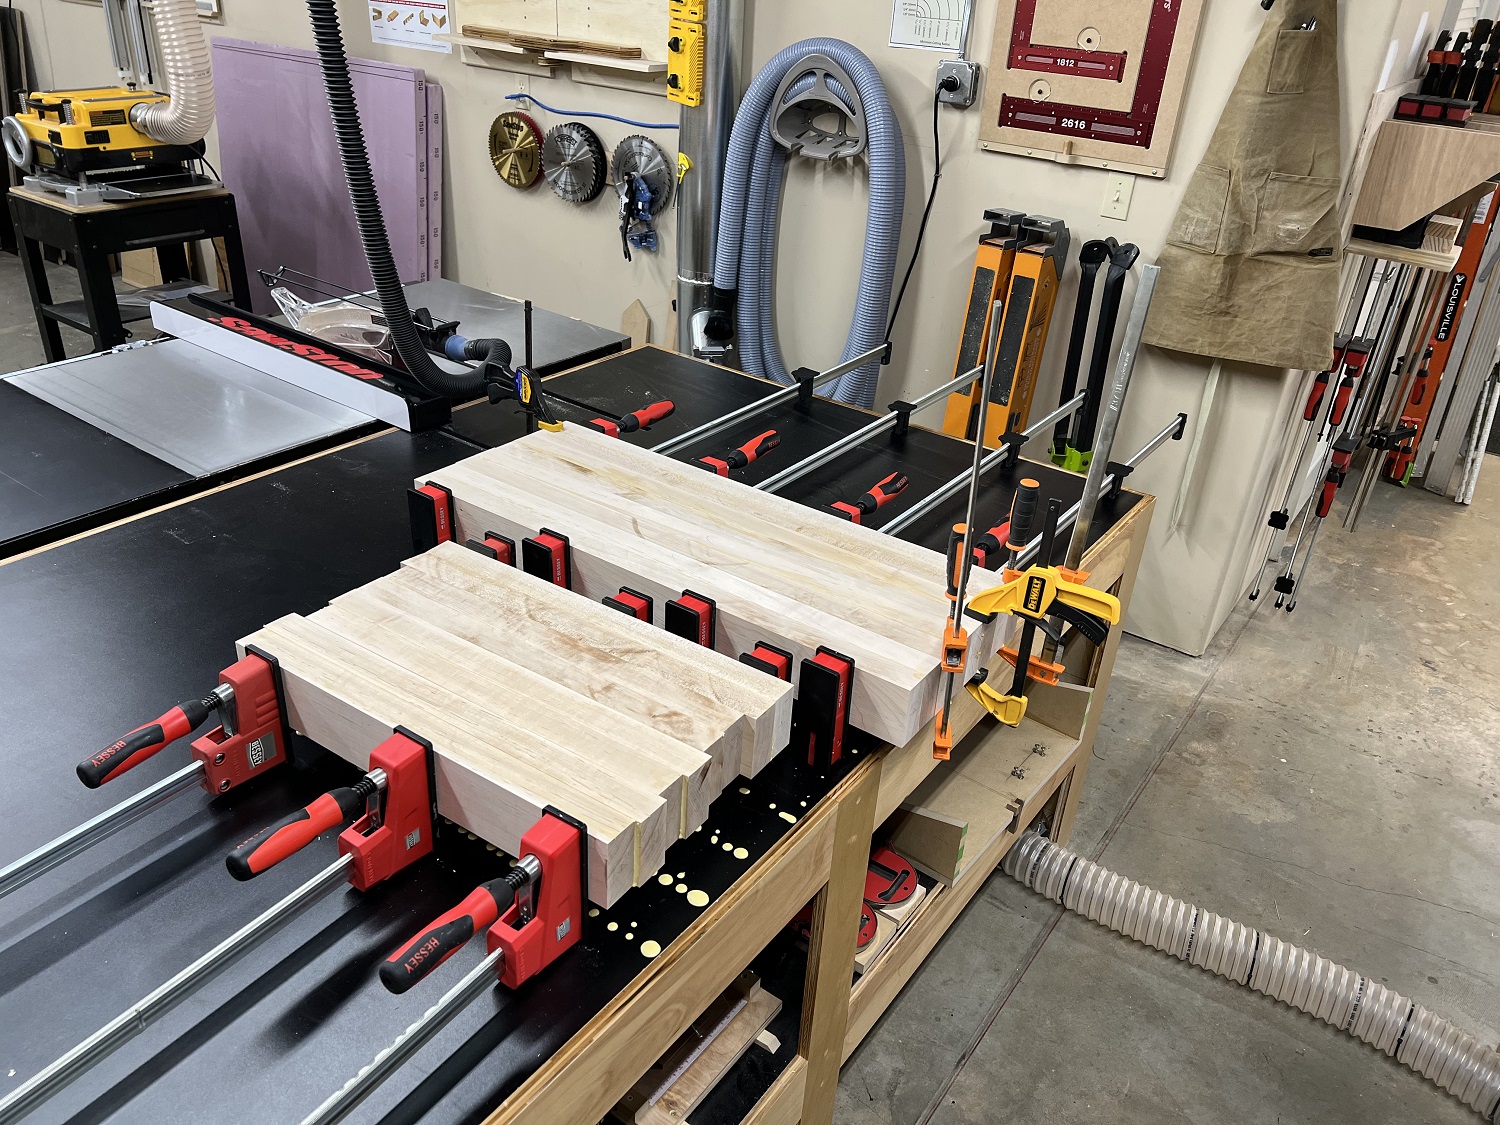
Then back to the jointer, planer and miter saw to get my final dimensioned 3×3 stock for the legs, table supports and feet.

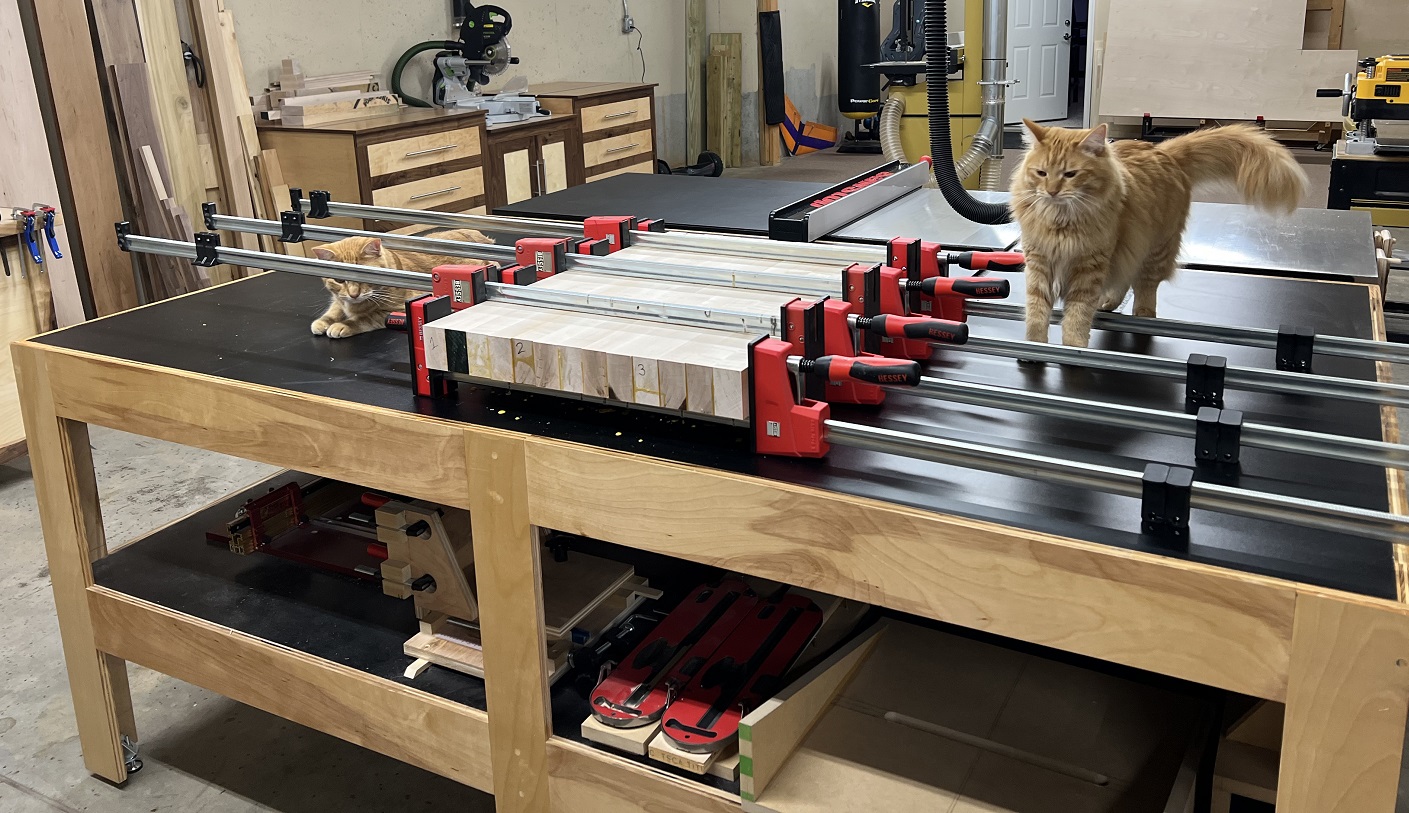
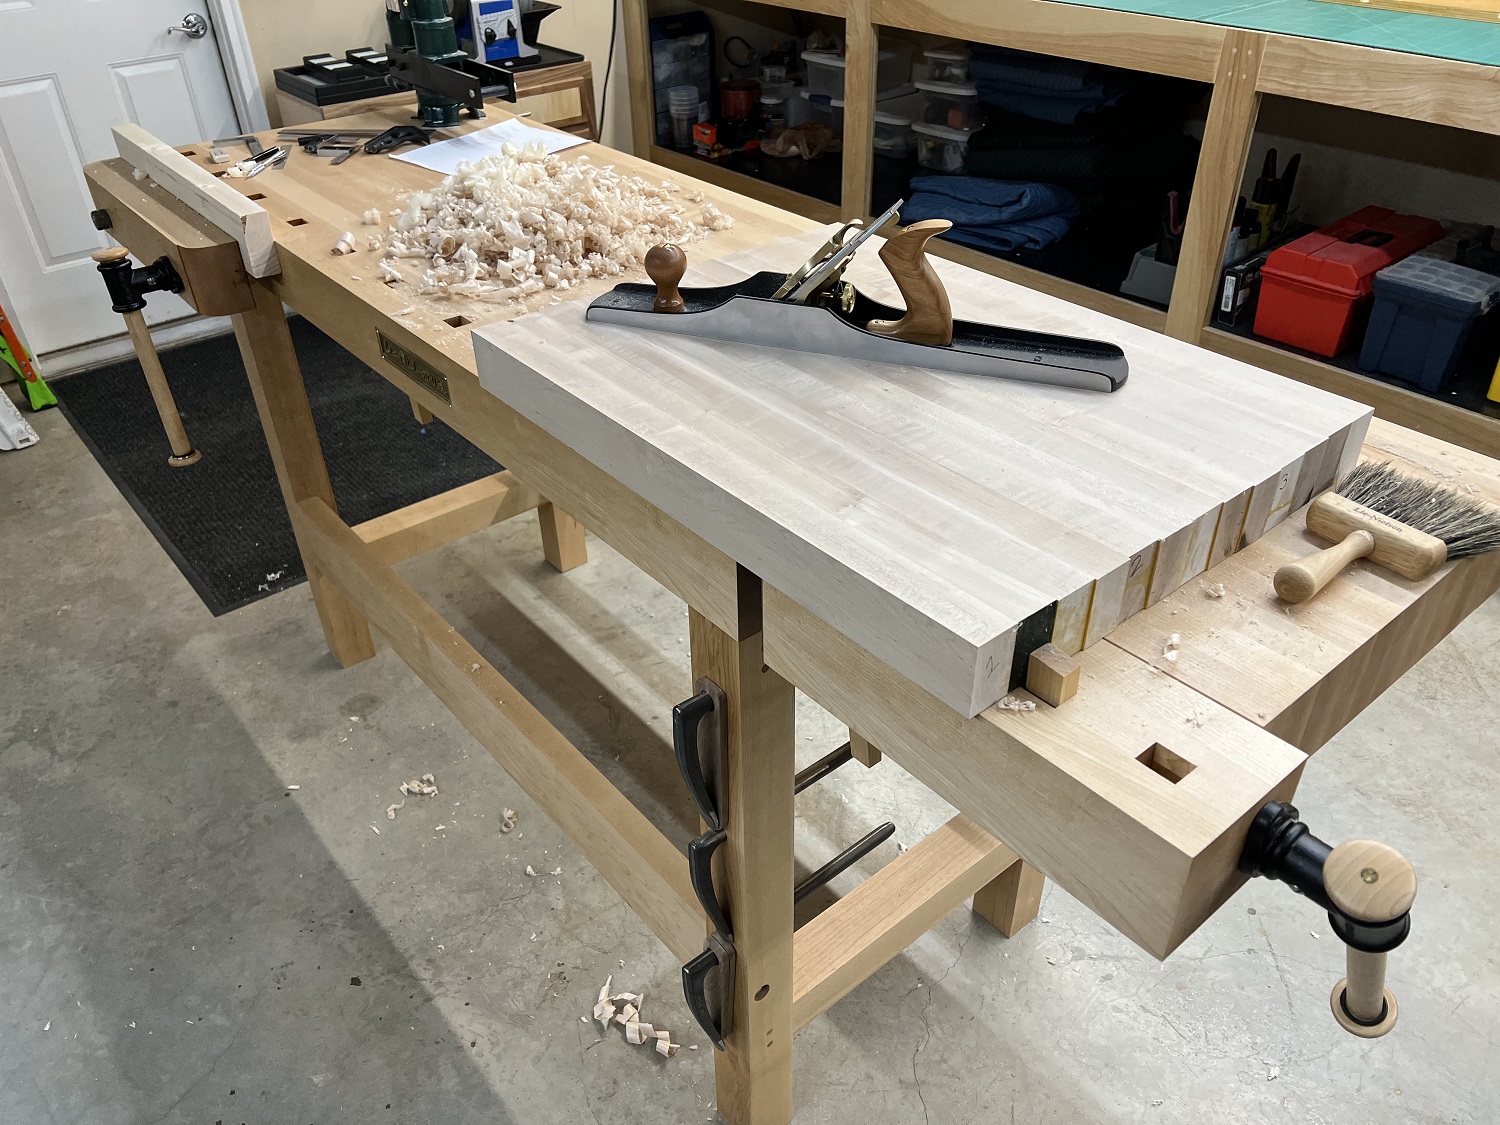
With the 3×3 components completed, it’s time to mill the stock for the butcher block top and glue it up. I left two joints unglued so I had three sections that would fit through the jointer and planer, then I glued up the three sections after I had jointed and planed them. This made final flattening with a hand plane much quicker and easier.
While the top was drying, it’s time to lay out the joinery.

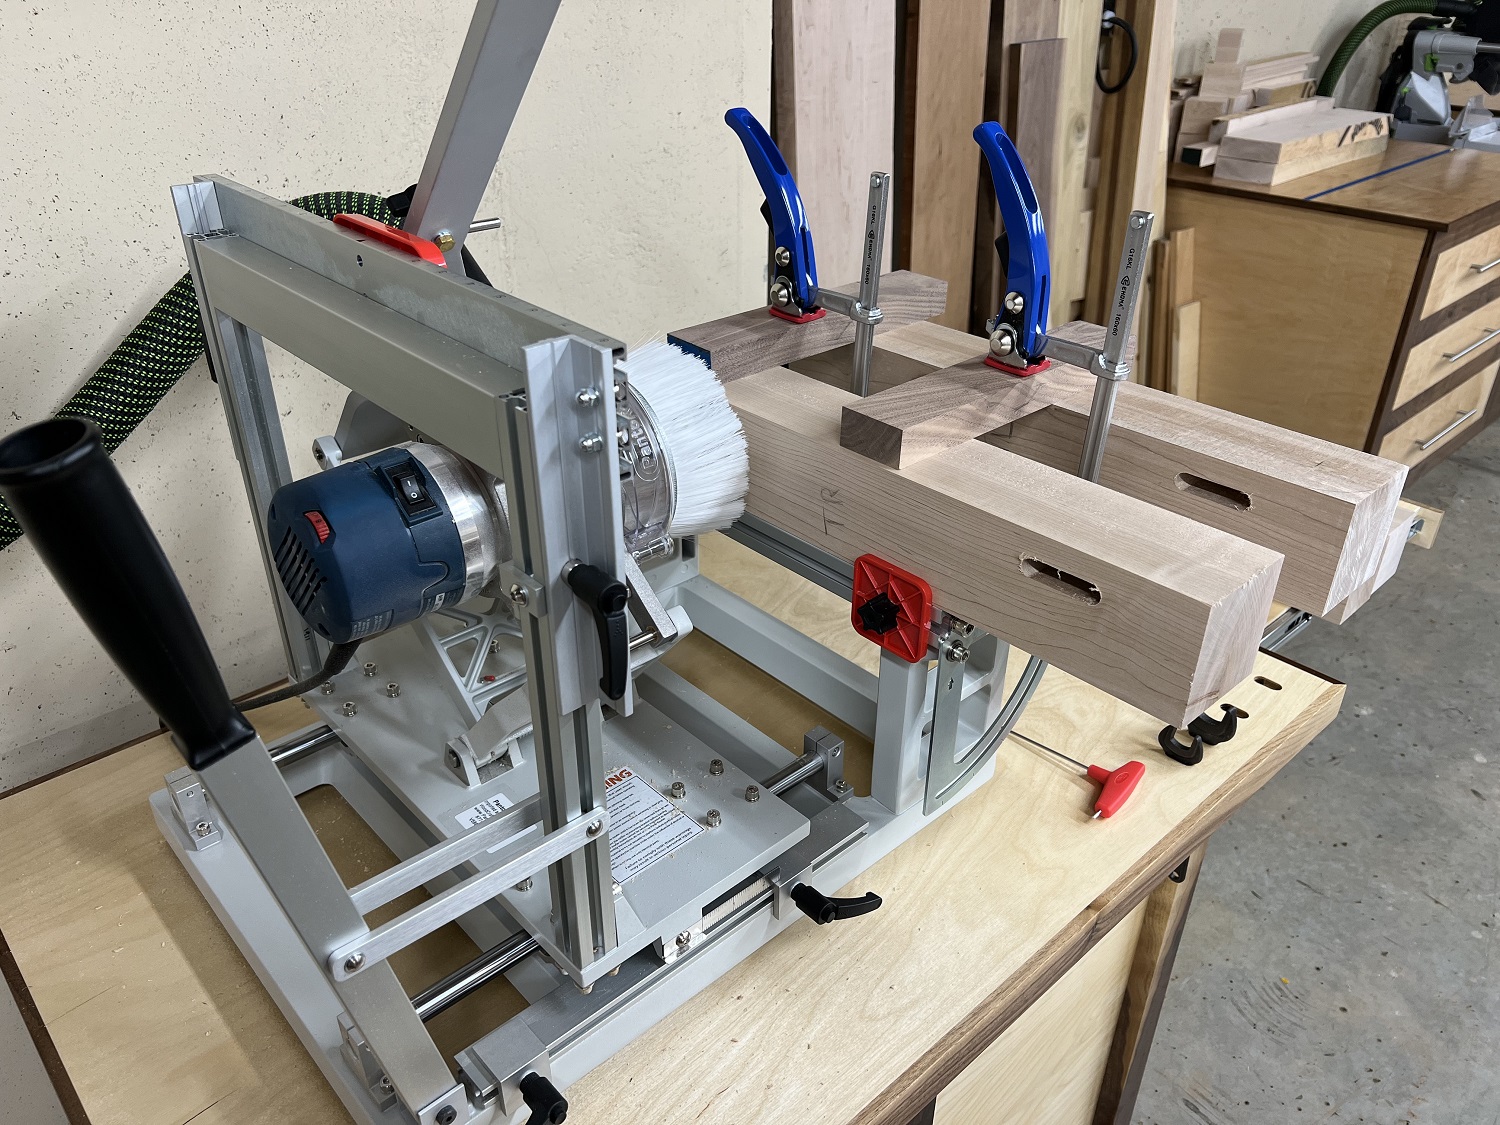
Then to the PantoRouter to cut the joinery. This is only my third time using the PantoRouter. My lack of experience with the PantoRouter translated into a stupid mistake: I planned 3/4″ twin mortises and tenons, spaced 1/2″ apart and 1/2″ from the edges of the stock. It never occurred to me to plan and size the joints to what could actually be done with a single setup on the machine. The PantoRouter will make twin M&T without any problem, but there isn’t enough vertical space available on the template holder to space two tenons of this size 1/2″ apart. Hmm.
The worst part was that I had already started cutting the mortises by the time I came to this realization. I was just flipping the stock end-for-end, so I had single 1/2″ mortises located per my original layout design, and no way to cut the twins without changing the setup. I was thinking of the PantoRouter like a table saw—I’ll just cut to wherever I want. But you need to plan and layout the joints to the template setups you have, which are plentiful and versatile. Live and learn. No substitute for experience. That said, it would be nice if the template holder had more vertical space available for twin mortises and greater general flexibility.
I could have raised the template holder to make the twins, but given how critical alignment and spacing is with twins, I really wanted to use a single setup method. I called PantoRouter and Mac answered the phone and spent some time with me being very helpful. The solution I landed upon was not ideal, but now that I have learned this lesson, it won’t happen again.
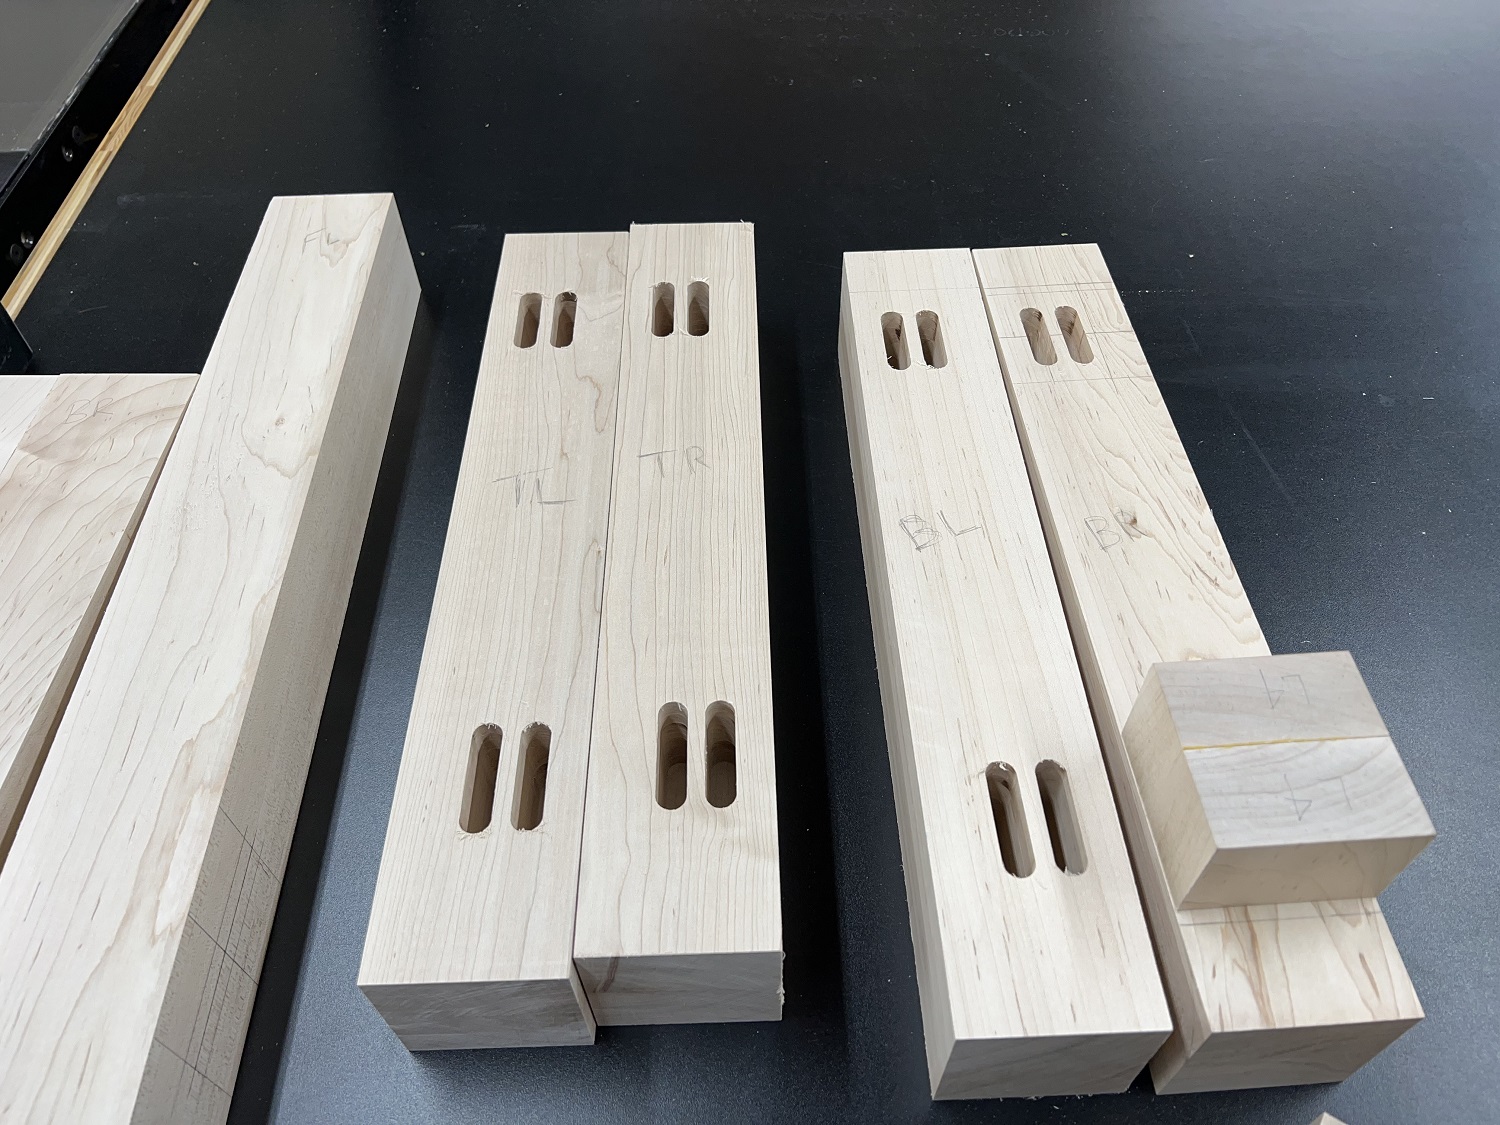
Since the mortises and tenons would be hidden anyway, I decided to stack two templates, realign the template holder to the mortises I had already cut, and do offset twin 1/2″ M&T. The offset looks wonky, but it will work just fine to make a very strong joint that will not be seen anyway.
Unfortunately, stacking two templates produces only 1/4″ spacing between the 1/2″ tenons, so I milled the outside perimeter of the tenons with a 1/2″ bit and a 23mm guide bearing first (riding on the highest part of the template), then I milled out the center portion of the joints and dialed in the size of the tenons with a 1/4″ bit and a 10mm guide bearing. It’s a single template setup, but I had to do a bit and bearing change to finish the twin tenons. No big deal.

My test cut for the tenons came out .016″ high (presumably, an error I introduced when realigning the template holder).
I used a square nut and screw from the PantoRouter accessory hold down hardware pack and a feeler gauge to lower the template holder .032″, and that worked perfectly on the first try. The joints are nice and tight and the alignment is perfect. The precision and repeatability of the PantoRouter, even with a jerry-rigged, mid-cut, realignment, and a bit and bearing change, is very satisfying.
Dry fit. These twin tenon joints are going to be very strong.

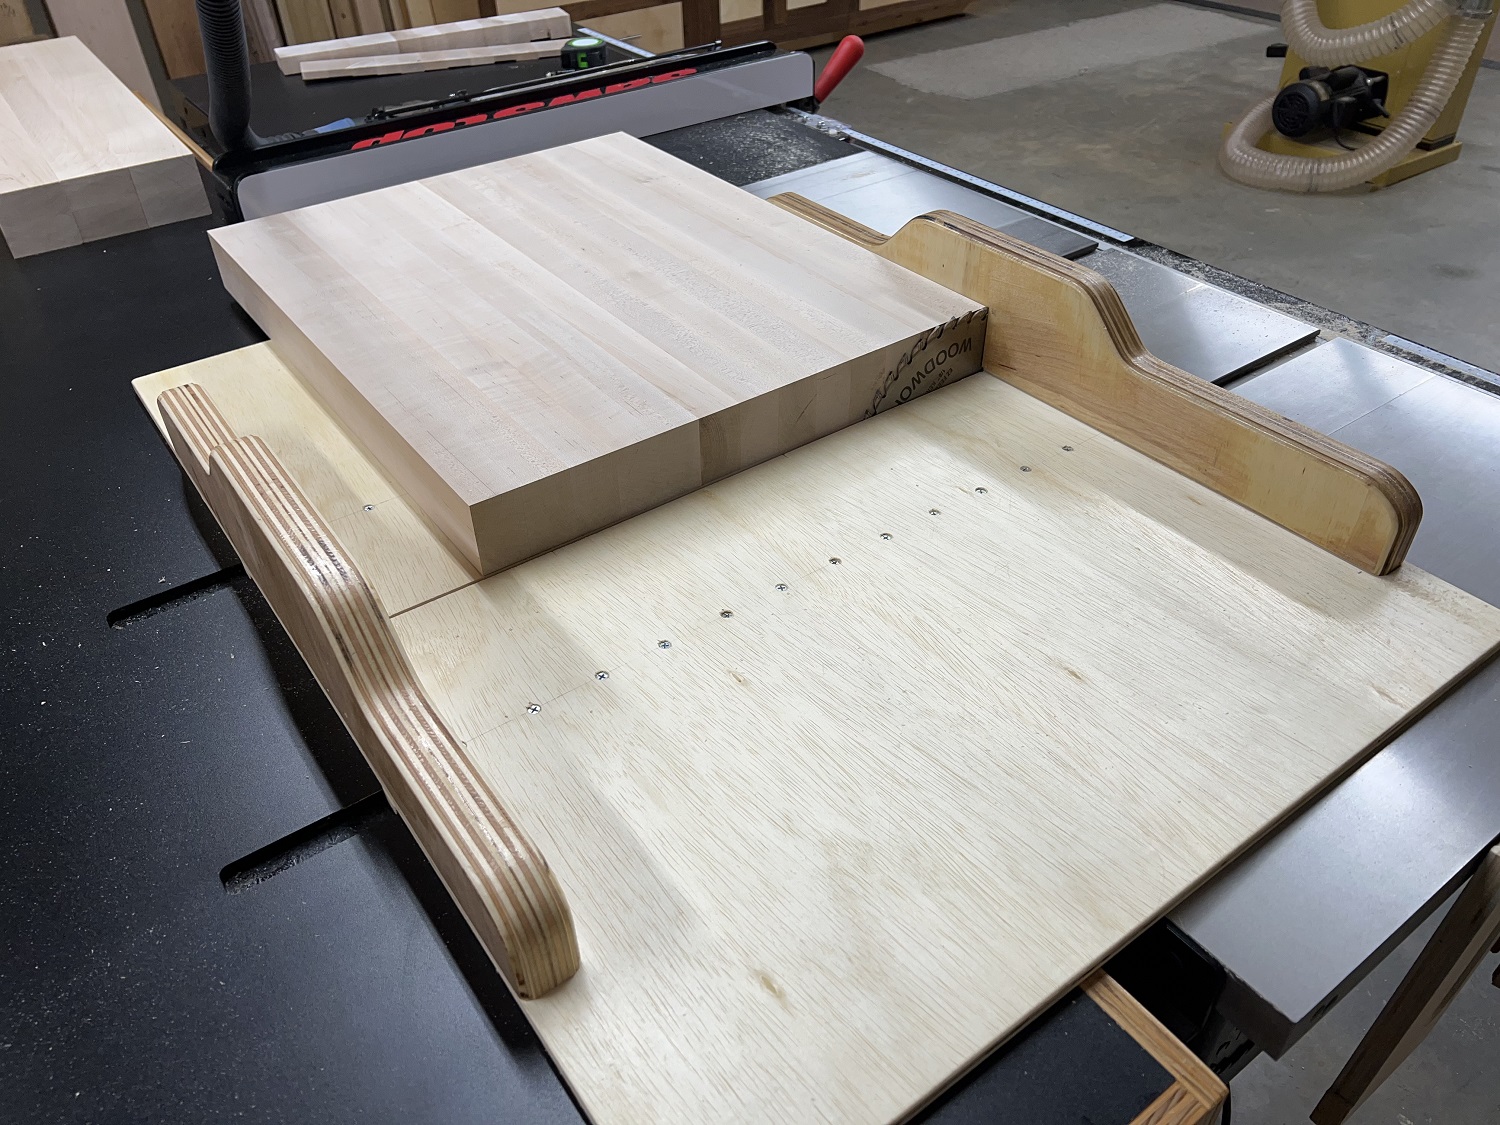
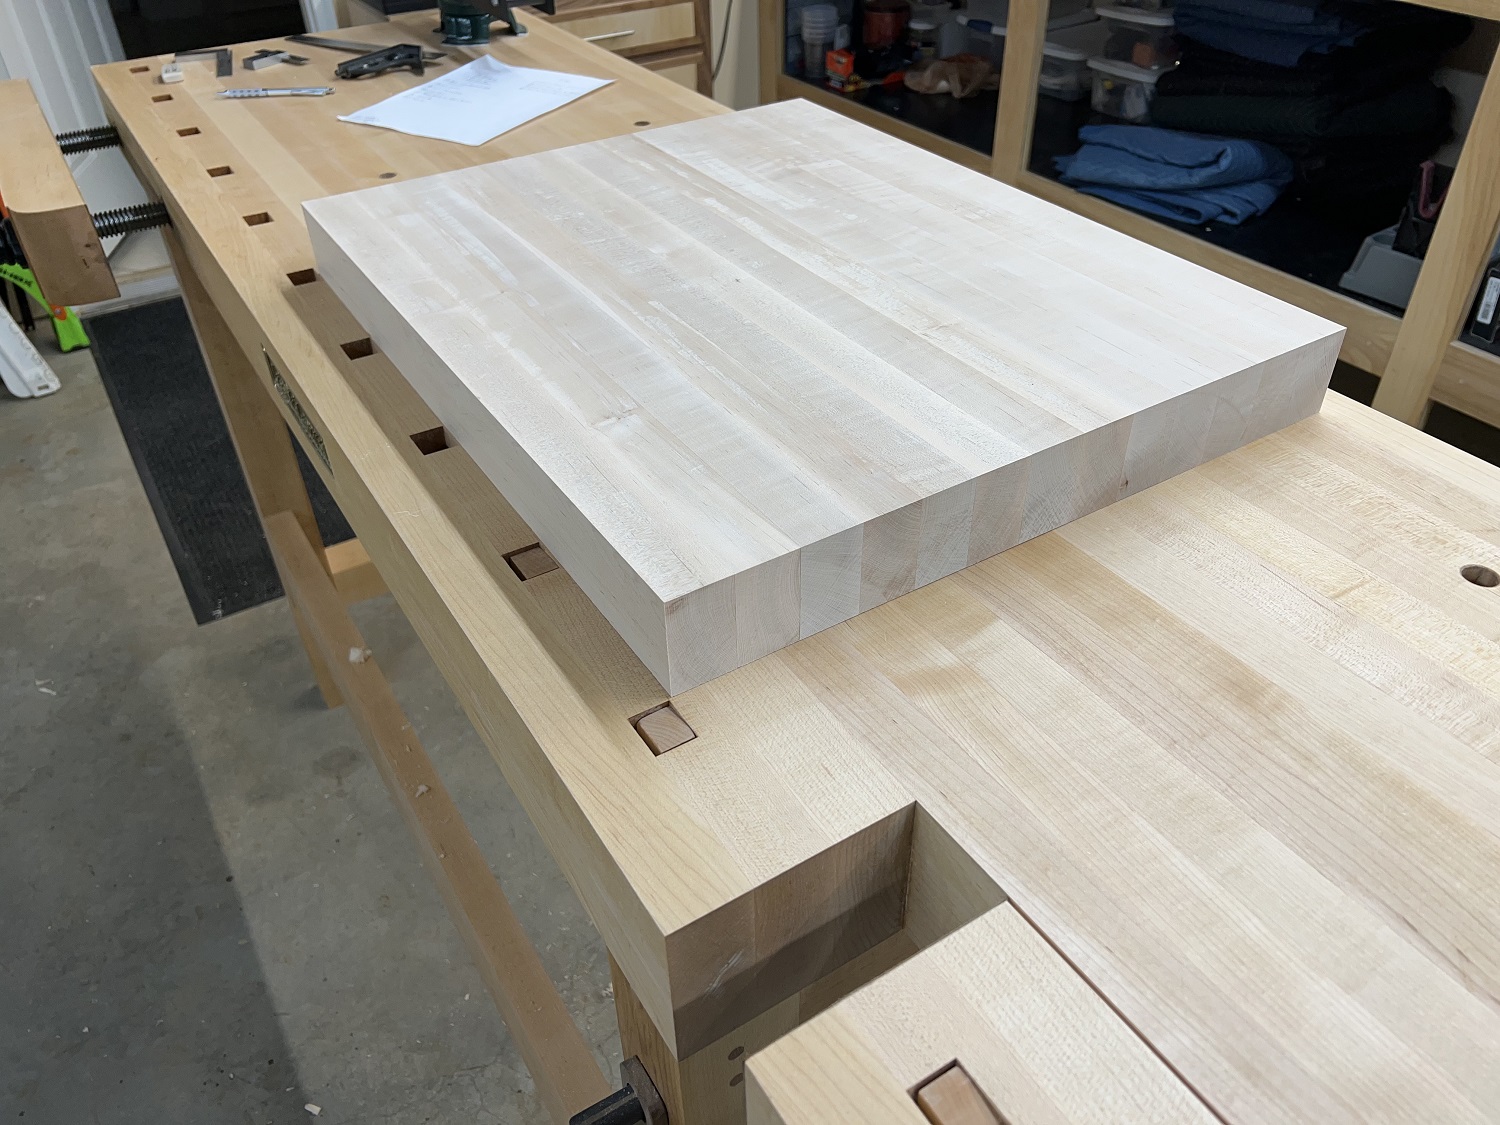
With the table top dry, both sides were flattened with the No. 7 jointer plane and then the ends were trimmed on the table saw sled. As nice as machines are, I love using hand planes and they produce perfect results in situations that my humble machines can’t. It came out dead flat.
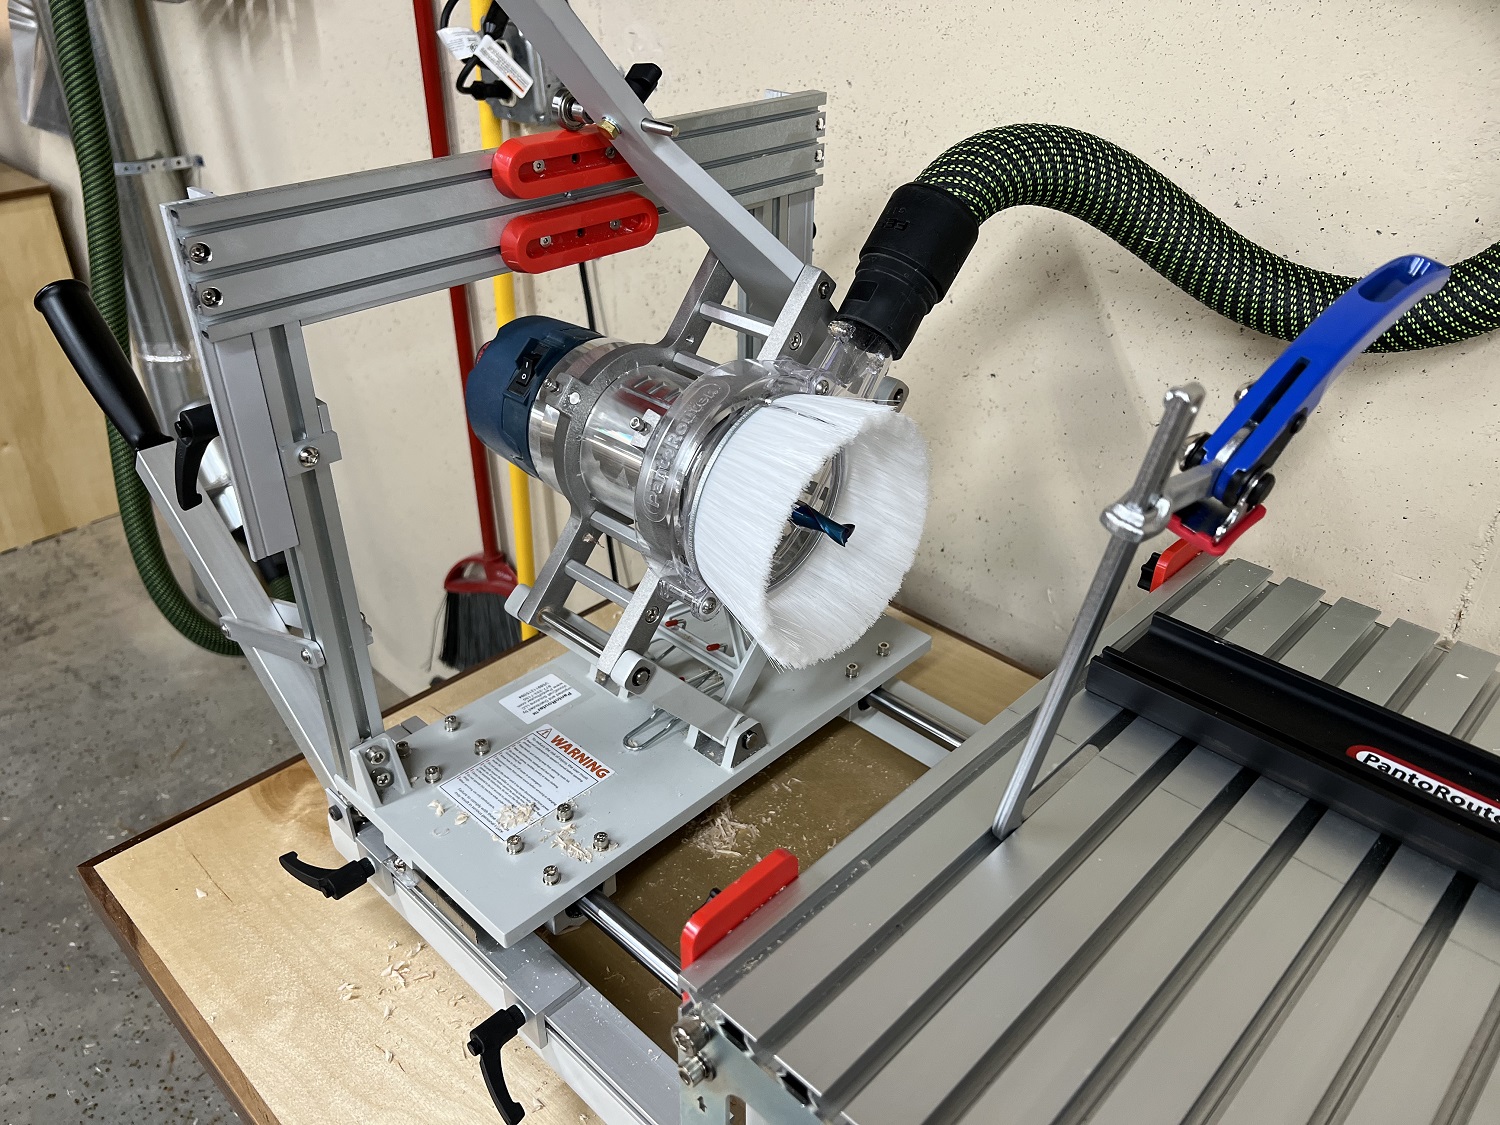
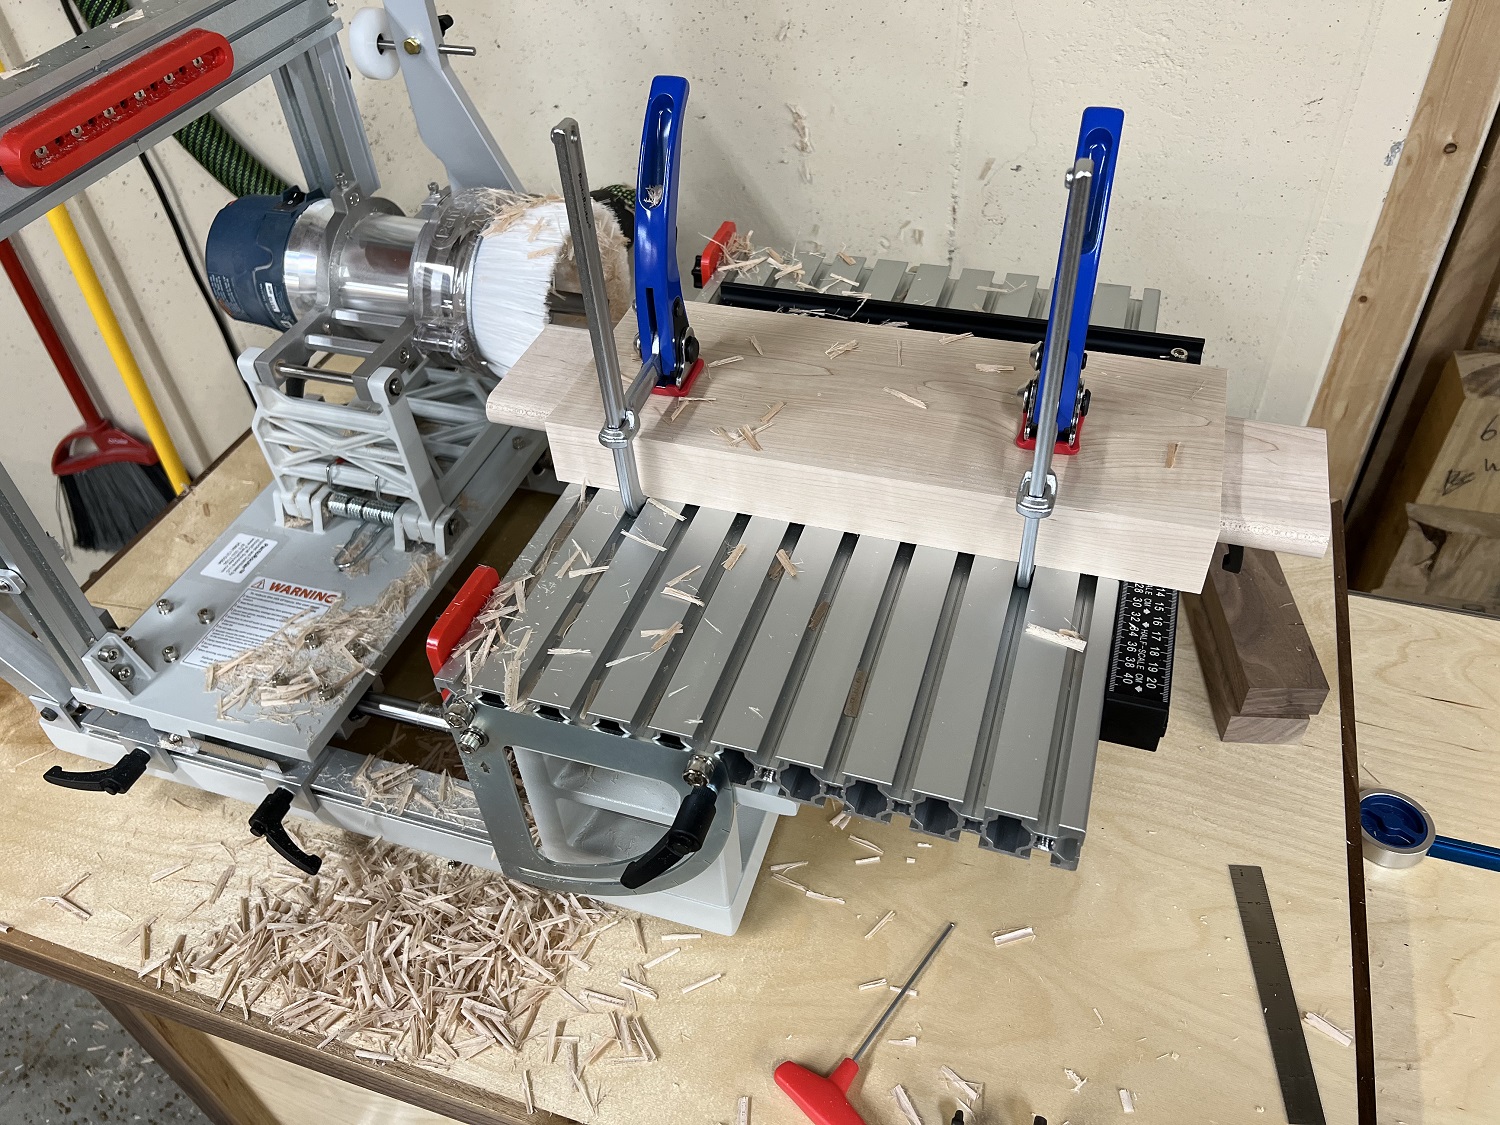
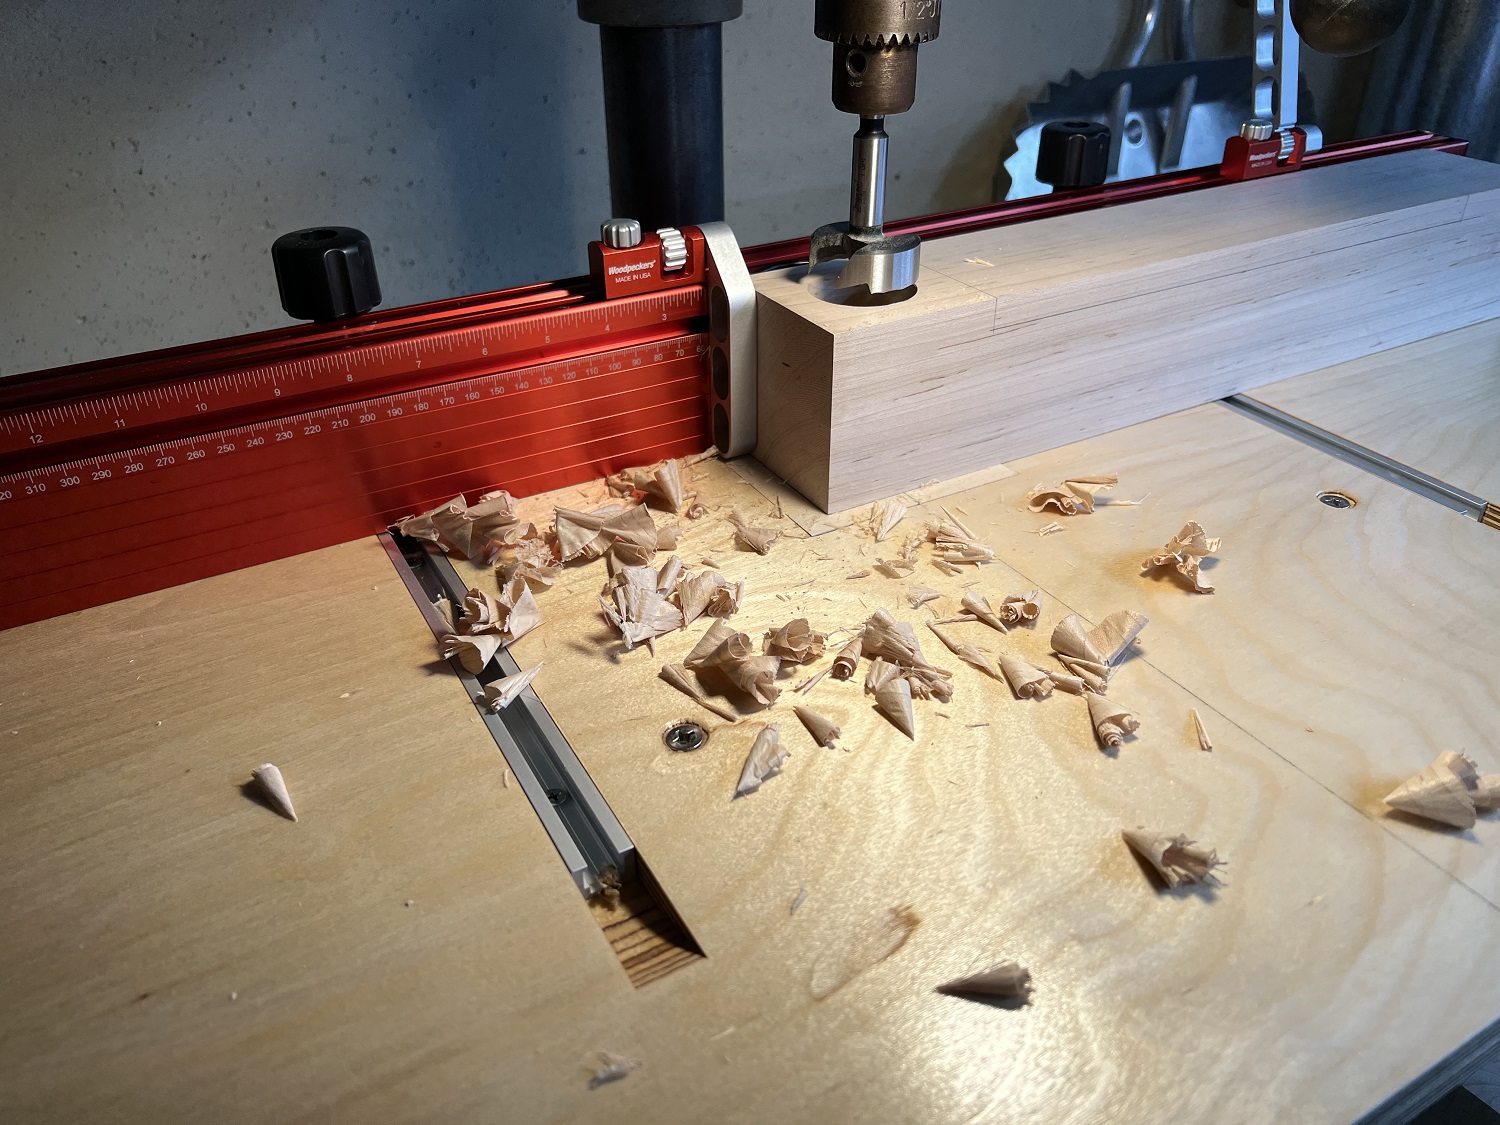
Time to mill up the stretchers and cut the joinery for them, which was produced with much less drama. The 3/4″ bit extends past the dust collection brush. Lots of chips. Goes to show just how effective that brush is…very little escapes with the other bits that are fully surrounded.
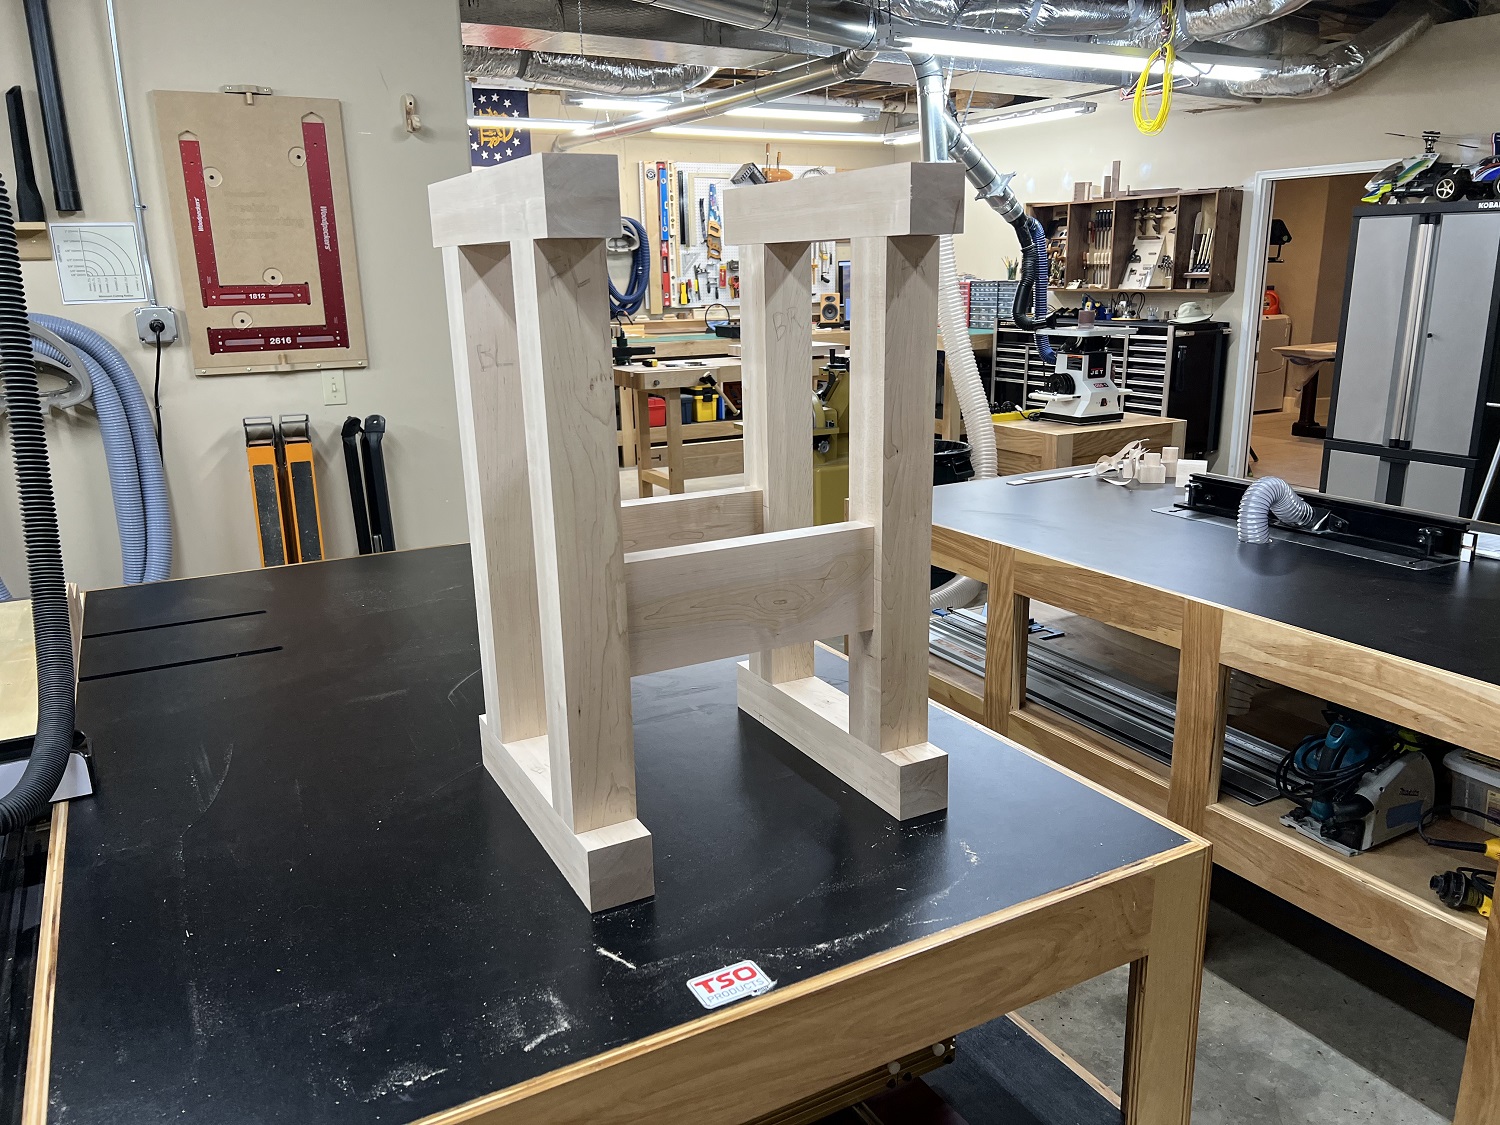
Another perfect dry fit. This thing is looking stout.
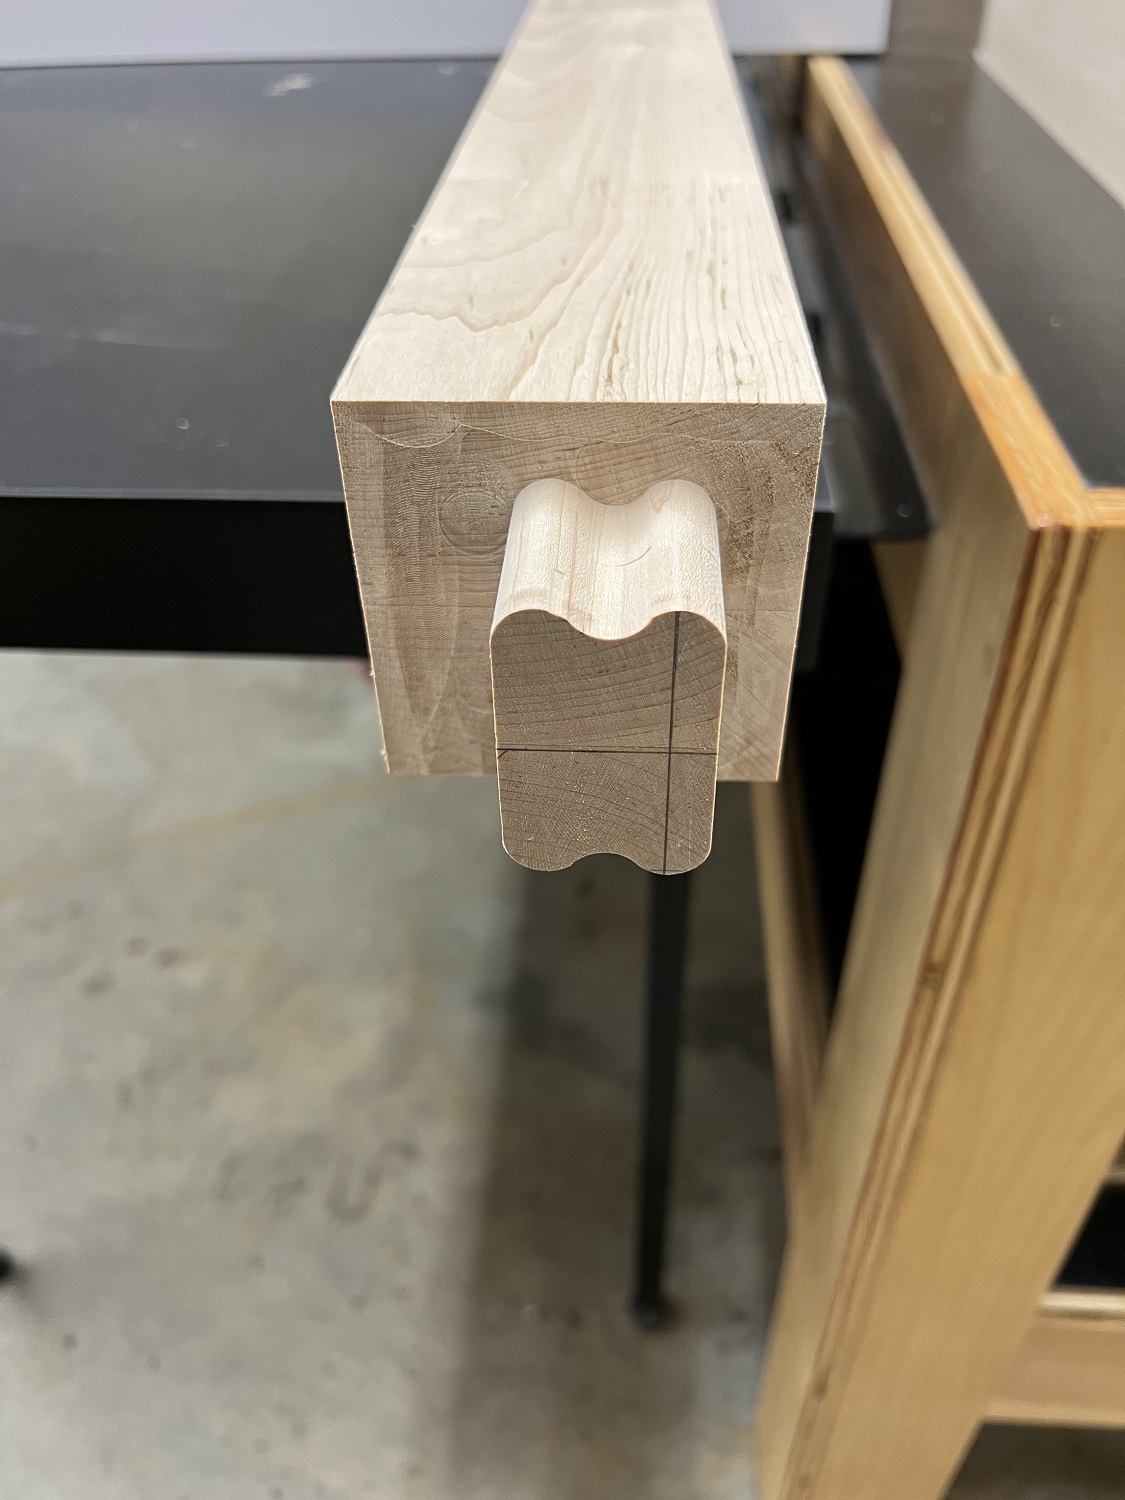
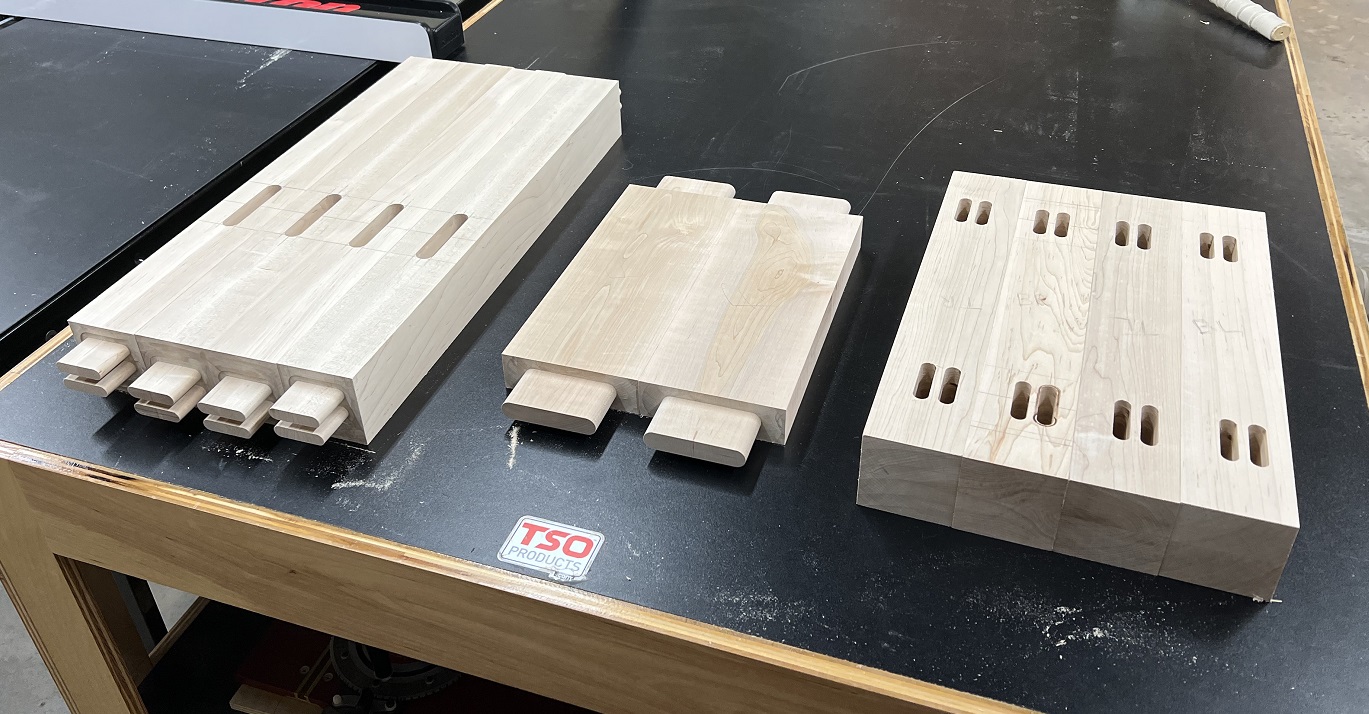
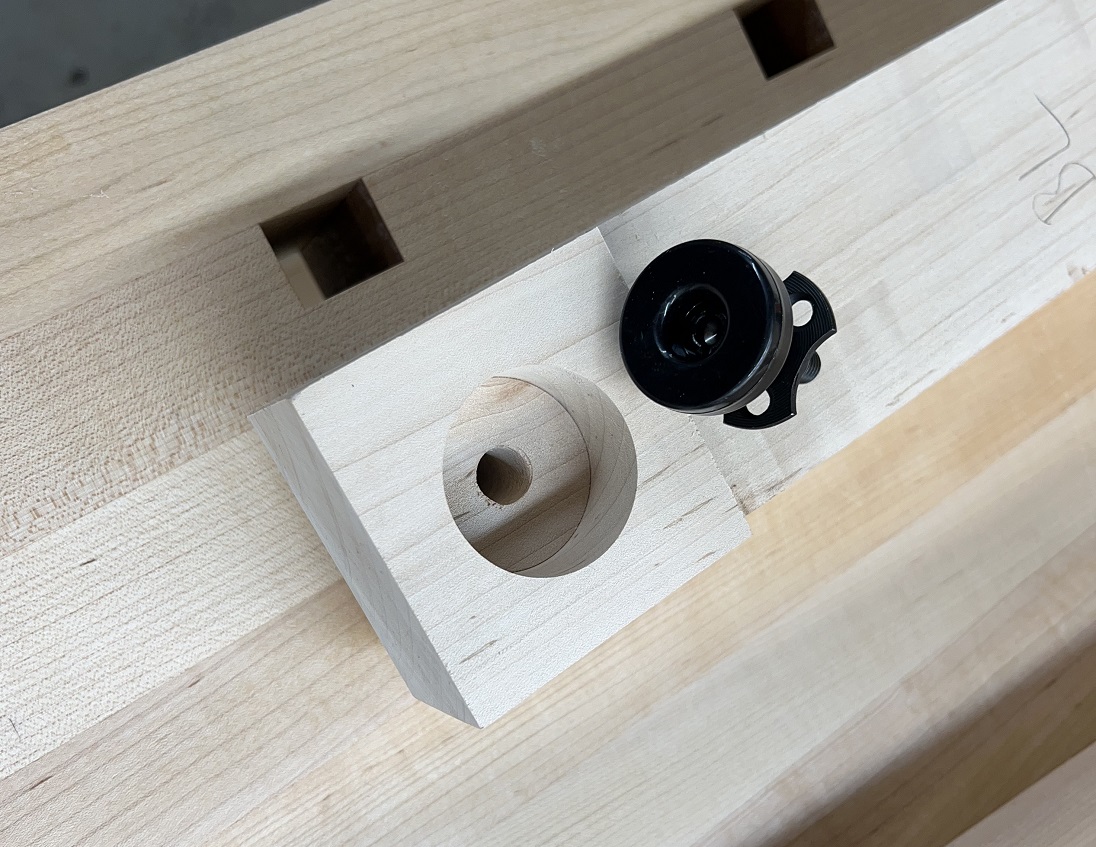
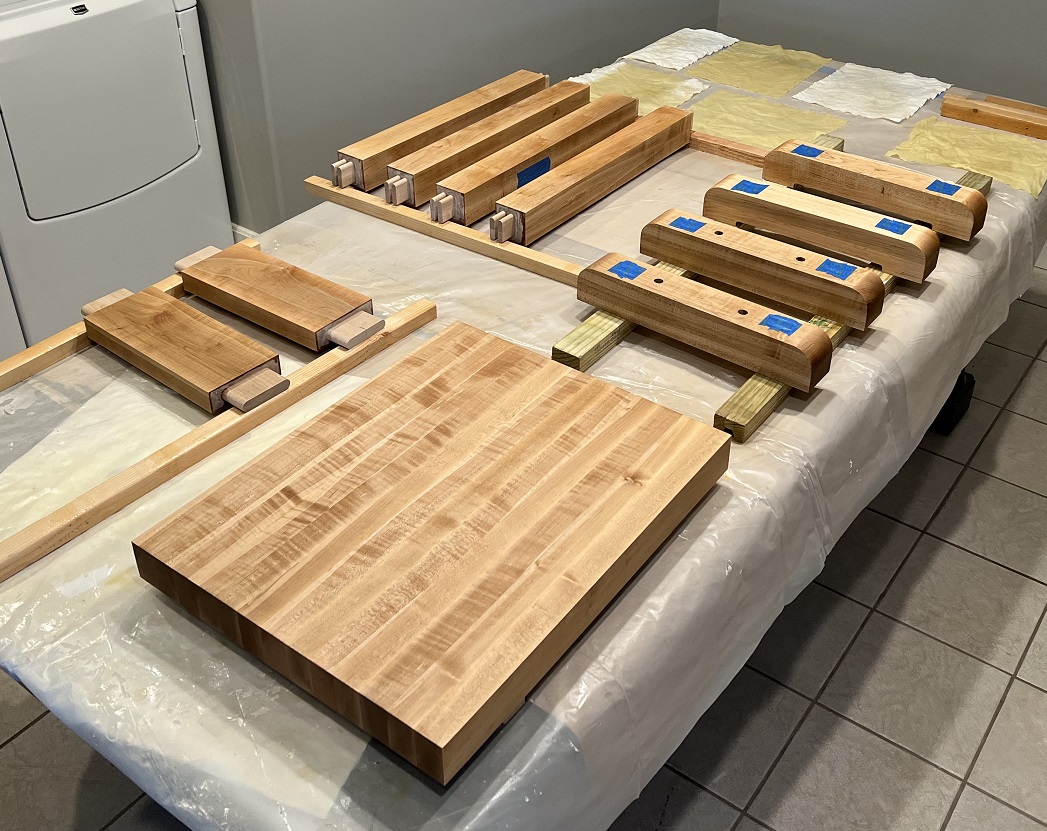
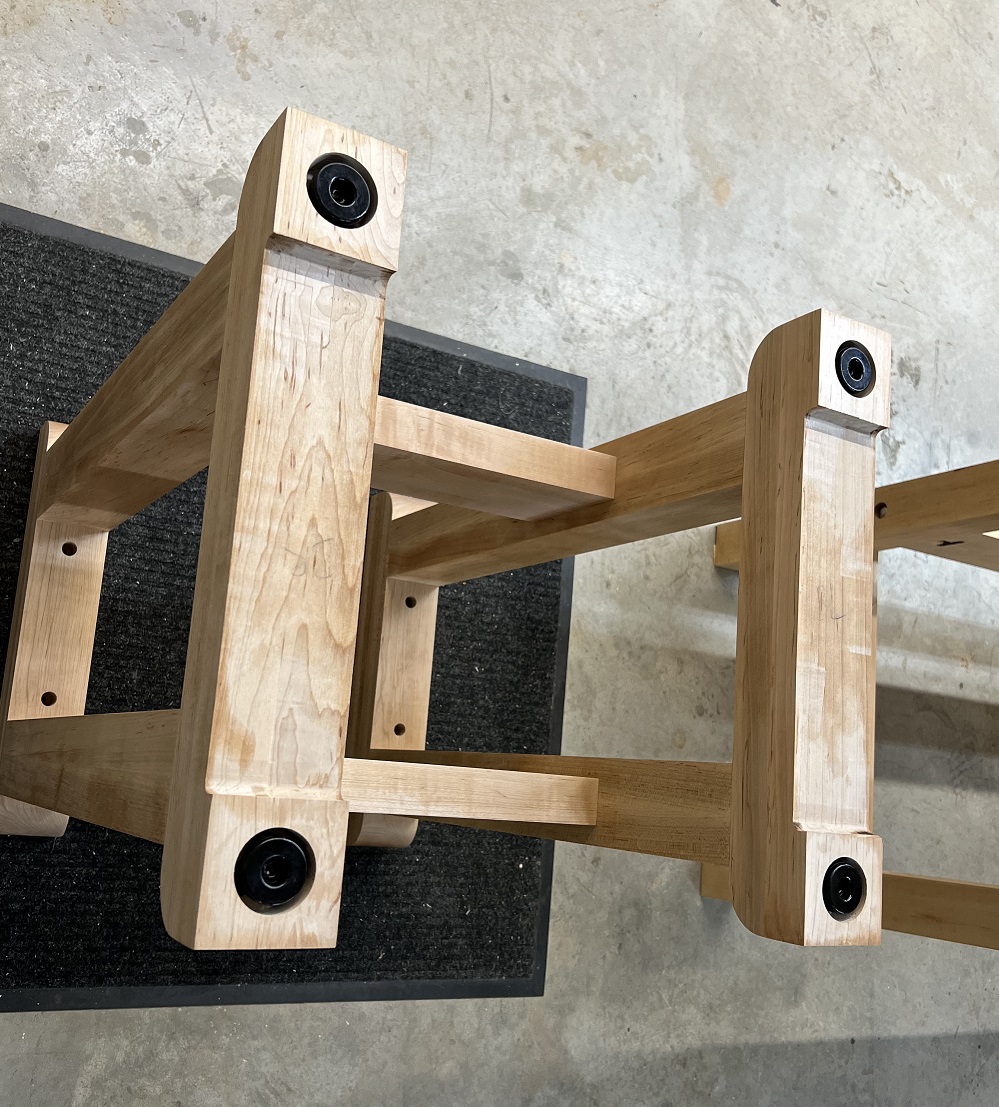
All that is left is to finish up a few details on the feet and table supports. The corners were rounded, a relief was cut to make 3×3 feet, and holes were bored for the levelers and table top screws.
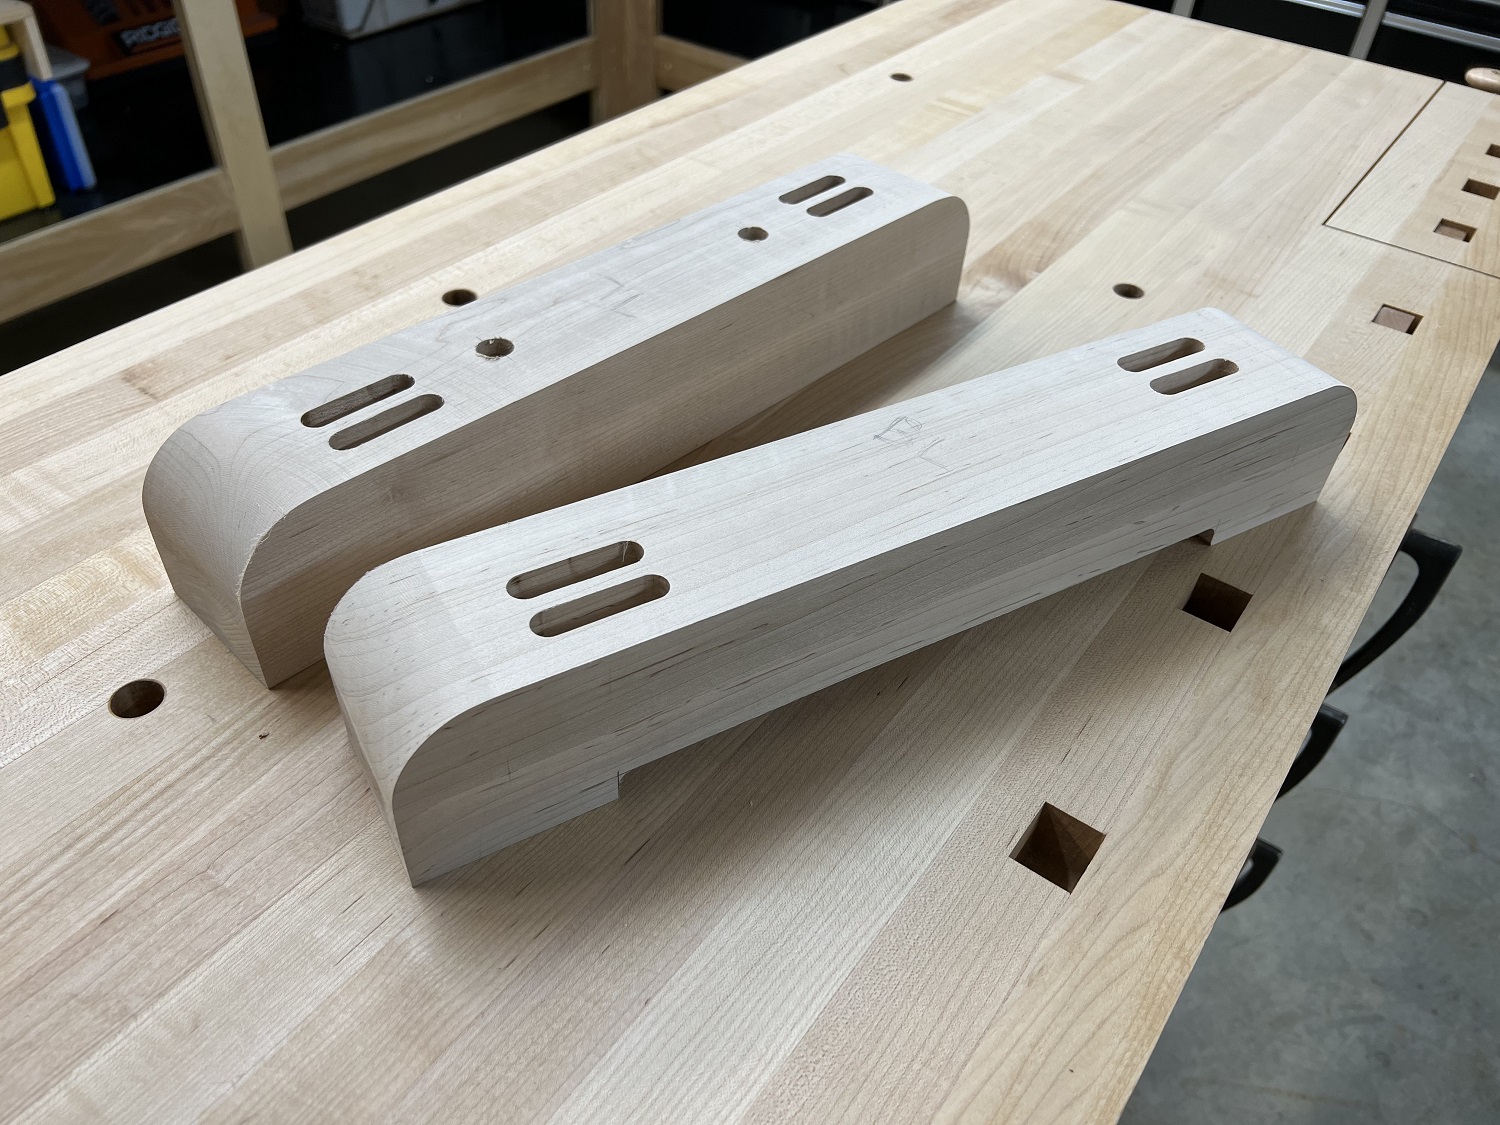
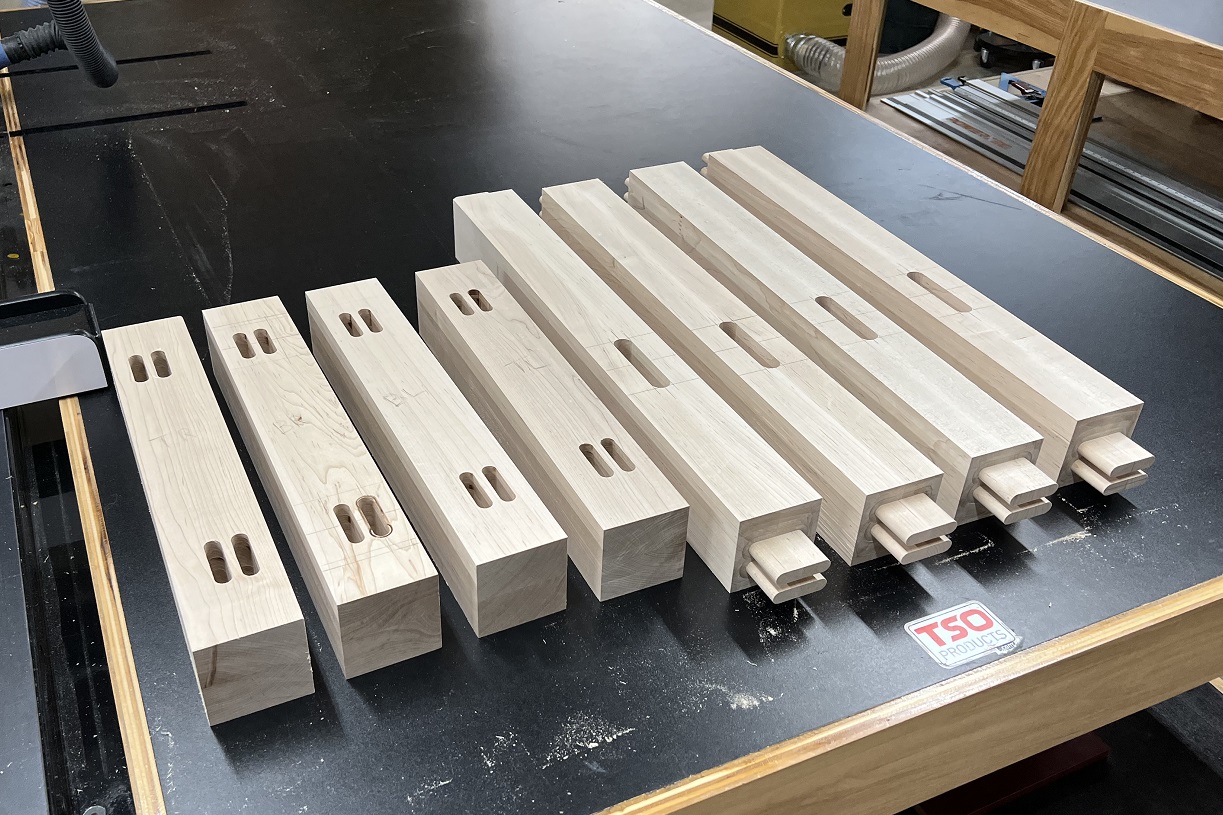
Completed parts ready for sanding, finishing and assembly.
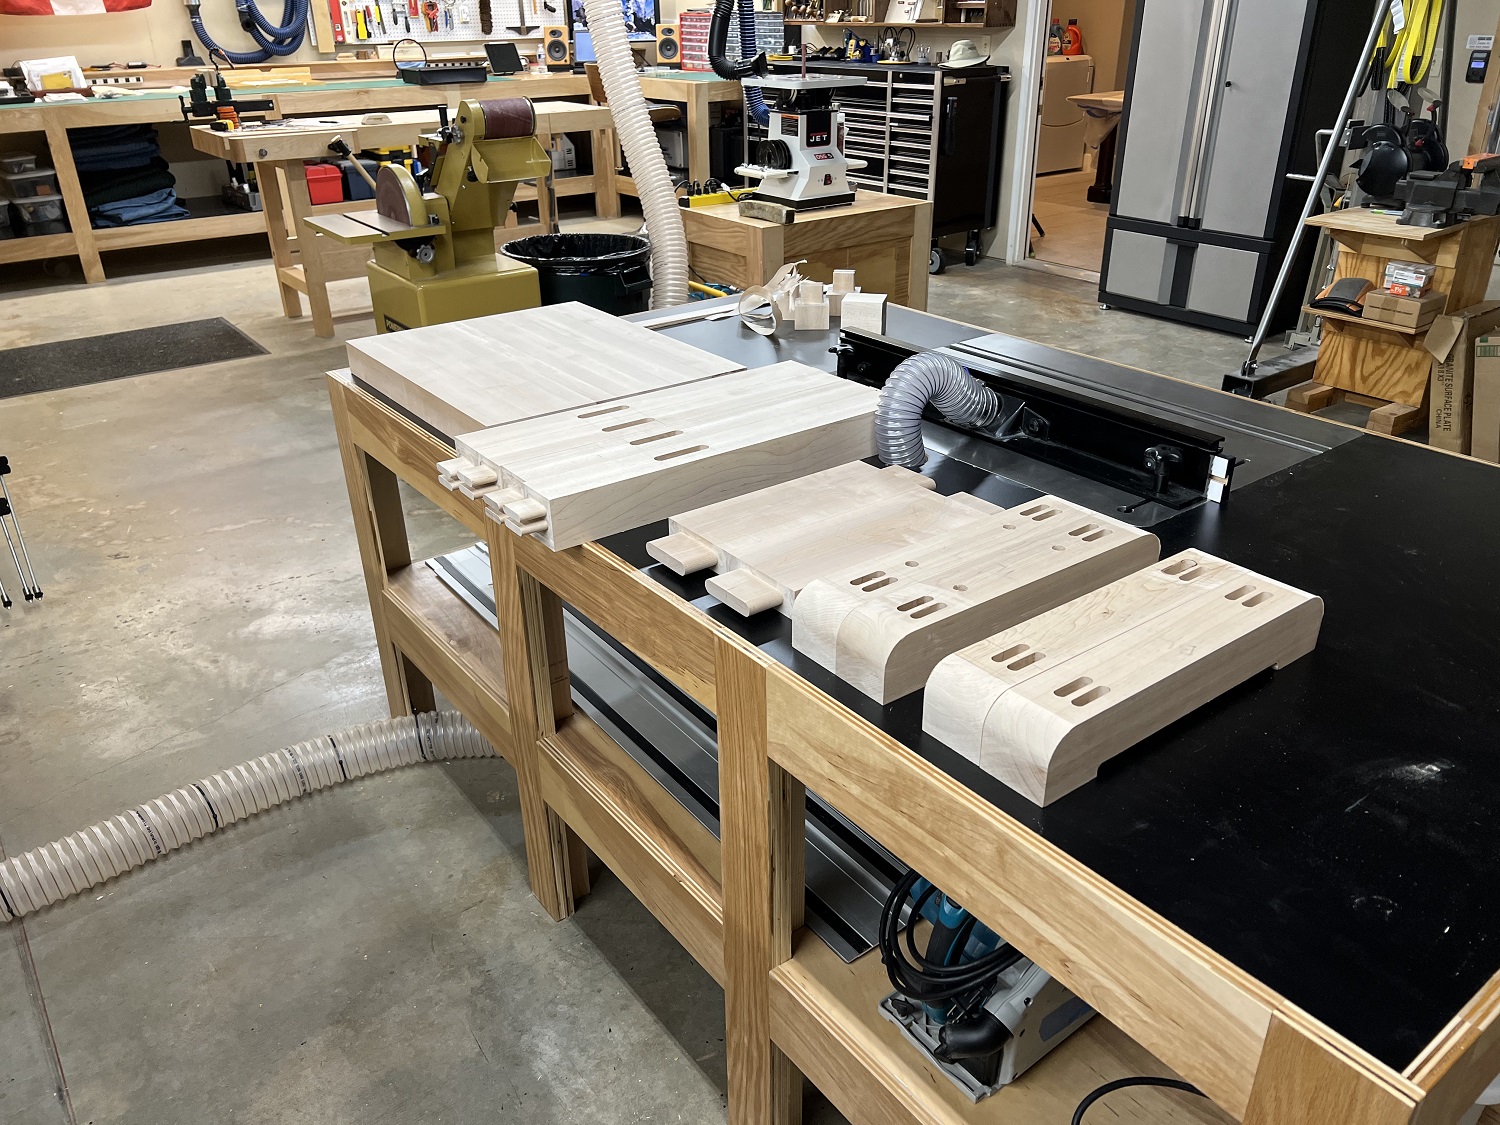
Final dry fit.

Like the workbench, the table is finished with standard recipe oil varnish (BLO, spar poly, mineral spirits). One well saturated coat. It came out darker than the bench. Too much BLO I guess. I should have tested the mix on some scrap, but I didn’t.
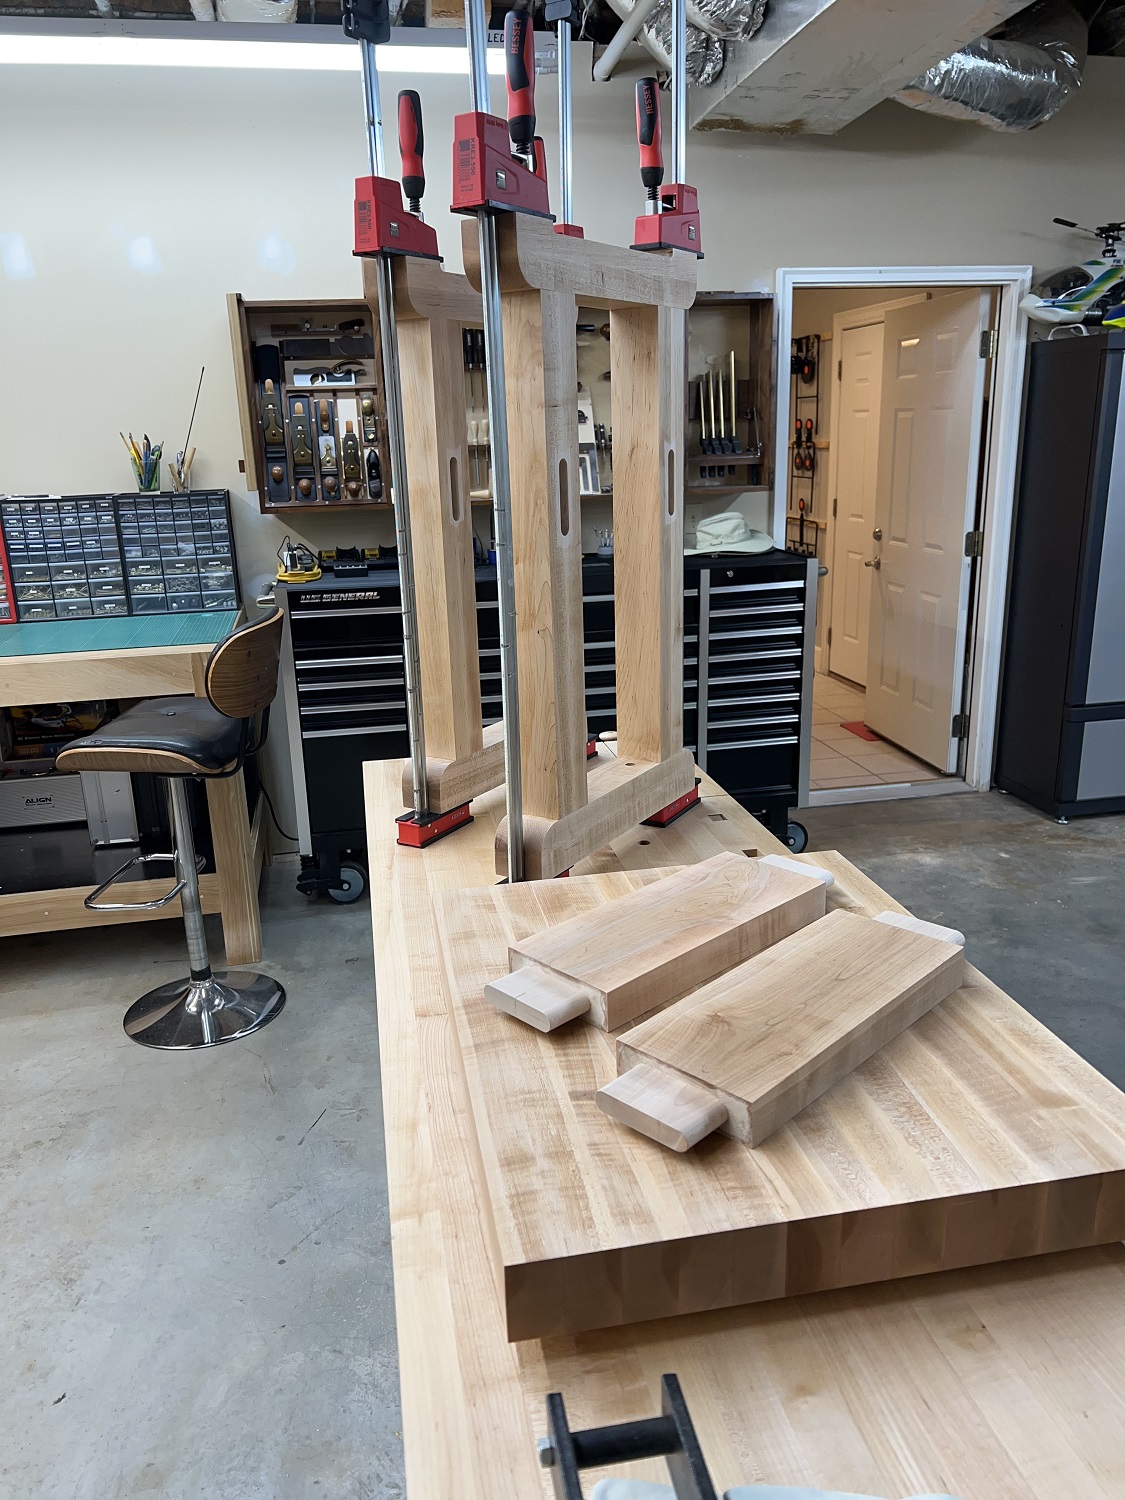
Time for the glue up.


No fasteners were abused in the making of this project.

Thanks for your interest.