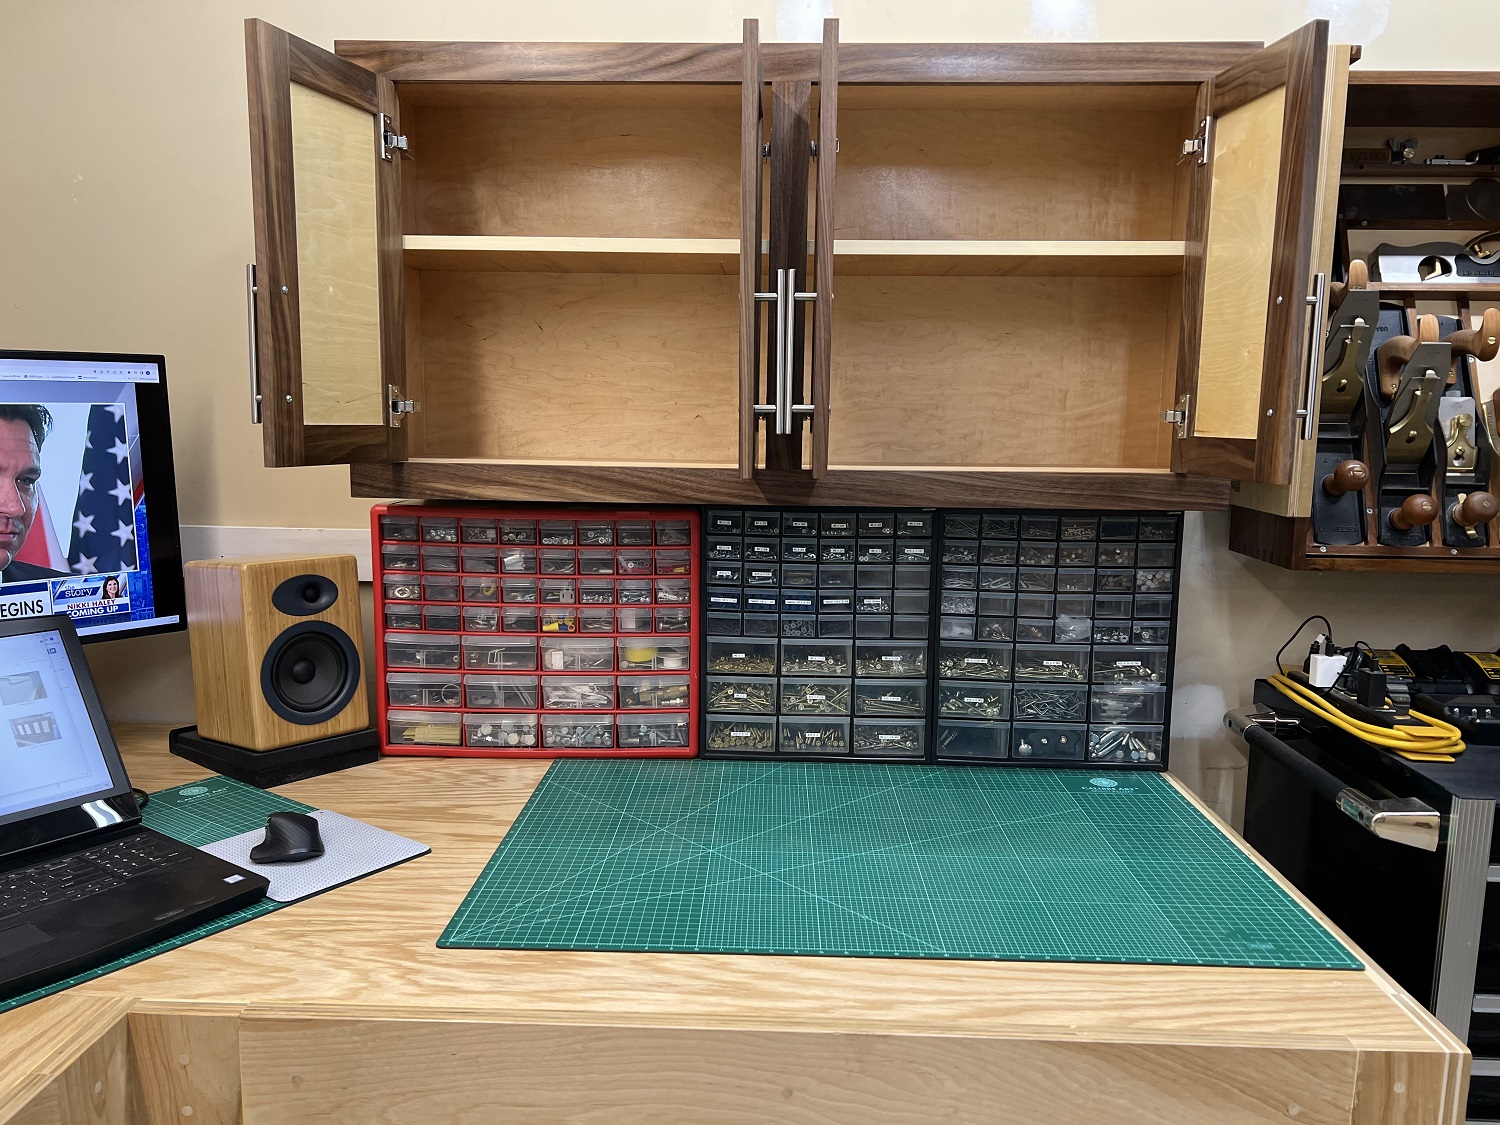
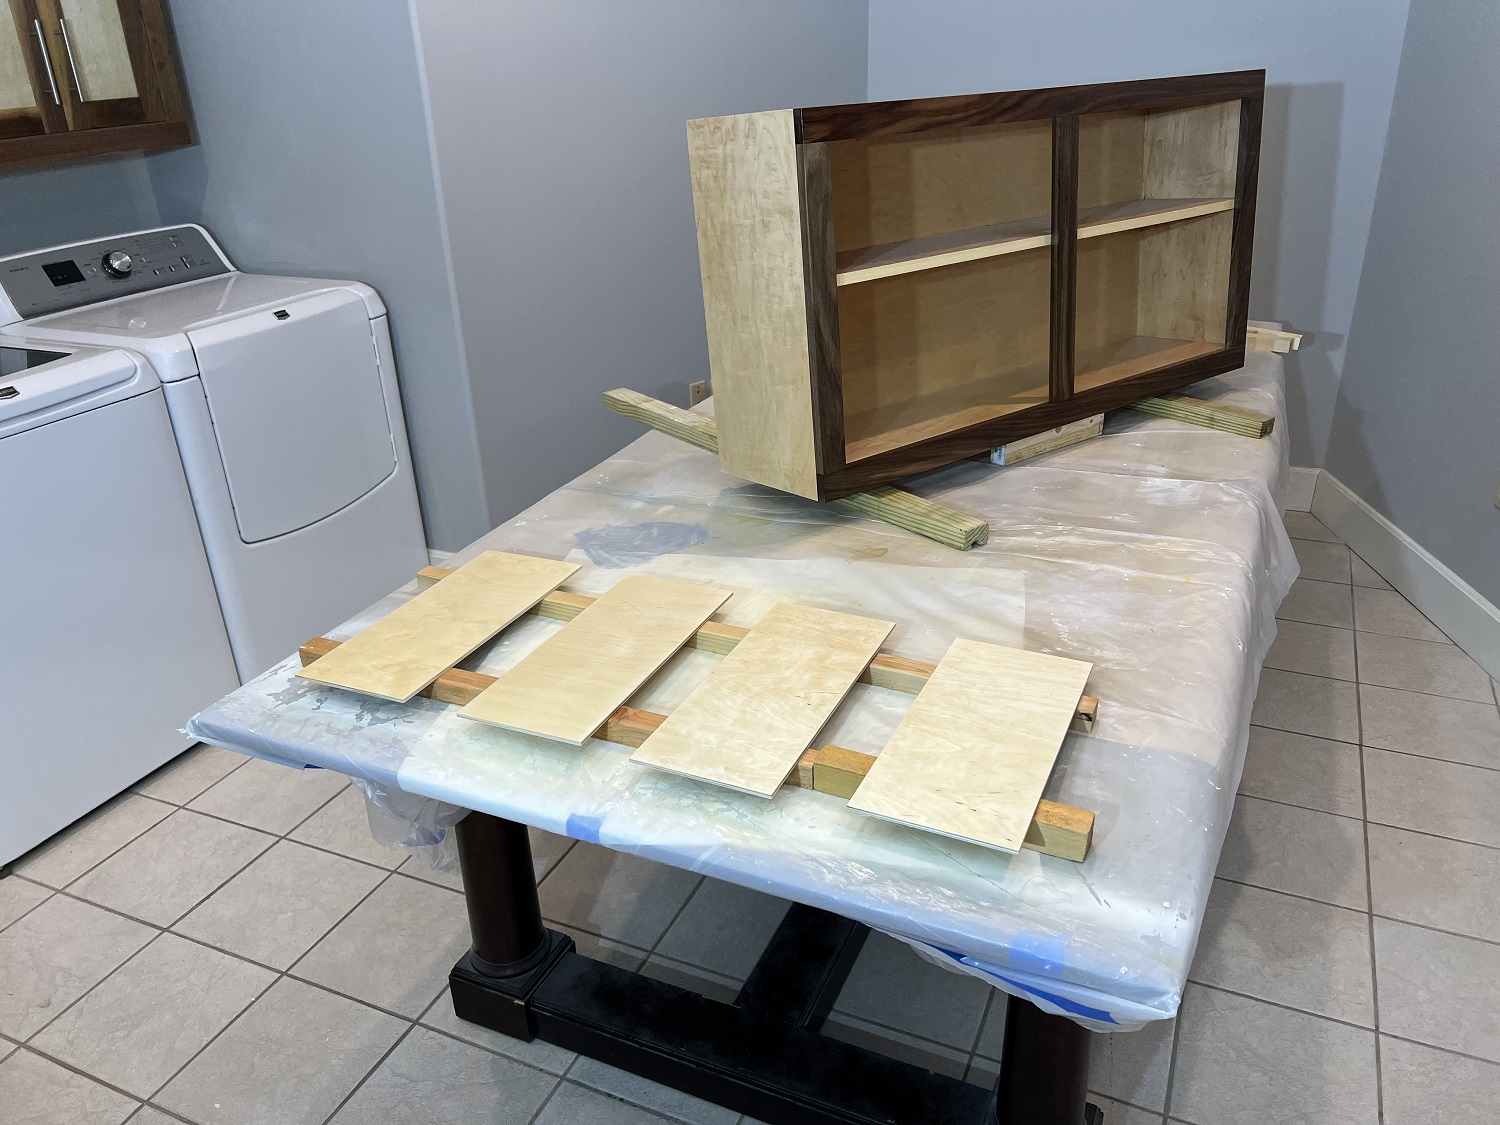
This will pretty much finish up the initially planned cabinetry for the shop. Its purpose is to hold woodworking books, machine manuals, plans and other miscellaneous papers, as well as provide a decluttering space for nick knacks that would otherwise be on my bench and make the shop less Zen.
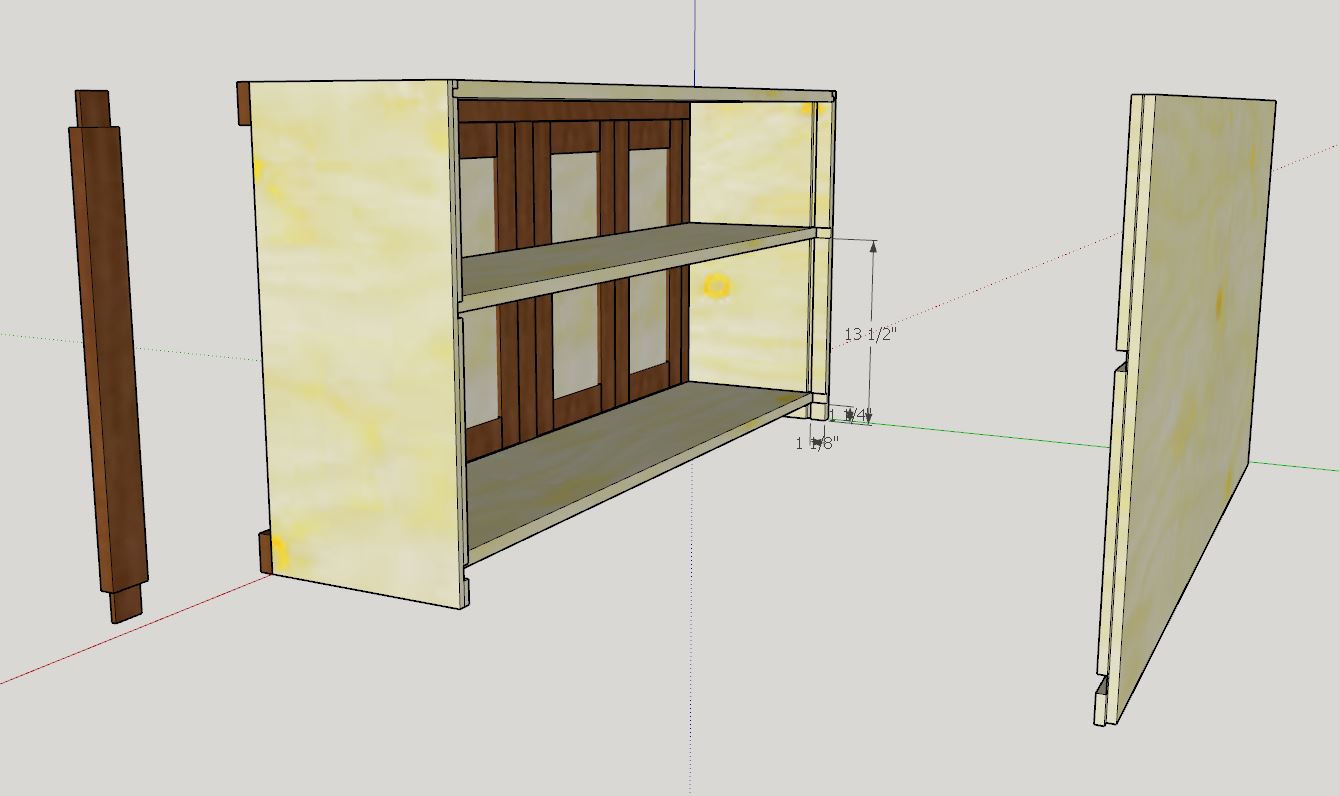
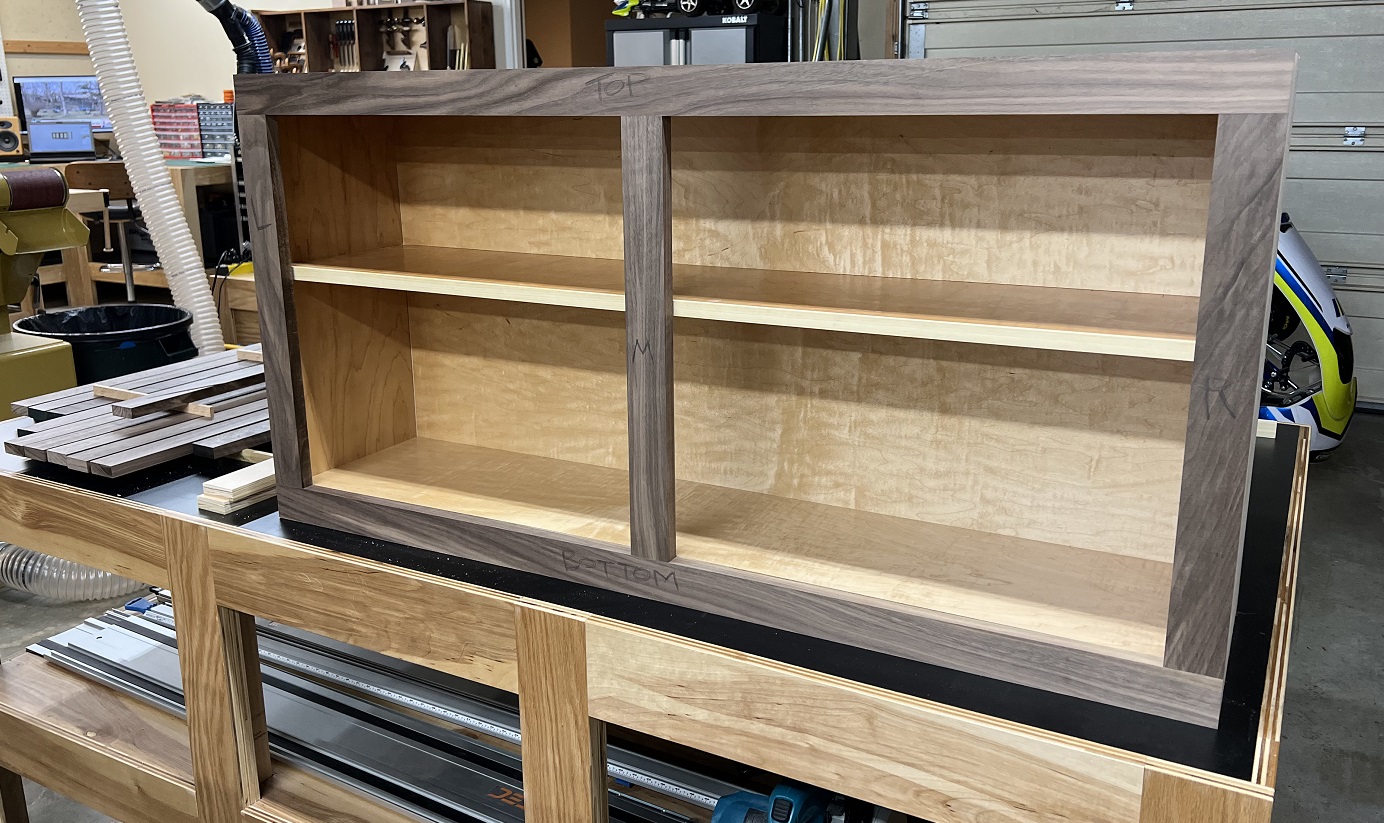
The cabinet is 24″x48,” and 12″ deep. As usual SketchUp Pro was used to create the drawing.
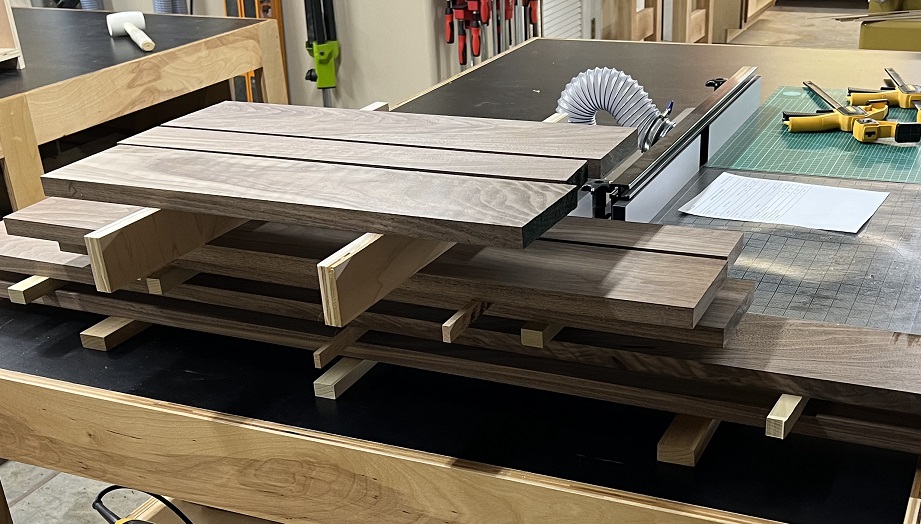
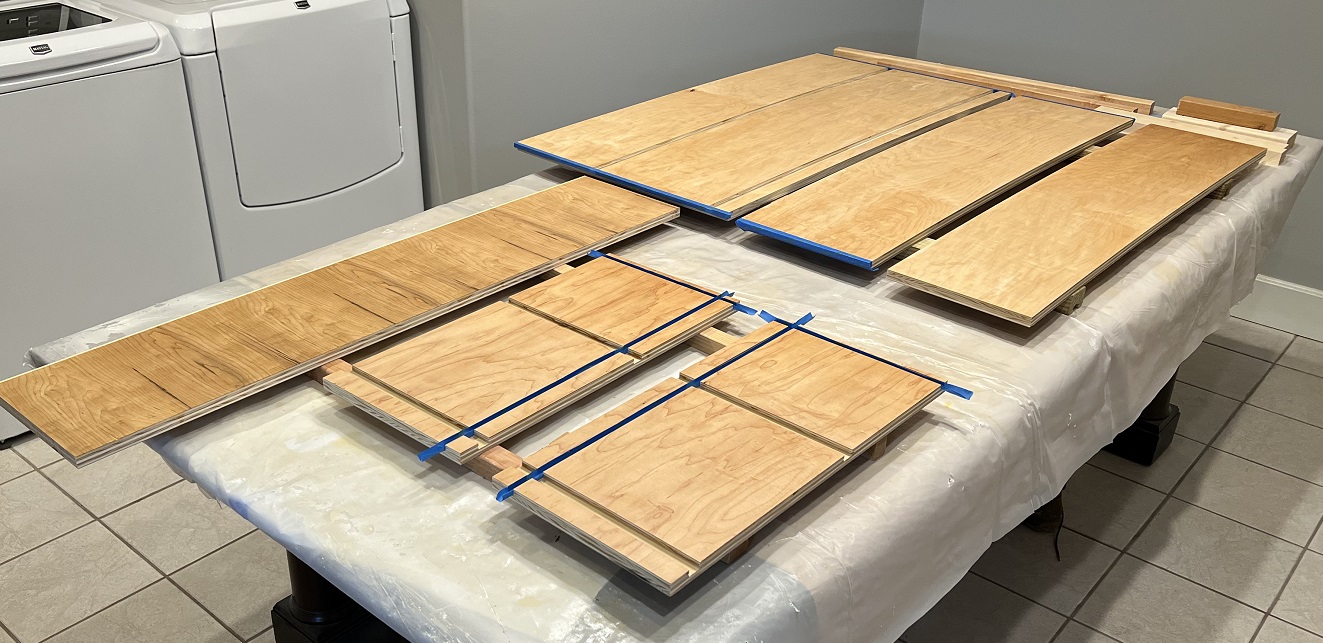
The face frame and door frames were all milled from a single rough cut 4/4 board of black walnut that was about 8’x12″. The components were broken down to rough length, ripped to less than 8″ to fit on the jointer, and rough milled to 7/8 thickness. They were then stickered to acclimate for a couple of days while I construct the carcase.
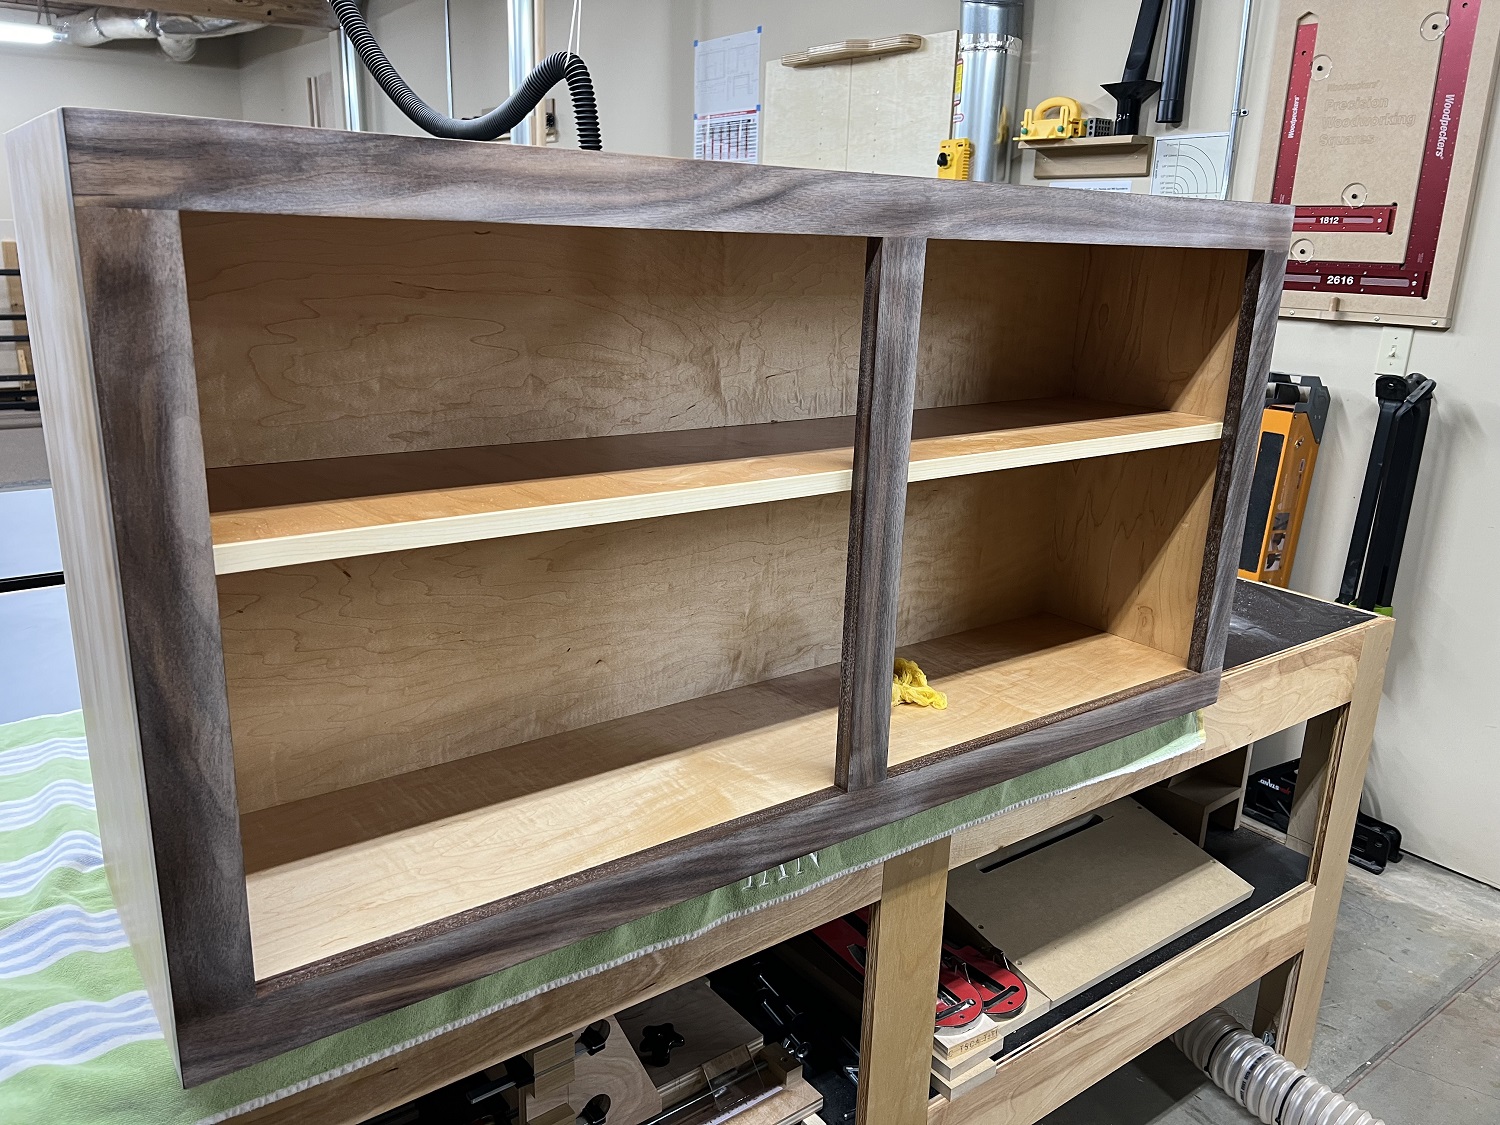
The carcase components were cut from leftover plywood offcuts which were, unfortunately, badly warped. Fixed shelf in dados and locking rabbits were chosen to force this warped box store plywood into straight lines.

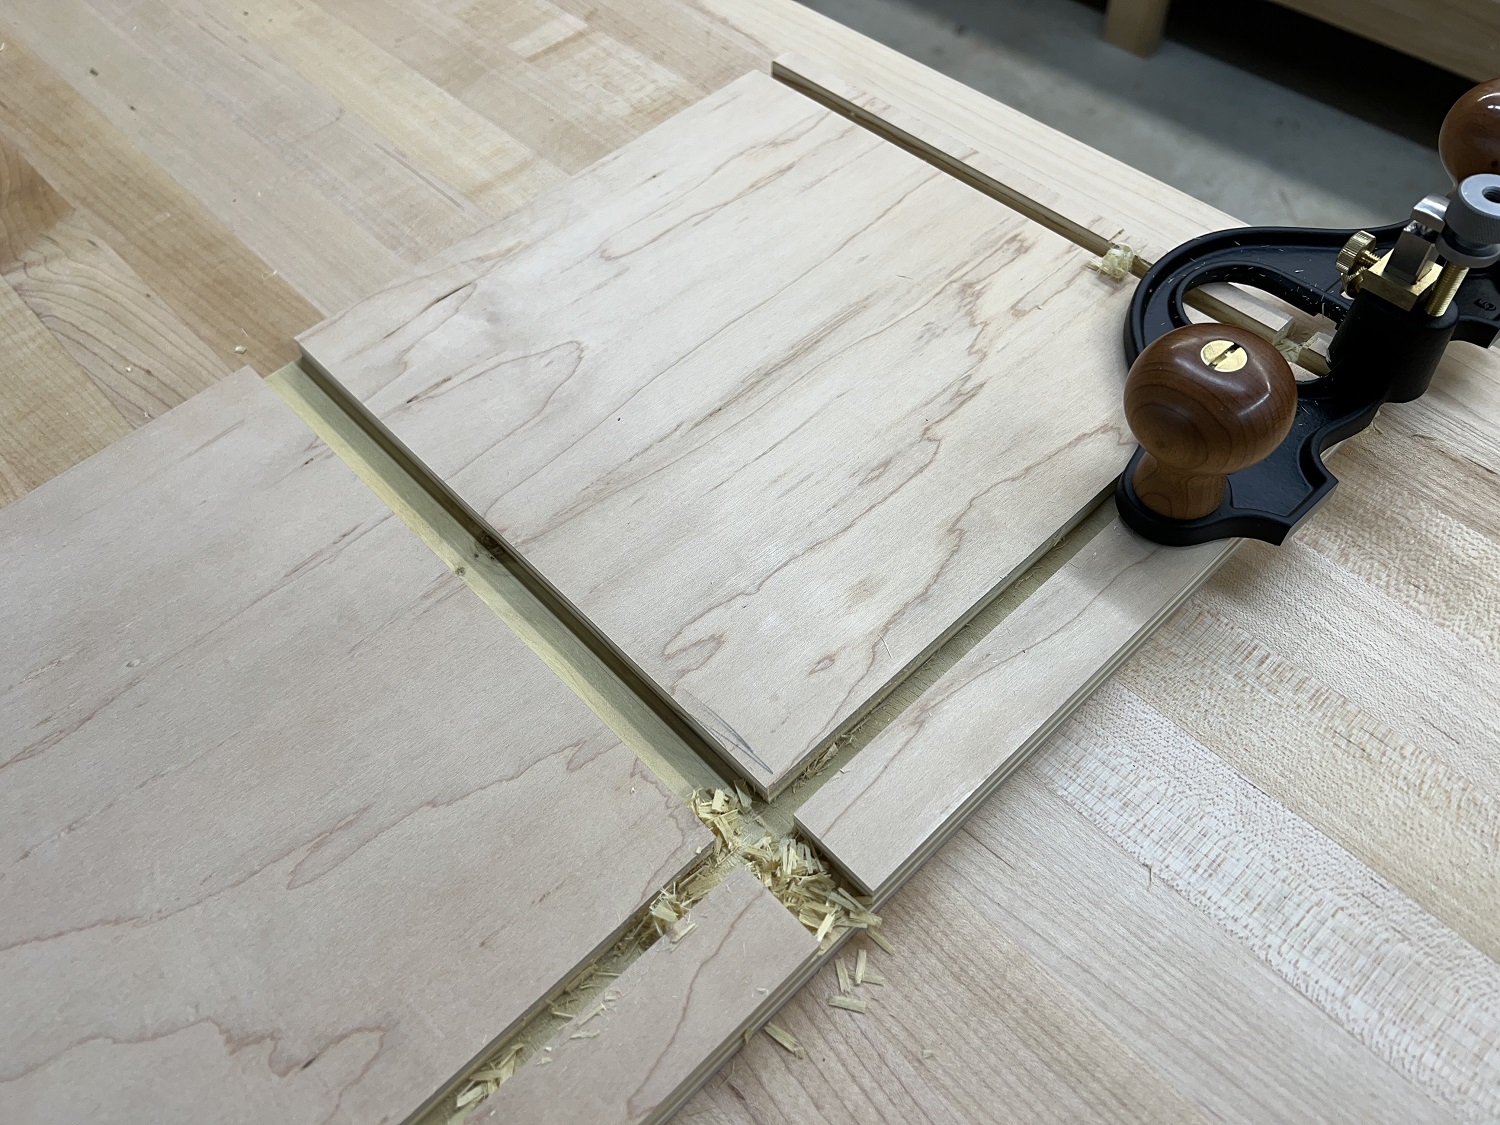
Next, the depth of the dados was checked and cleaned up with the router plane. What a fantastic hand tool. The carcase will snap together perfectly square like Legos and all the joints will close perfectly. Always check your dado depth with a router plane, especially when they are cut on the table saw with a dado stack.
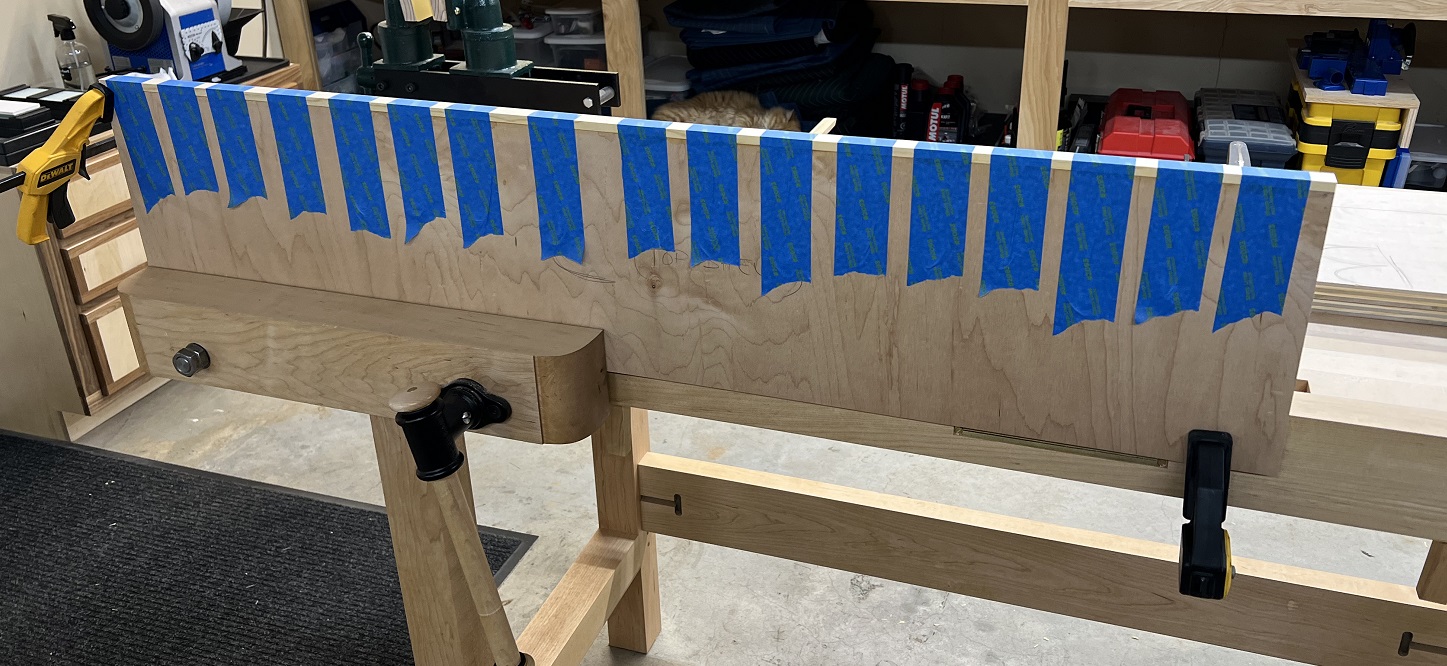
The visible edge of the center shelf is banded with 3/8″ thick solid wood.
The interior faces are sanded and finished before the carcase is glued up. The warp in the plywood can be clearly seen.
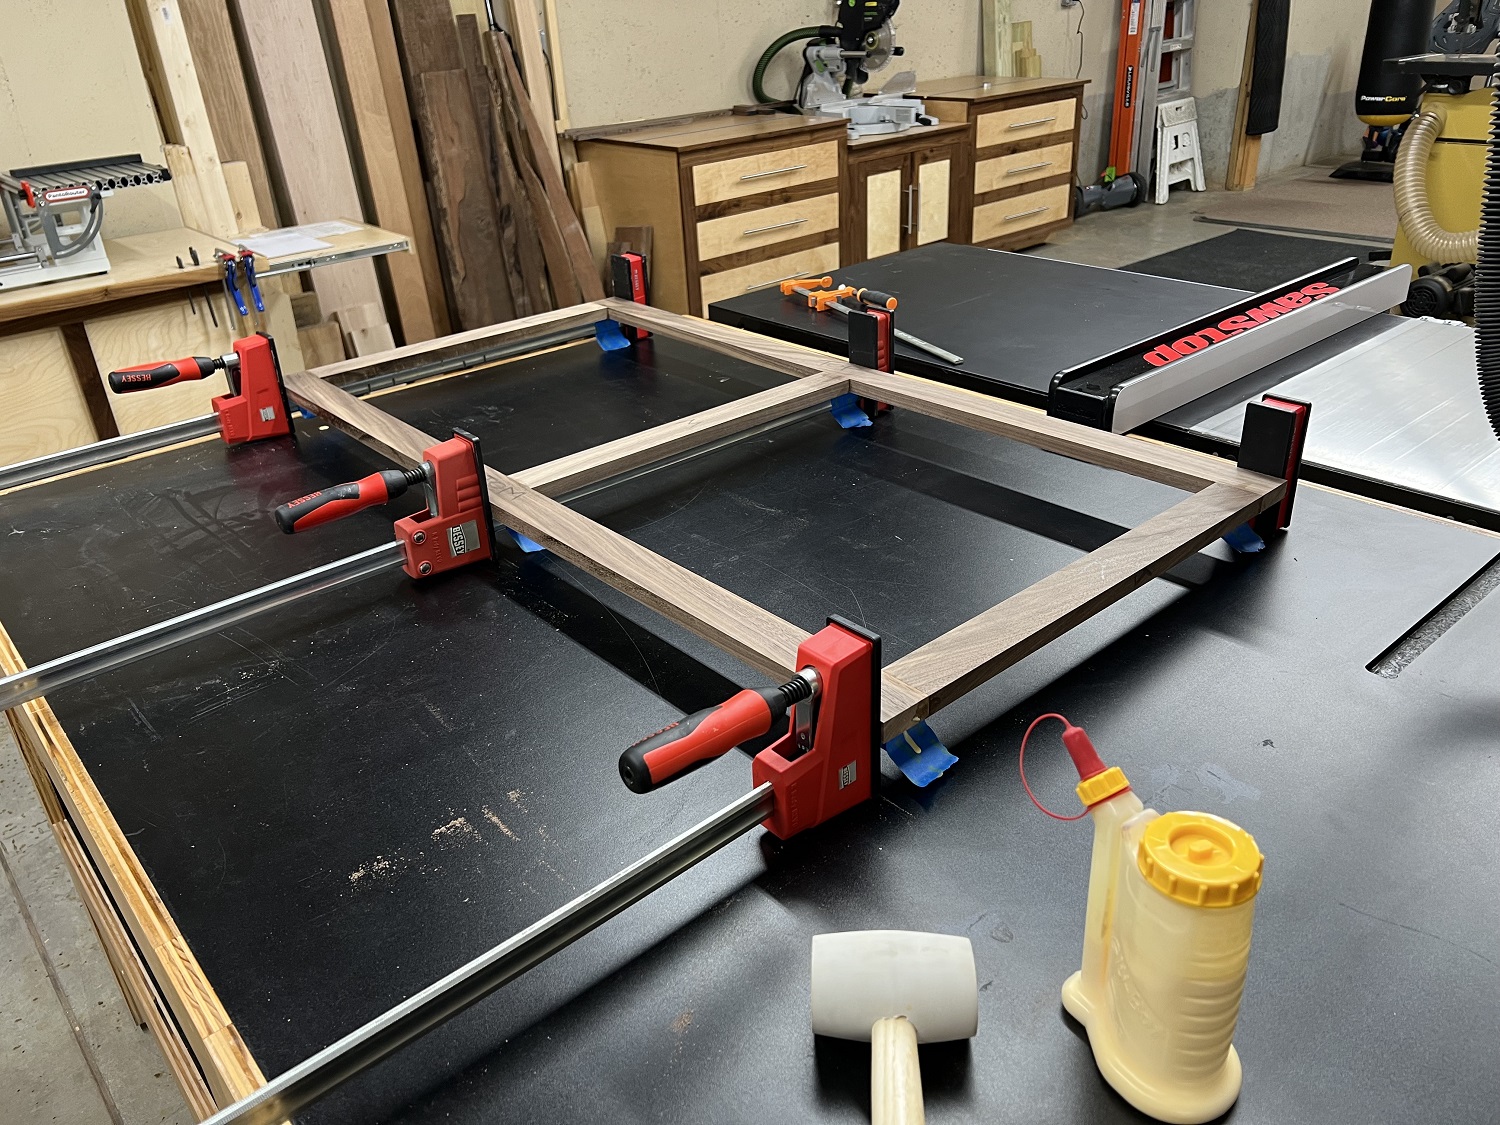
Next is the face frame. The boards are milled and cut to final dimension and then taken to the Pantorouter to cut the mortise and tenon joinery.
The dry fit looks good.
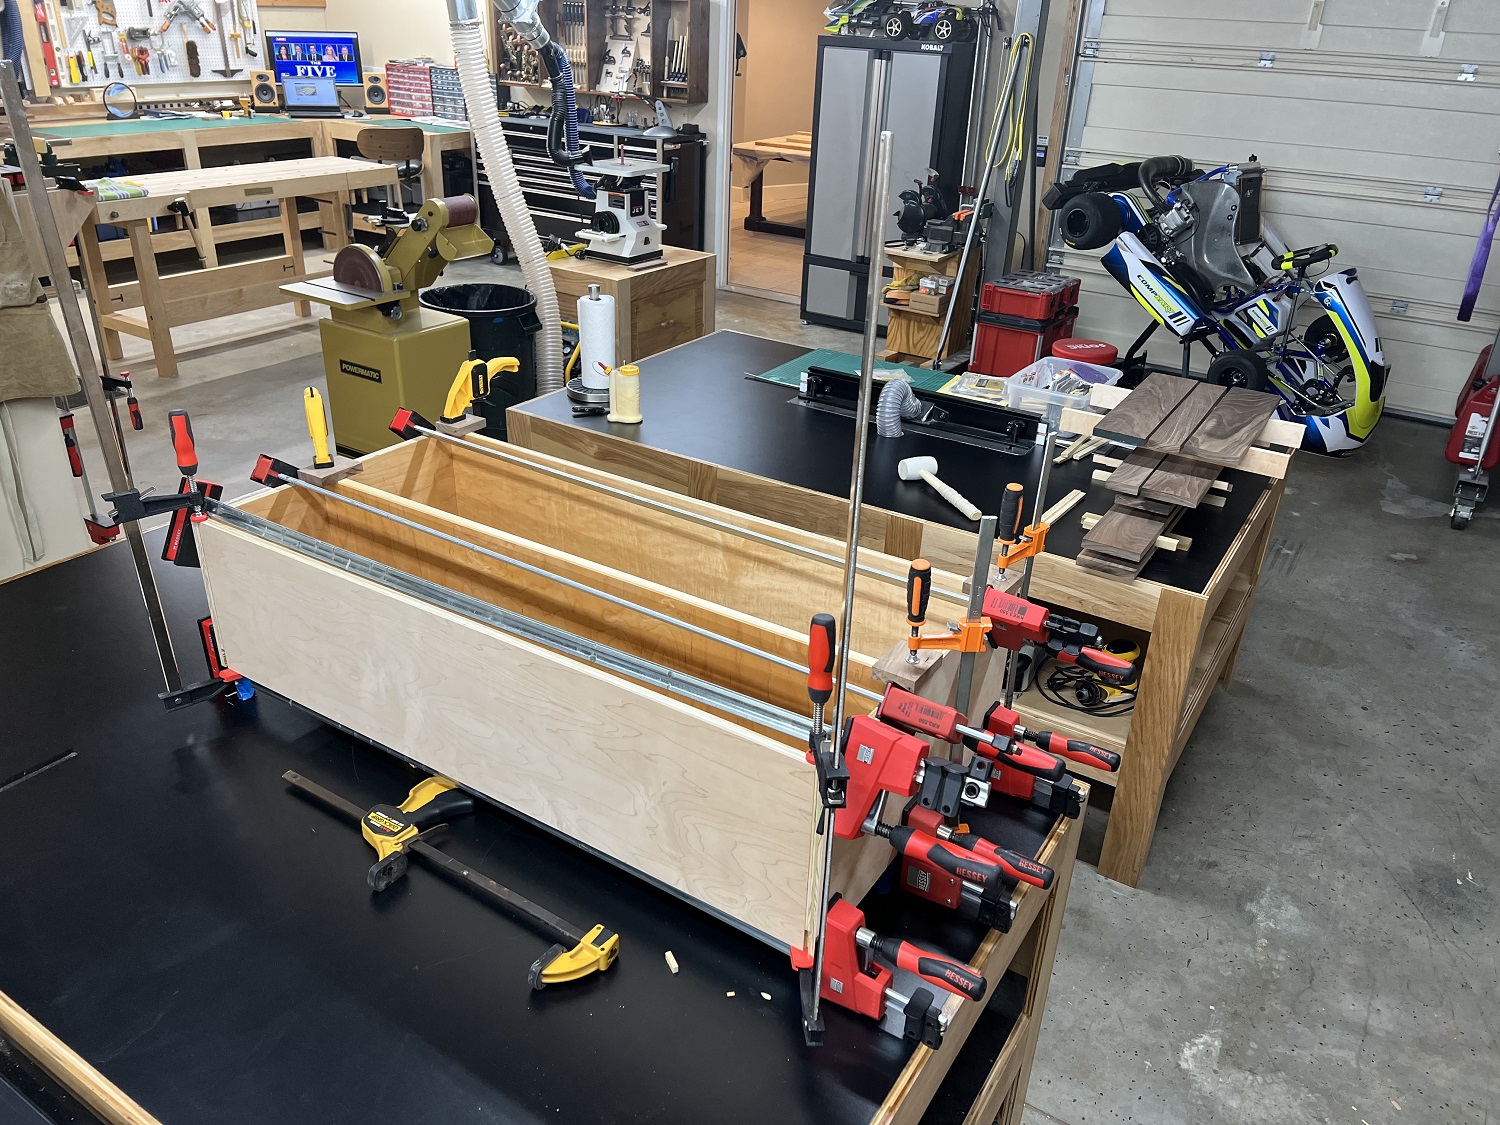
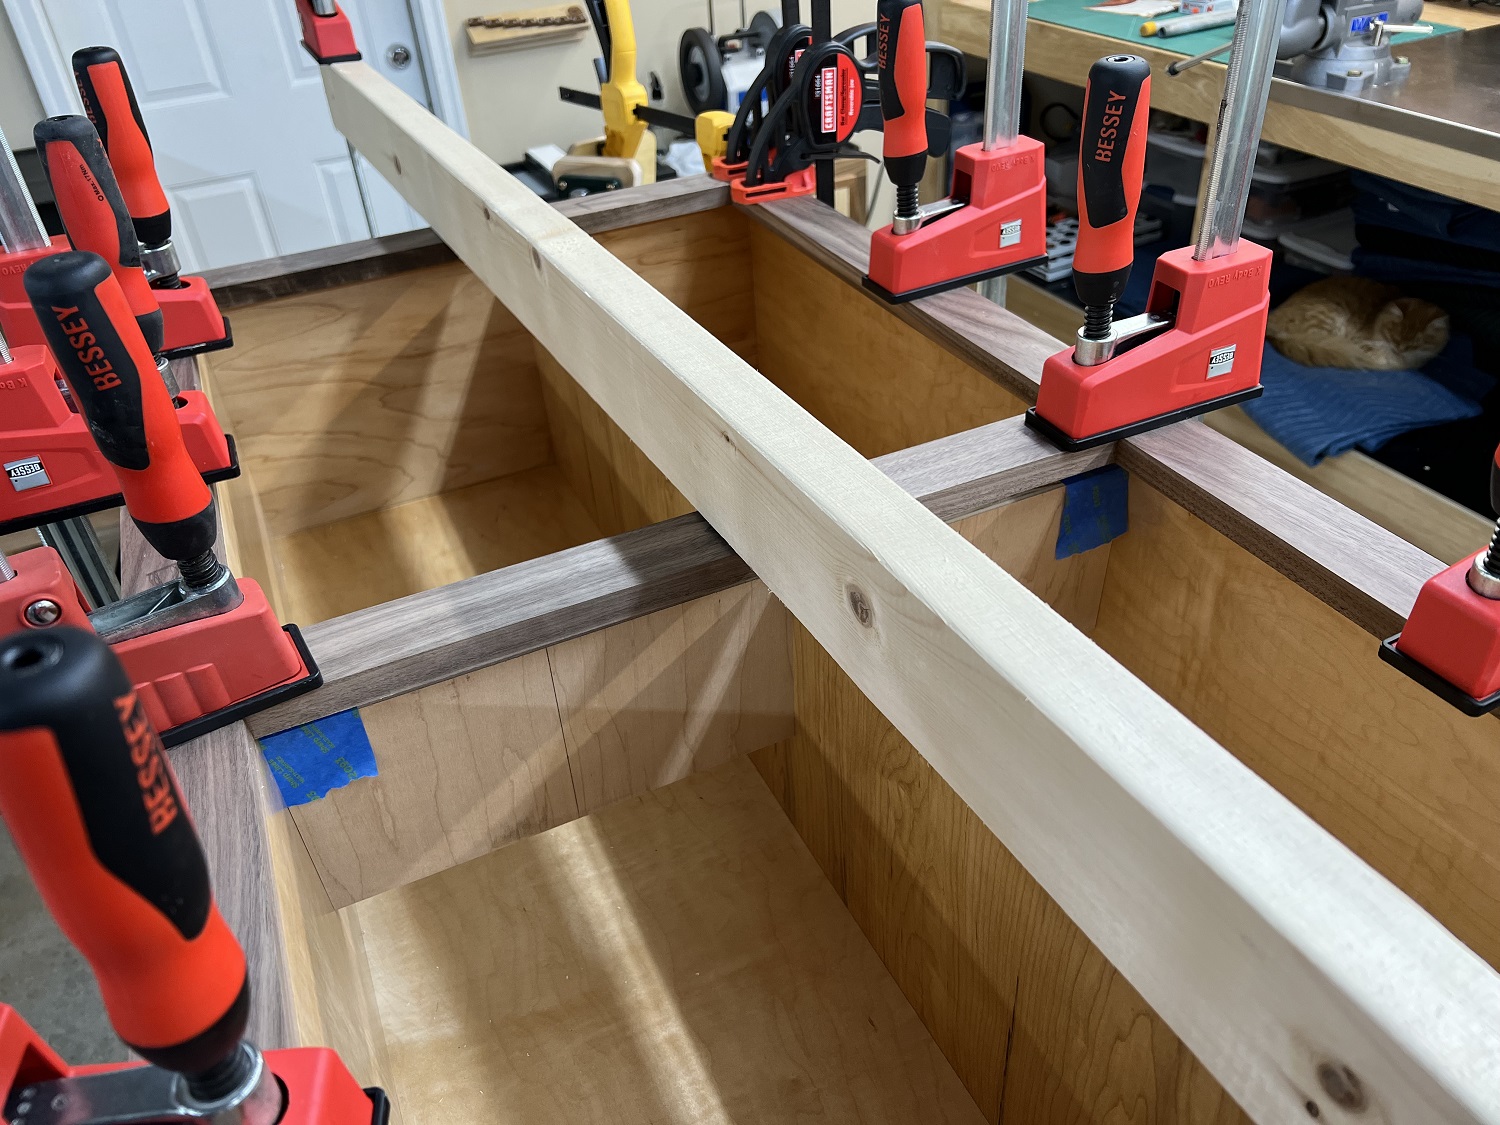
Glue up.
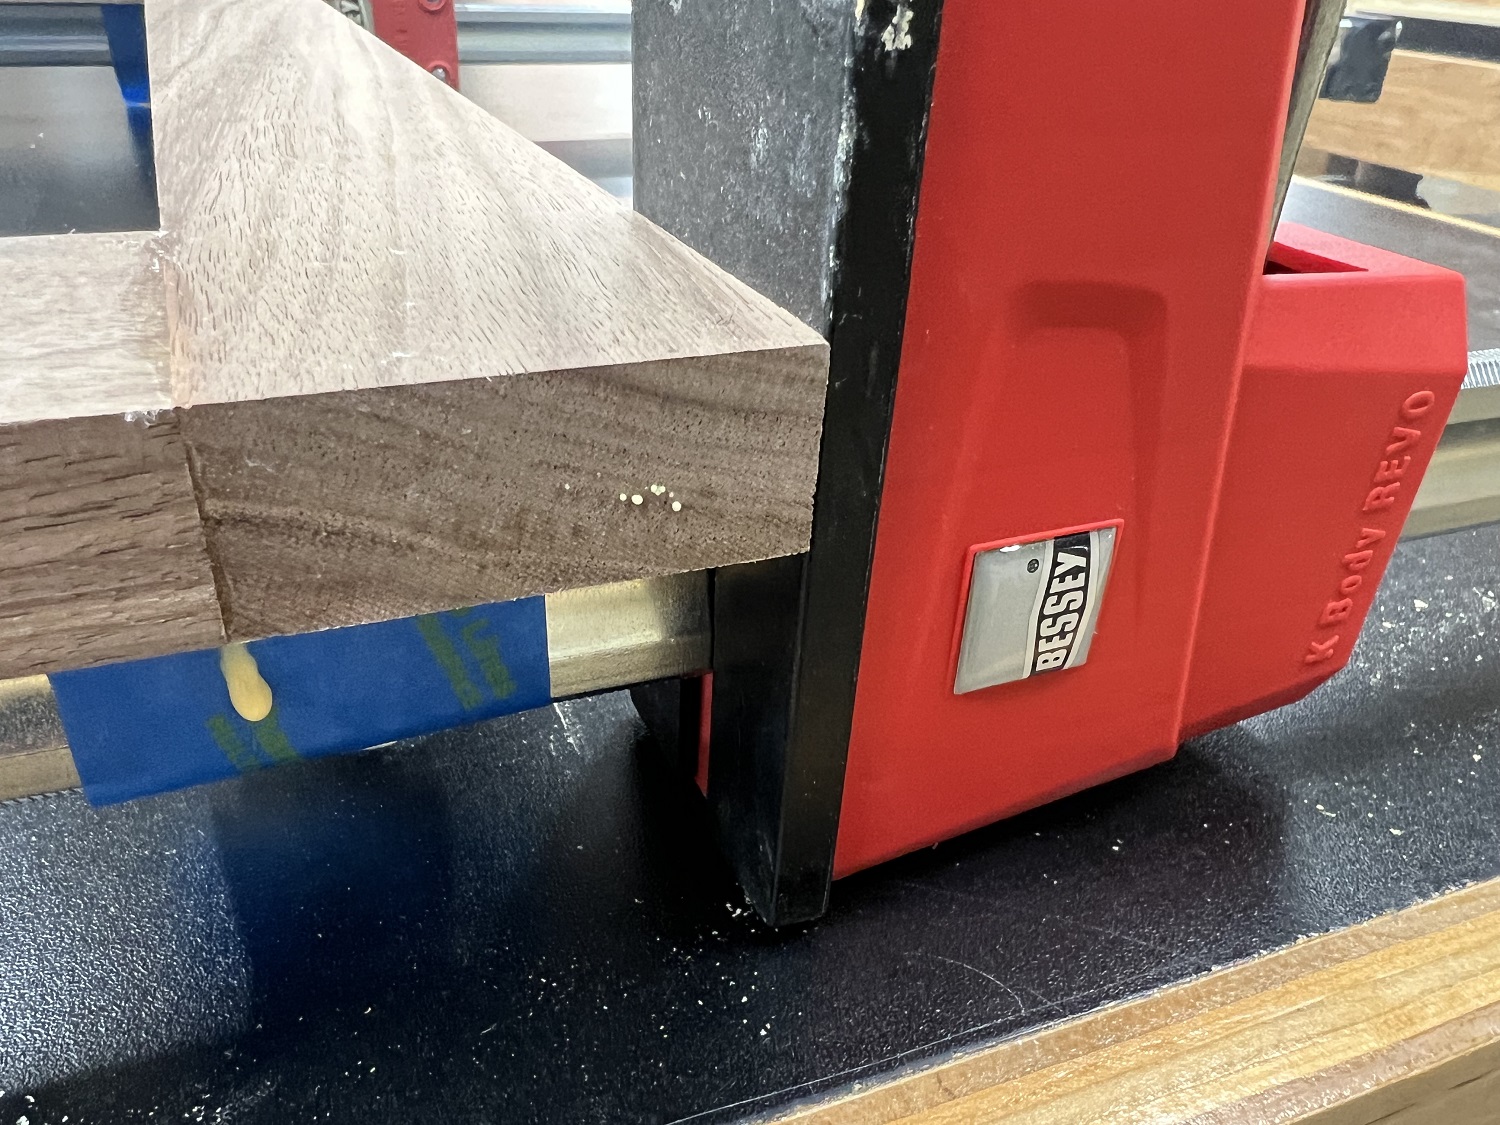
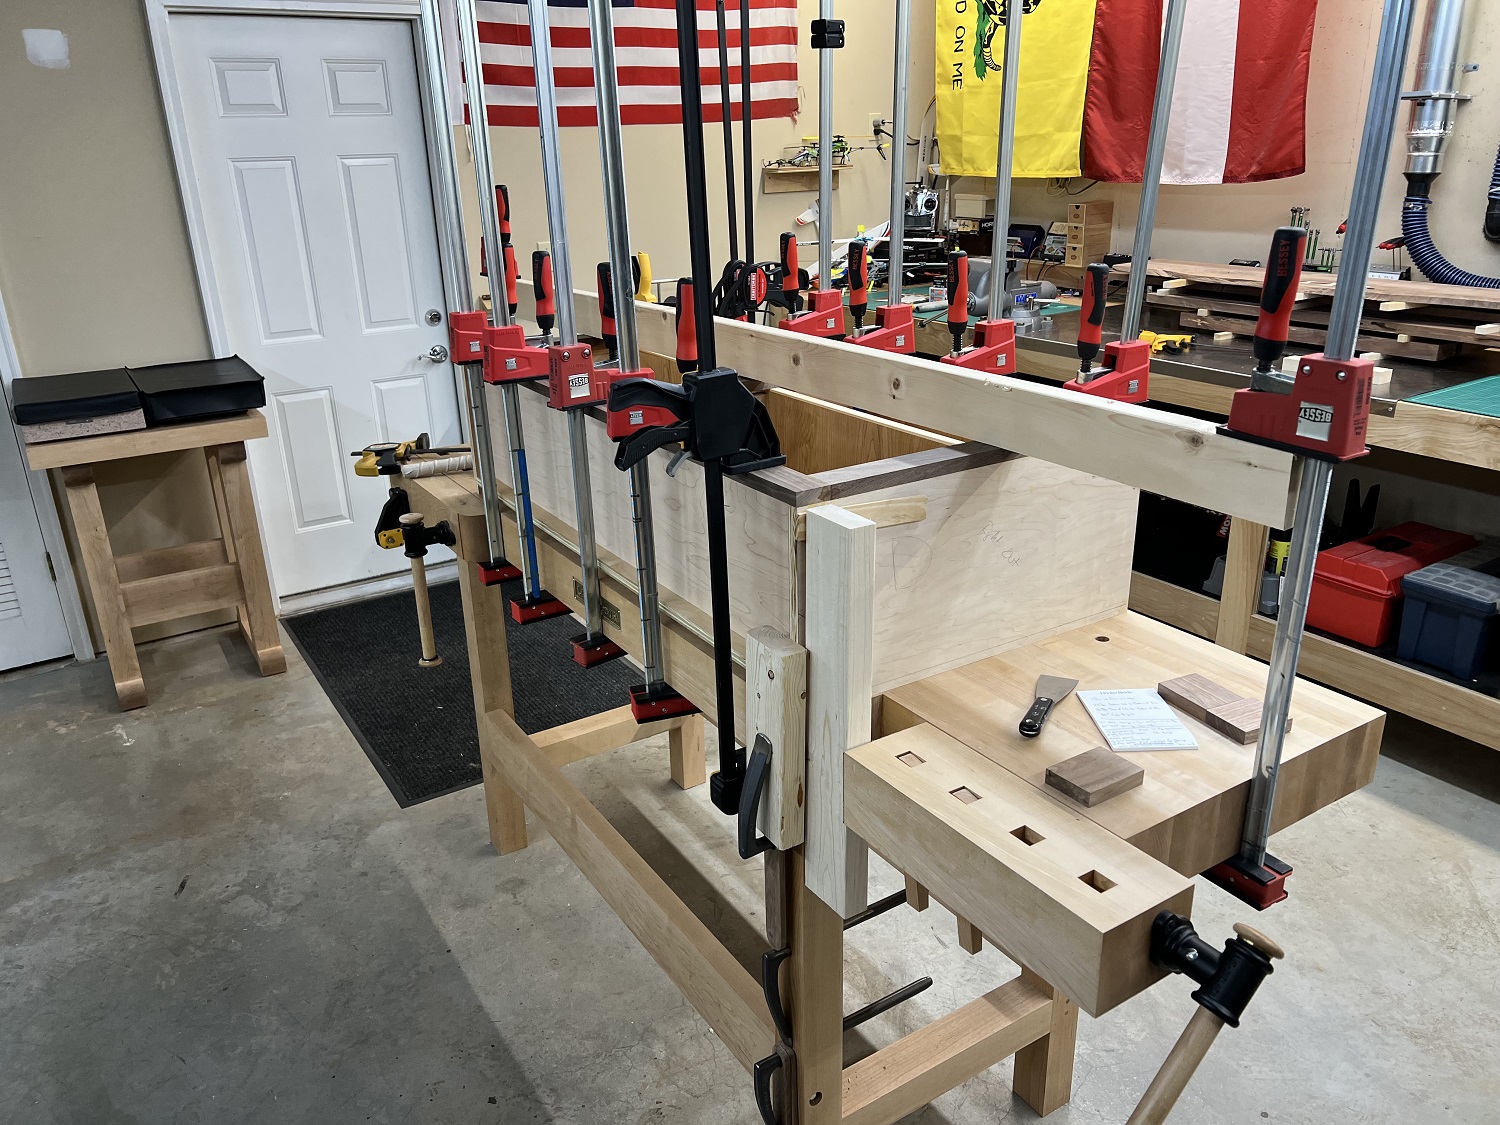
Next, the face frame is glued to the carcase.
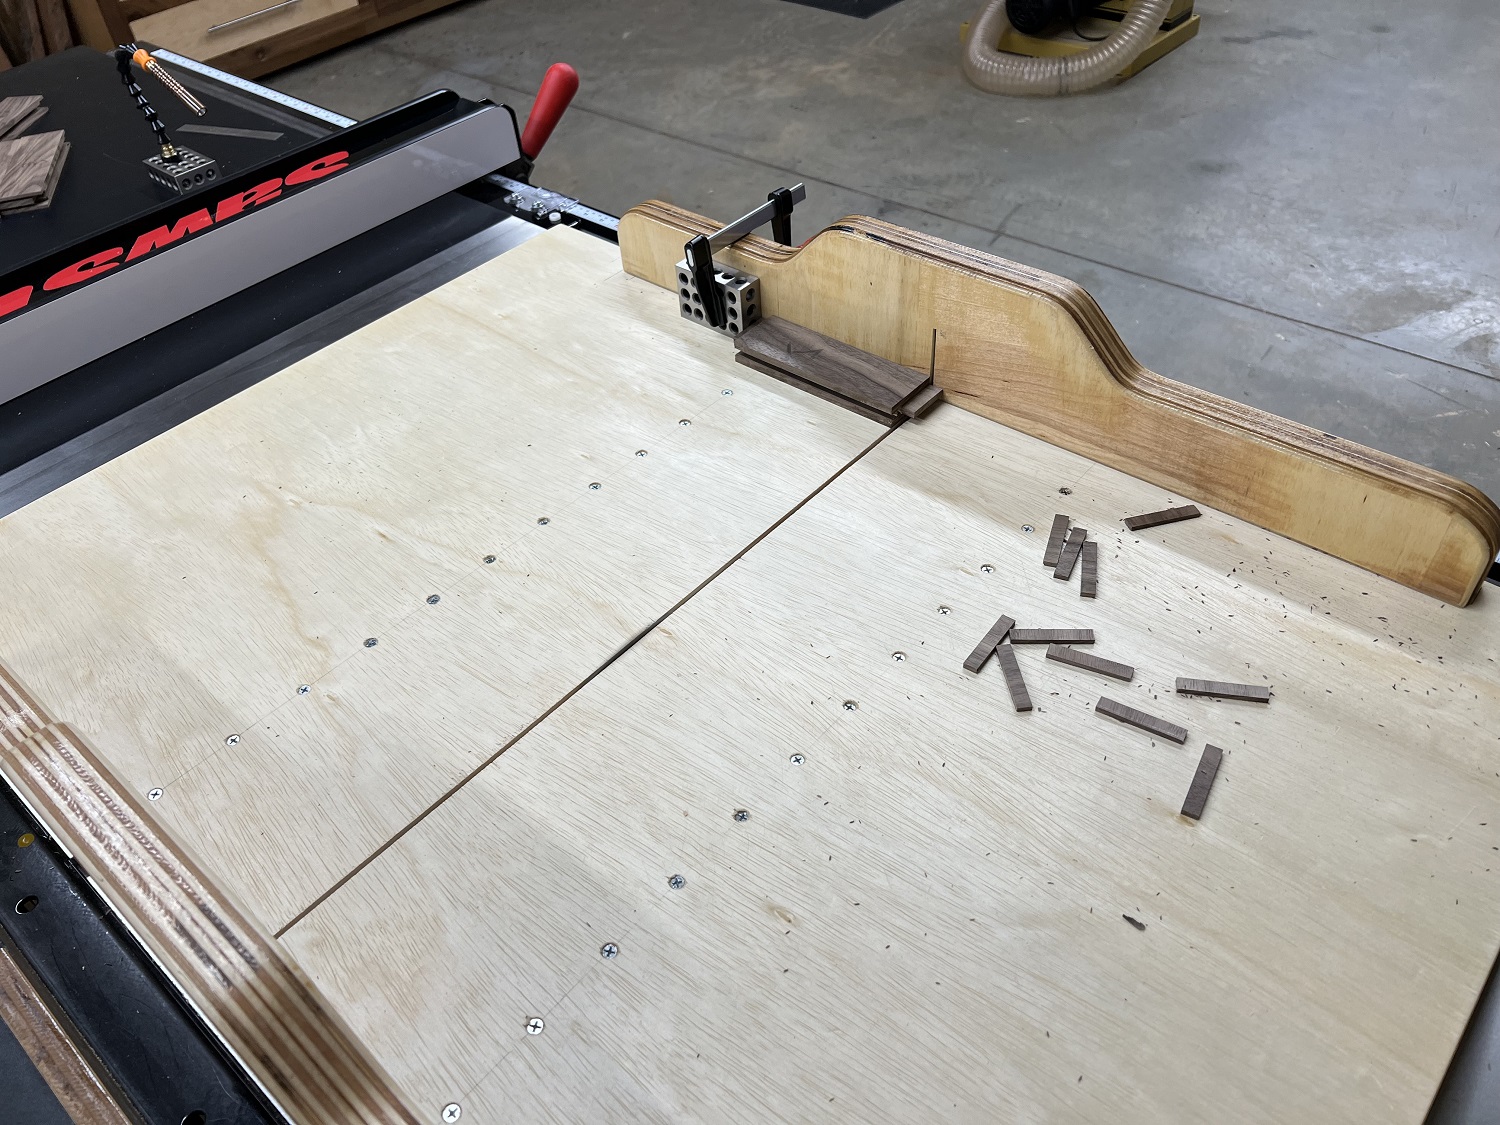
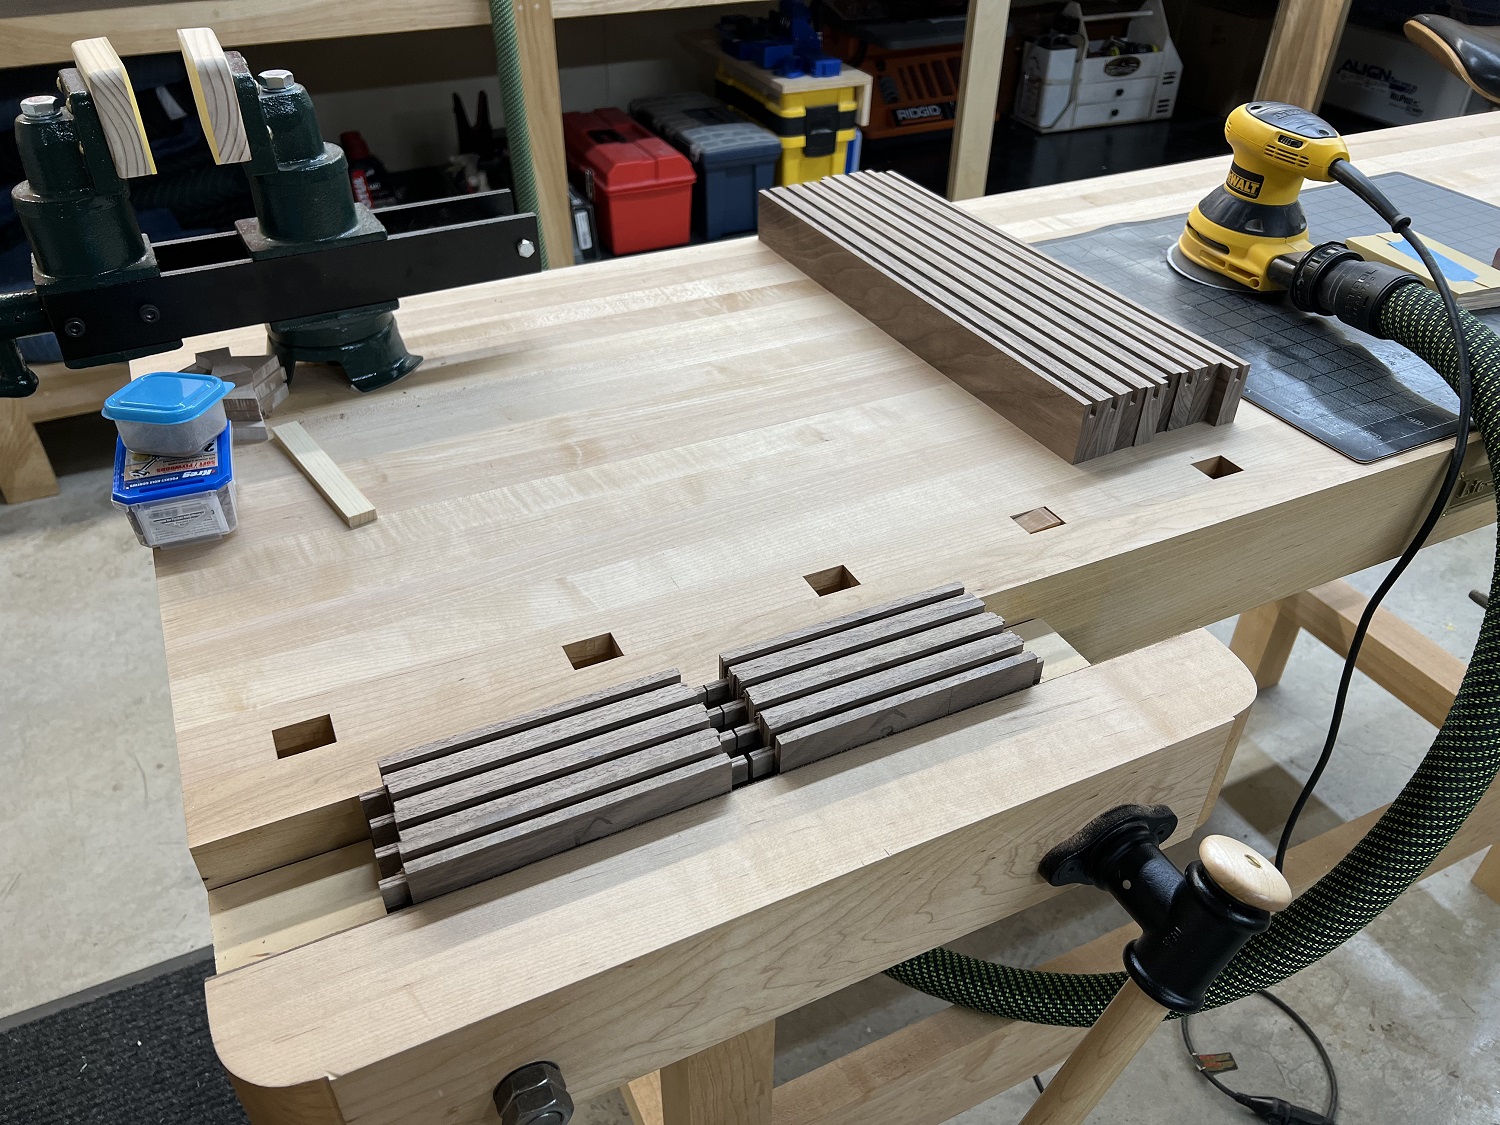
Now to make the doors. First, the parts are batched out to final length using the fence for the stiles, and a stop block clamped to the crosscut sled fence for the shorter rails.
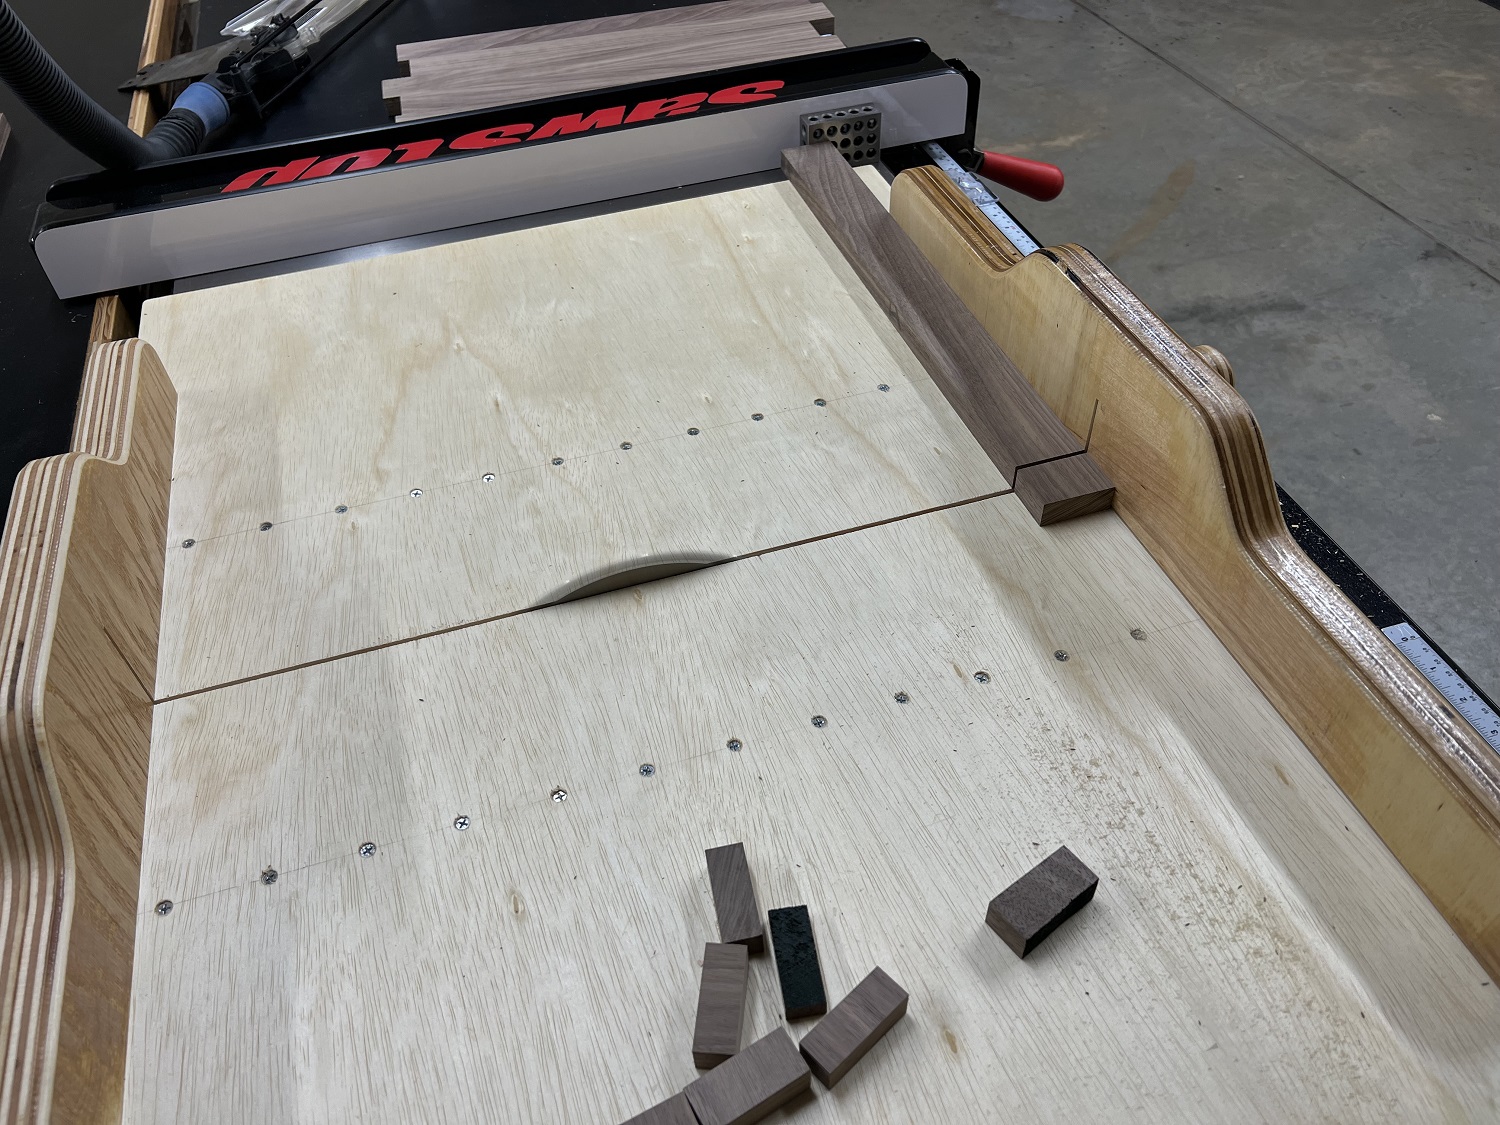
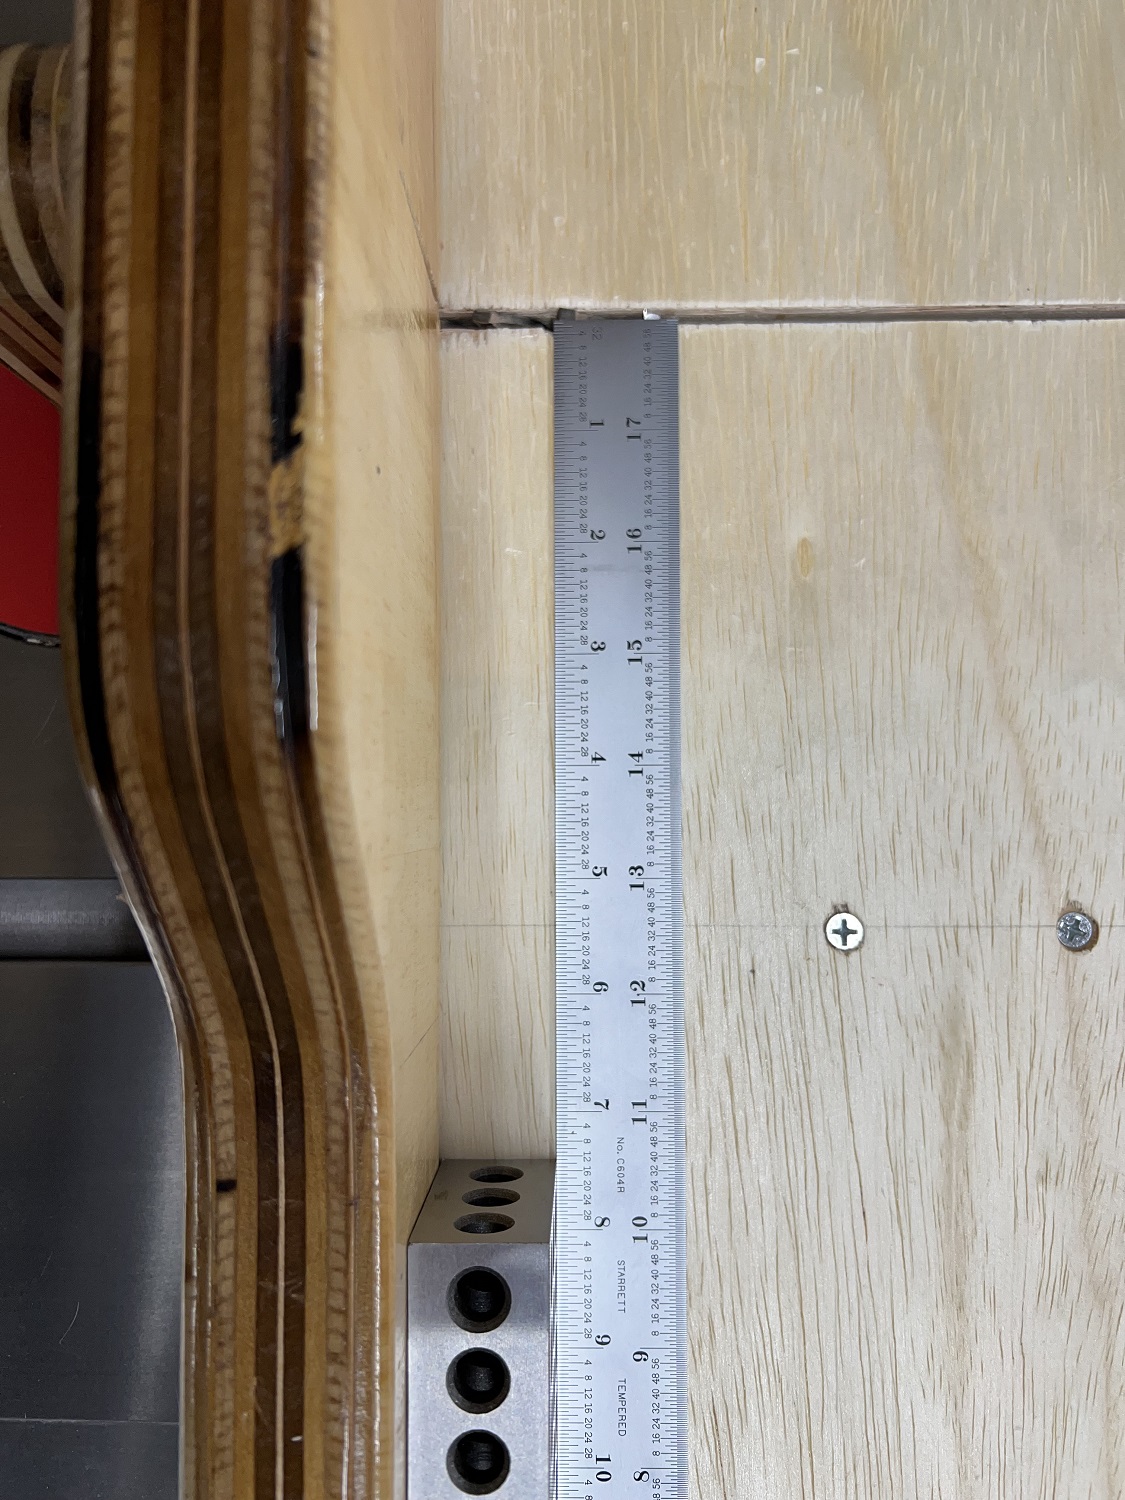

Next, grooves are cut on the inside edges of the frame pieces to accept the 1/4″ door panels. The blade height is set to 1/2″, and the fence is positioned to put the blade just under 1/8″ (a kerf width) off the center line of the edge. A groove is cut and then the board is flipped 180 degrees to make a groove with a width of just under 1/4″ that is guaranteed to be precisely centered. The fence position is dialed in from there with test cuts until I am satisfied with the fit of the 1/4″ plywood panel in the groove.

Now tenons are cut on the rails to match the grooves in the stiles. The shop made tenon jig is used for this task. It has proven to be a very accurate jig that works extremely well. The micro adjuster is invaluable for precisely sneaking up on your tenon width.
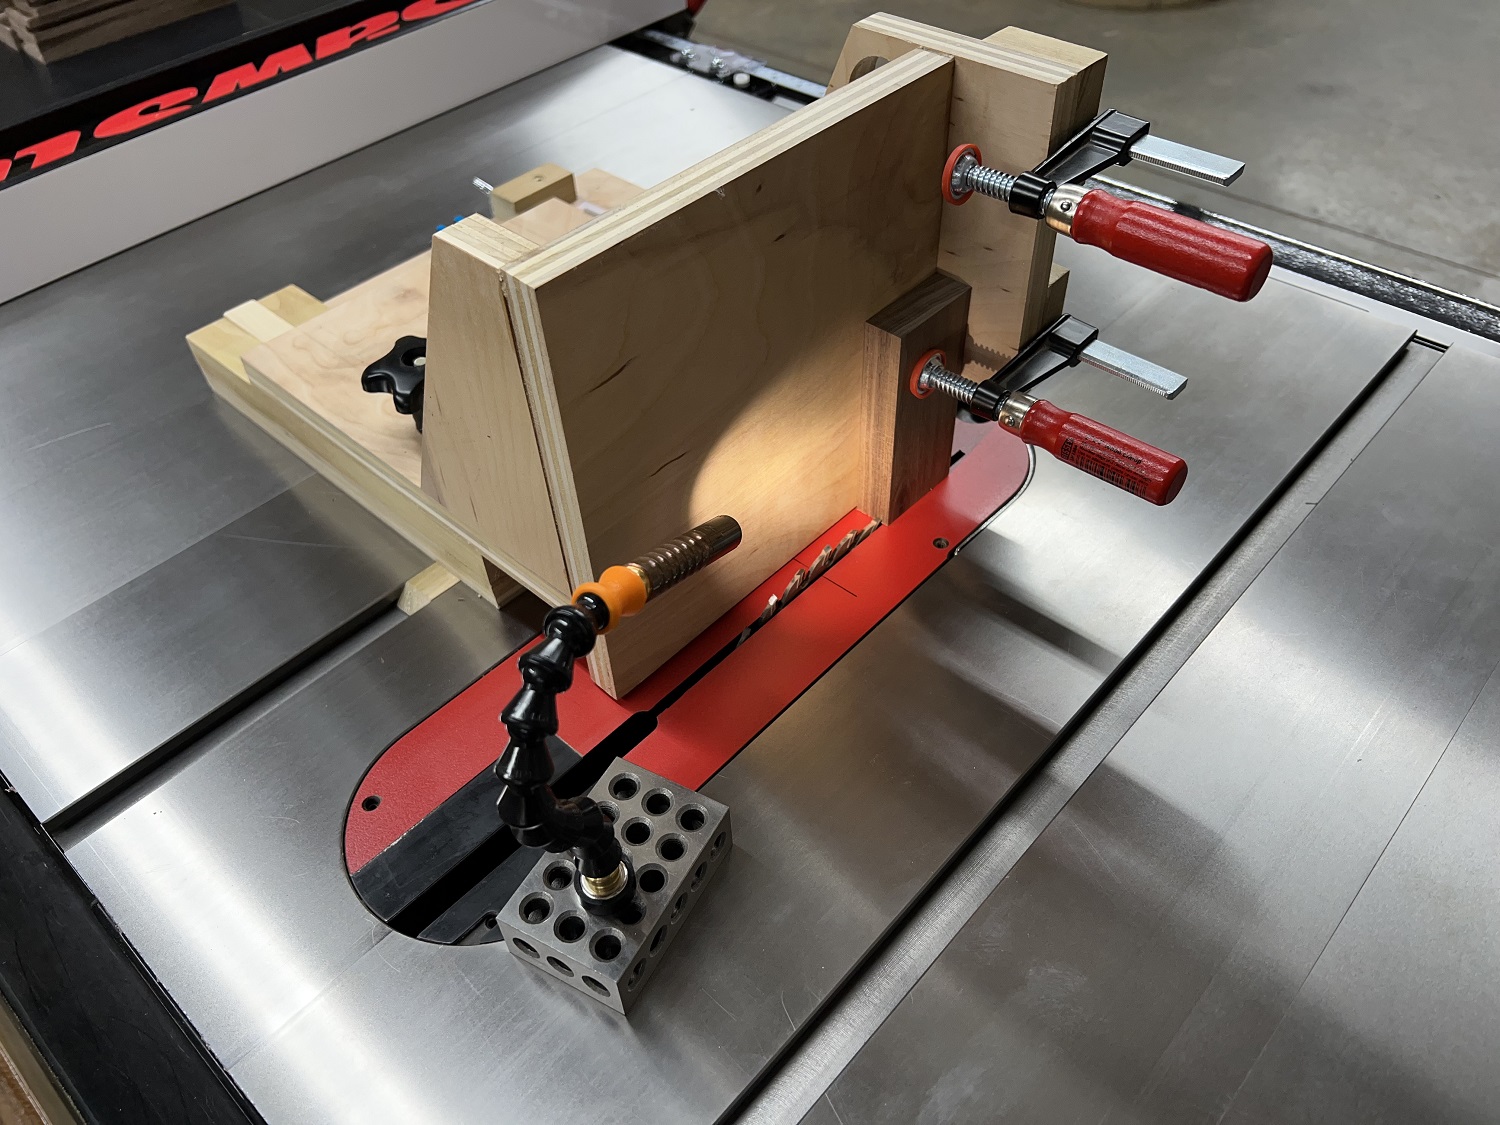

After dialing in the jig setting with test cuts, the tenon faces are cut. Then the shoulders are cut on the sled to remove the waste and ensure clean, square shoulders.
A couple of the tenons needed slight adjustments for a nice fit. The router plane is ideally suited to this task.

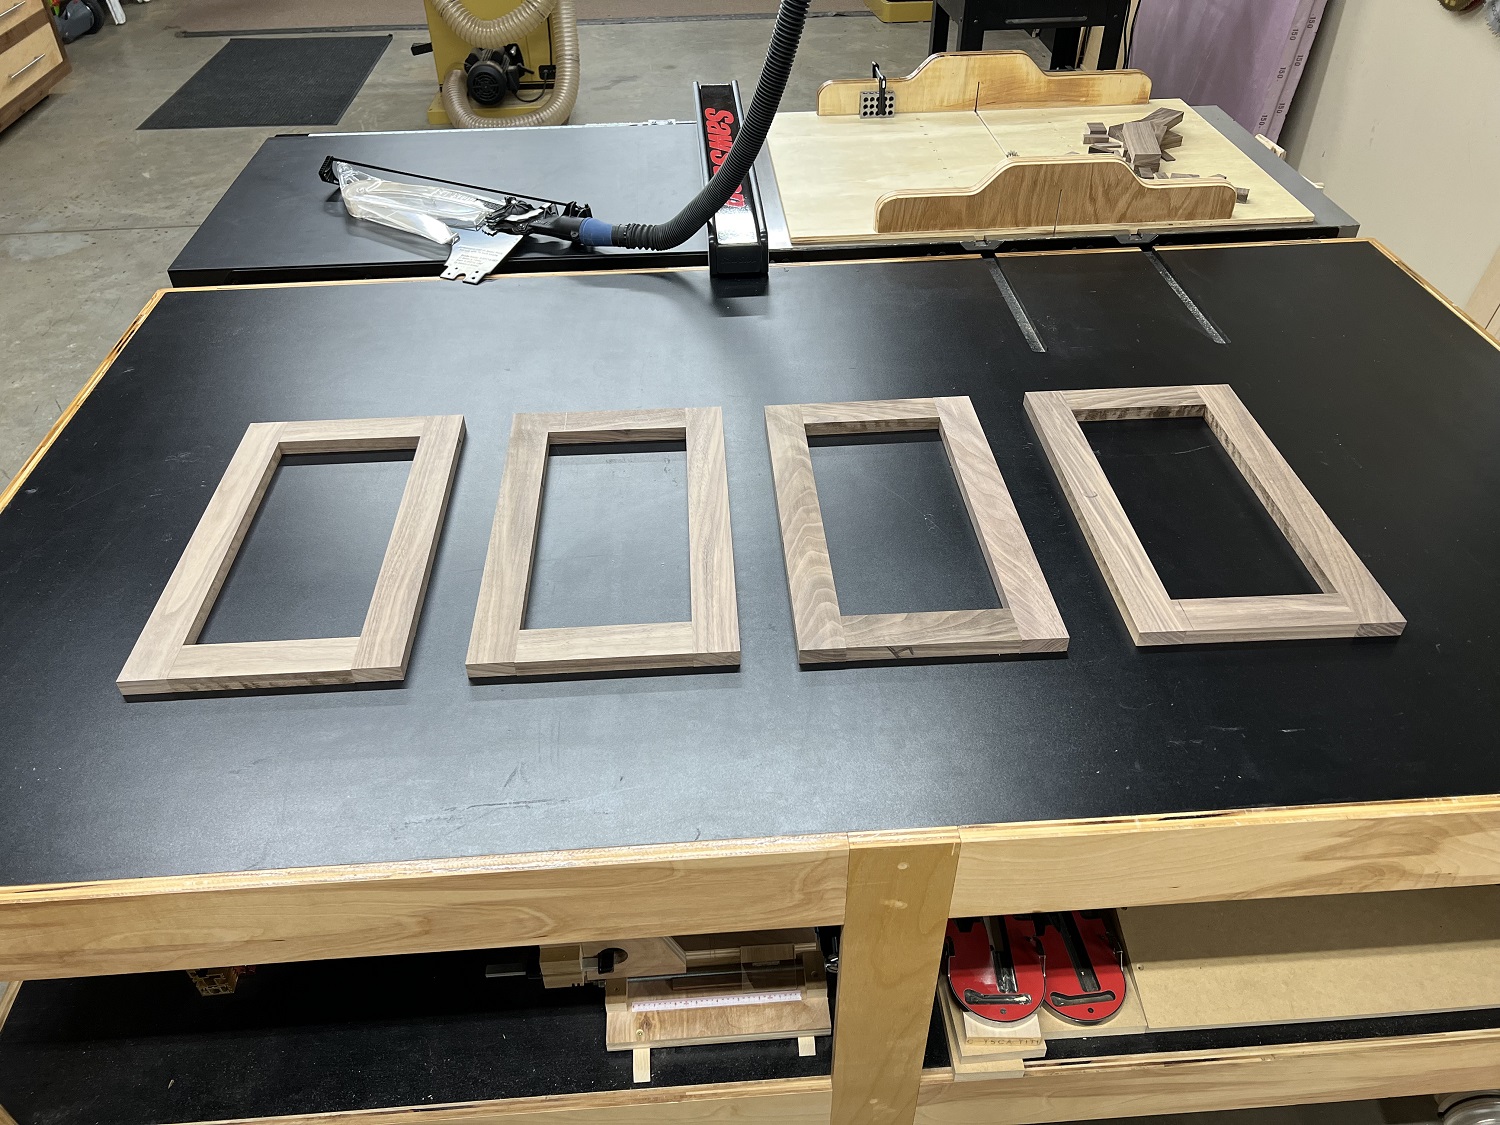
The dry fit looks good. Easy to assemble but snug enough to hold itself together without glue.
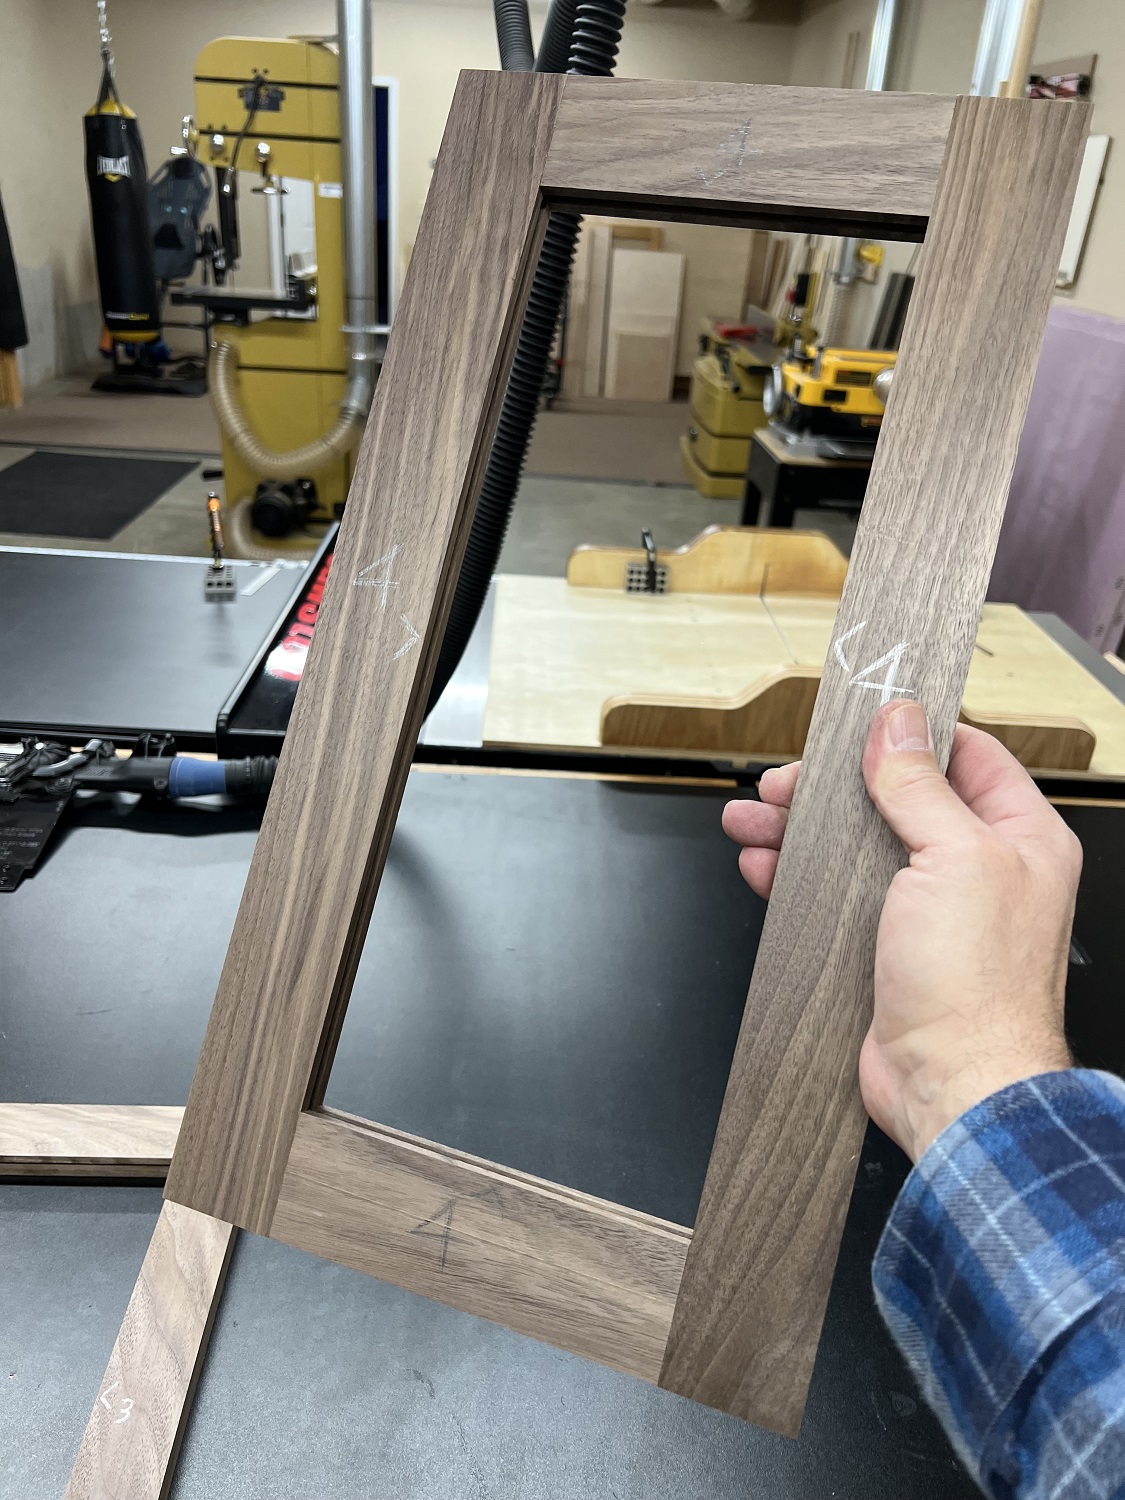
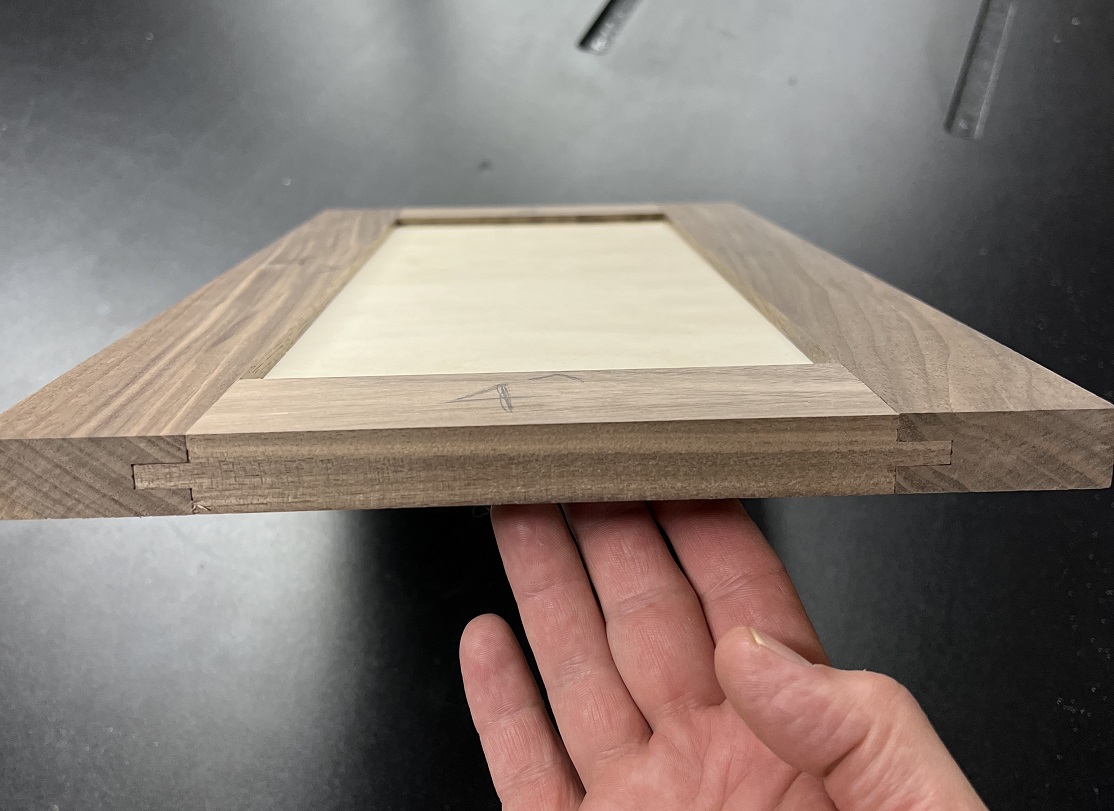
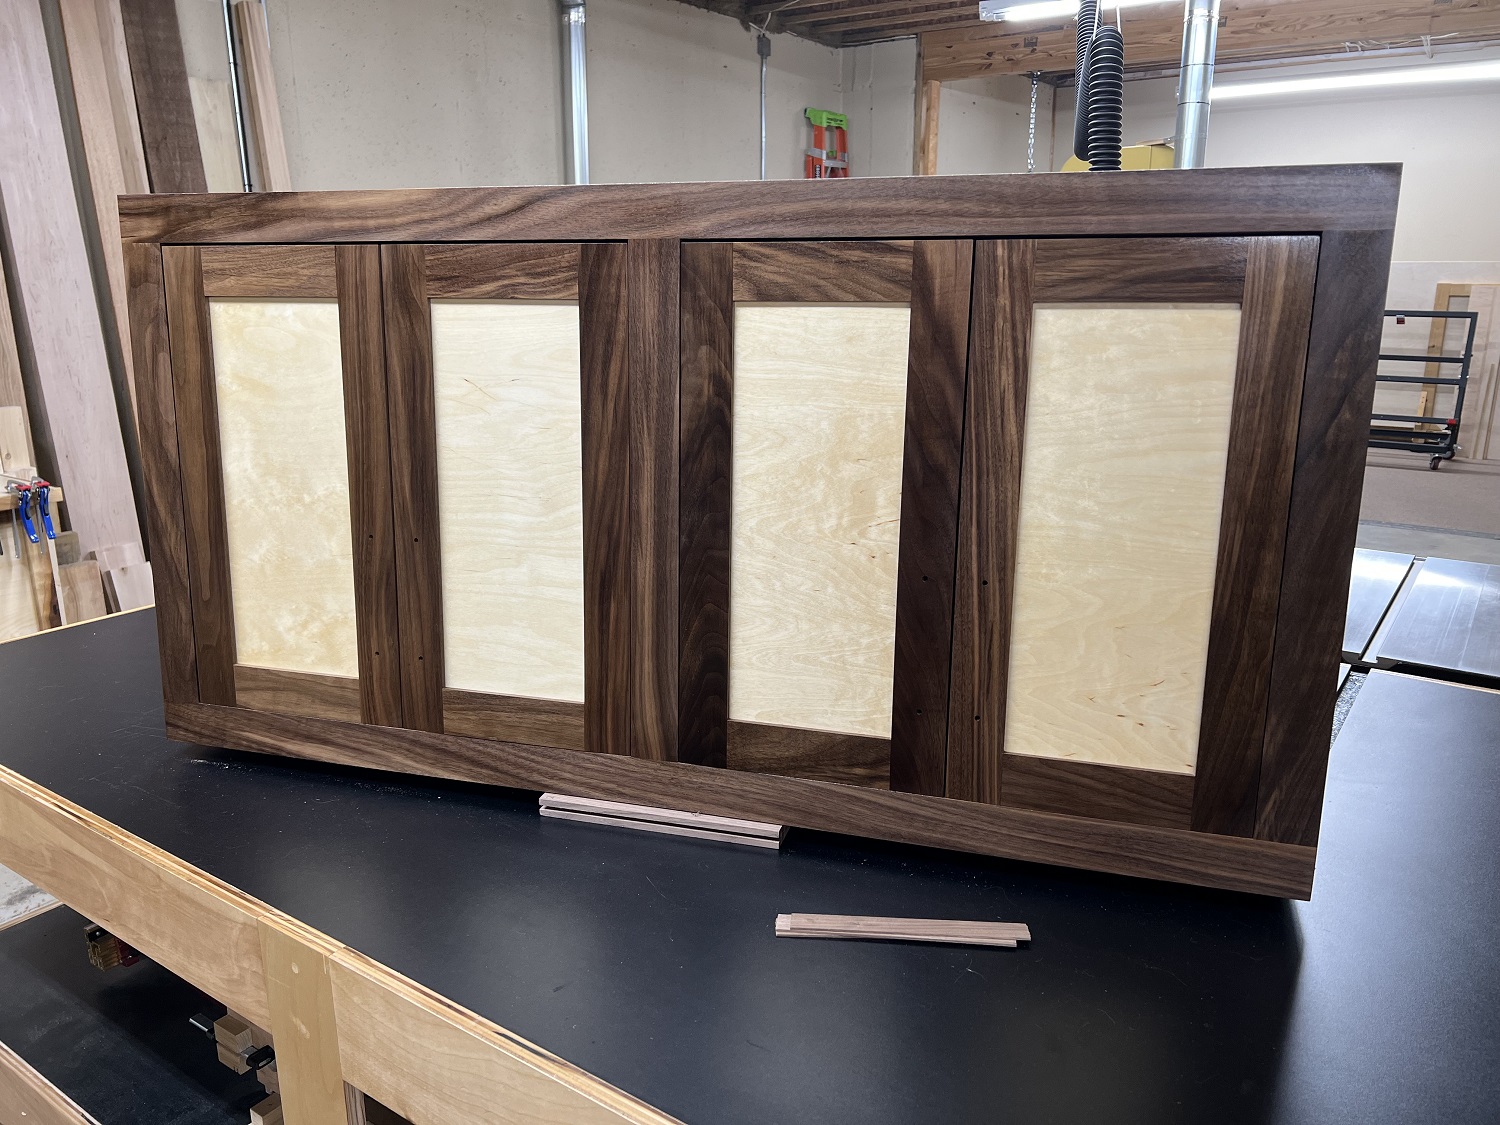
The panels are cut to final dimension on the table saw and the doors are dry fit and placed in the cabinet to double check fit before they are glued up. Looking good. They came out exactly on spec per the drawing. SketchUp is never wrong.


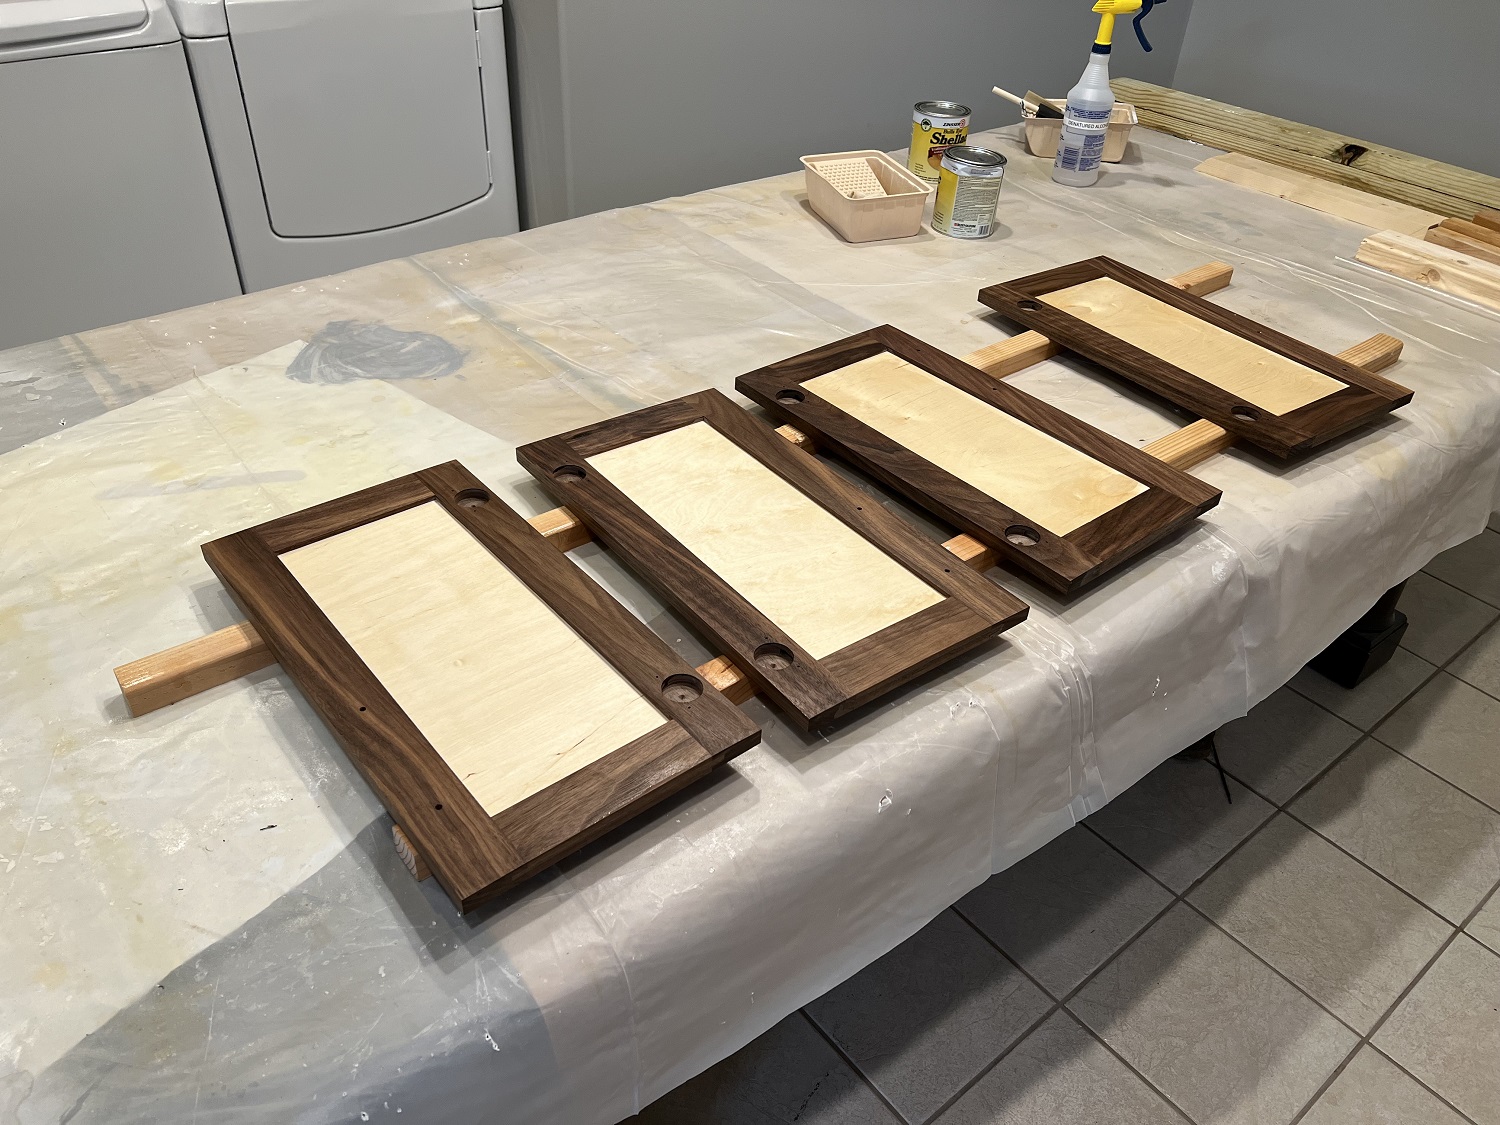
Time to sand and finish the door panels and sand the inside edges of the door frames.
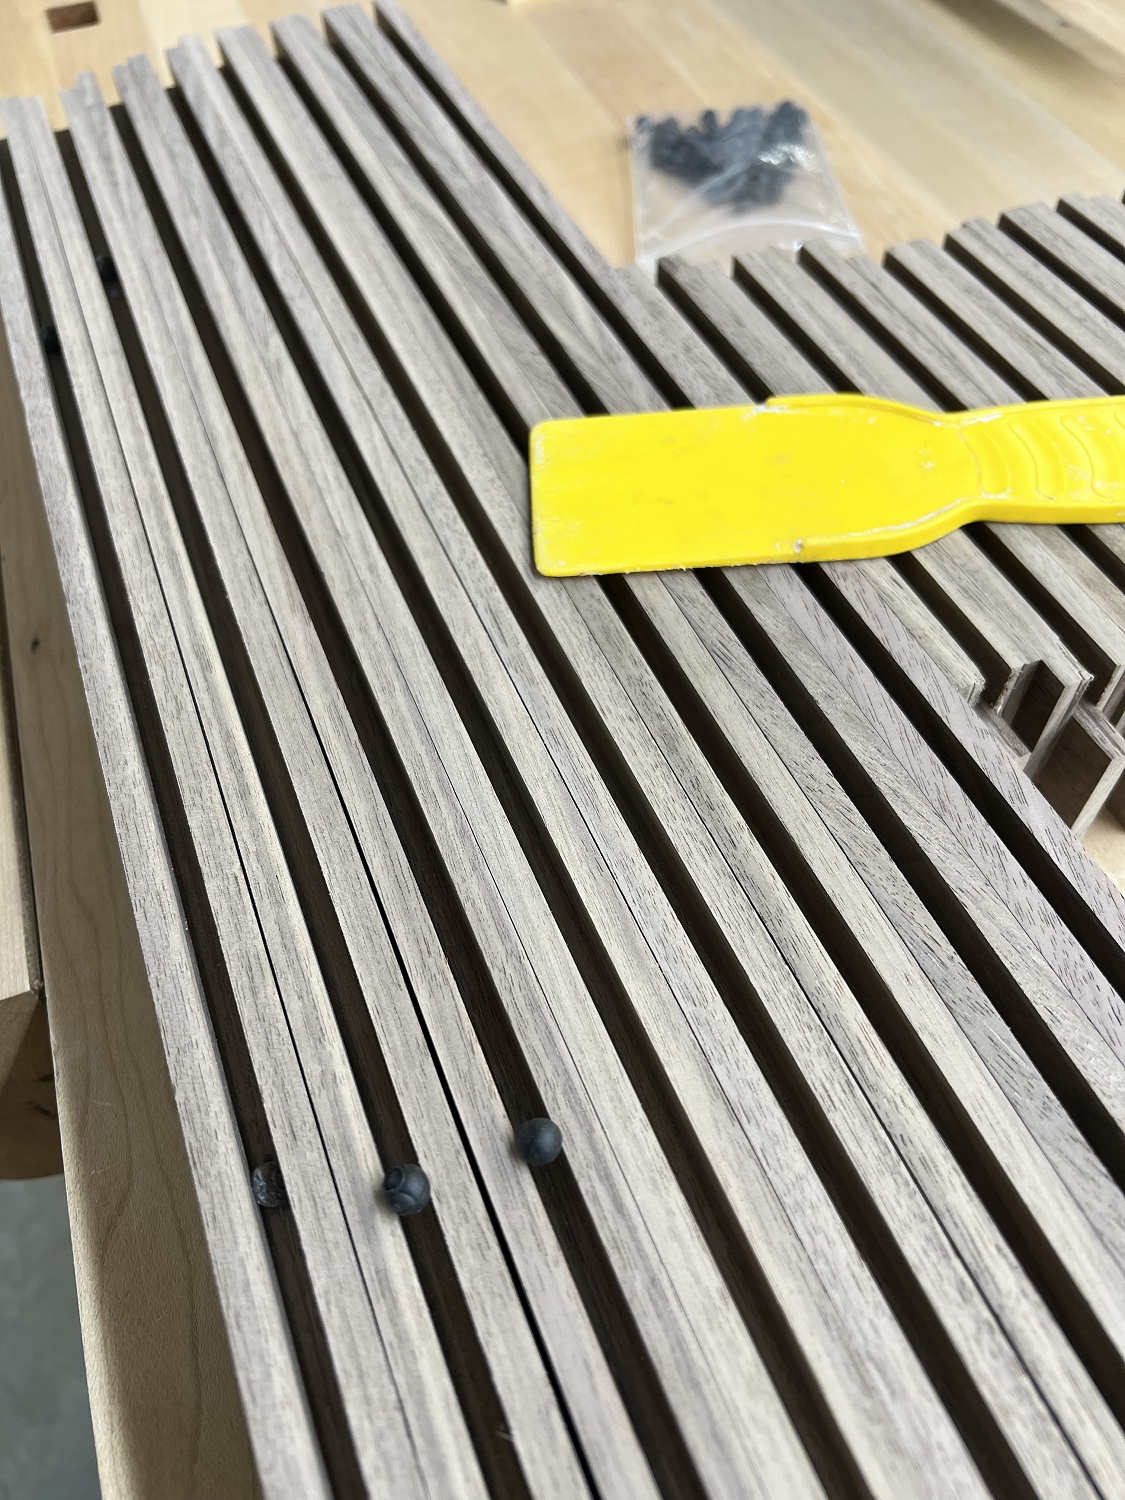
Quarter inch rubber balls are installed in the door panel grooves to ensure centering of the panels and allow room for seasonal movement of the frames.
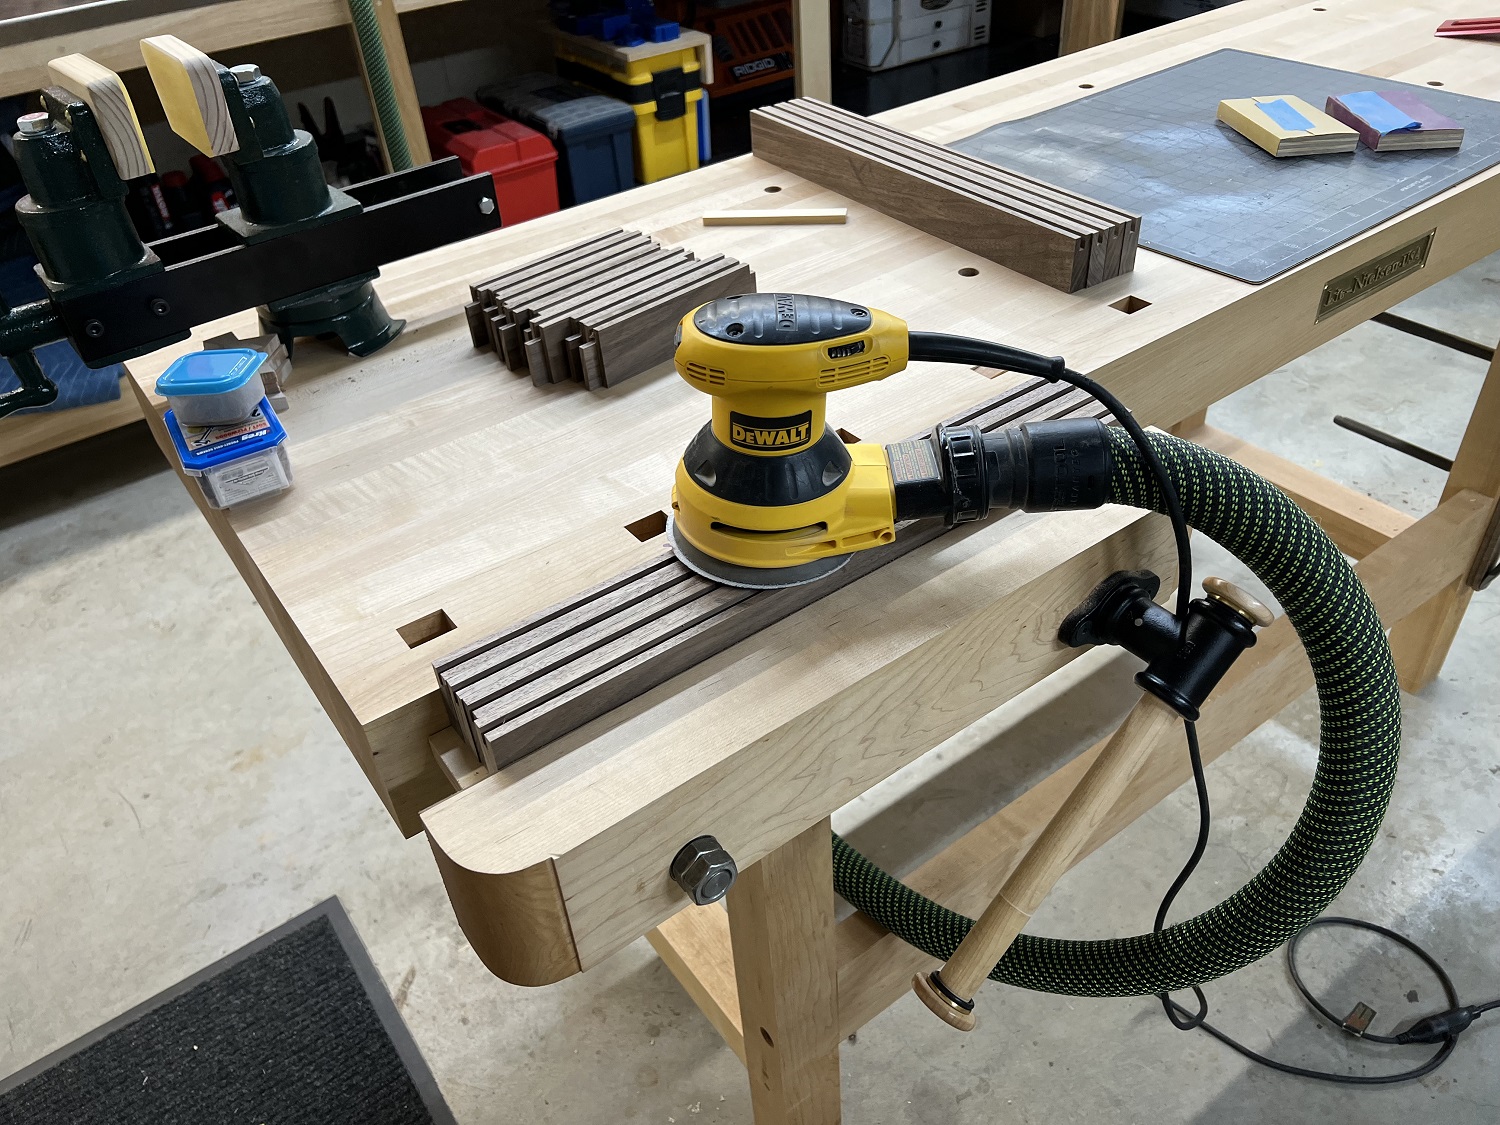
While I’m at it, the carcase gets another sanding with the random orbit sander and 220 grit before the next coat of shellac is applied.
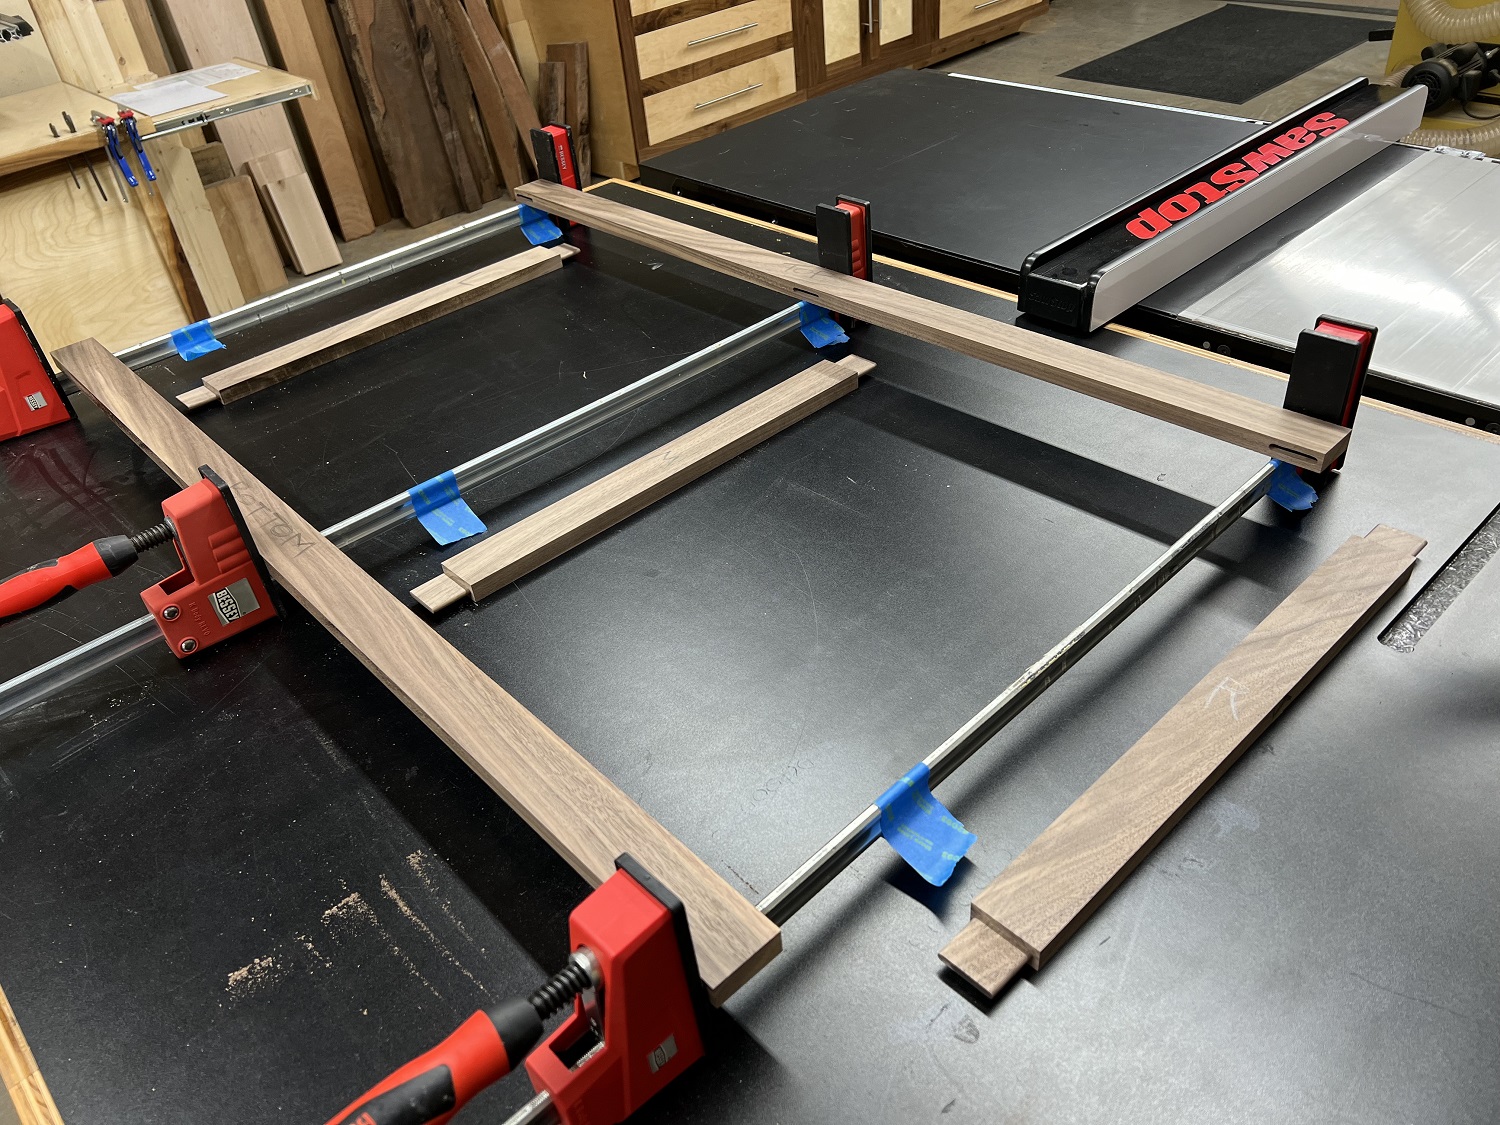
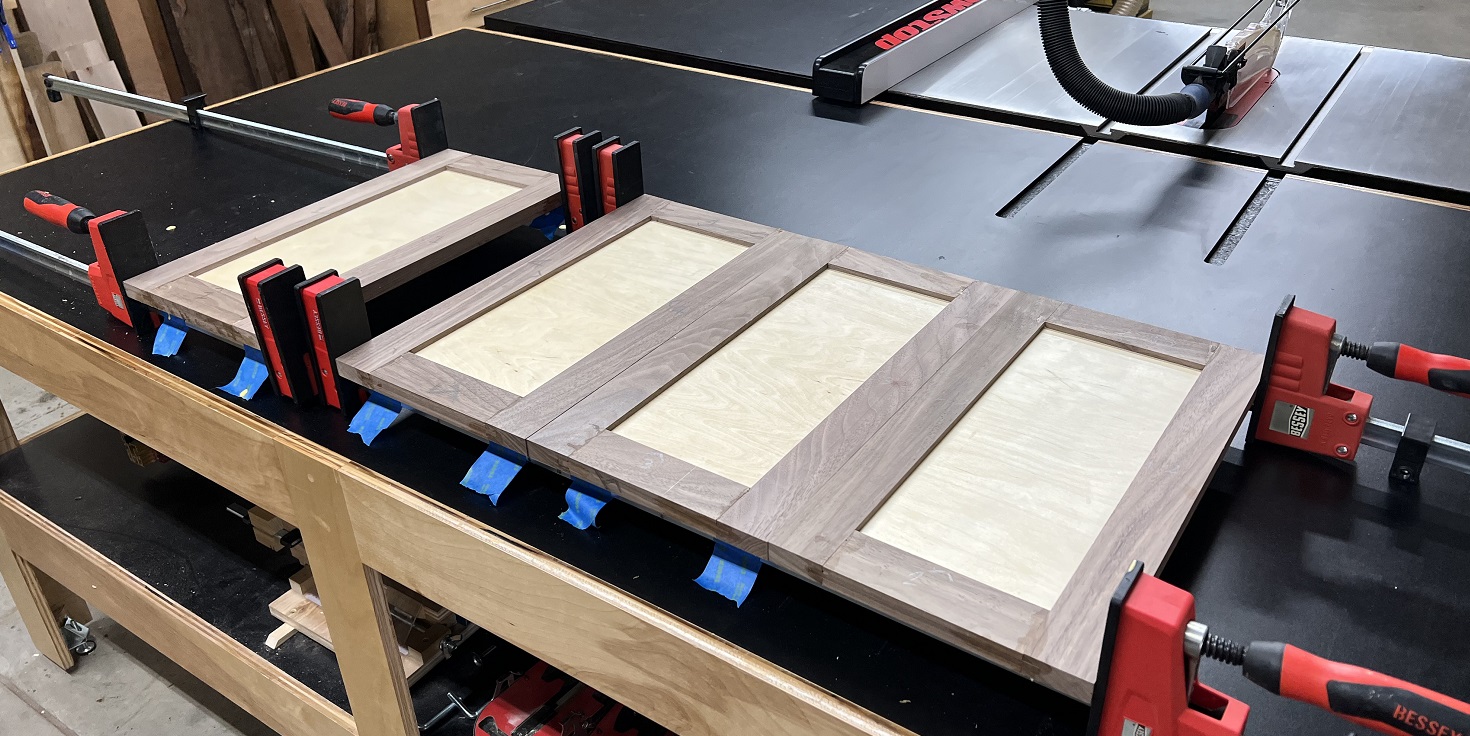
Time to glue up the doors.
Some sanding, then layout and drilling for the hinges and door pulls. Then more sanding…always more sanding…. I work my way up through the grits from 80 to 220. I vacuum between grits, then finish with a tack cloth.

On to finishing. My method for applying shellac is to use an applicator (a rag stuffed with cotton balls) to apply the first coat. Then I re-coat with the applicator again. Then I sand with the random orbit at 220. Then I spray two coats and hit it again with the random orbit at 200. Then I spray two finish coats, sanding lightly by hand in between coats using a 3M superfine sanding pad. If I want a satin finish, I hand sand the last coat with a 3M ultrafine pad. The great thing about shellac is that it dries so fast that laying on multiple coats is actually pretty quick and easy.
The doors are hung using 1/16″ shims to hold the doors in correct position while the holes for the hinges are marked with a punch and drilled in the back of the face frame.

All done!