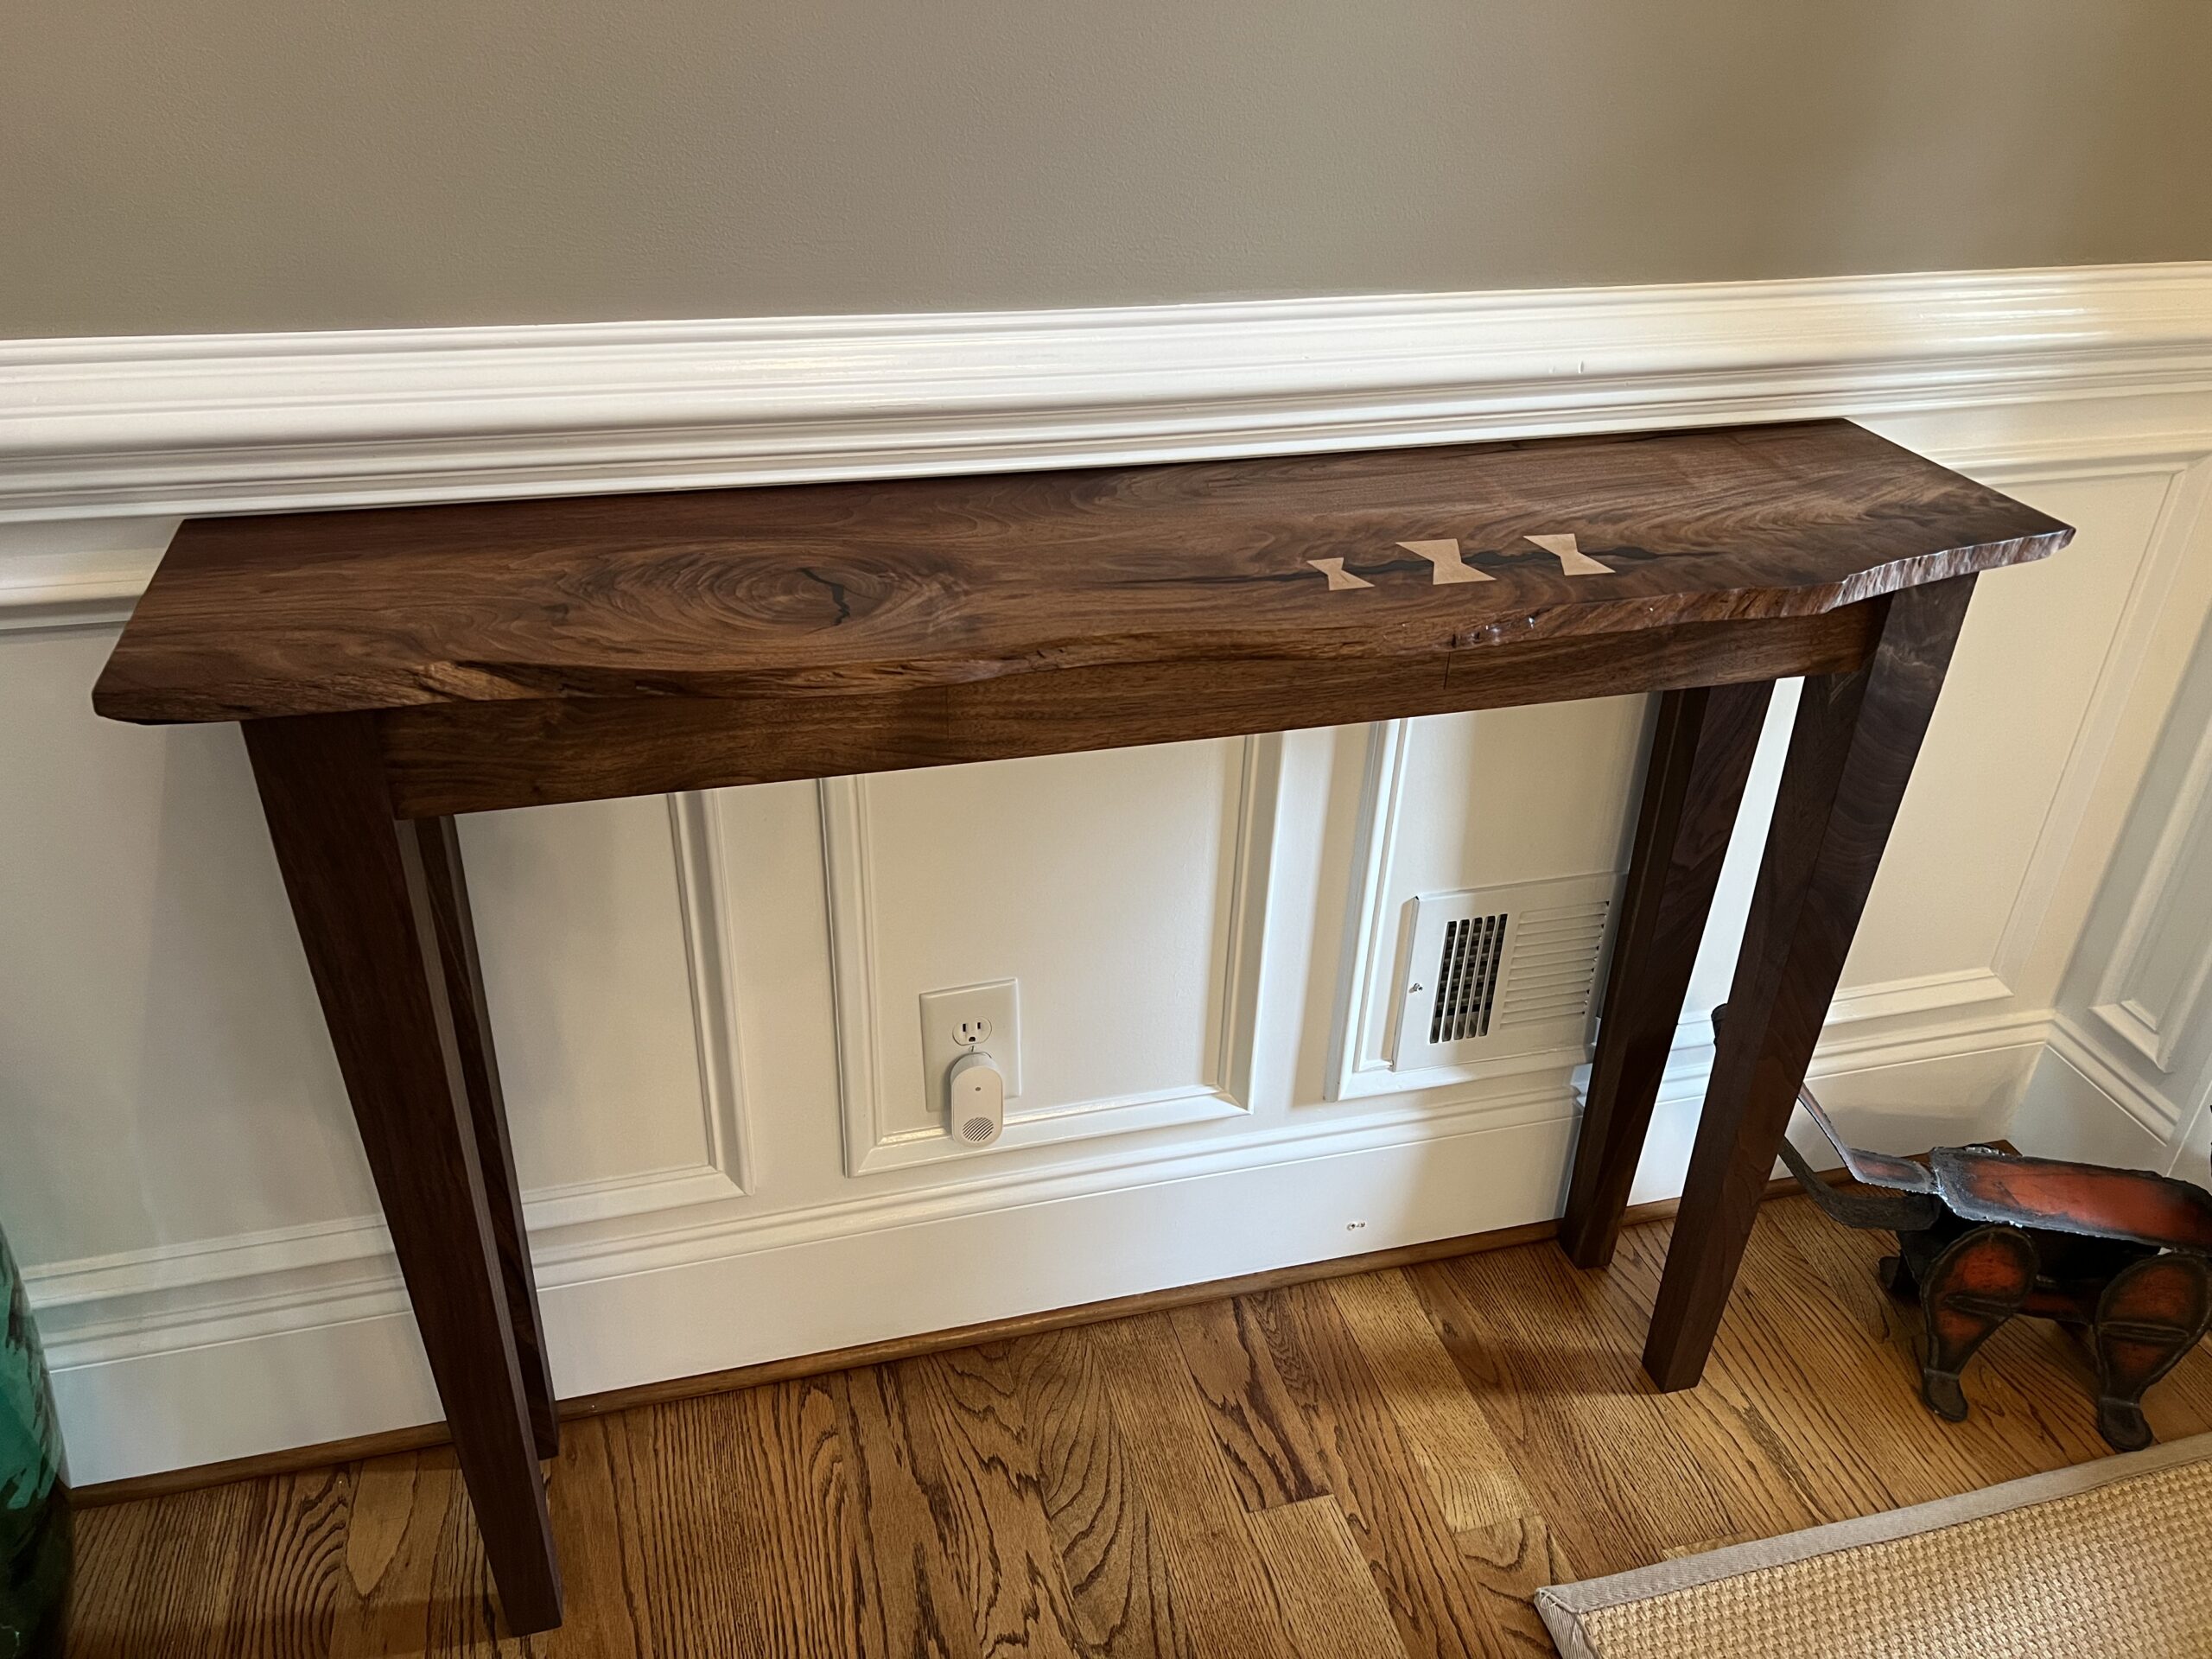
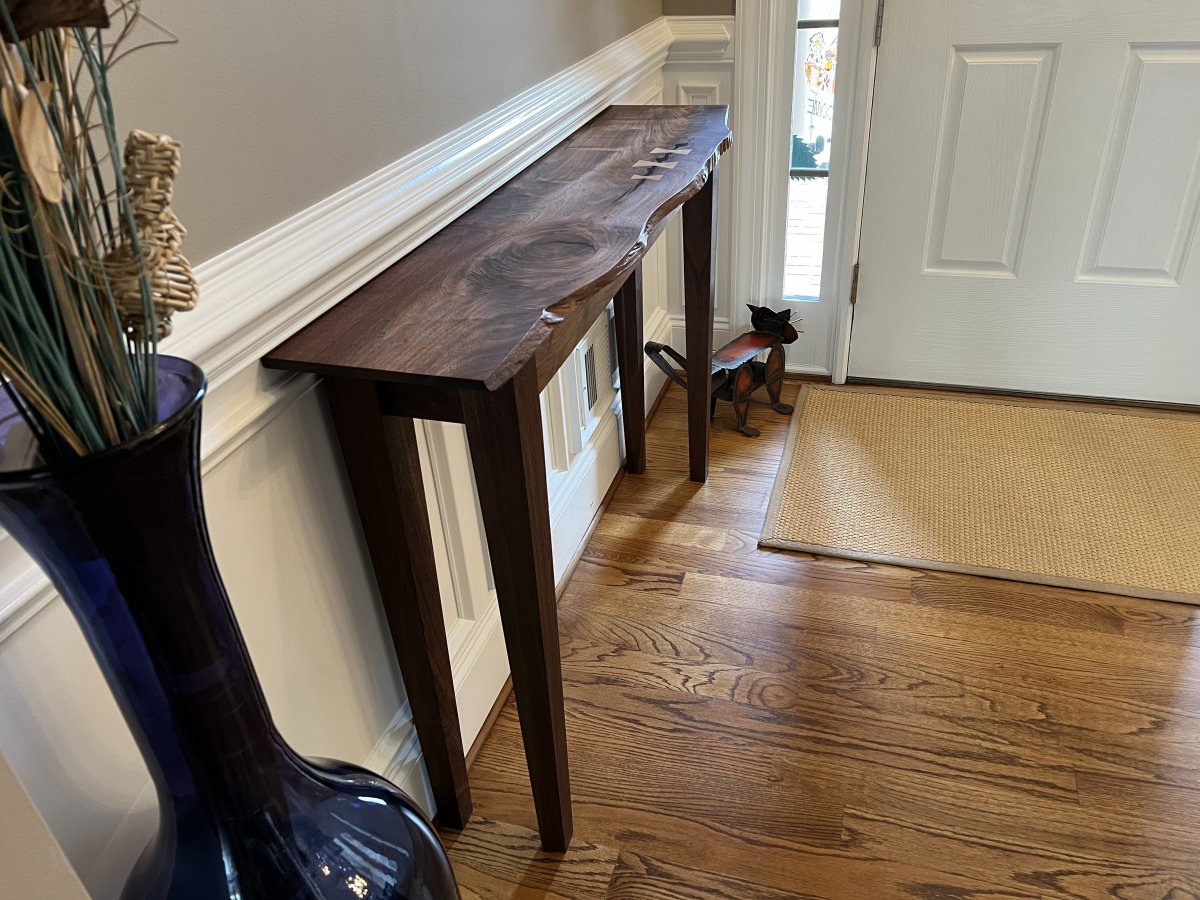
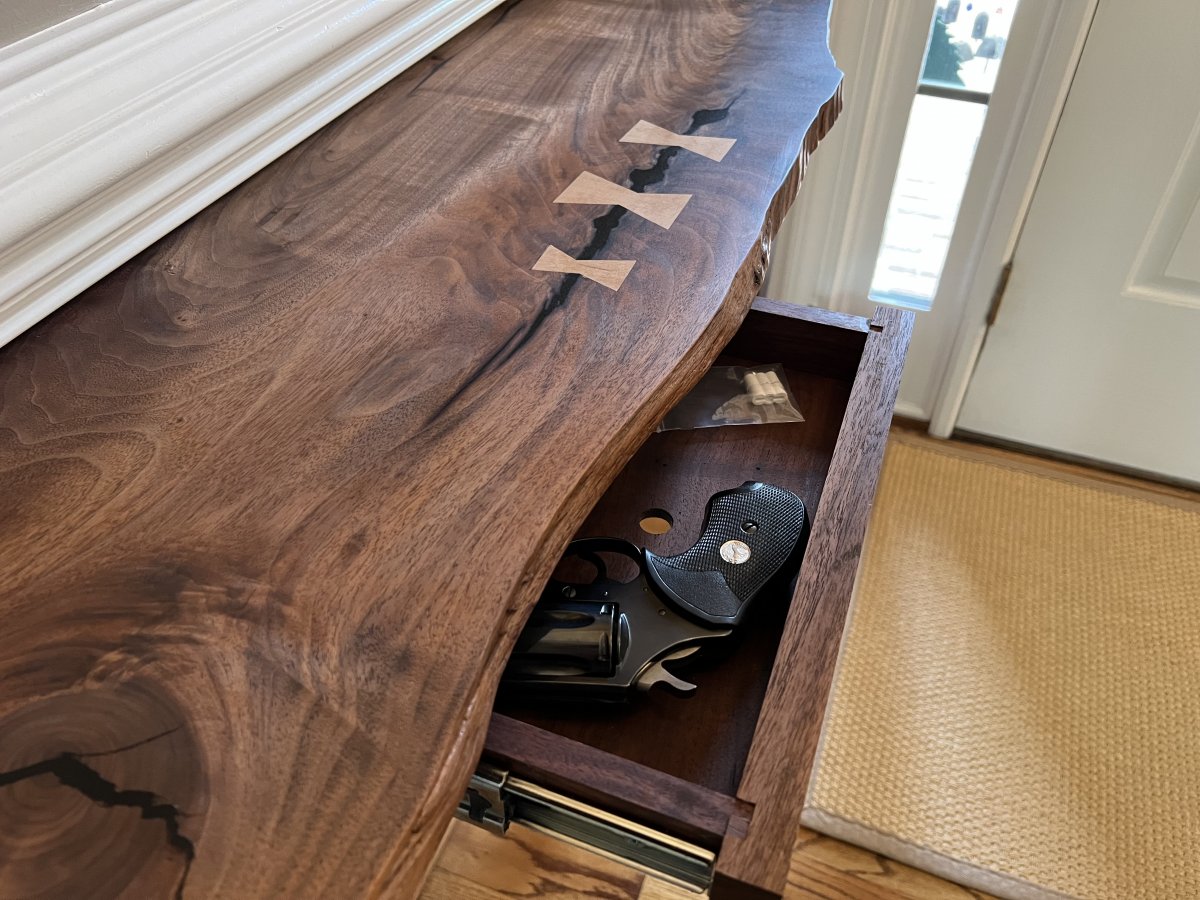
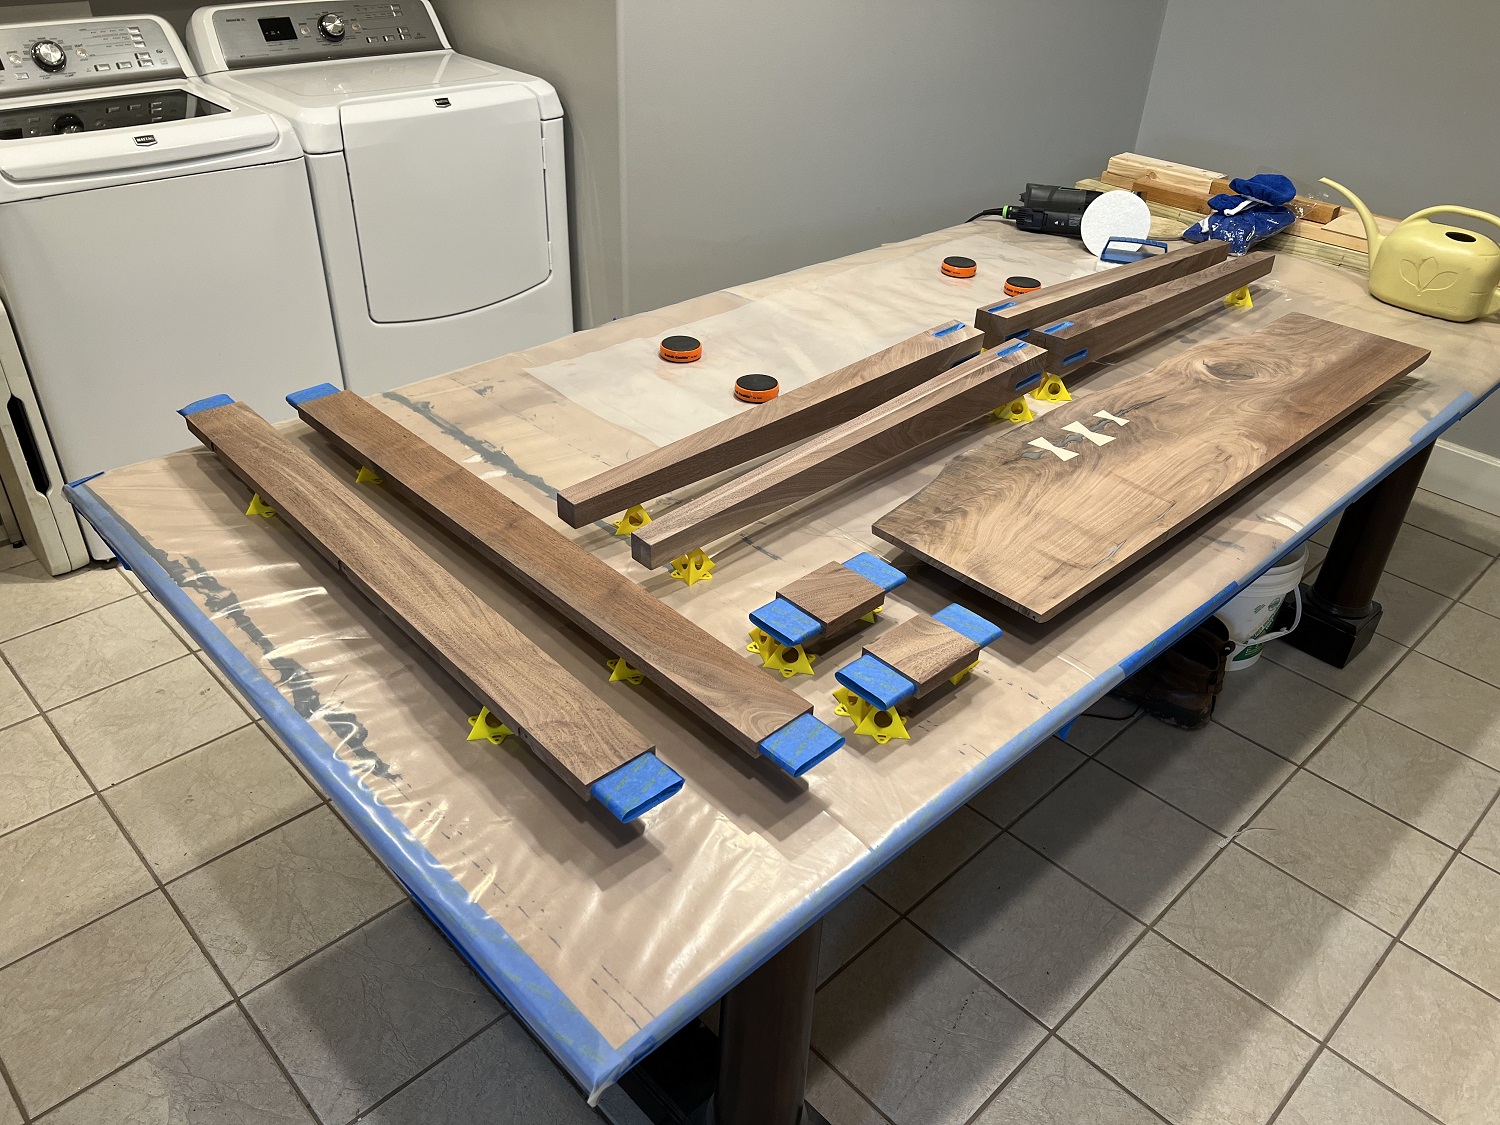
The client requested a walnut entry table in an unusual custom size, with a live edge top, and a base that would tie the piece in with their transitional furniture in the adjacent rooms. A hidden drawer was also requested in the apron of the table. It’s an unusual build.

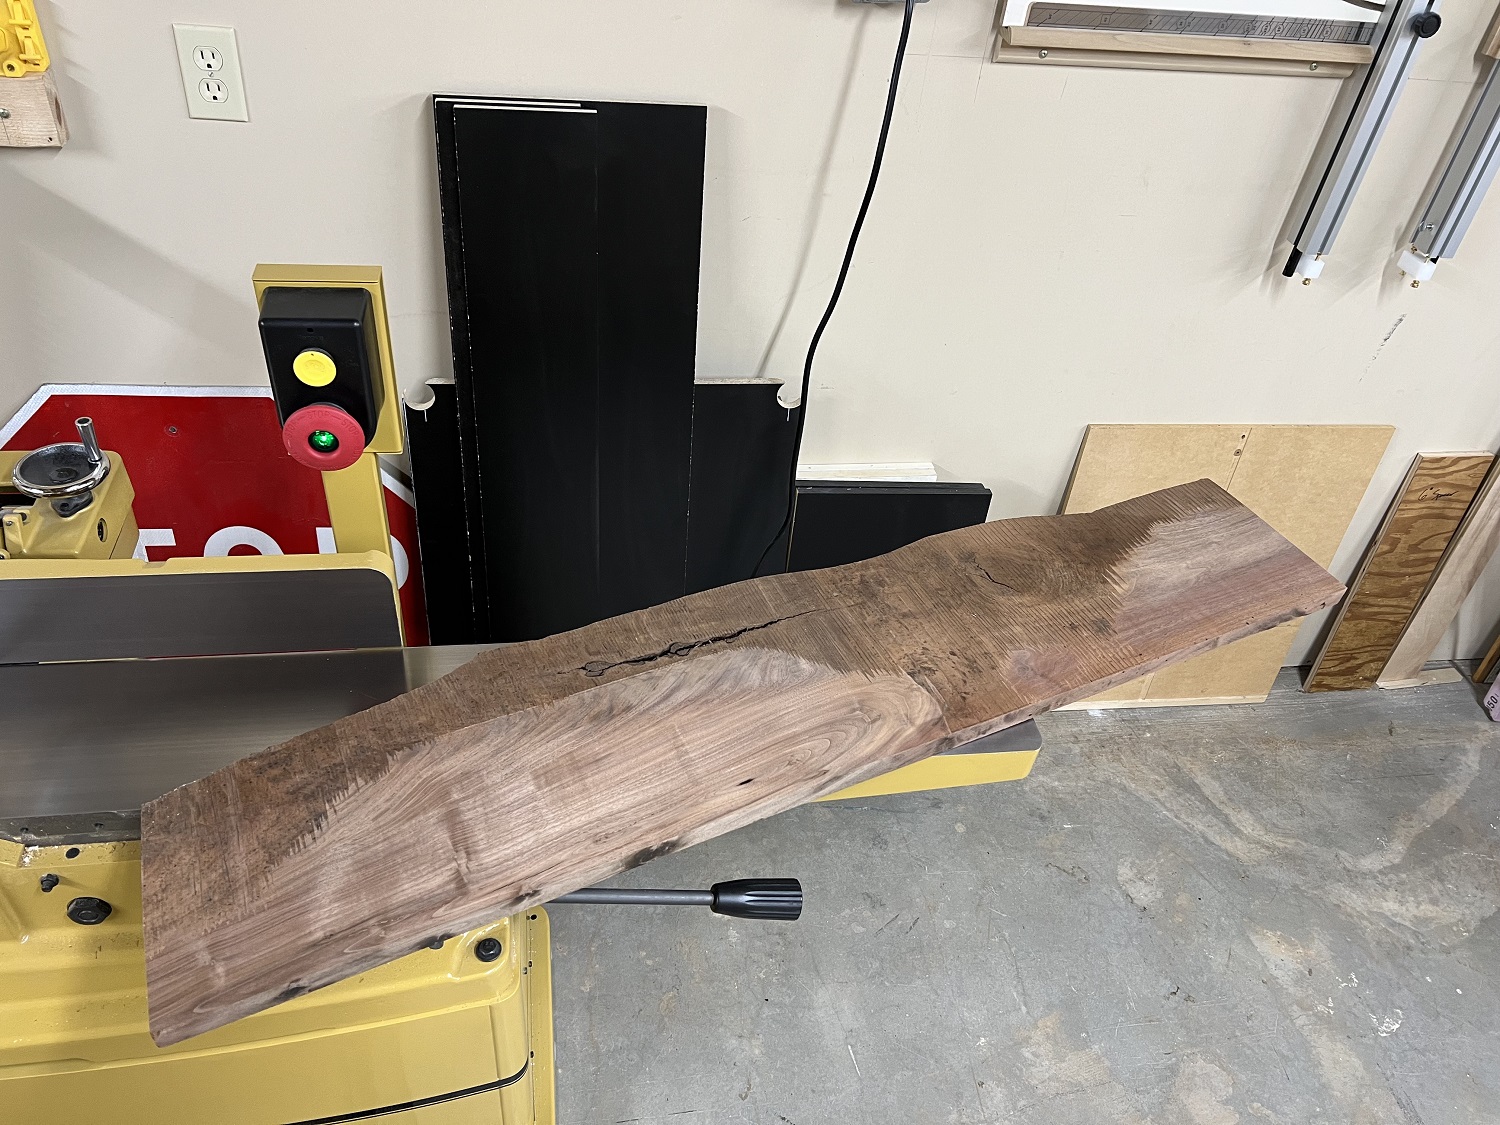
The table started its life from these two very rough sawn boards. They started out at 5/4 but the section I selected for the top was so poorly milled that 3/4 final thickness could barely be achieved.
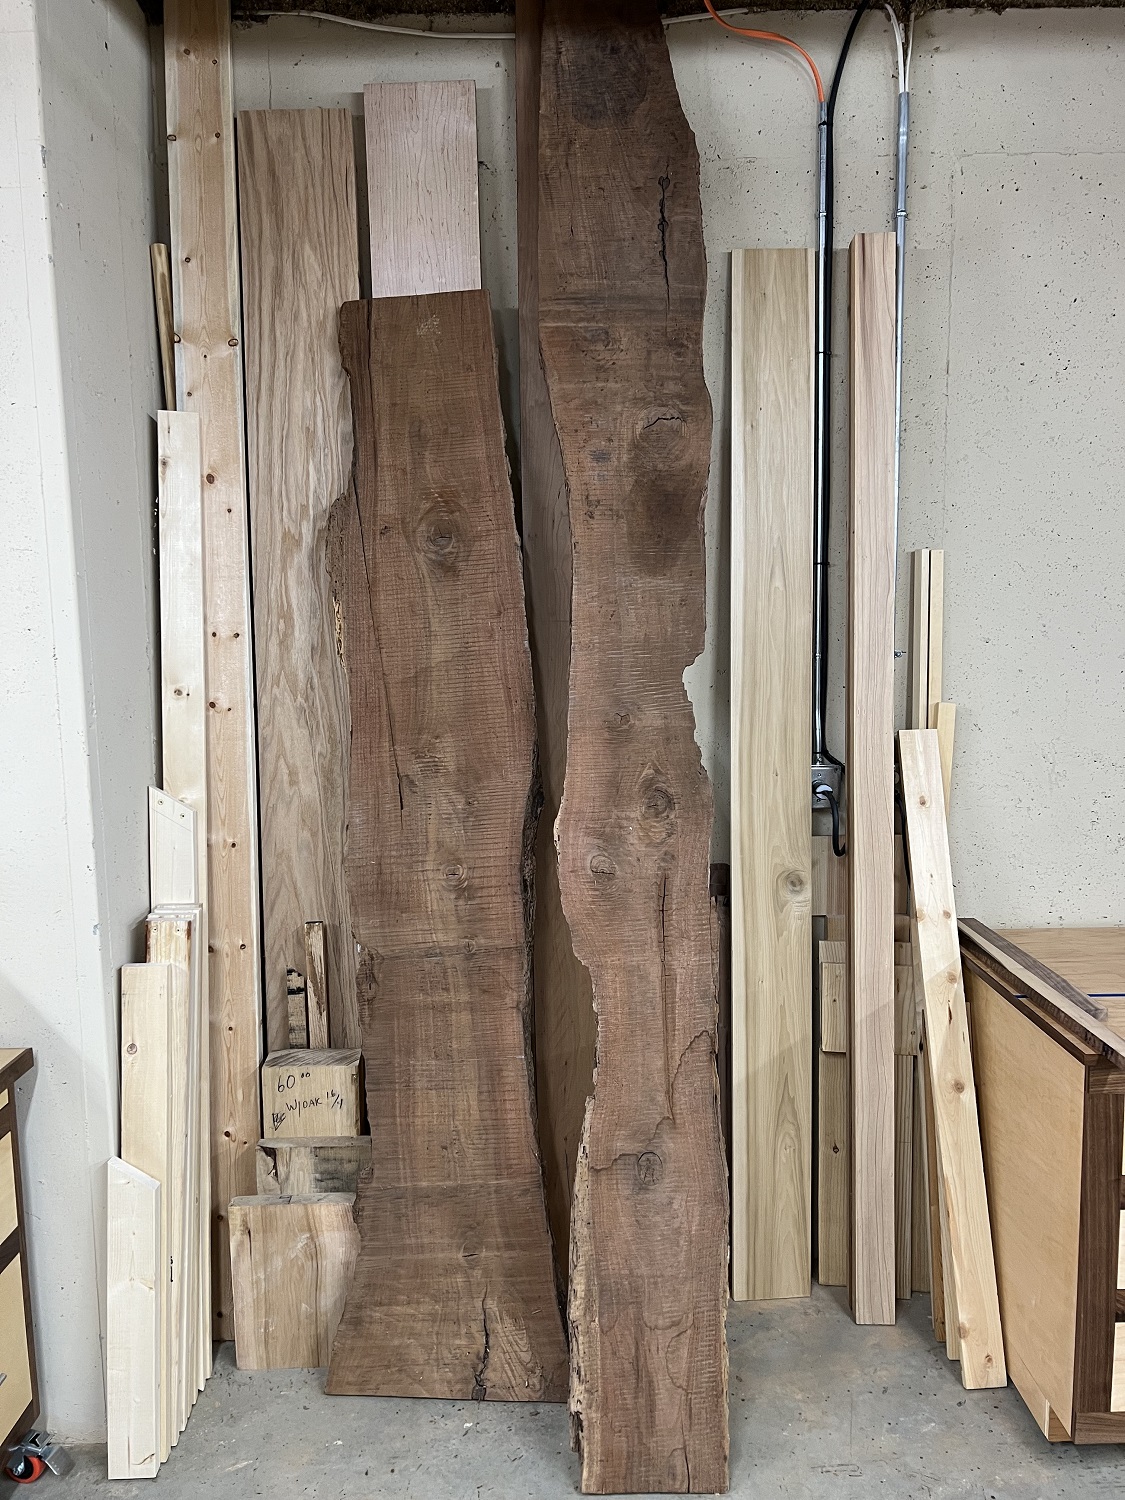
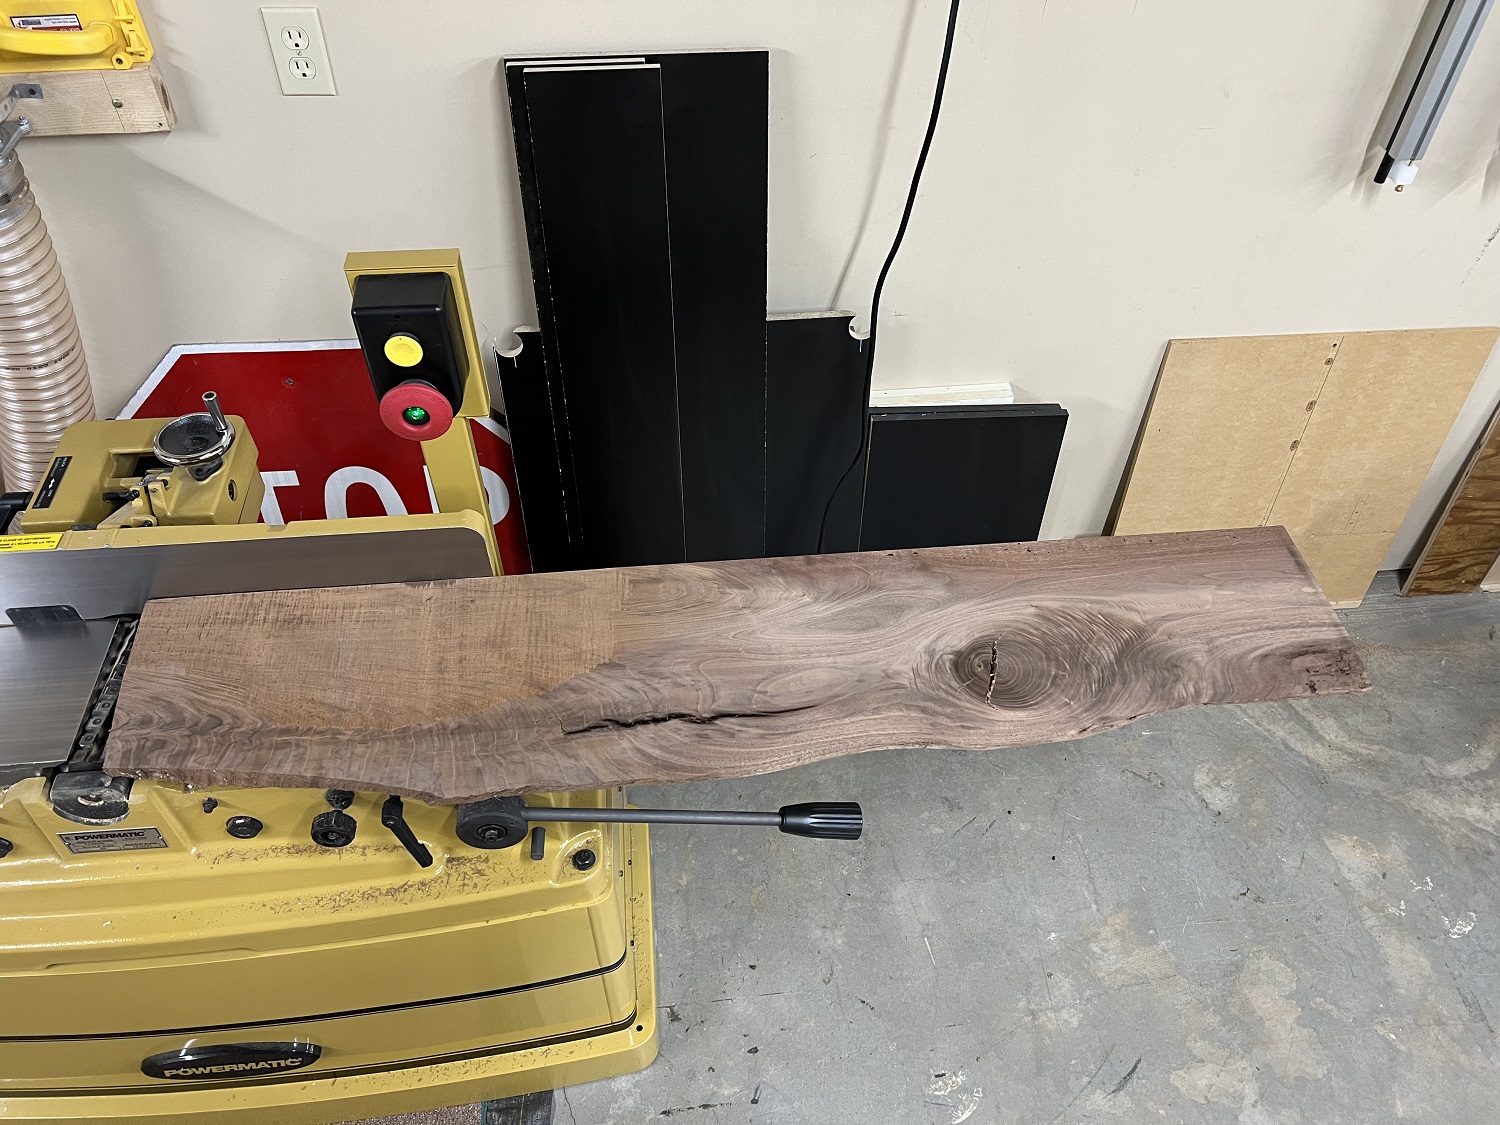
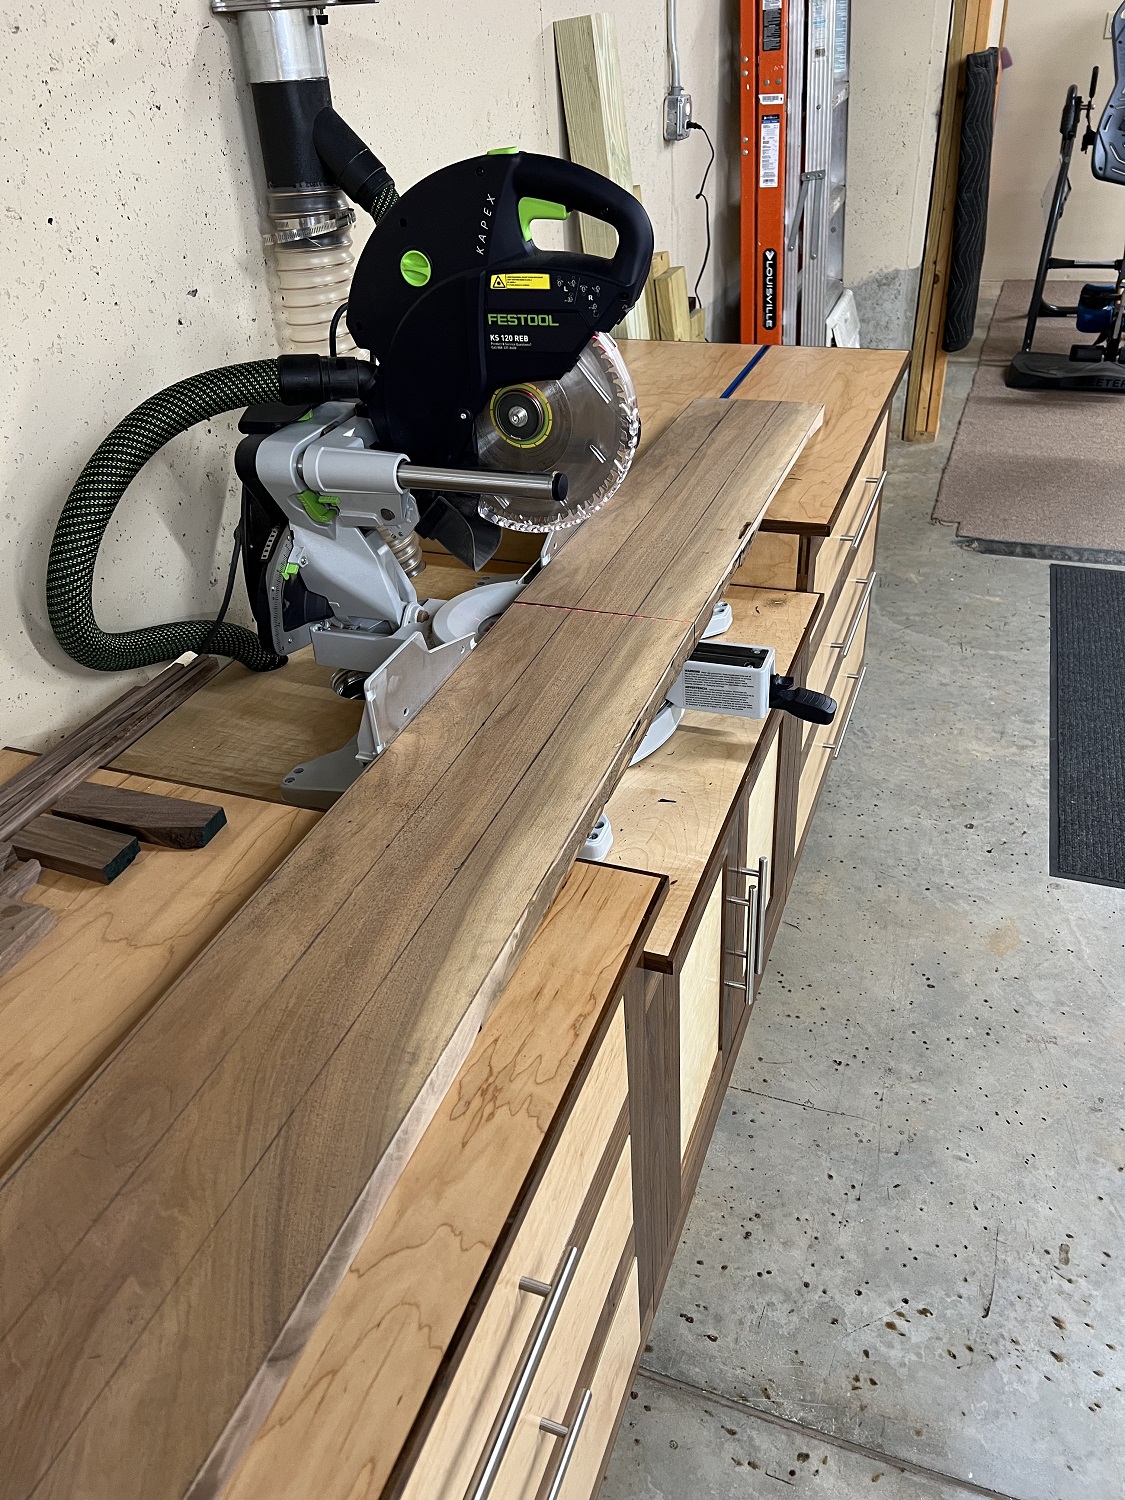
A section of the longer board was selected for the top and cut from the board, then taken to the jointer and planer to flatten the board.
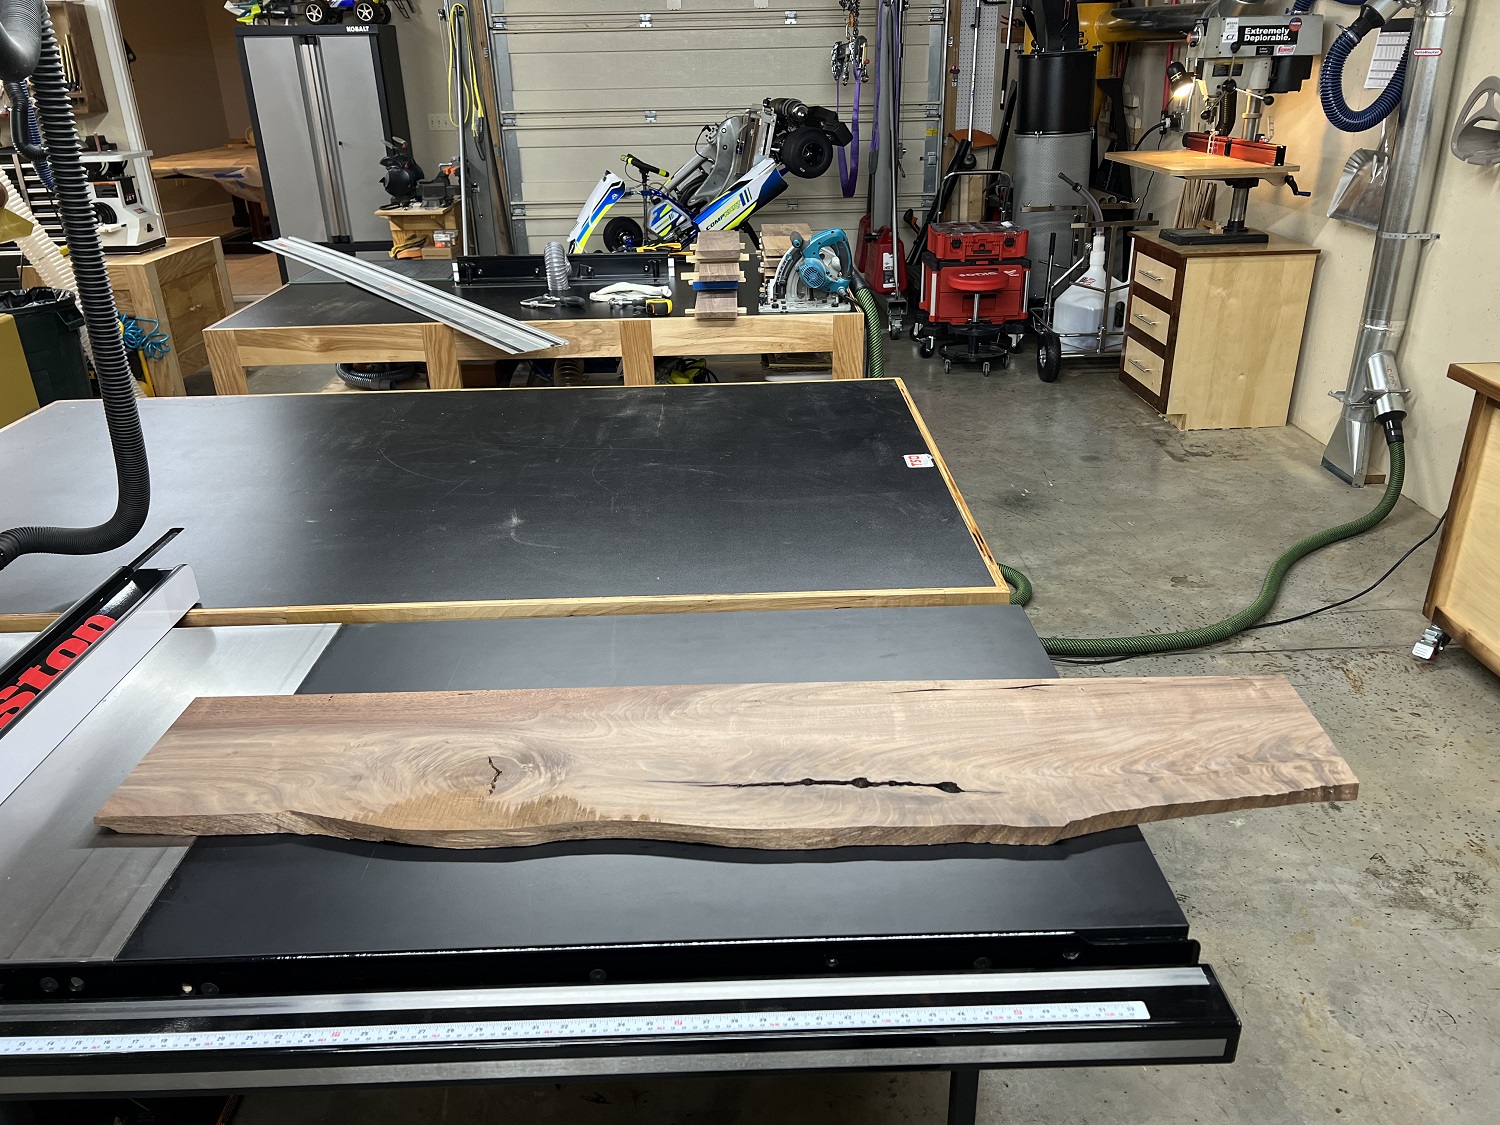
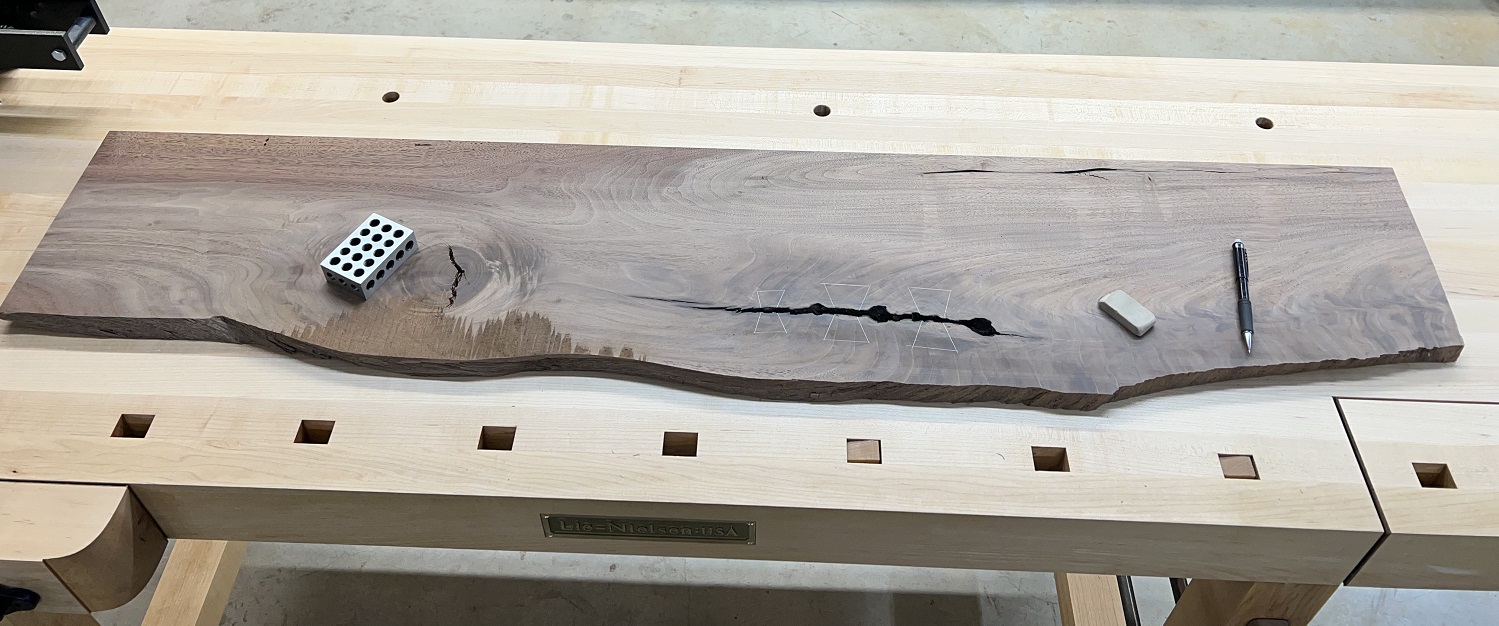
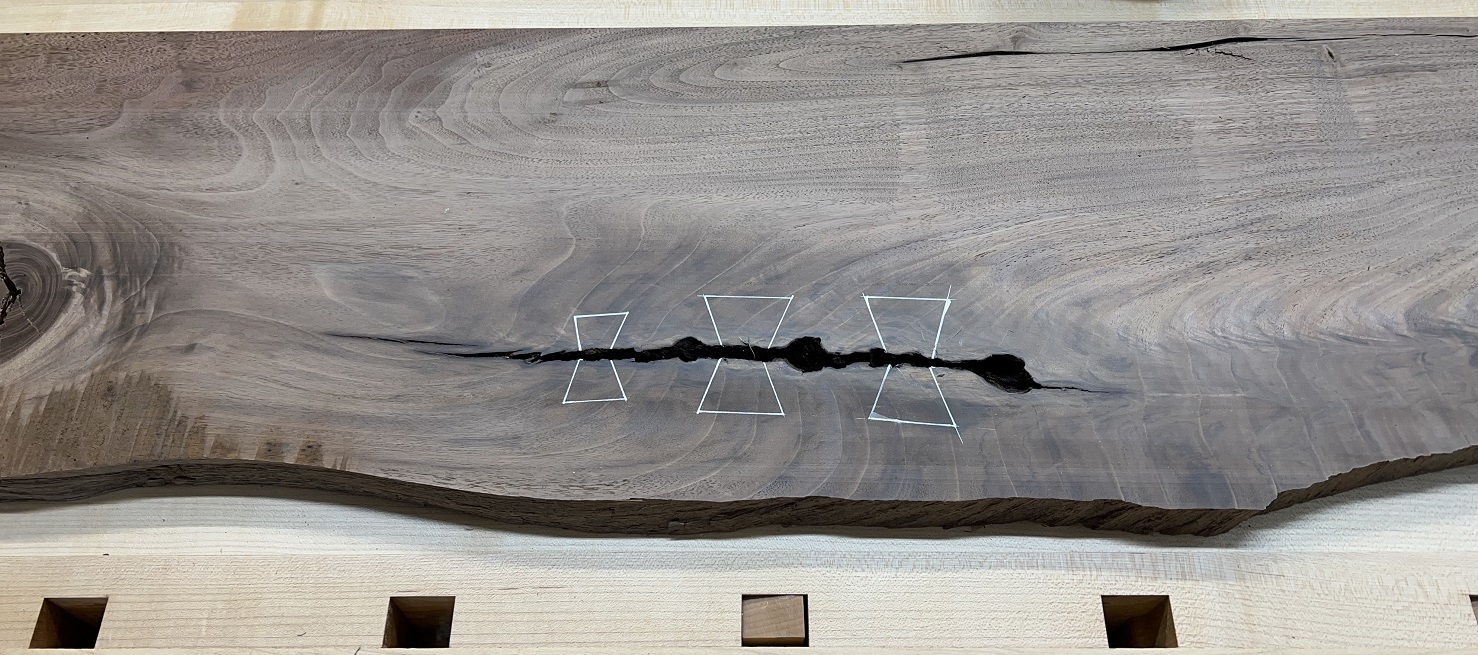
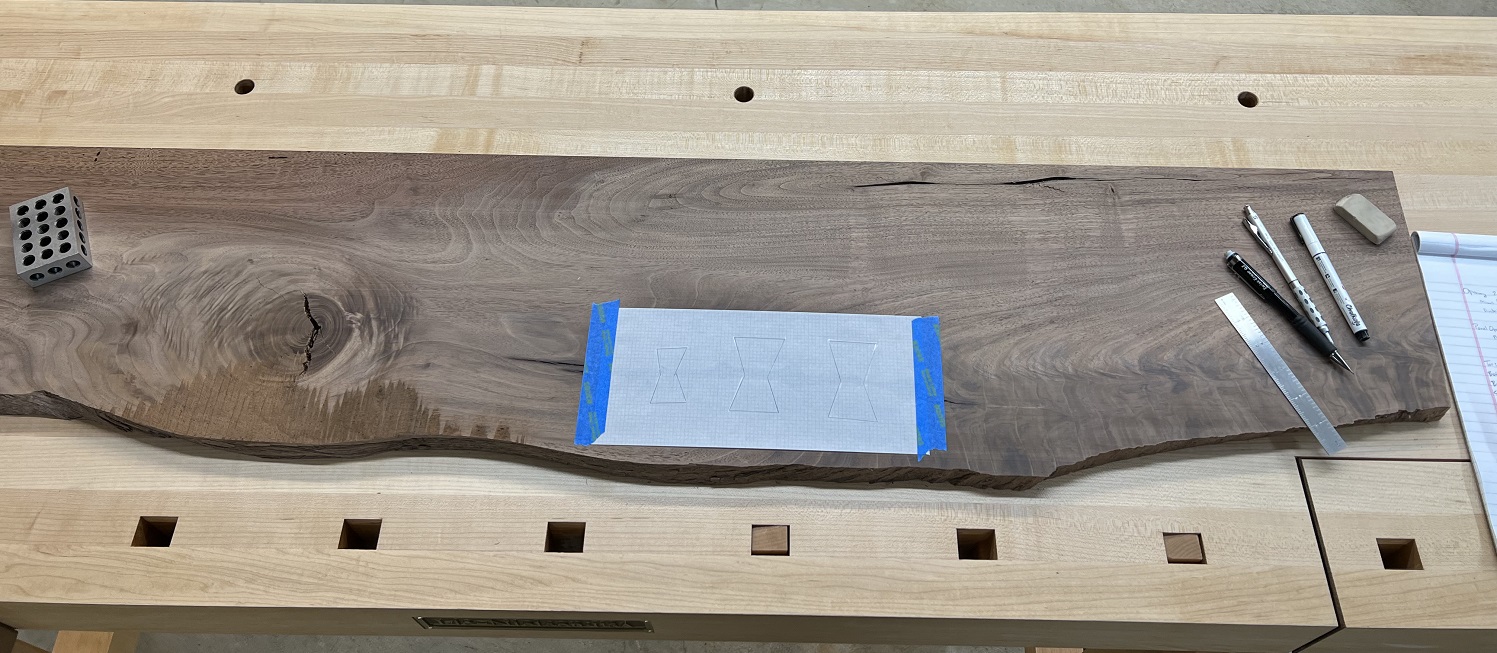
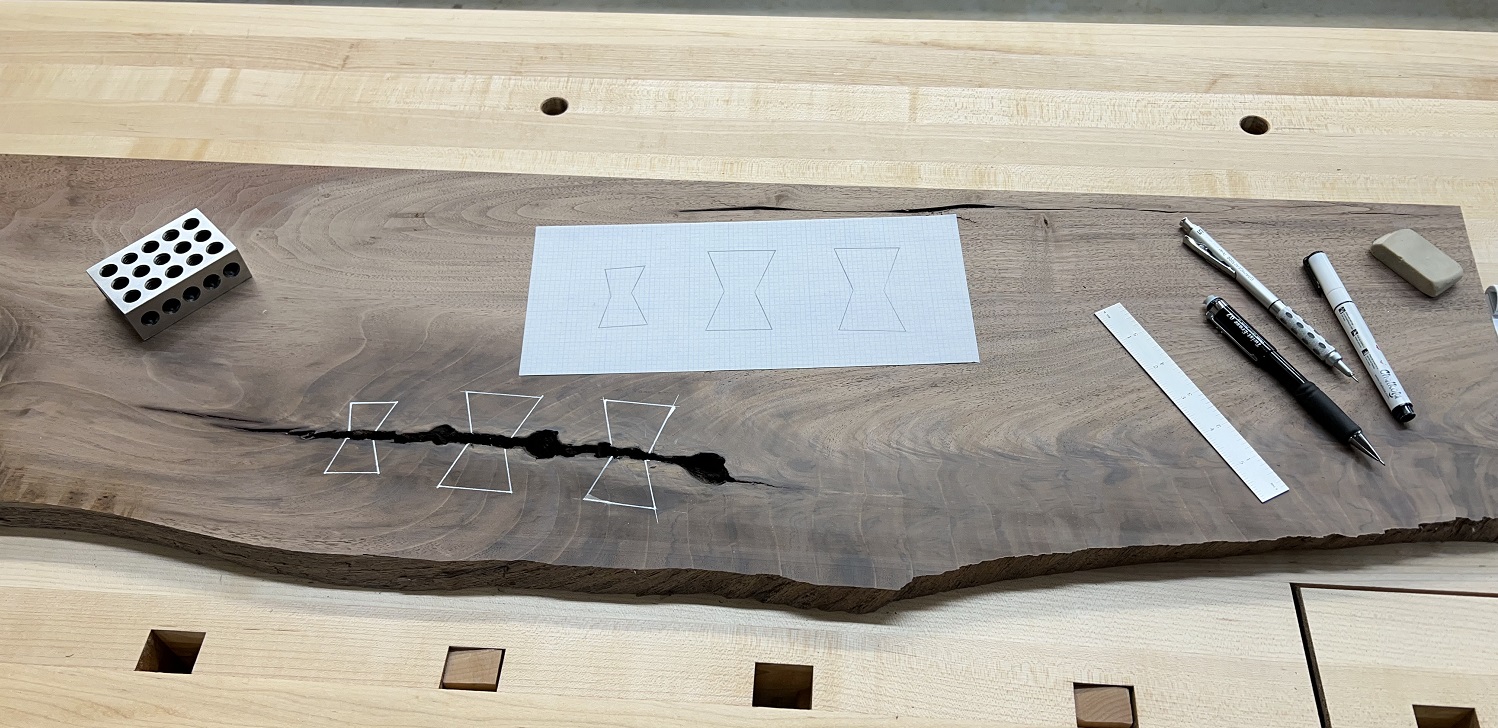
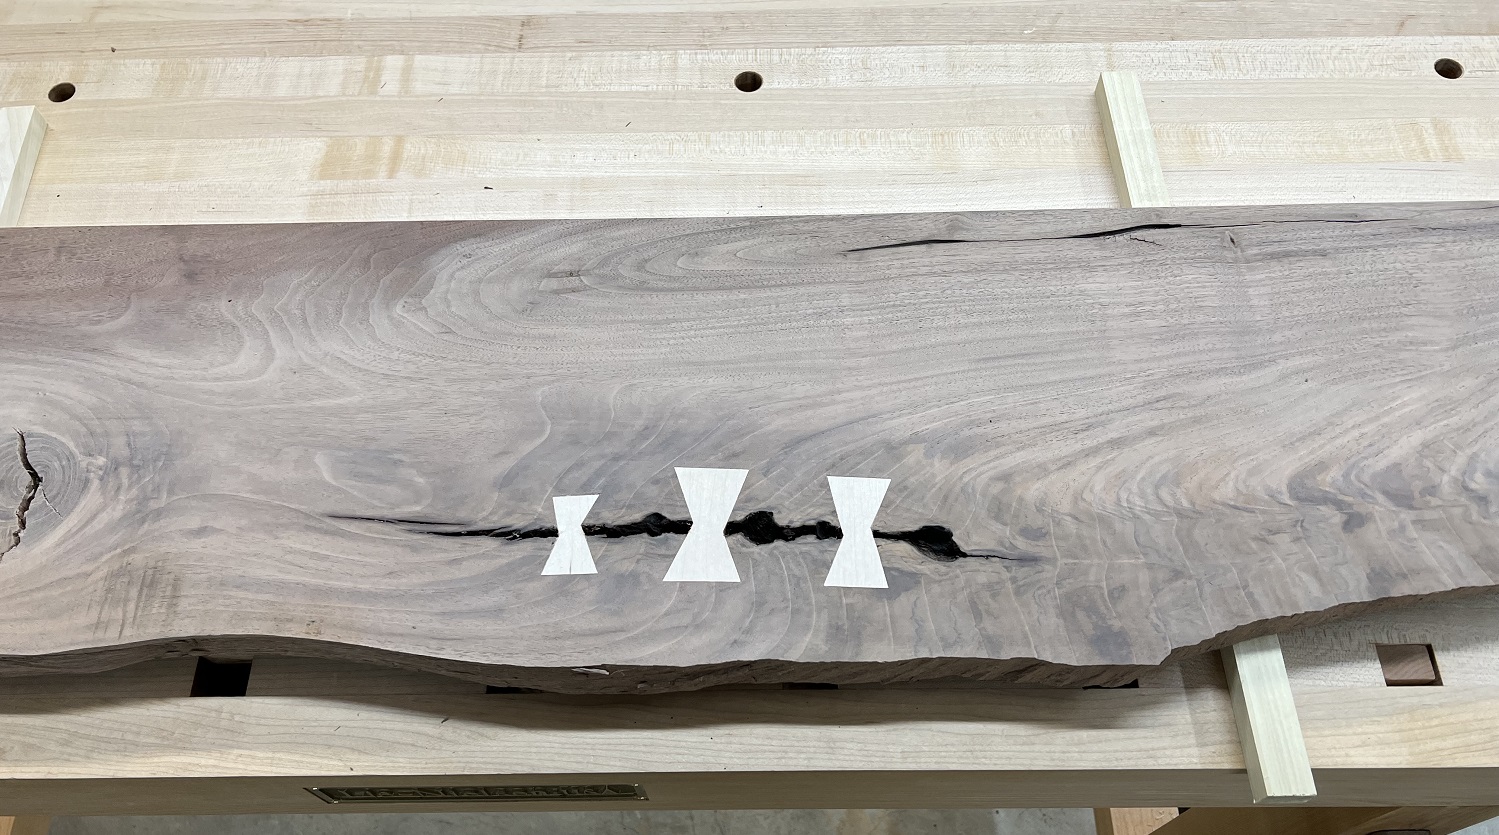
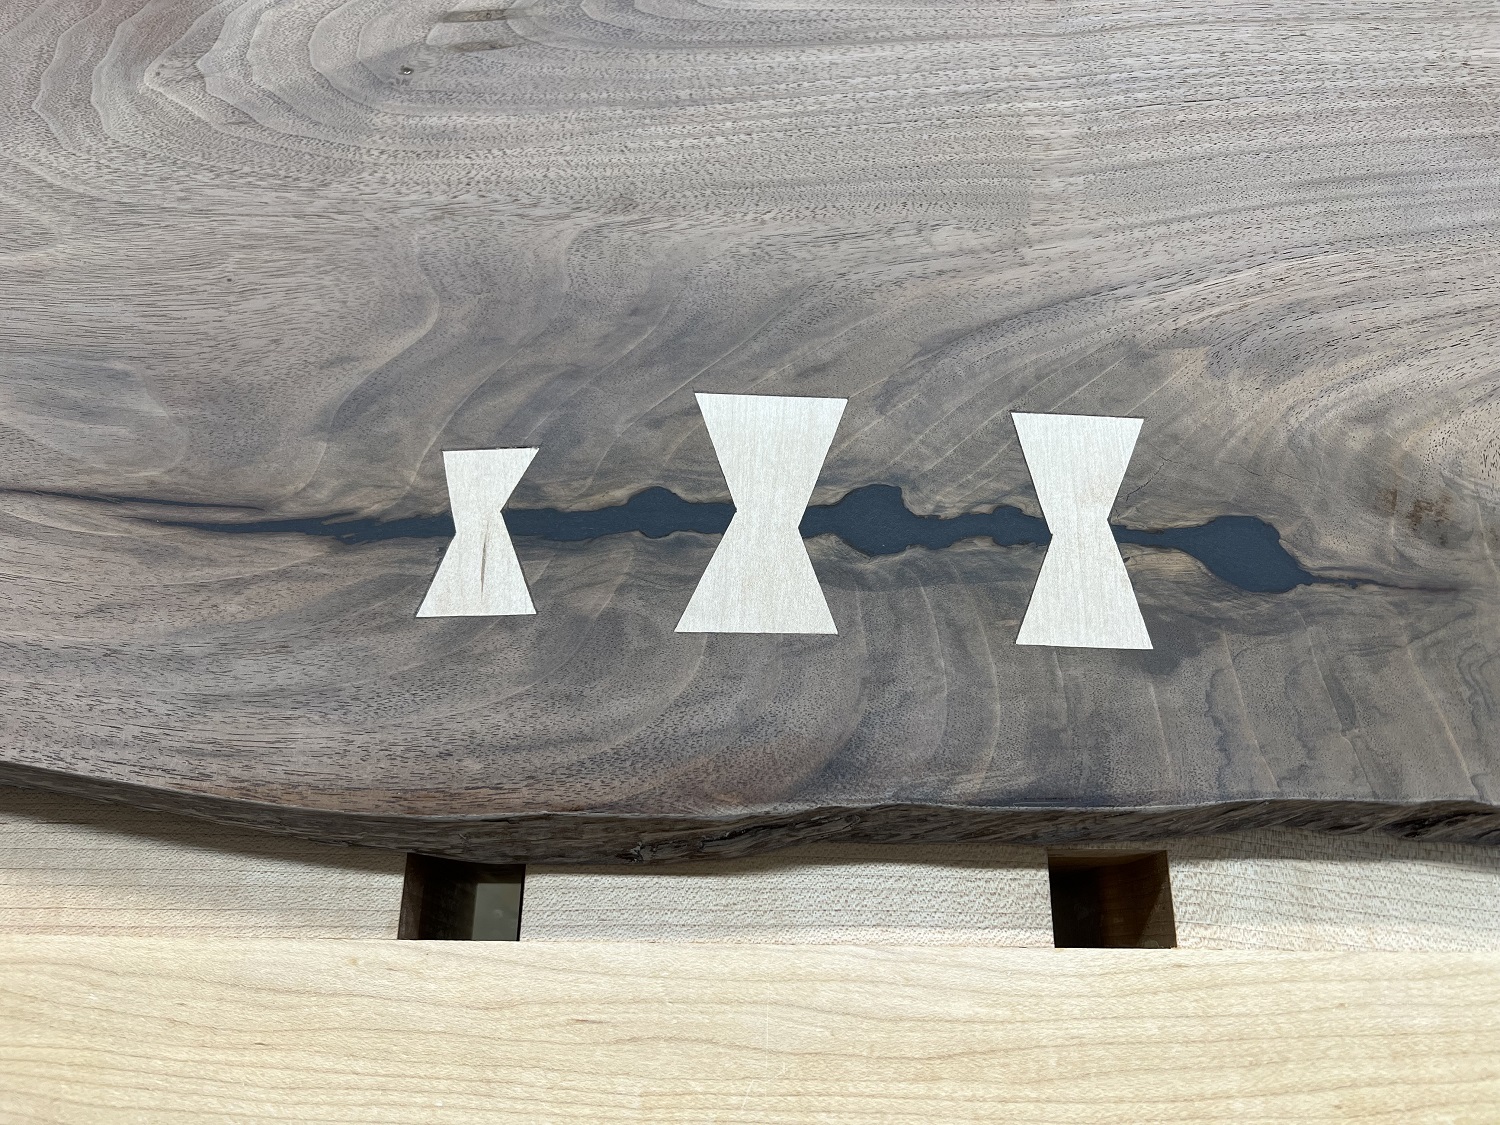
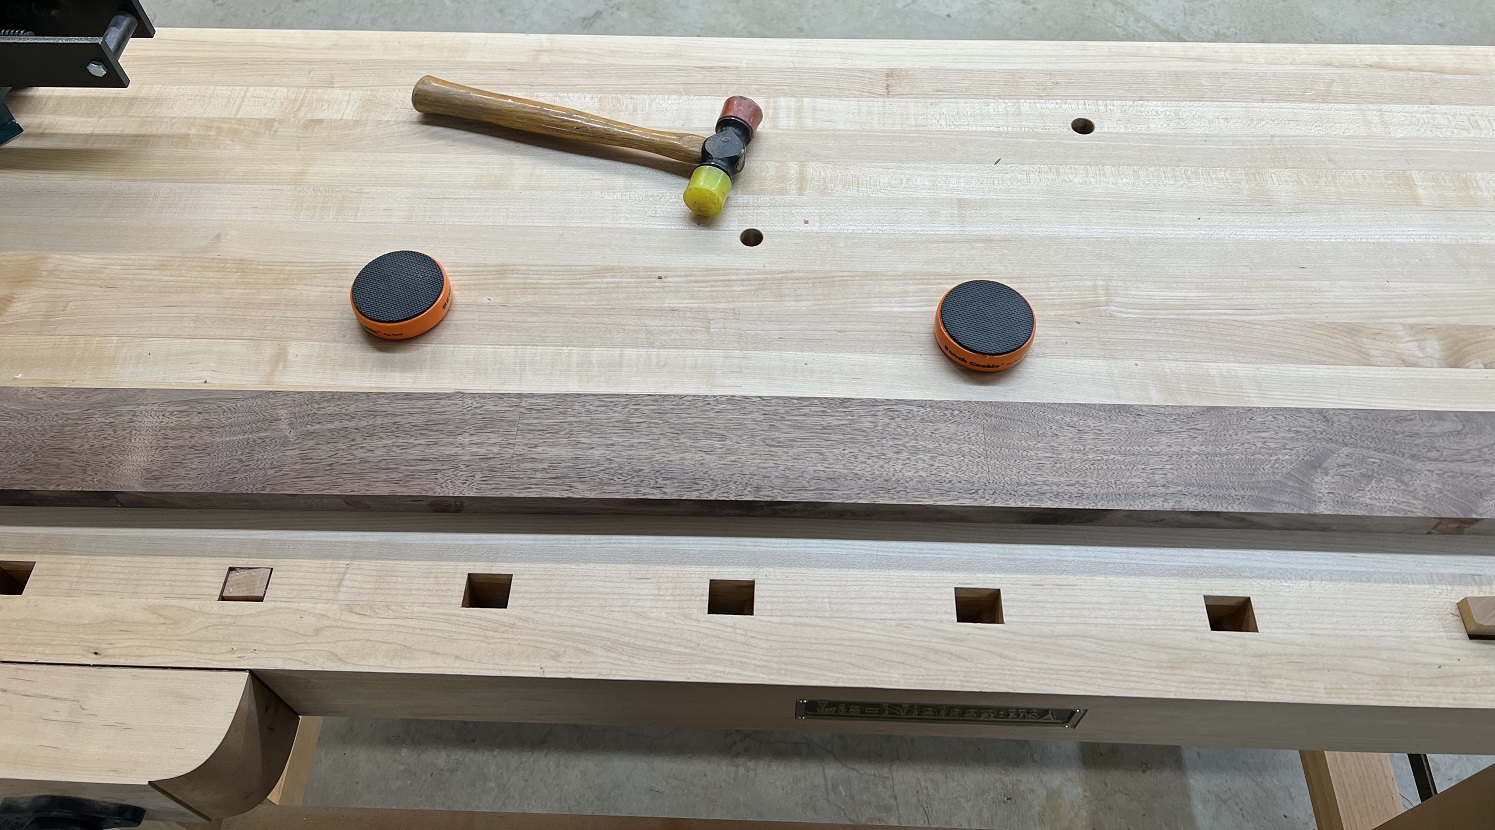
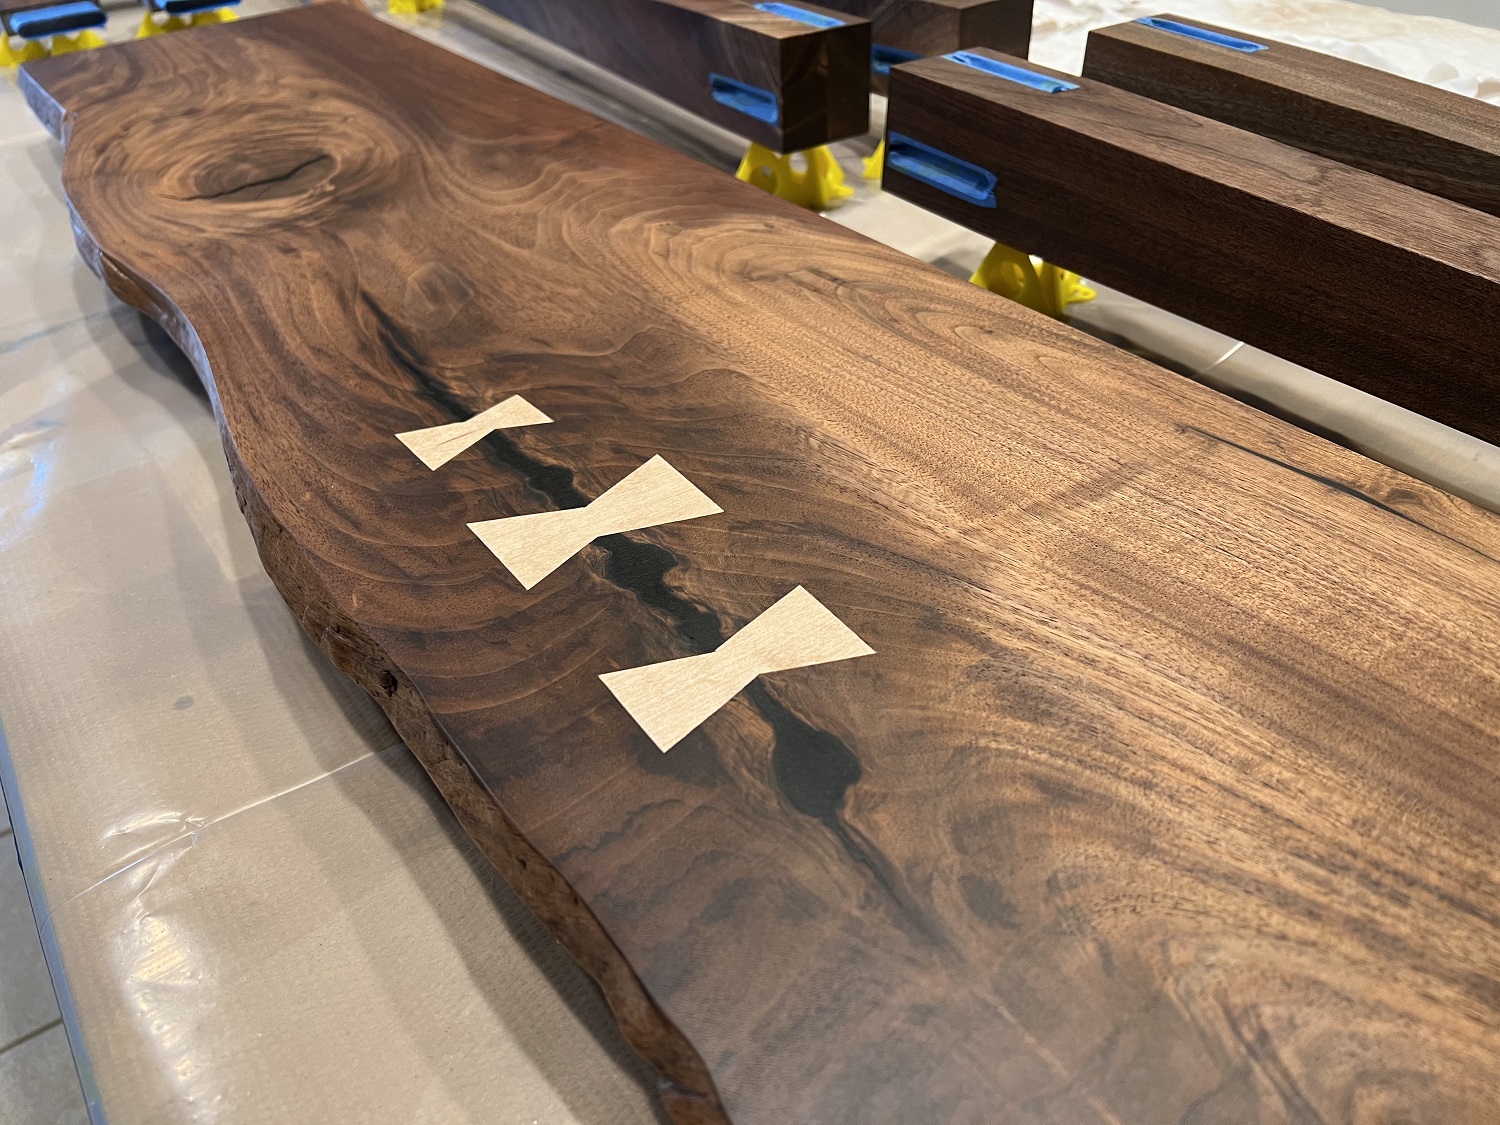
With the top flattened, it’s time to lay out and make the bow tie keys. The client and I decided to make them freehand and asymmetrical because it looks more organic and unique.
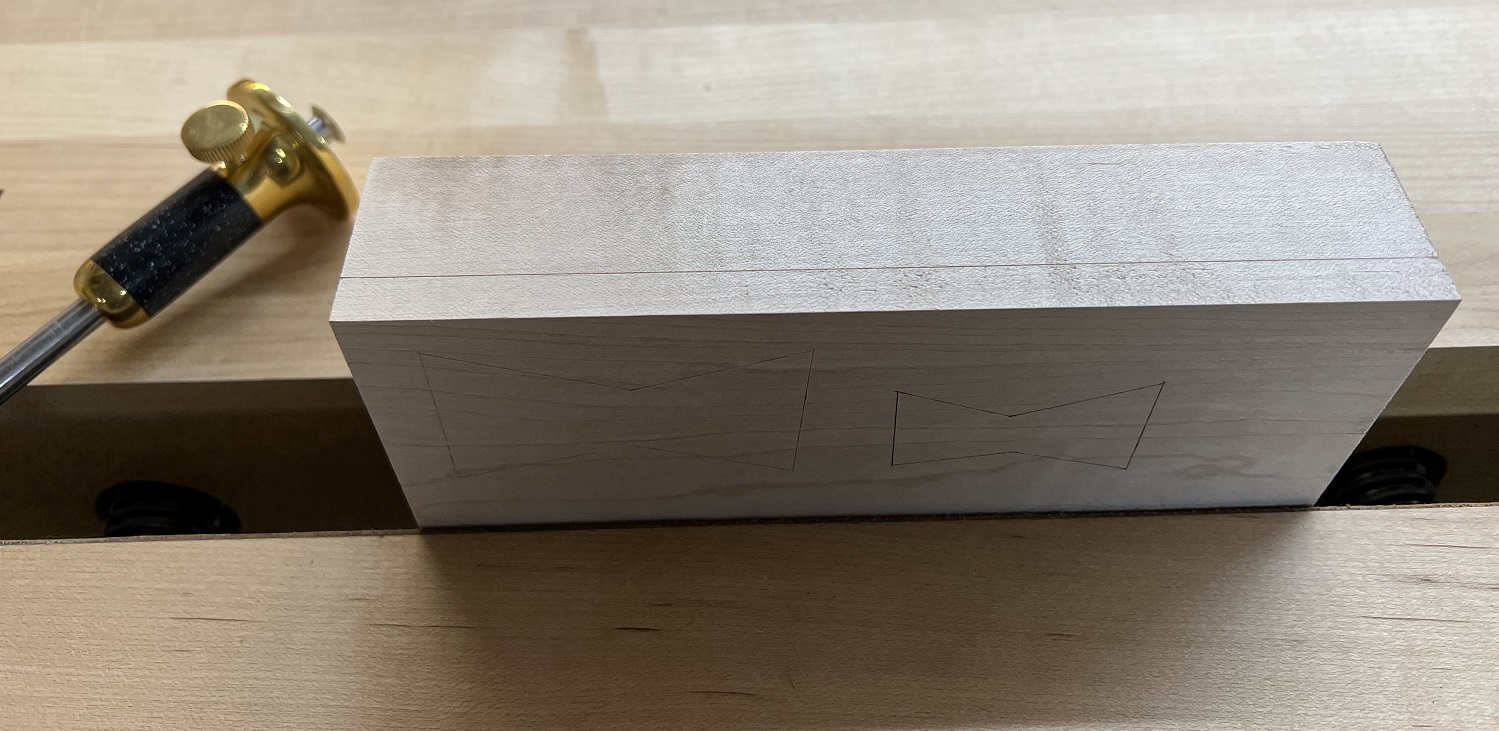
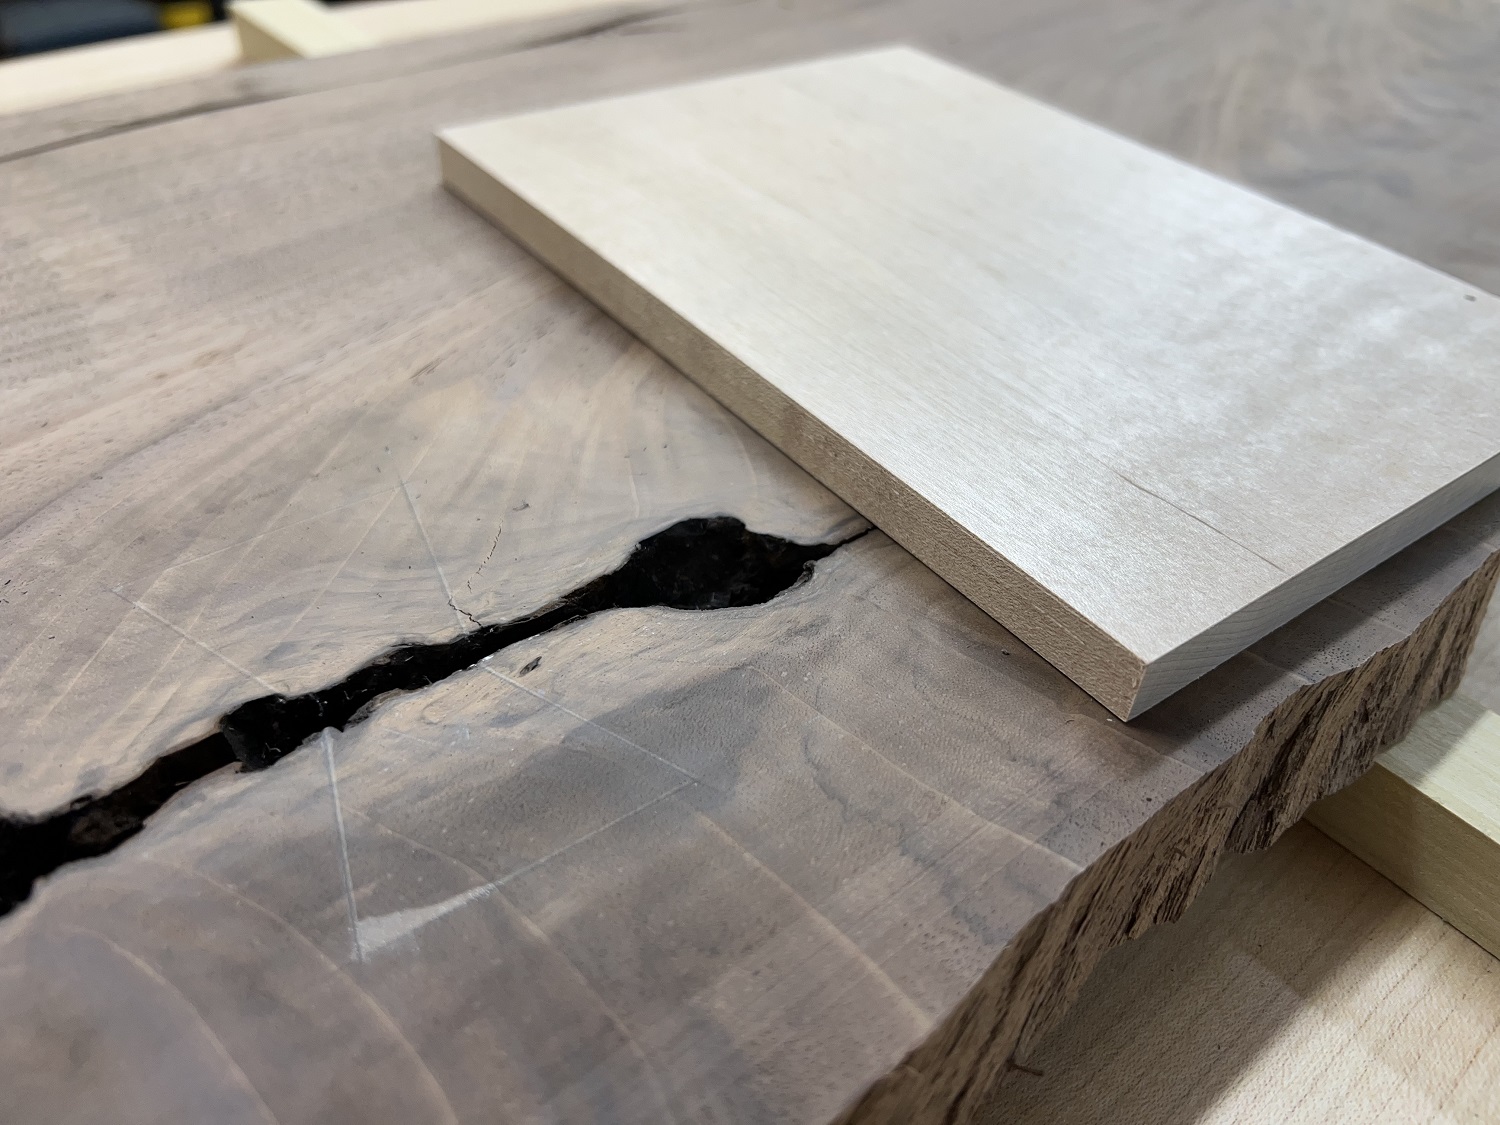
Now to transfer the designs to a piece of maple.
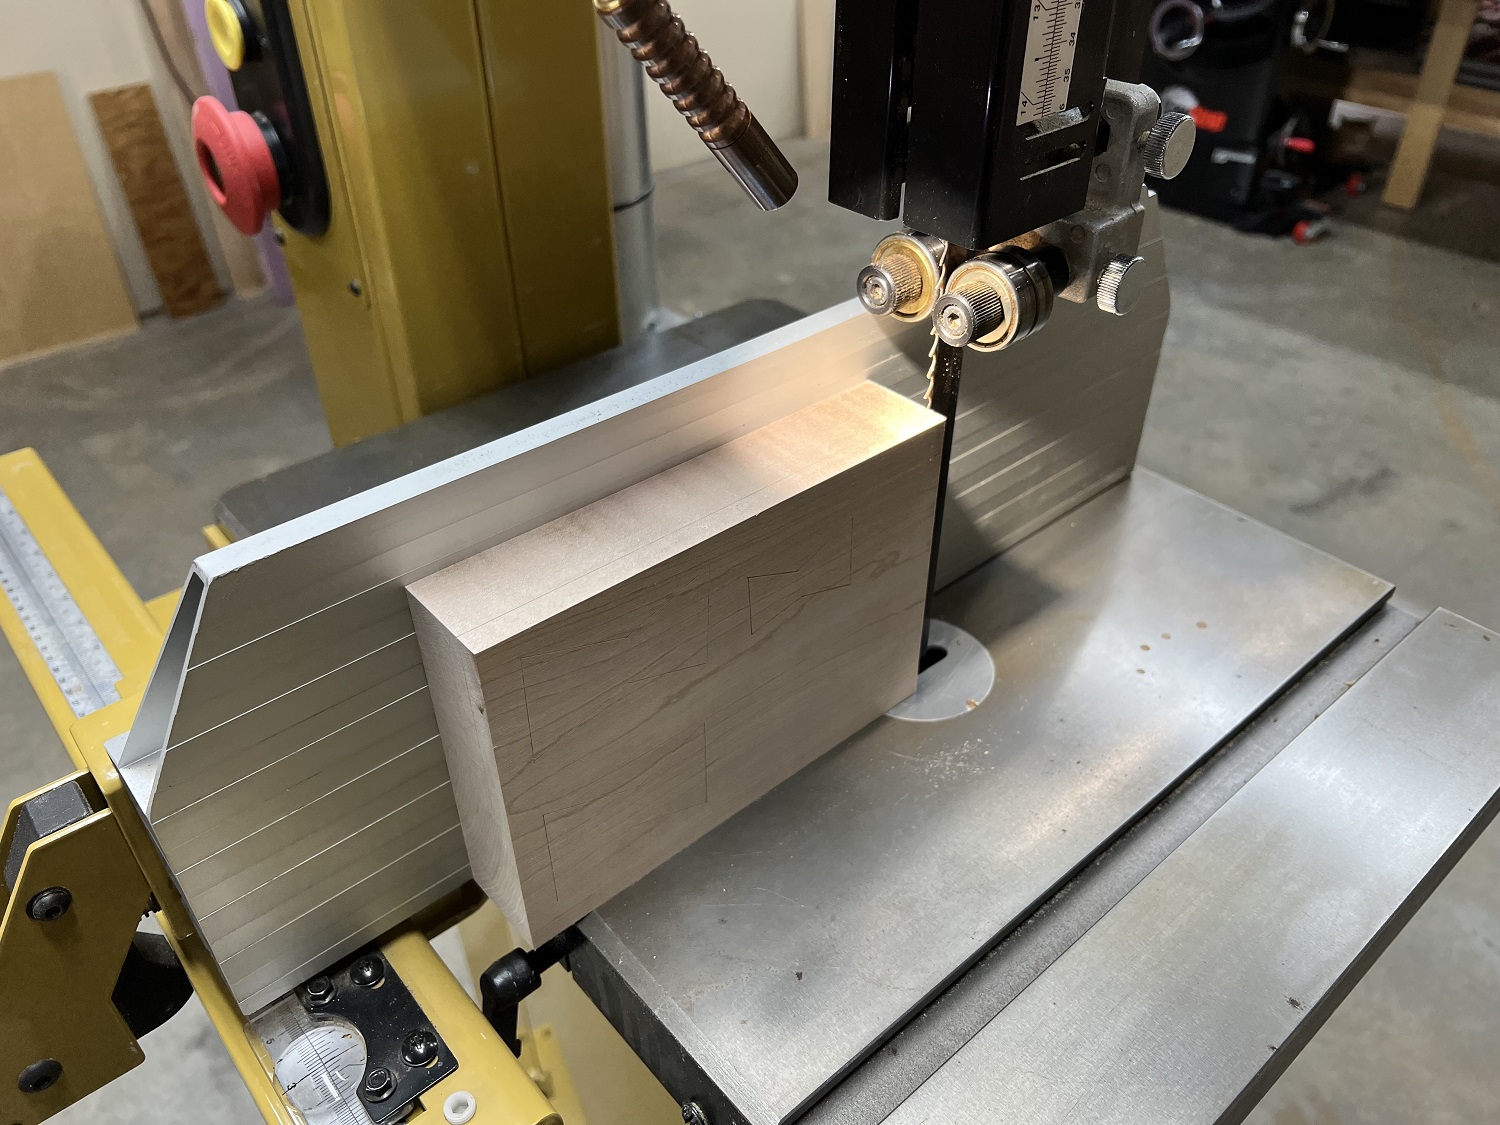
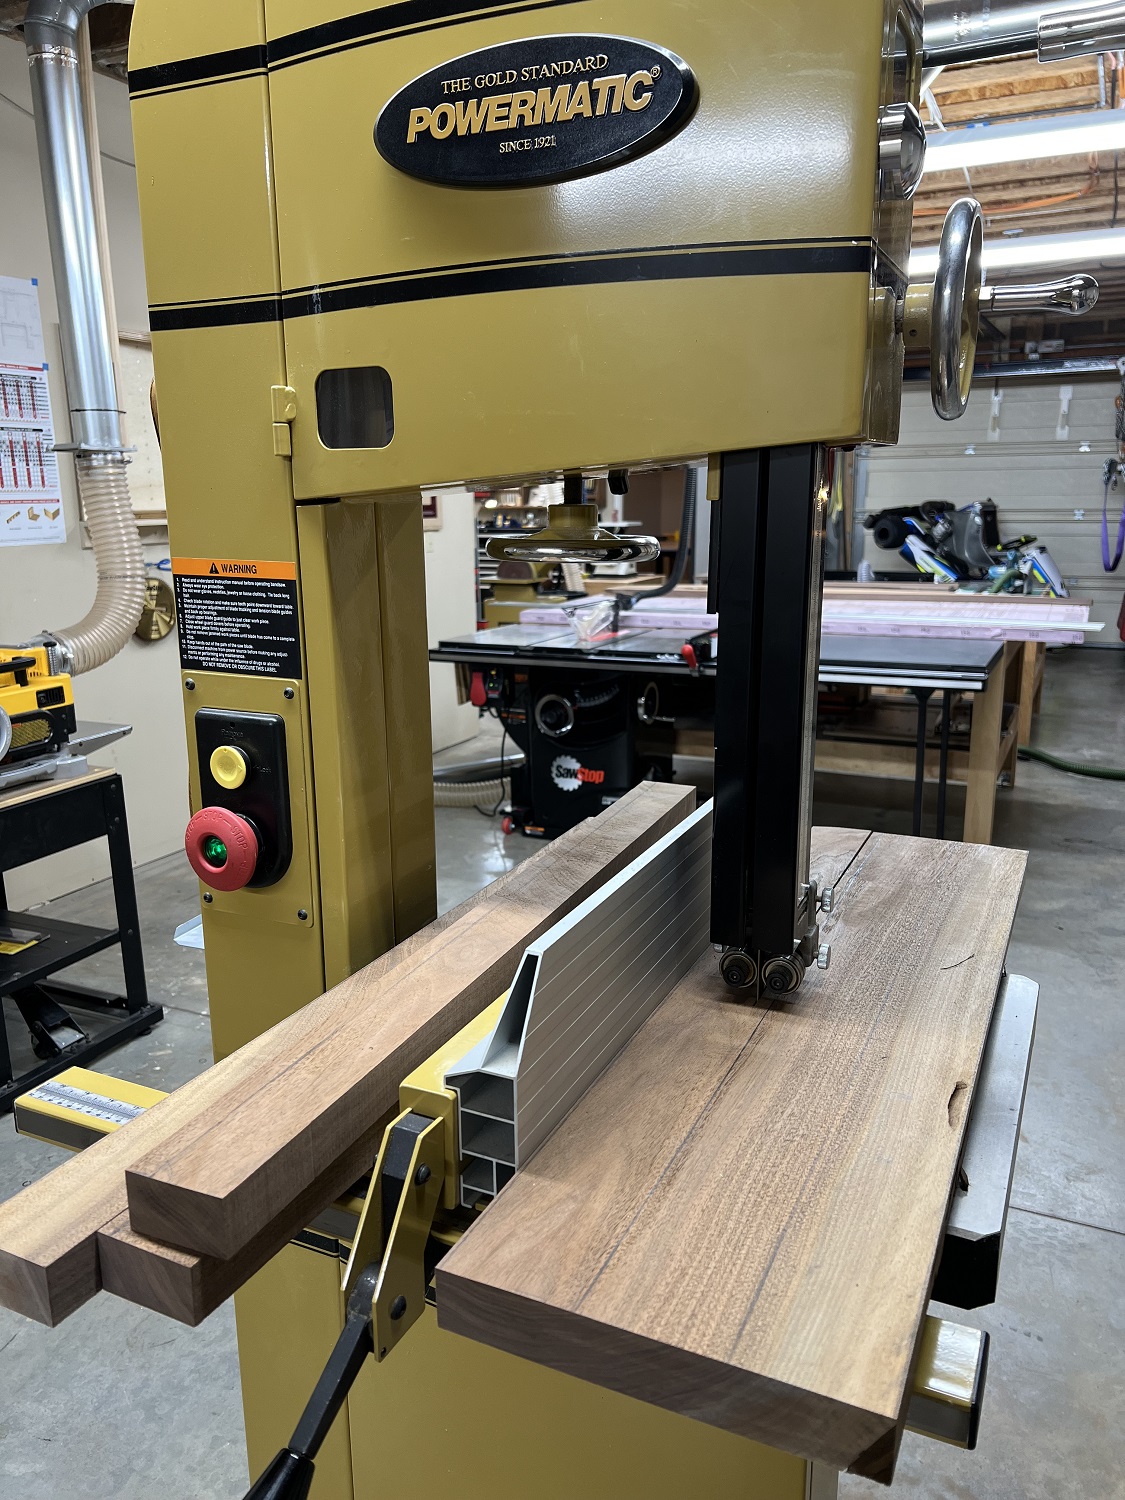
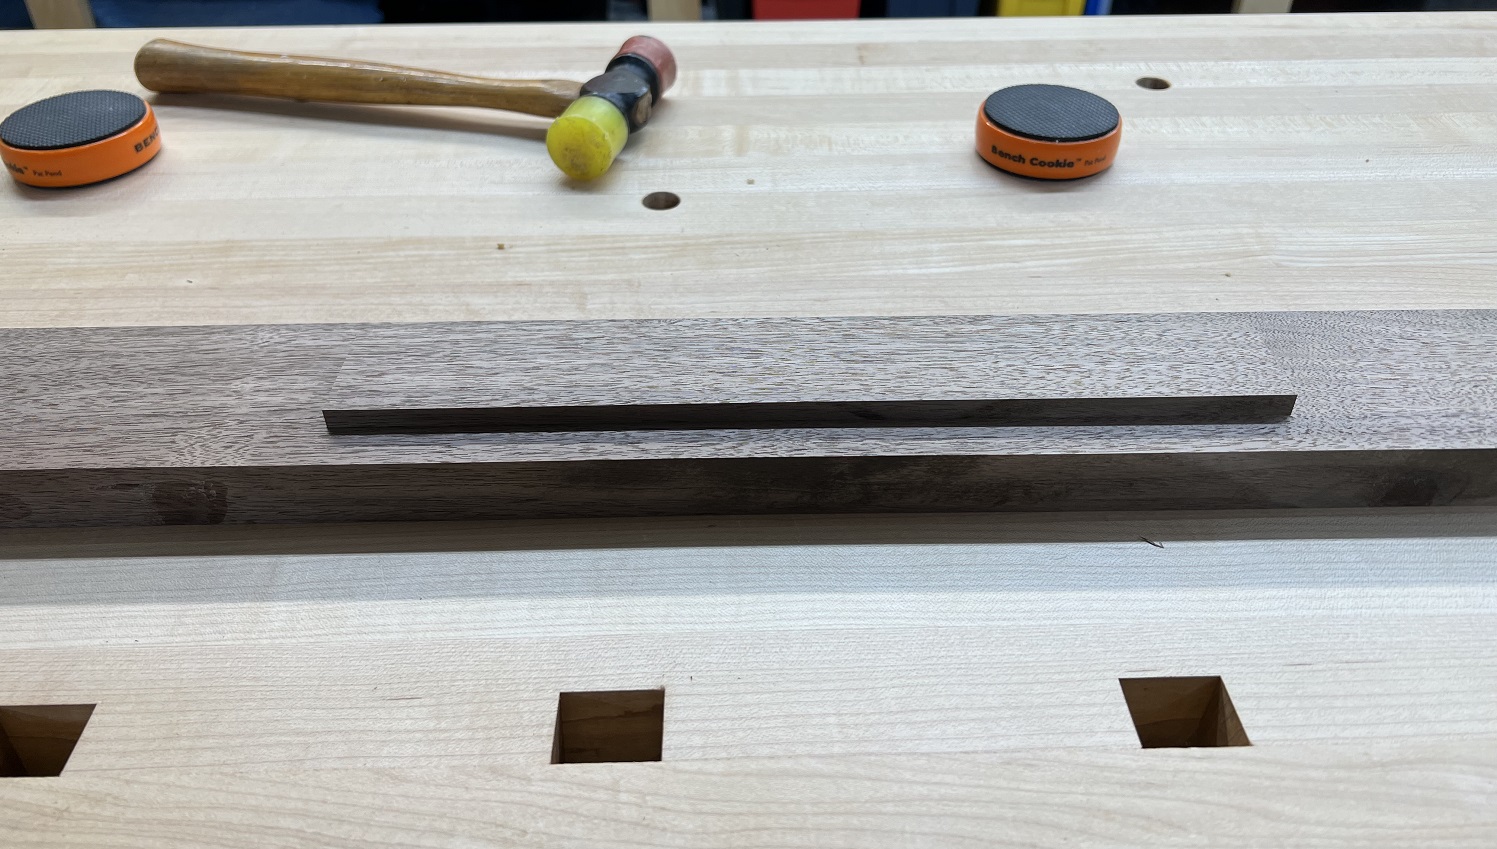
On to the band saw to resaw the maple to 3/8″ thickness.
The bow tie keys were hand cut with a rip cut backsaw.


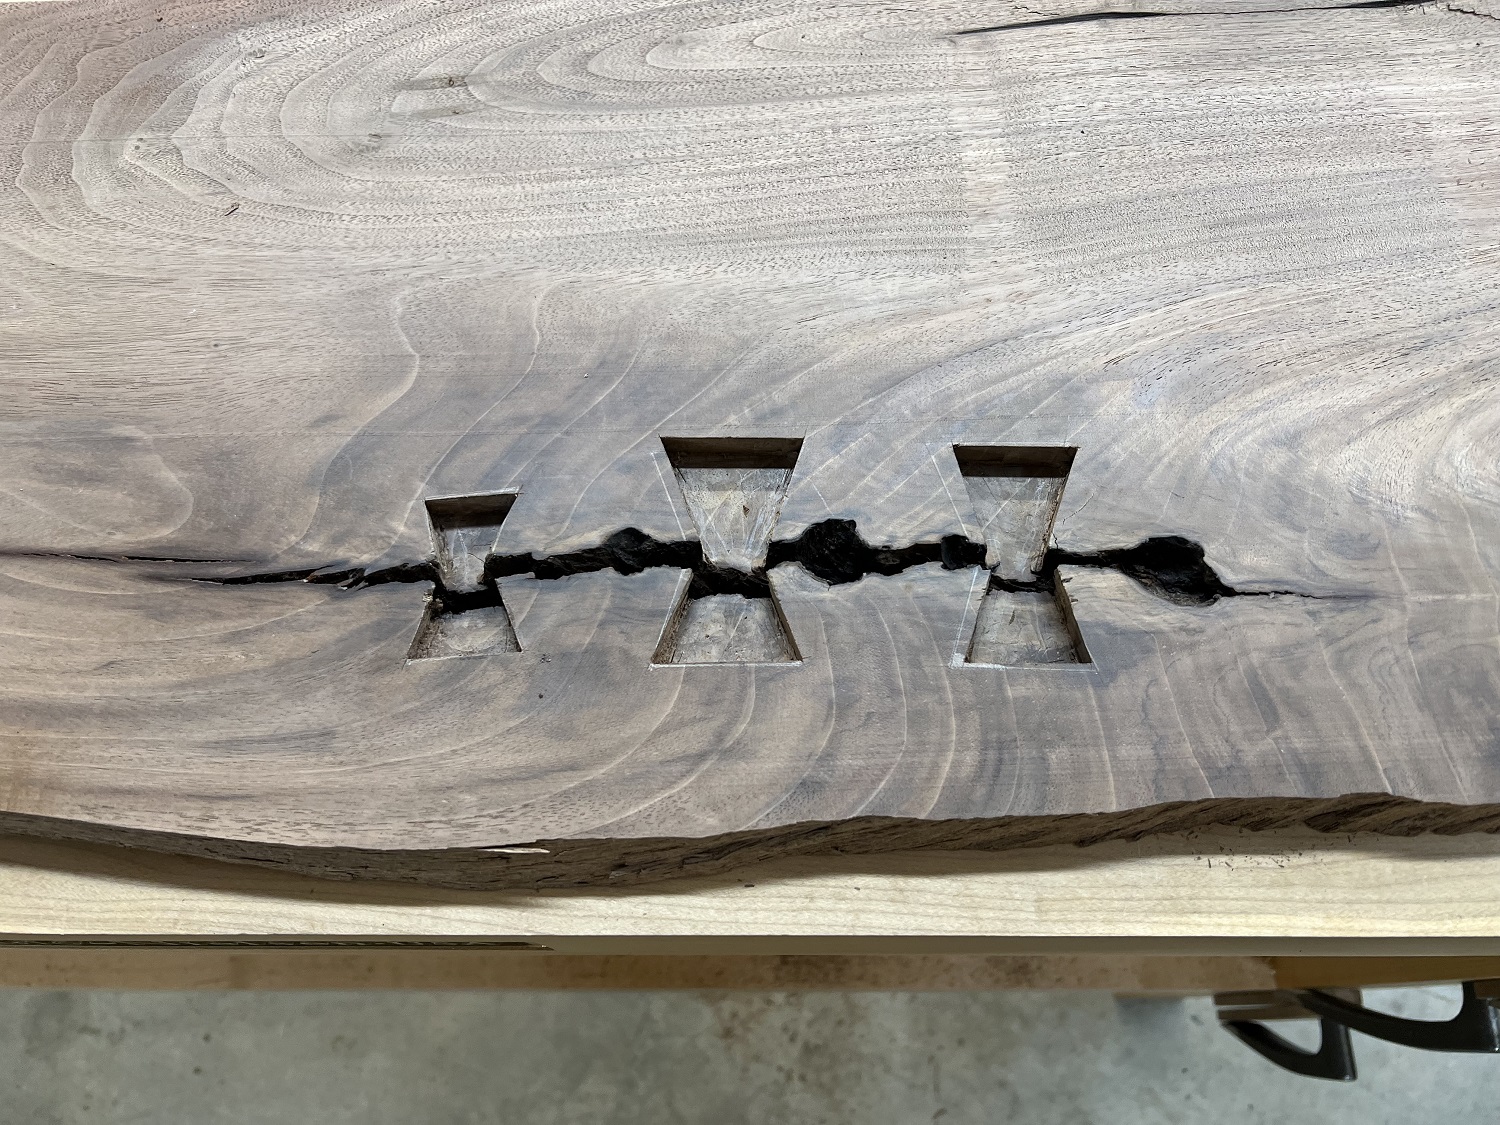
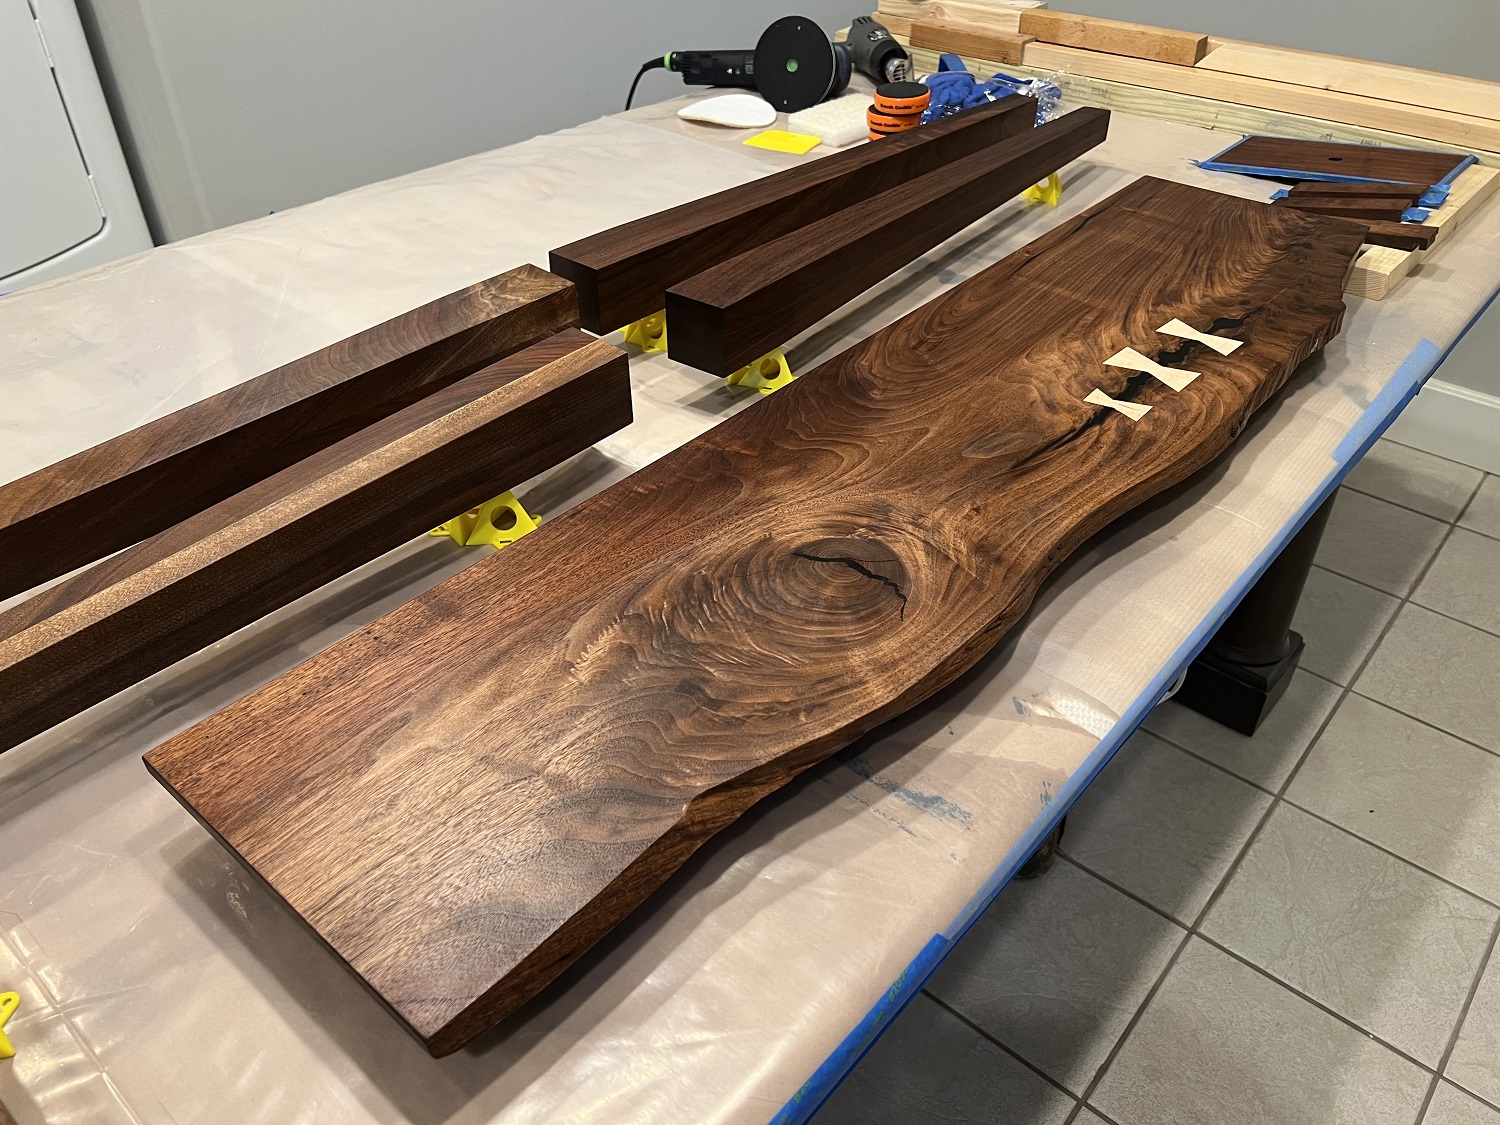
Now to inlay the bow tie keys using a router and chisels.

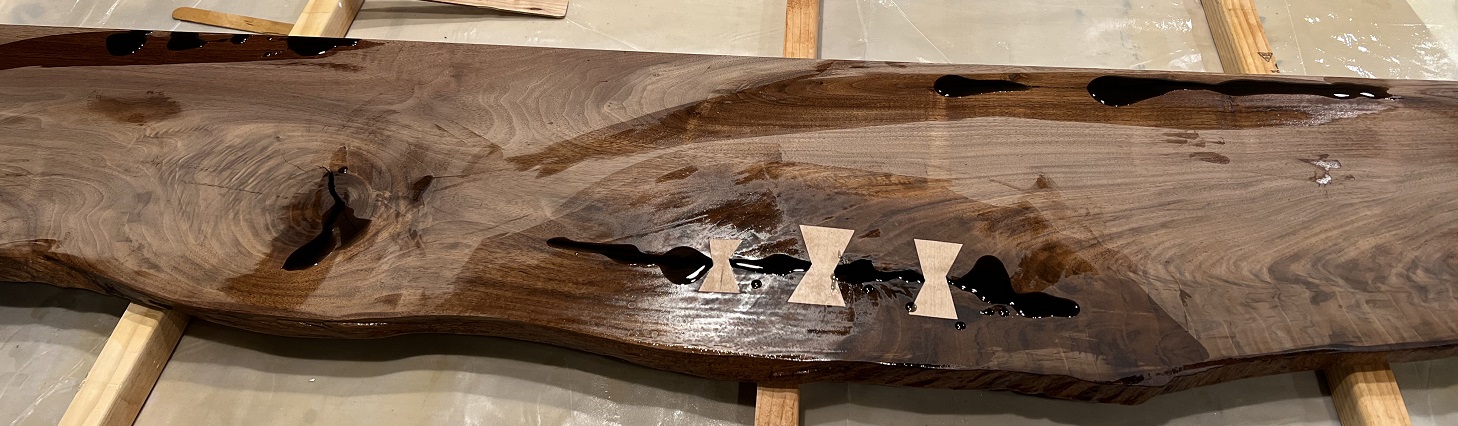
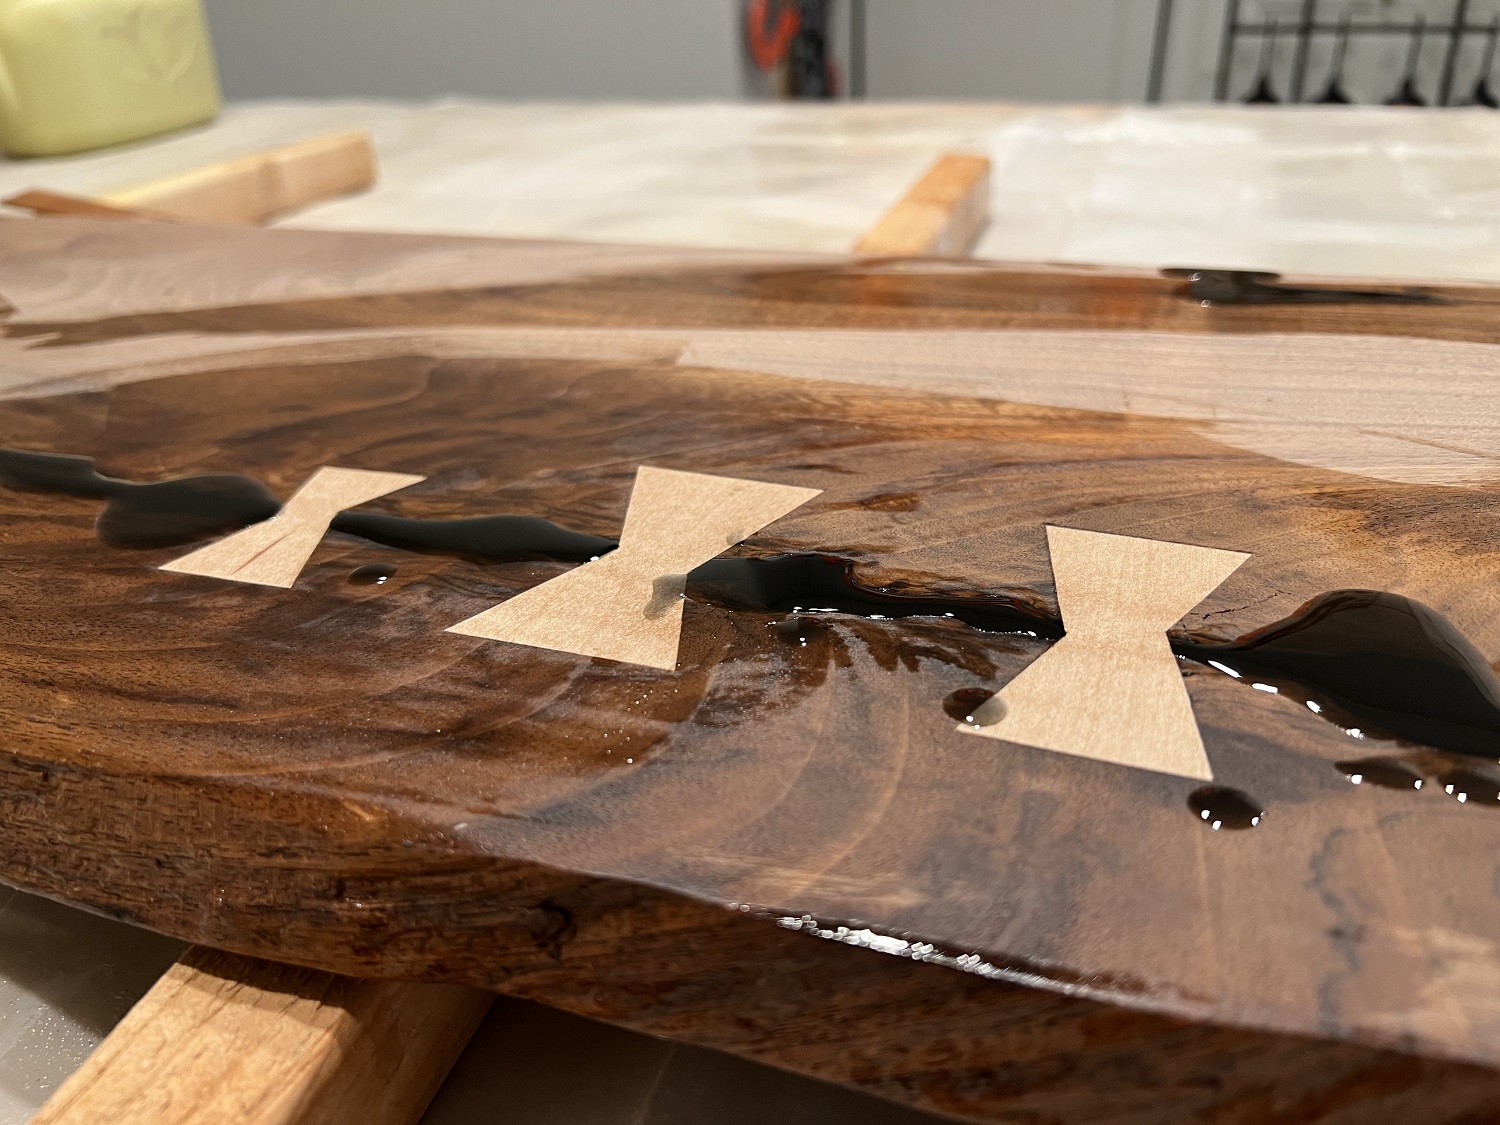
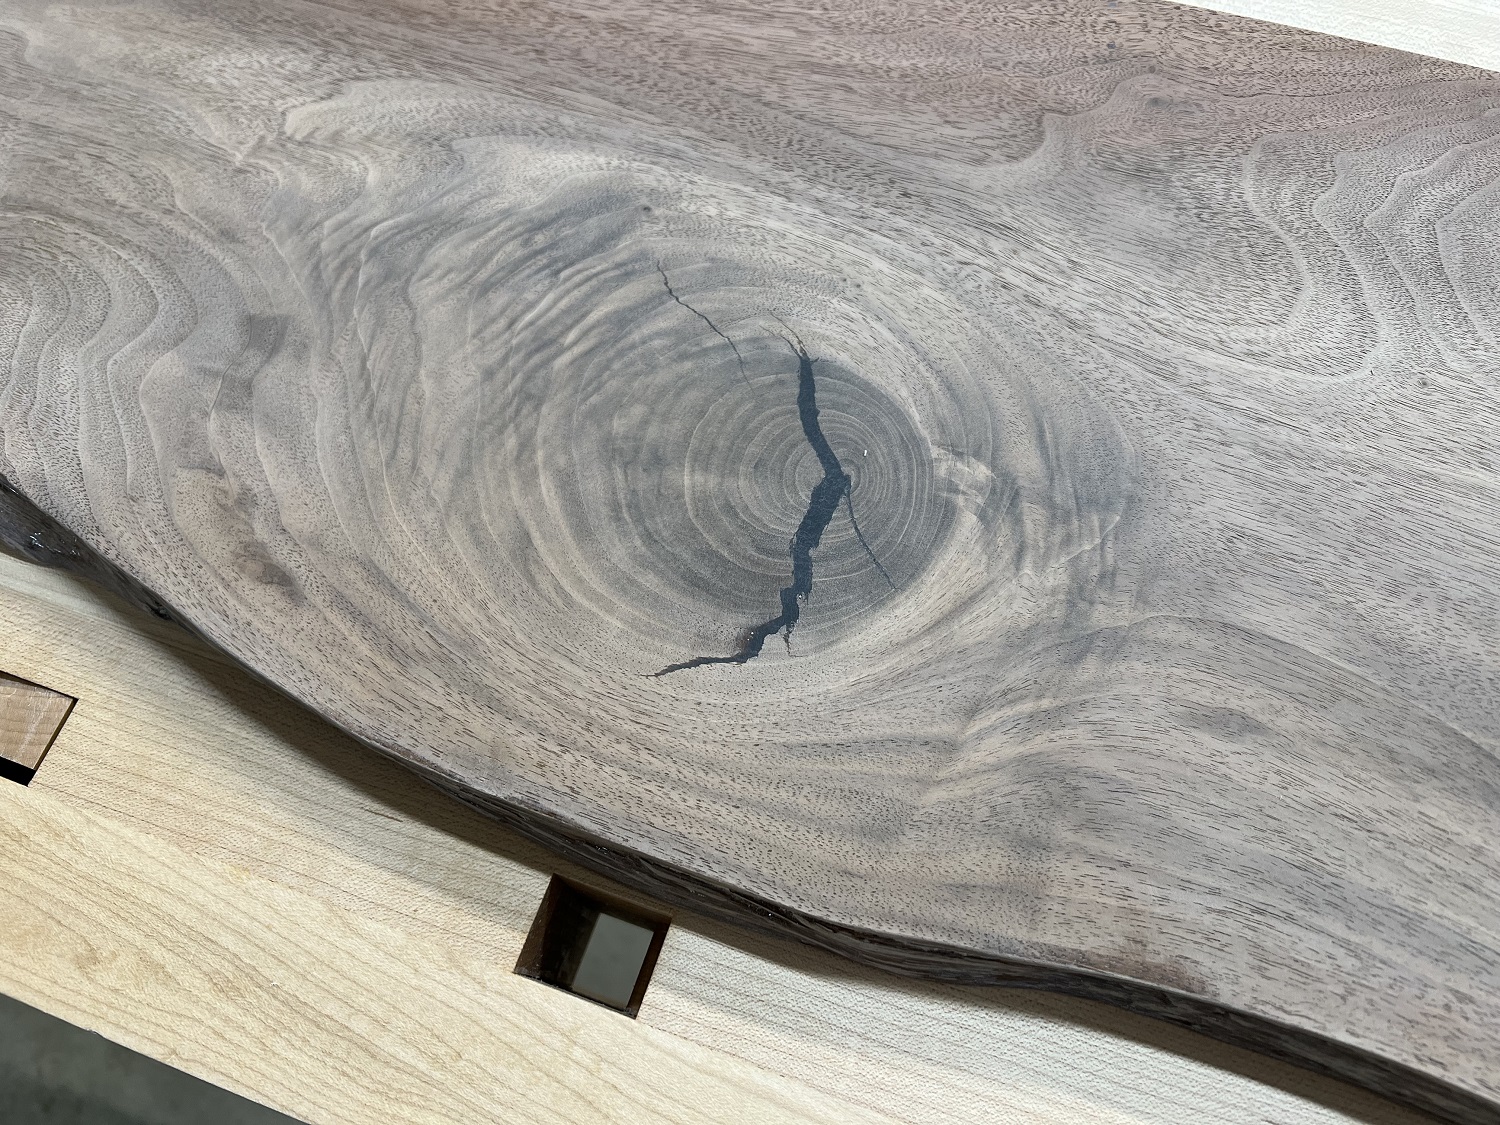
Now to fill the cracks with epoxy. First, a clear seal coat of table top epoxy is applied to the areas that will get poured. This prevents bubbling and staining of the maple bow ties by the black pigment that will be added to the thick set epoxy that will be poured into the crack.

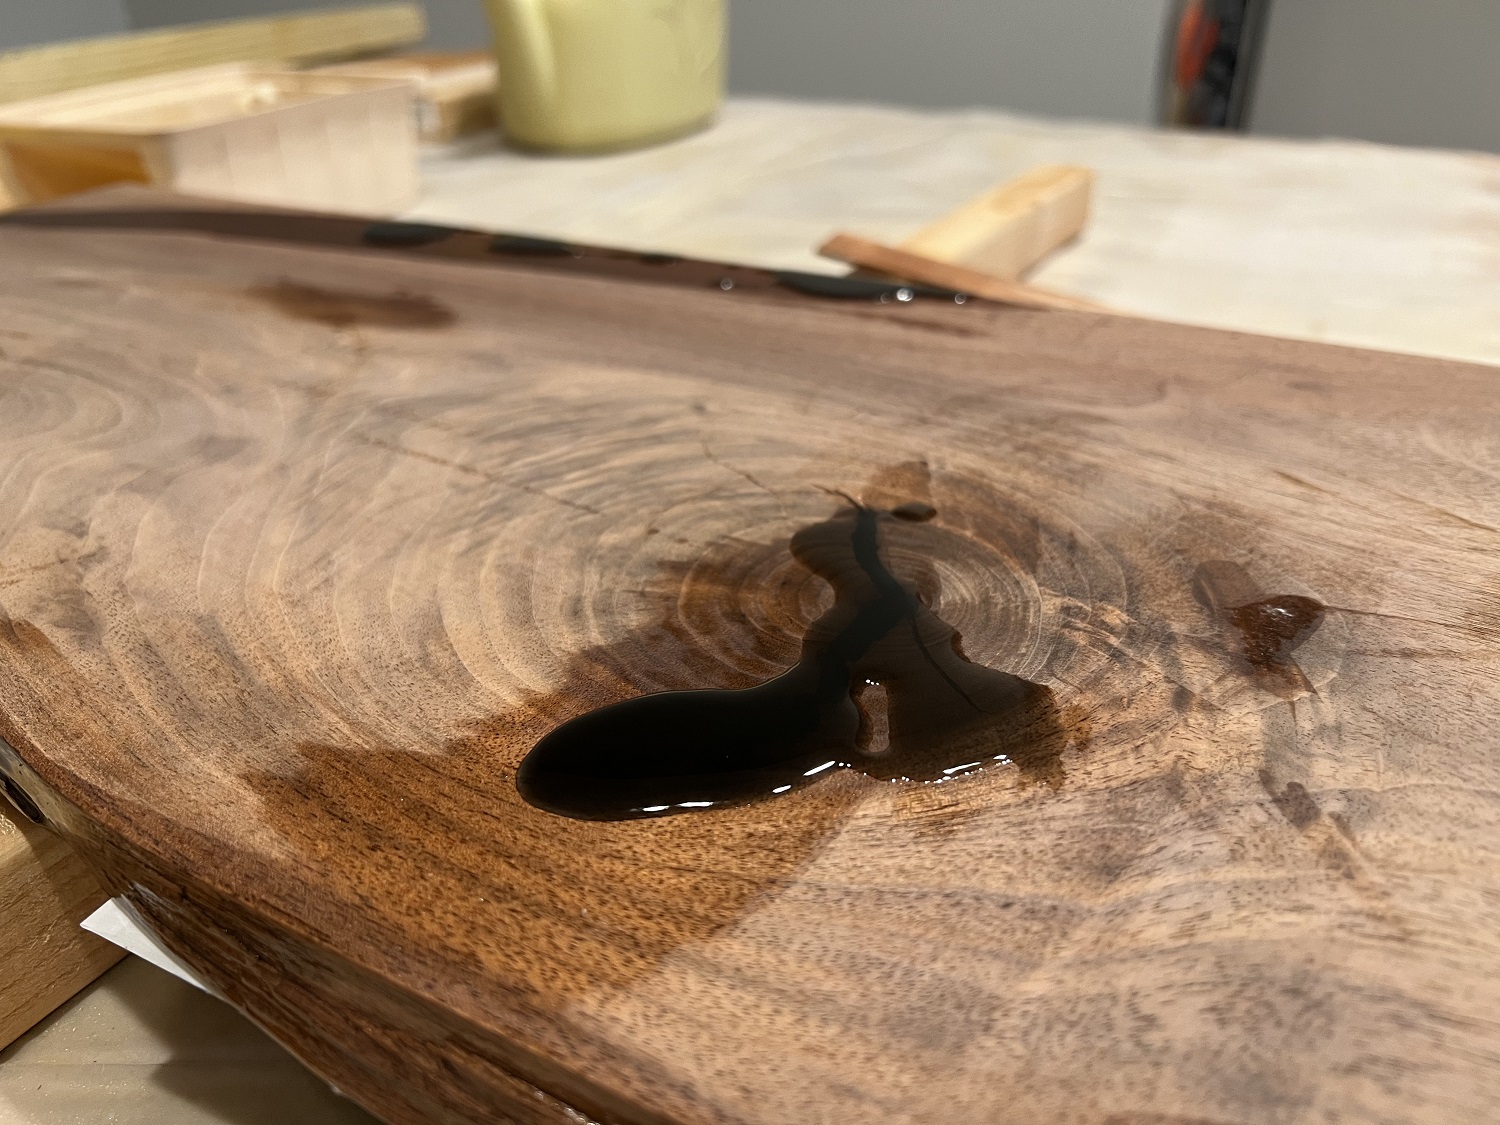
After the seal coat has cured for several hours, the black thick set epoxy is poured.
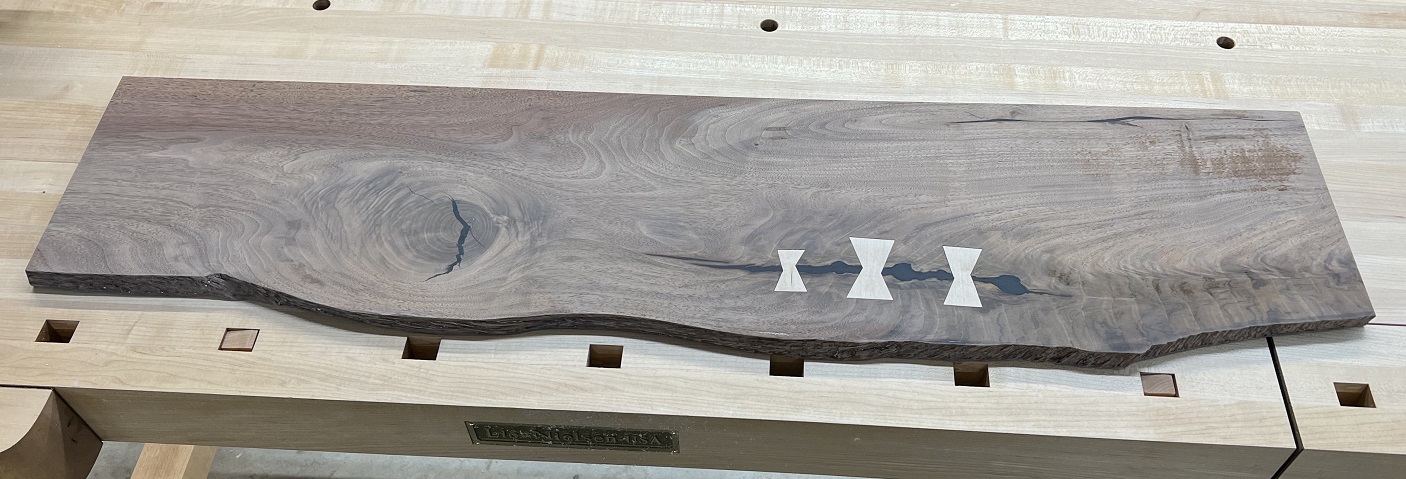
Some card scraping and sanding produces this result.
While the epoxy continues to cure, the next step is milling the the legs from this rough sawn slab.


After jointing and planing, the legs are glued up and the hidden drawer front in the front apron is made.
Now to cut the mortise and tenon joinery in the legs and aprons.
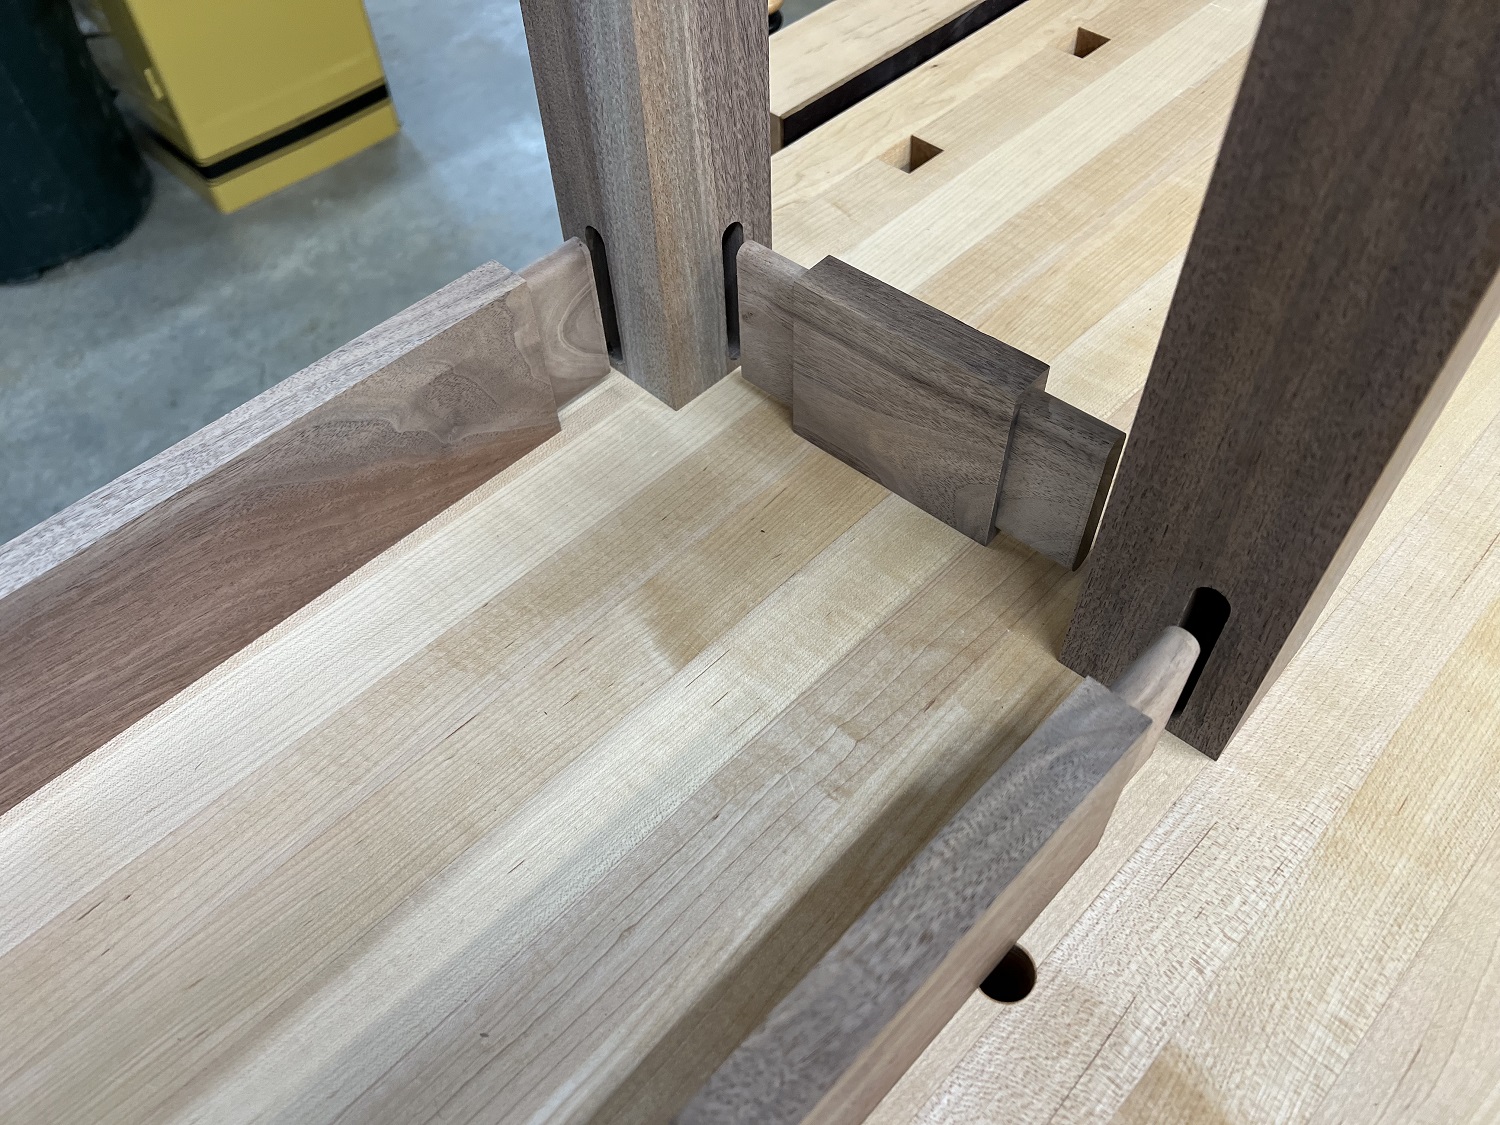
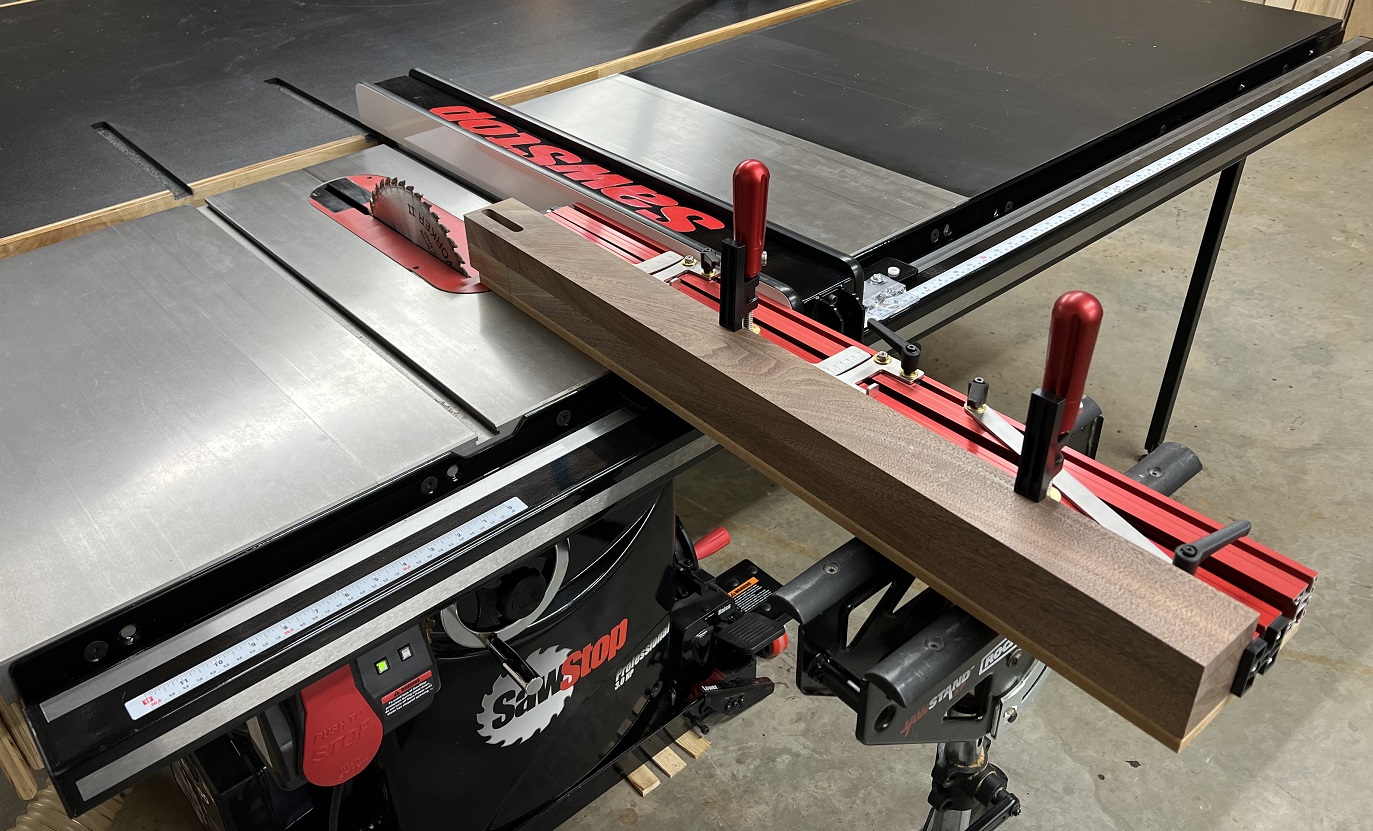
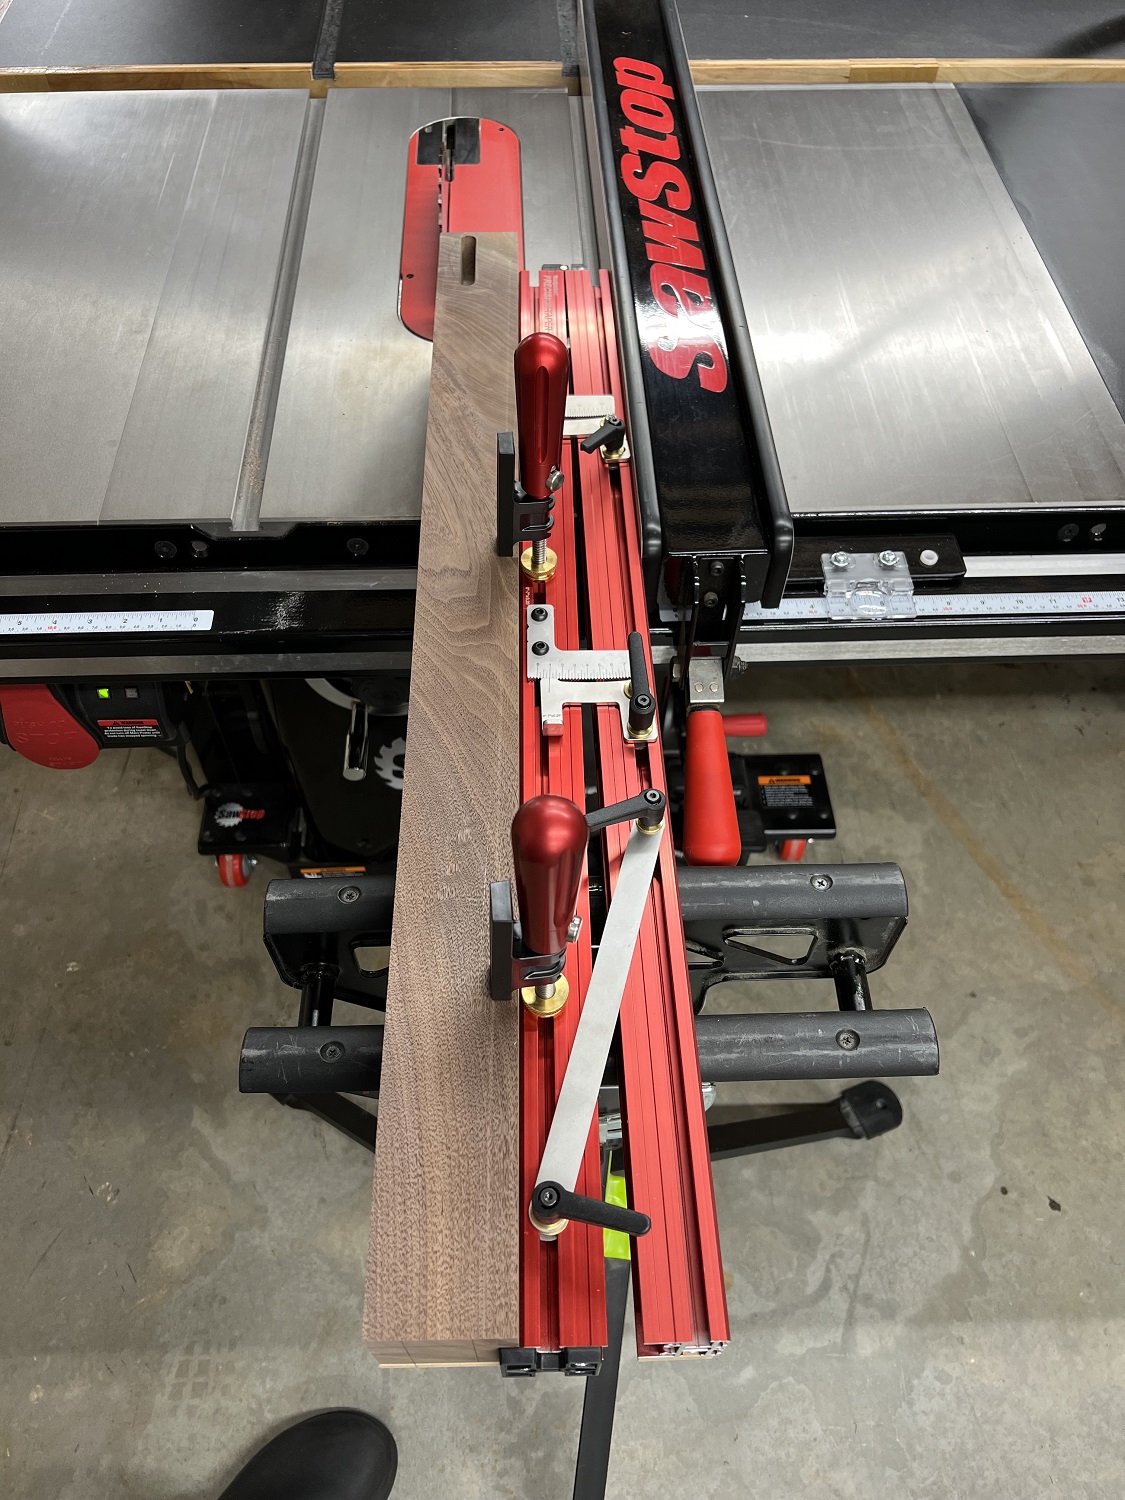
With the joinery cut, the legs are tapered at 1.25 degrees.
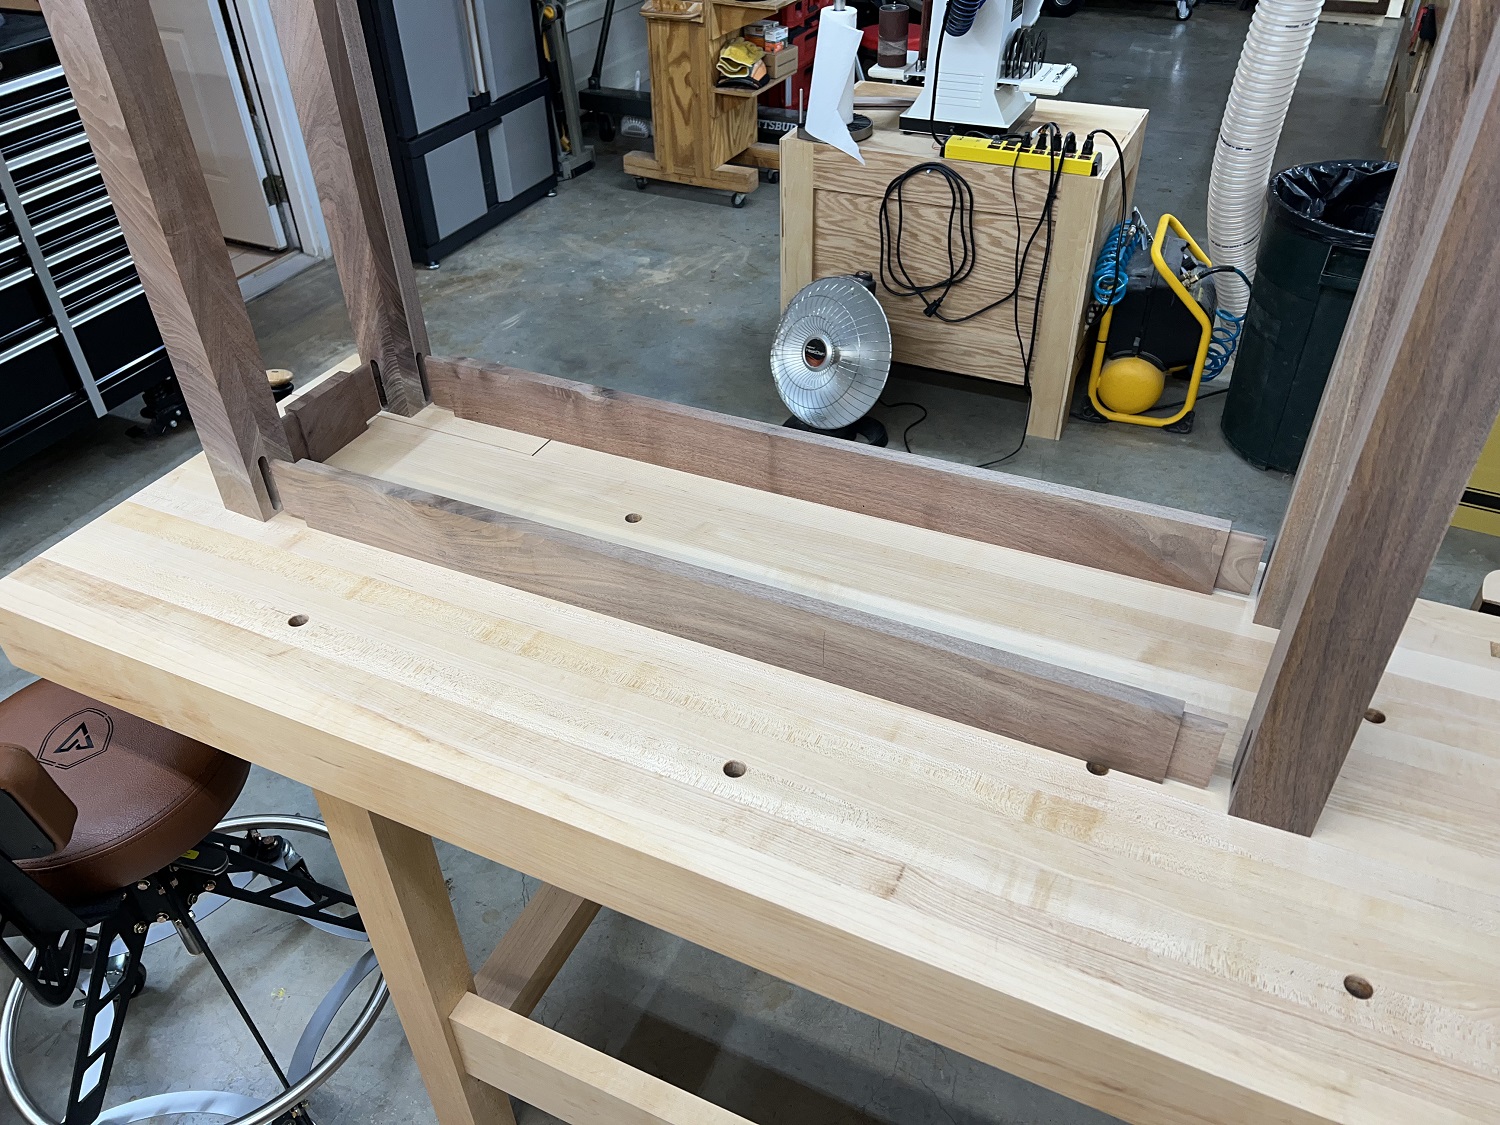
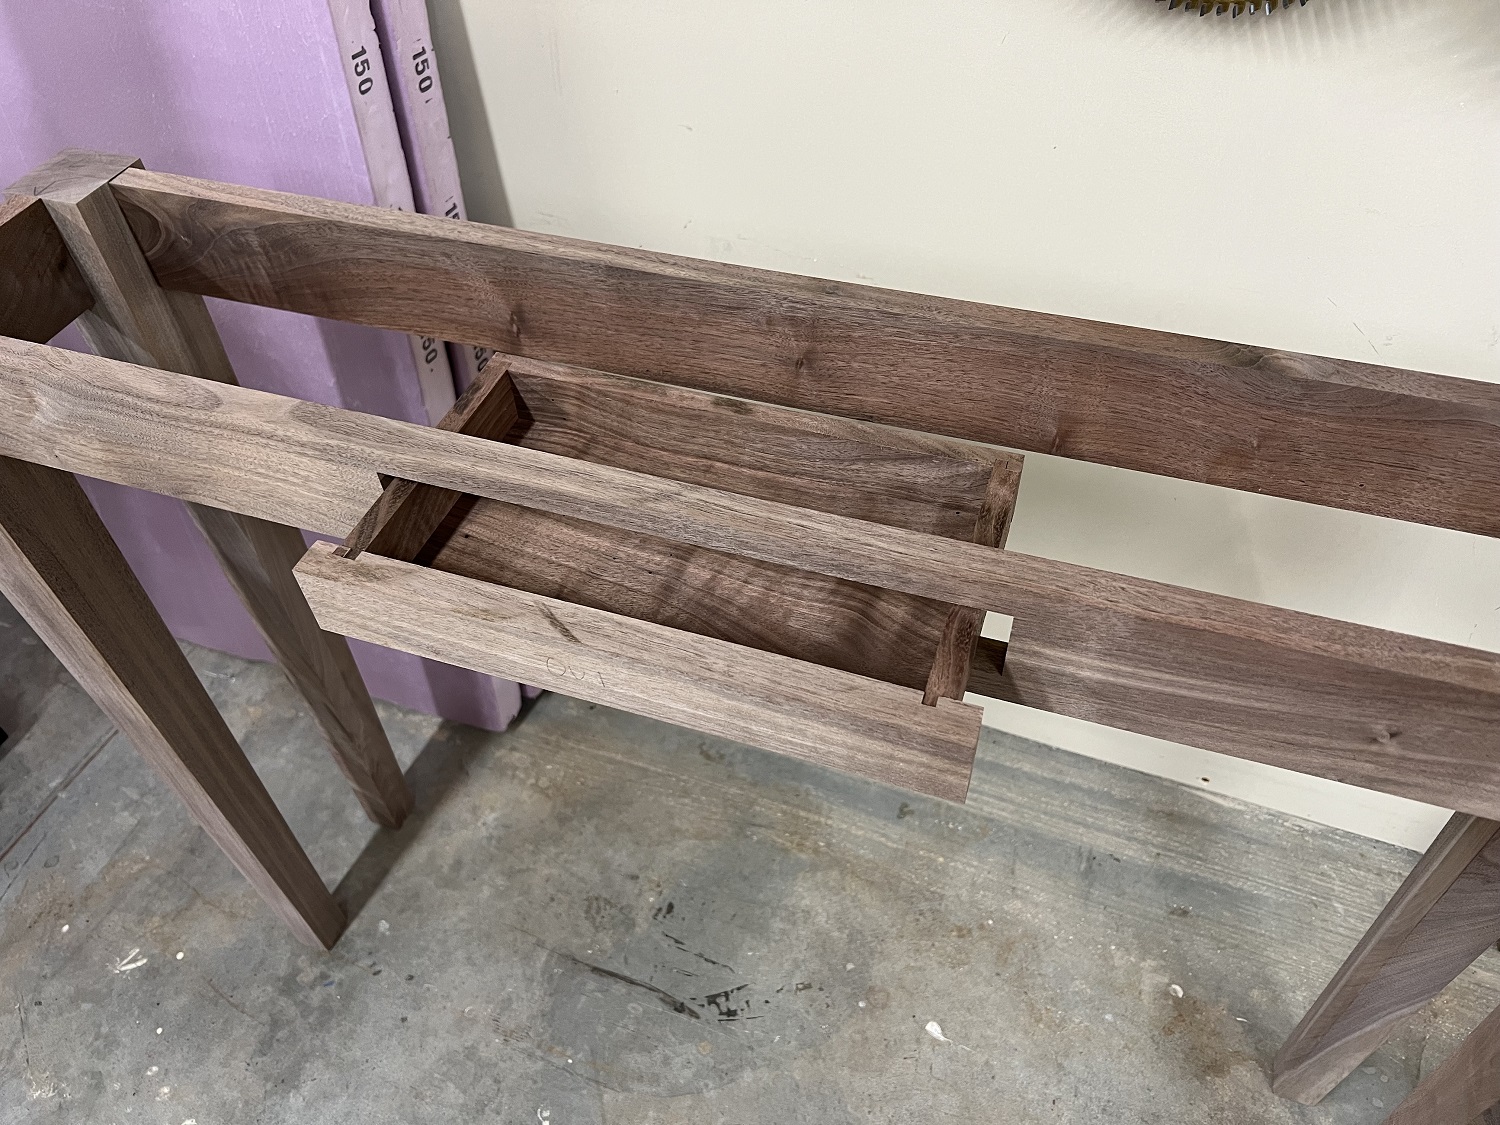
The dry fit looks good. A bevel was cut in the underside of the top at each end to make the transition from live edge to square edge more graceful.
Now to make the drawer box. The pieces were resawn, jointed and planed to final thickness from leftover scrap.
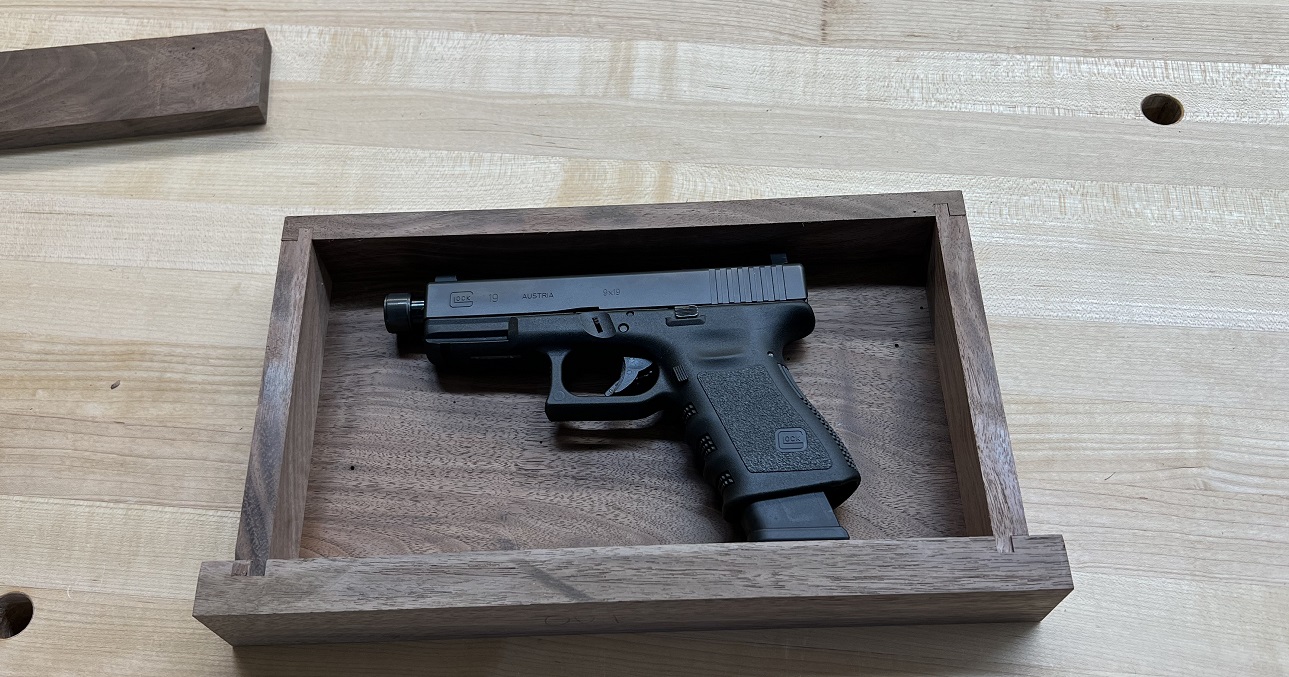
This drawer is a bit different from most since the drawer front is part of the apron and full extension metal slides were required because the live edge protruded considerably over the center of the apron. In addition, the table is so shallow that all available interior space had to be utilized. Dovetails won’t work due to these constraints, so locking rabbets were selected for the corner joinery. The 1/4″ solid walnut bottom sits flush with the bottom edges of the sides in a rabbet, and will be glued in place. Wood expansion will not be an issue at this size, and this construction produces a strong drawer with the space necessary to store a pistol.

Finally on to final sanding and finishing.
Rubio Monocoat Oil Plus 2C (Pure) was selected for the finish and buffed in with the Rotex.

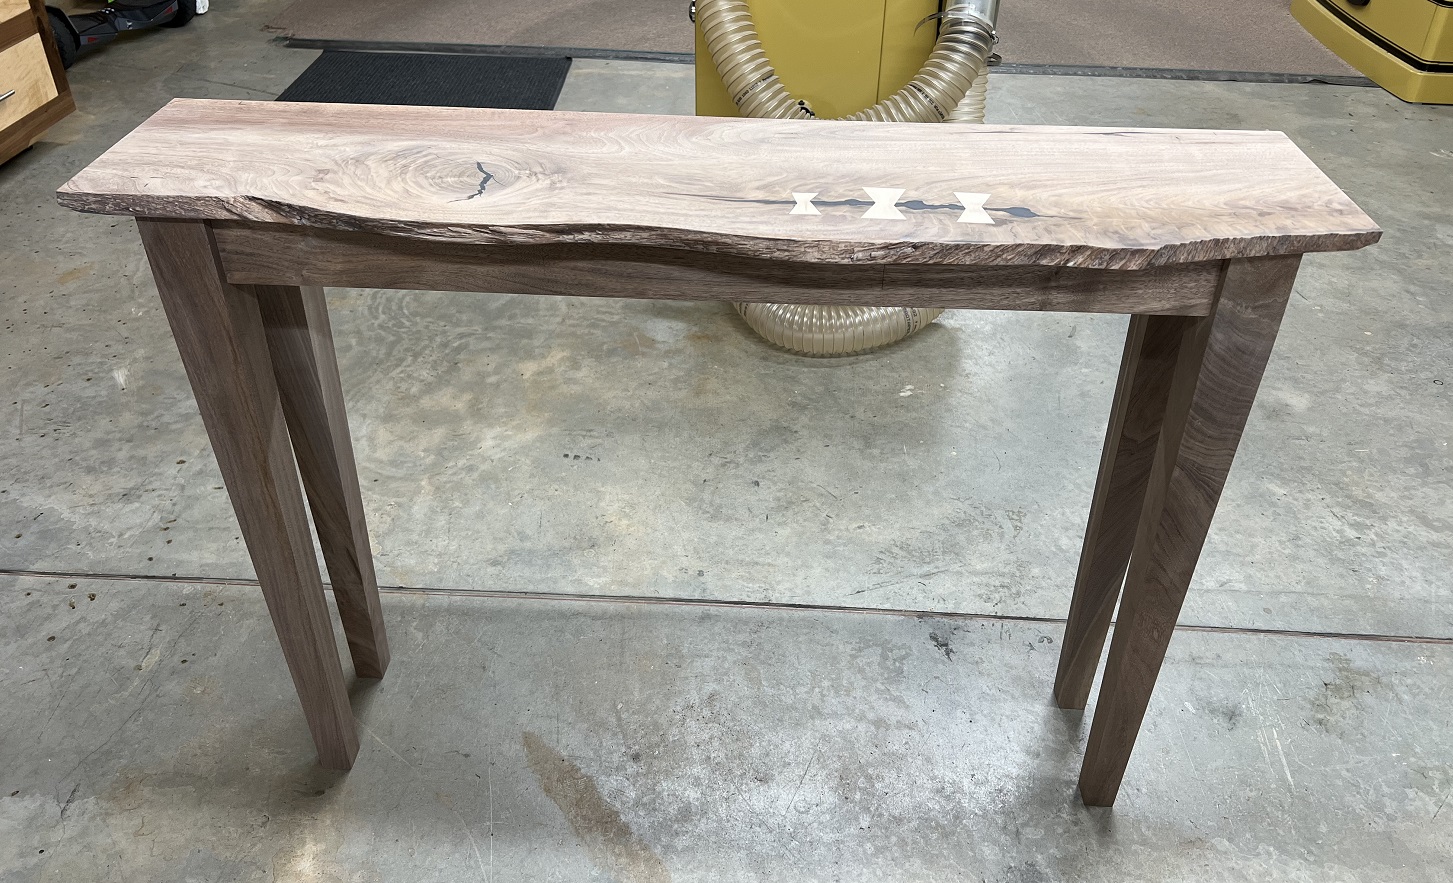
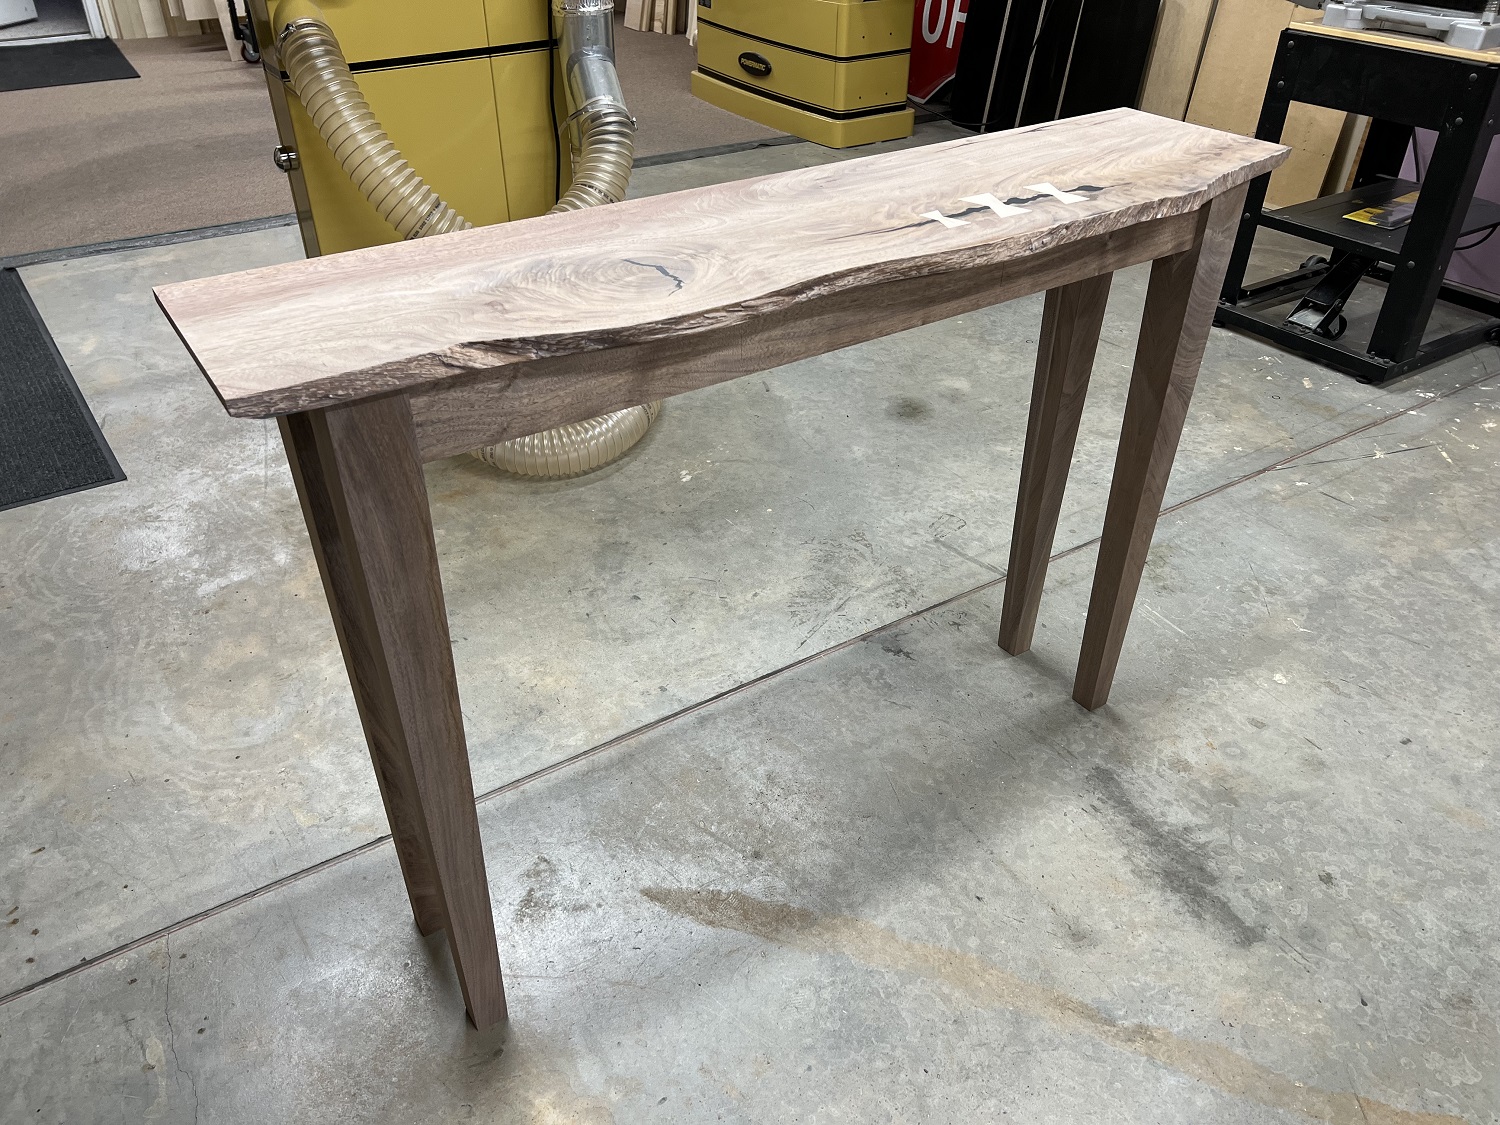
After a finish coat of Rubio Universal Maintenance Oil, the luster and depth improves.
All that remains is to glue it up and install the drawer. Given the level of precision required for the alignment of the zero-clearance drawer face incorporated into the apron, I installed the slides to the drawer and the slide supports on the workbench, then installed the drawer and glued the slide supports to the aprons using the closed drawer to position them before applying clamps. This worked perfectly, and is probably the only satisfactory way to achieve a proper fit in this situation.
Thanks for your interest.