For fun and décor in the hallway adjacent to the game room, some Star Wars UCS Lego displays are needed.
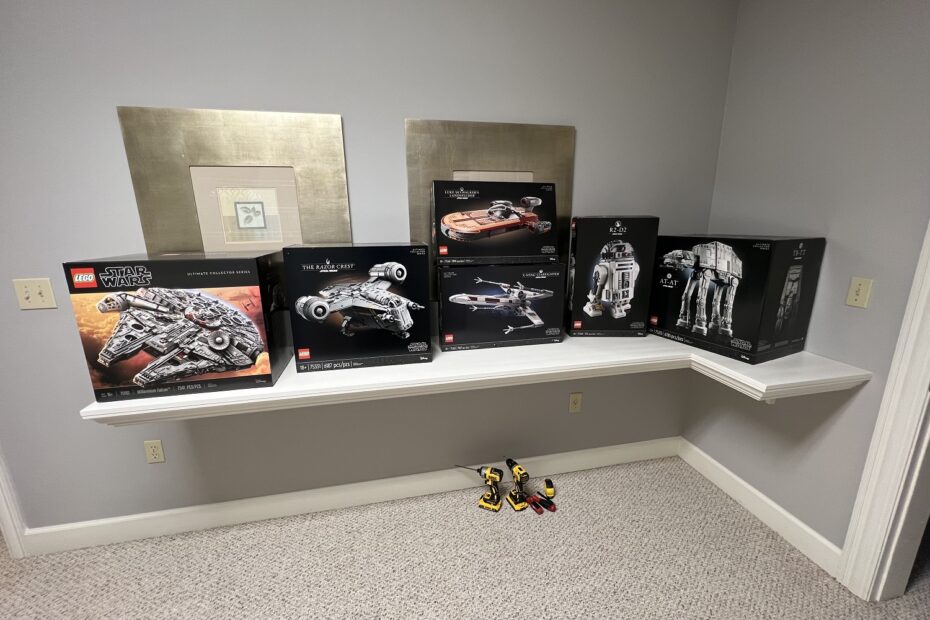
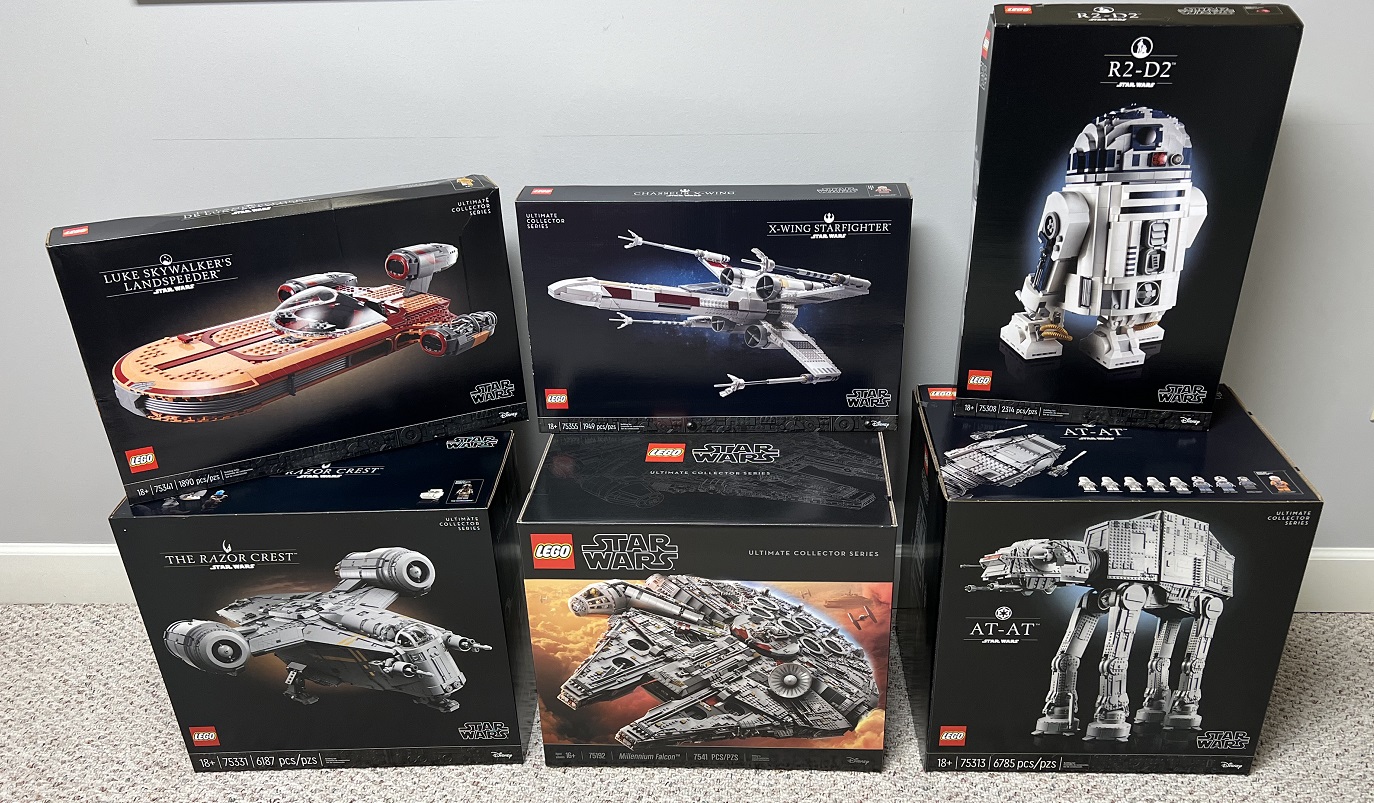
Step 1: Legos acquired.
Step 2: Legos roughly modeled from published specs, eyeballing shapes and proportions, and the measurements of the stand for the Millennium Falcon.
These things are abnormally large. There is space in the hall for a shelf to hold the big ones, but Luke’s Landspeeder and R2-D2 will have to join the Technics models in the home theater, which will be nice anyway.
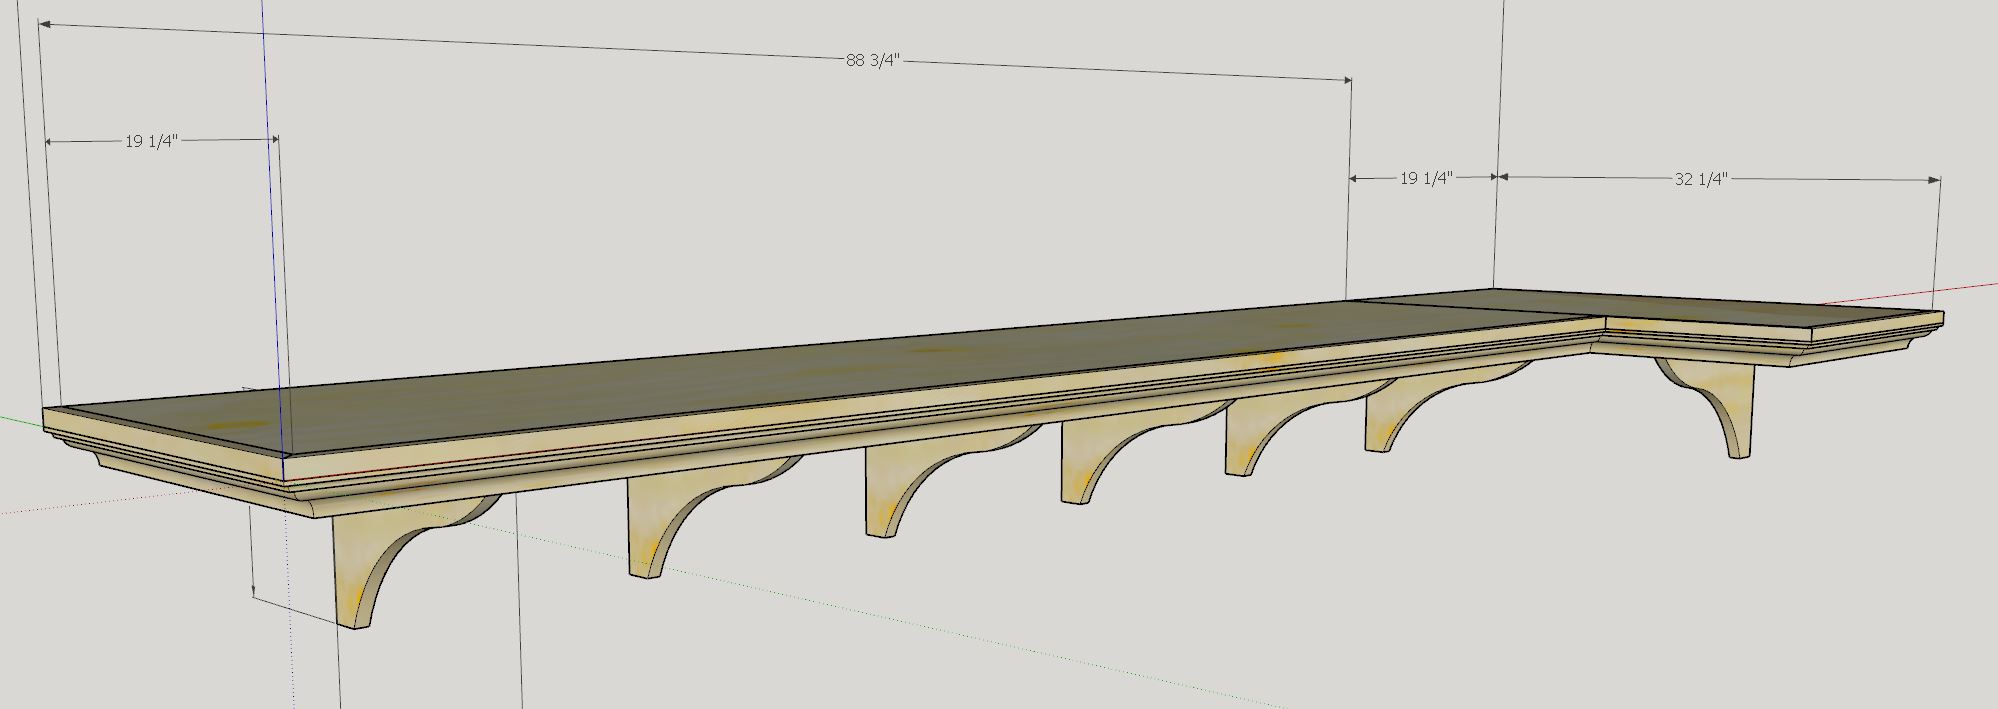
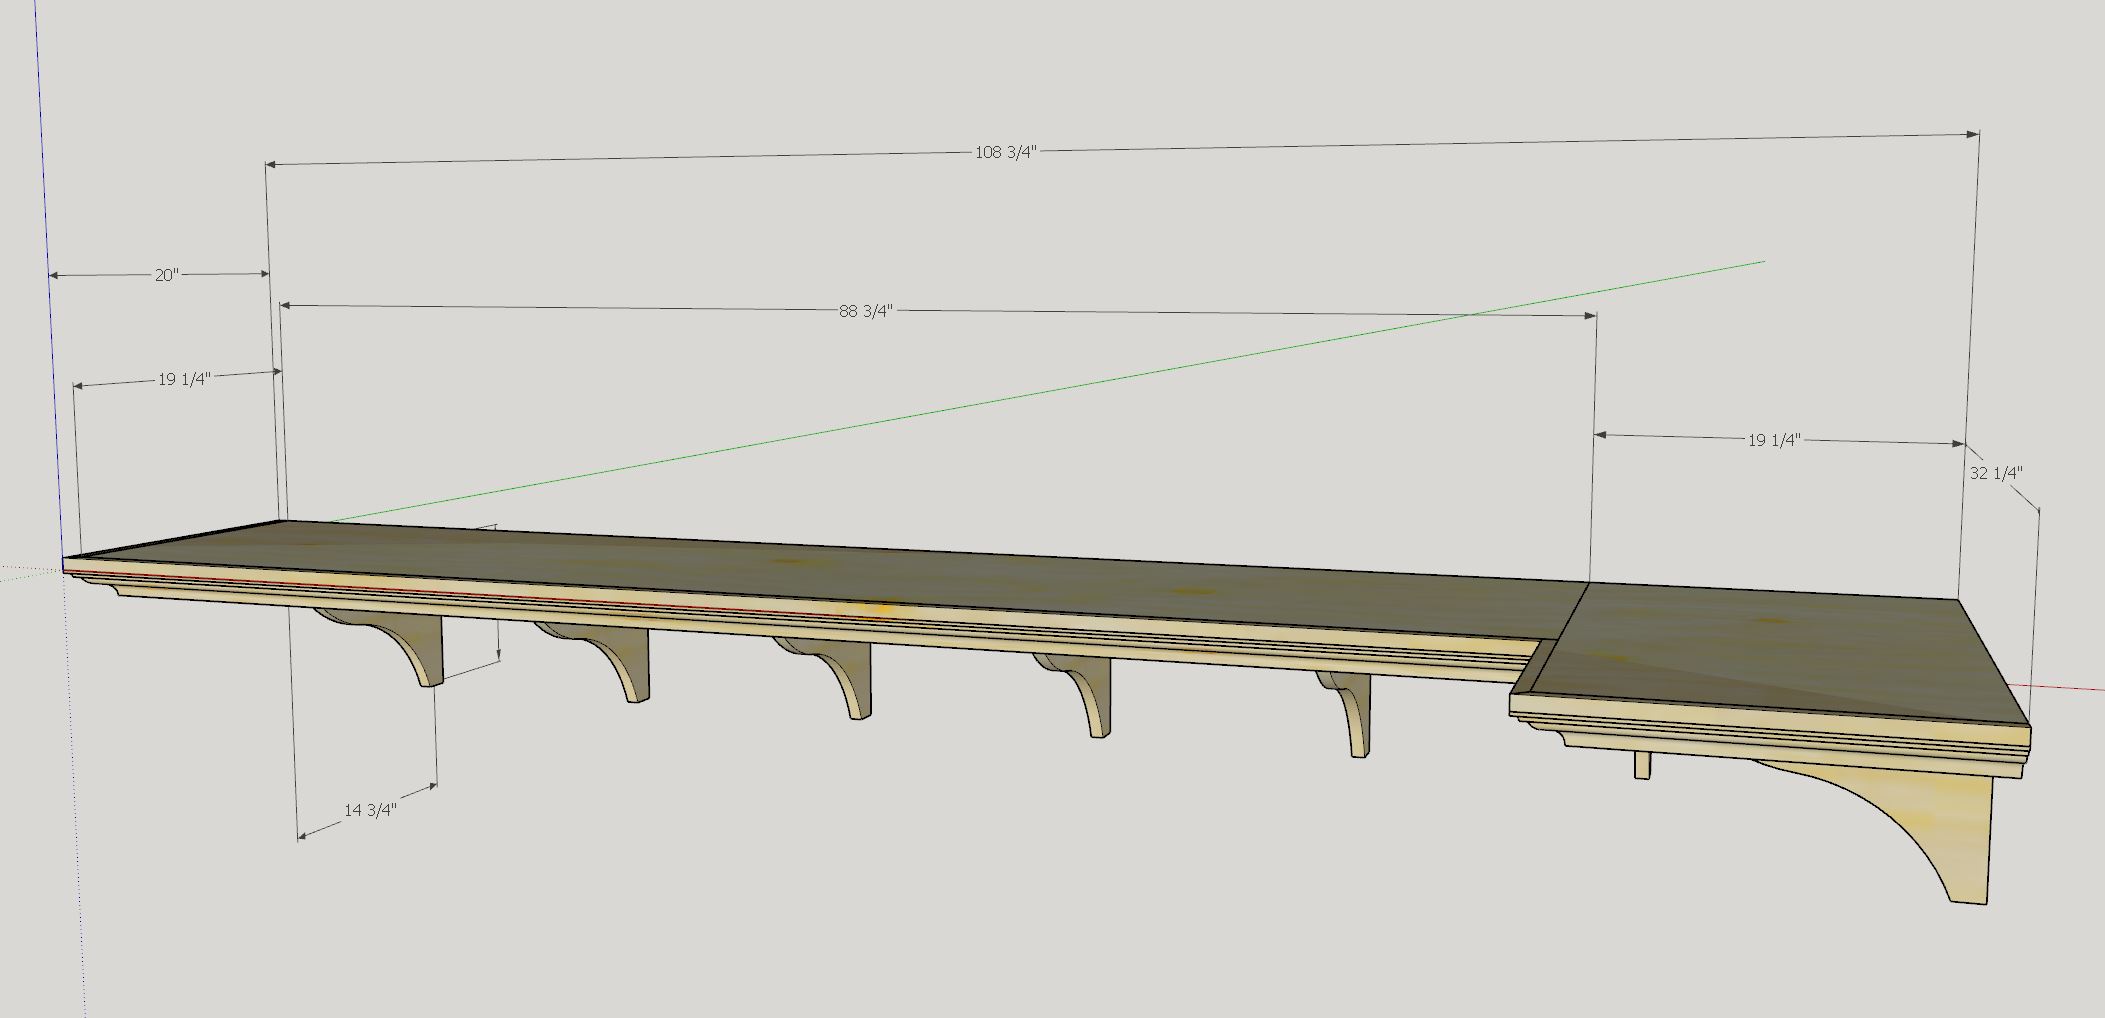
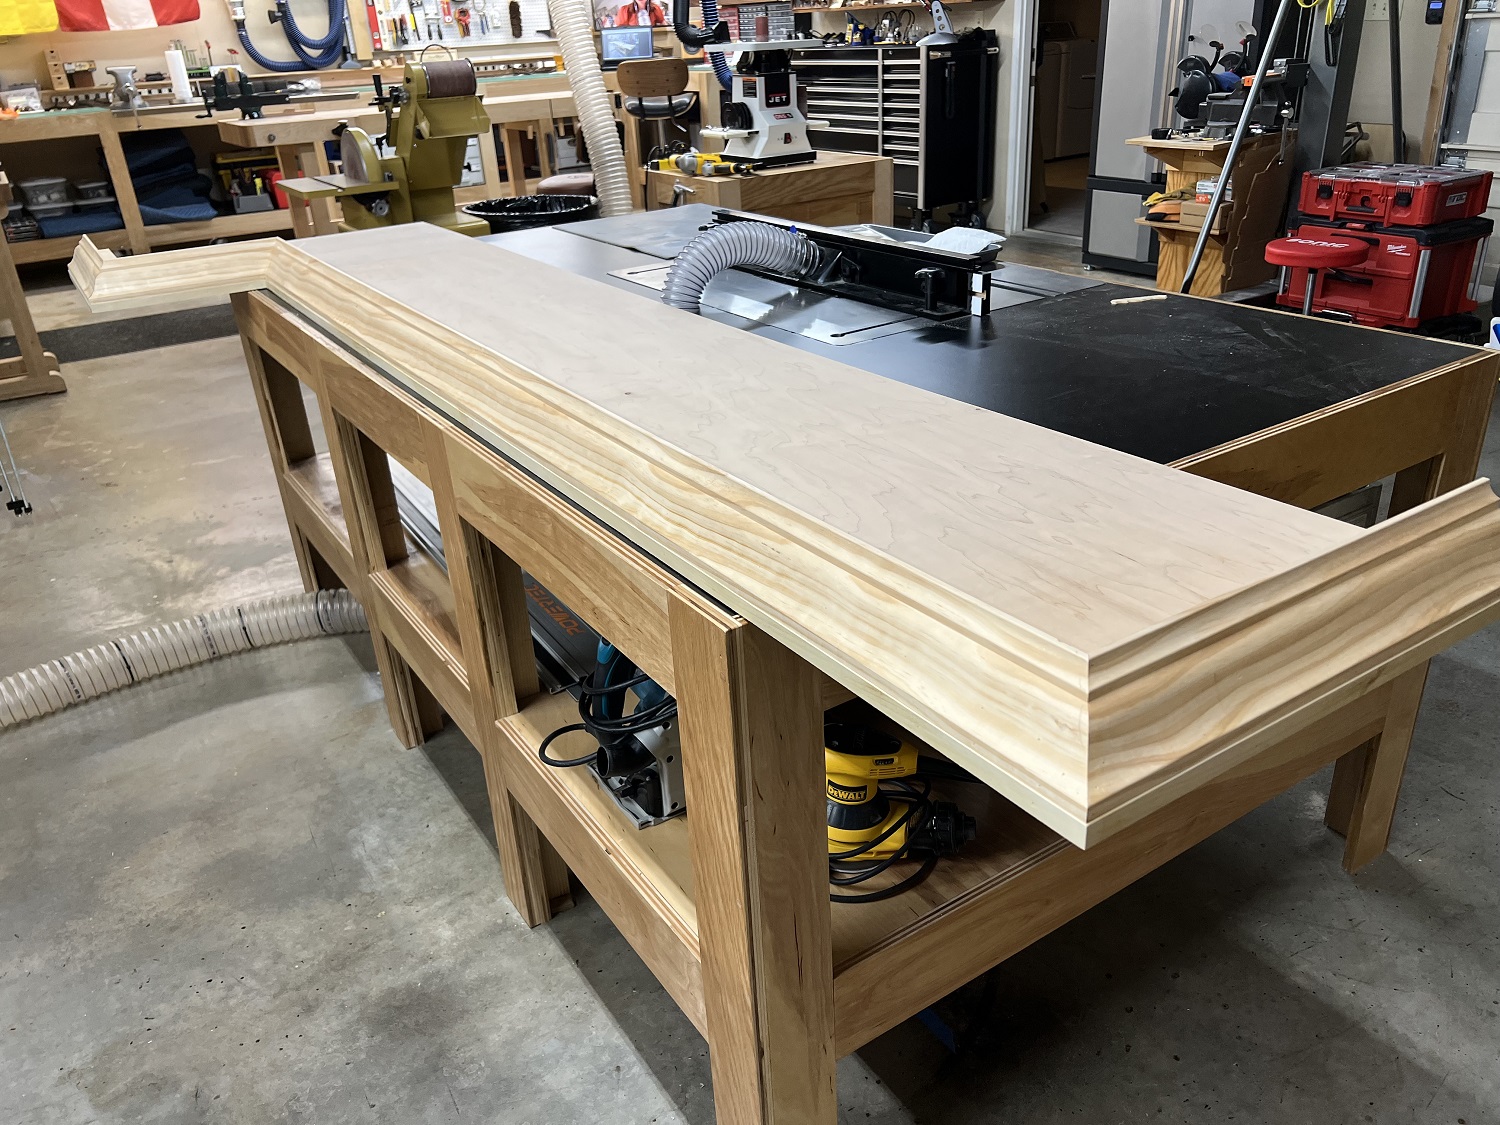
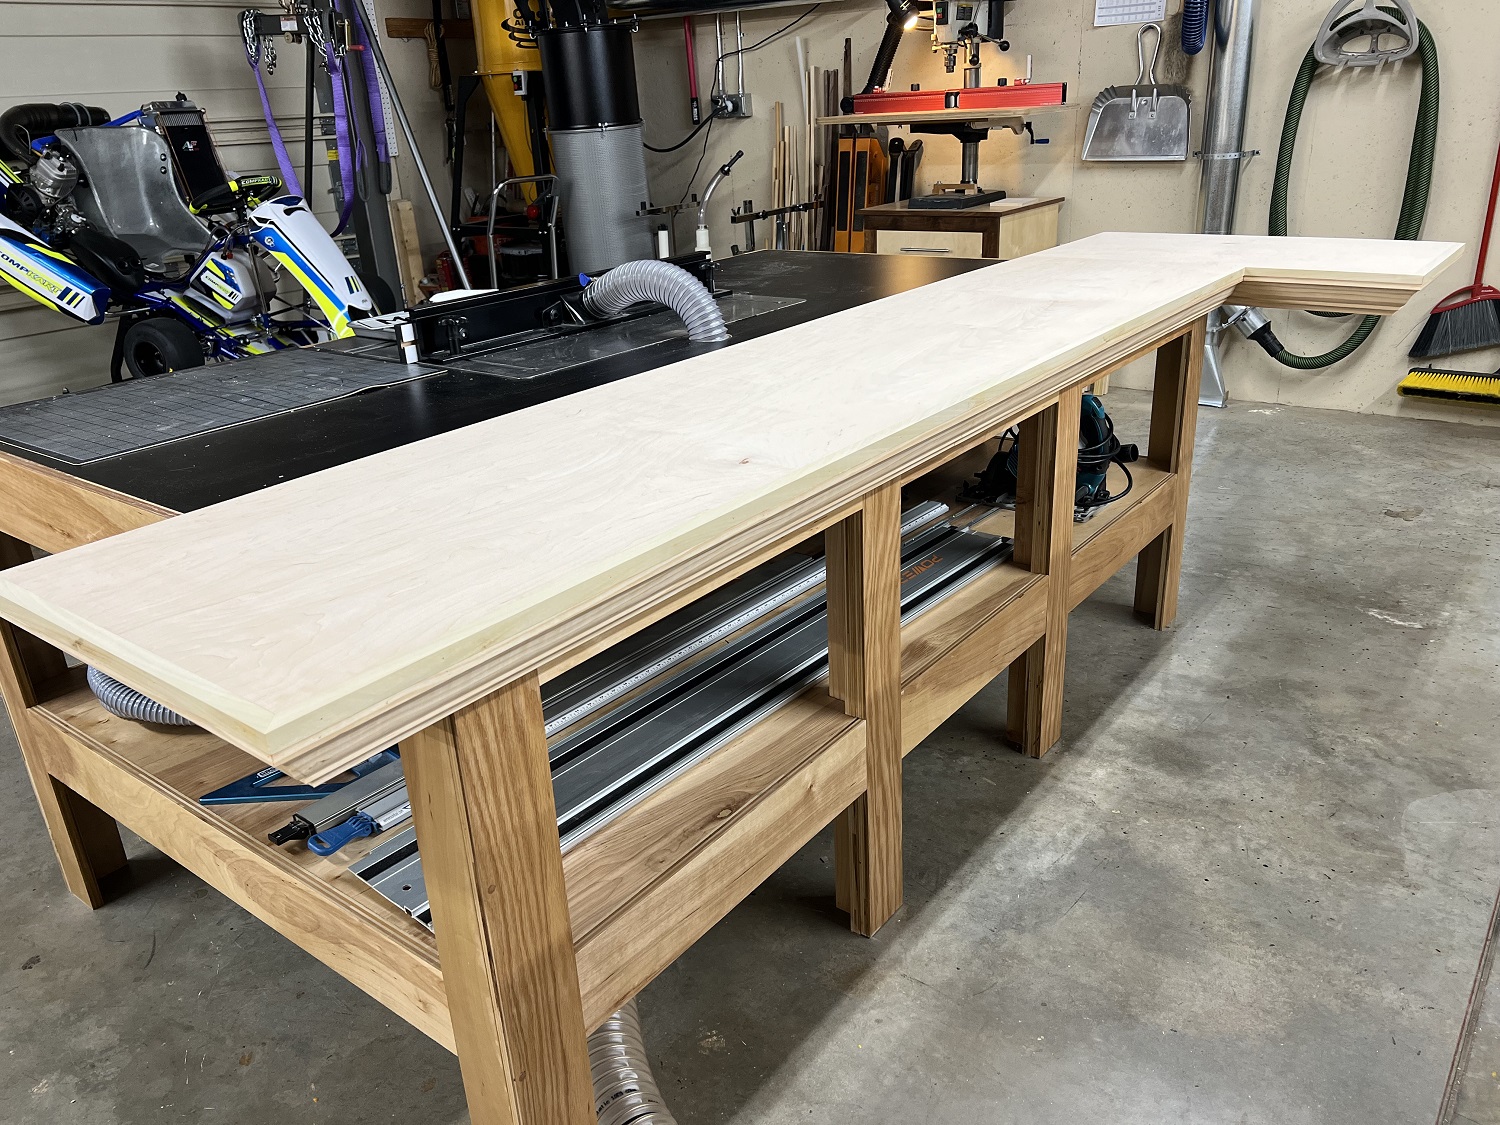
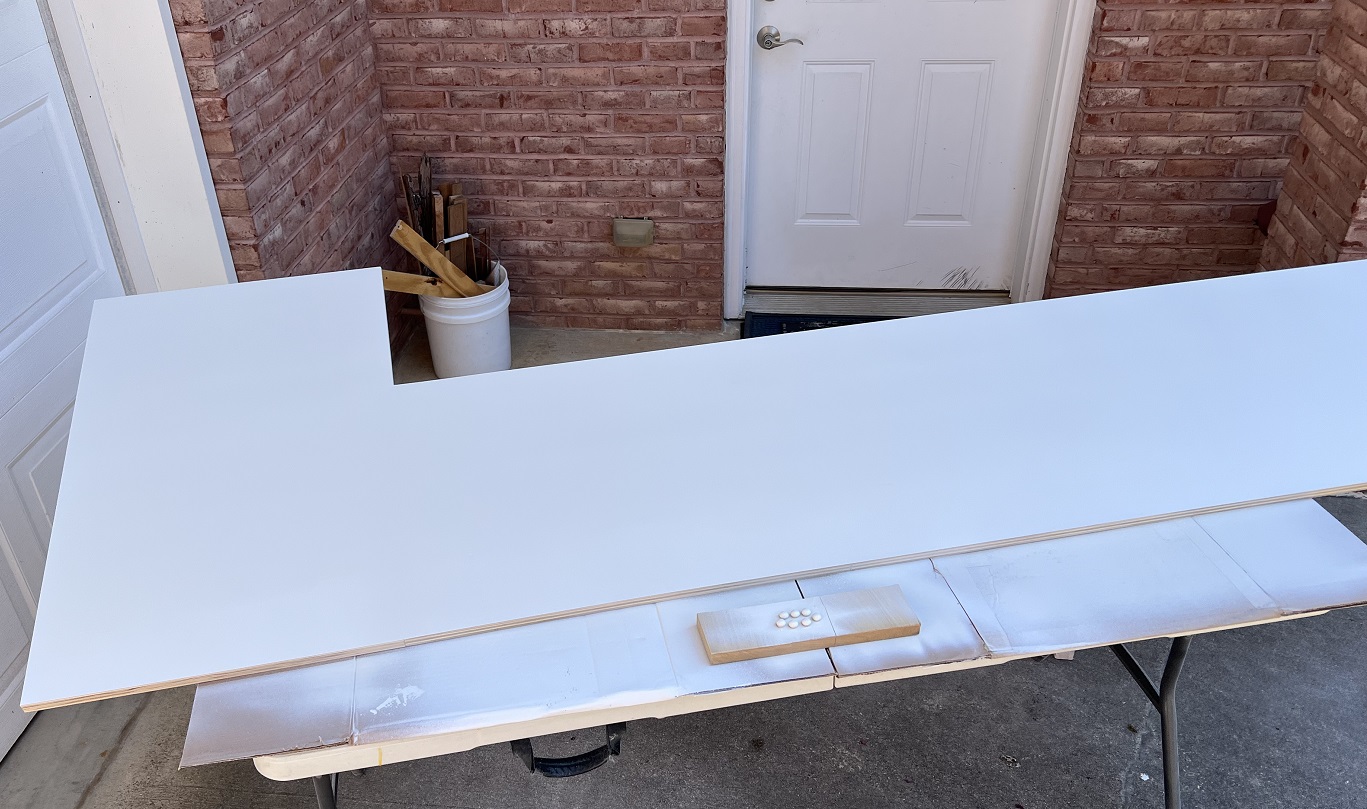
Based on the mocked up models, dimensions for the shelf are determined in SketchUp. Nine feet long, 20″ deep, with a 13″ return! That’s a big, heavy shelf.
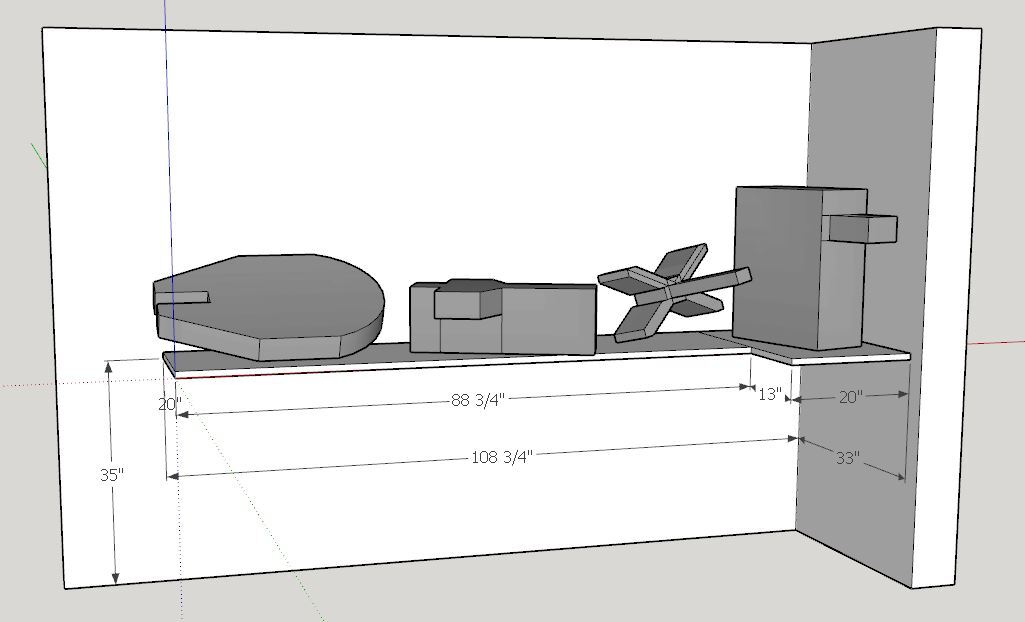
Step 3: The shelf is modelled in SketchUp based on the location of the studs in the walls.
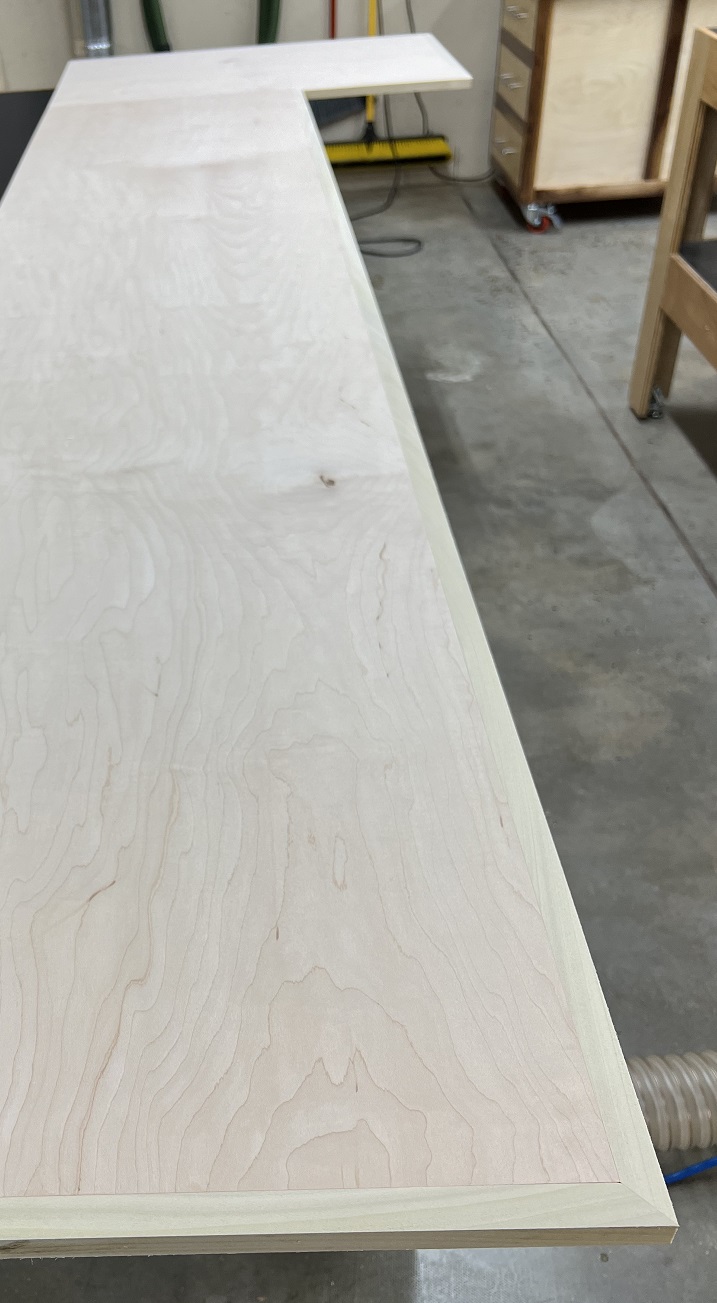
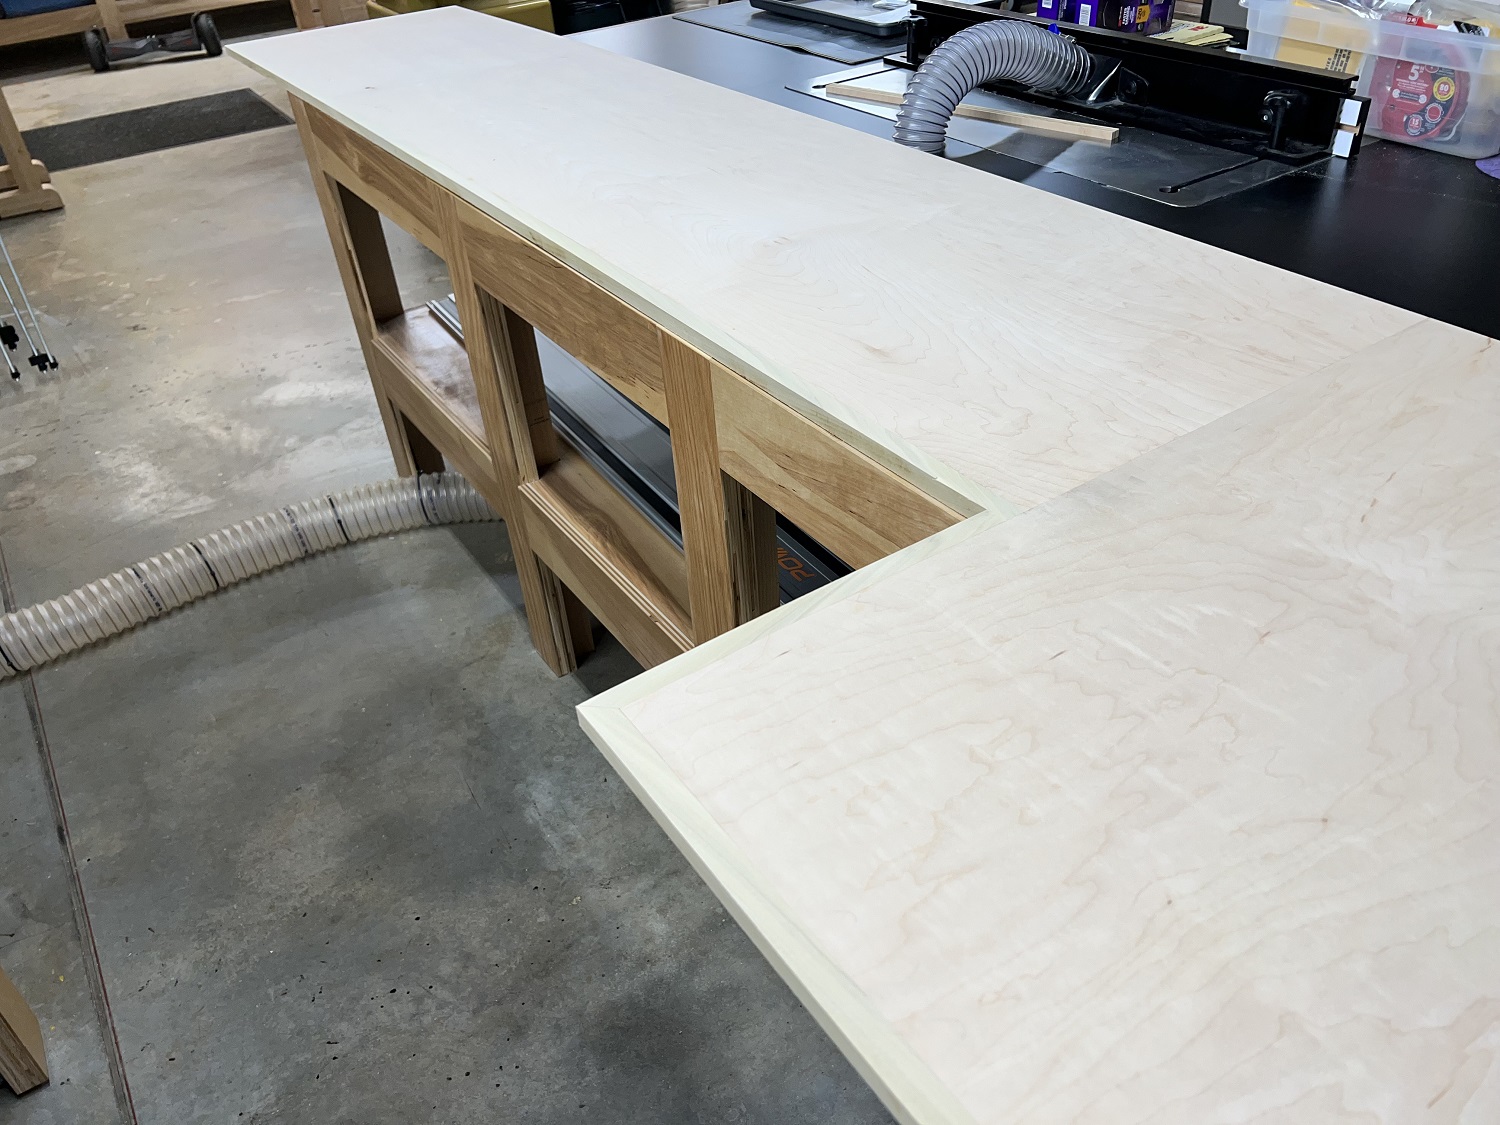
Step 4: Build it. Box store maple ply is cut to dimensions and joined with dominos.

Three-quarter inch poplar edge banding is applied with glue and pin nails.
Nailer strips are made to support the crown molding. 2×4 studs were jointed and planed to uniform dimension, then beveled 38 degrees from 90 on the table saw to match the spring angle of the molding.
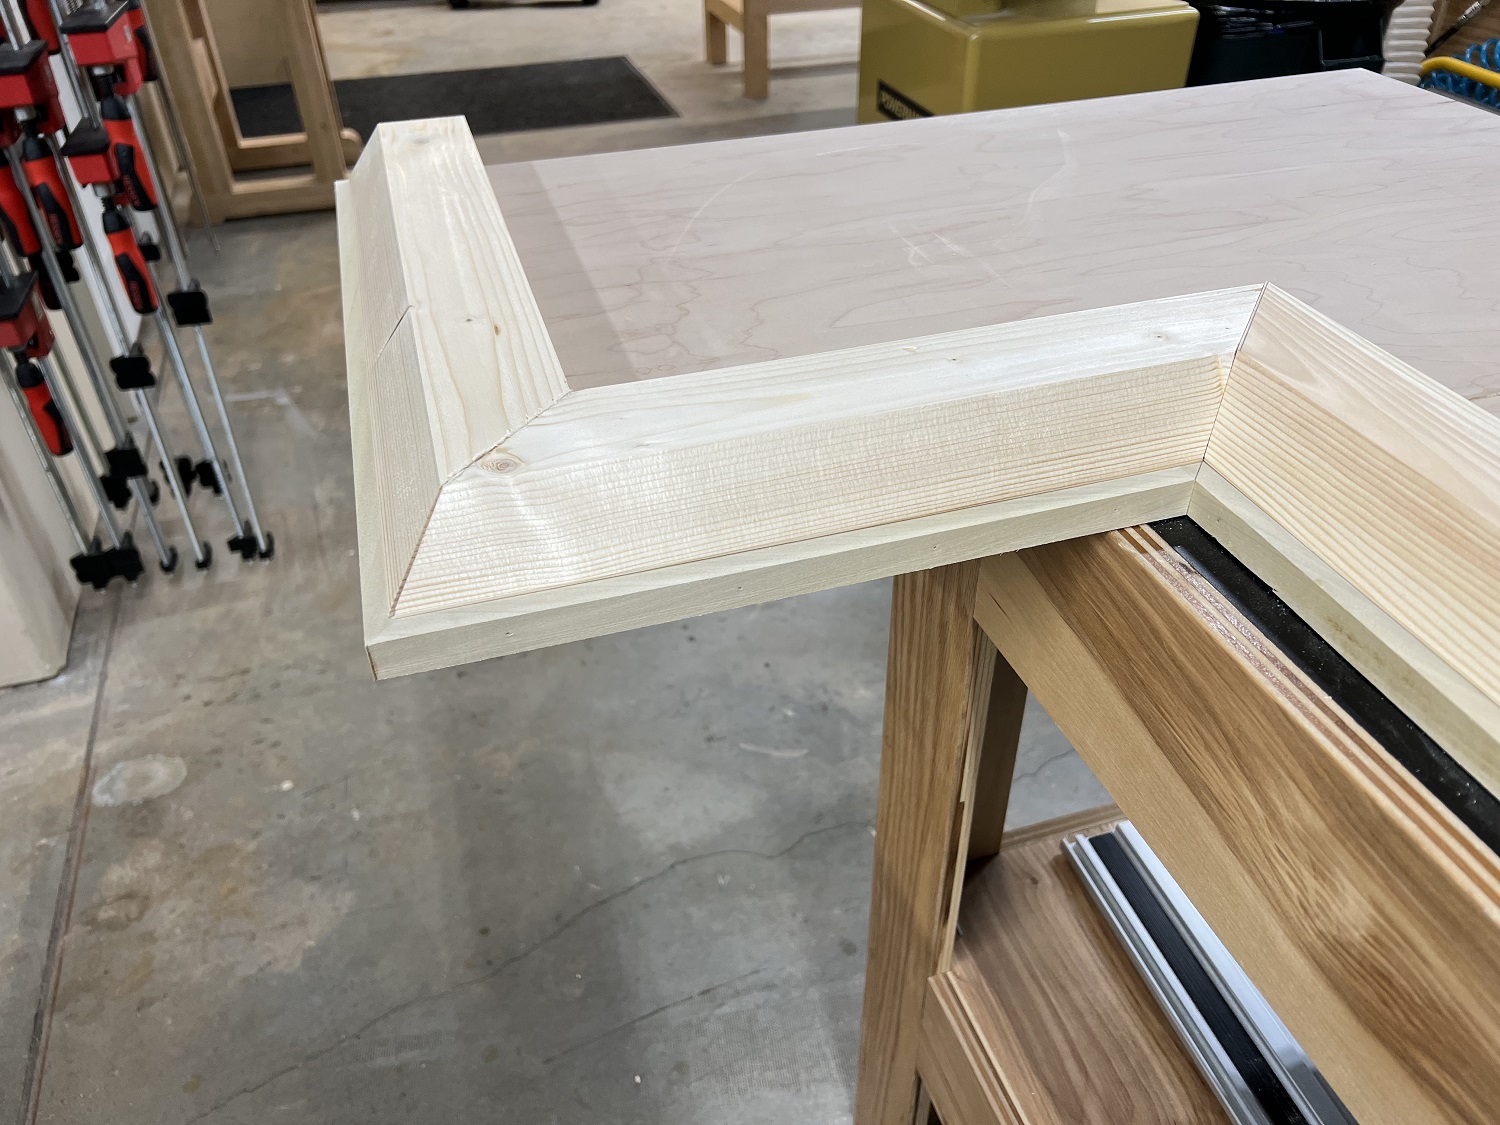
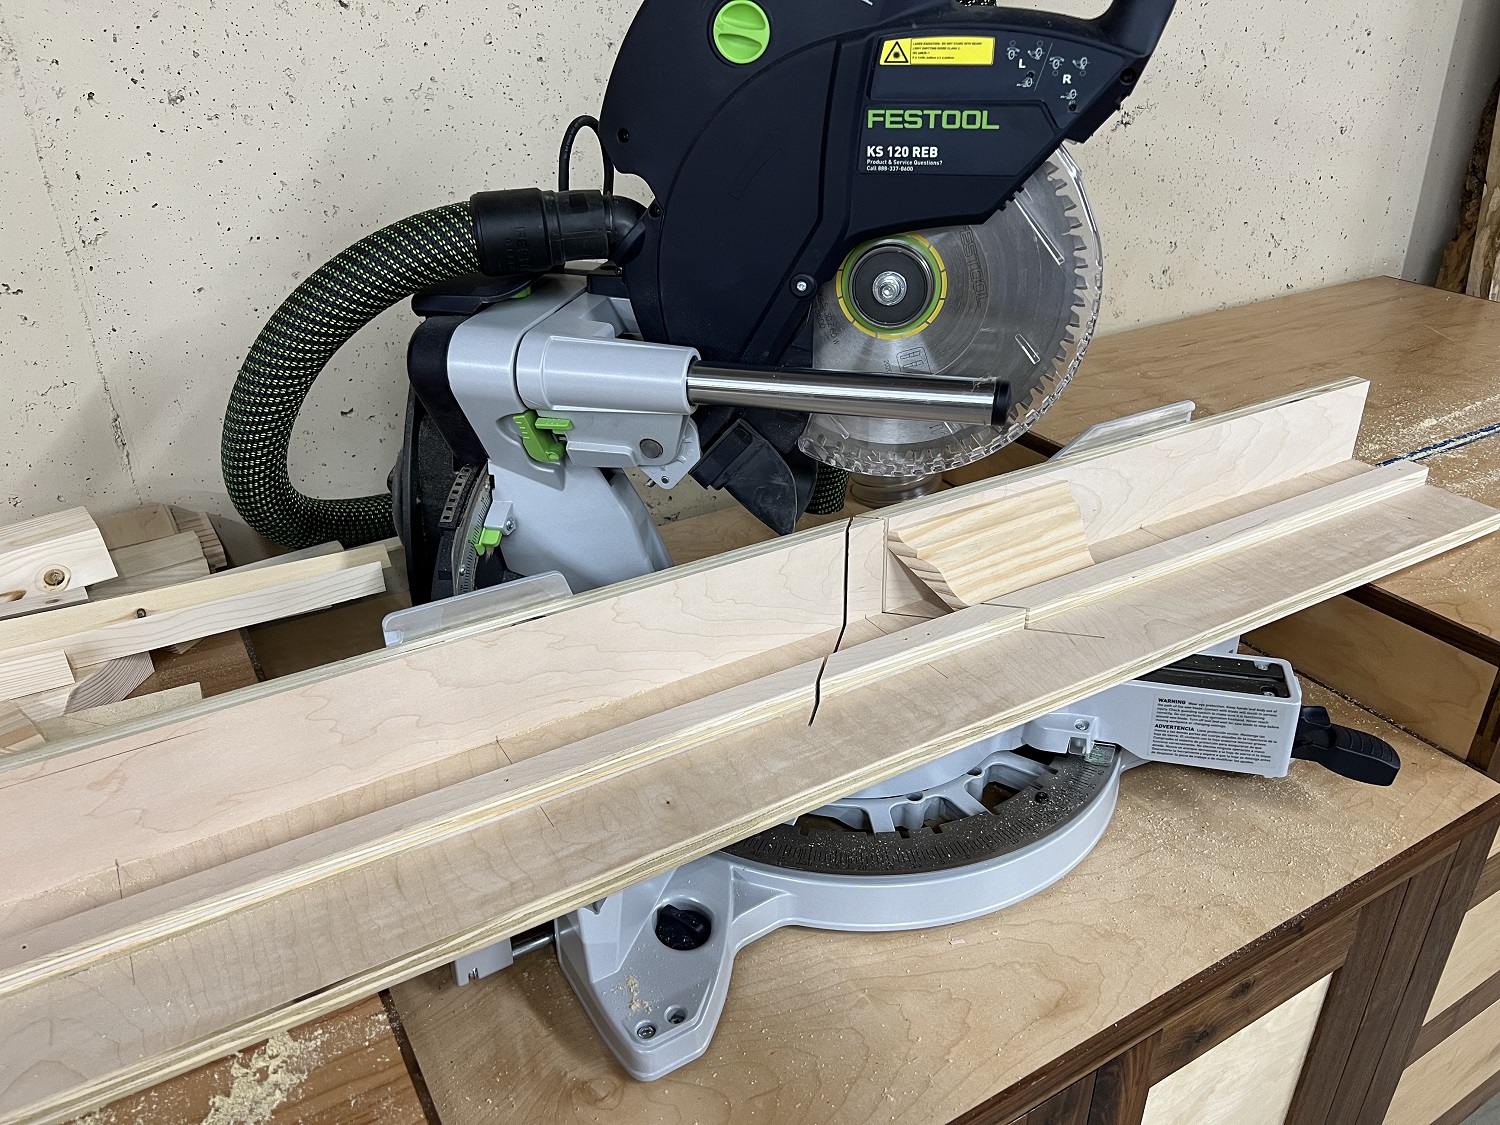
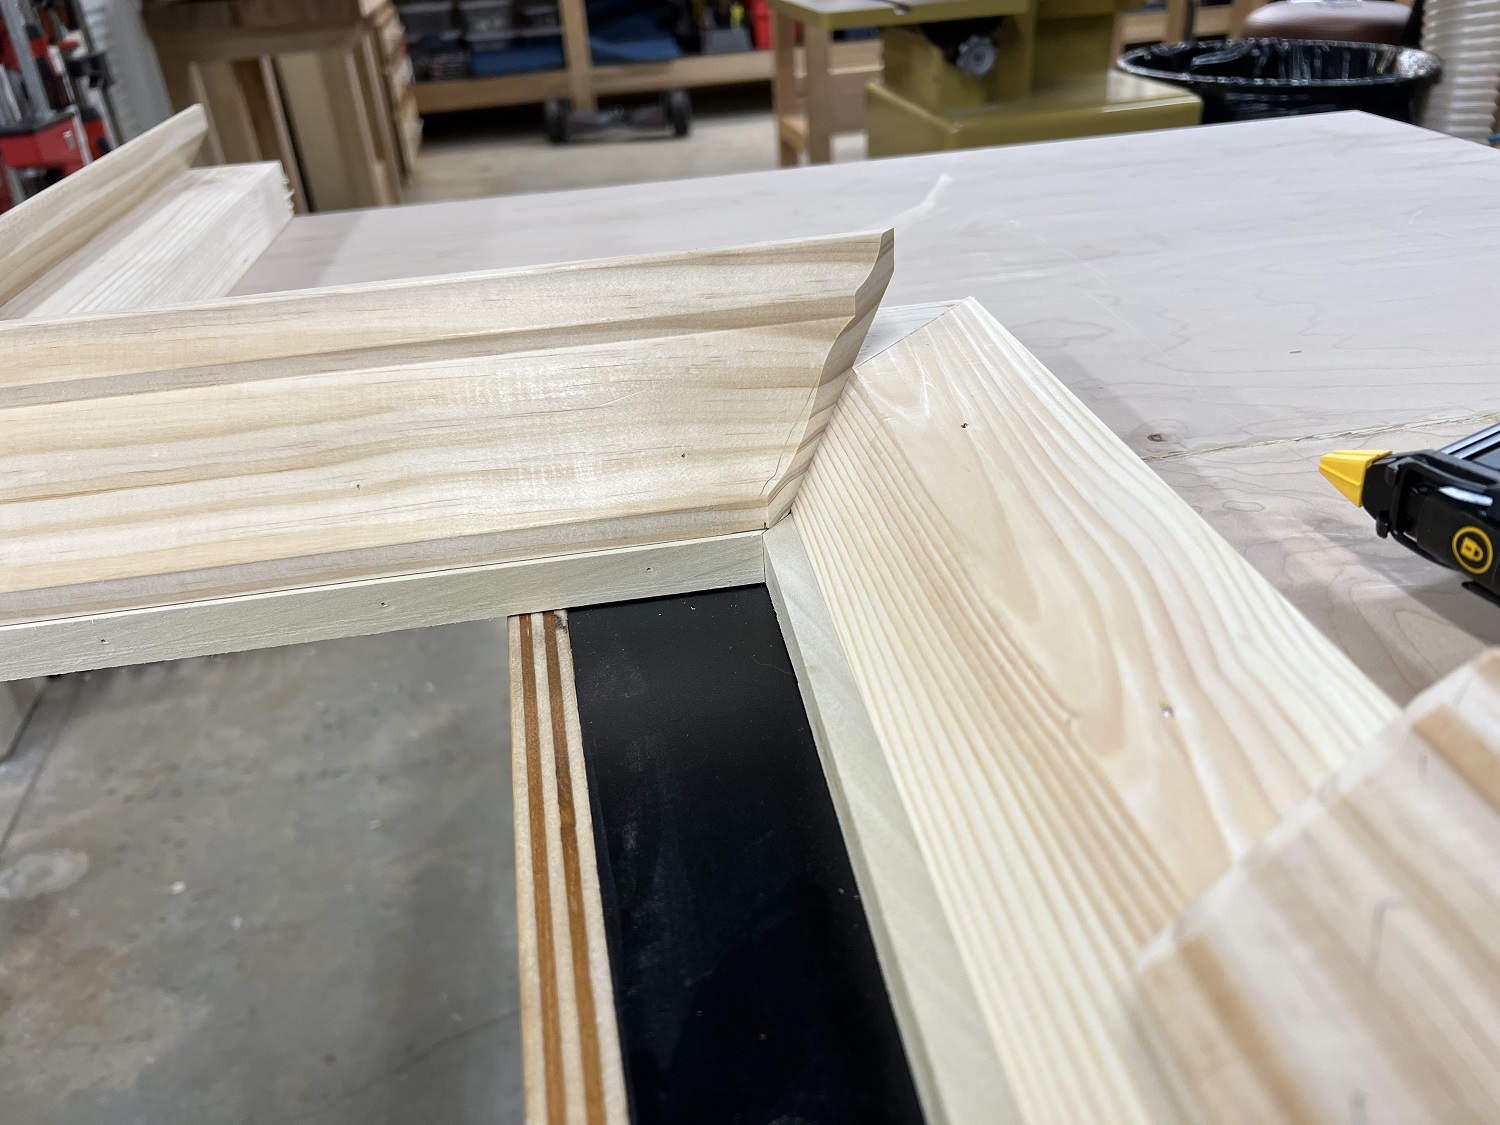
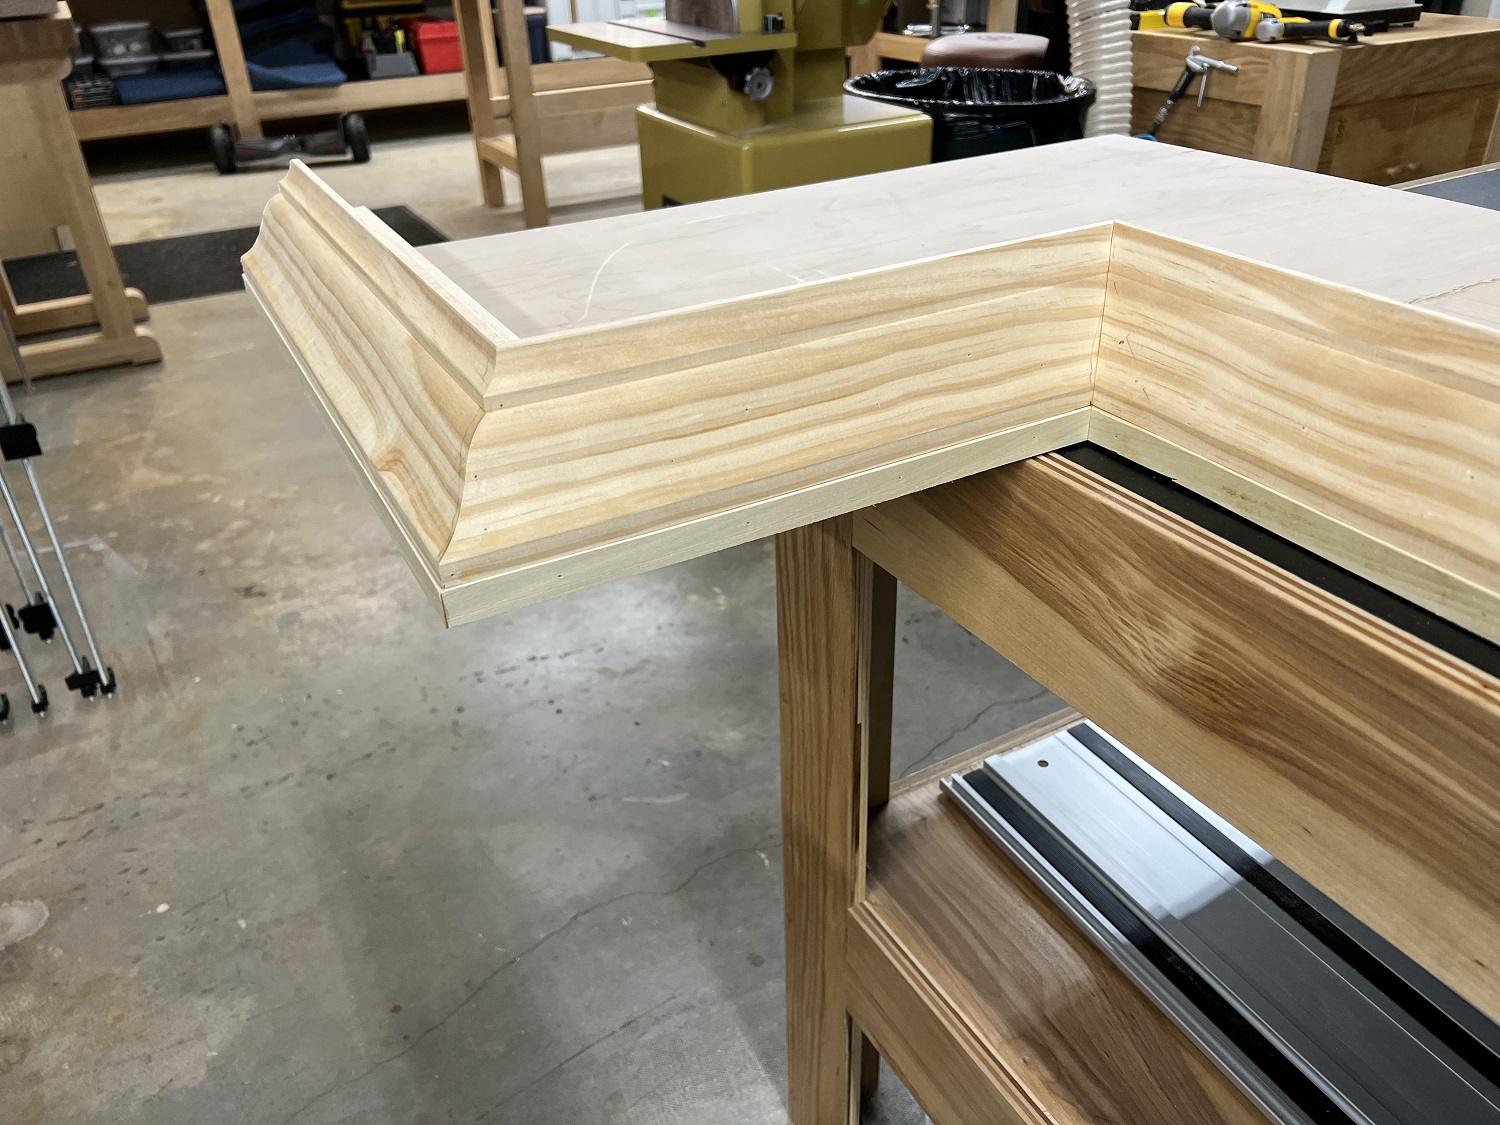
The crown molding edge frame is mitered and assembled.
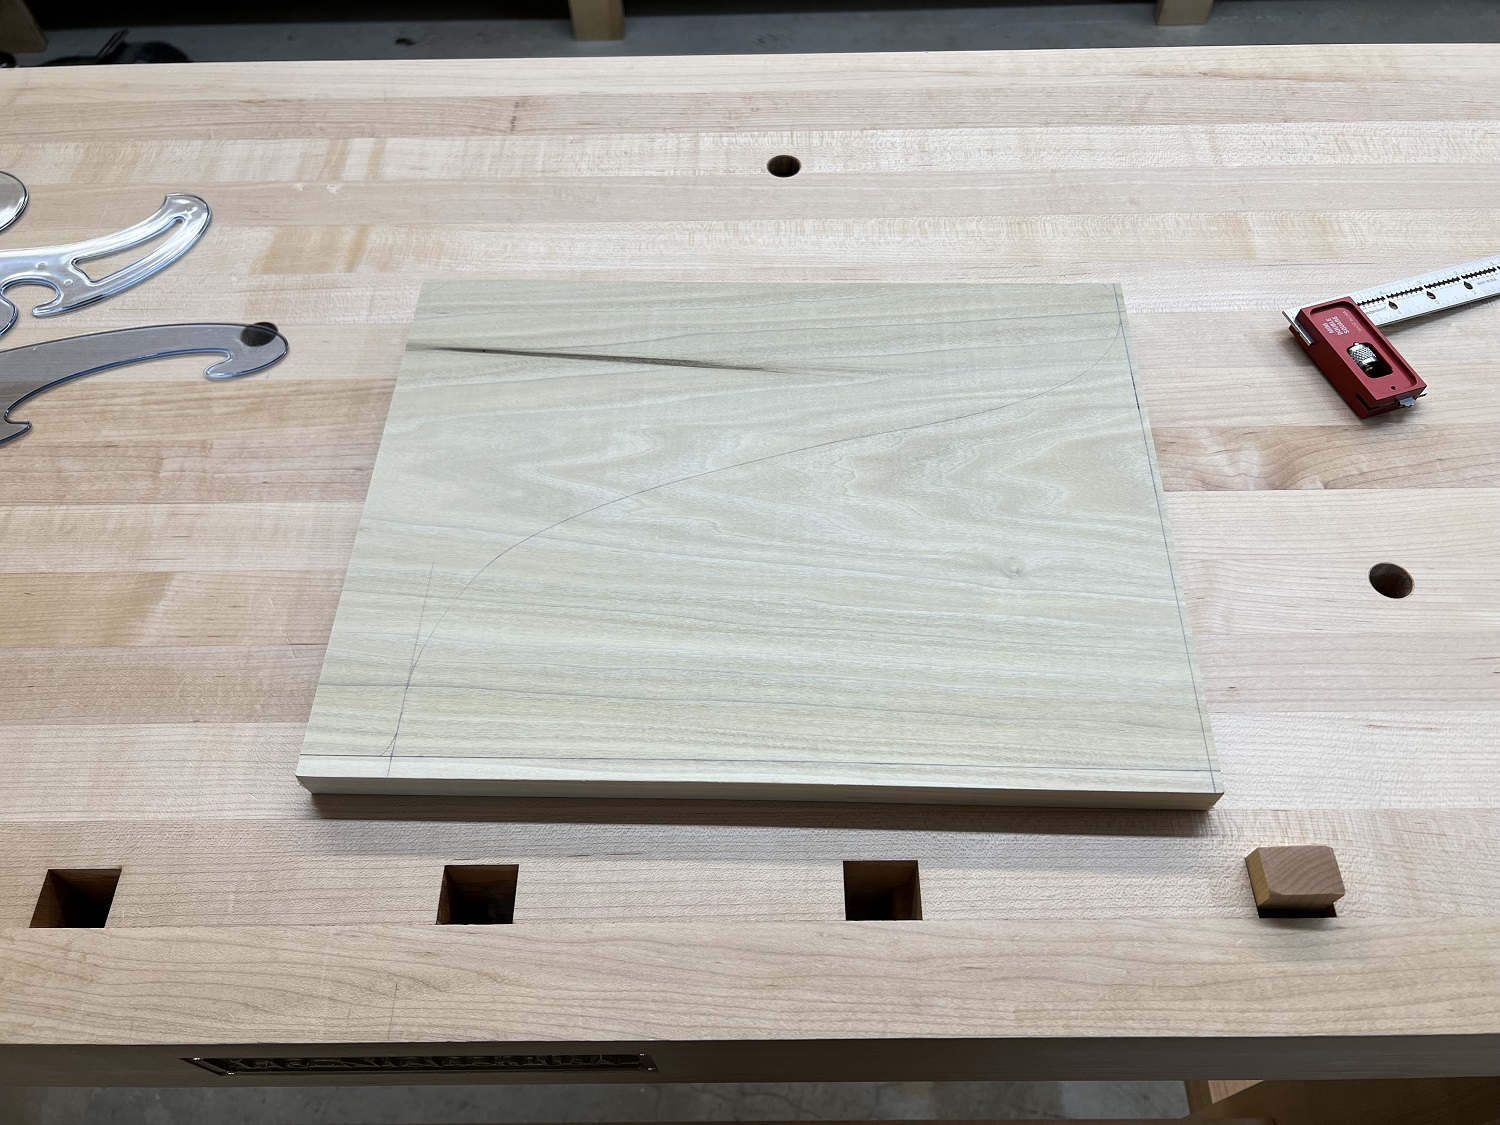
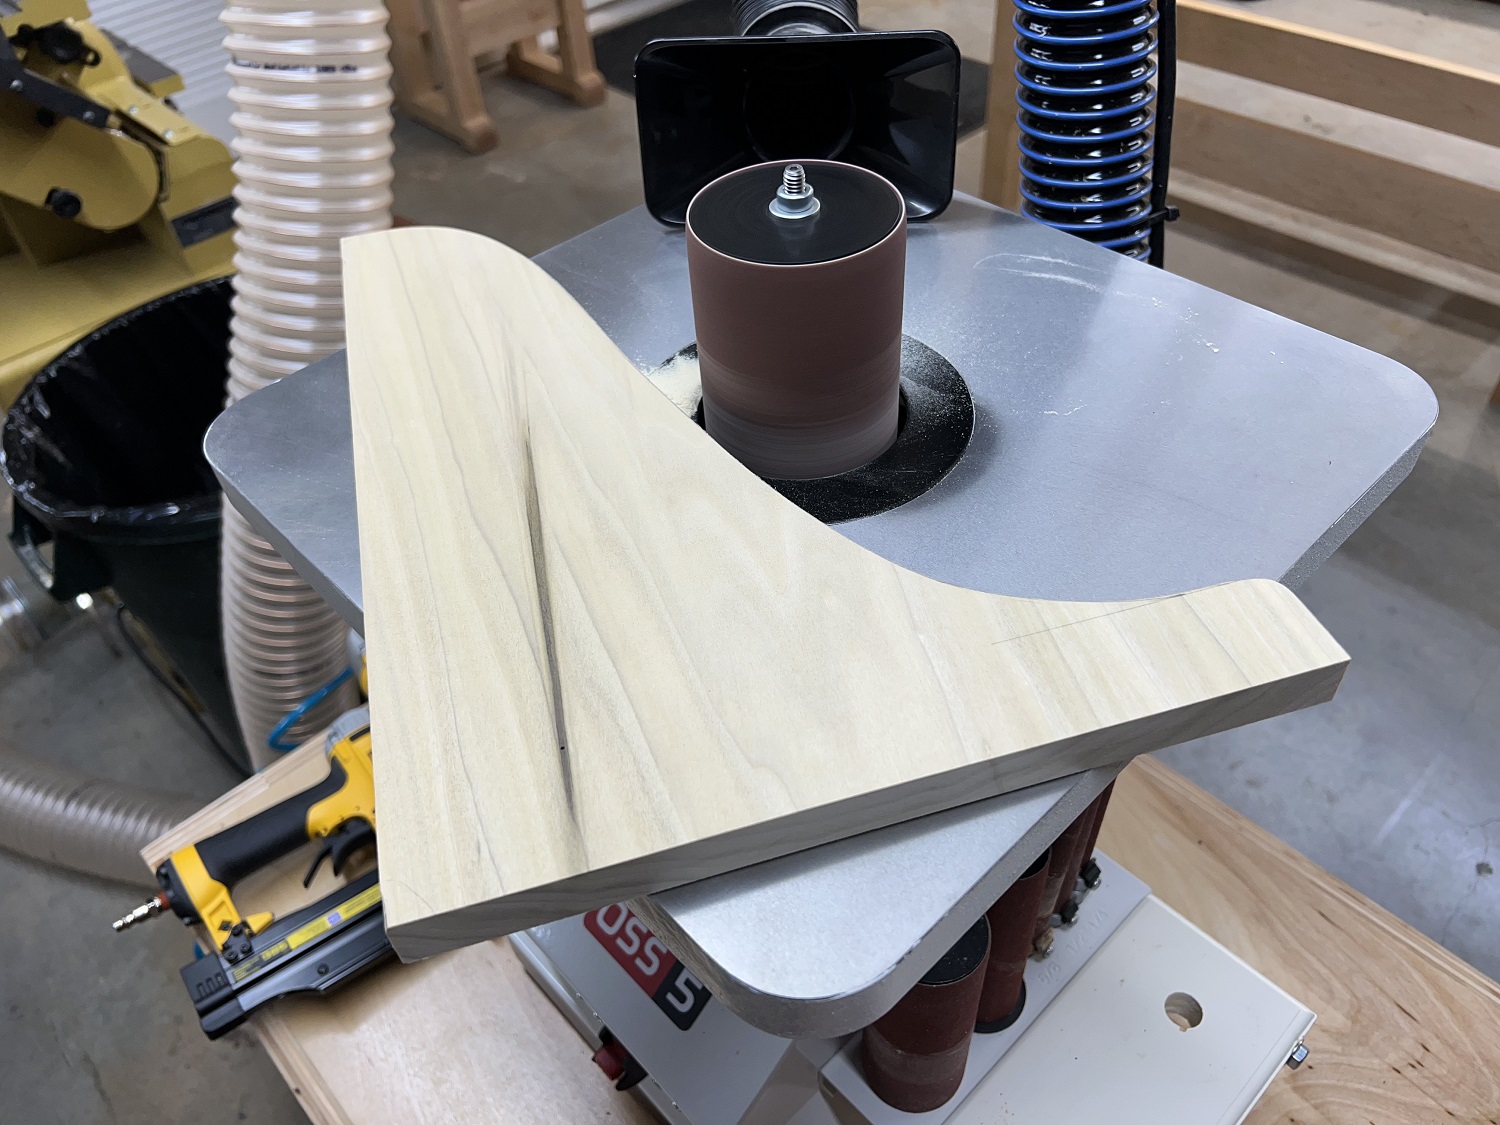
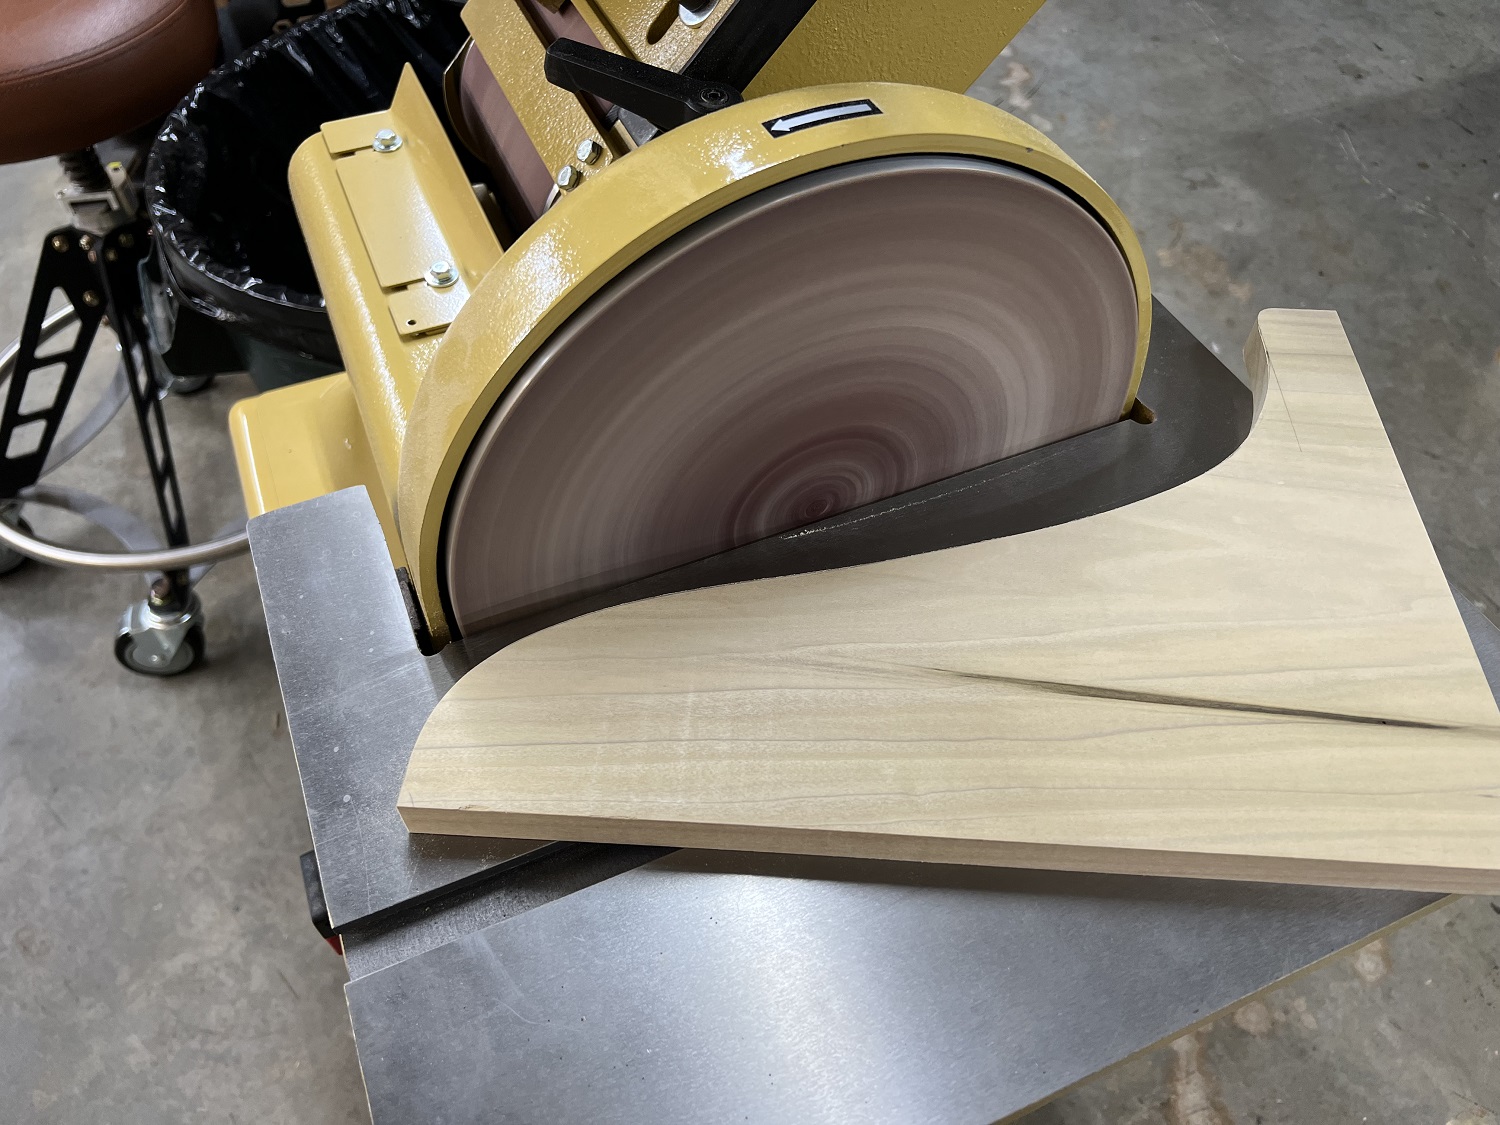
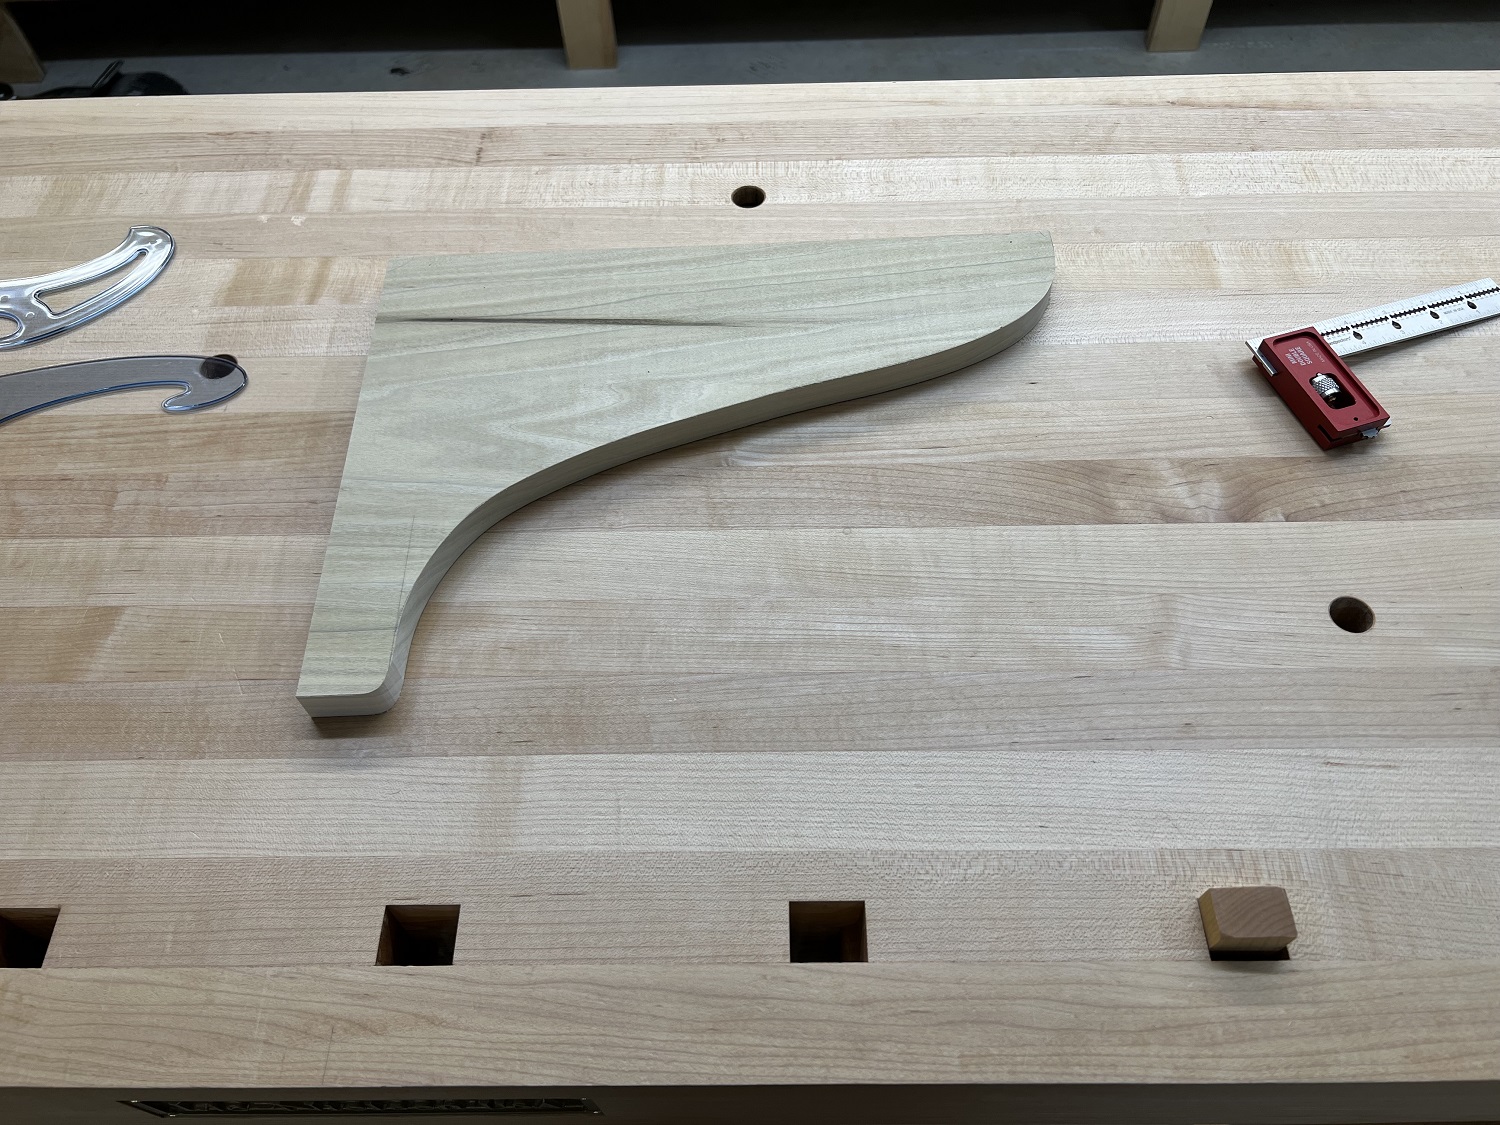
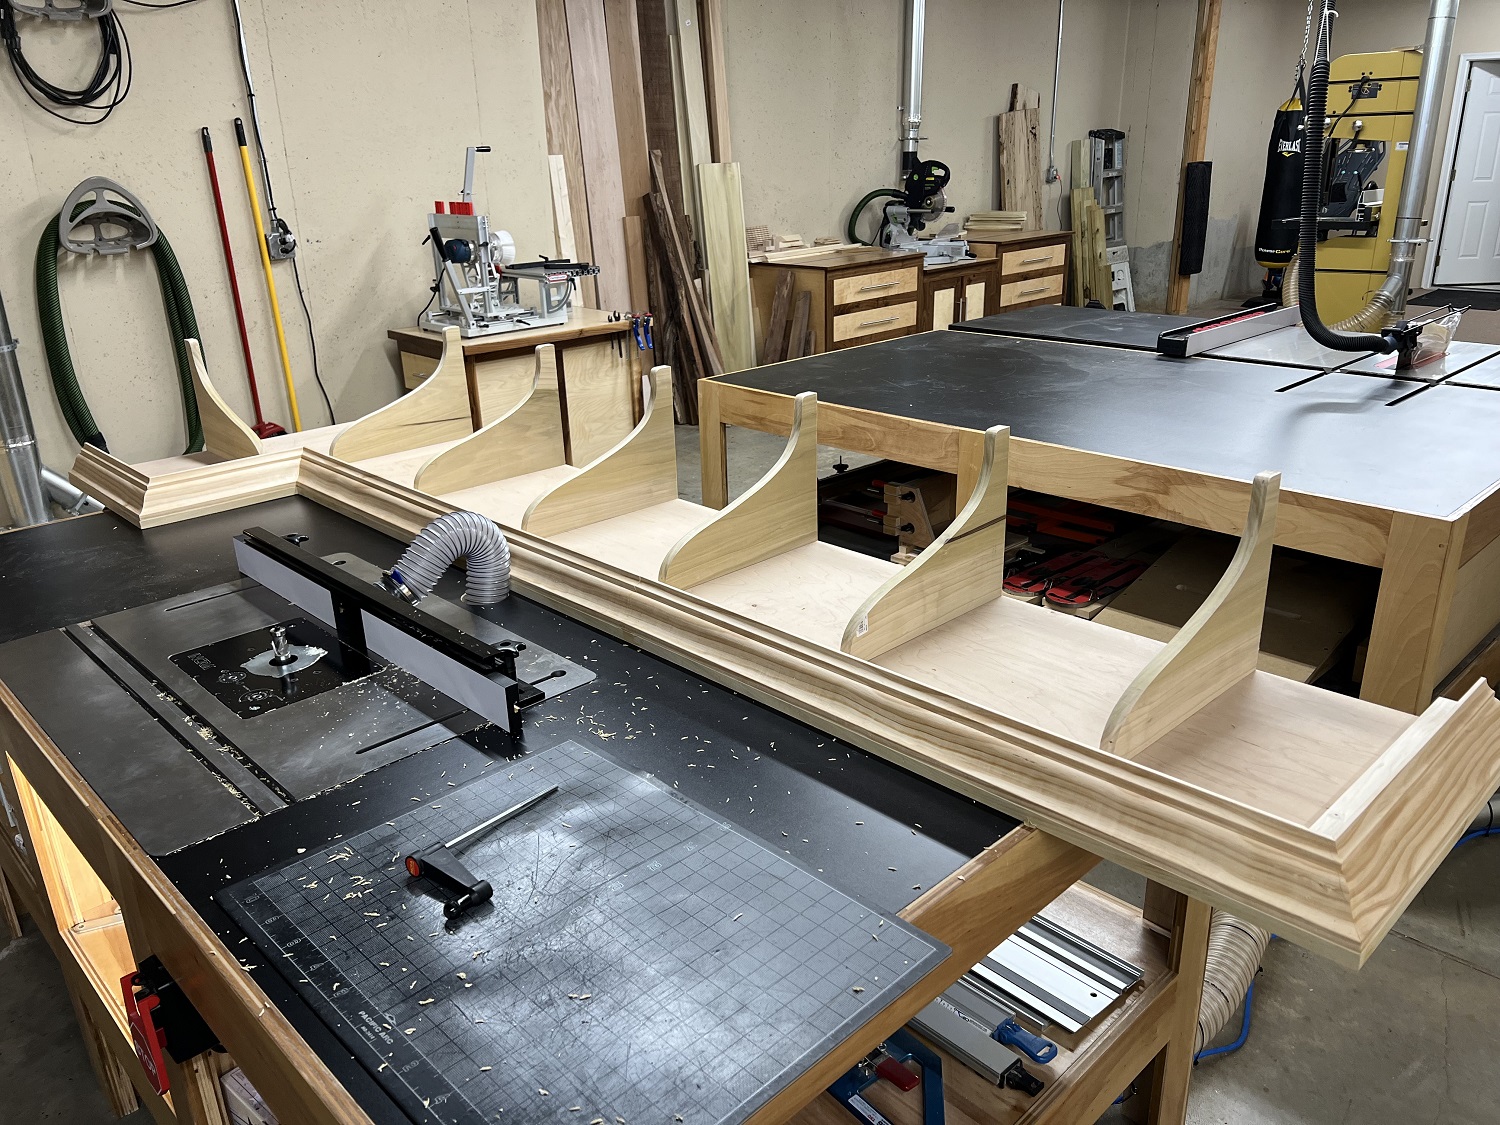
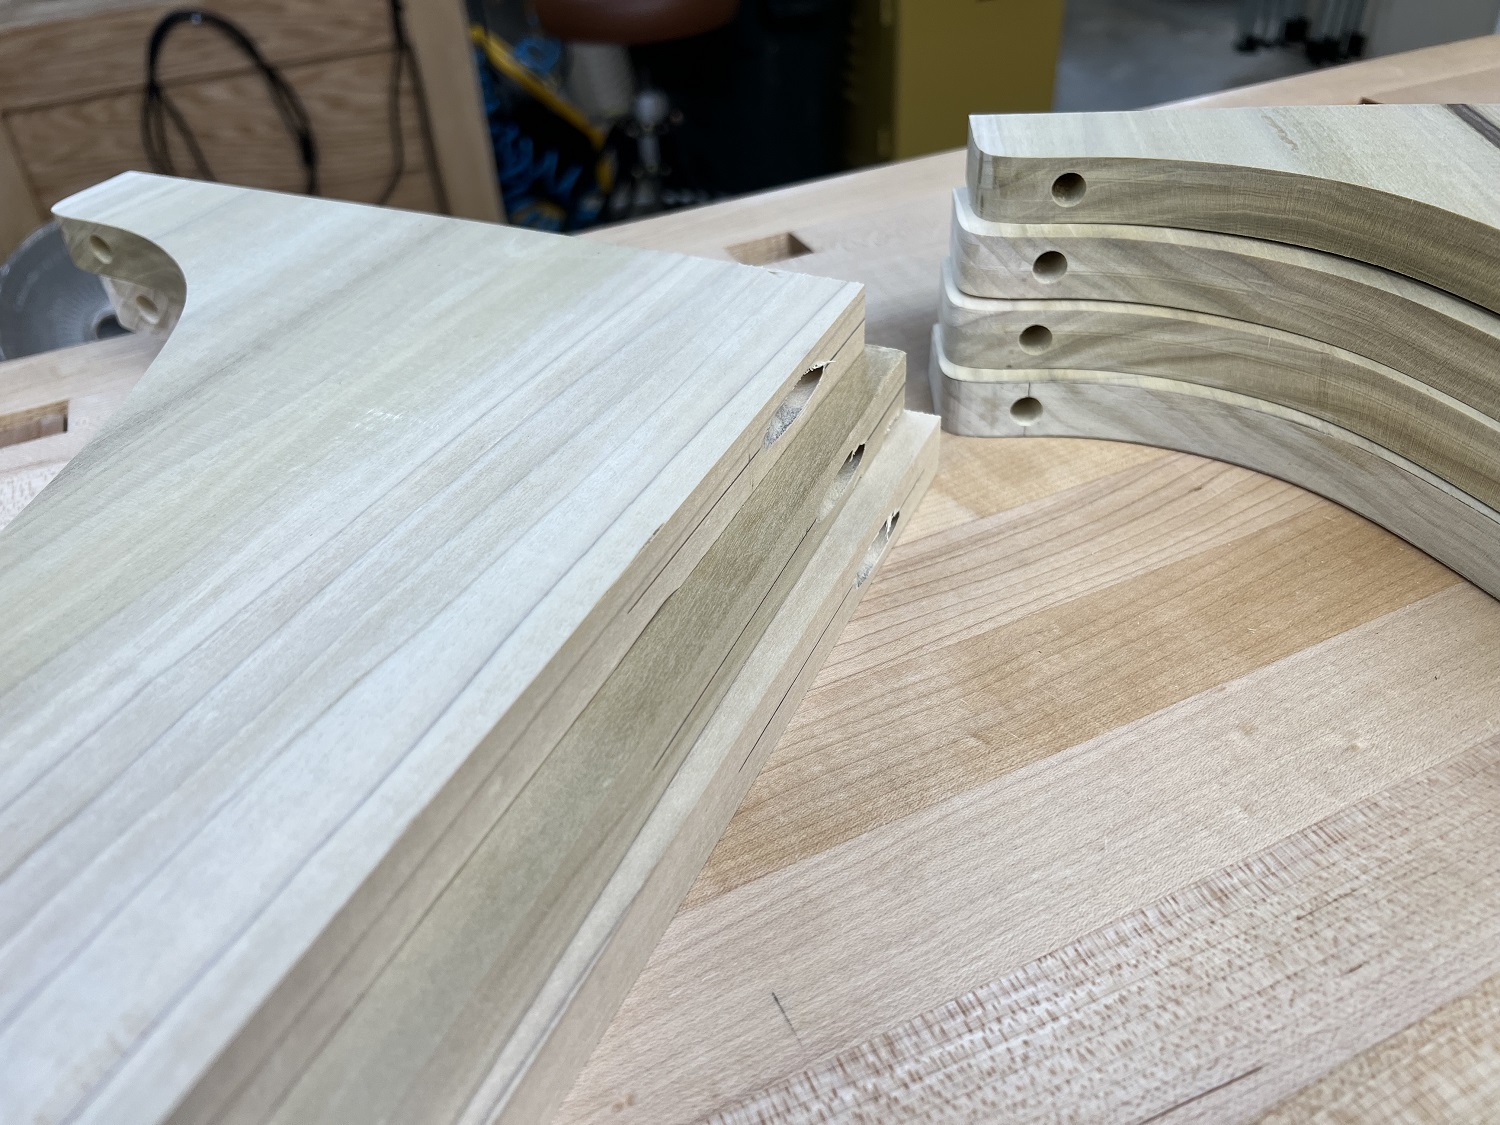
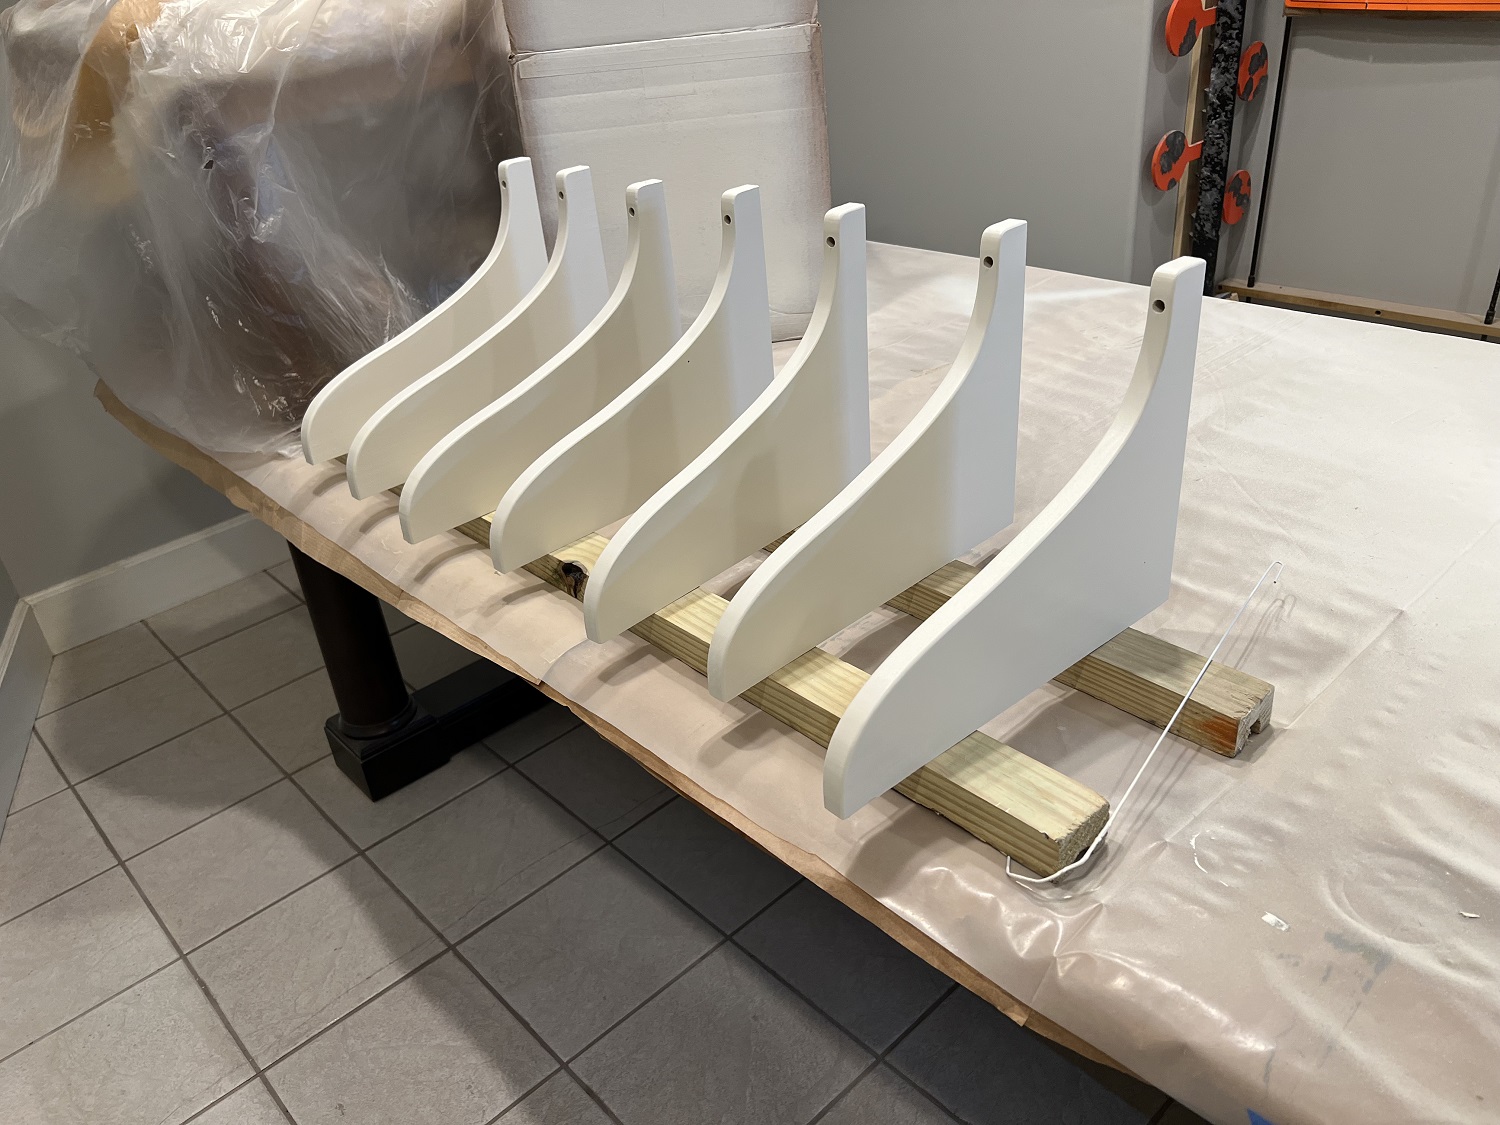
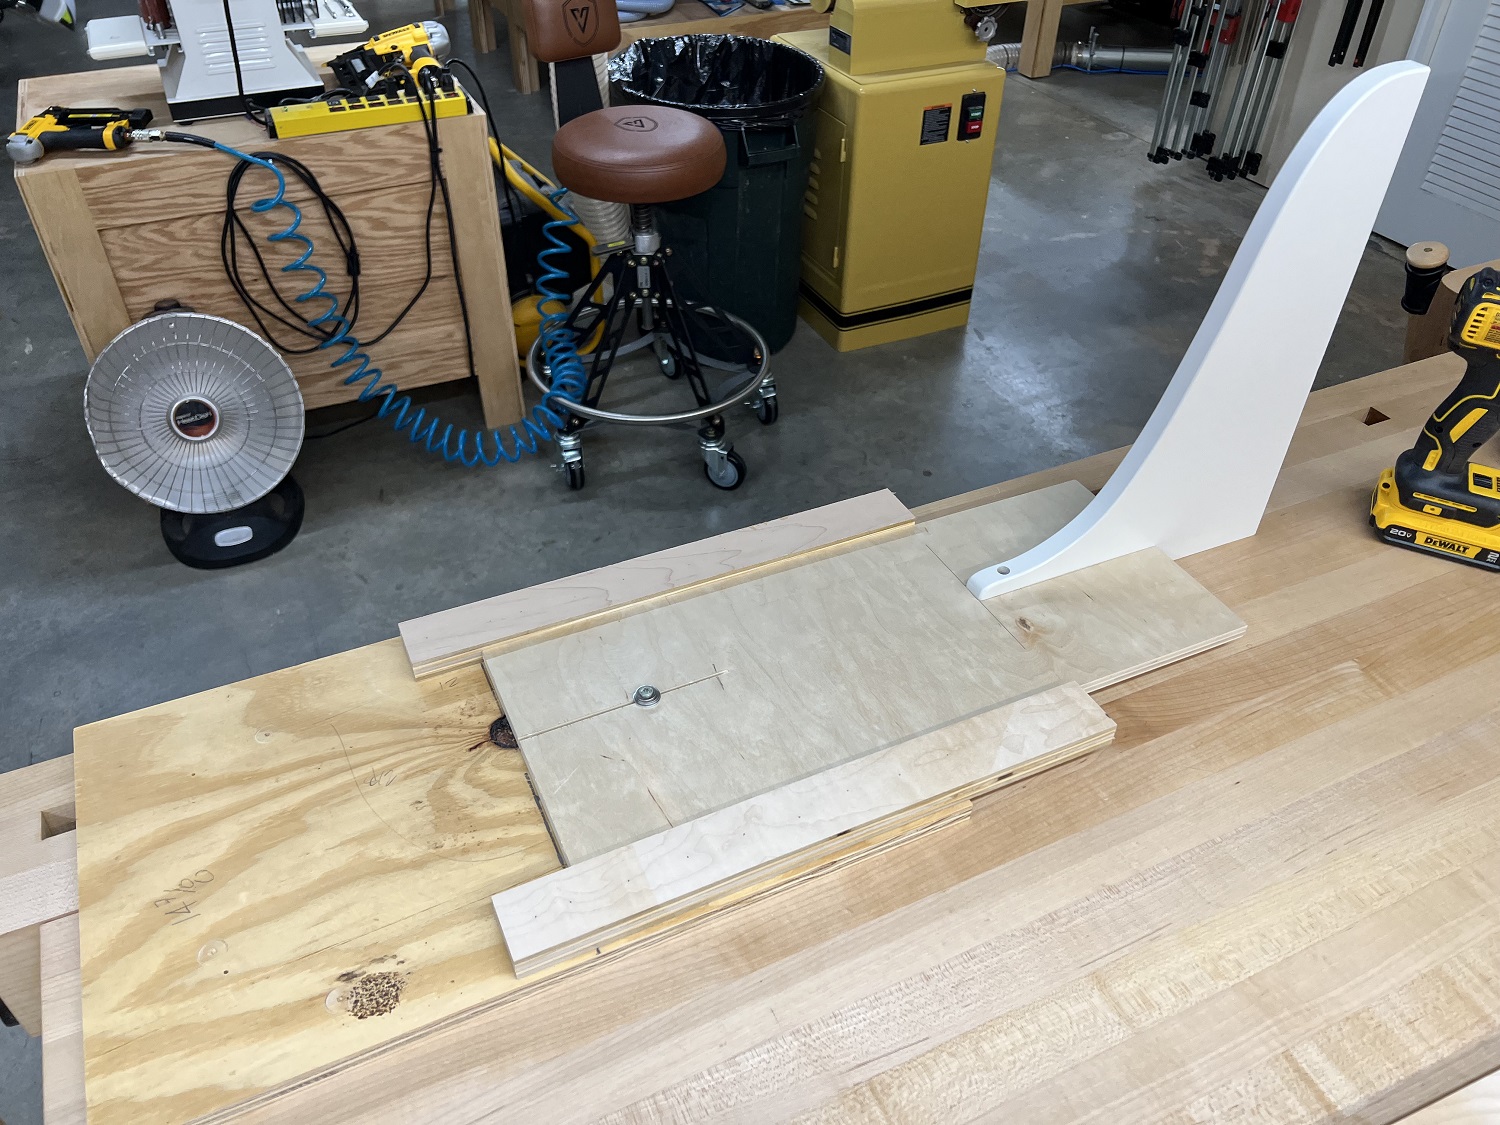
The shelf support is sketched out, rough cut on the band saw, and final shaped on the sanders.
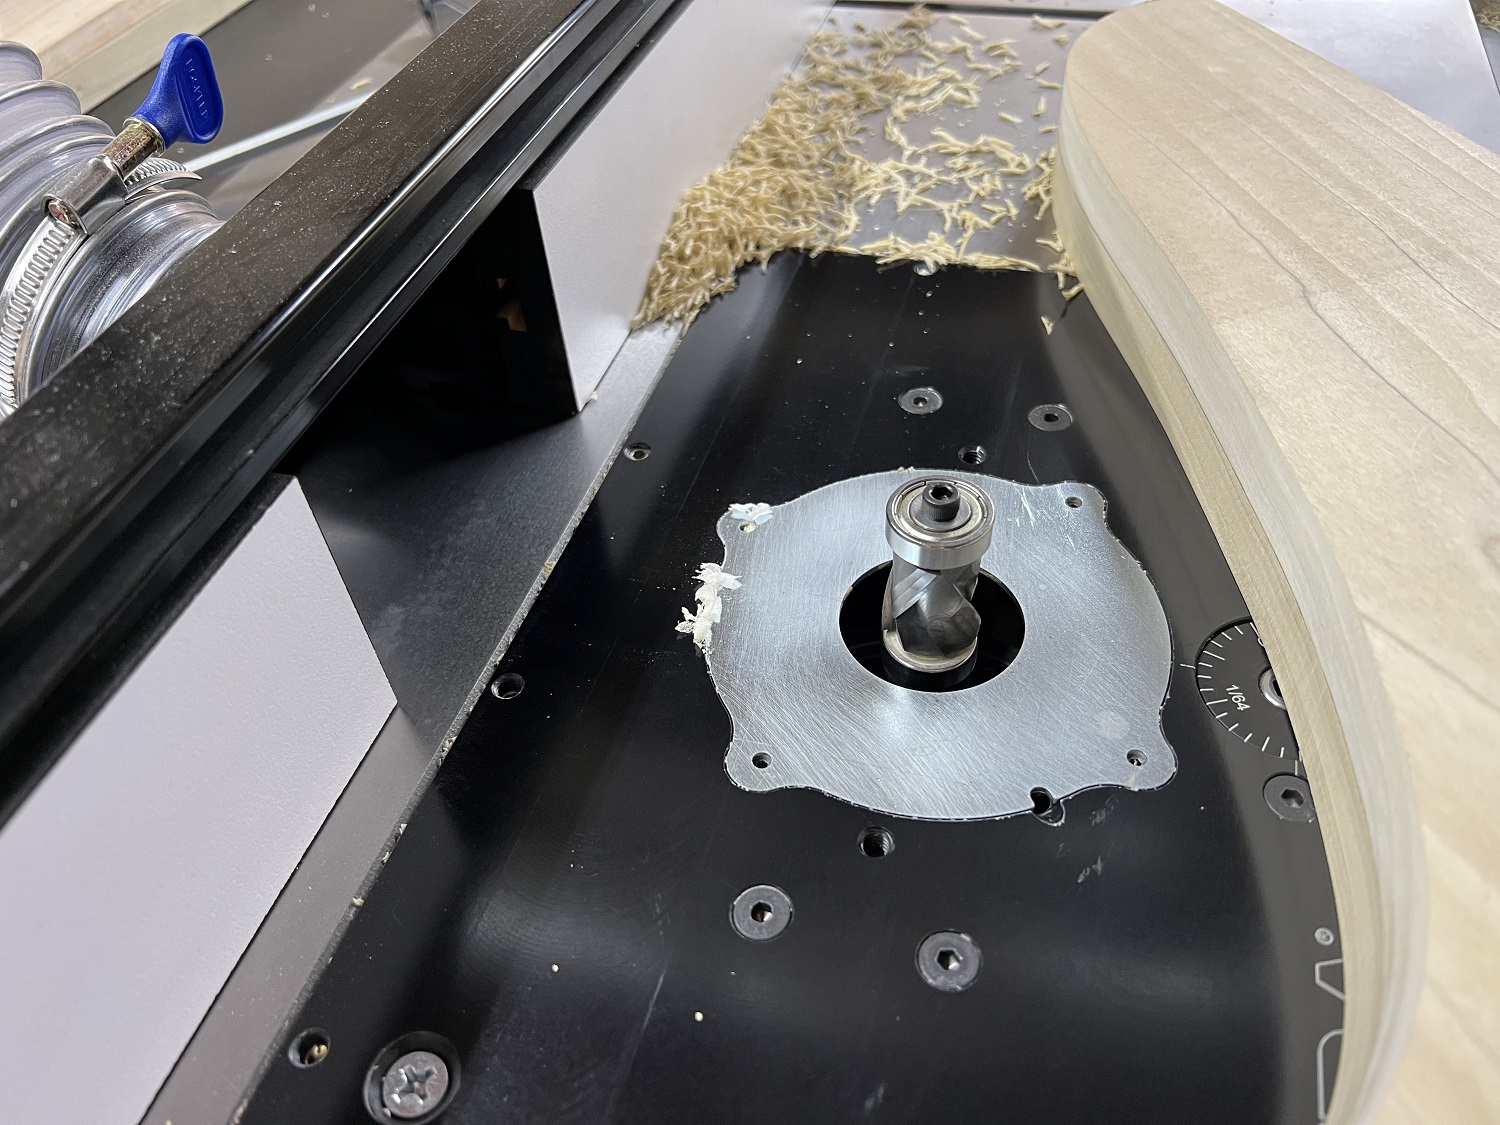
The support is then copied using it as a pattern on the router table.
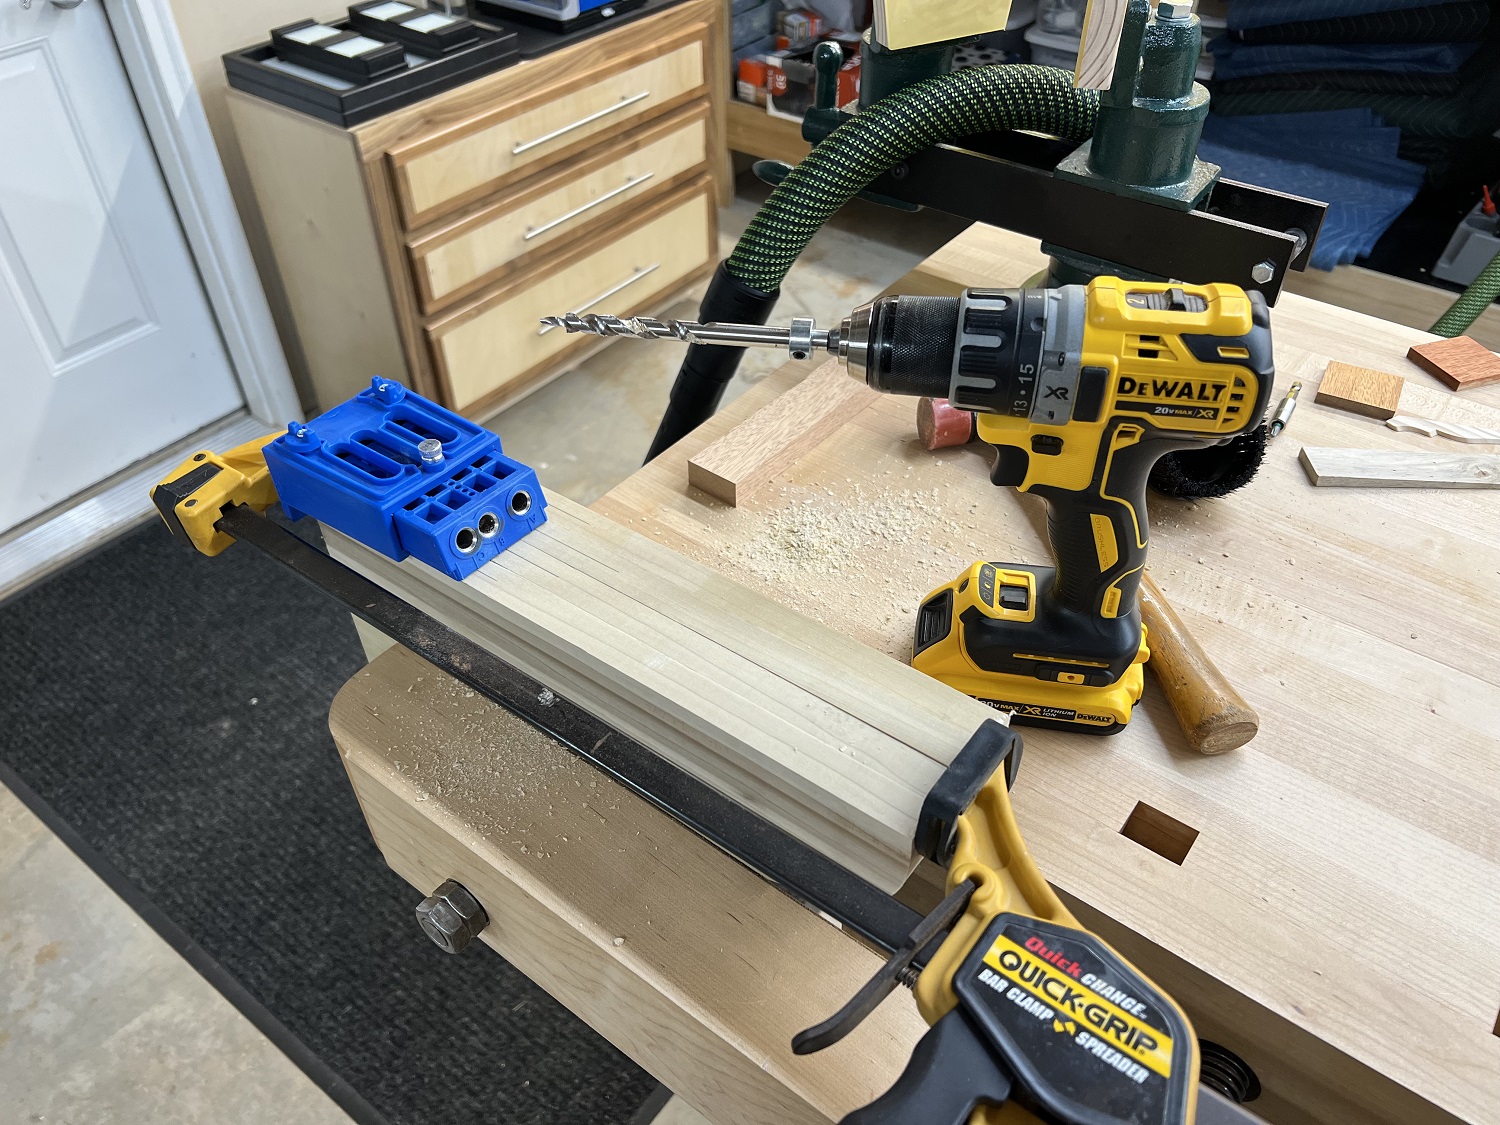
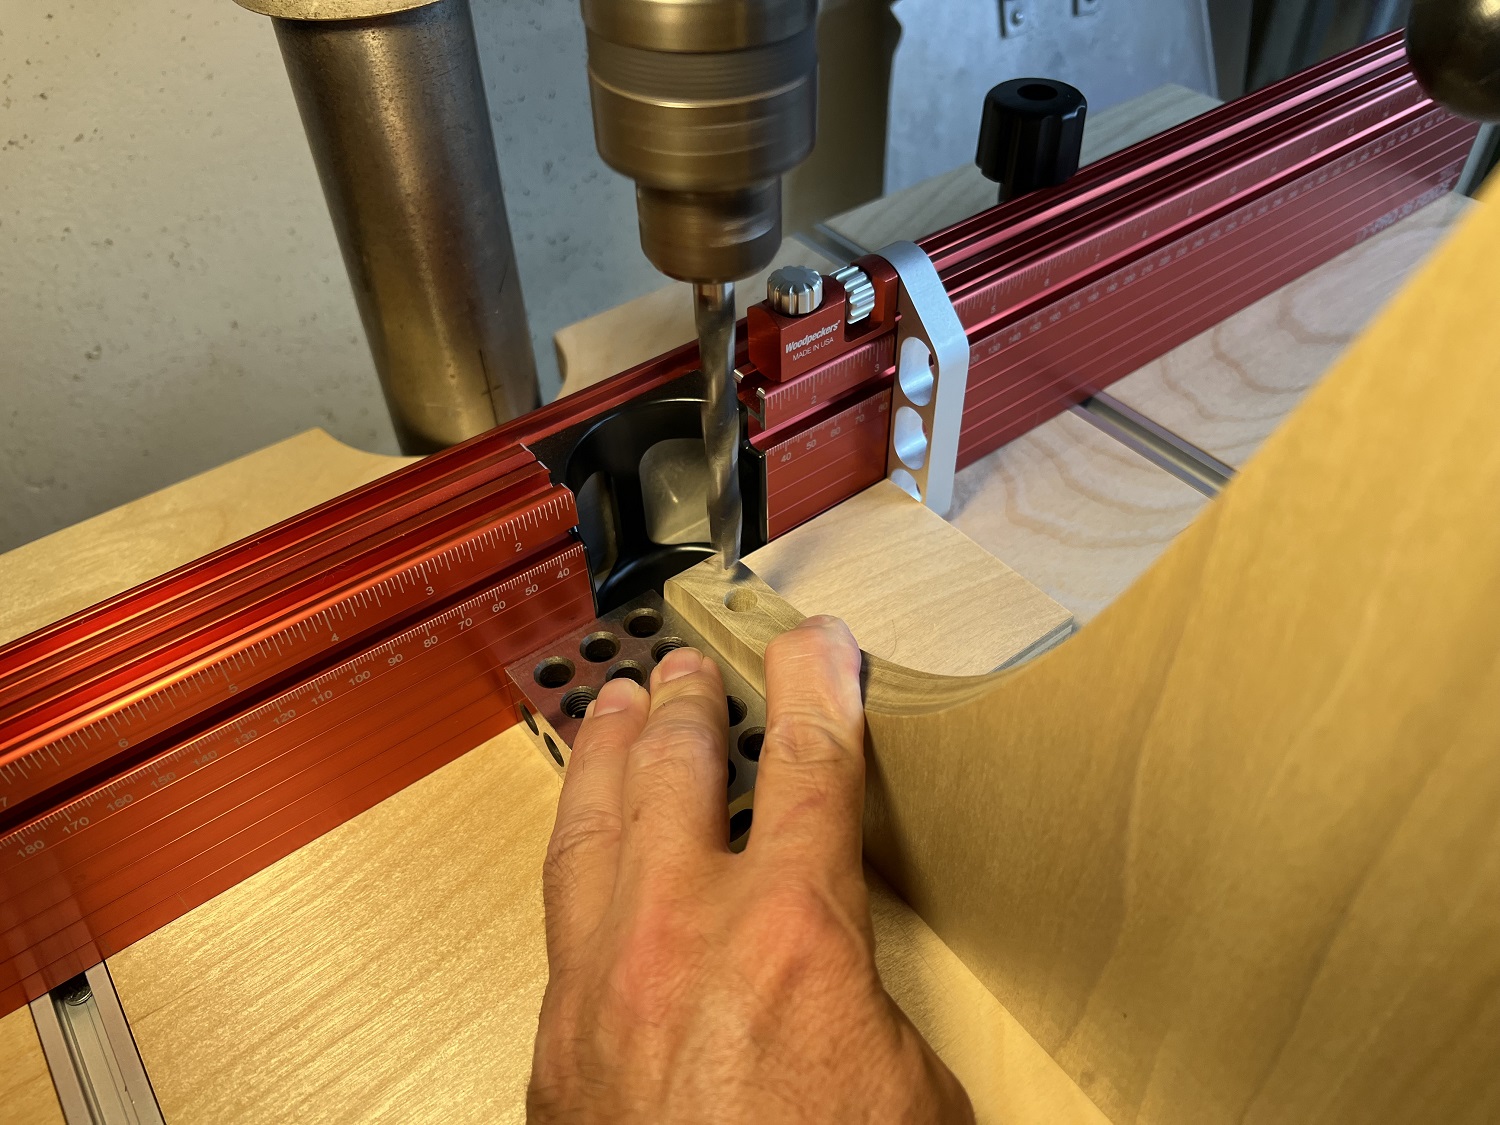
Next, holes are drilled in the supports for the screws that will secure them to the studs in the walls.

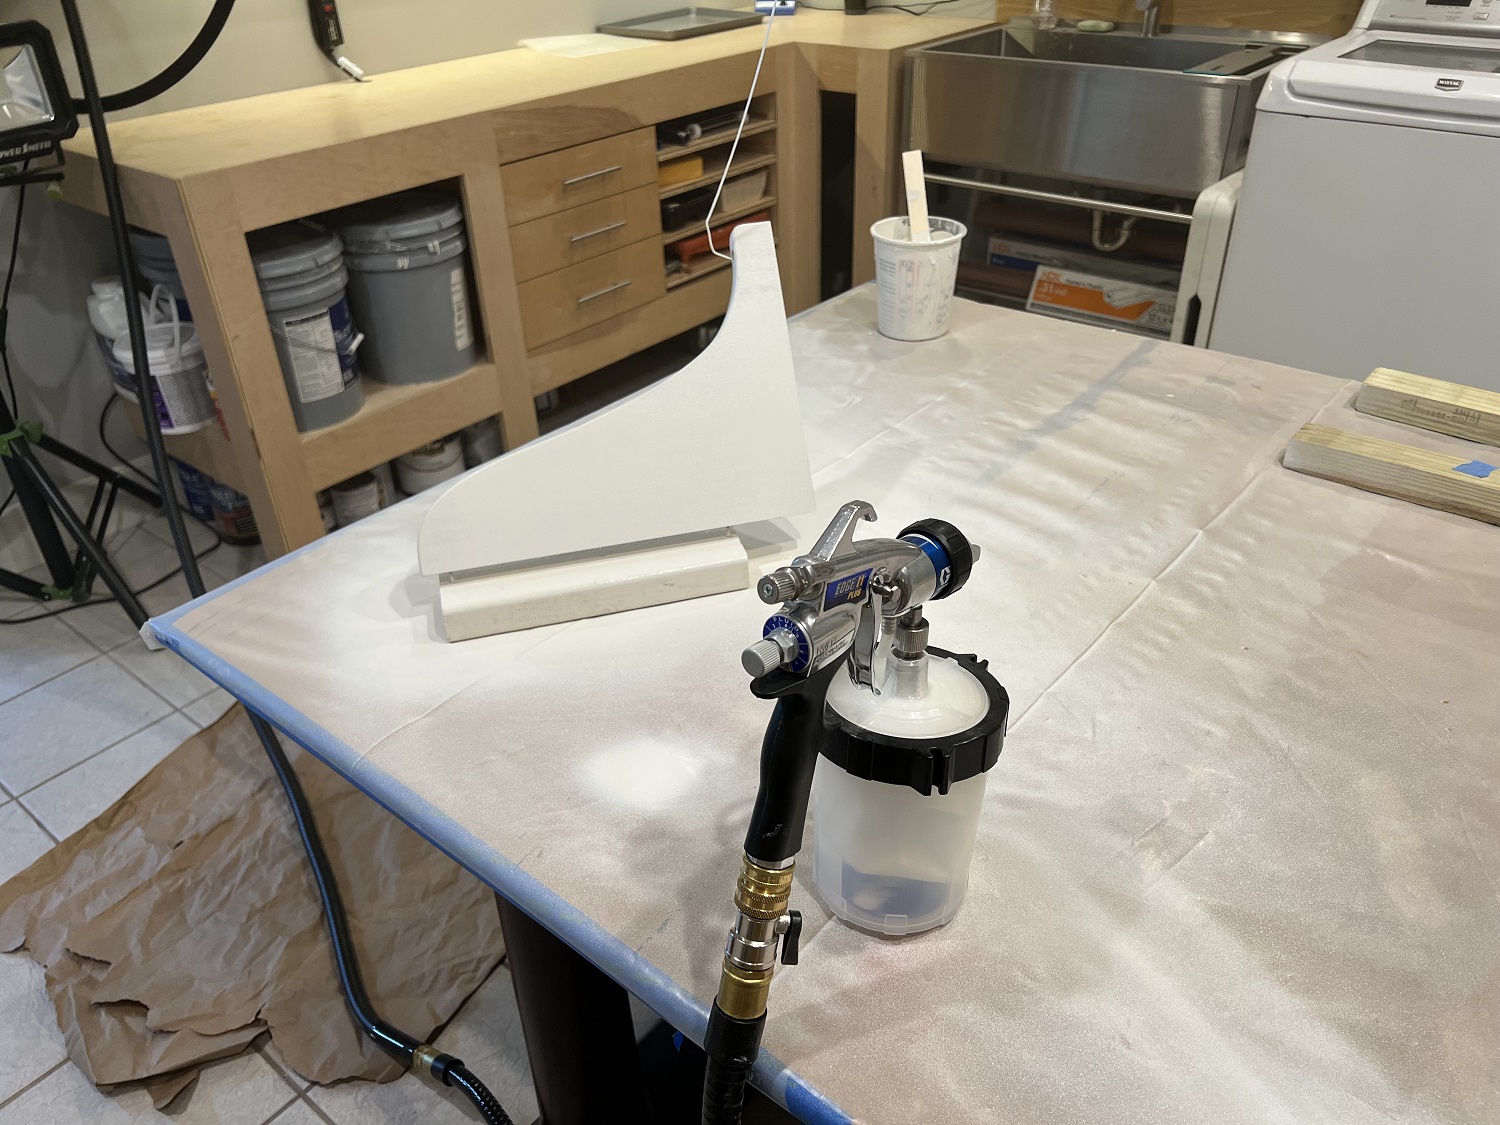
On to sanding and finishing. First the supports are sprayed.
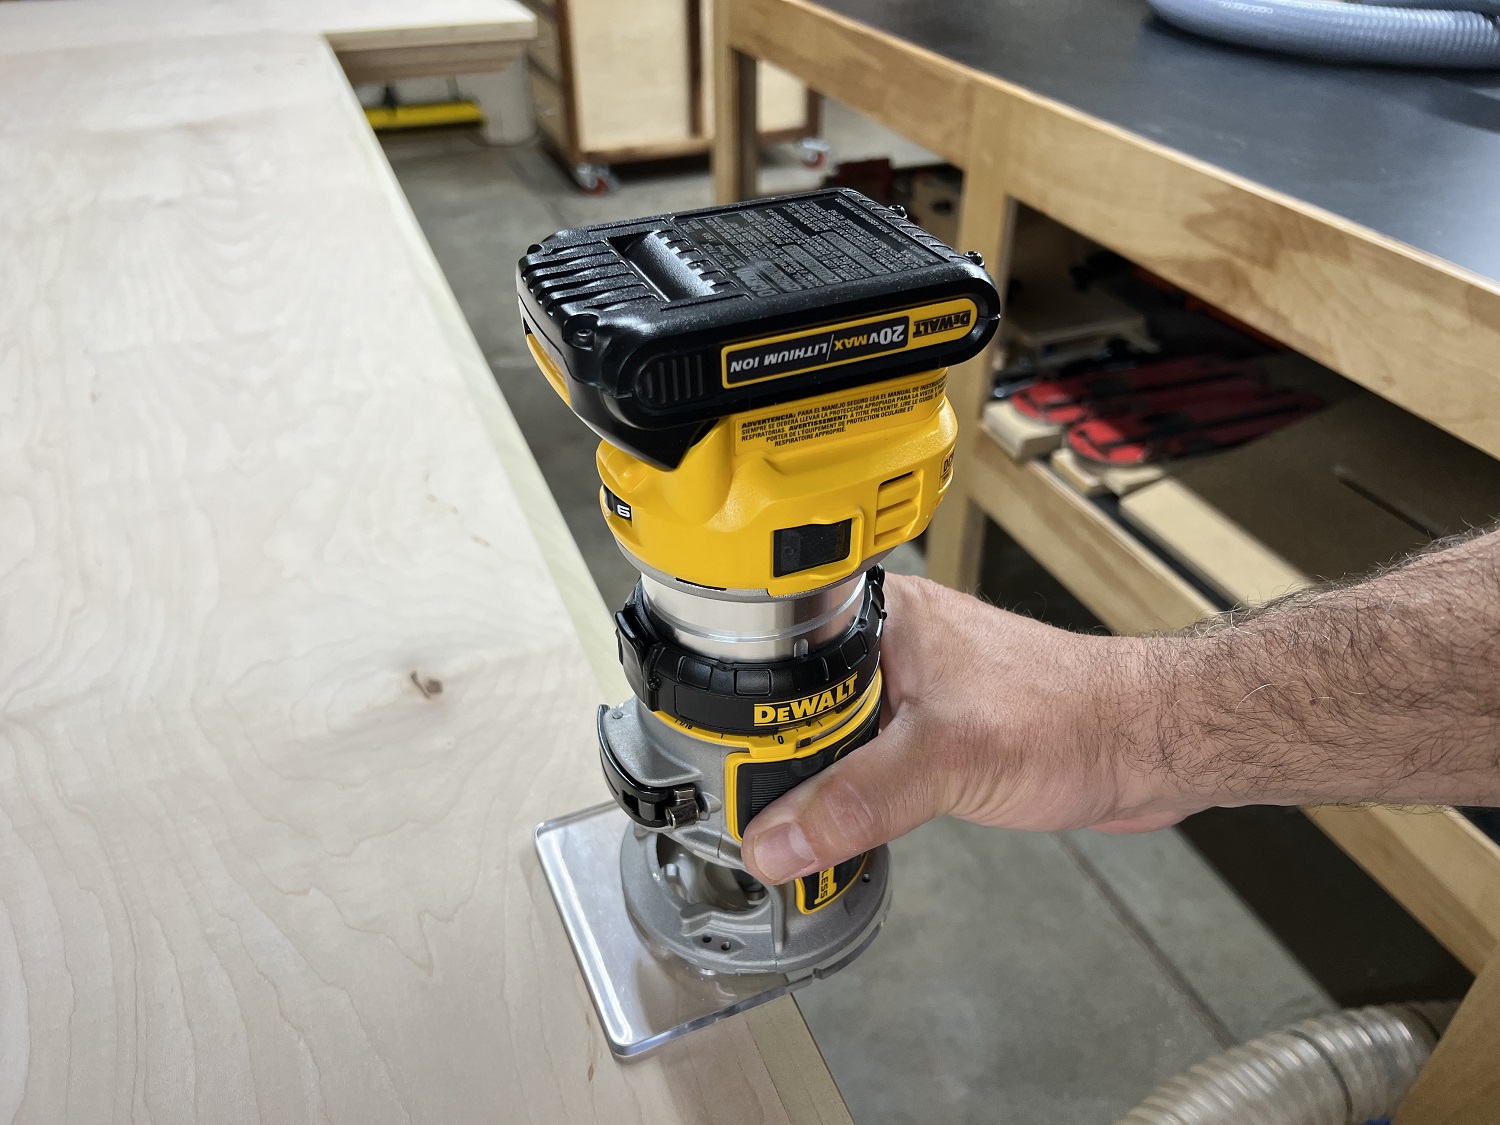
Next, the shelf is sanded and the top edge is rounded with a 1/8″ roundover bit in the trim router.
The shelf is primed and painted with the HVLP sprayer.
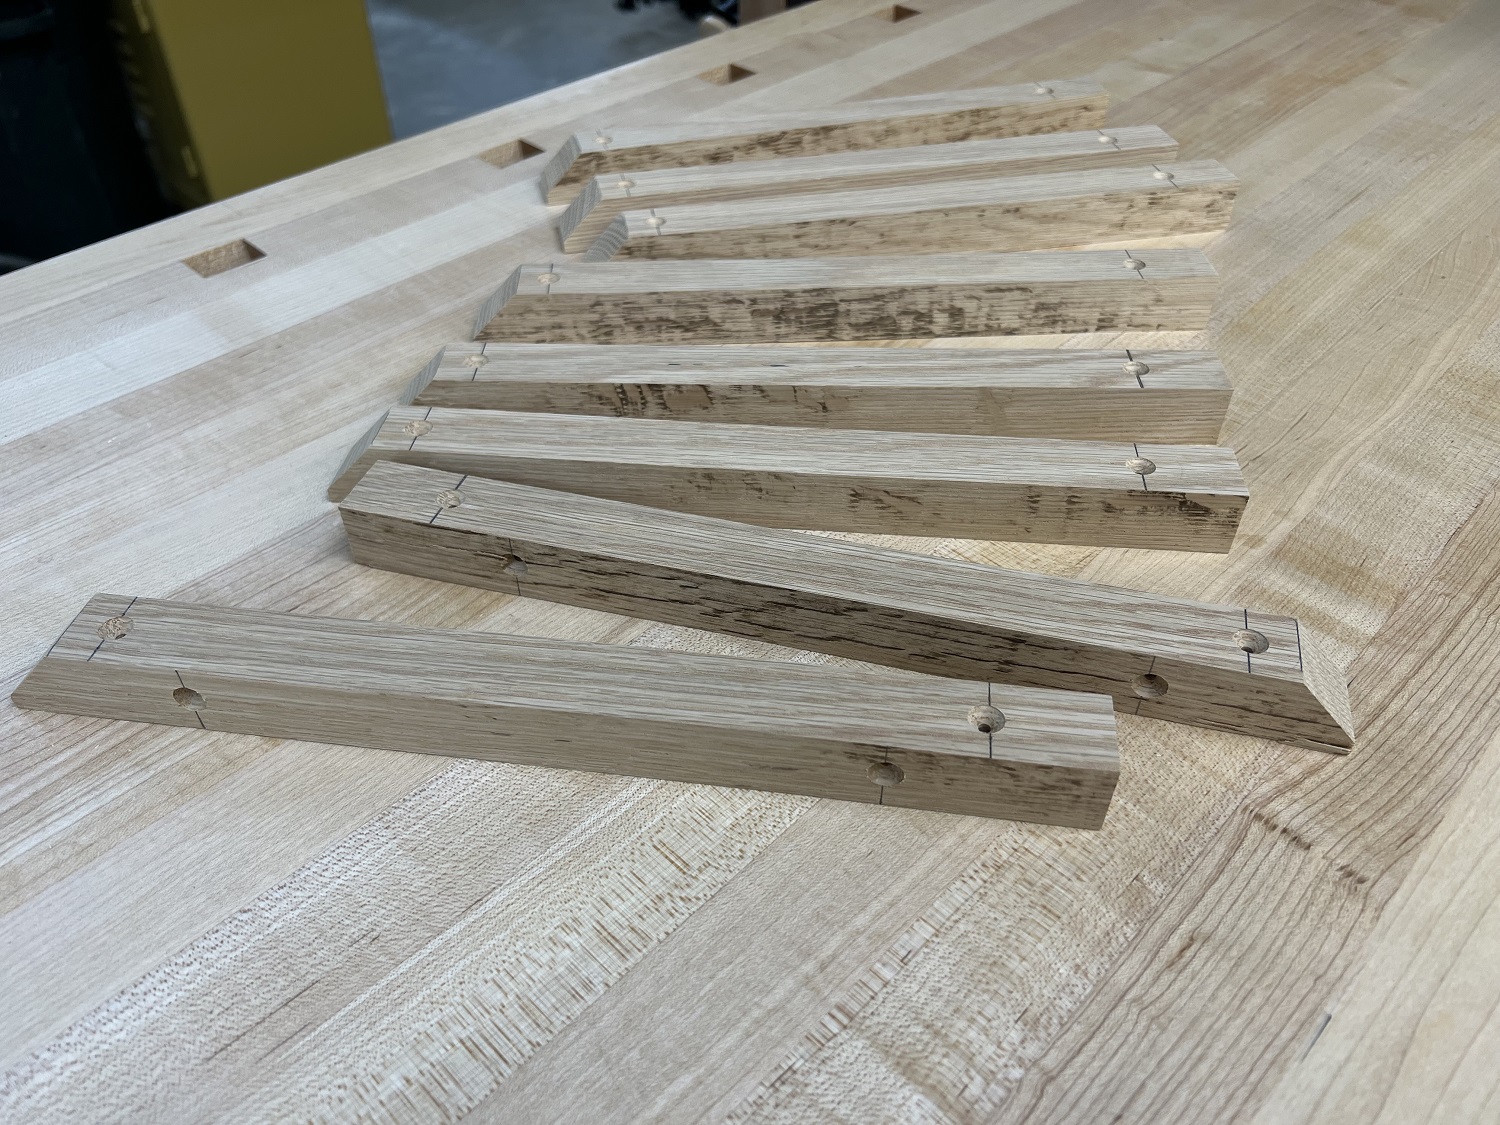
The shelf is designed so that it can be removed by simply unscrewing it from the wall. Accordingly, the screw heads must remain accessible as well as hidden. To accomplish this, cleats are made to secure the shelf to the supports with screws from the underside, where they will not be seen.

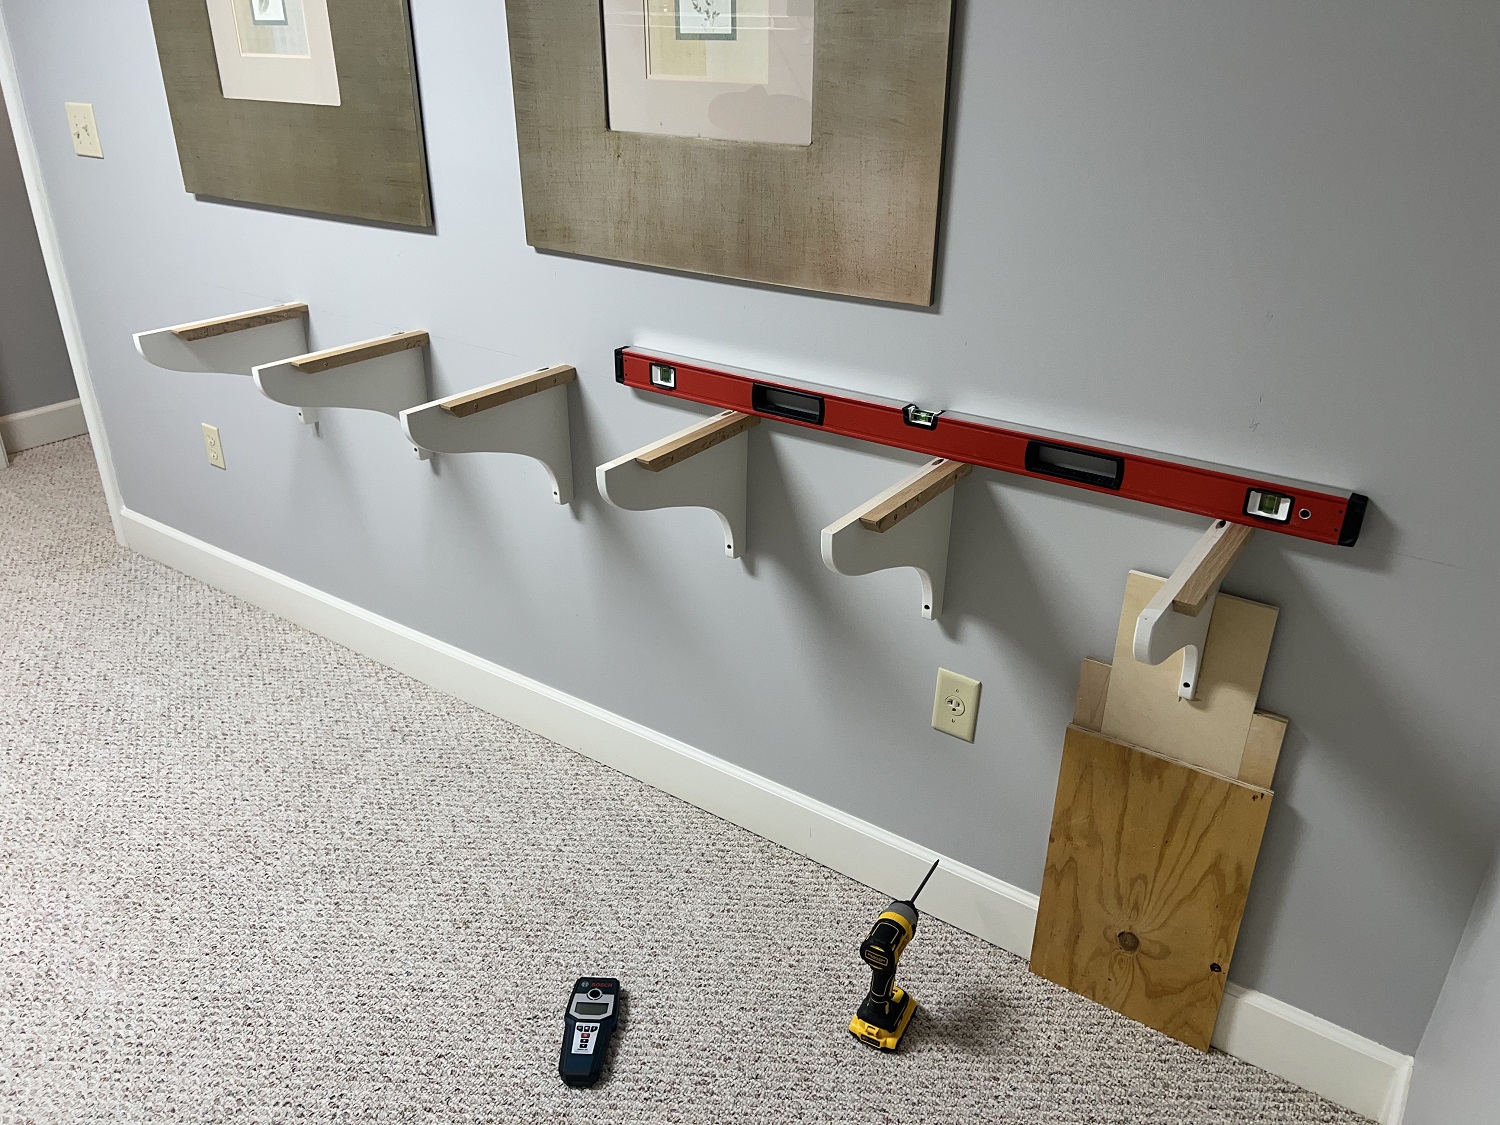
An adjustable installation jig is made to assist in accurate and consistent installation of the shelf supports.
The supports are installed.
And the shelf is placed and secured.

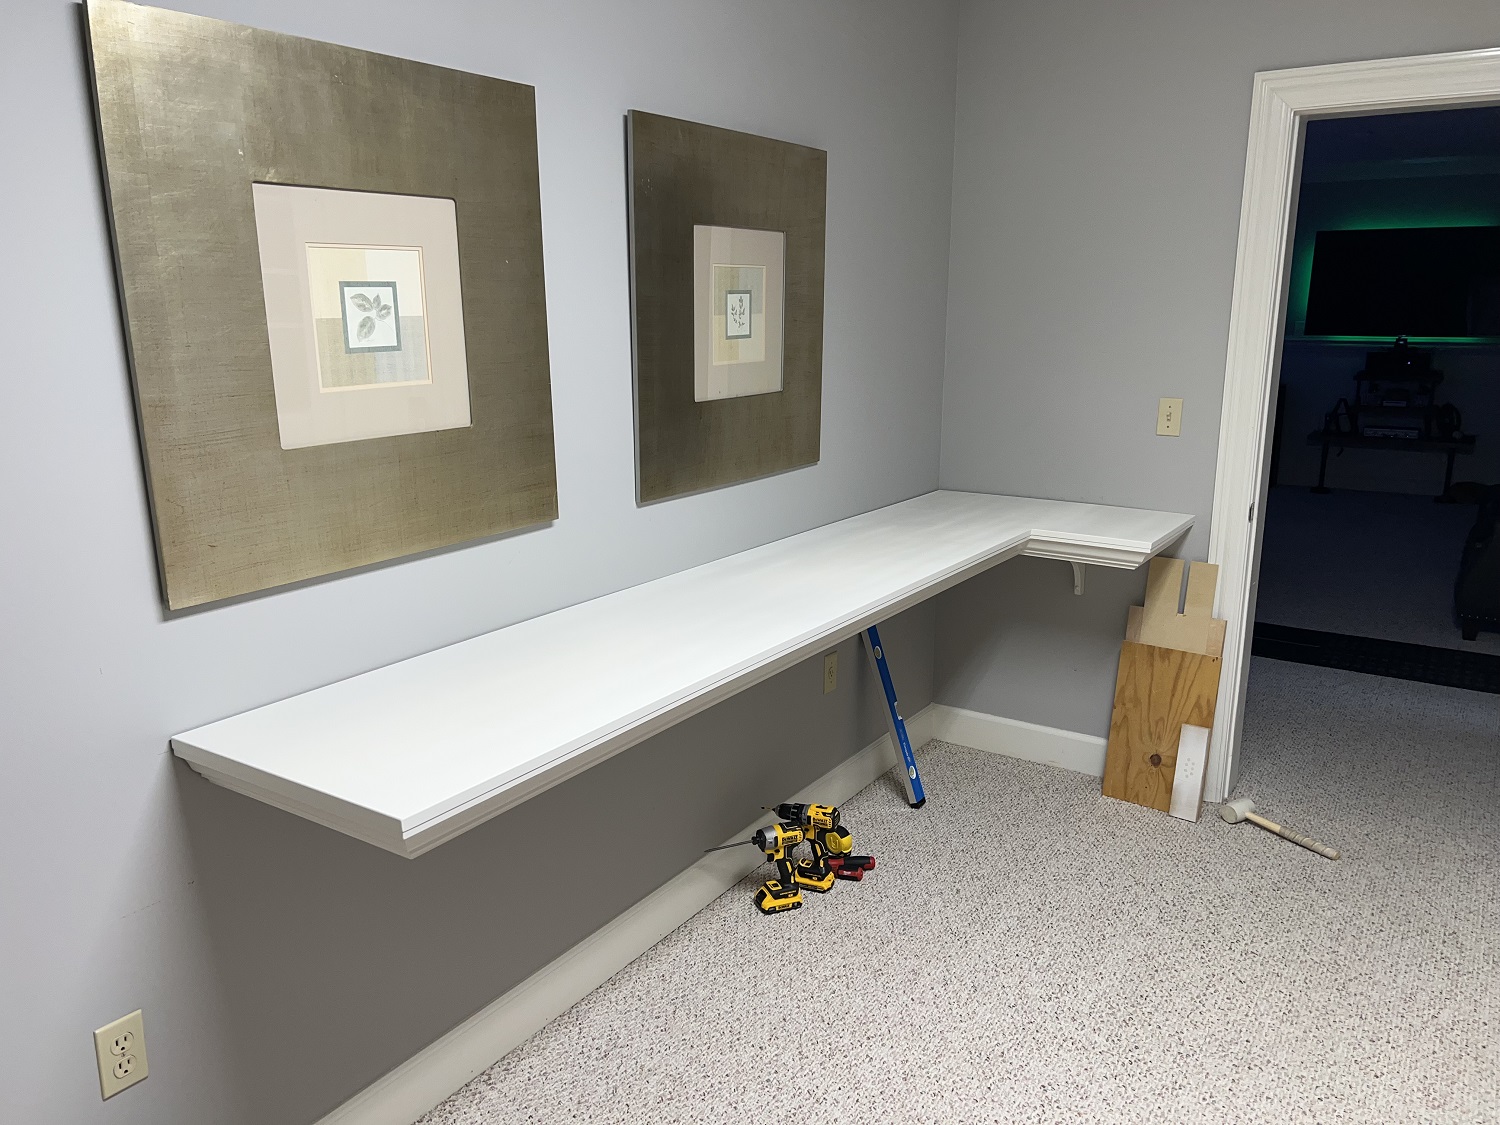
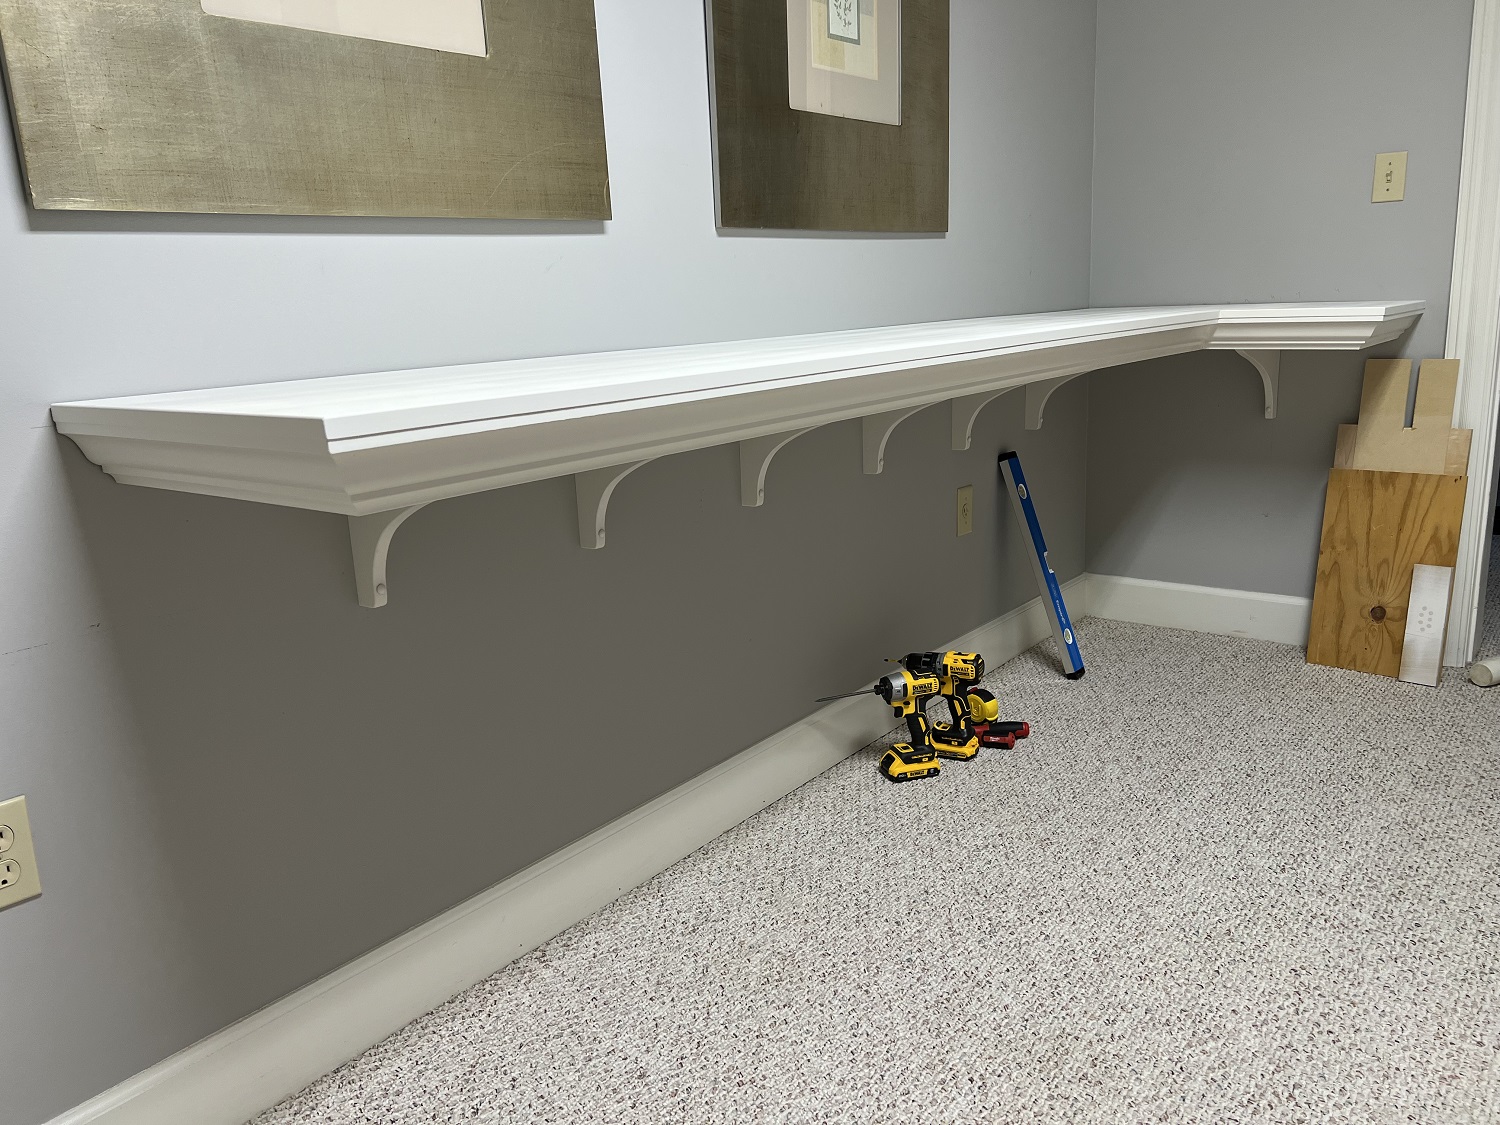
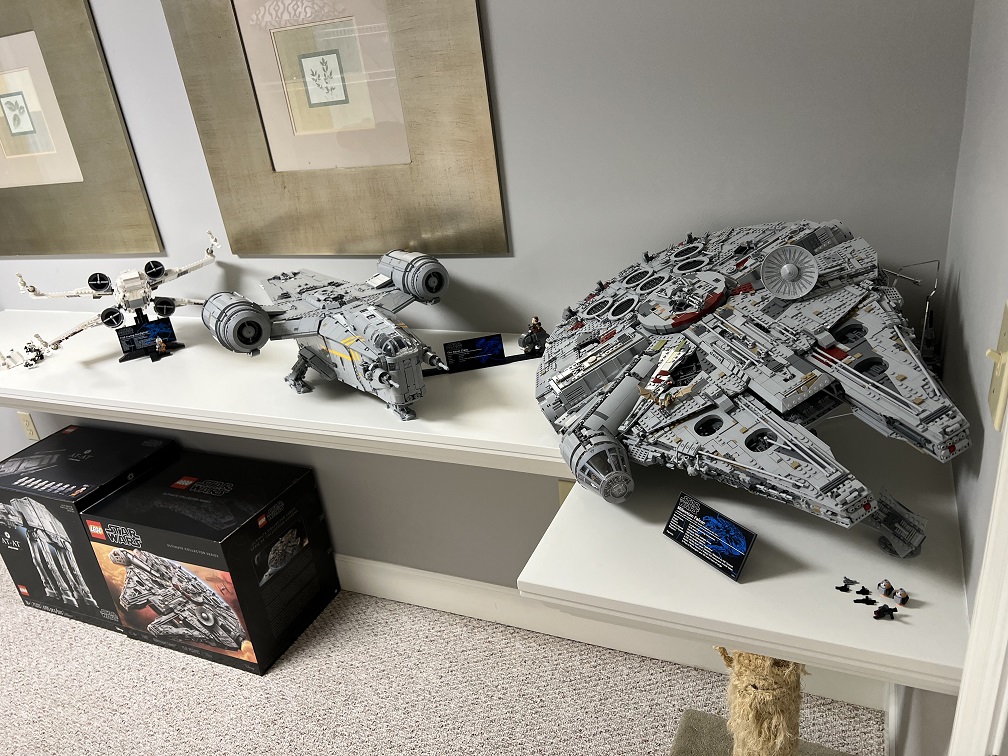
Not done building yet. but here it is so far…