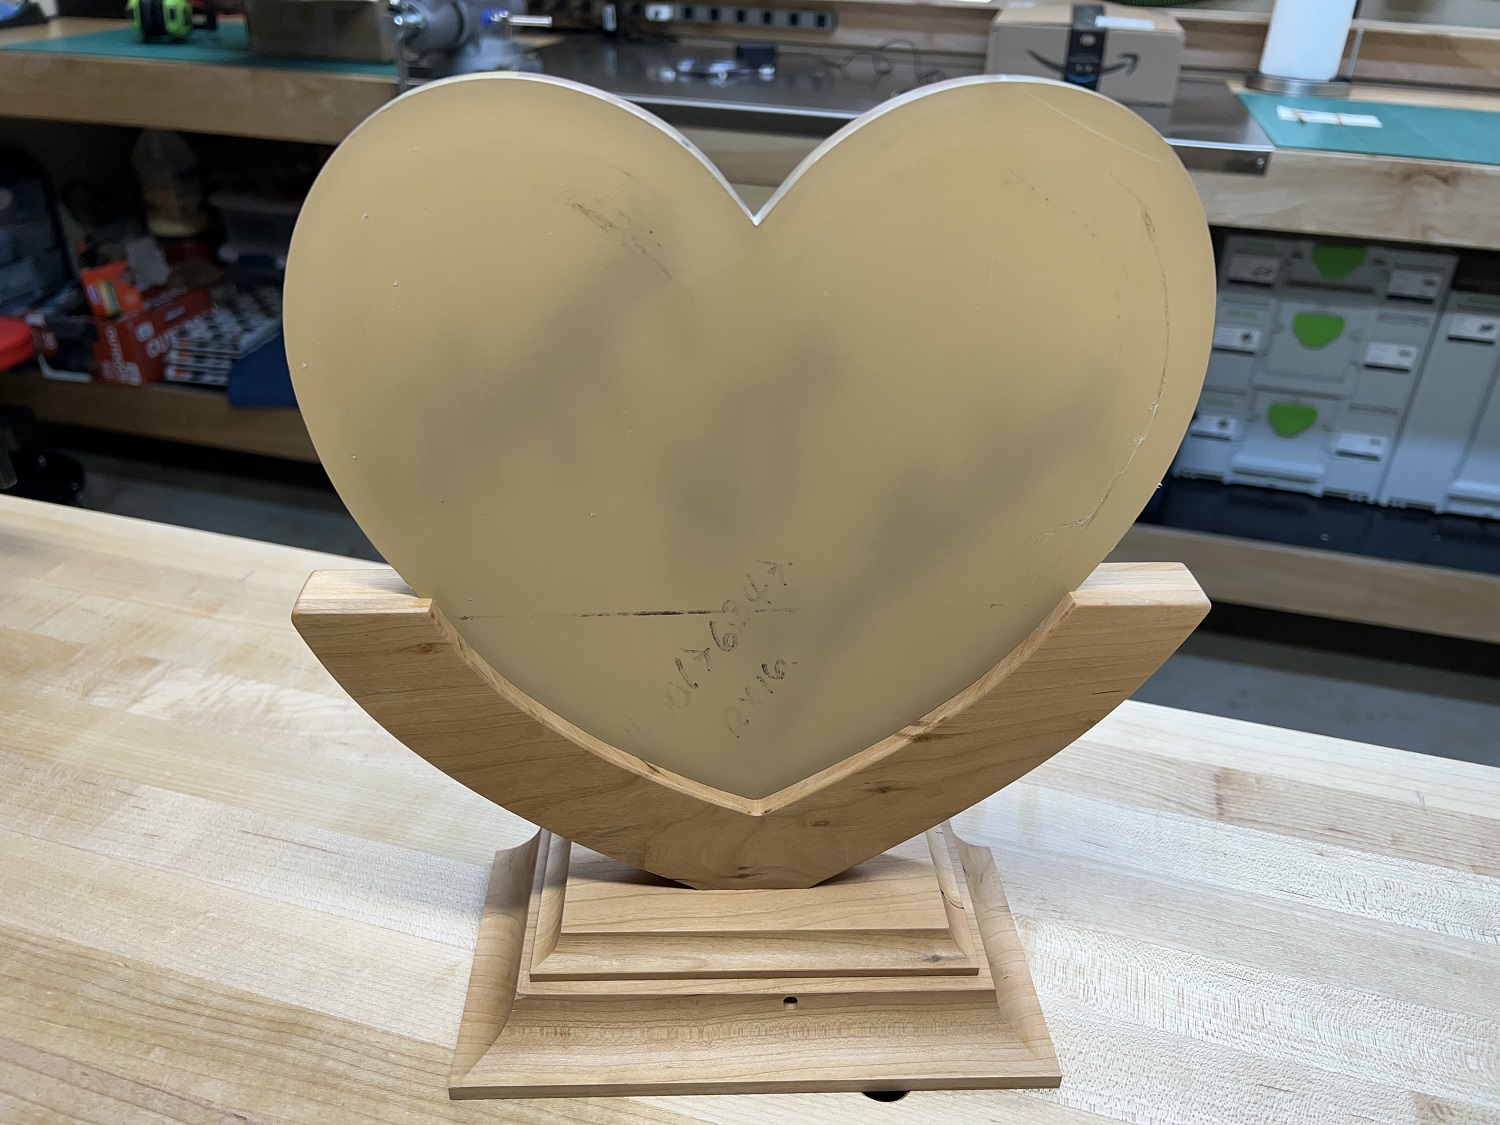
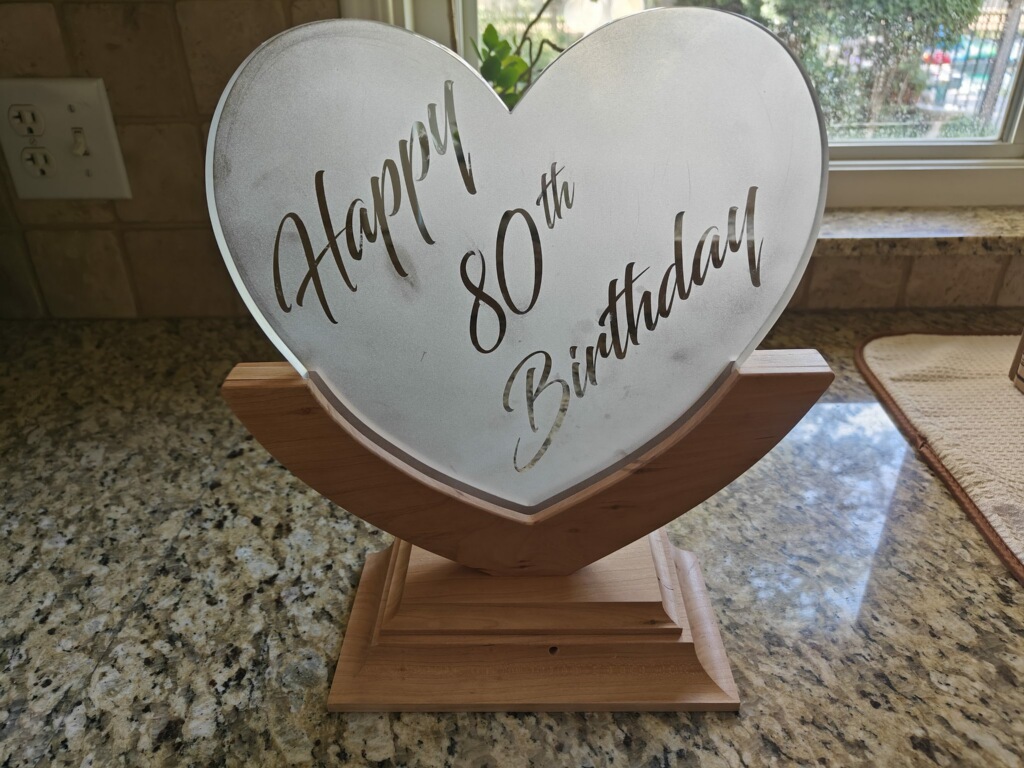
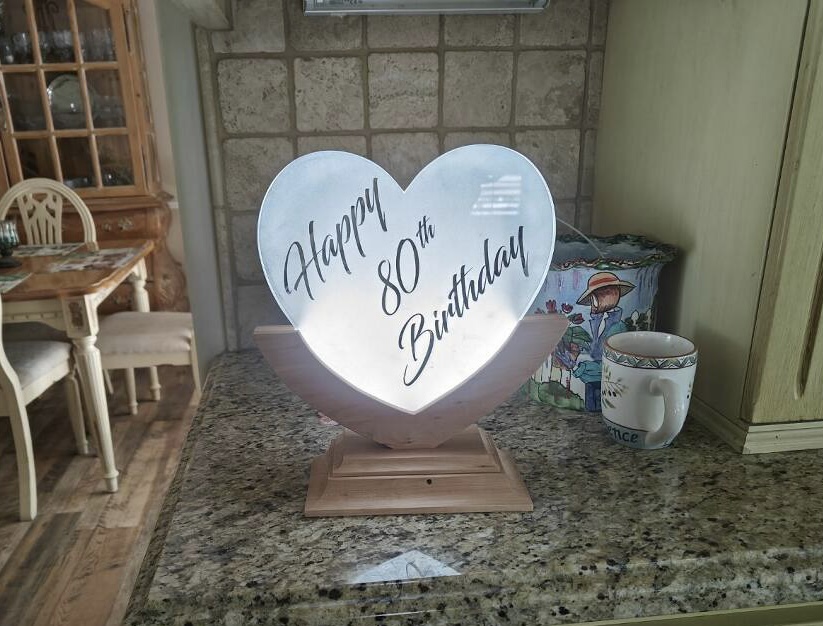
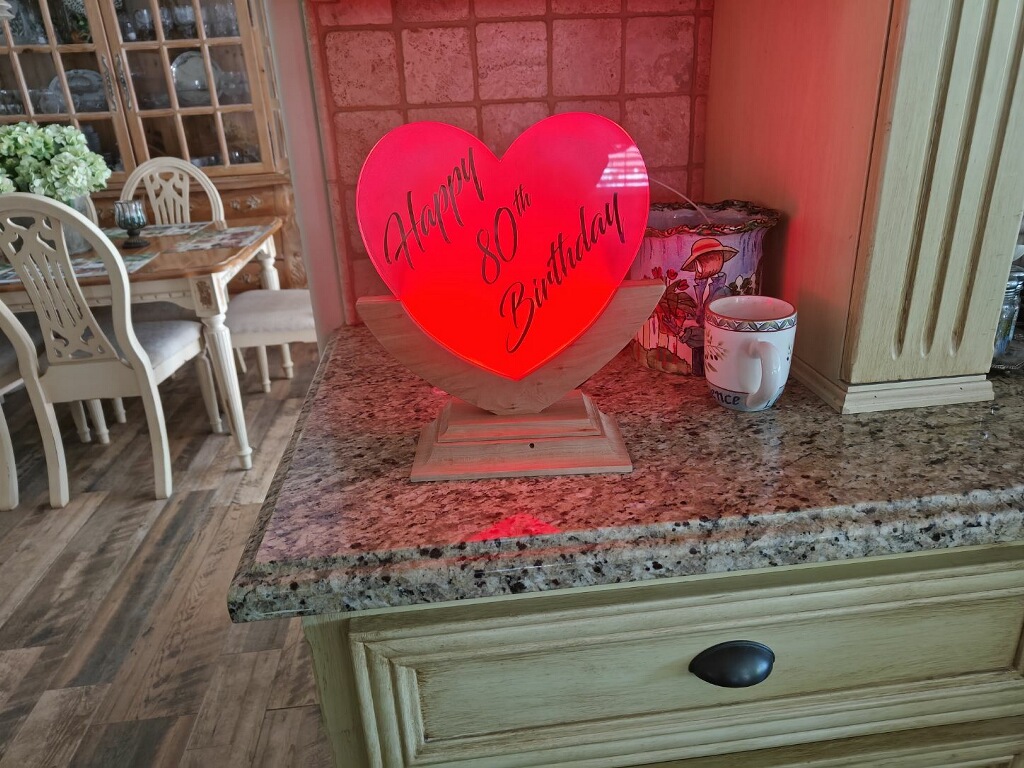
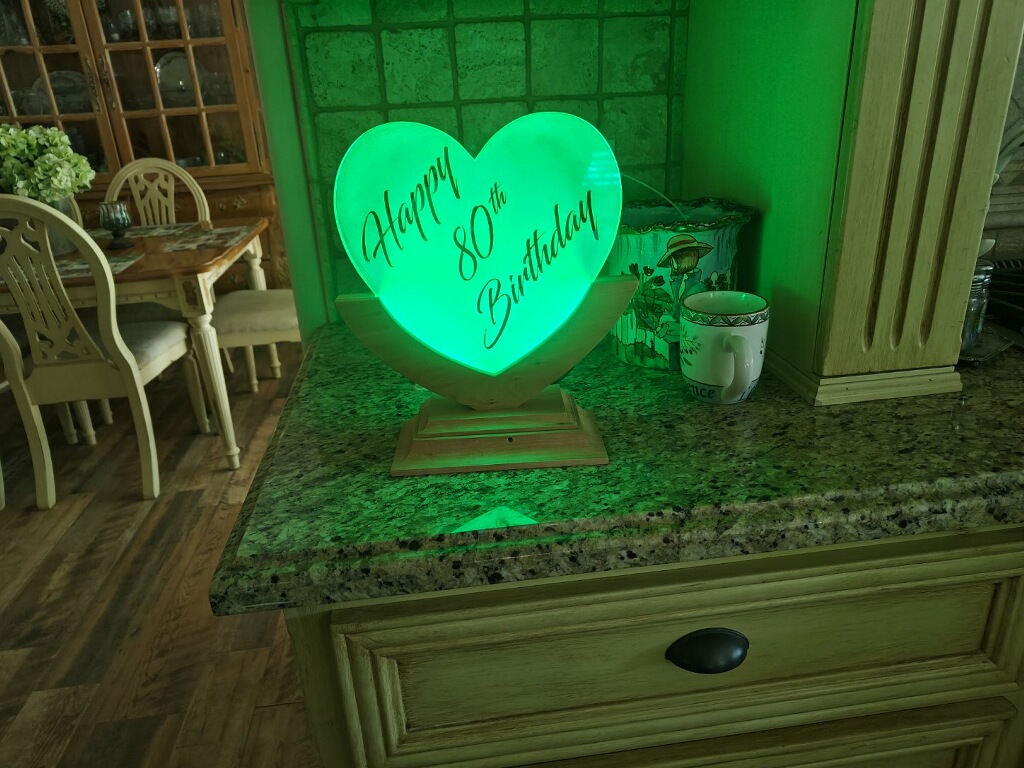
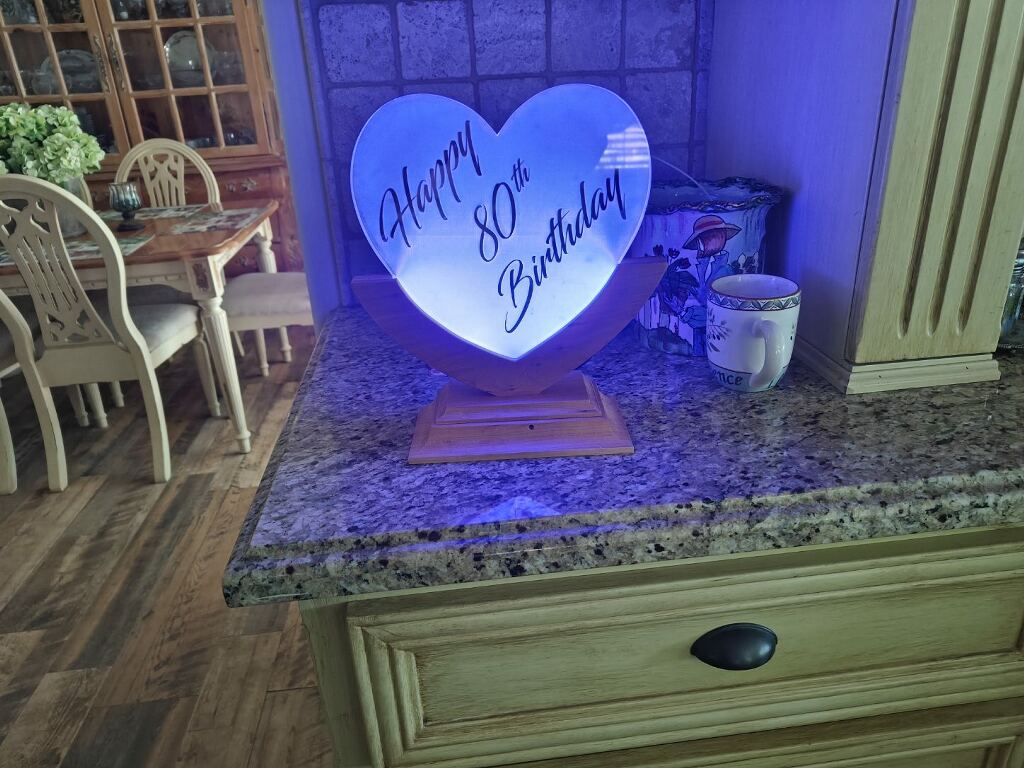
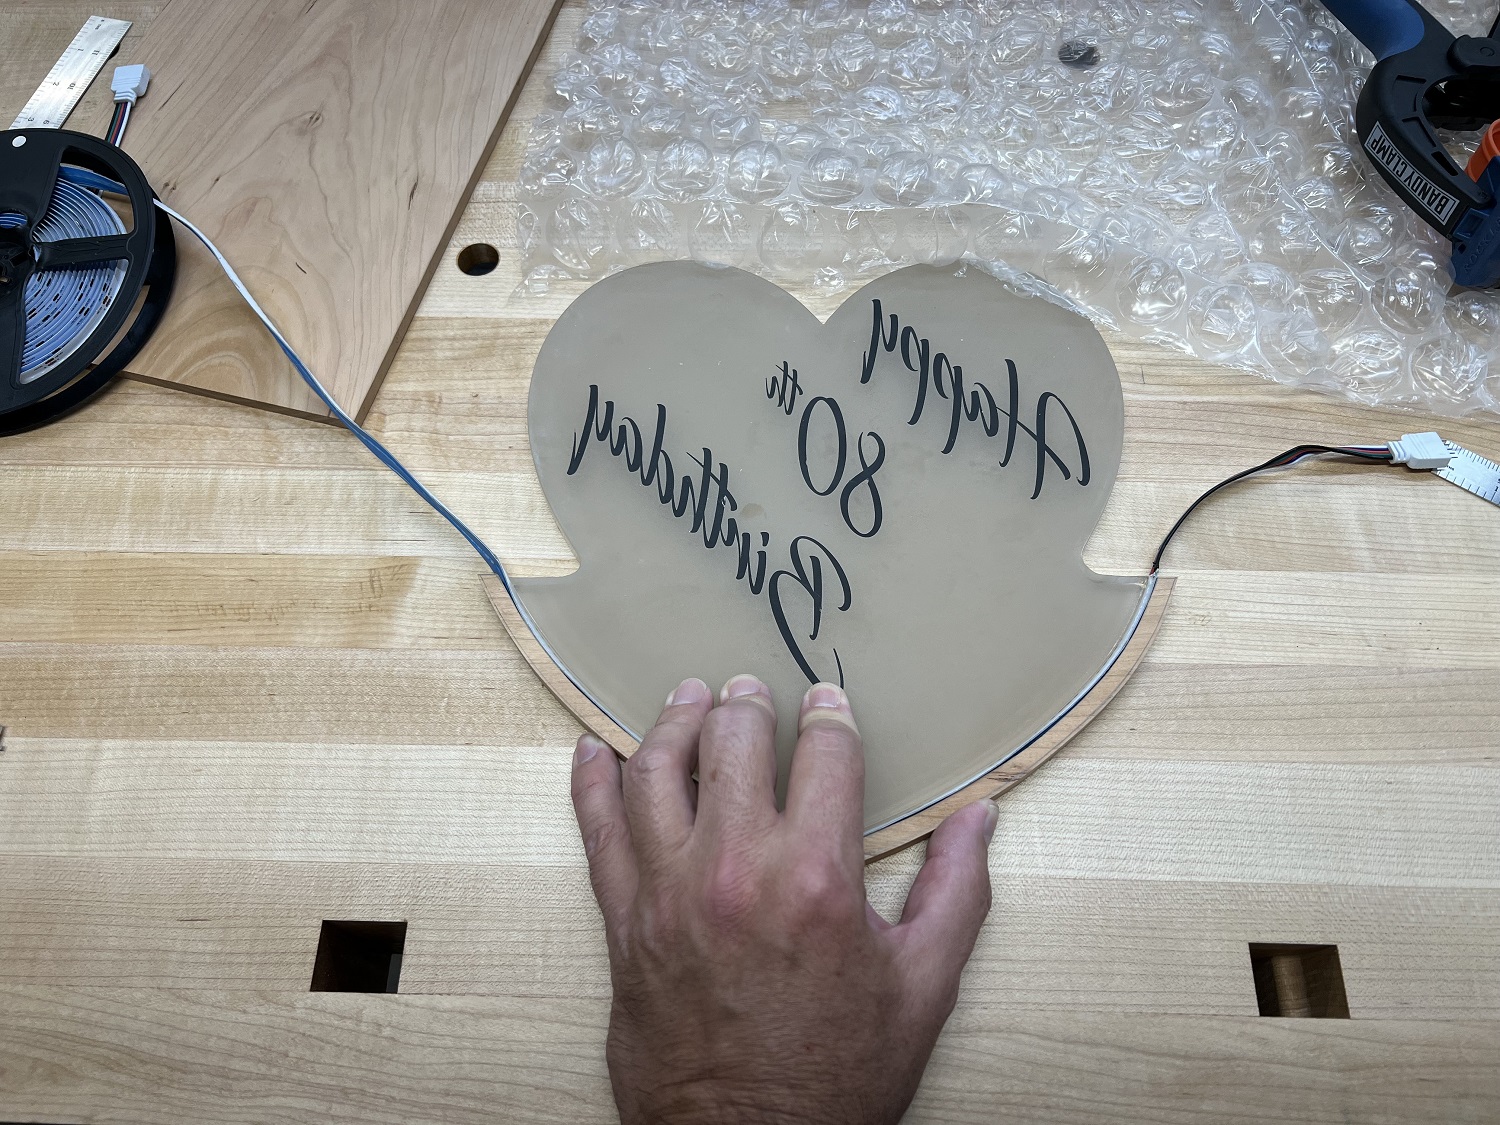
The client made an acrylic heart for his mother’s 80th birthday. He asked for a stand made of cherry to hold the heart and the LED lighting equipment. This is a one-day build, including finishing. The item was shipped back the day after I received the heart and LED components.
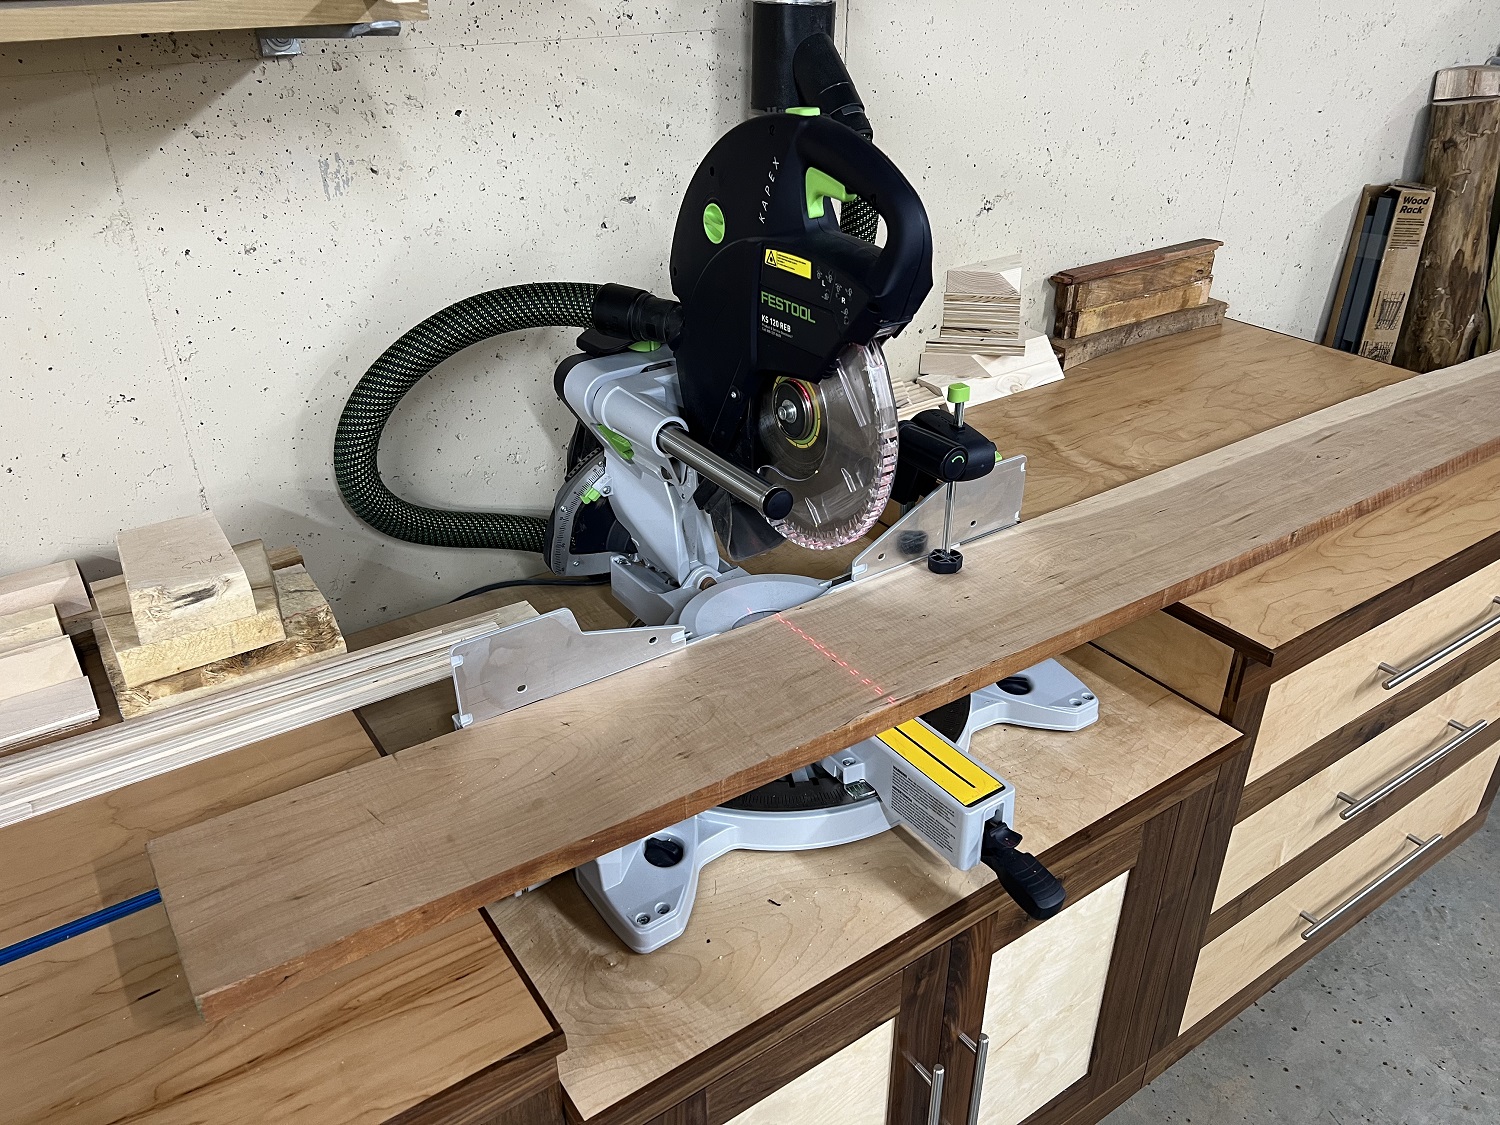
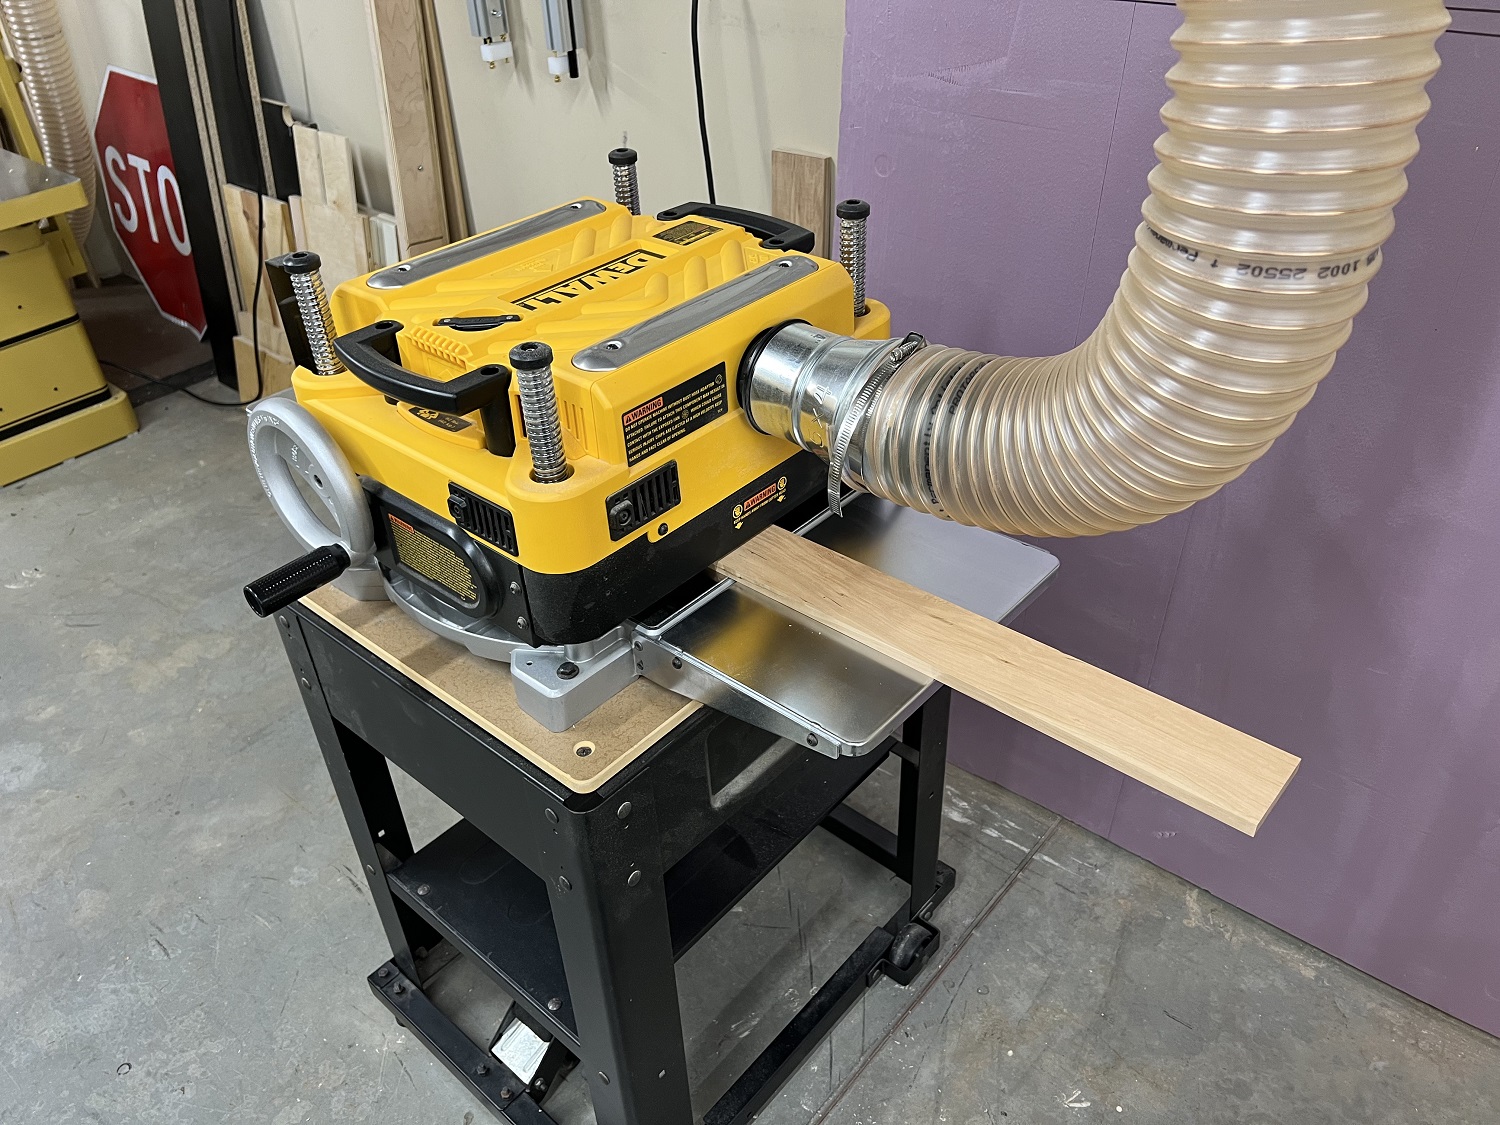
First, the cherry board is cut to an acceptable length for milling at the miter saw.
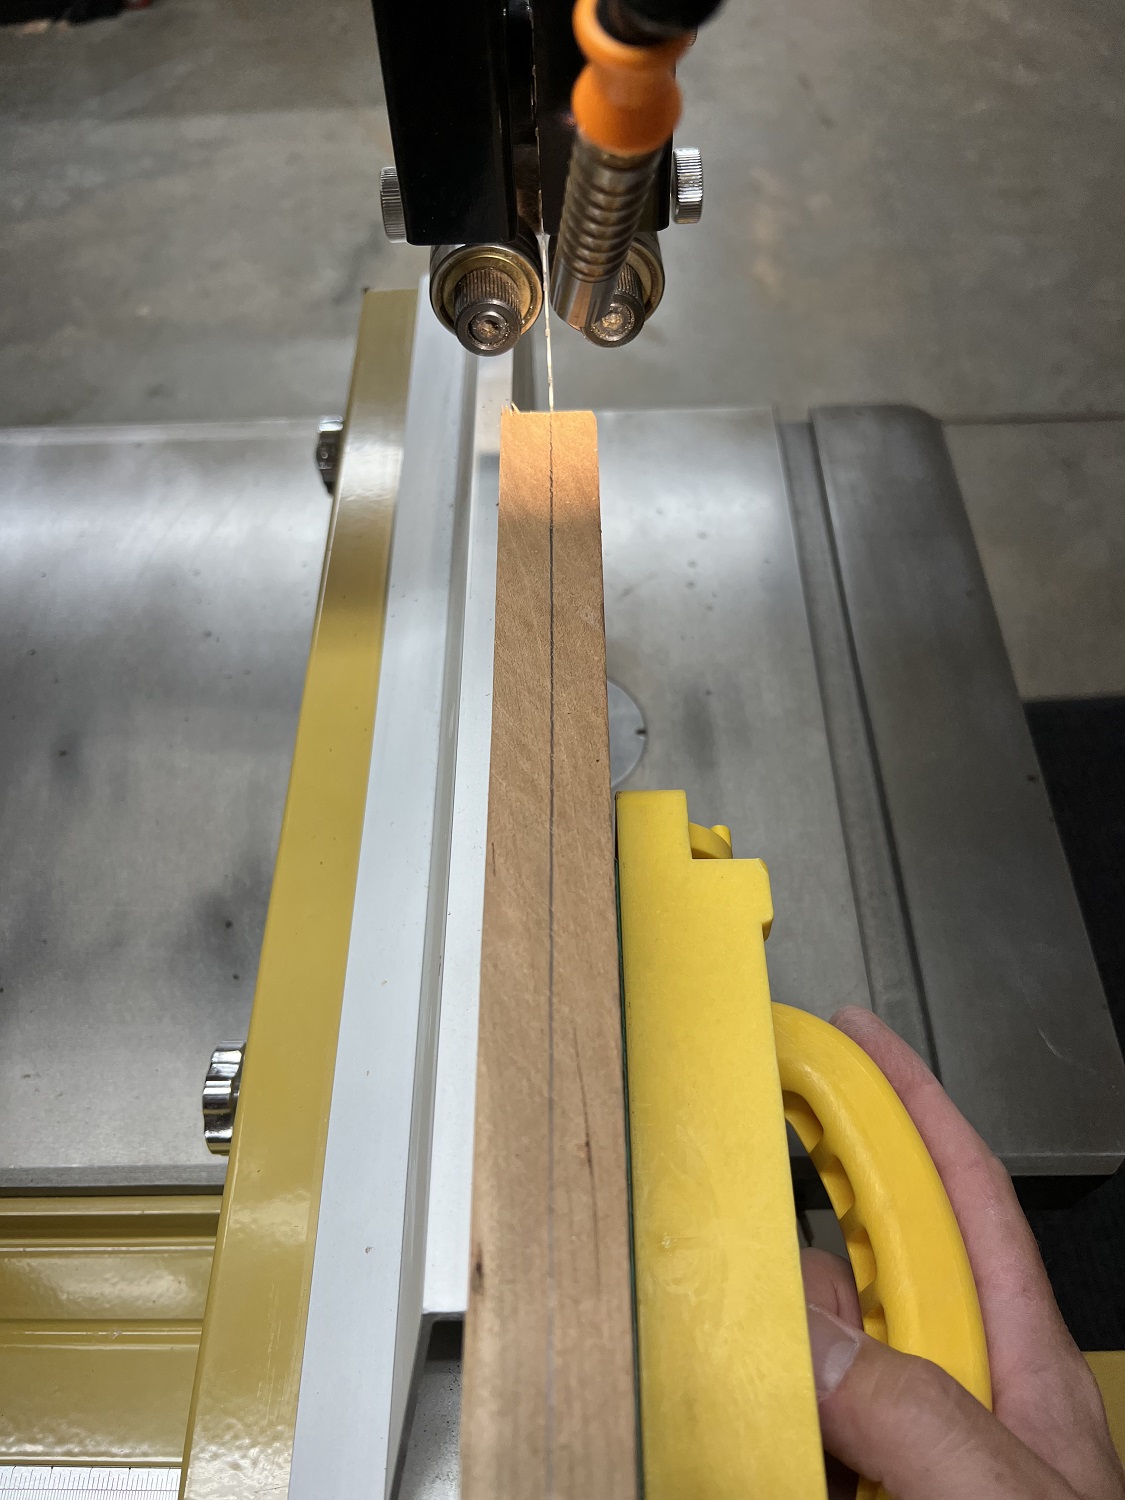
Then, after a pass through the jointer get a flat face and square edge, it’s over to the band saw to resaw the stock for the frame.
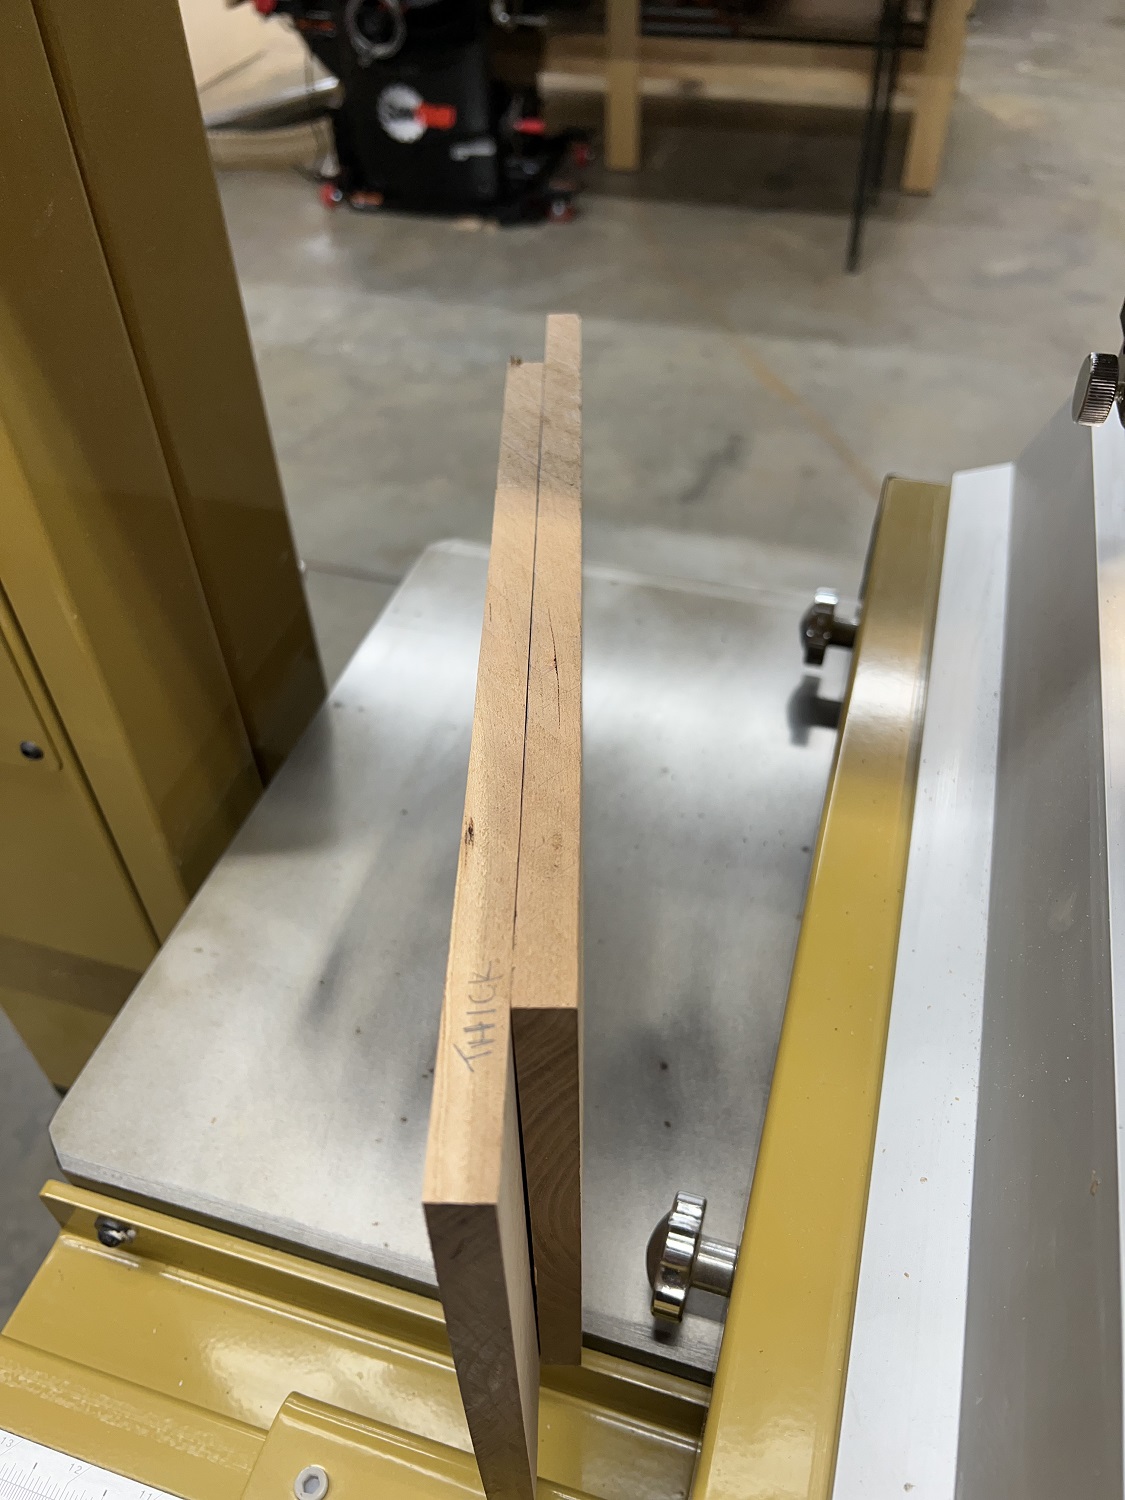
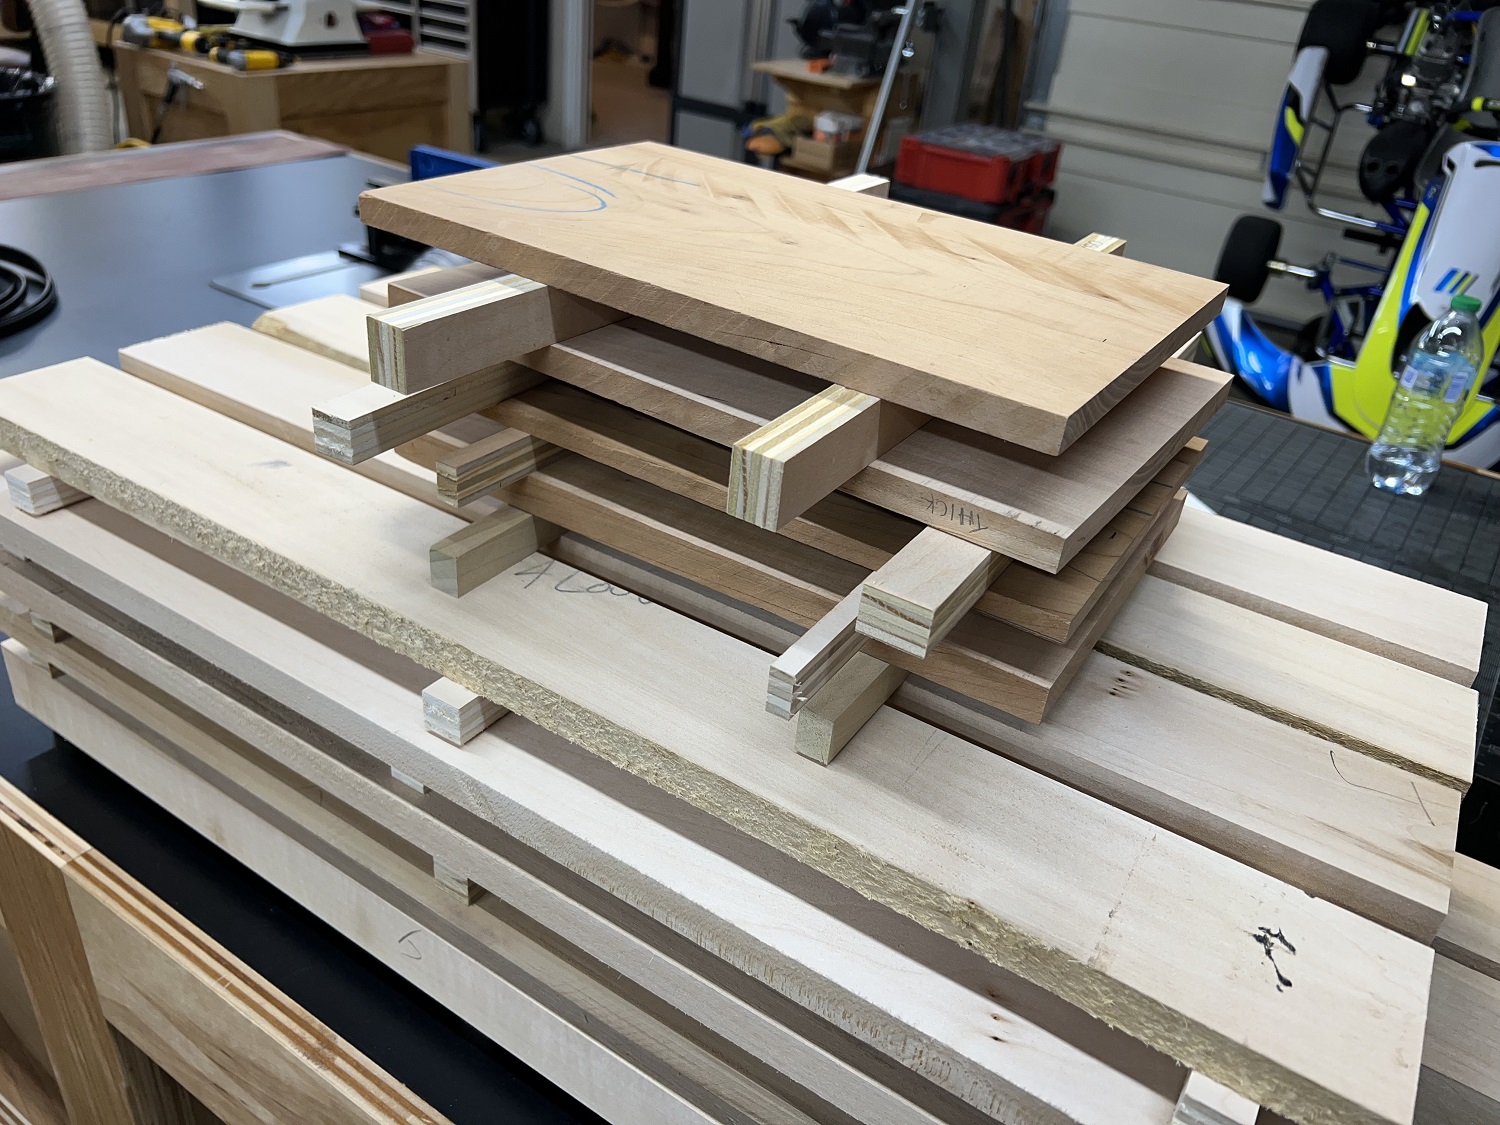
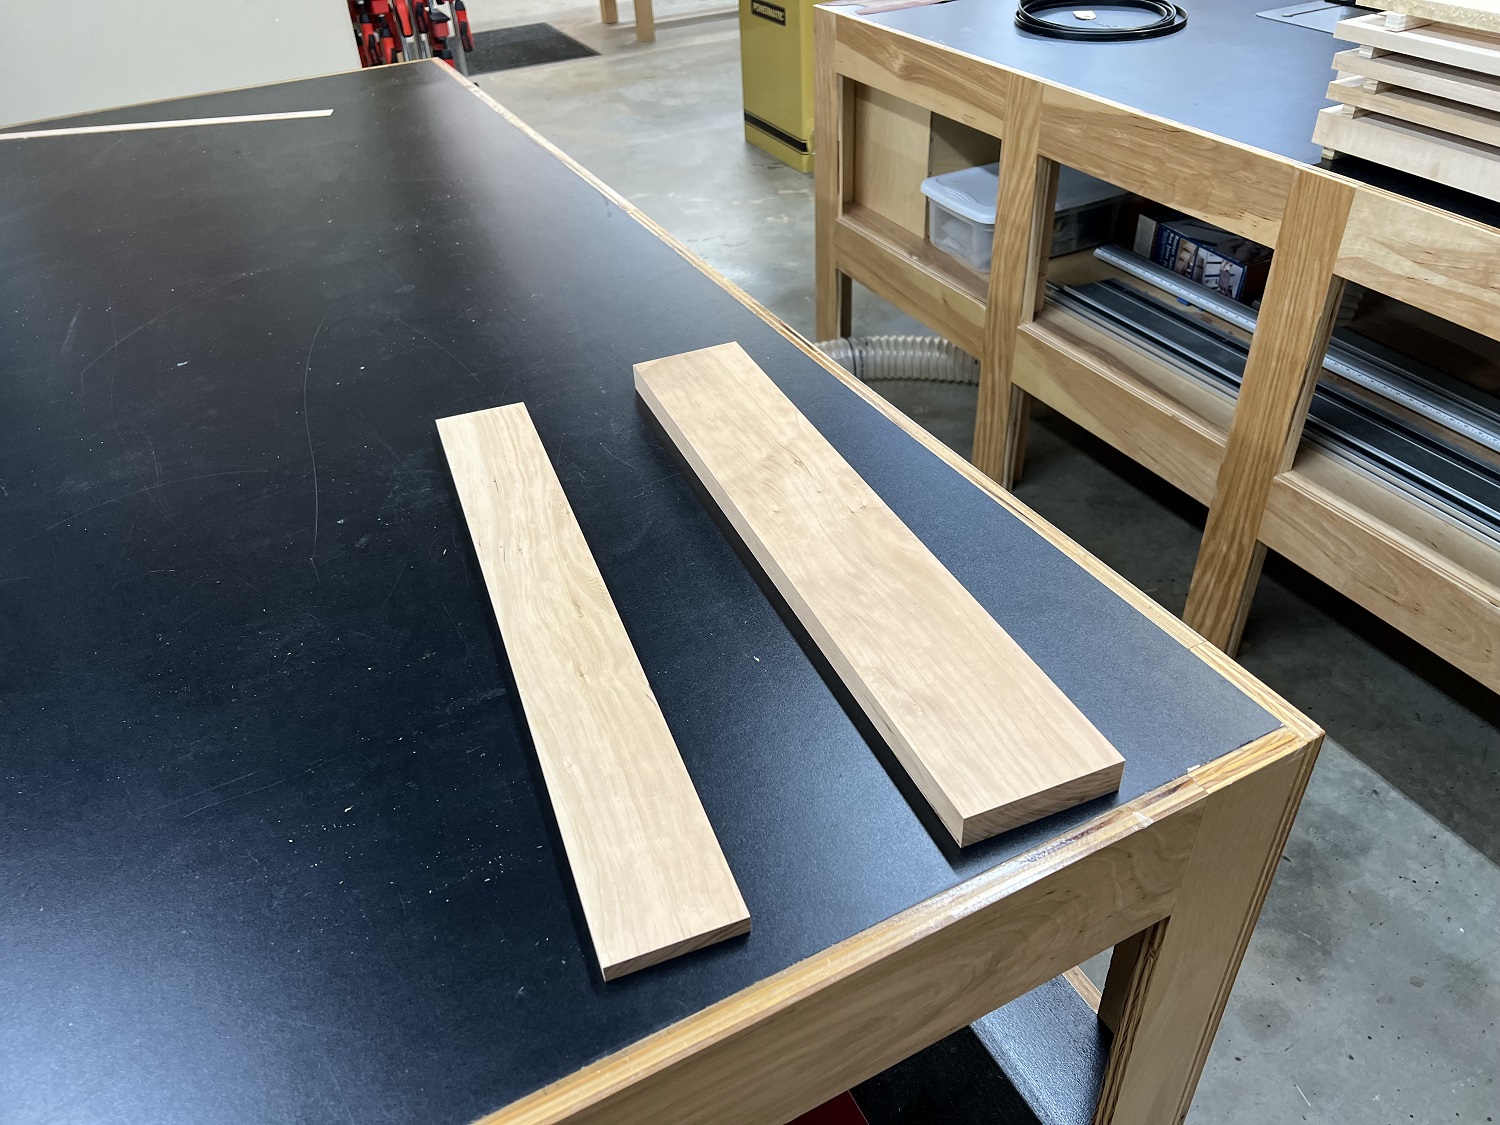
The resawn stock for the frame is stickered to acclimate while the base is made.
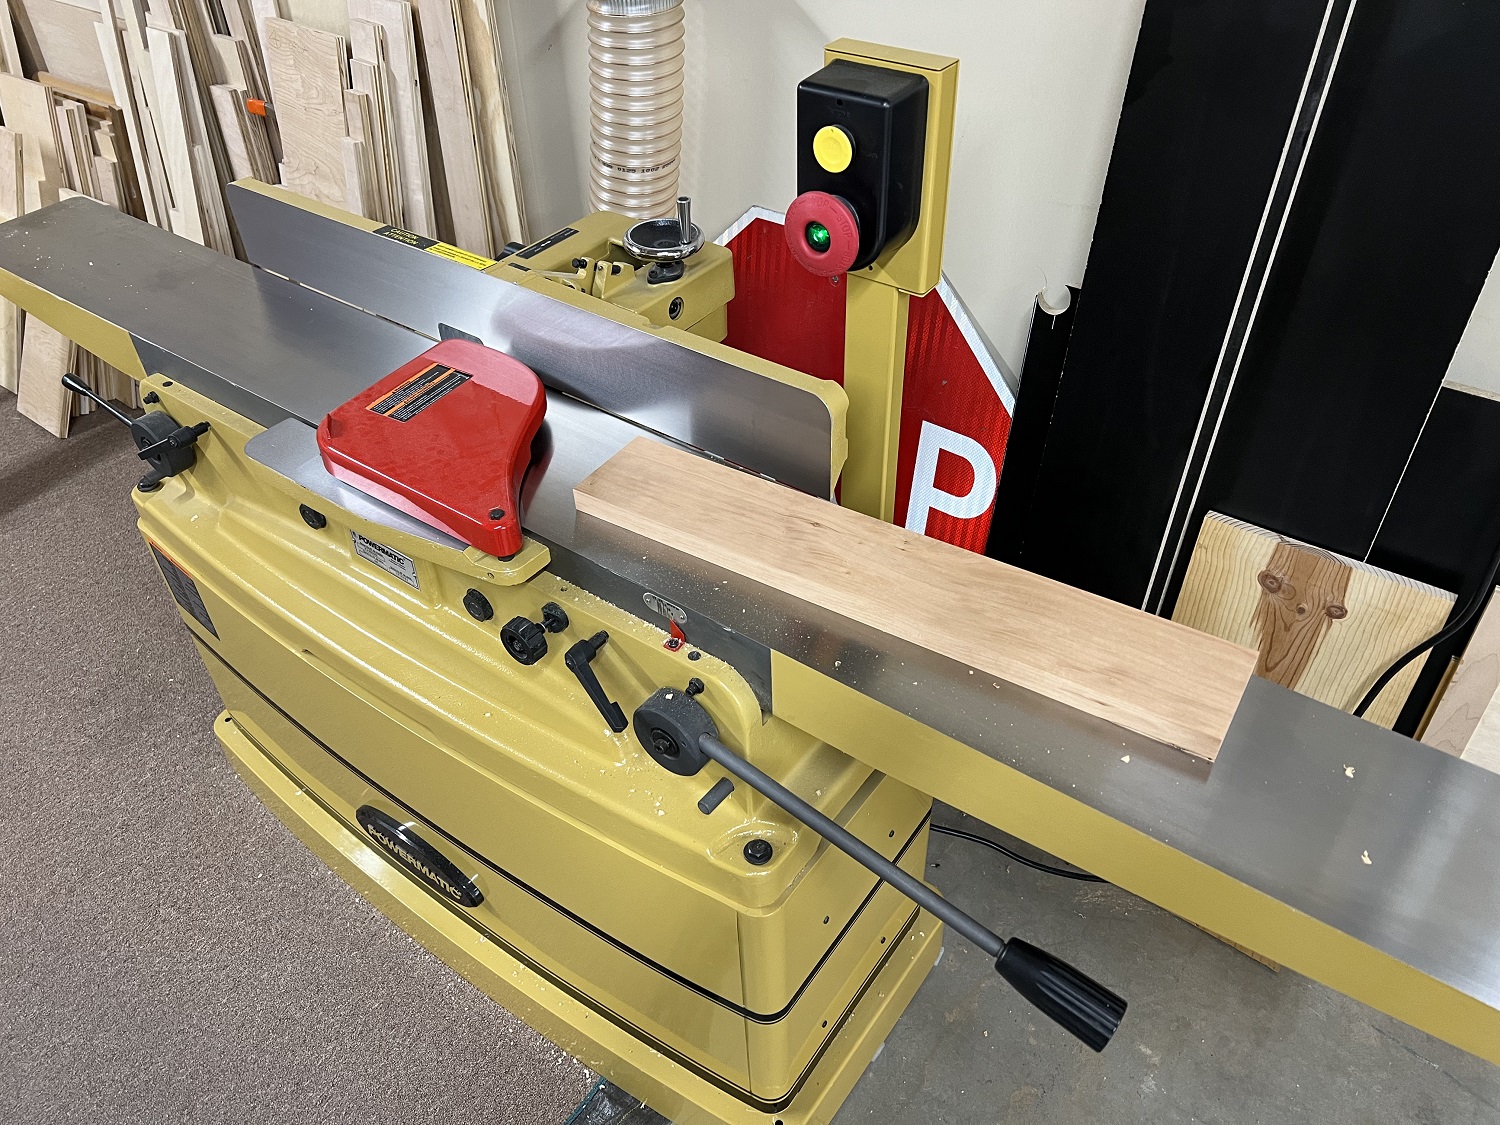
The stock for the base, as always, is first jointed and planed to get it flat, square, and true.
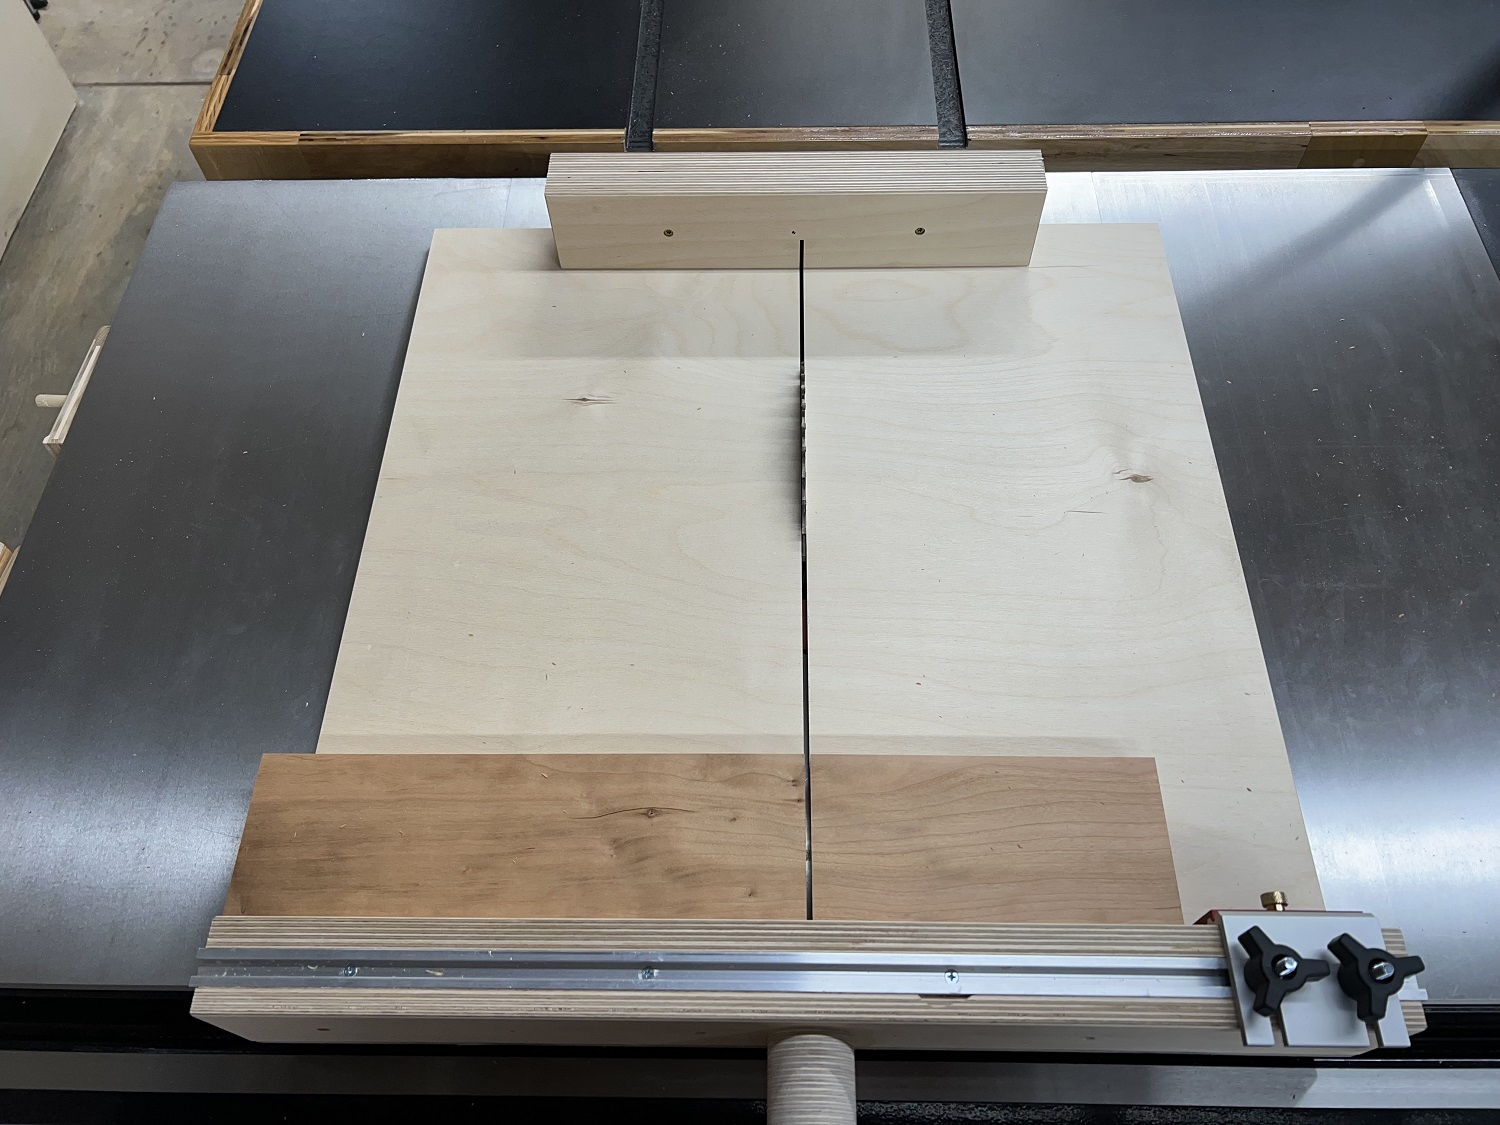
Then the stock is crosscut to final dimension on the sled.

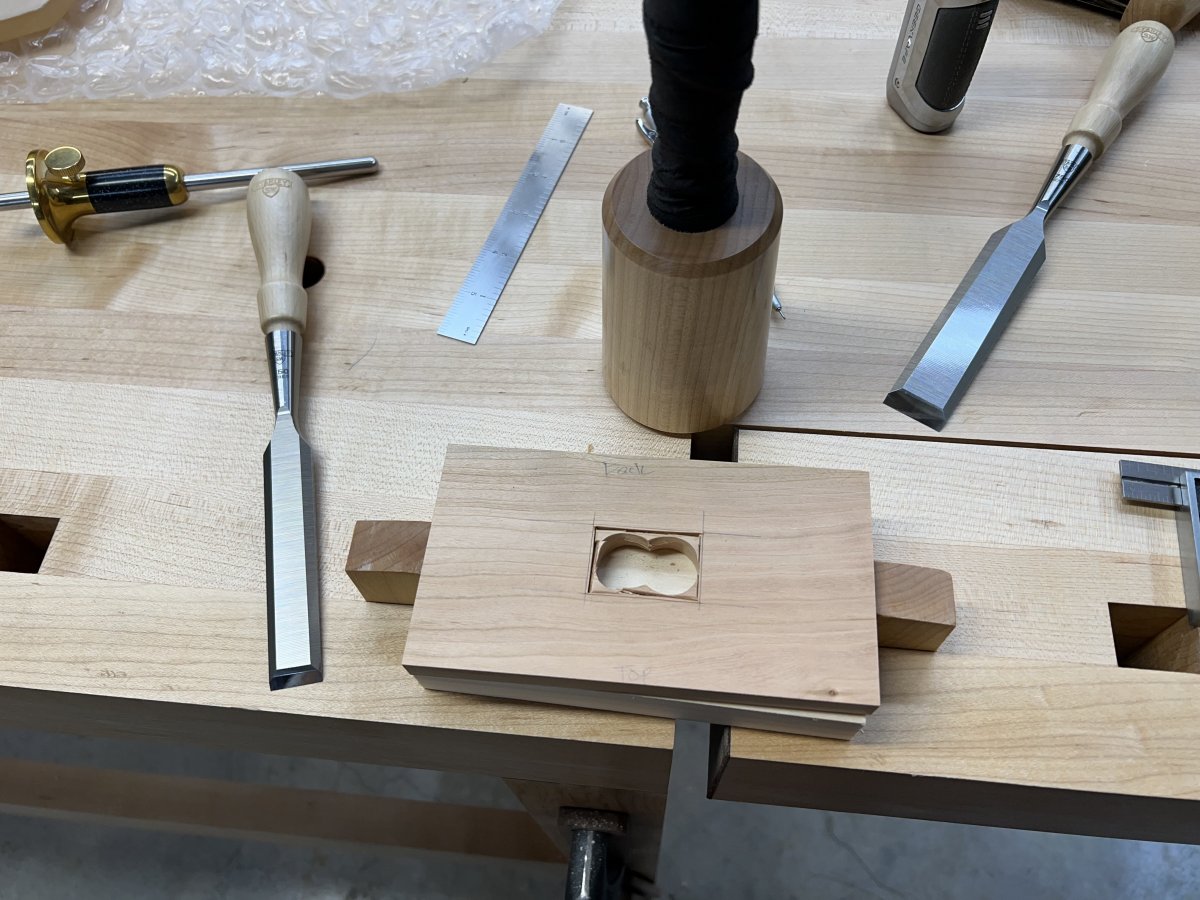
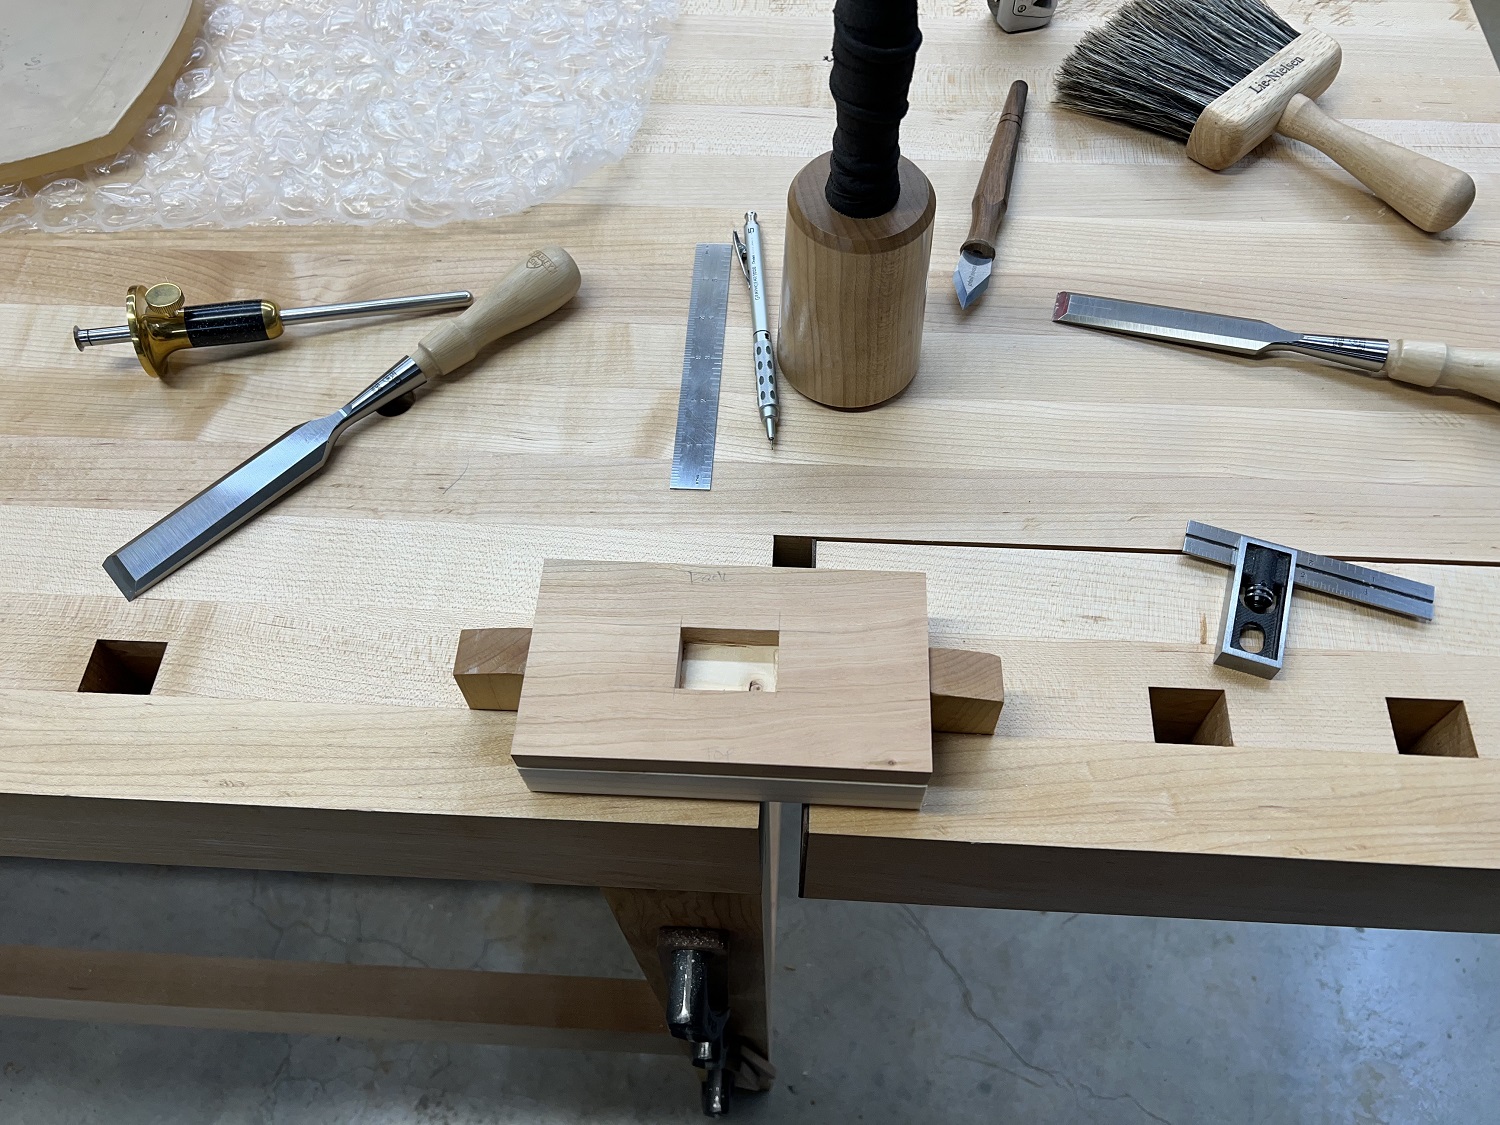
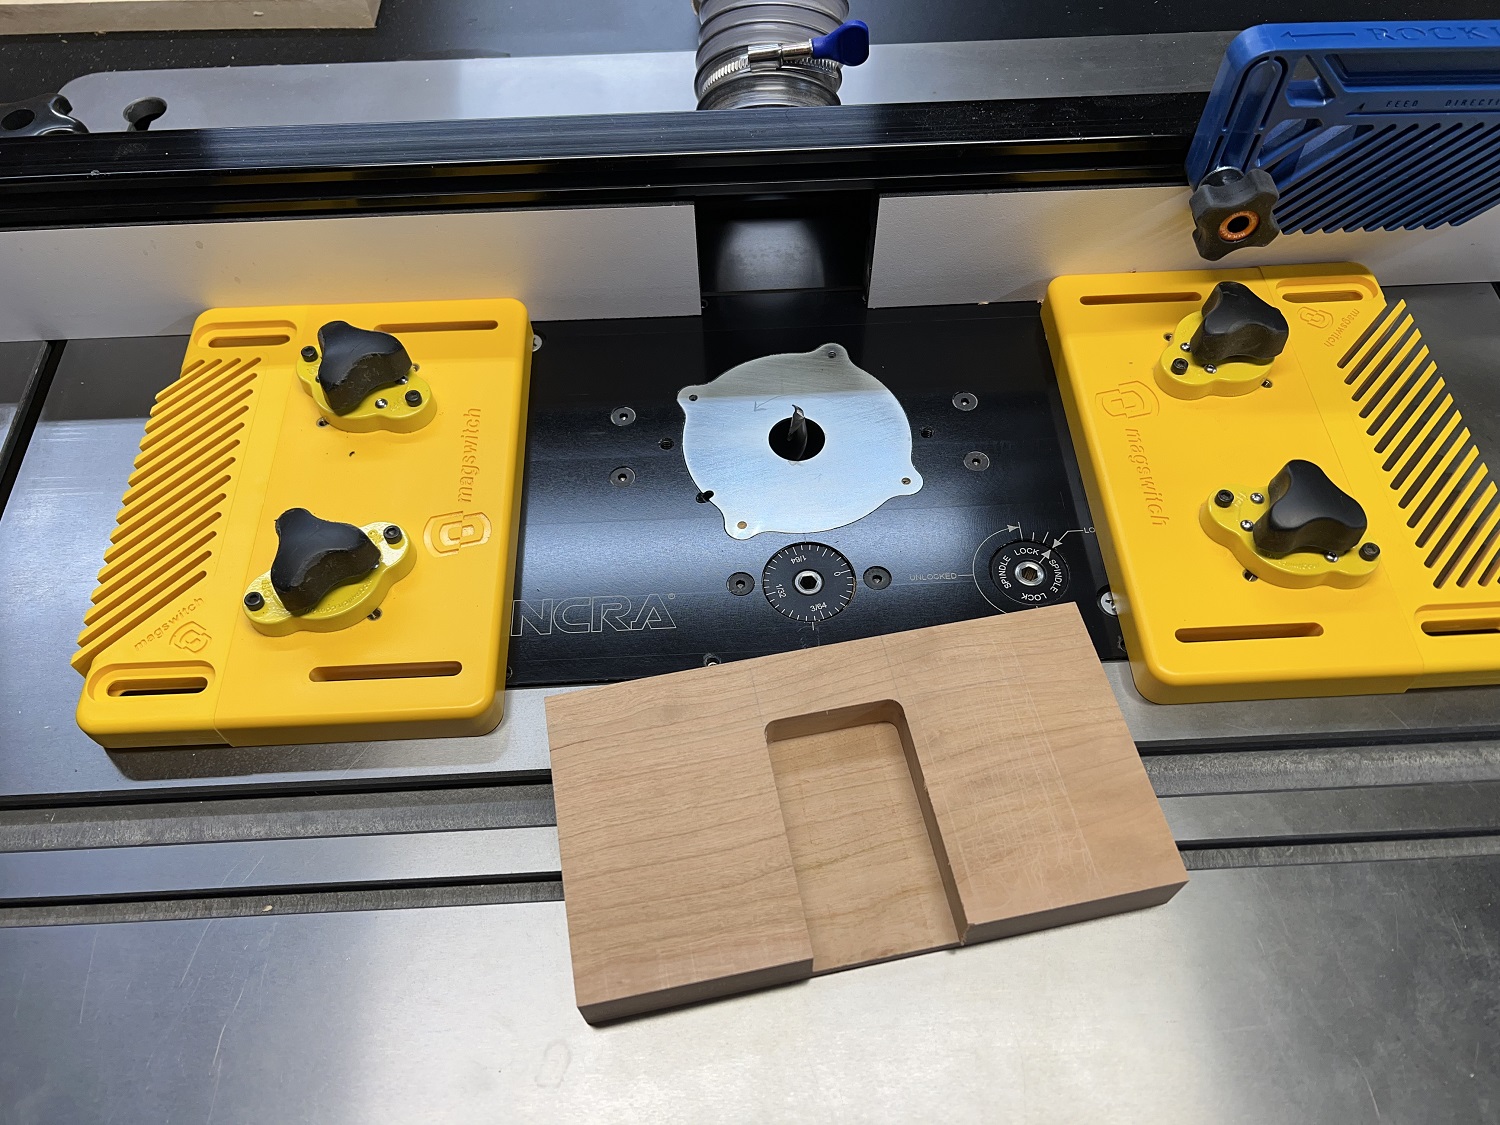
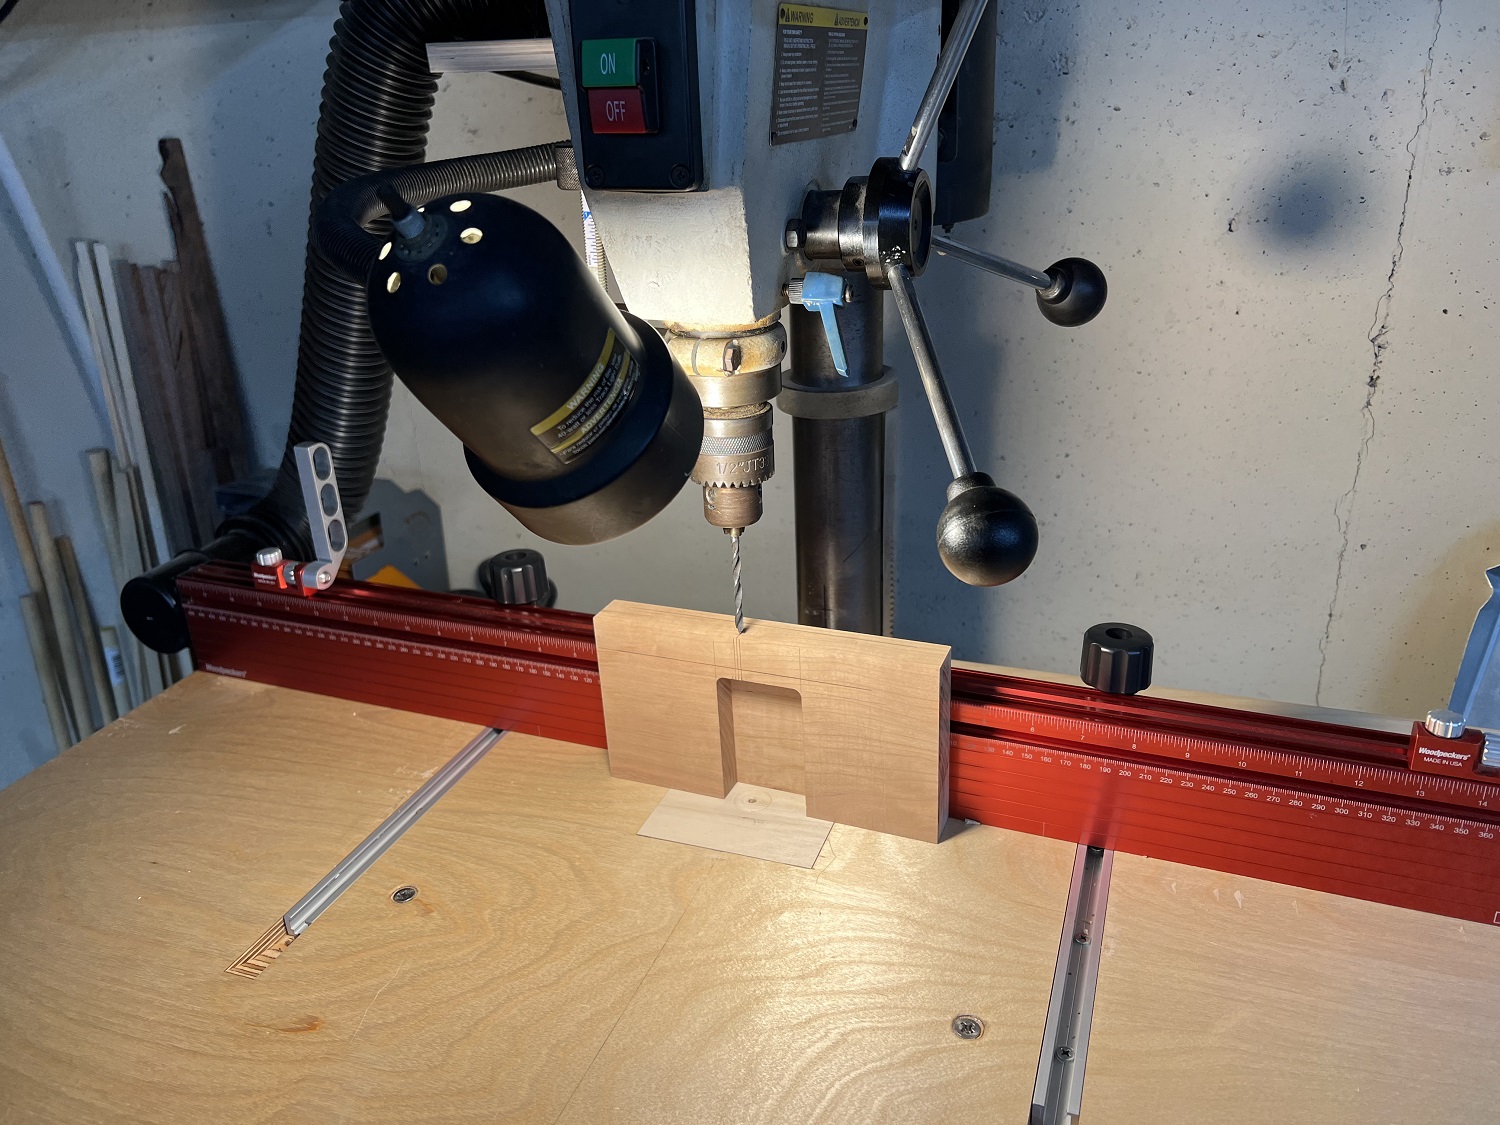
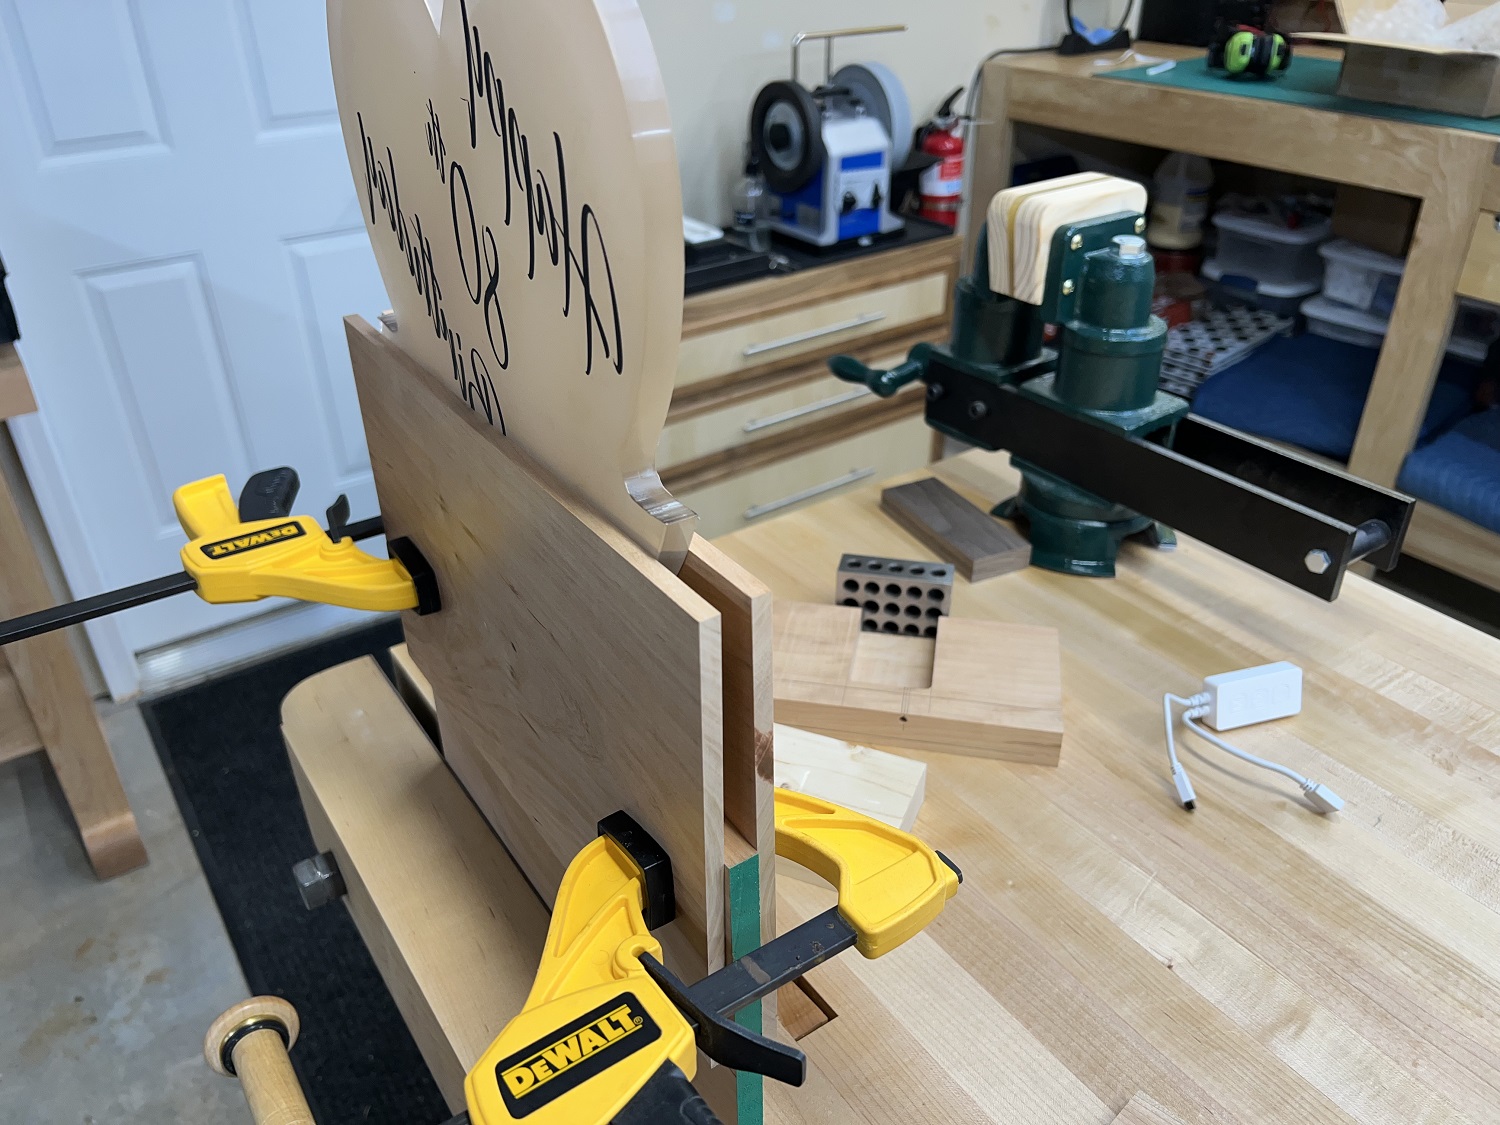
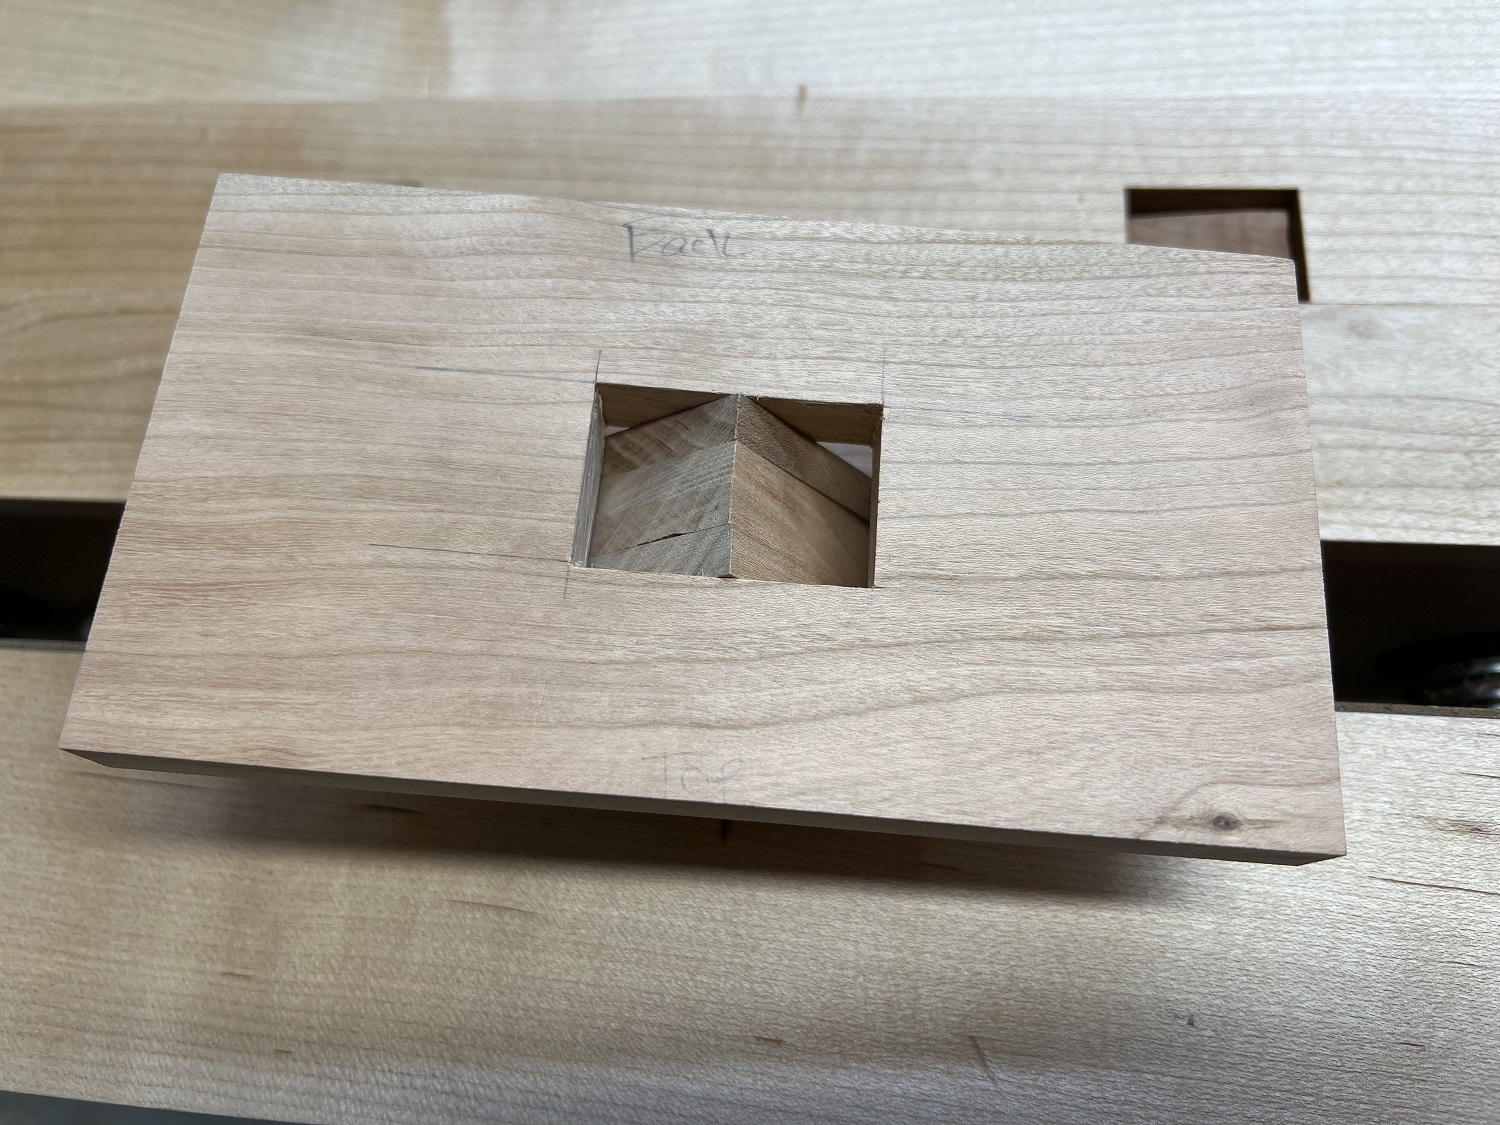
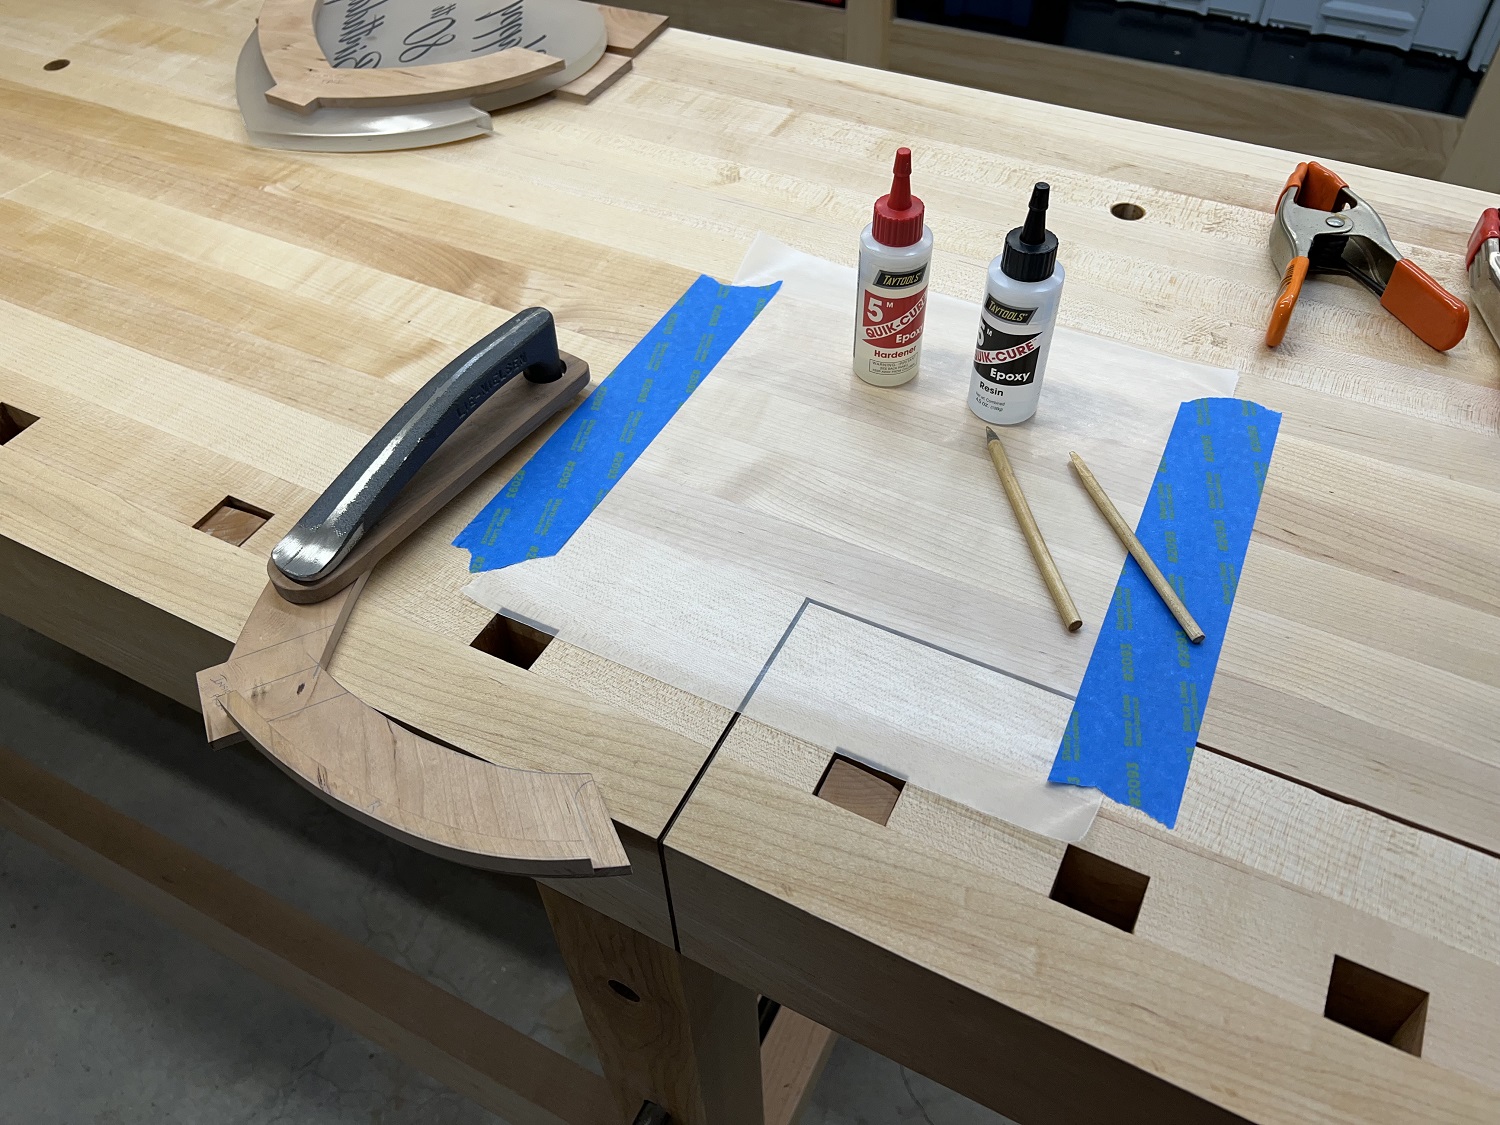
Next, a mortise is created in the top to accept the frame for the heart.
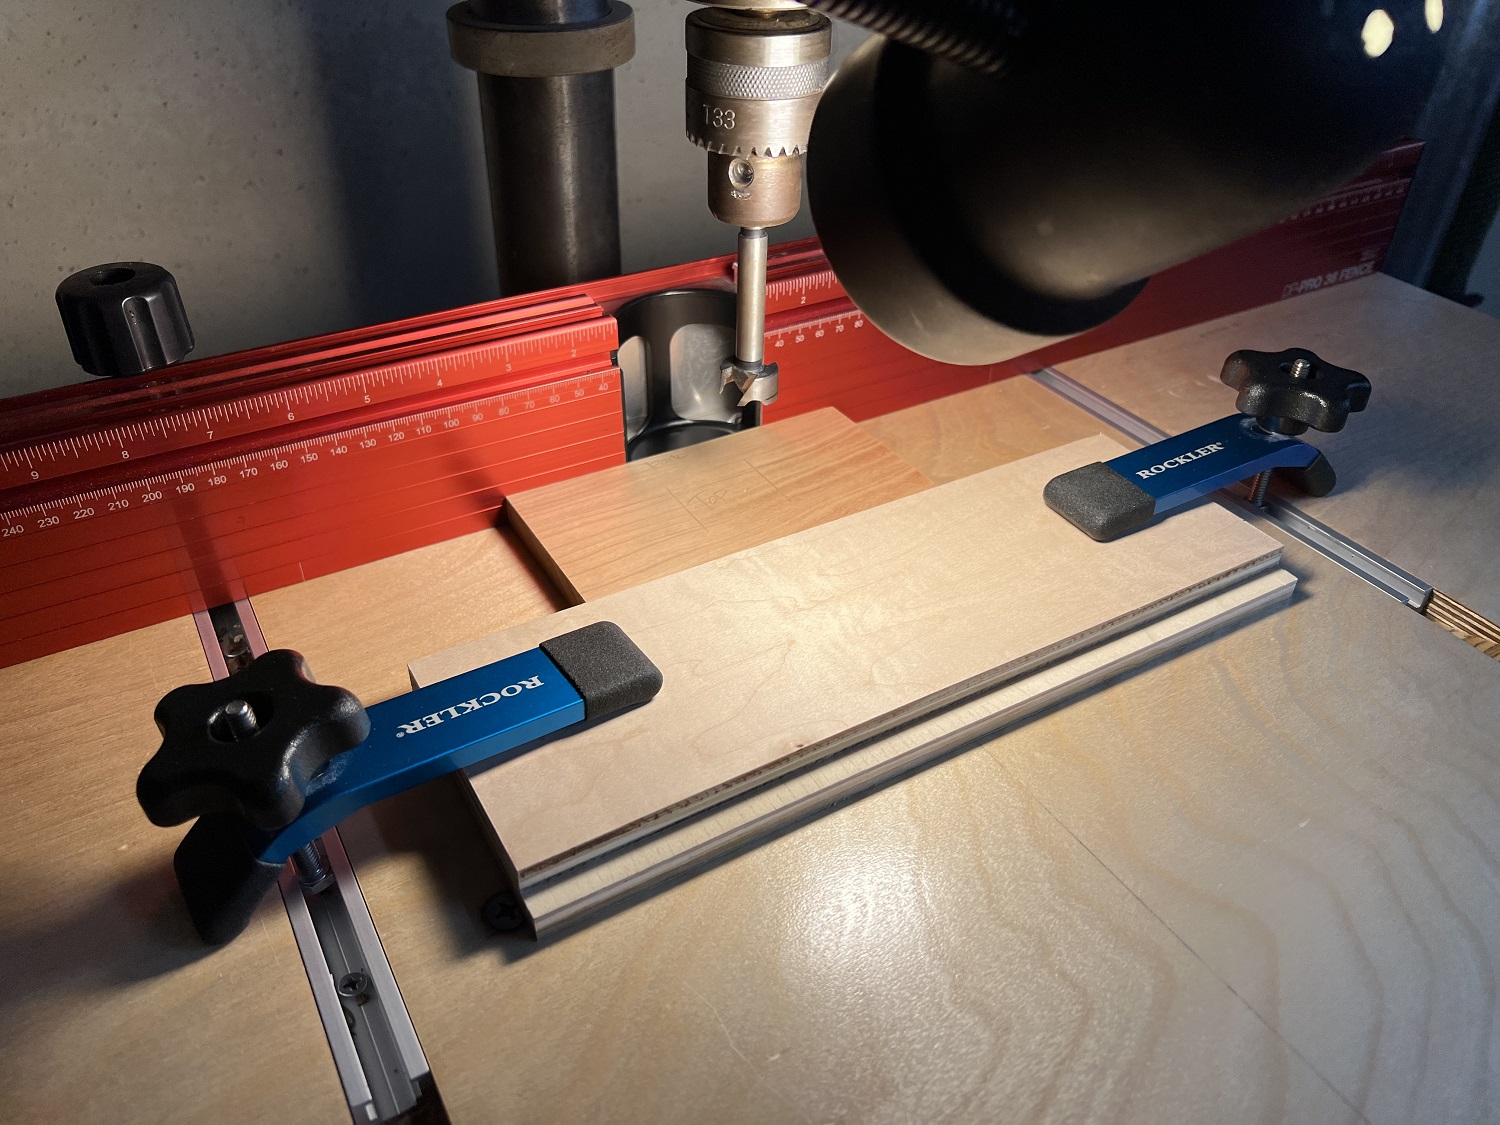
Then a cavity is made in the base to accept the LED control box and IR sensor.
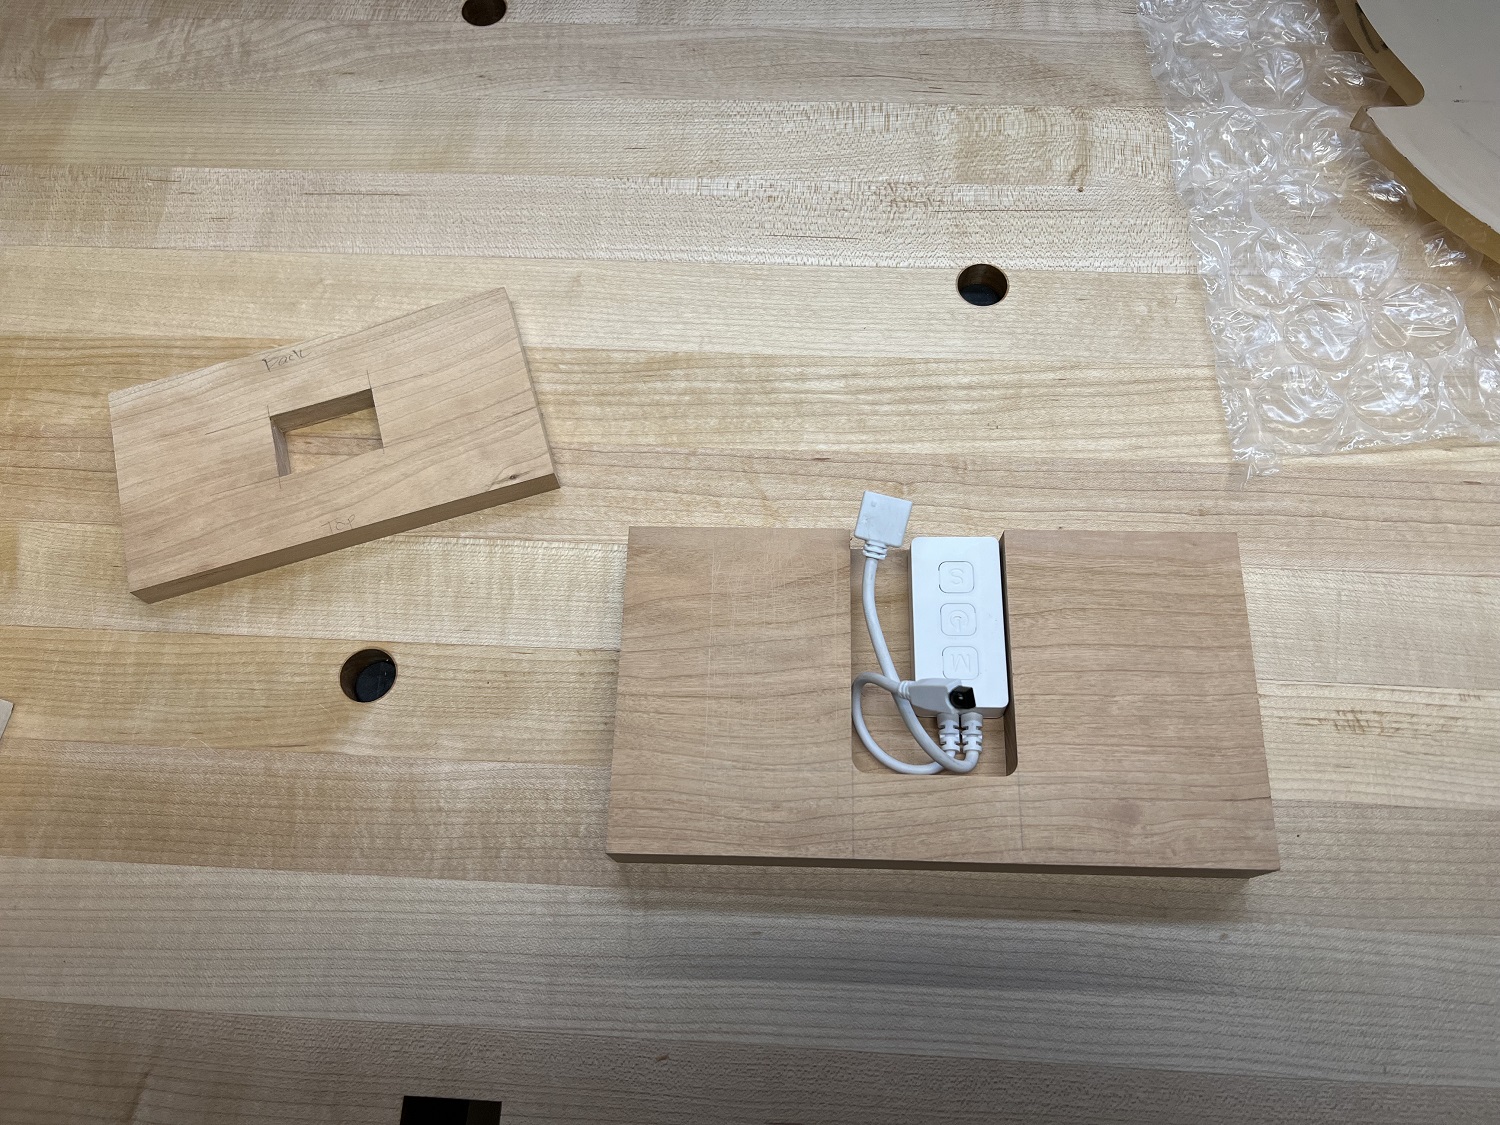
A hole is drilled in the front of the base to allow the IR sensor to receive signals from the remote.

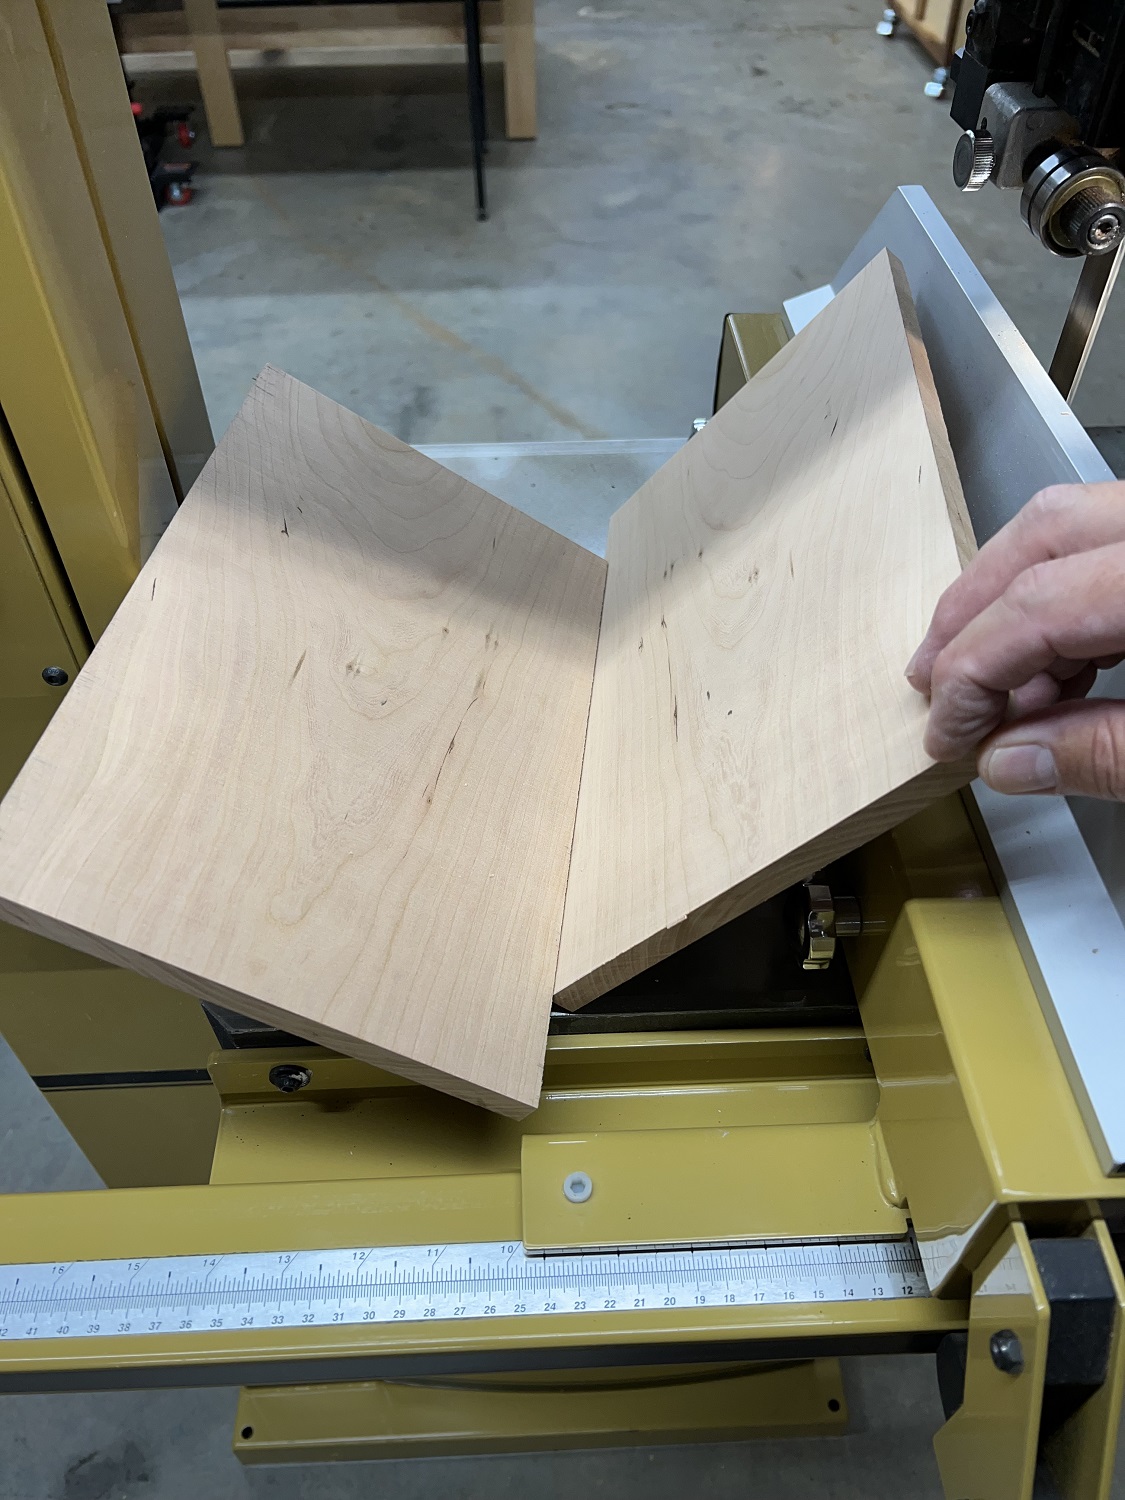
Next, the resawn stock for the frame is jointed and thickness planed to accept the acrylic heart and fit into the mortise in the top.
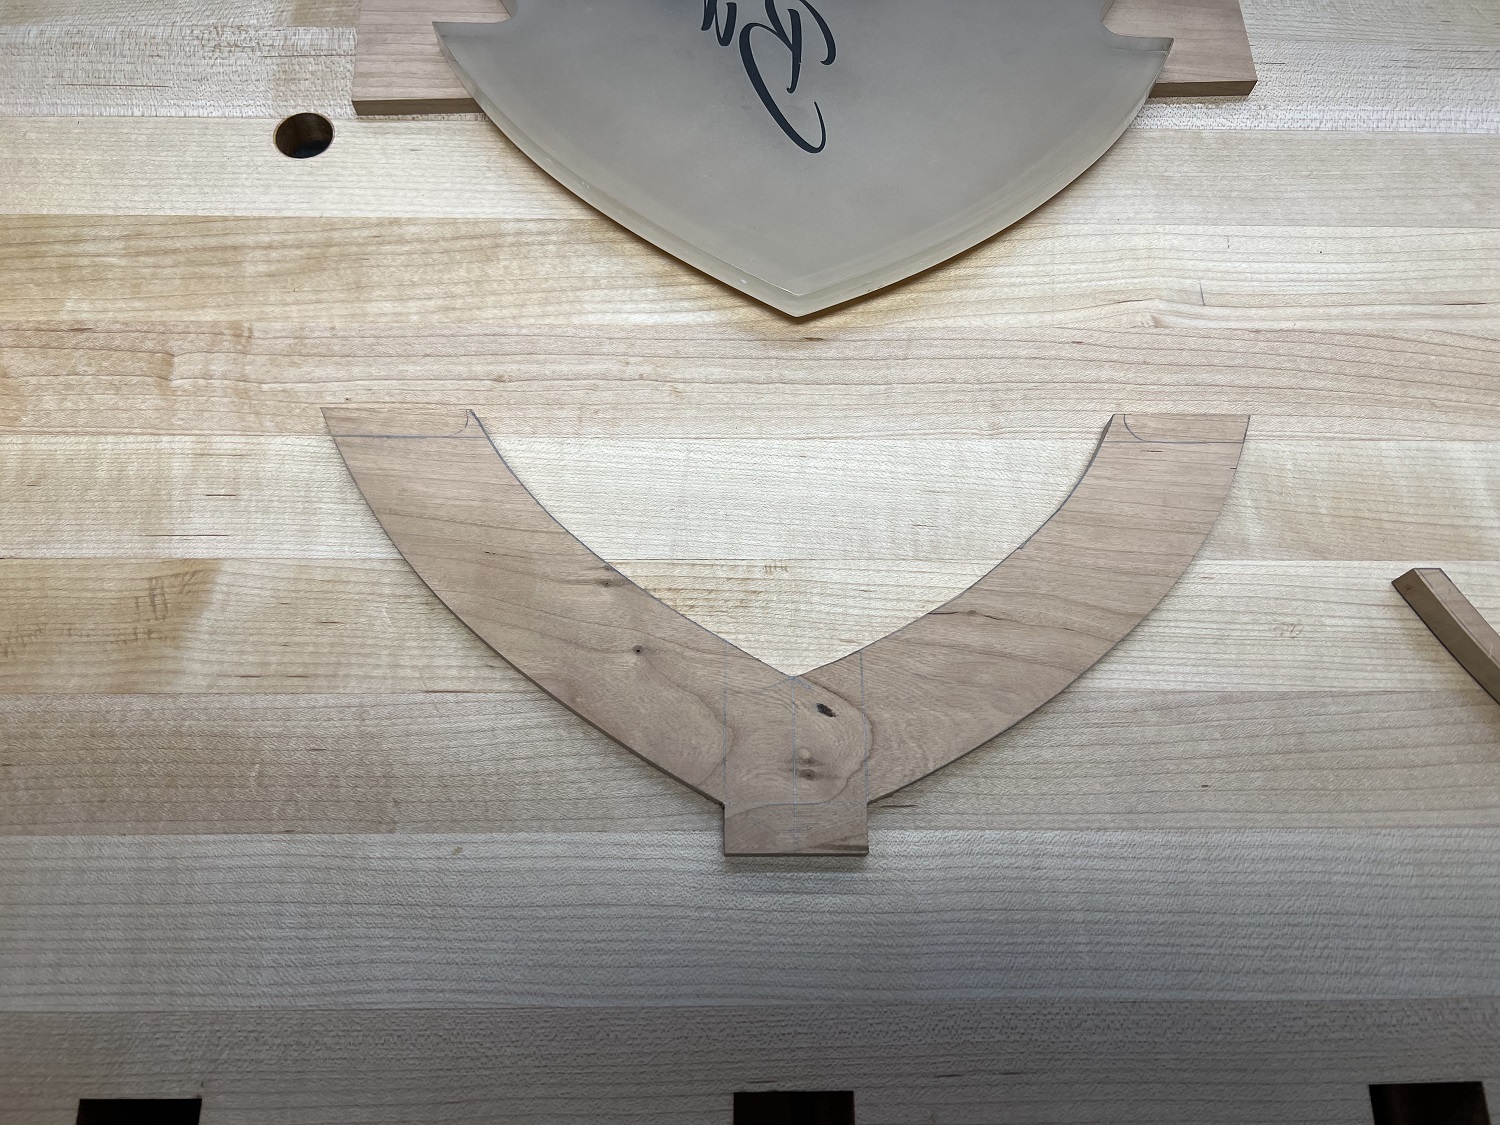
The middle board in the frame stack is then cut out on the band saw to rough shape and dimension.
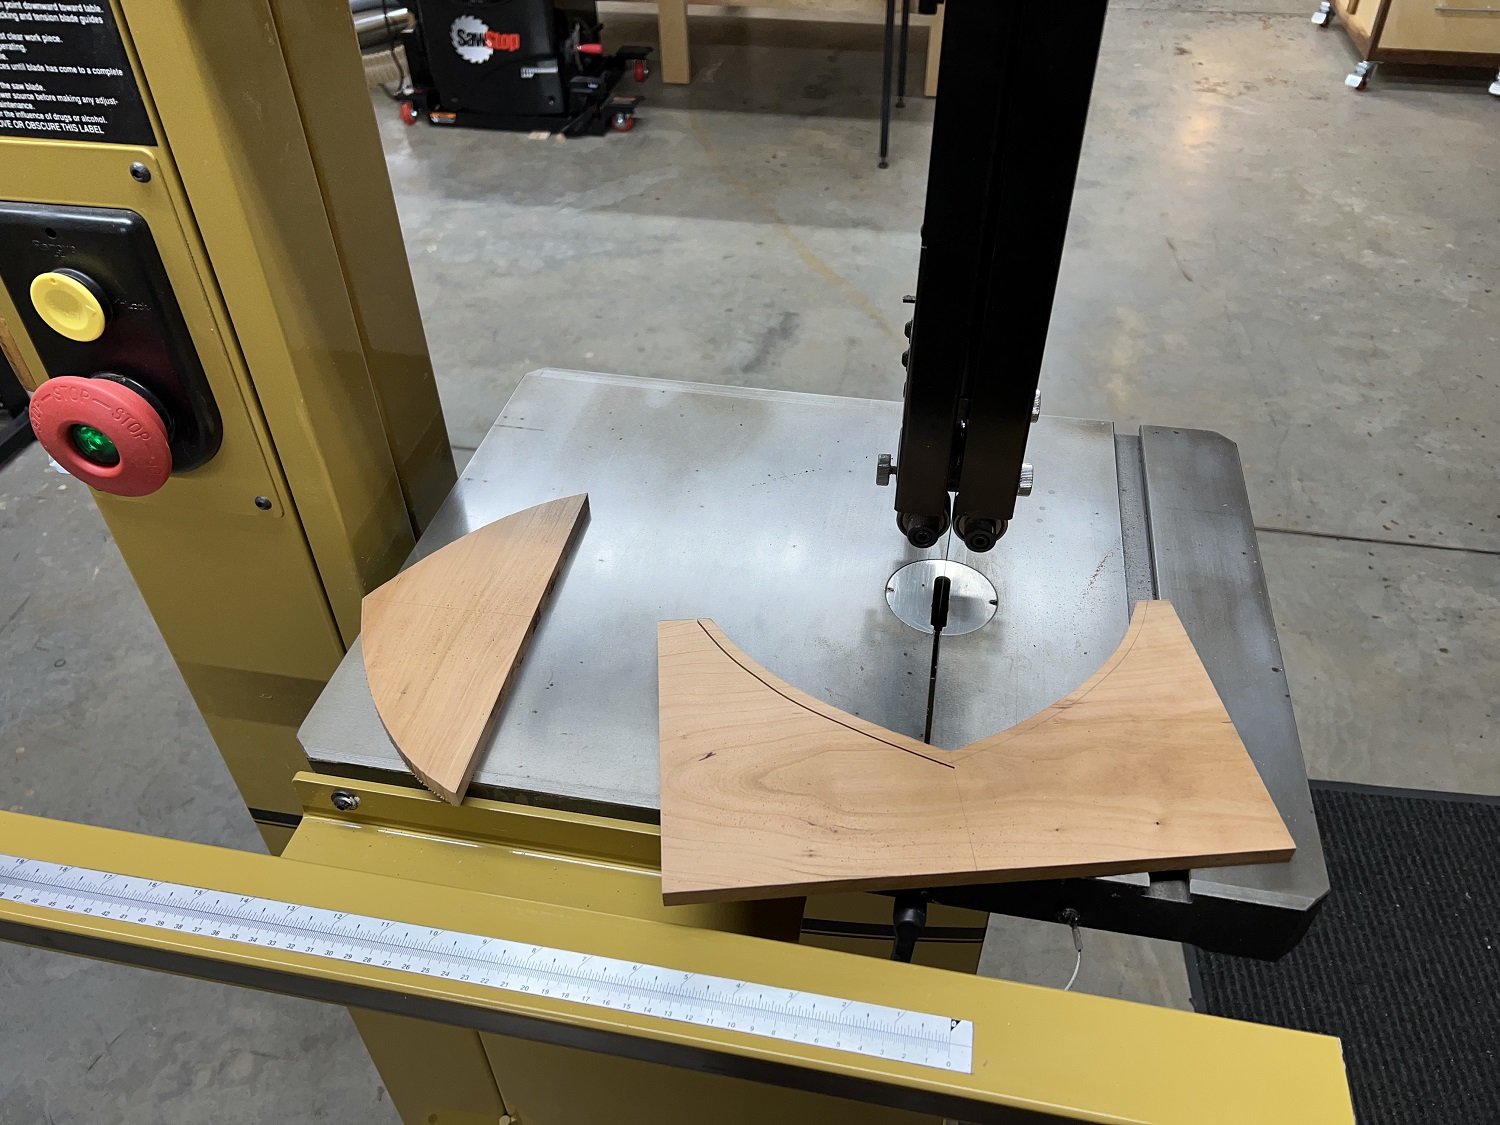
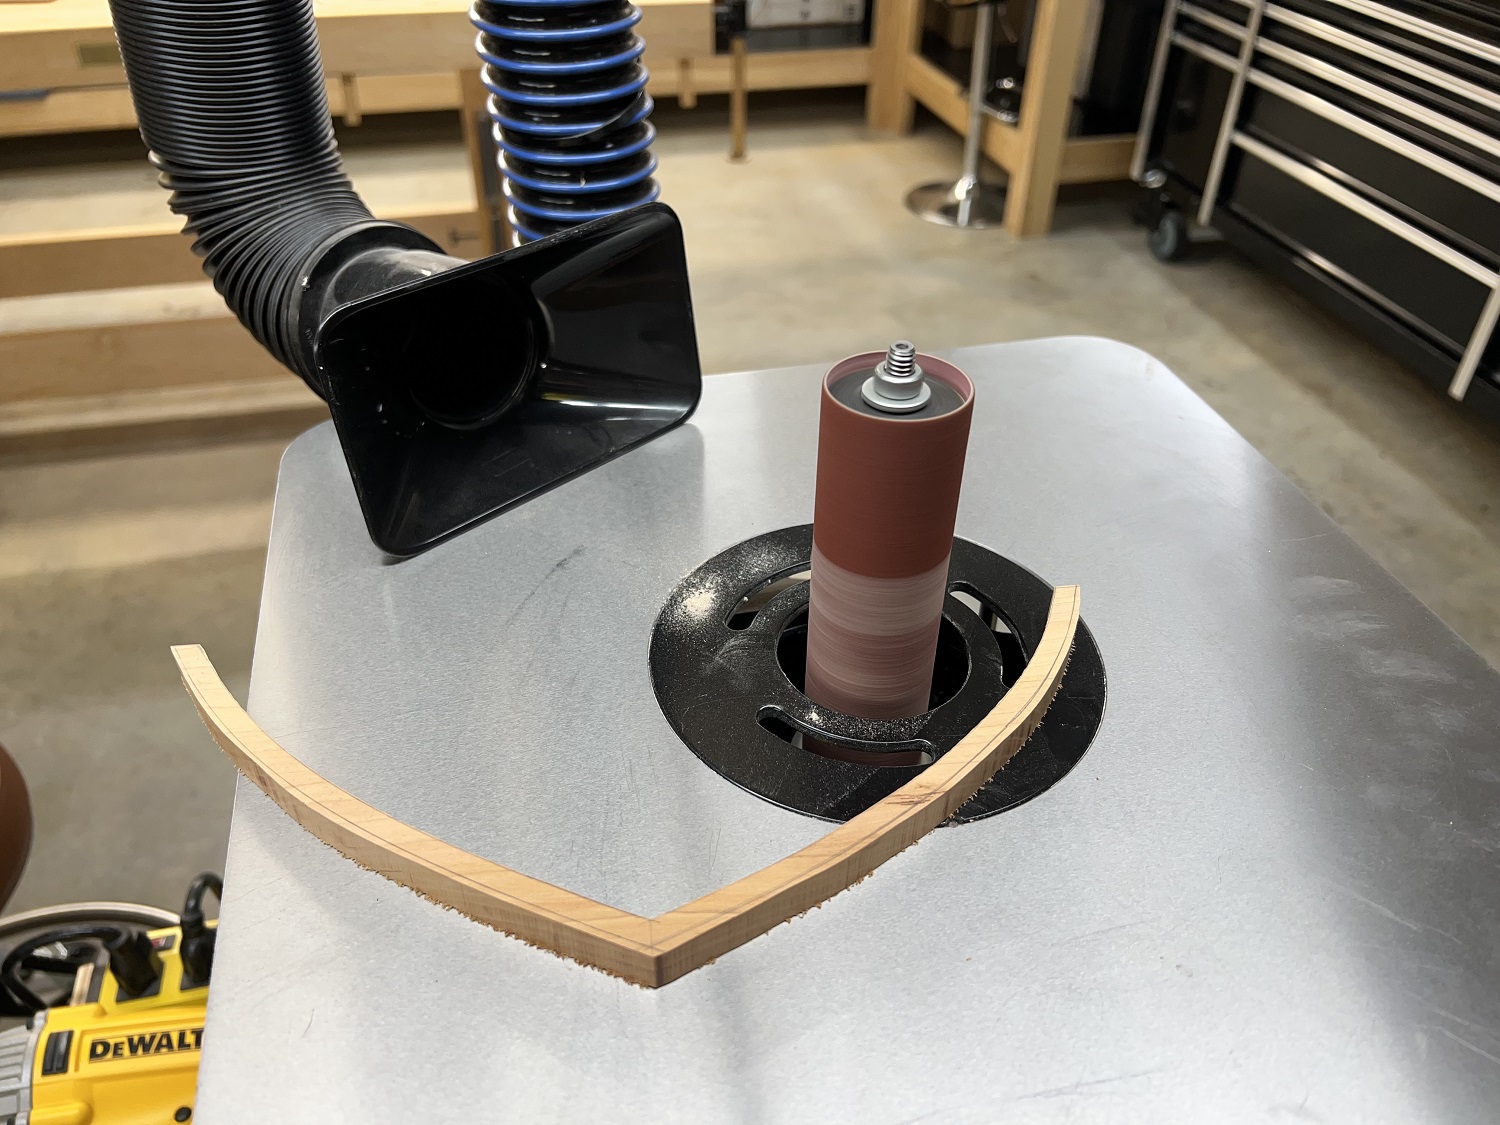
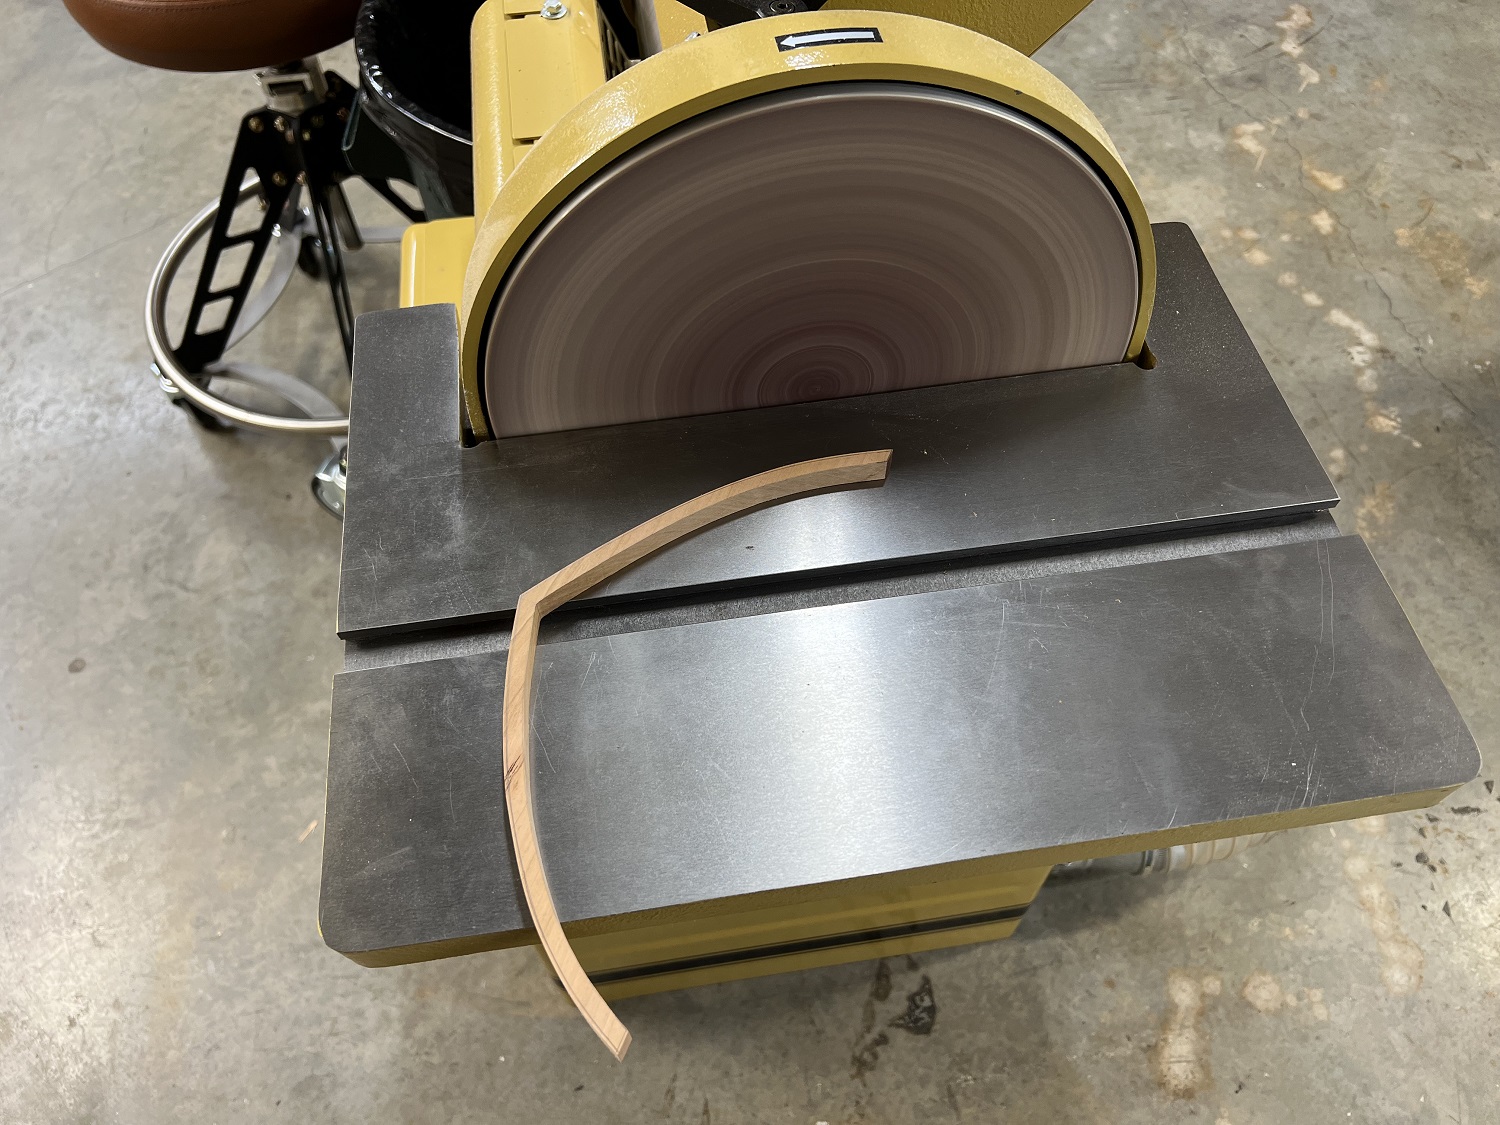
Then over to the oscillating spindle sander and disk sander to clean up the band saw marks and get down to the lines.
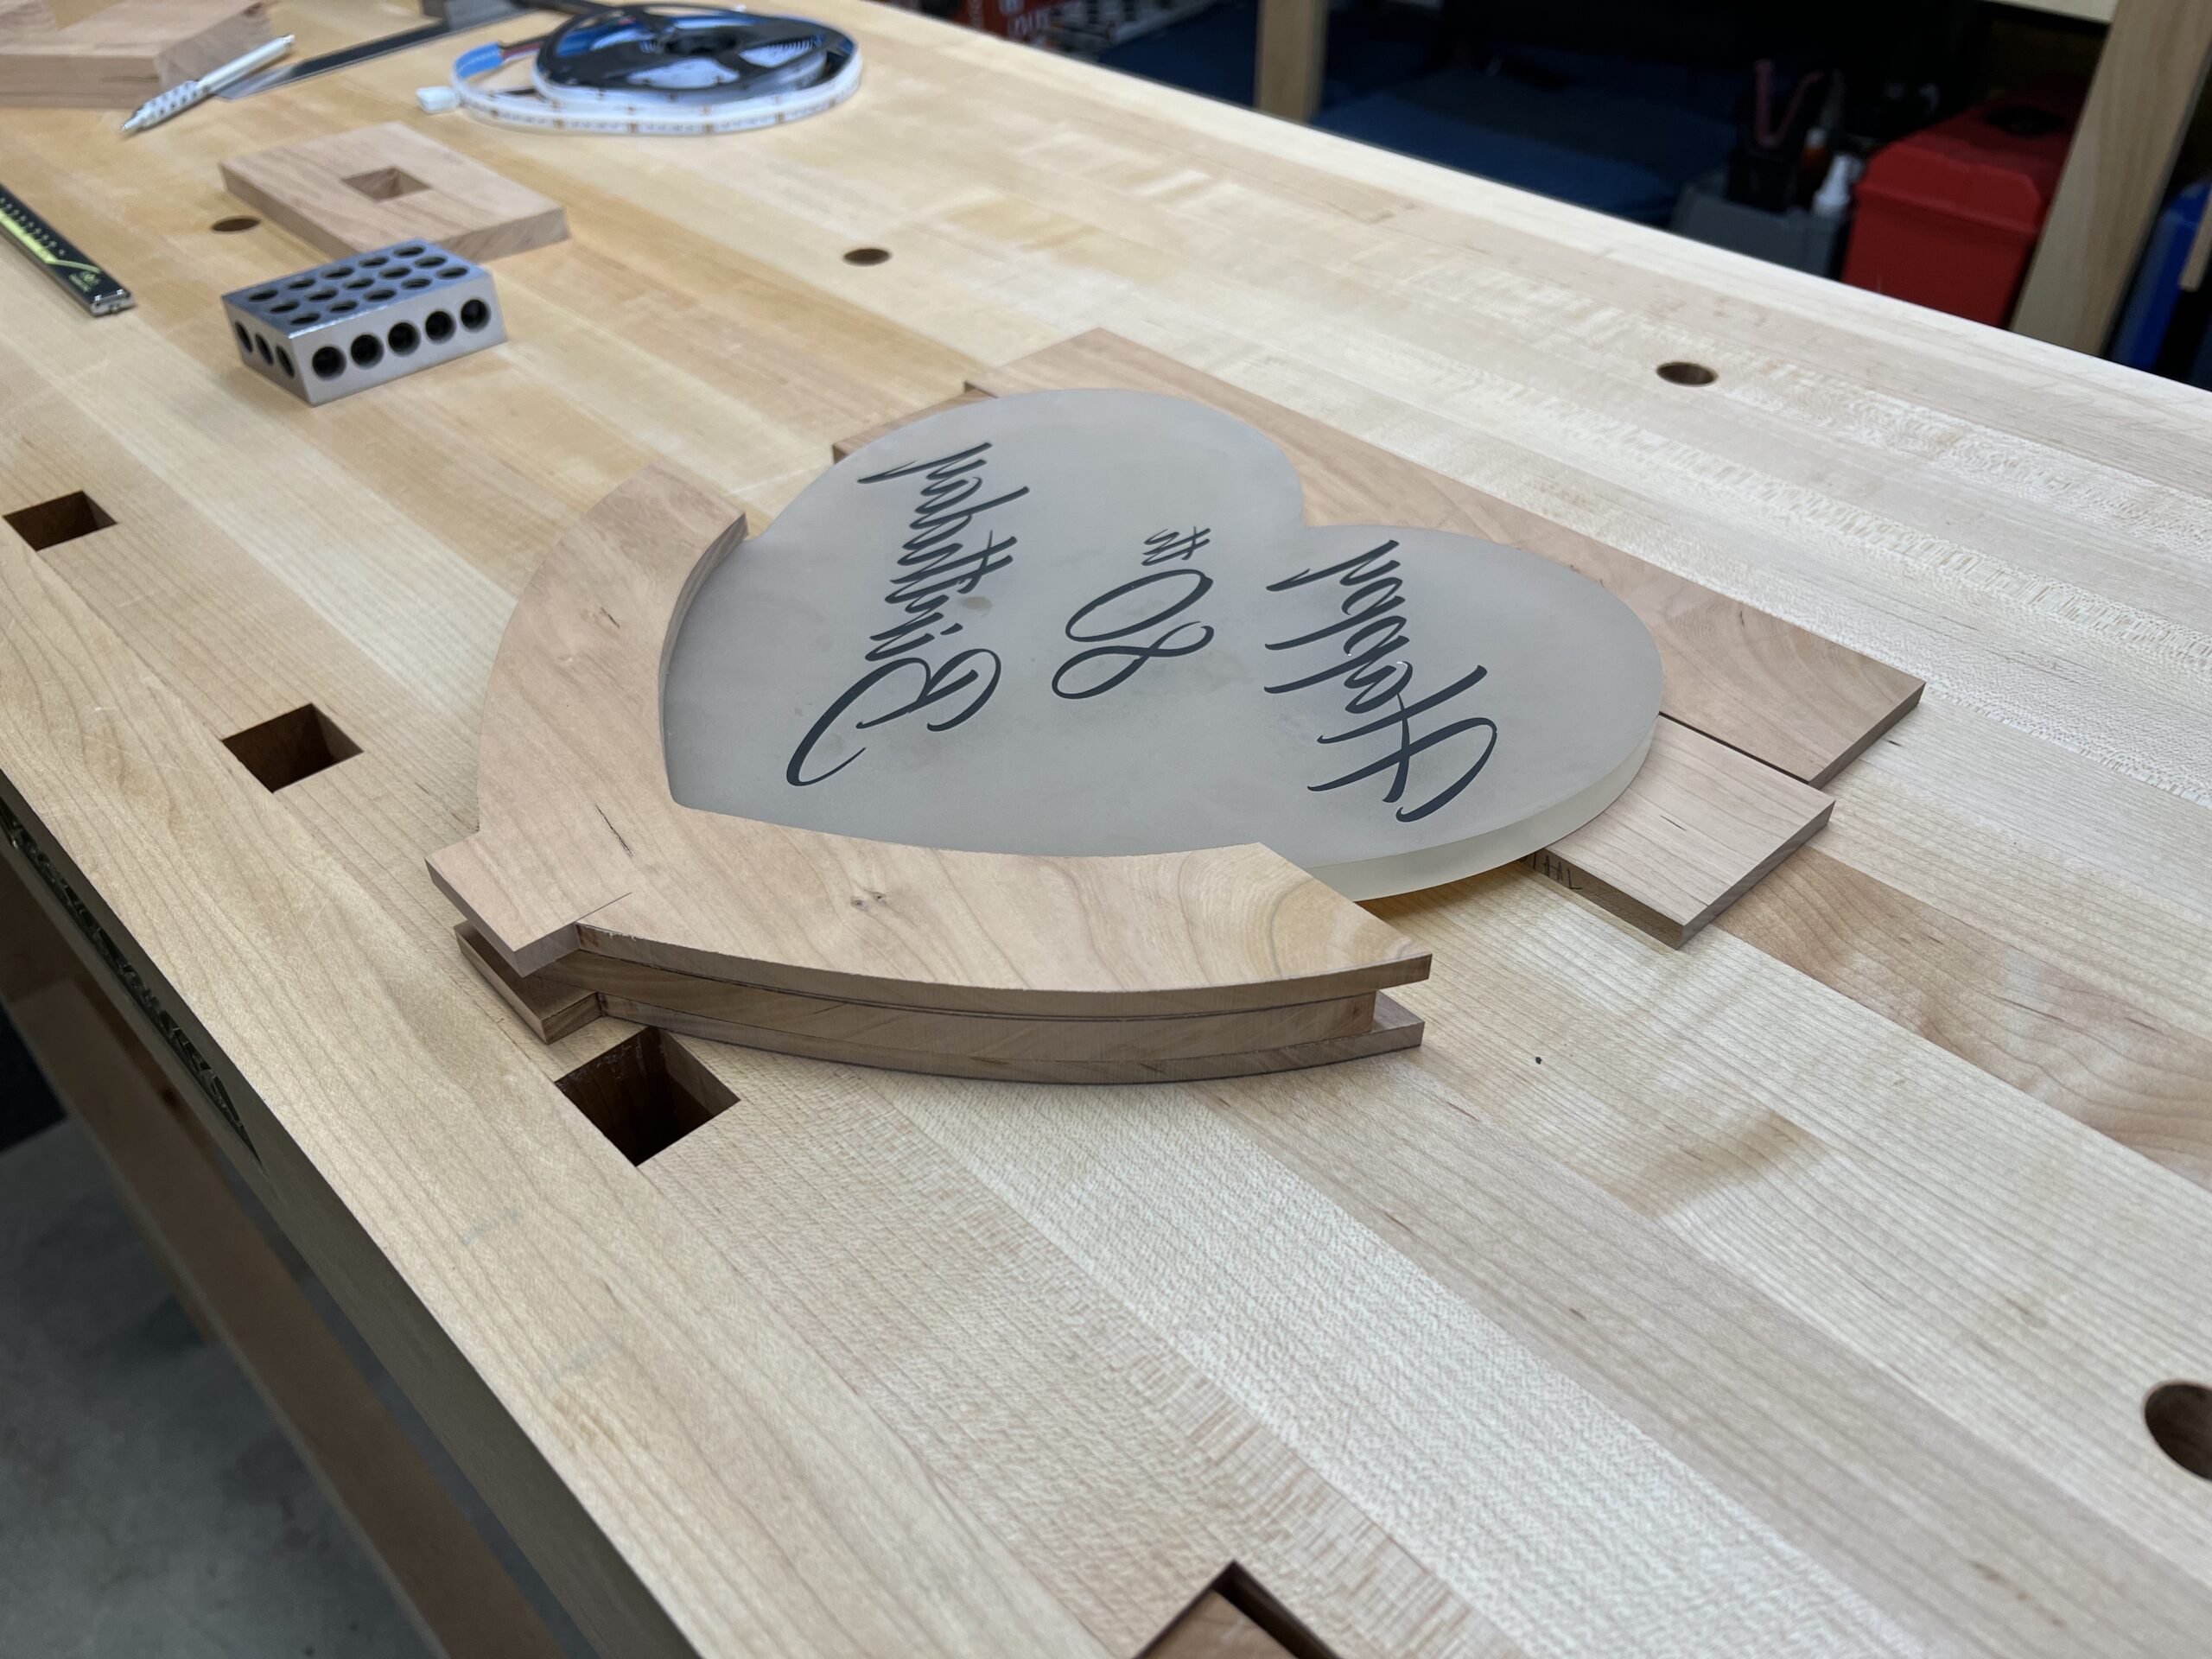
The test fit is looking good.
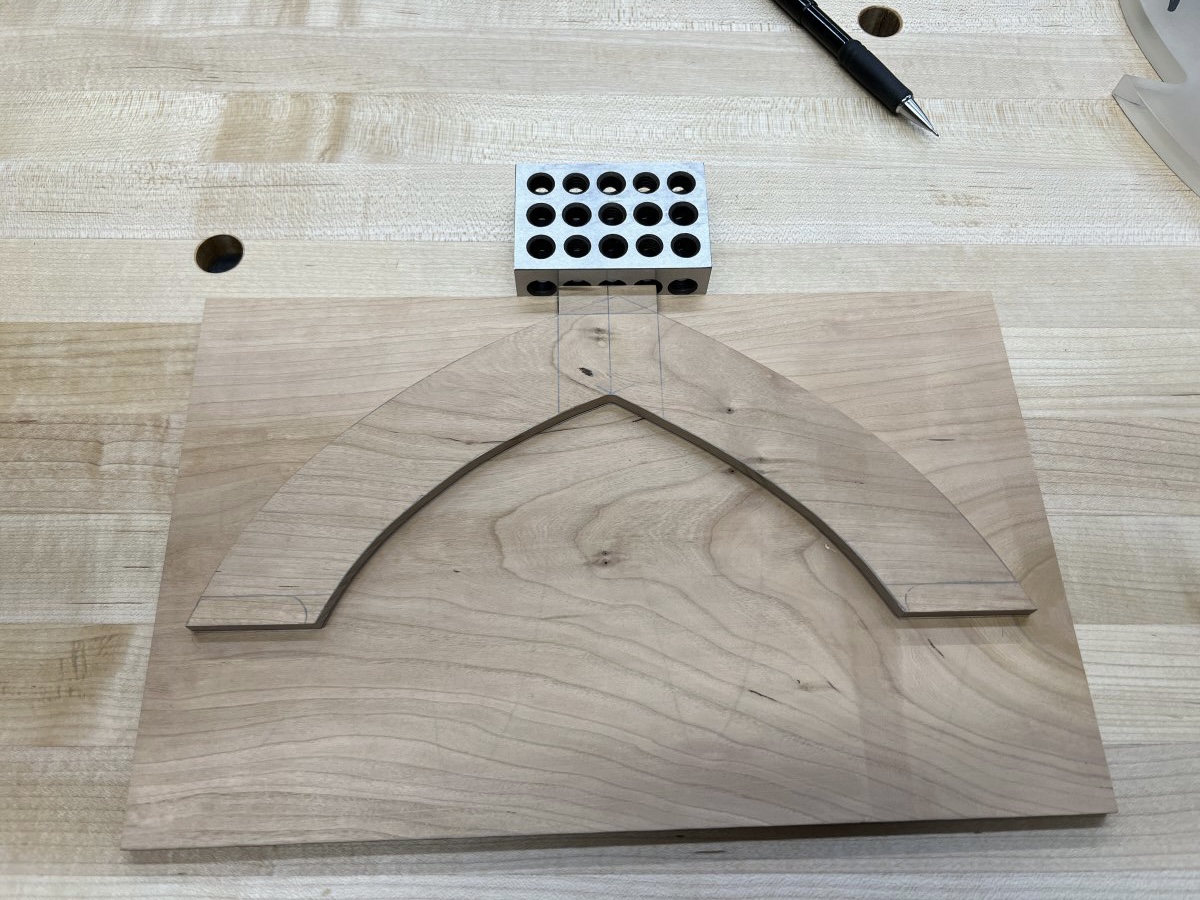
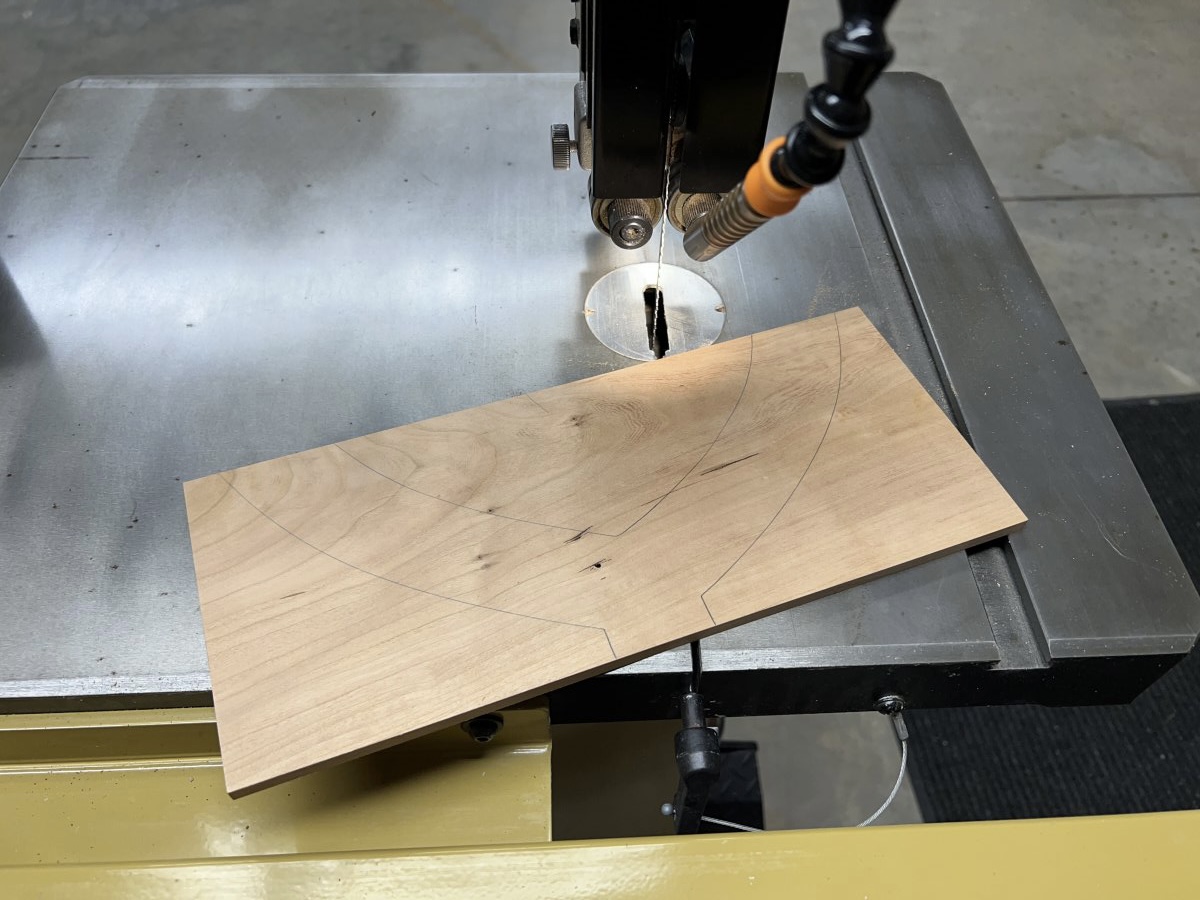
The next step is to trace the outline onto the stock for the outer frames, layout the part, and cut it out on the band saw.
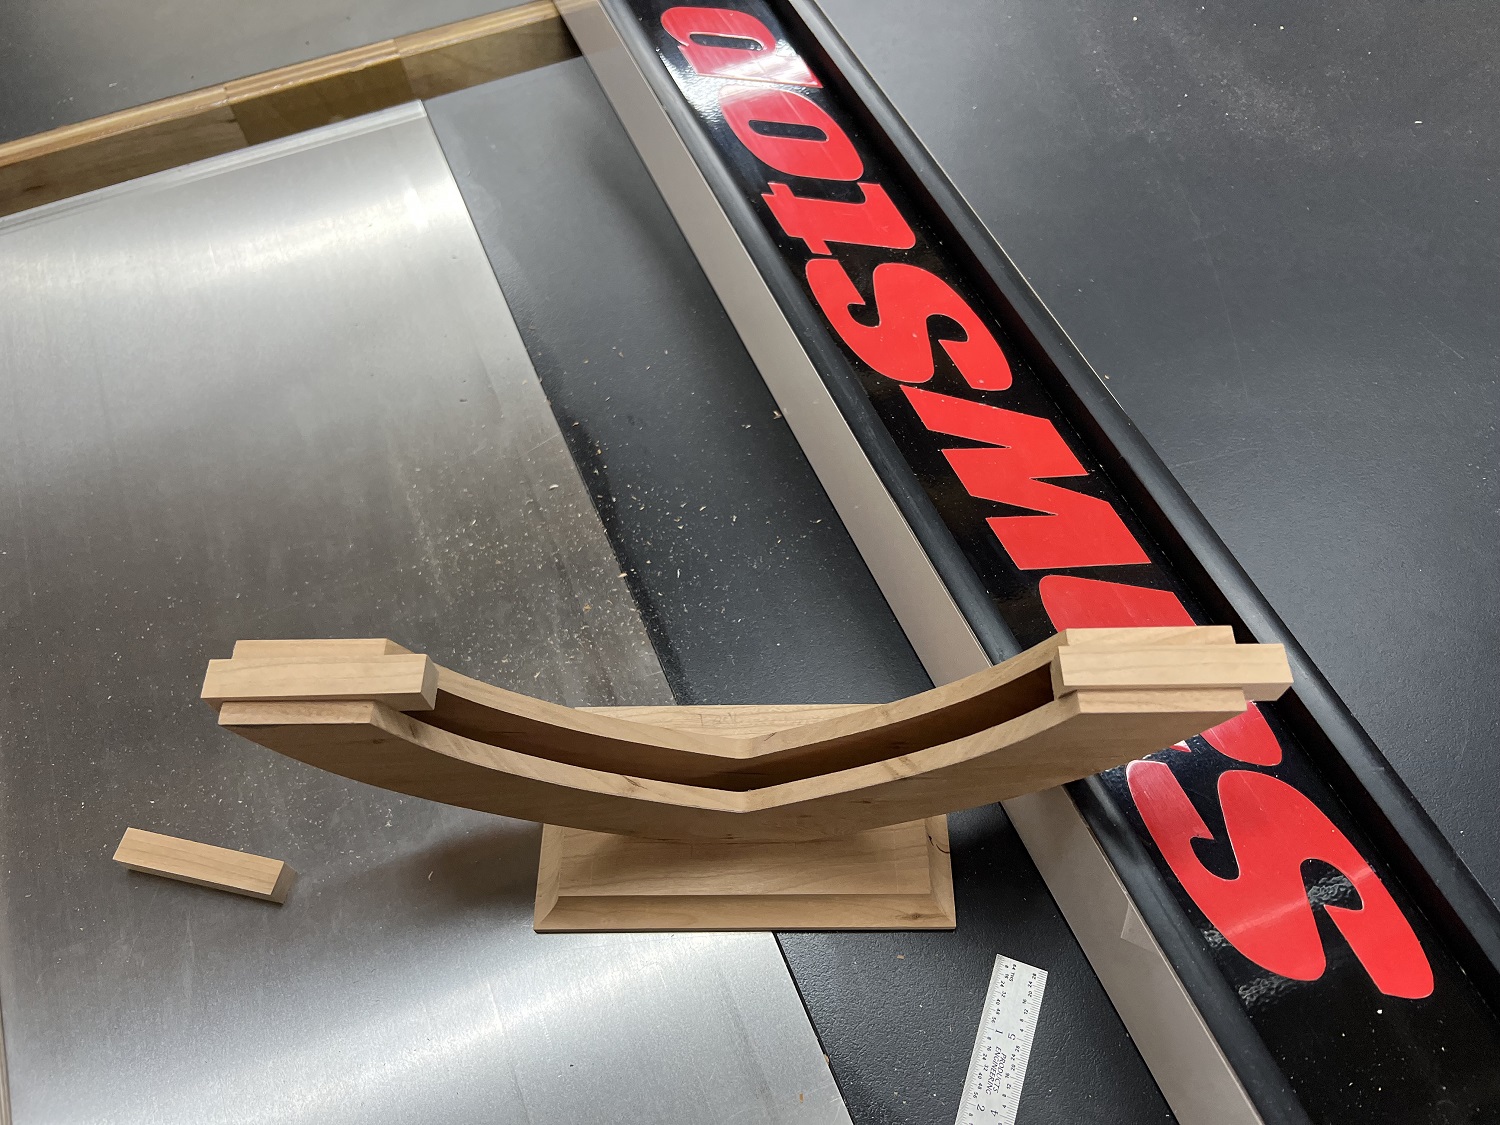
The three frame layers are glued up into a sandwich.
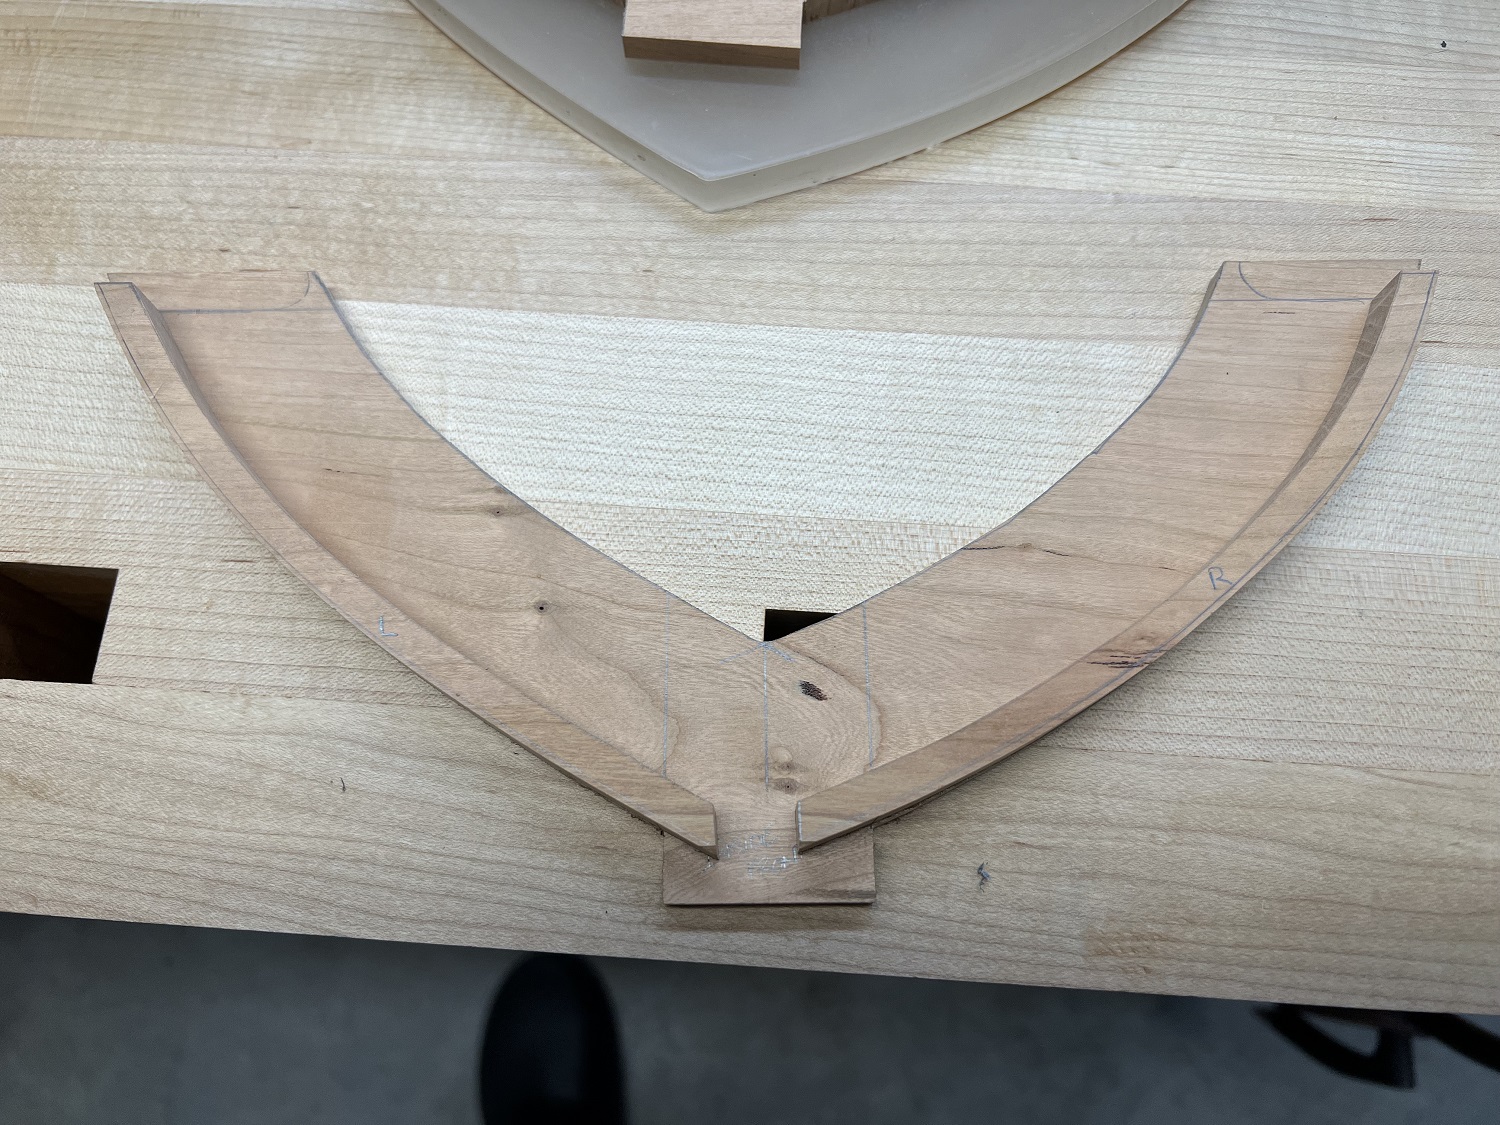
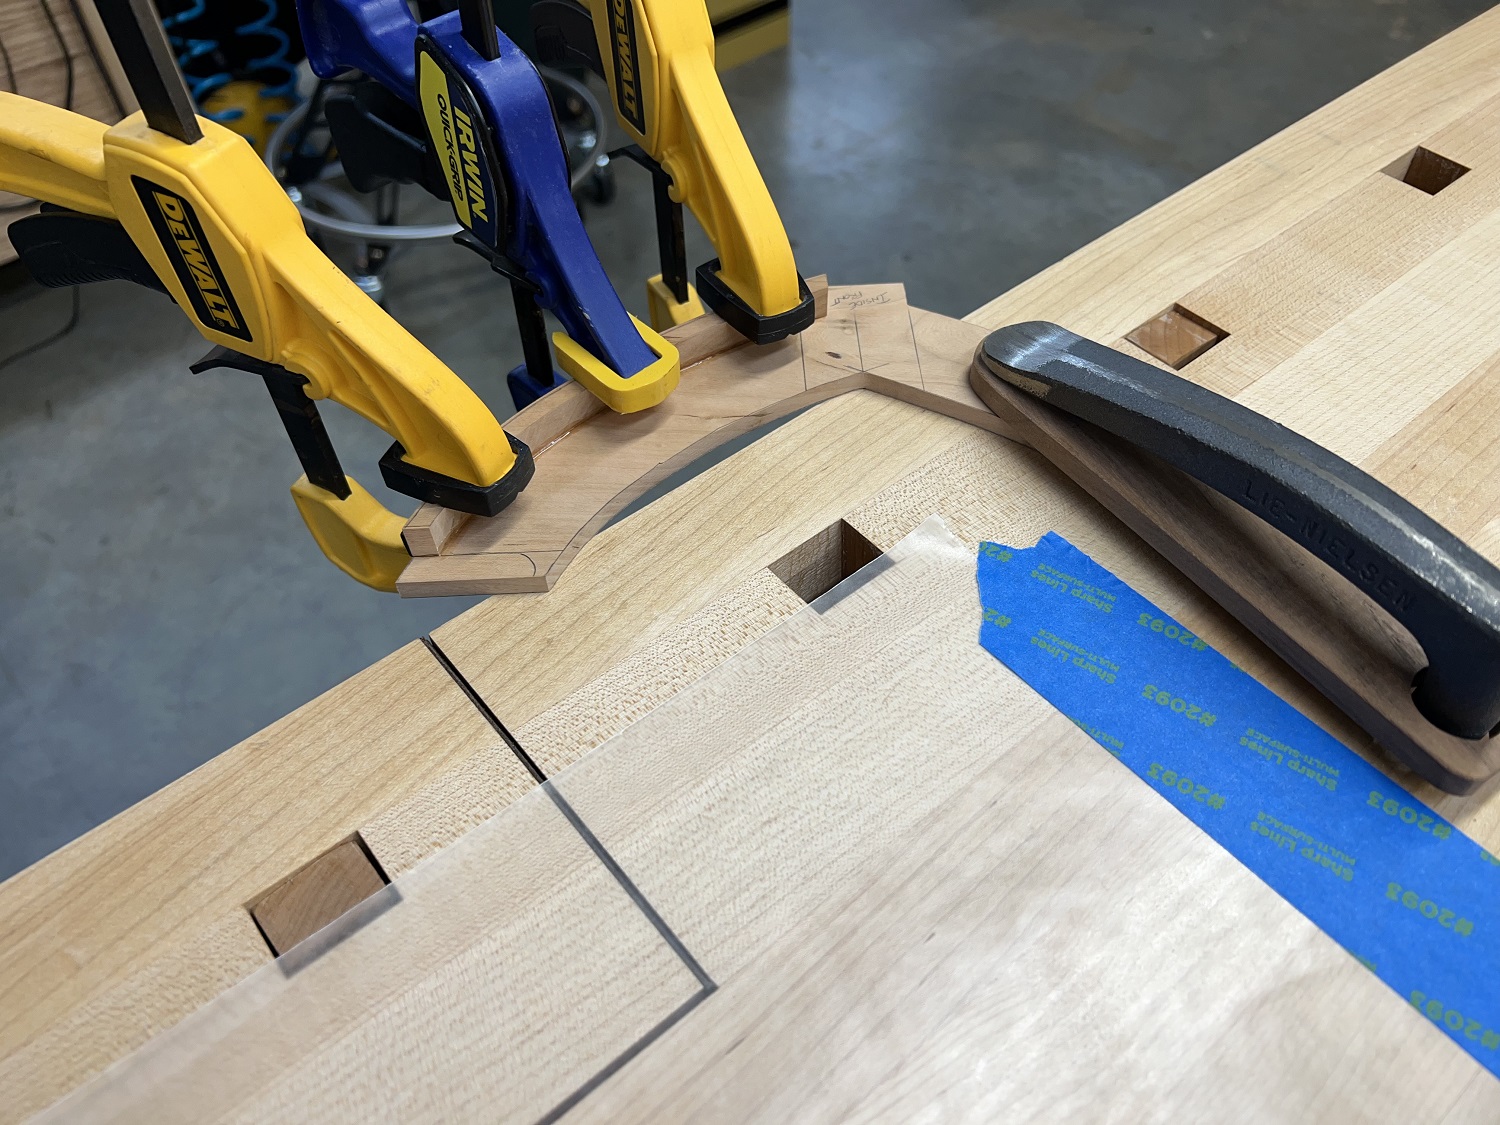
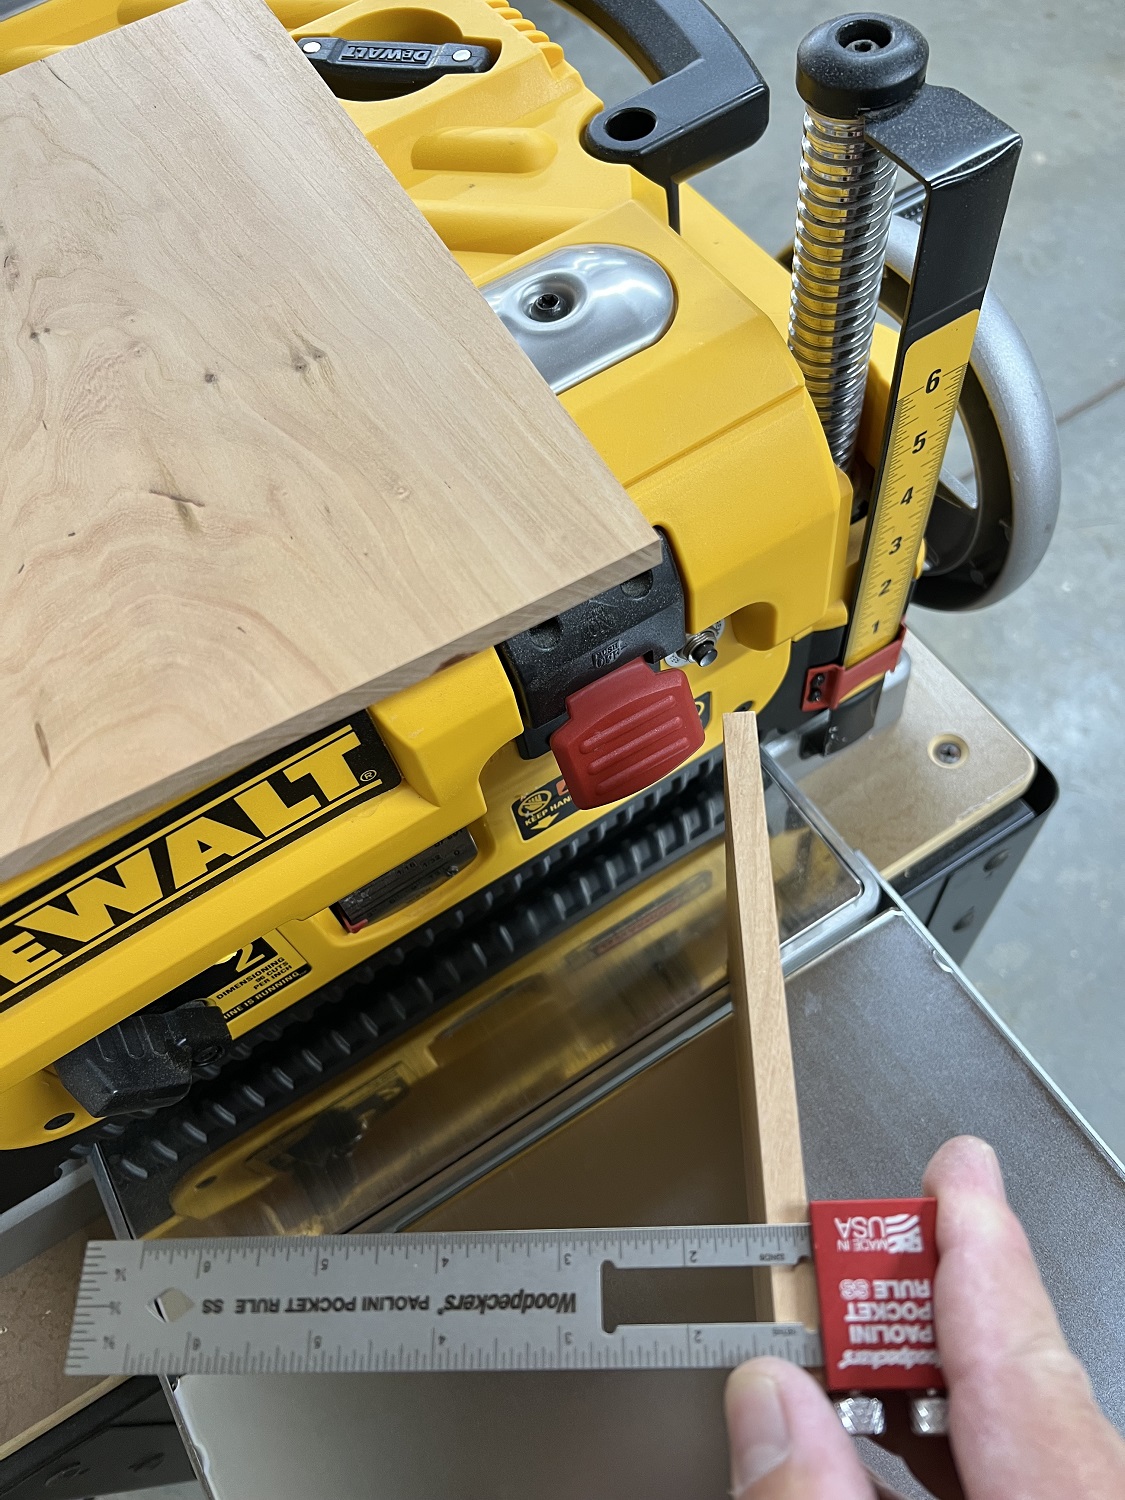
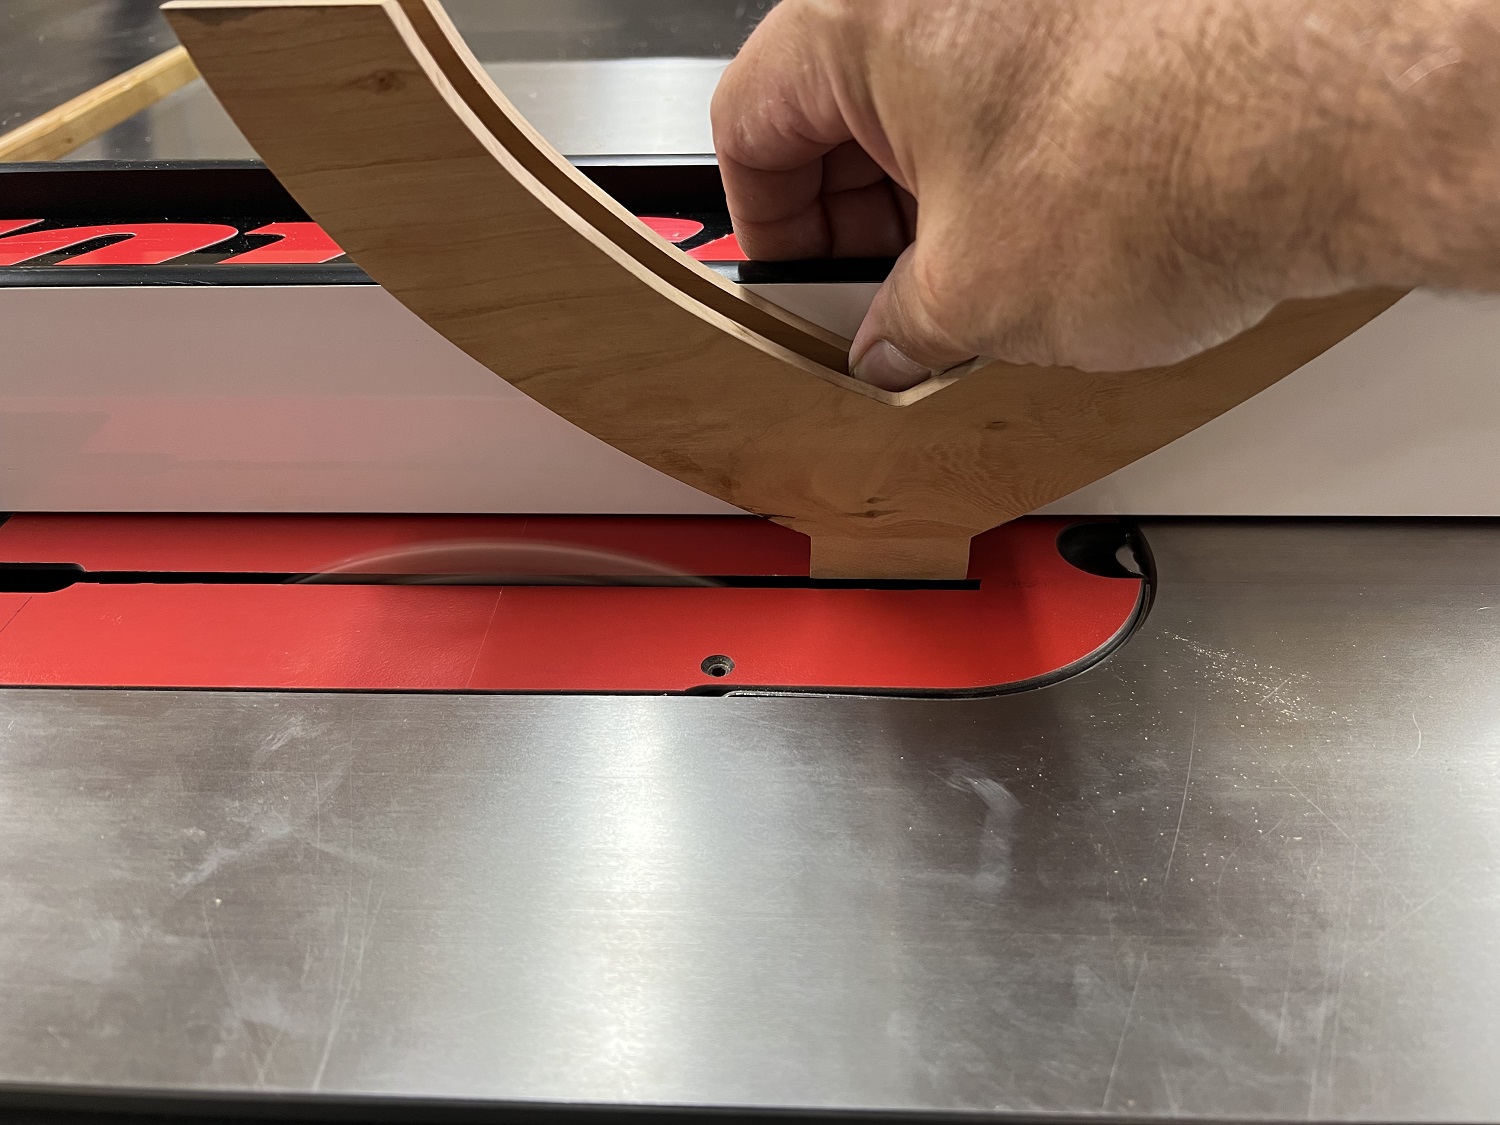
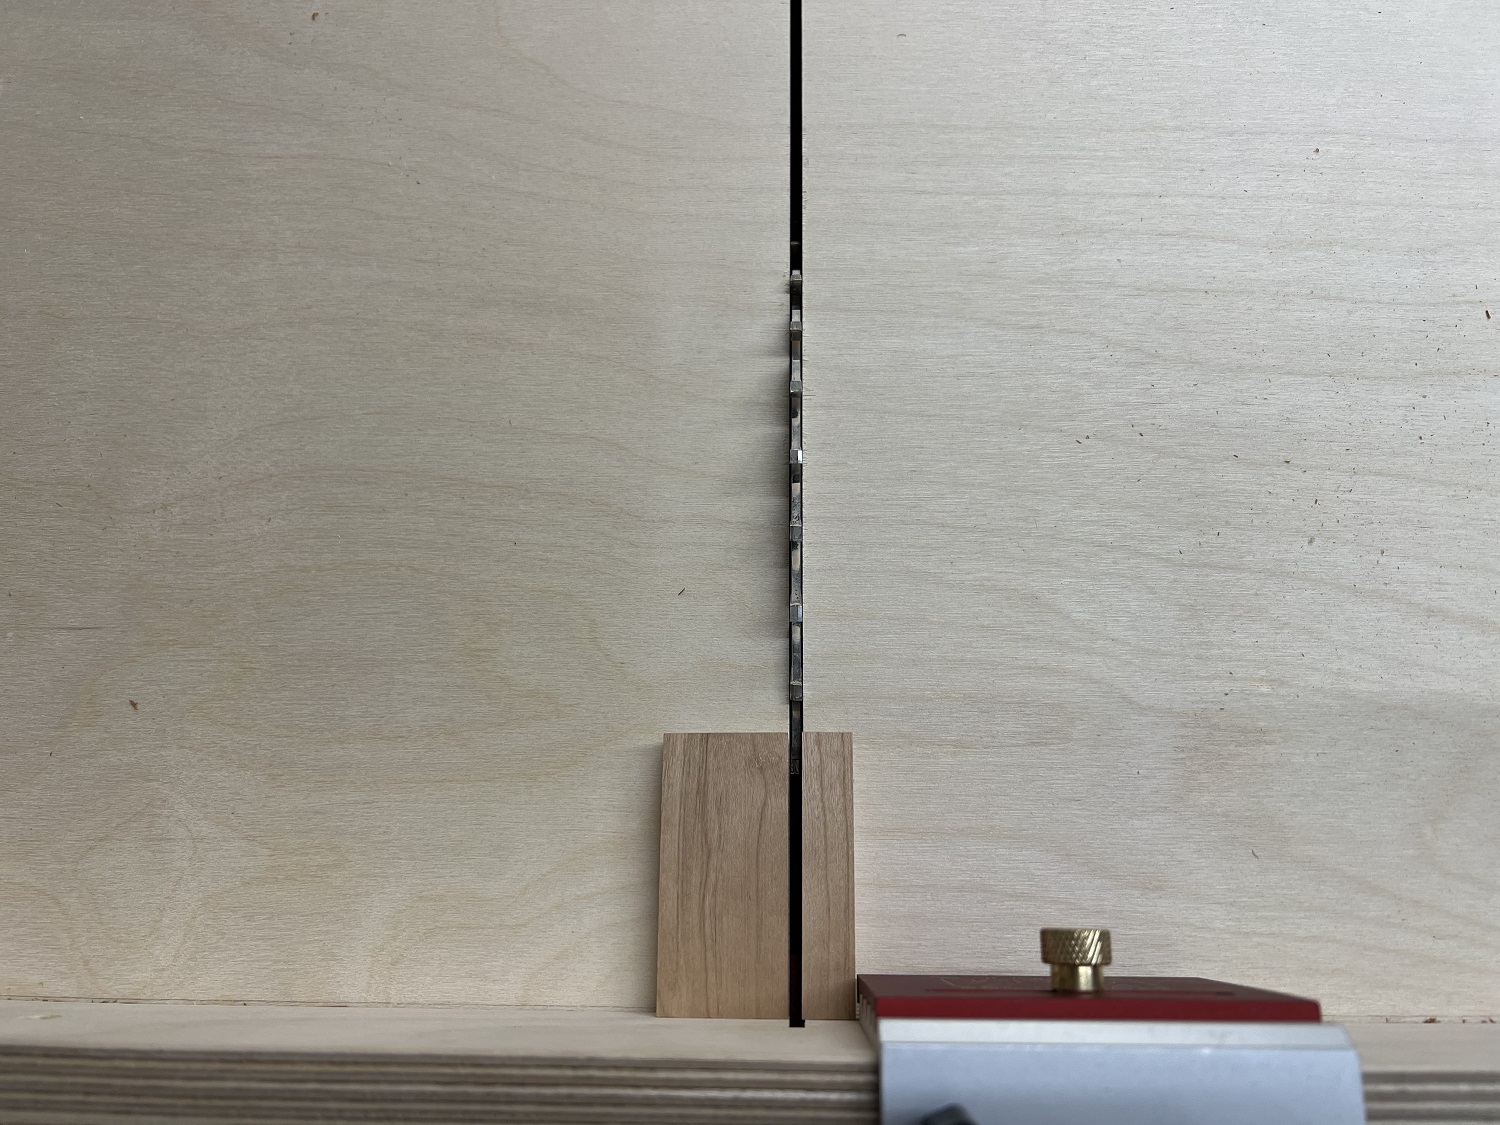
After trimming the assembled frame on the disk and spindle sander, the tenon is tuned up on the table saw for a nice, “snug-but-easy,” fit. Yes, it looks sketchy, but I didn’t hold it this way for the cut, and the blade is just barely kissing the outer face of the tenon. It is easy to sneak up on your dimension this way because the table saw fence and blade are so precise and repeatable.
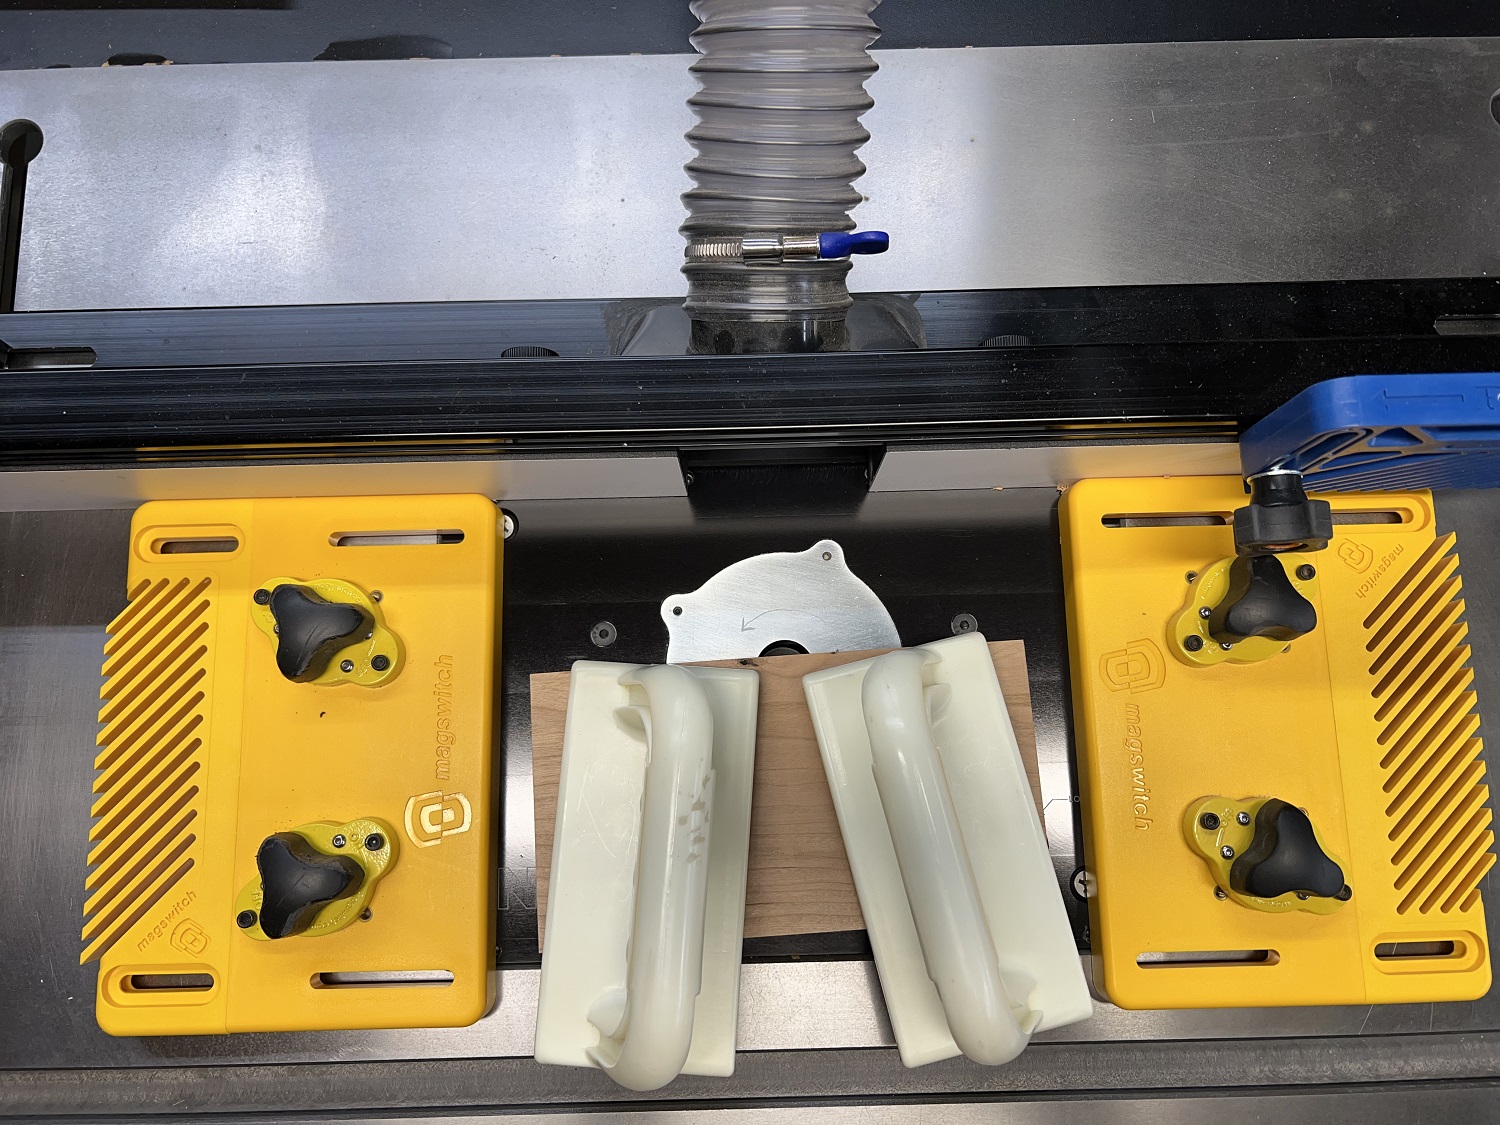
Core box bits were used on the router table to cove the edges of the base components. The dry fit looks good.

Next, removeable caps need to be made to complete the top edge of the frame. Making them removeable allows the acrylic heart to be removed from the frame for access to the LED strips.
That was easy.
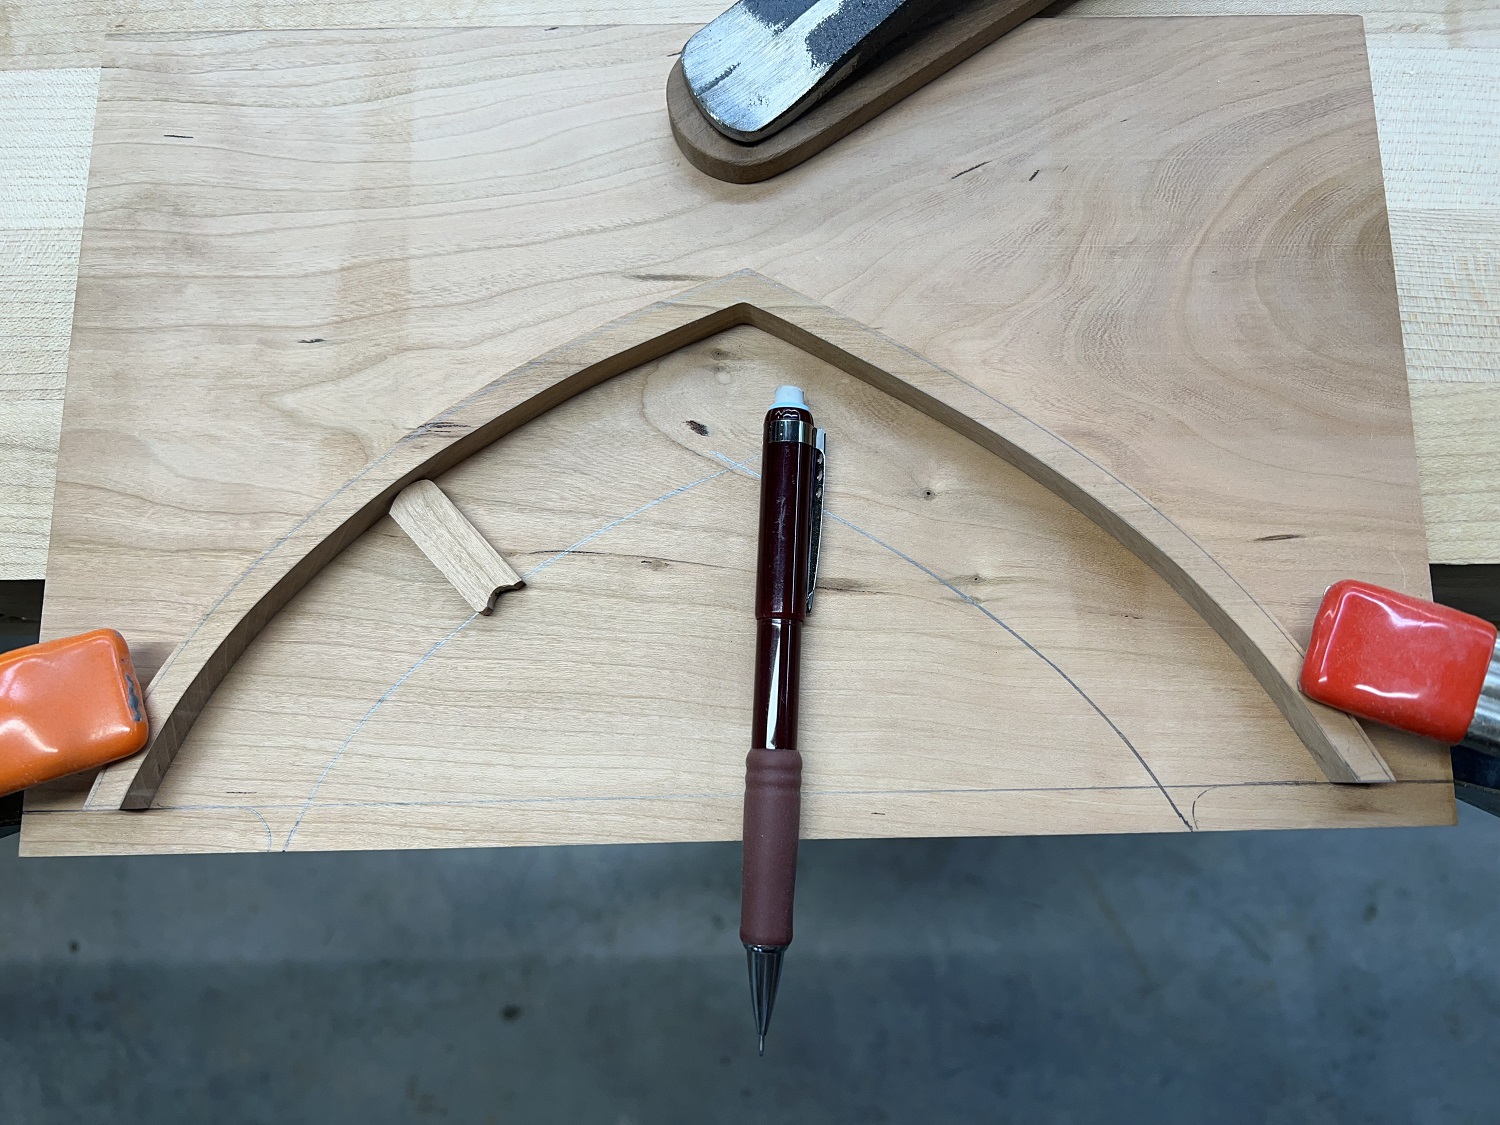
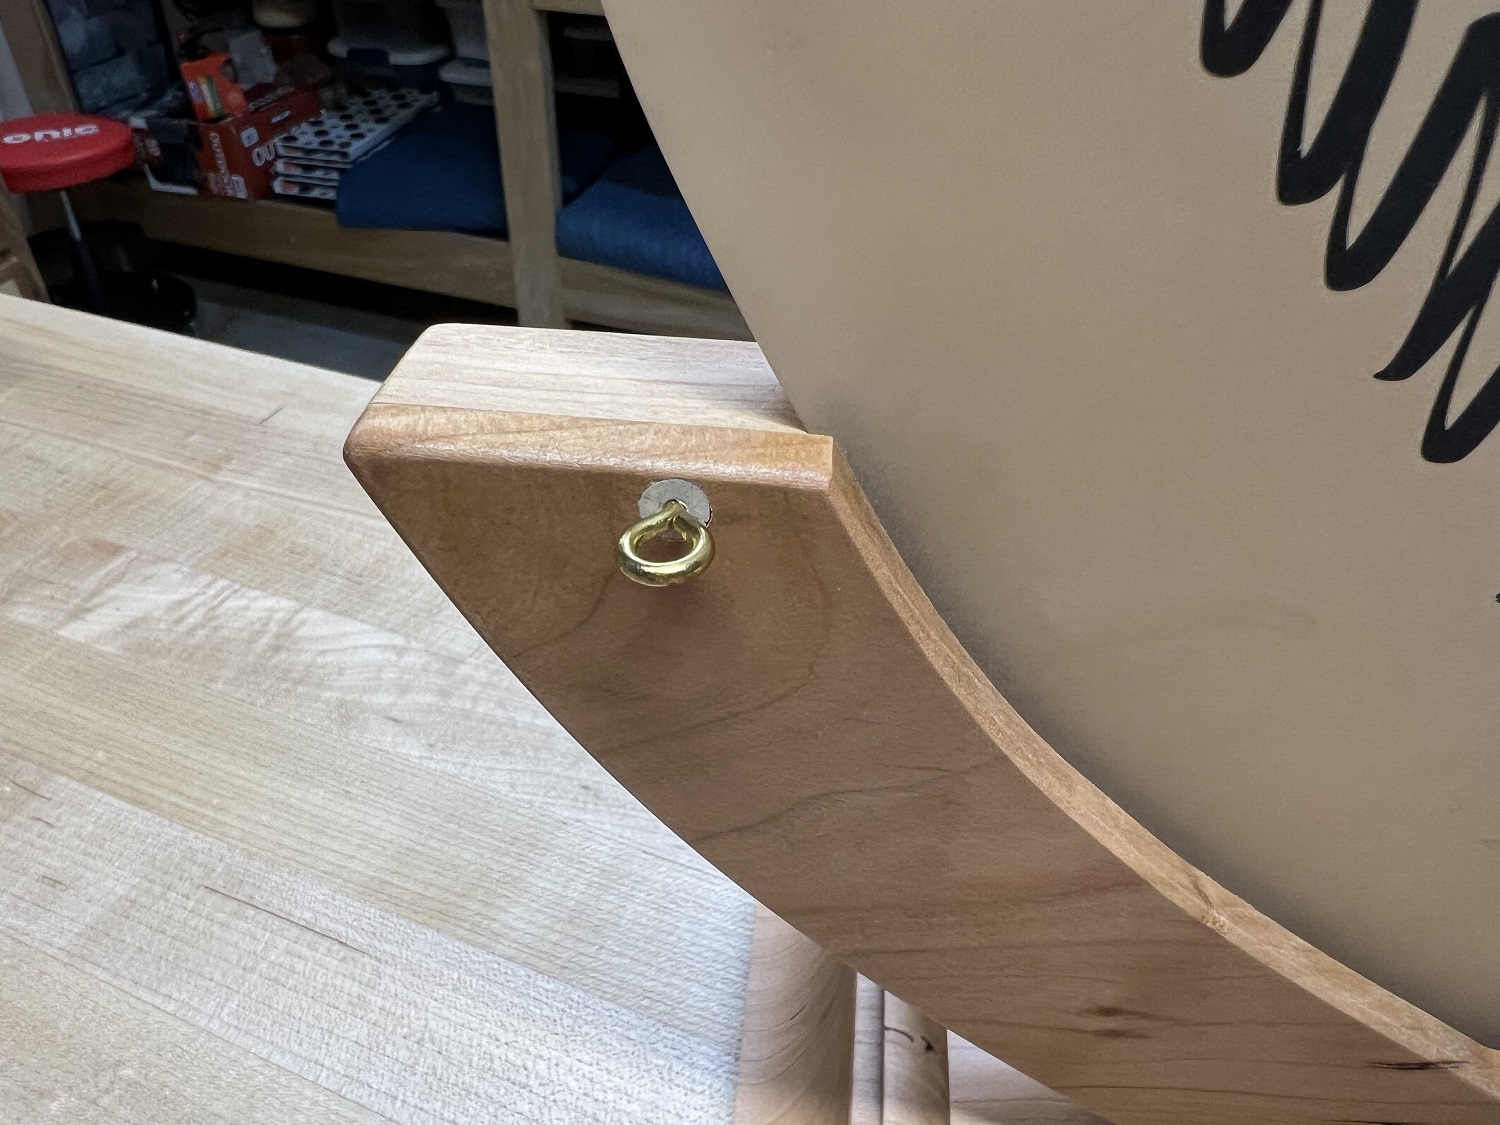
The caps will be fixed in place with a snug fit in the frame and a removeable dowel pin with a temporary eyelet installed to allow removal.
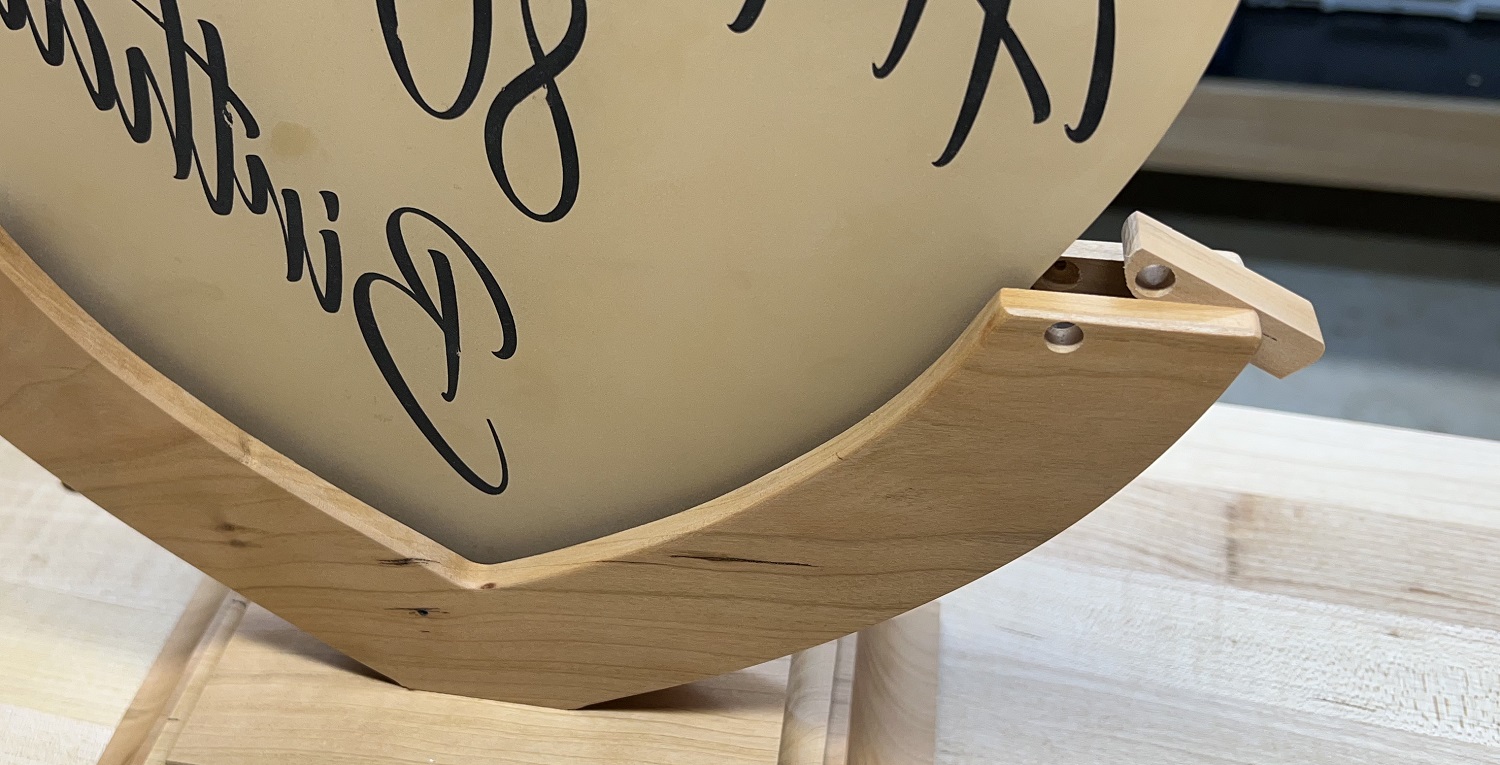
Trimming the edges of the caps to match the shape of the heart, on the inside, and the shape of the frame on the outside, was remarkably easy on the disk sander. The inside edges were merely traced out using the acrylic heart as a template. The disk sander was used to trim to the line. Once the caps were fixed in place with the dowels, the disk sander was used to trim them flush with the frame. I love the disk sander for stuff like this.
After rounding the edges with a 1/8″ roundover bit in the trim router, and final sanding, the stand is finished with spray lacquer.
Thanks for your interest.