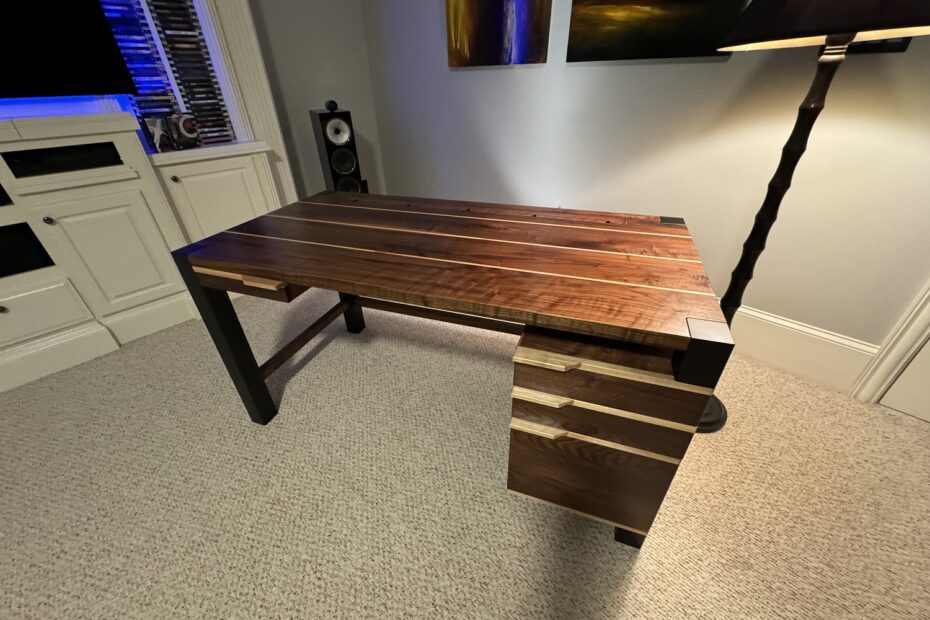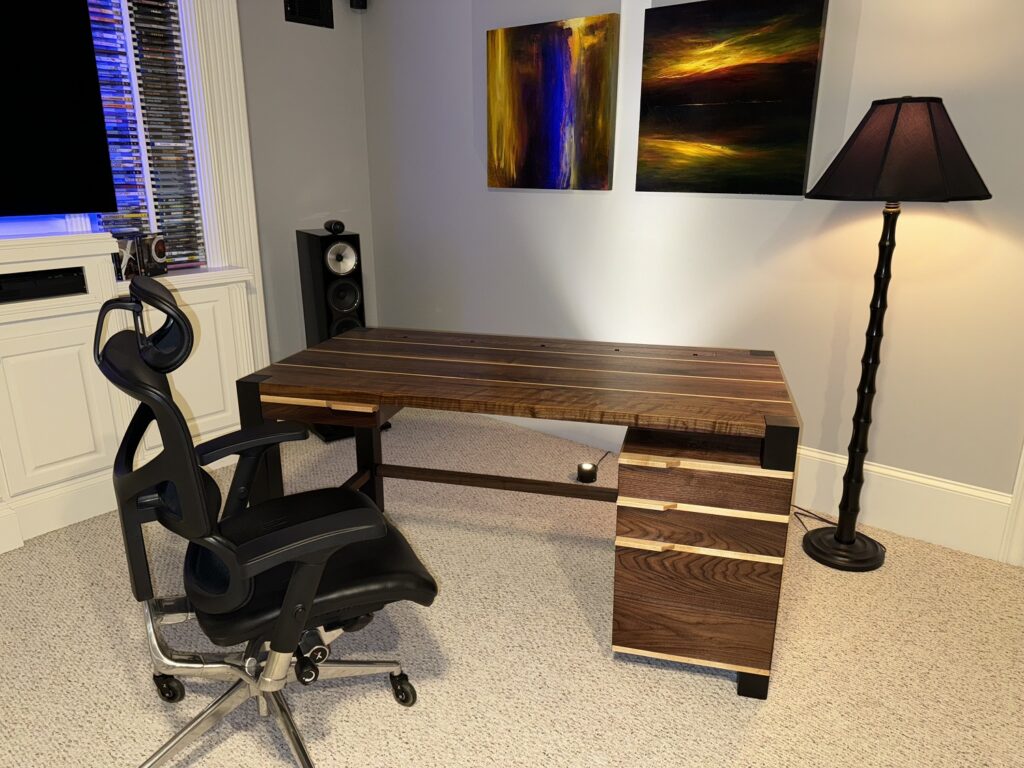
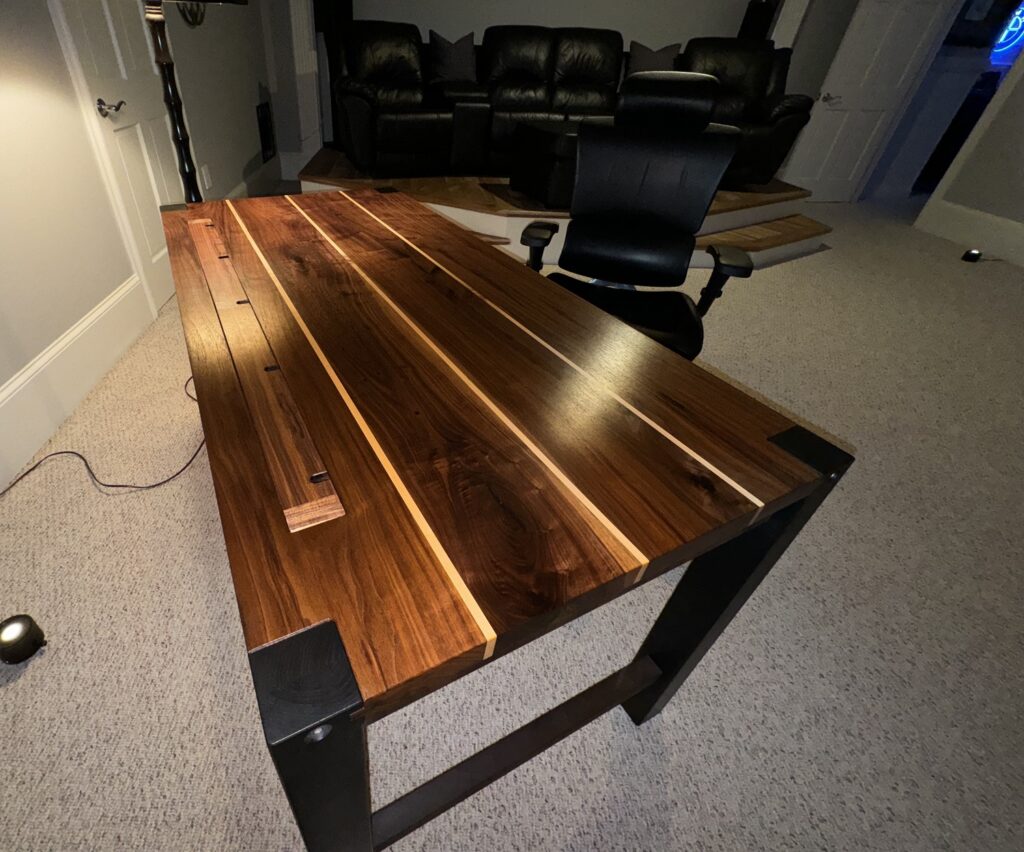
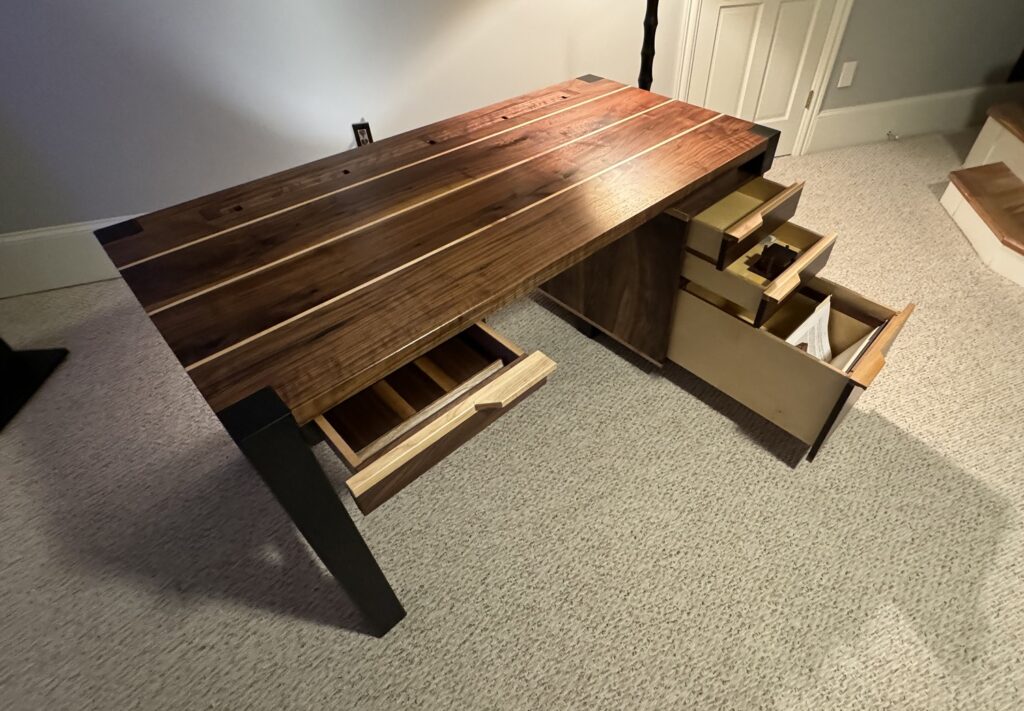
The client requested a modern desk for his home office that would be robust and complement his workbench and the overall workshop feel of the room. This desk is made of solid black walnut and maple. The cabinet drawers are made from 9-ply ½” Baltic birch ply. The hardware is stainless steel and brass. The desk can be disassembled into three major components by removing six bolts. It is 30″ x 60″.
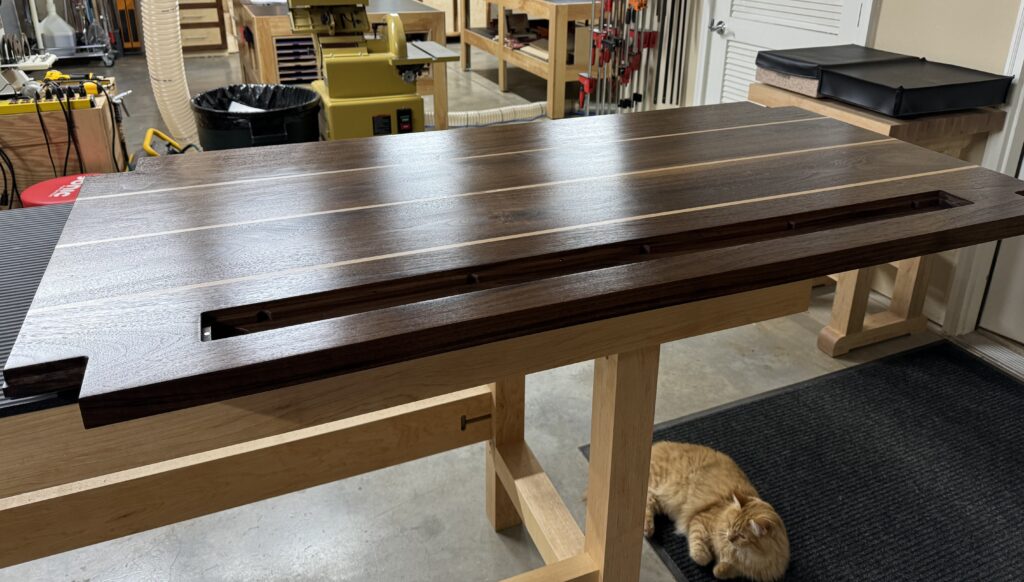
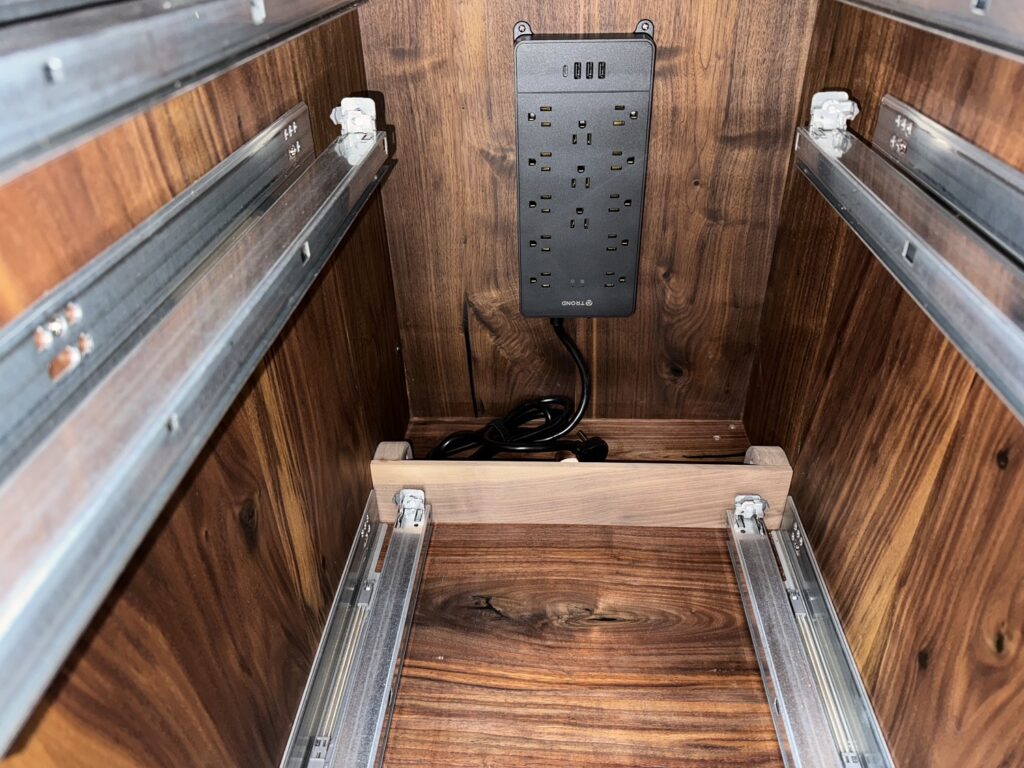
It features an integrated wire channel milled into the solid wood top with a magnetically retained cover, and an internal power strip located inside the back wall of the cabinet.
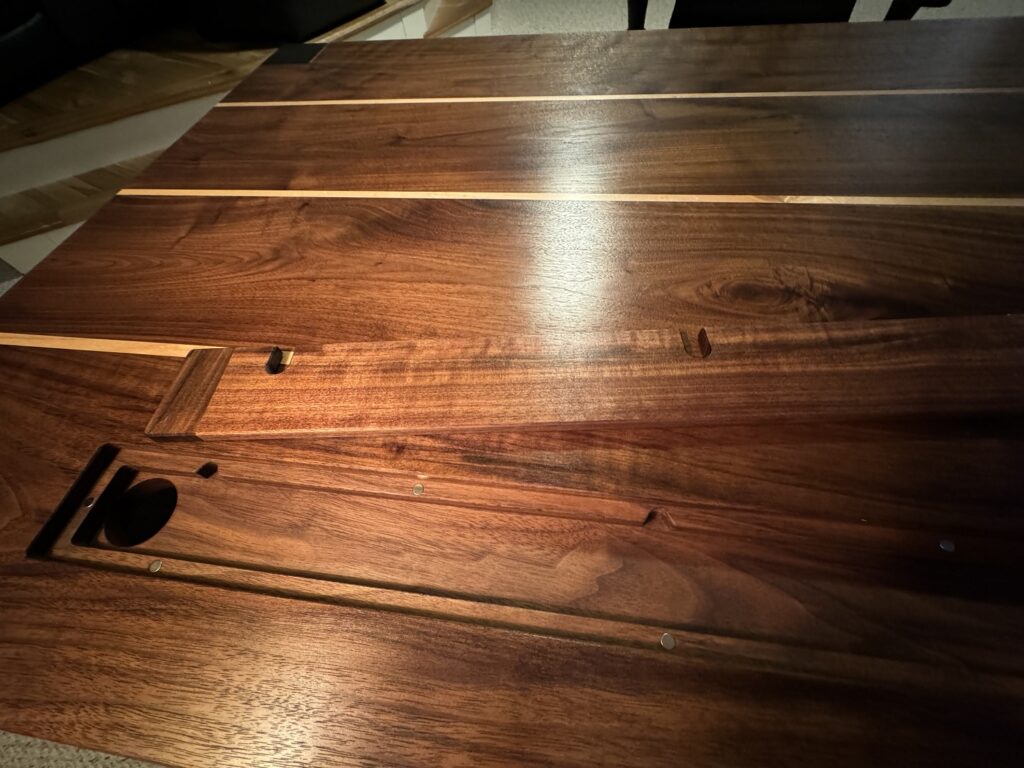
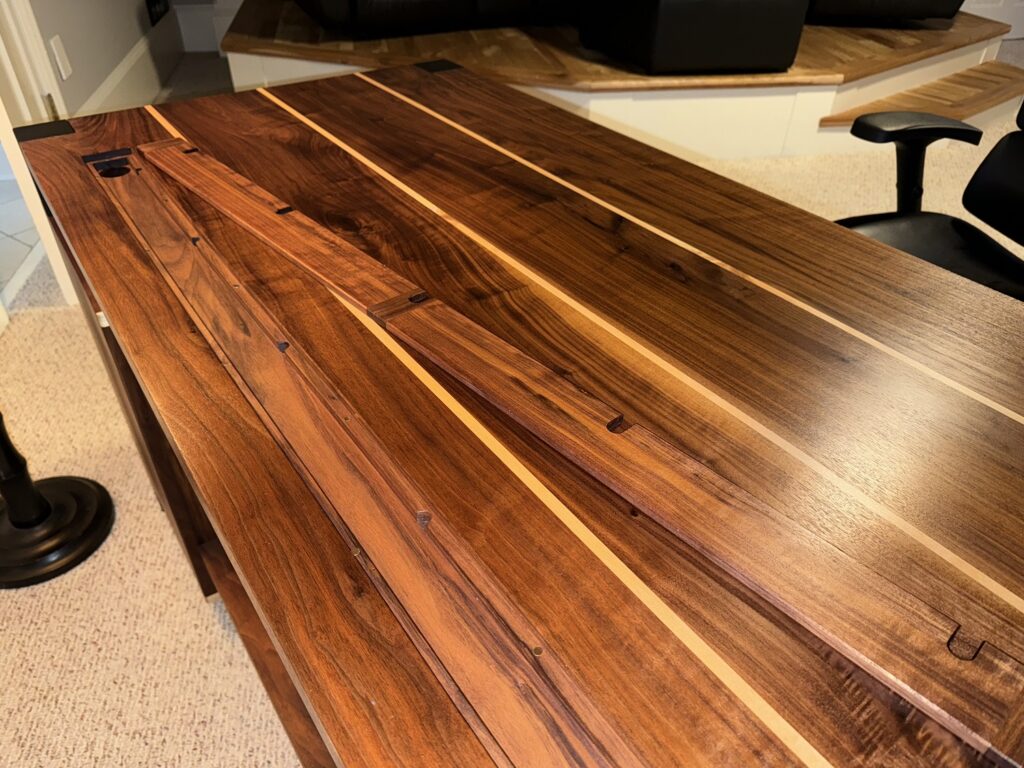

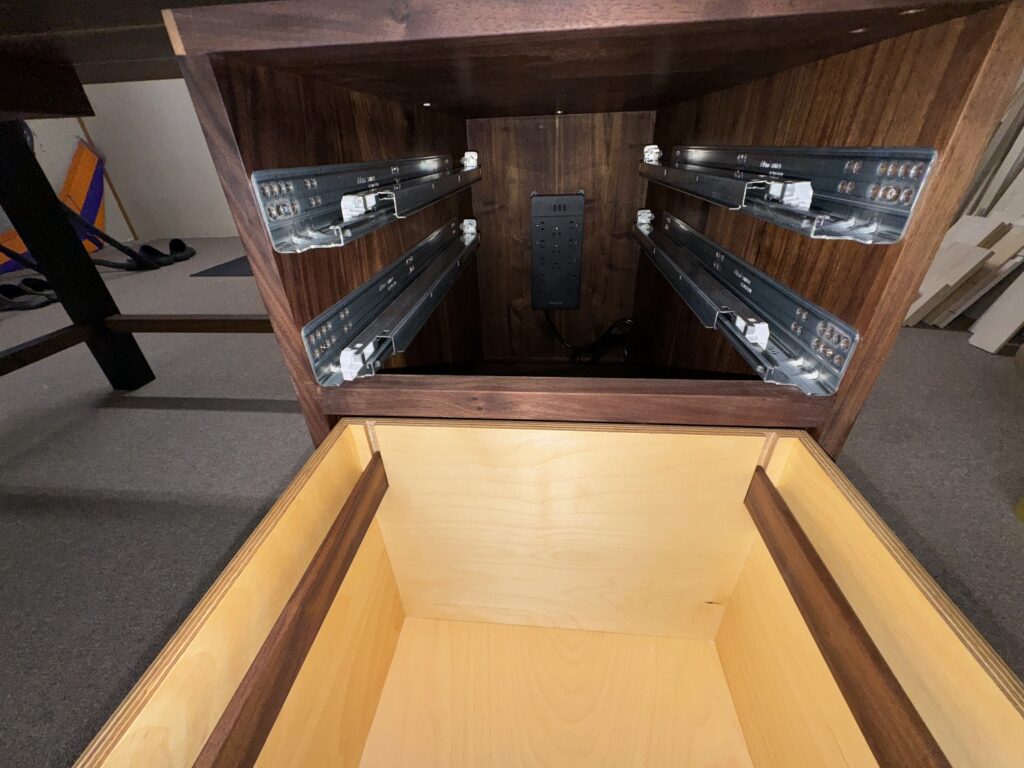
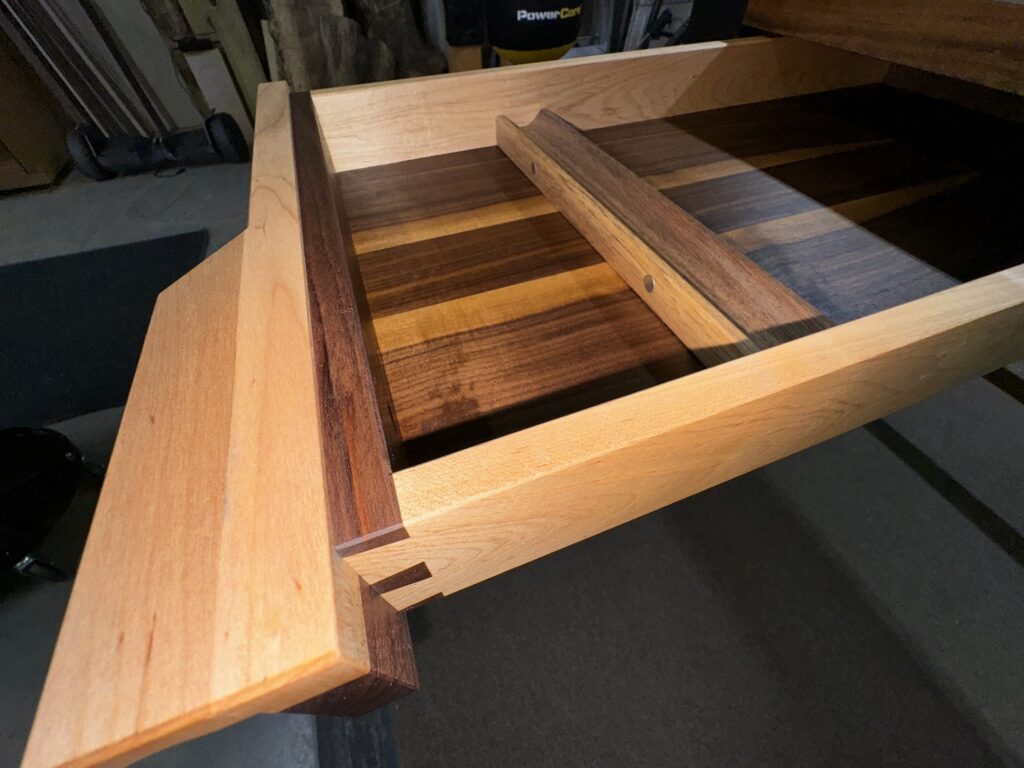
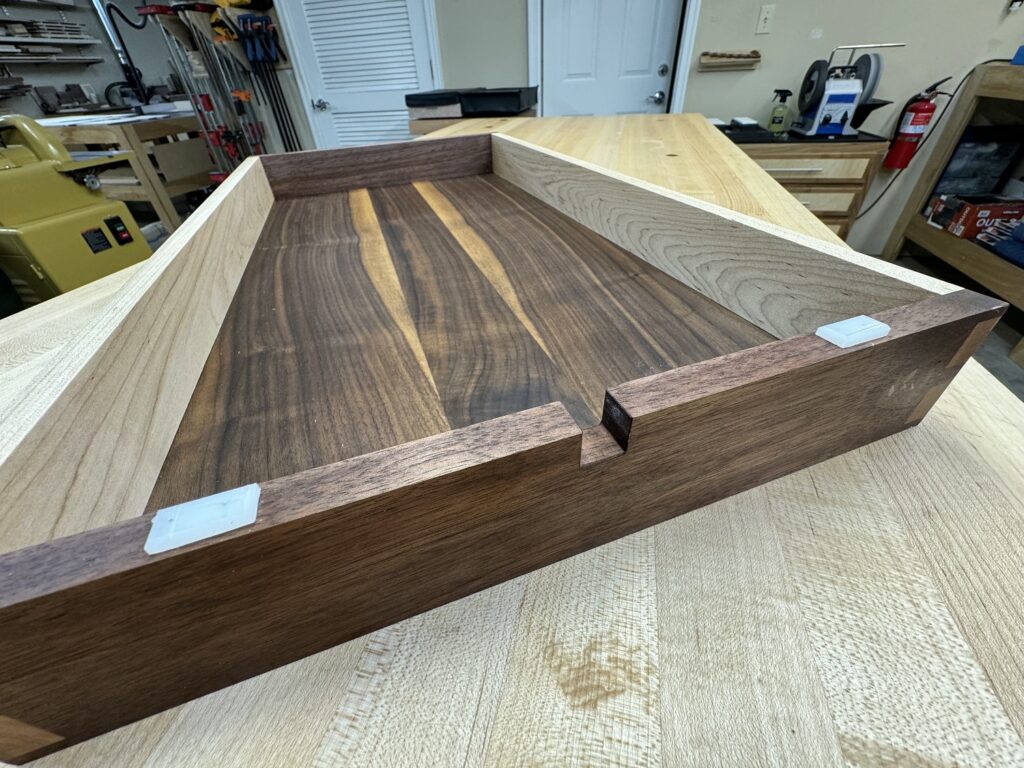
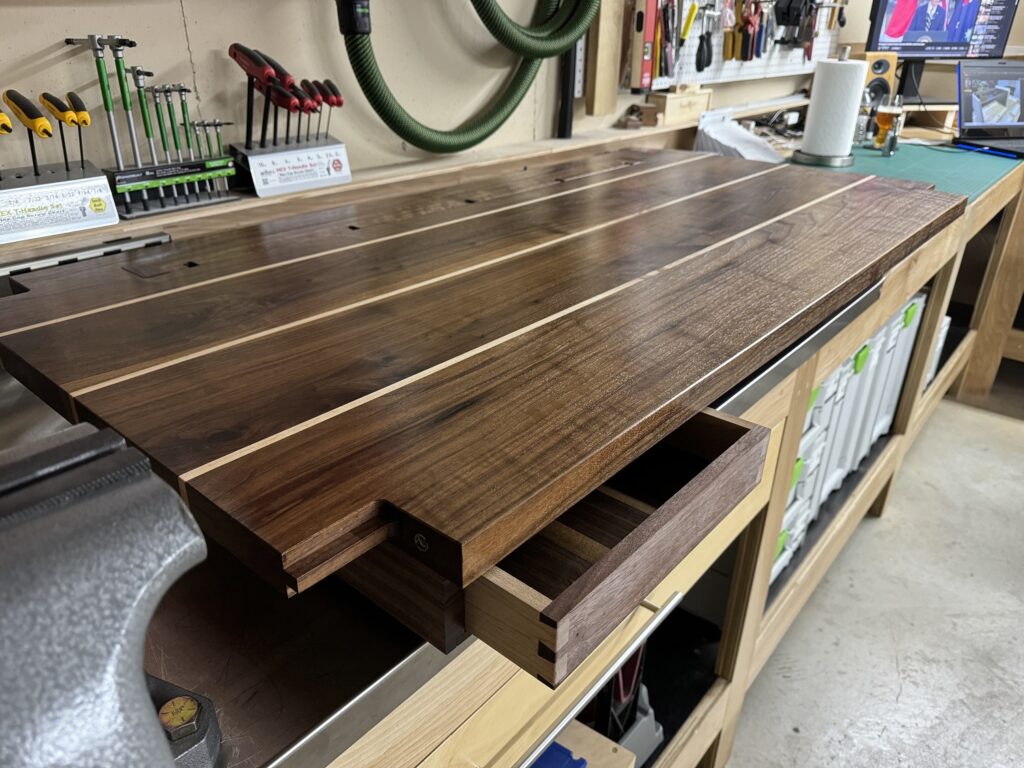
The pencil drawer is made of solid walnut and maple.
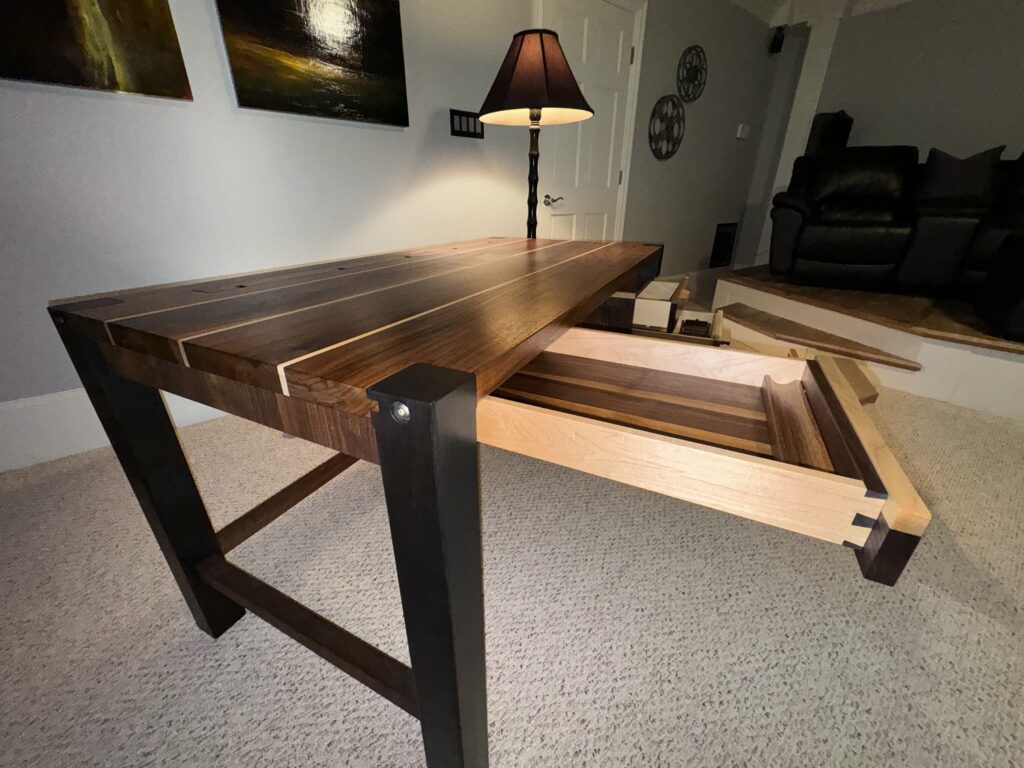
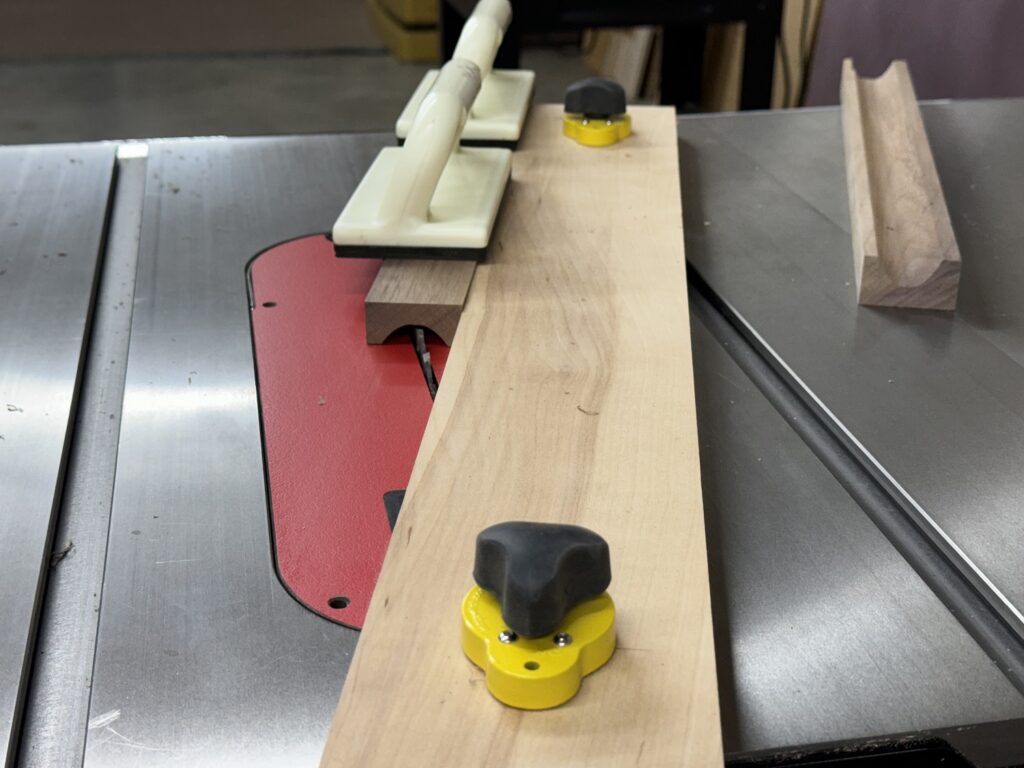
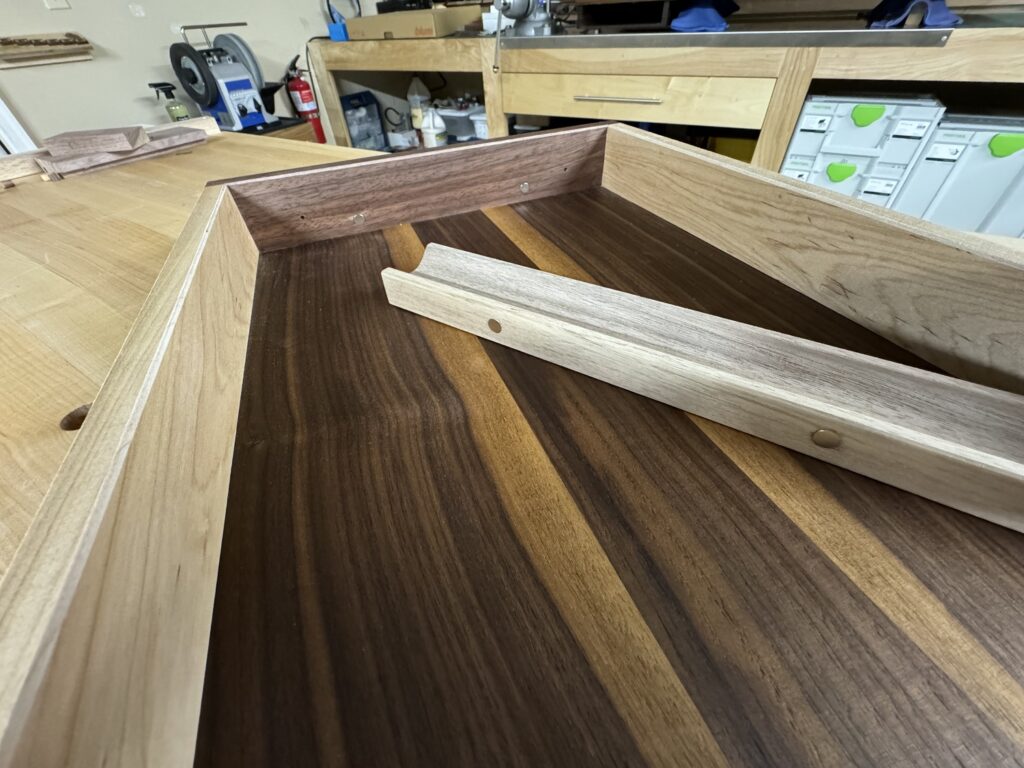
The pencil tray is held by magnets and is thus removable.
Several designs were initially considered and drawings were ultimately made for a mid-century desk and an industrial desk:
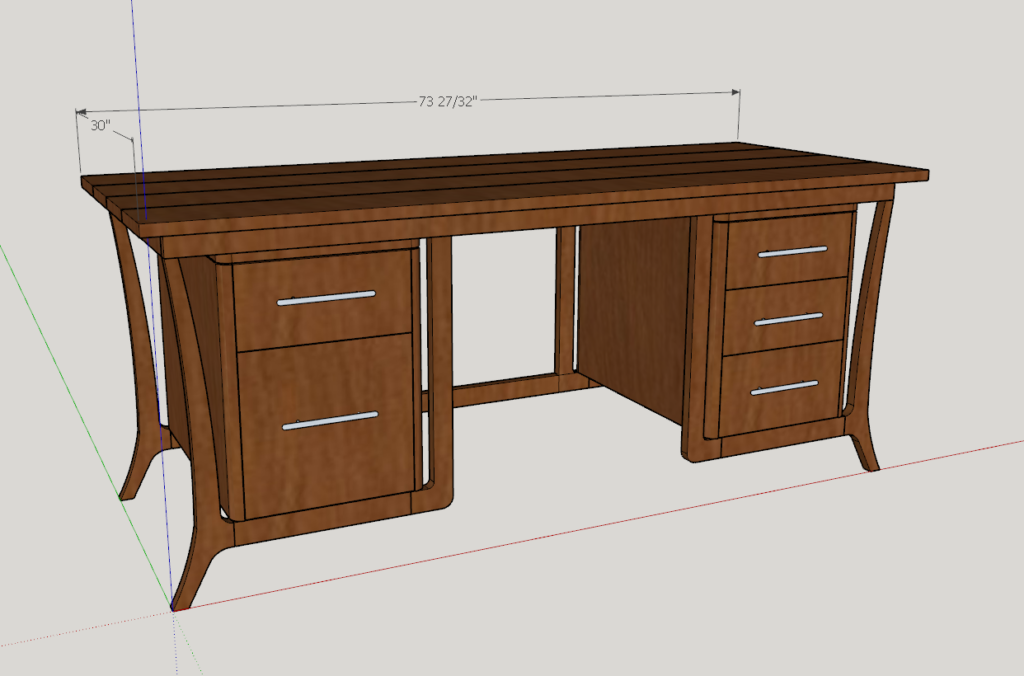
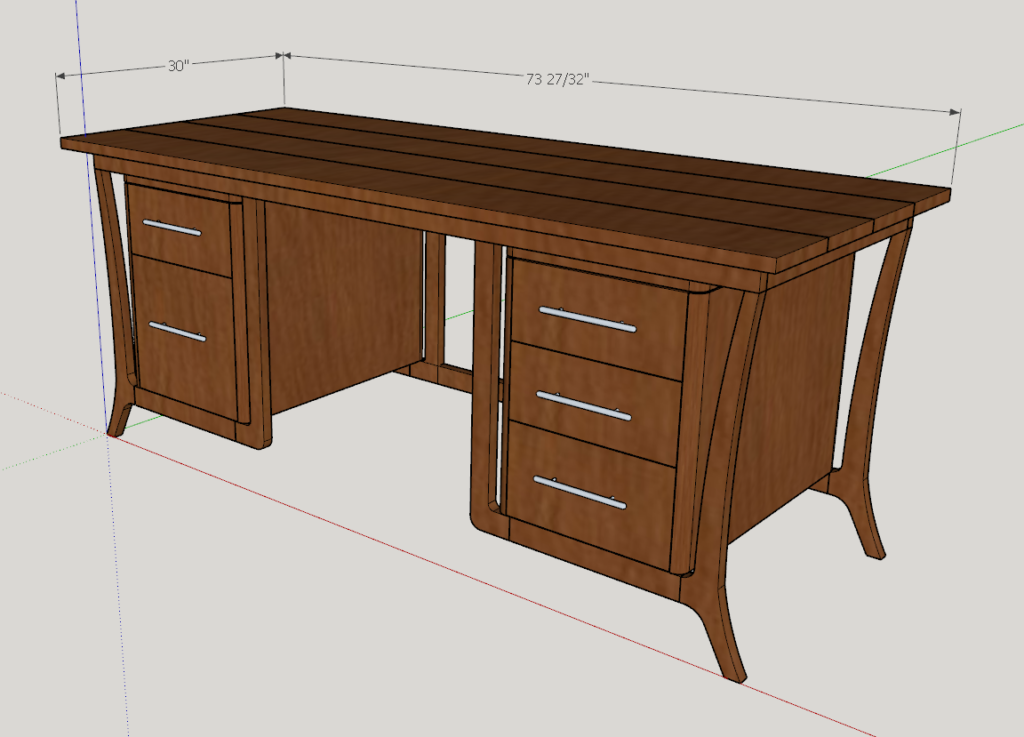
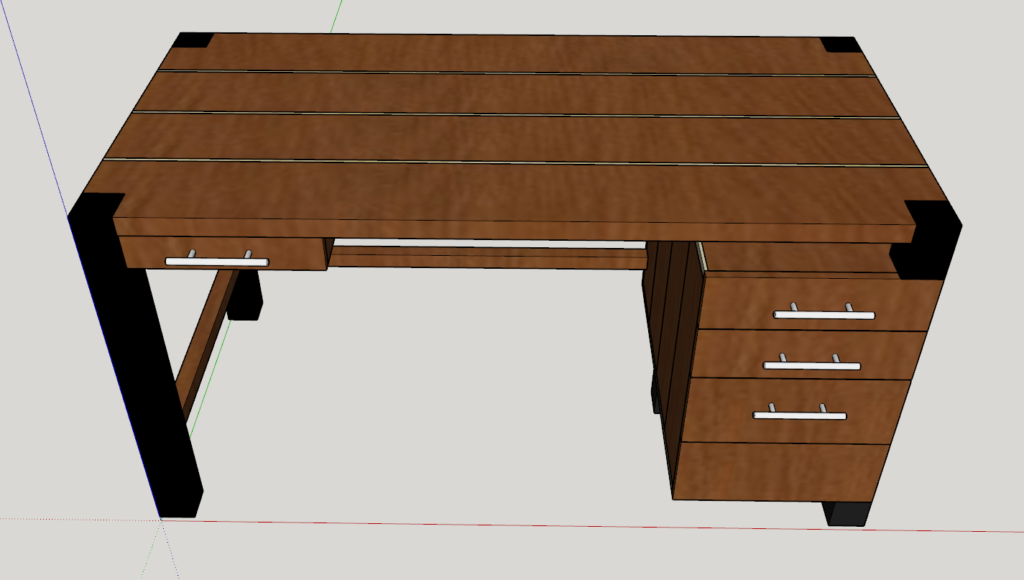
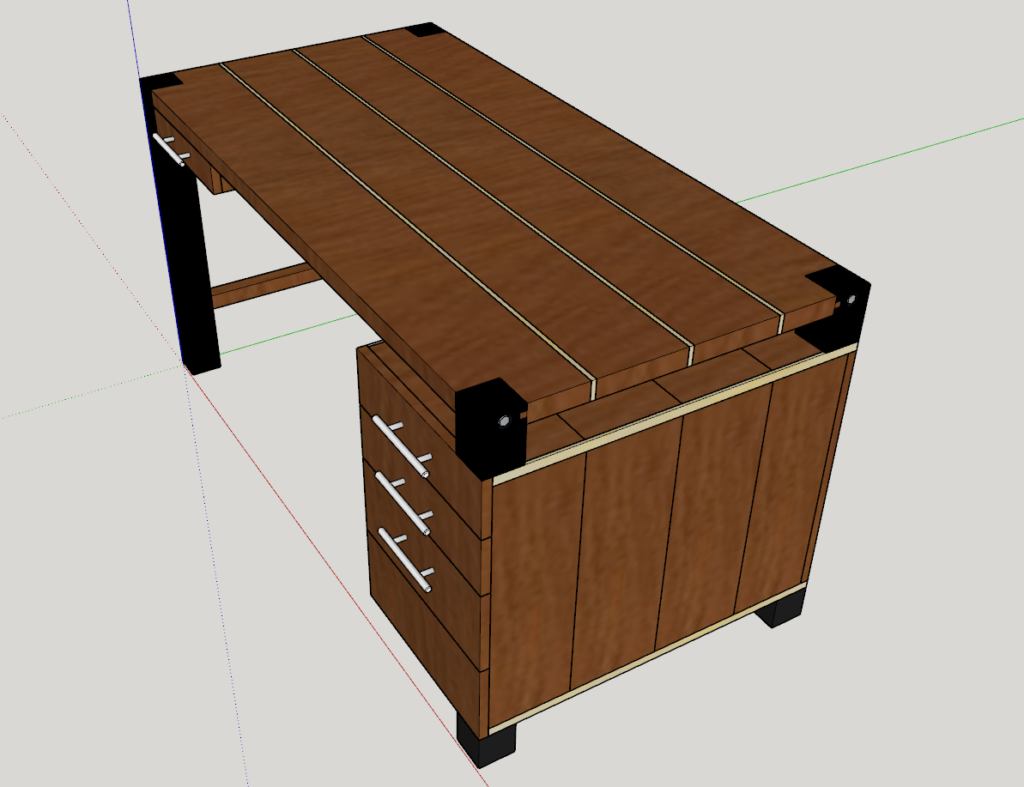
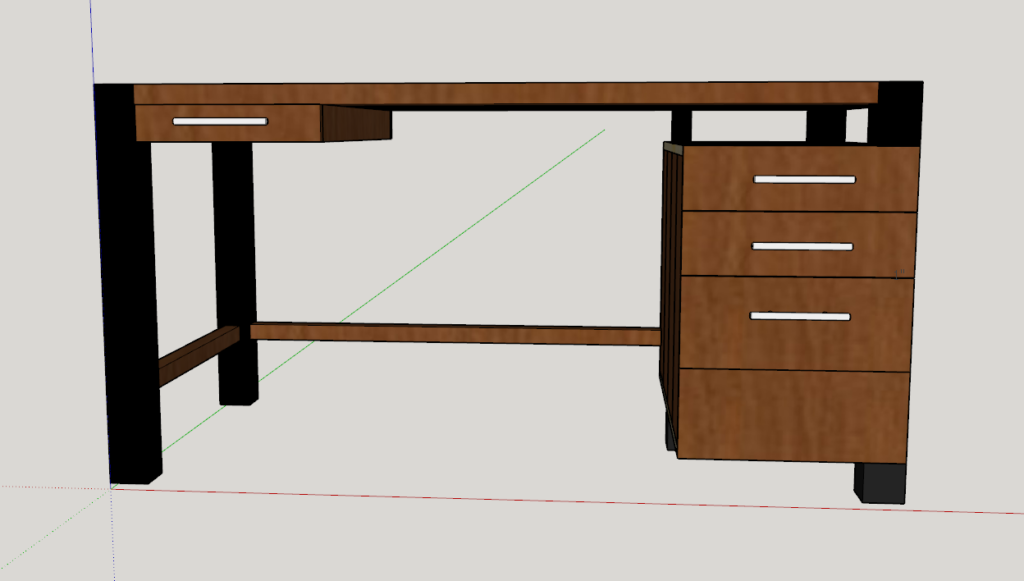
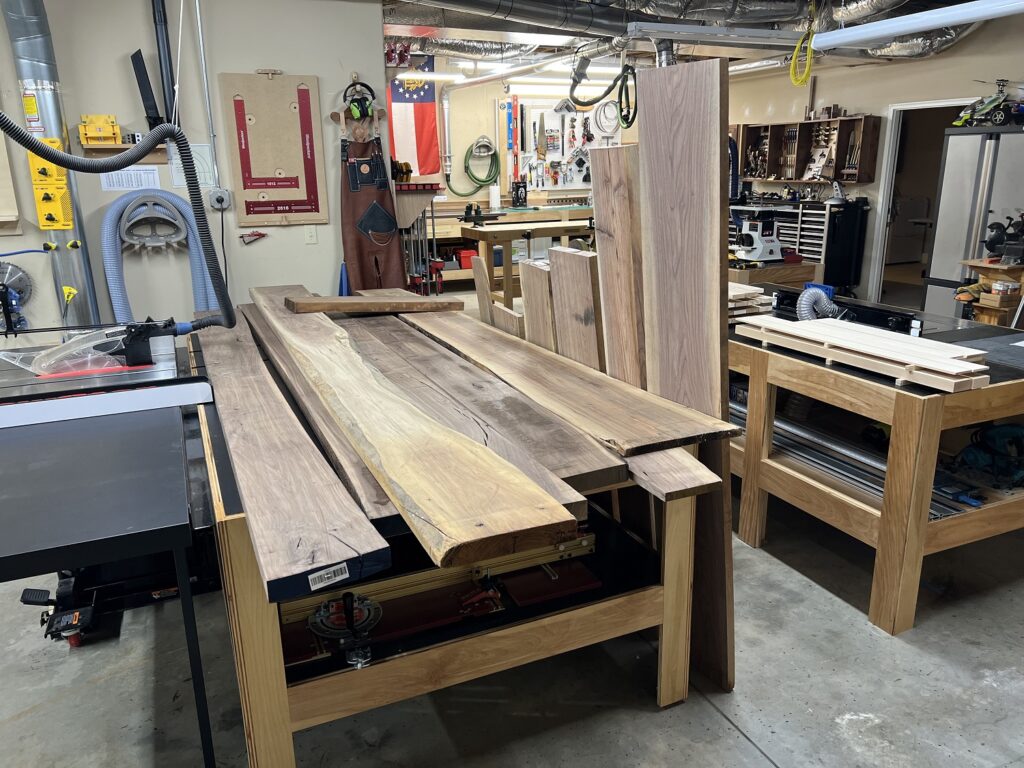
The client obviously decided on the industrial desk made from solid walnut, and requested that it be capable of disassembly, for ease of moving and maneuvering through doorways. This is the build. First, rustic walnut boards are acquired.
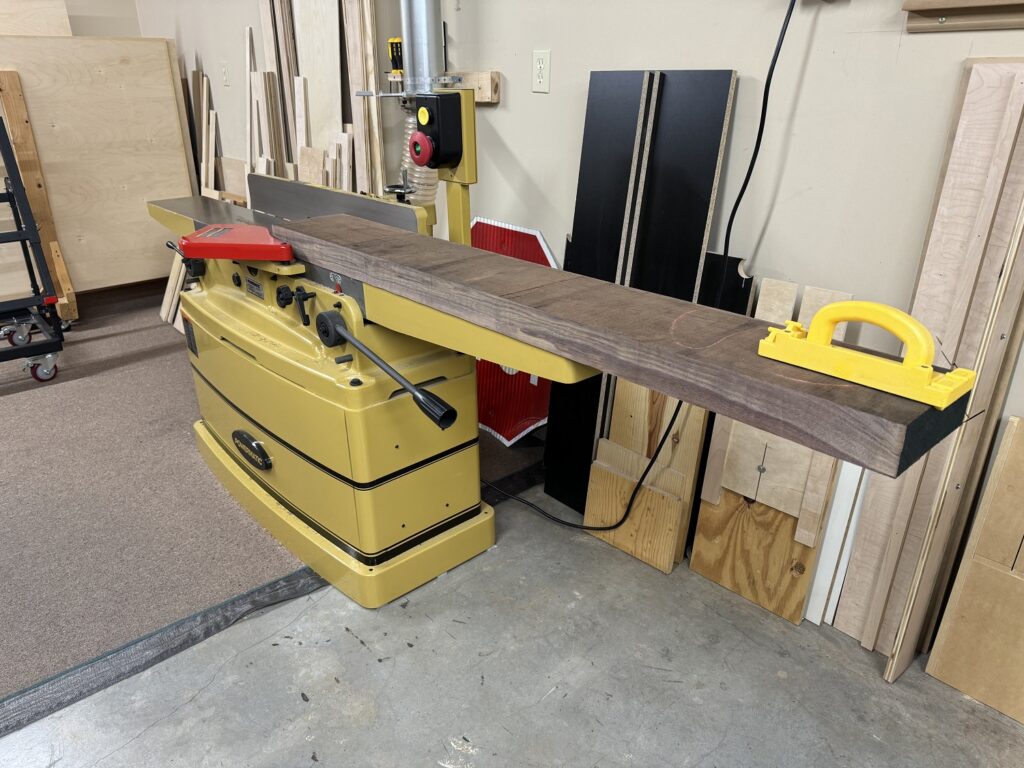
The top and legs are made first. Off to the jointer to get a flat face and a straight square edge.
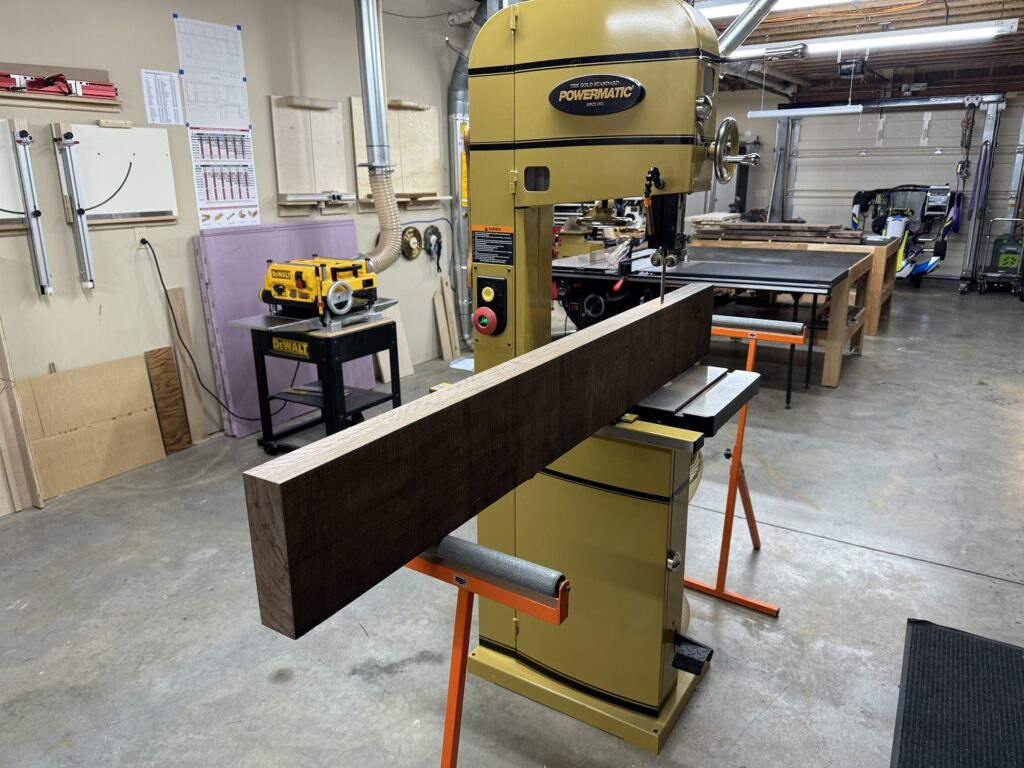
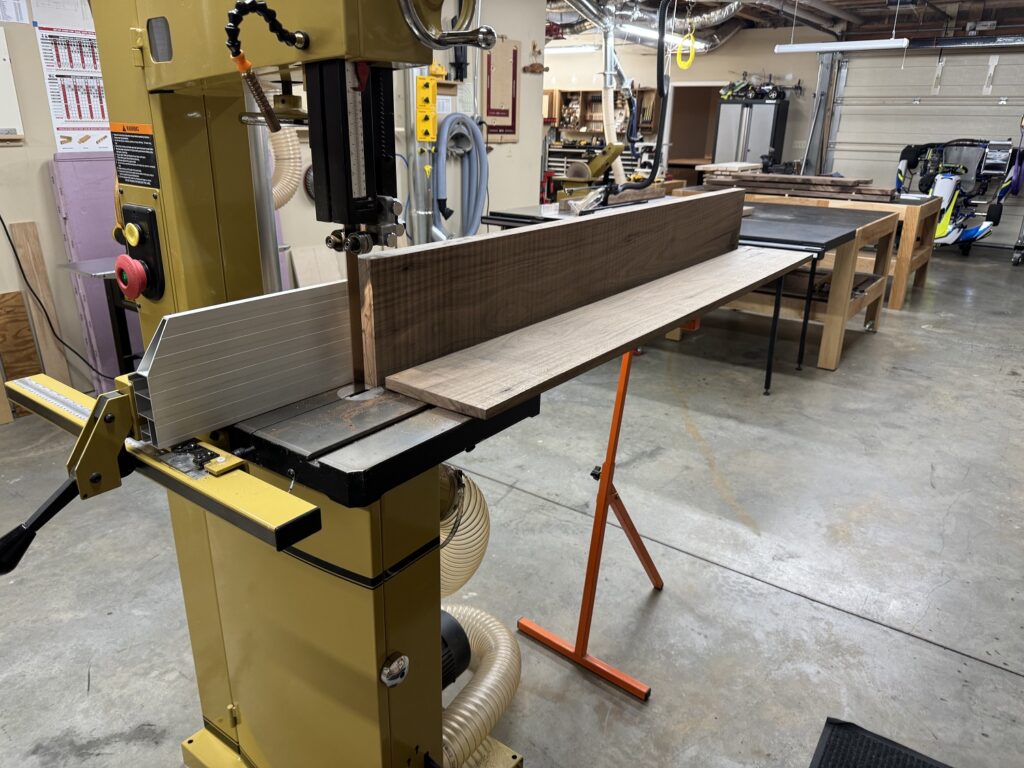
Then to the band saw to resaw the boards into pieces that can be used for the top and the drawer box.
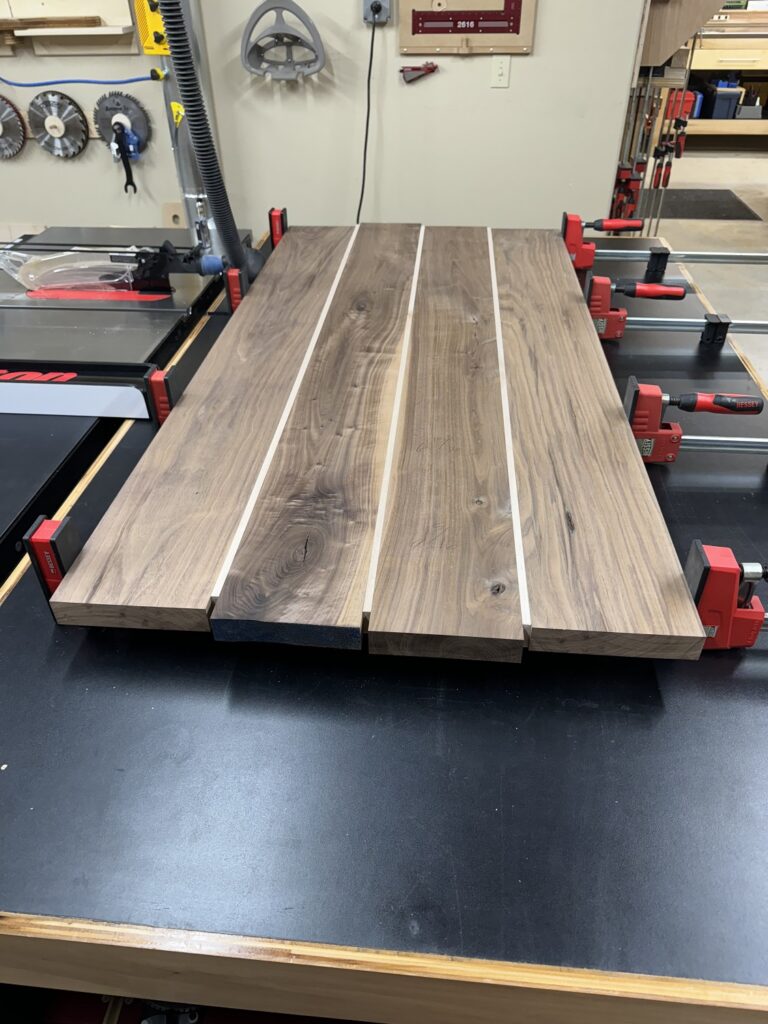
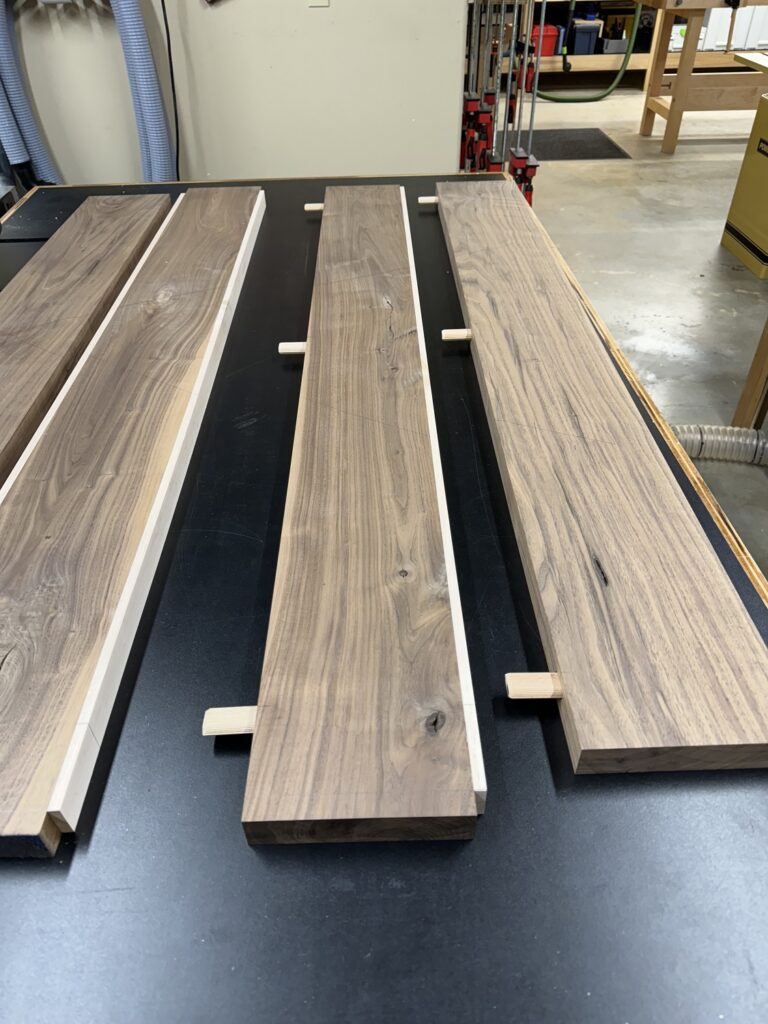
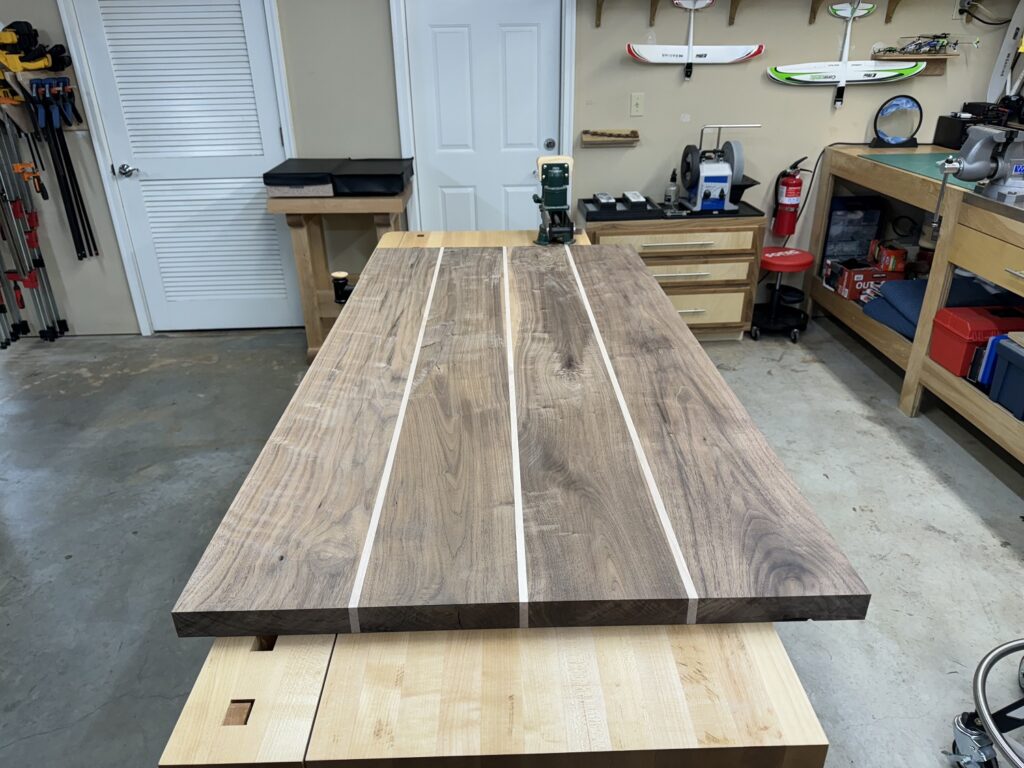
Some 3/8″ maple strips are made and the pieces are arranged into a dry fit.
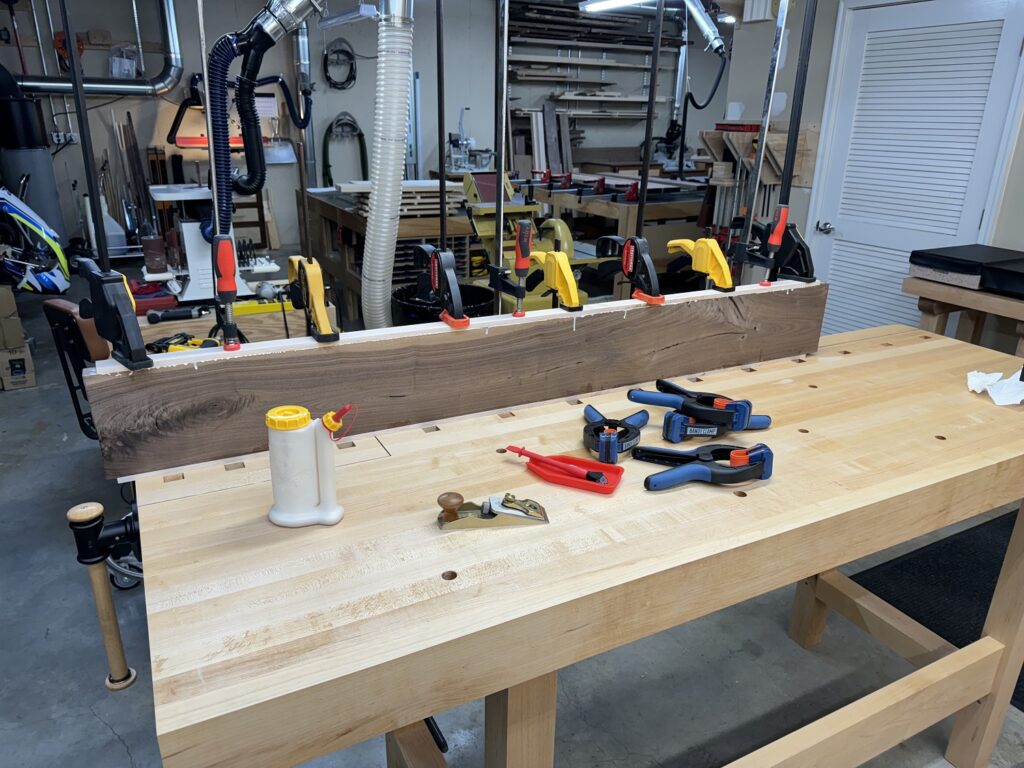
The maple strips are then glued to the edges of the walnut planks.
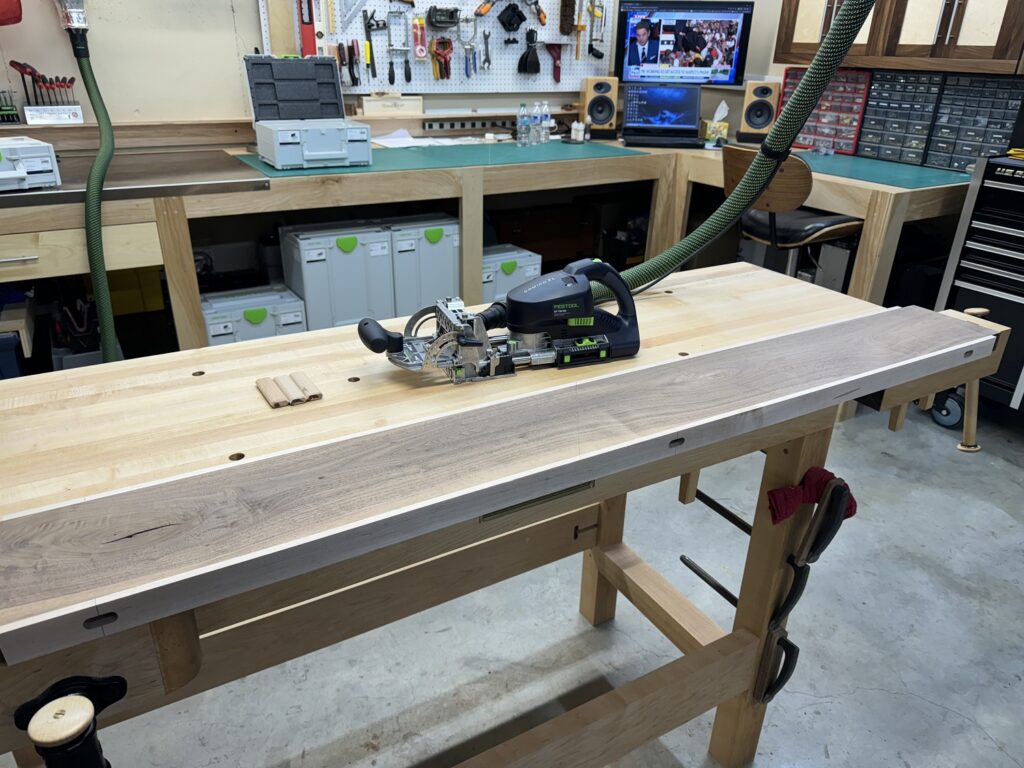
Dominos are added to the joints for strength and alignment.
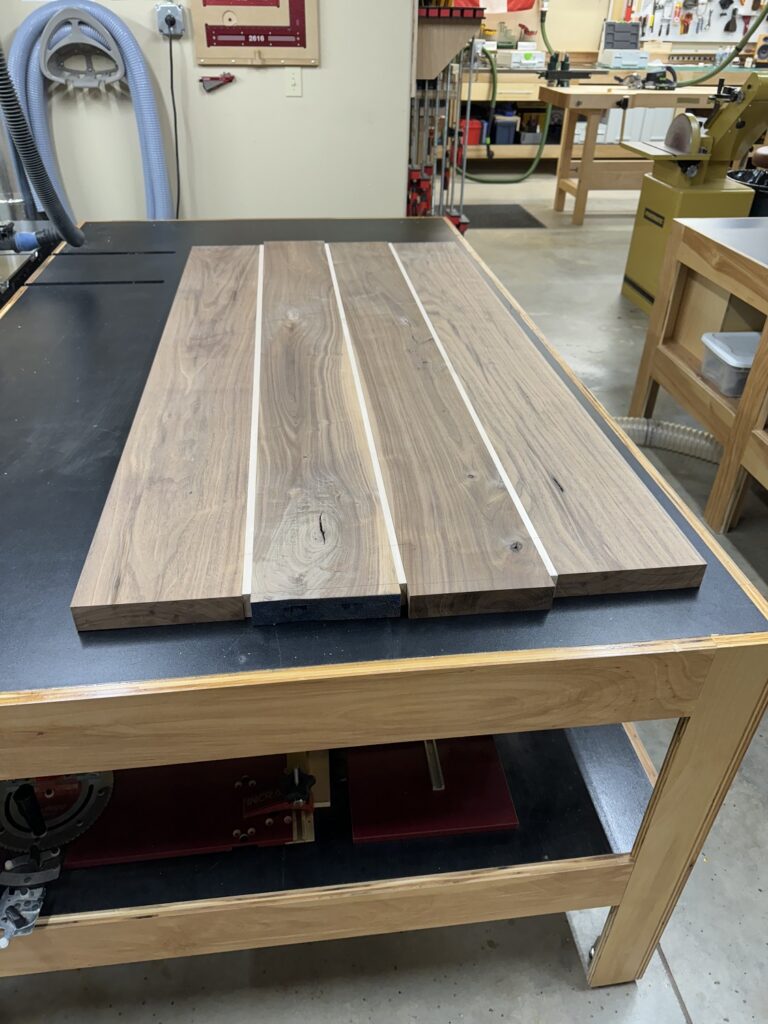
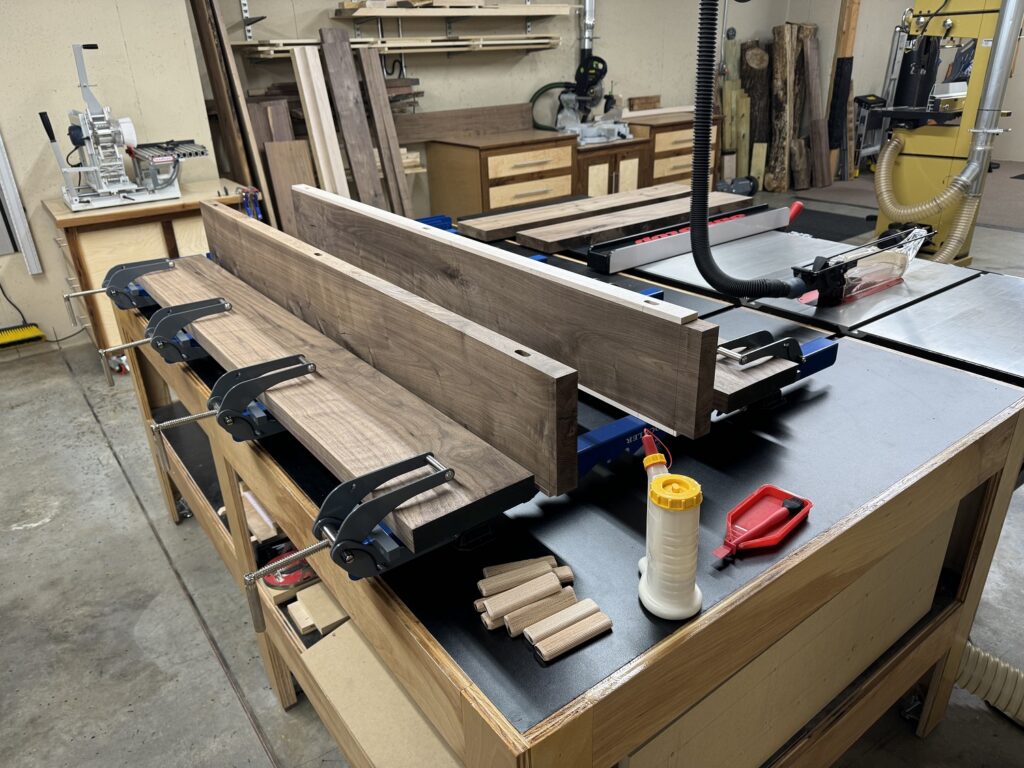
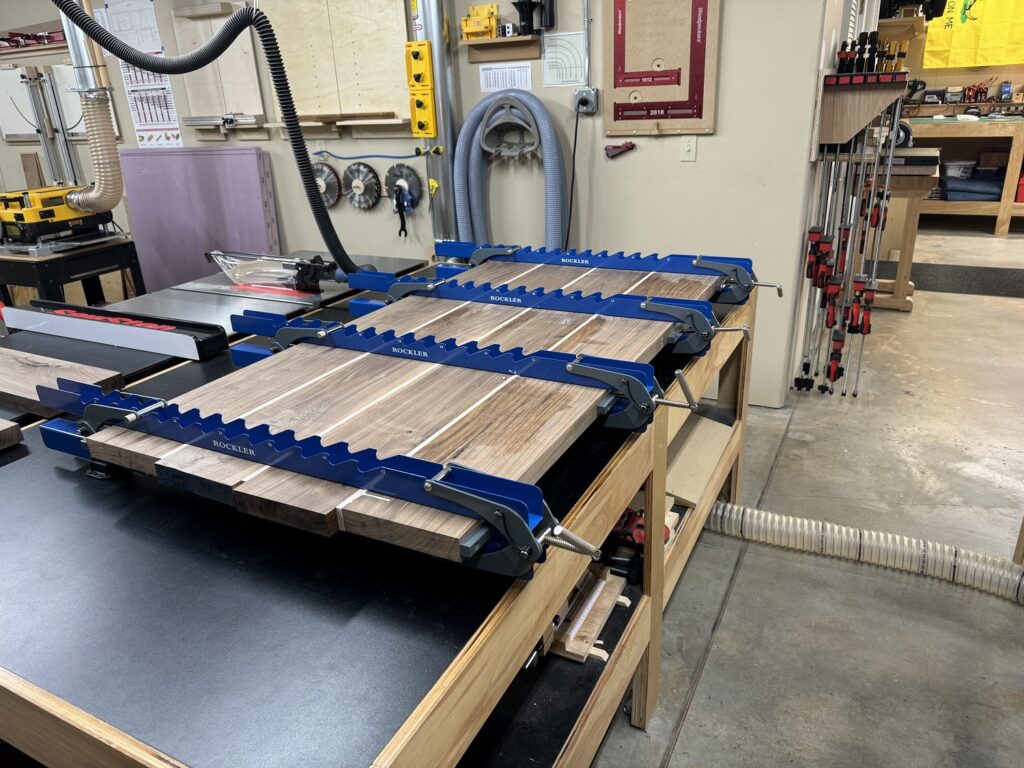
The panel is glued up.
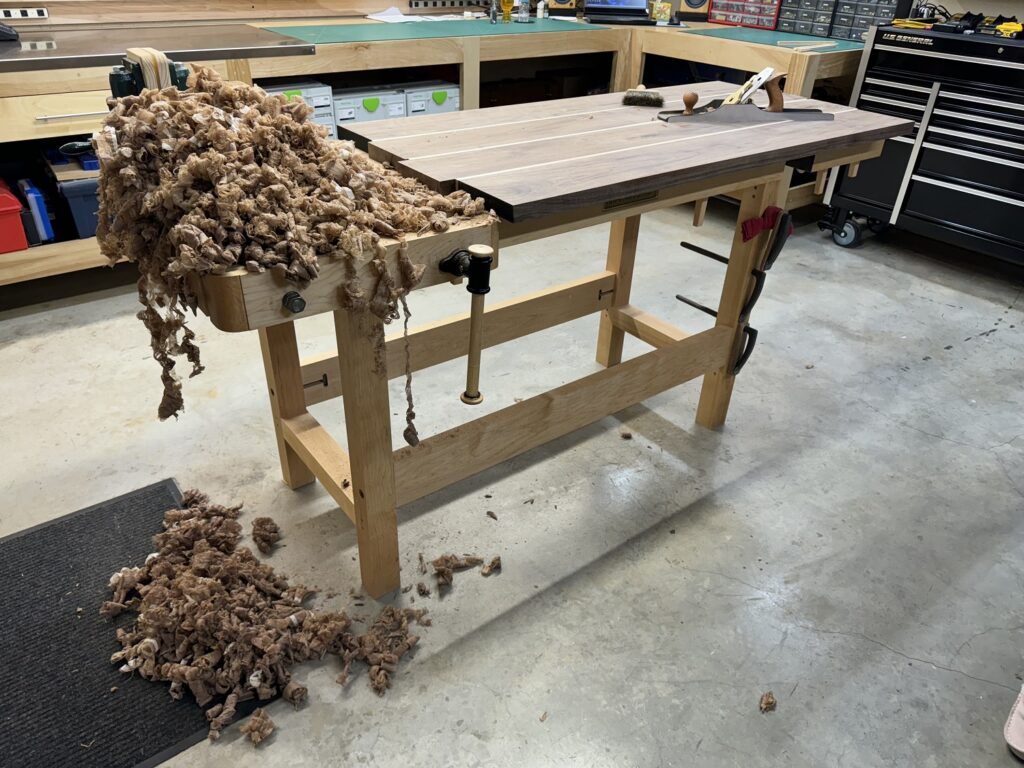
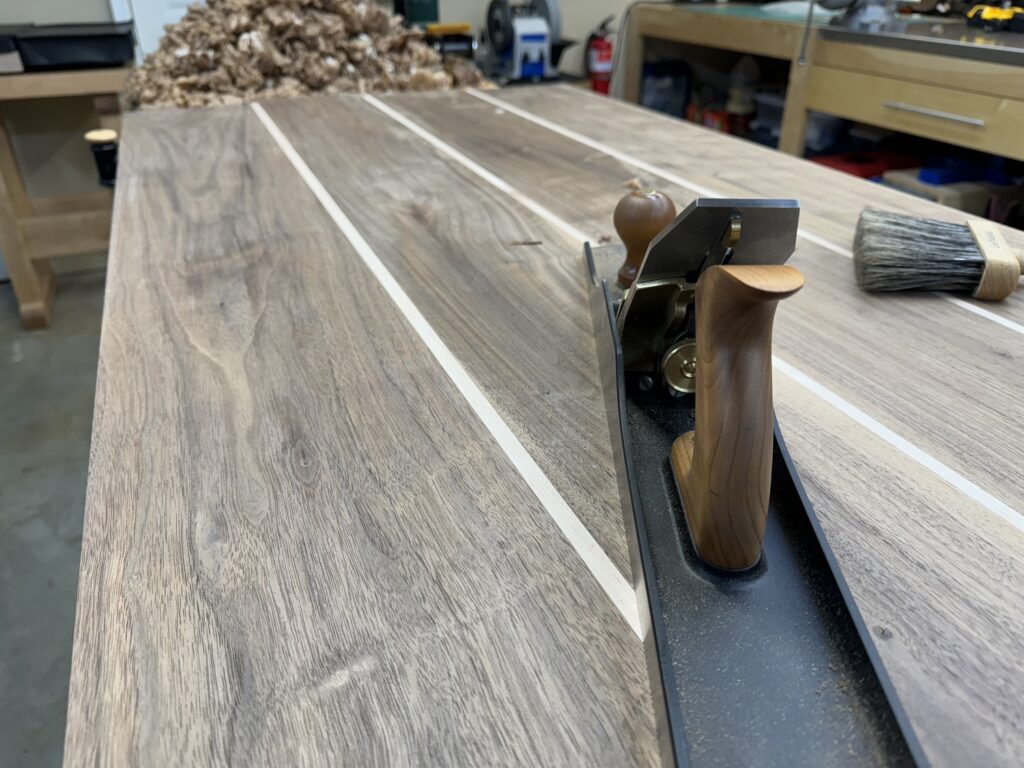
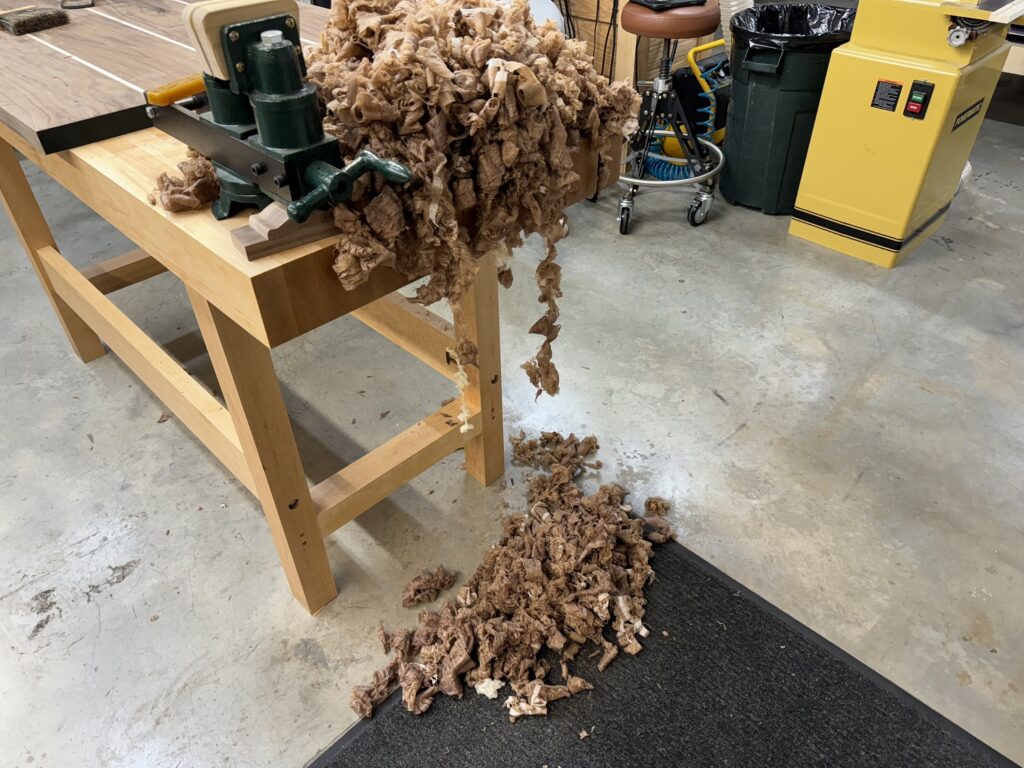
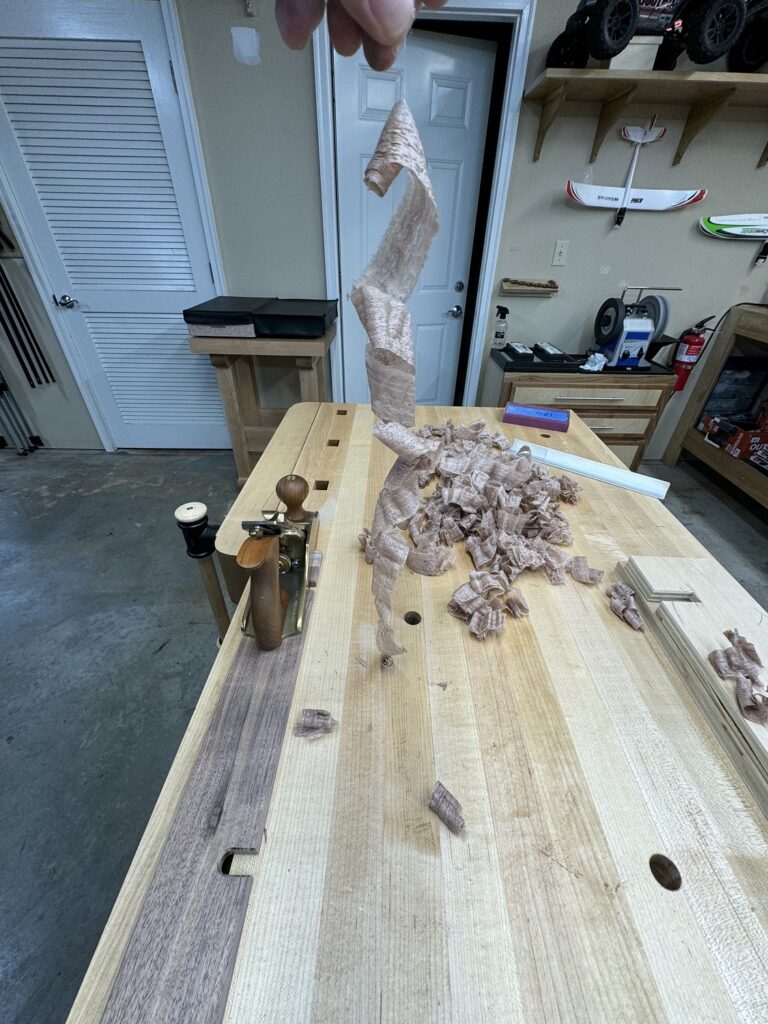
I don’t have a machine that can flatten the desktop, so the No. 7 jointer plane is used on both the top and bottom.
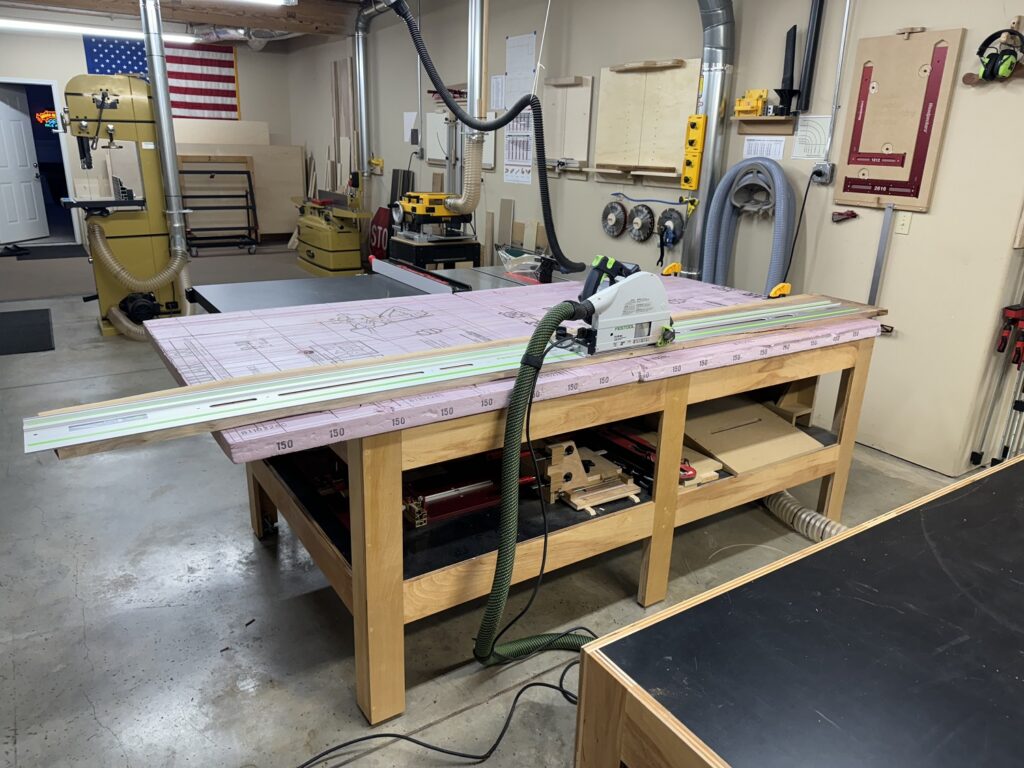
Then the ends are trimmed with the track saw.
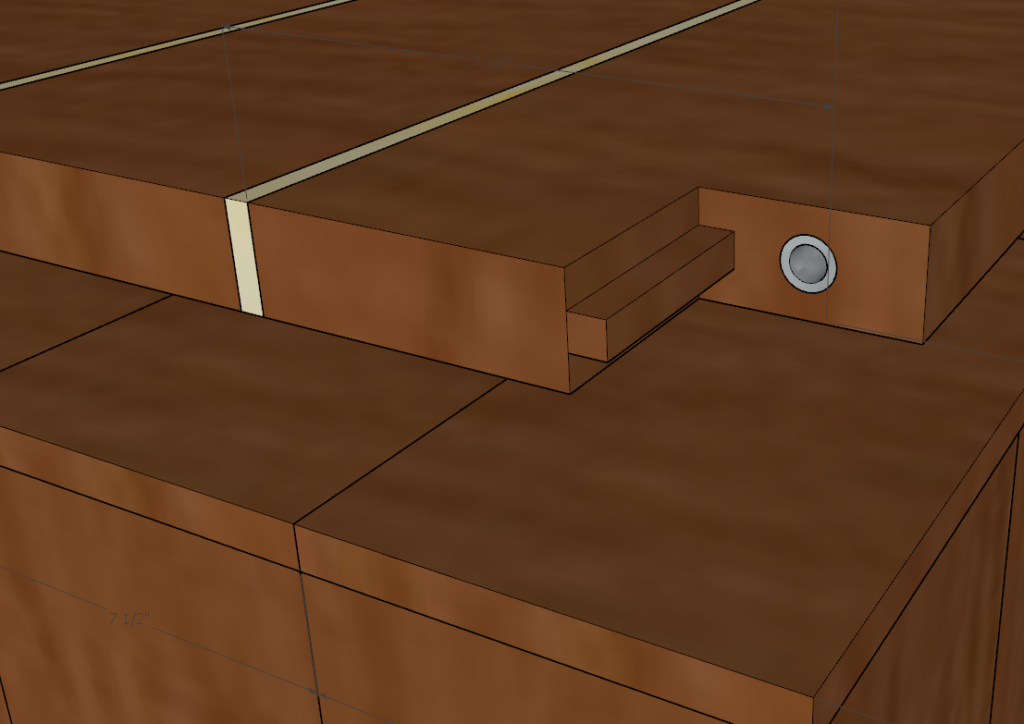
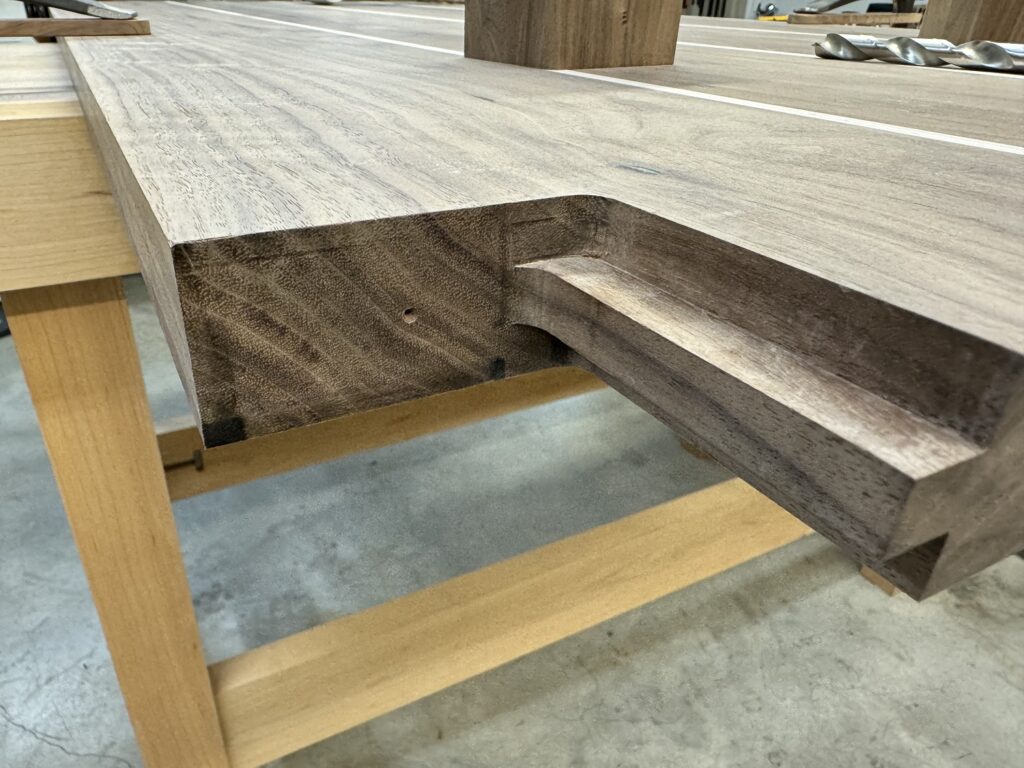
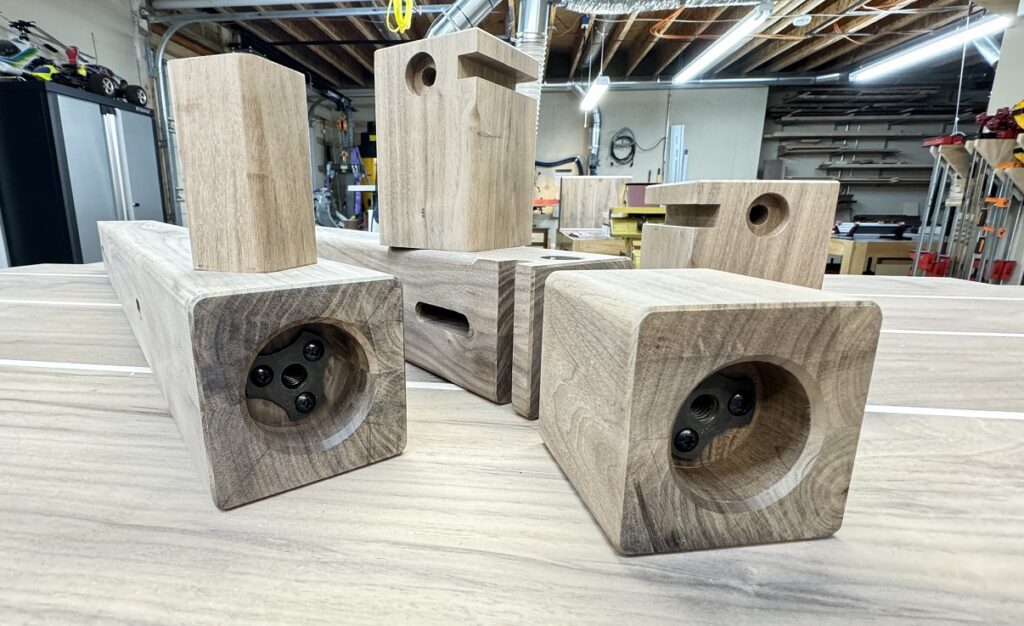
Now to make this feature for the leg attachment, which is a little tricky and, as far as I know, unique to this piece. It utilizes a 1/2″ x 3″ stub tenon and a 3/8″ stainless steel bolt with a stainless steel threaded insert. There are probably other ways to do this, but it accommodates the through-leg design, allows disassembly, shows off some joinery, and will serve as a sturdy and clean method of attachment.
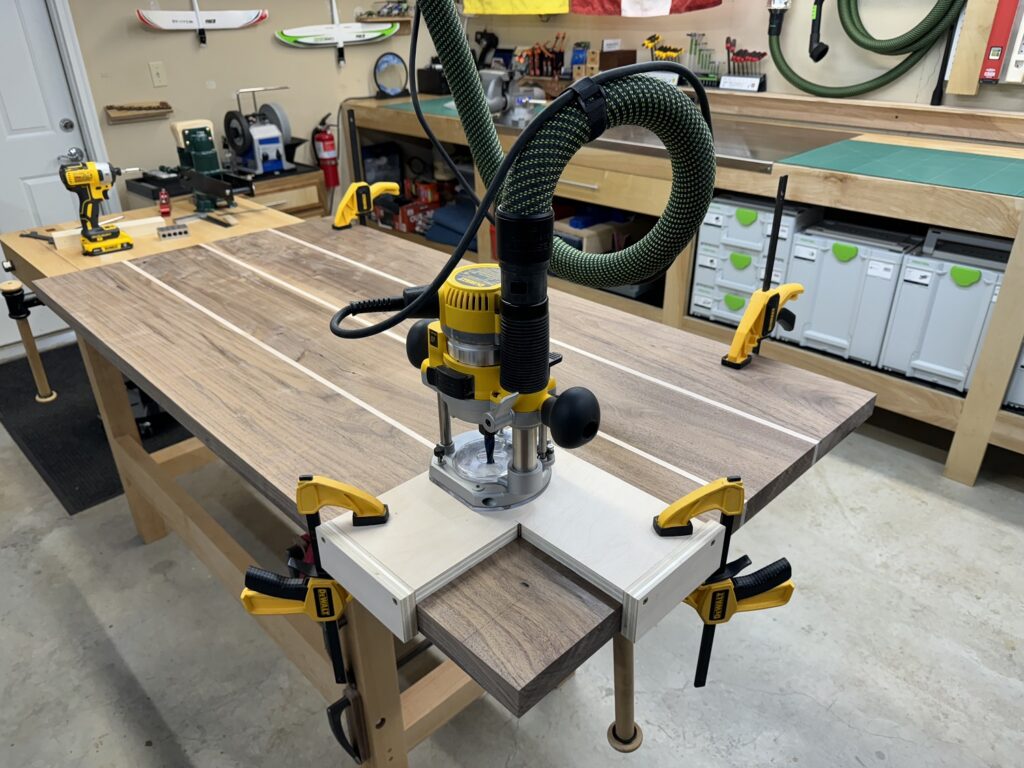
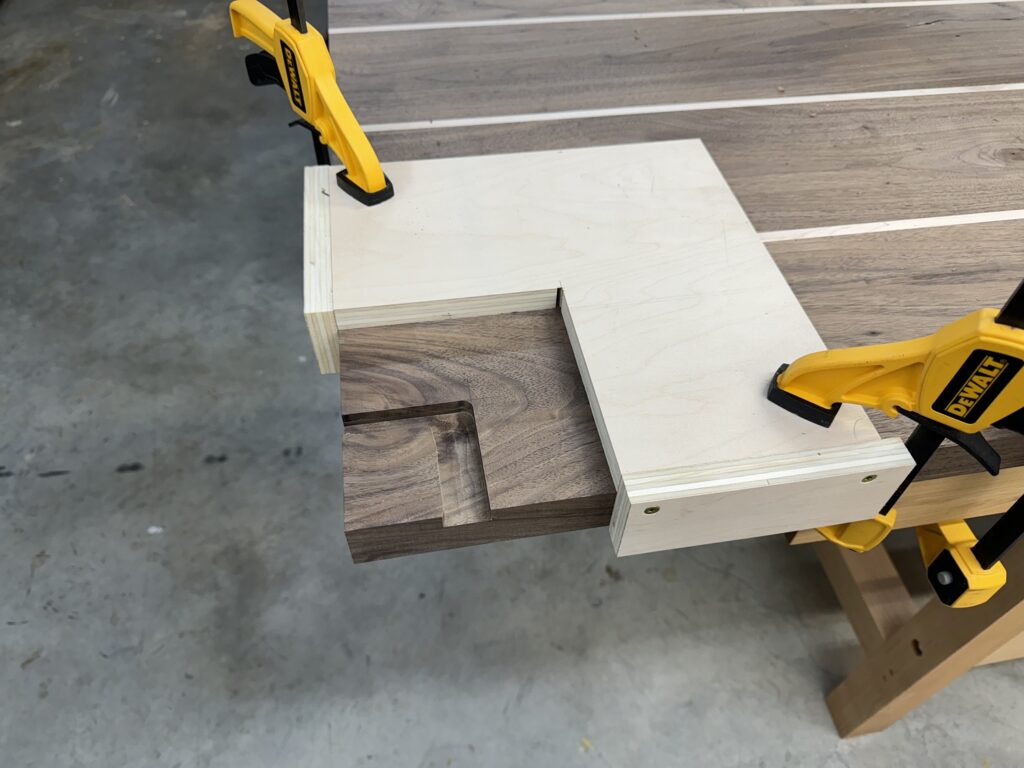
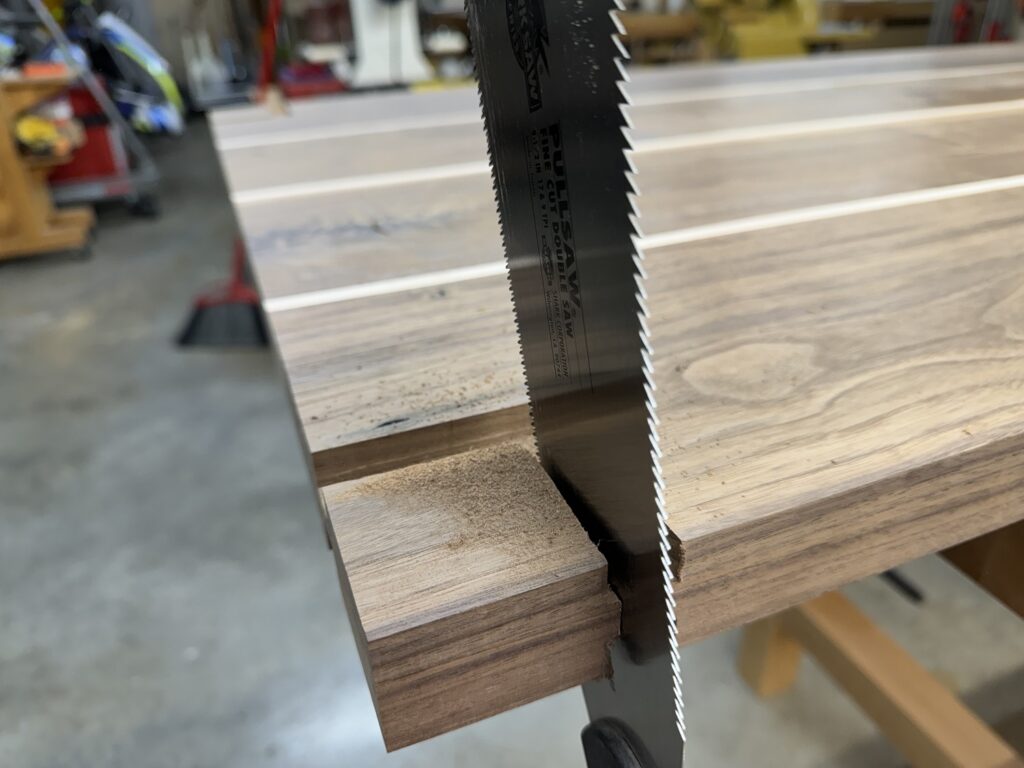
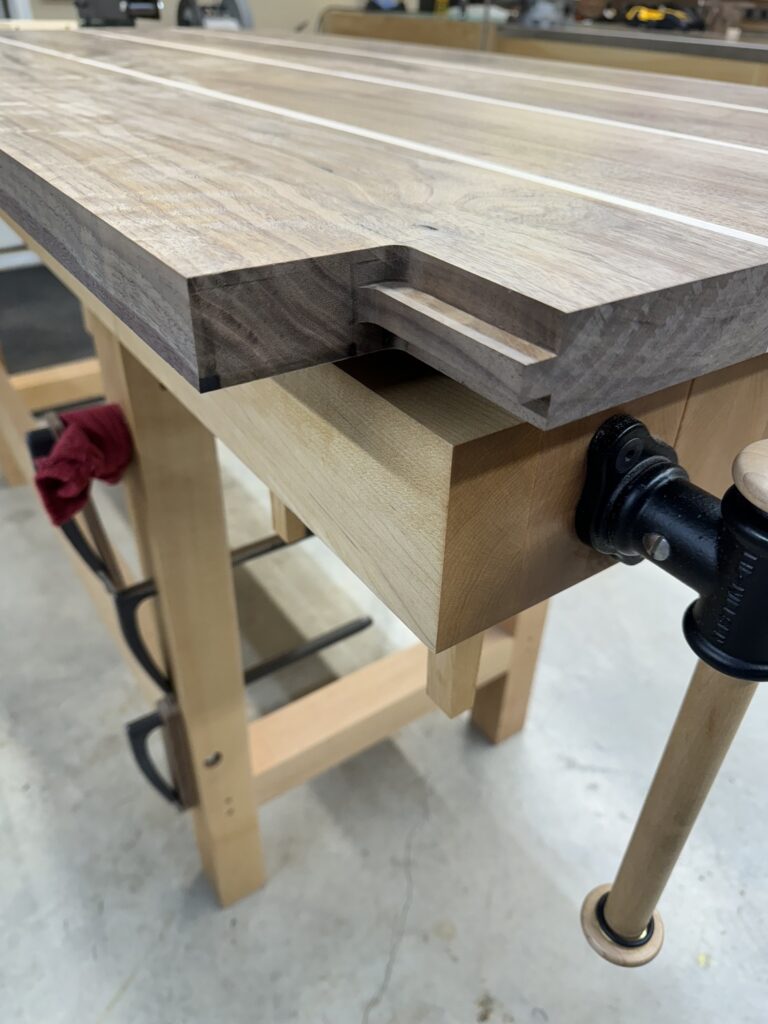
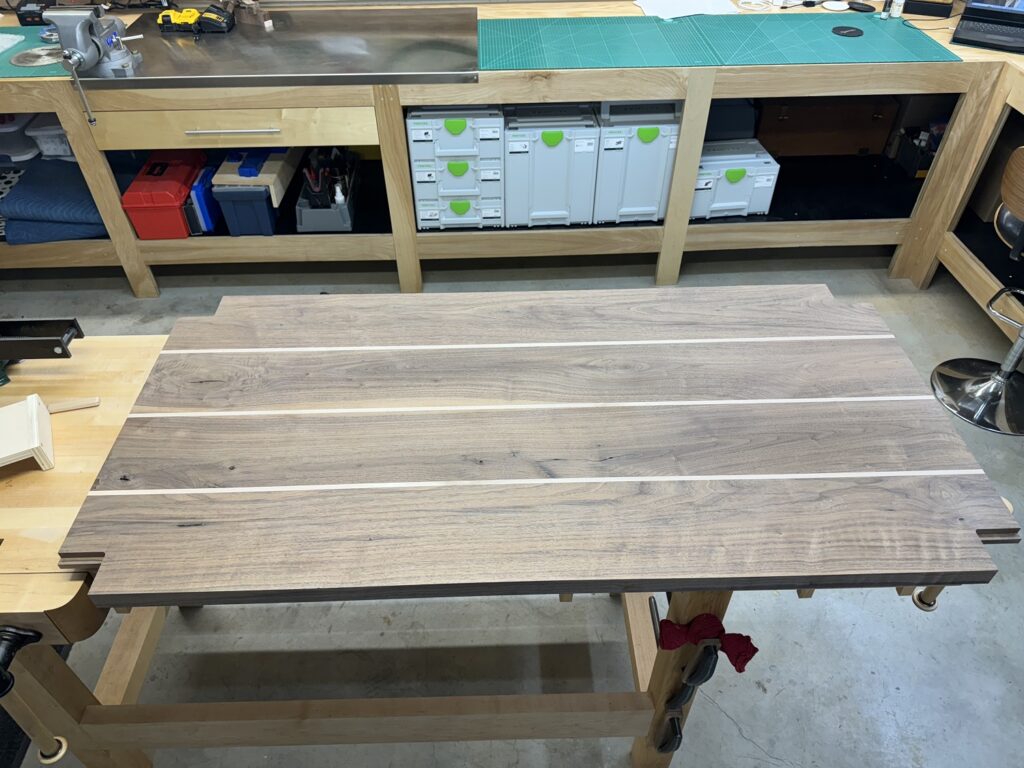
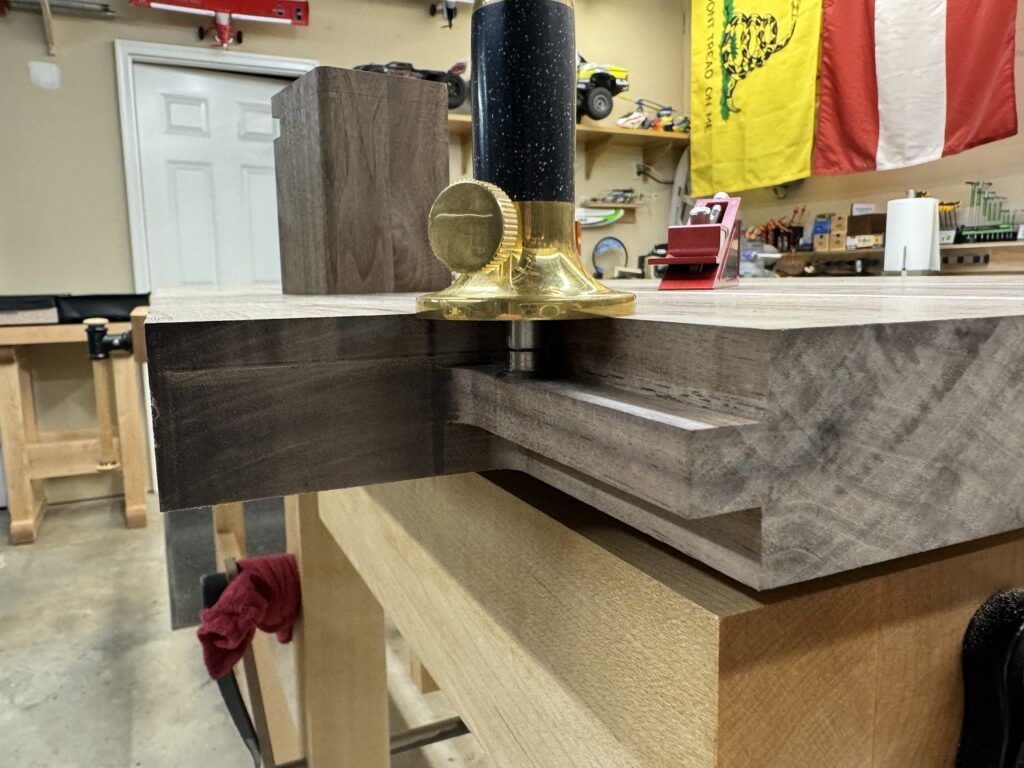
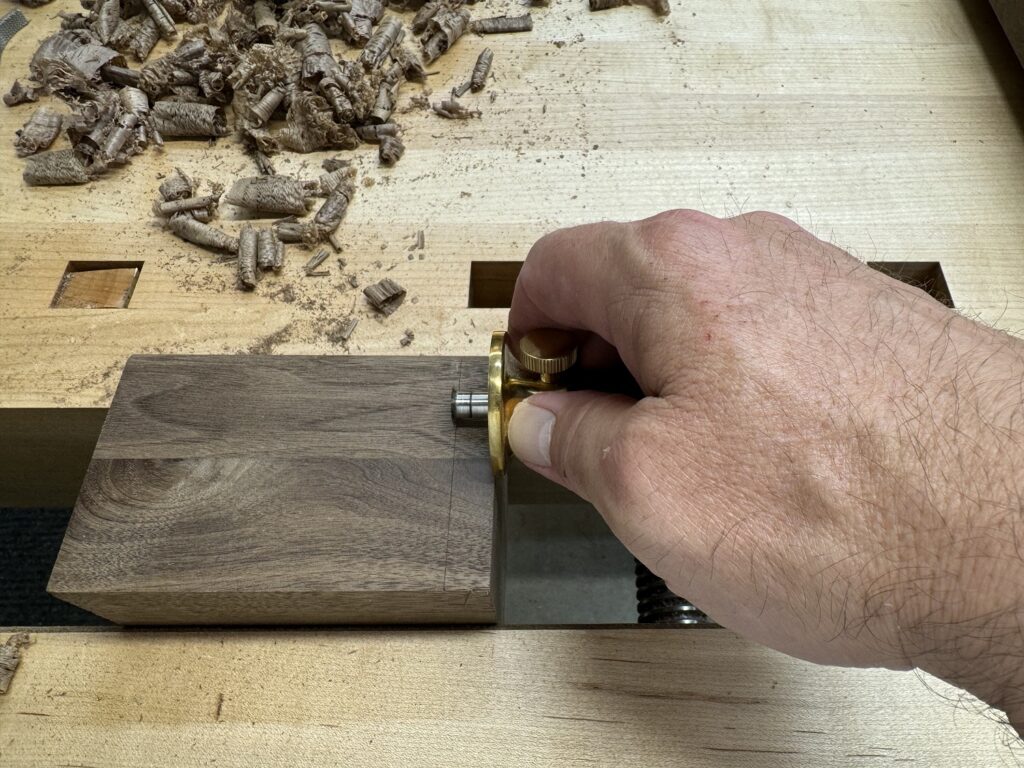
Next, the legs are made and the sliding mortises are cut for the leg attachment tenon. A Rob Cosman marking gauge, Woodpeckers height gauge, and Bridge City Kerfmaker are used for layout of the mortise.
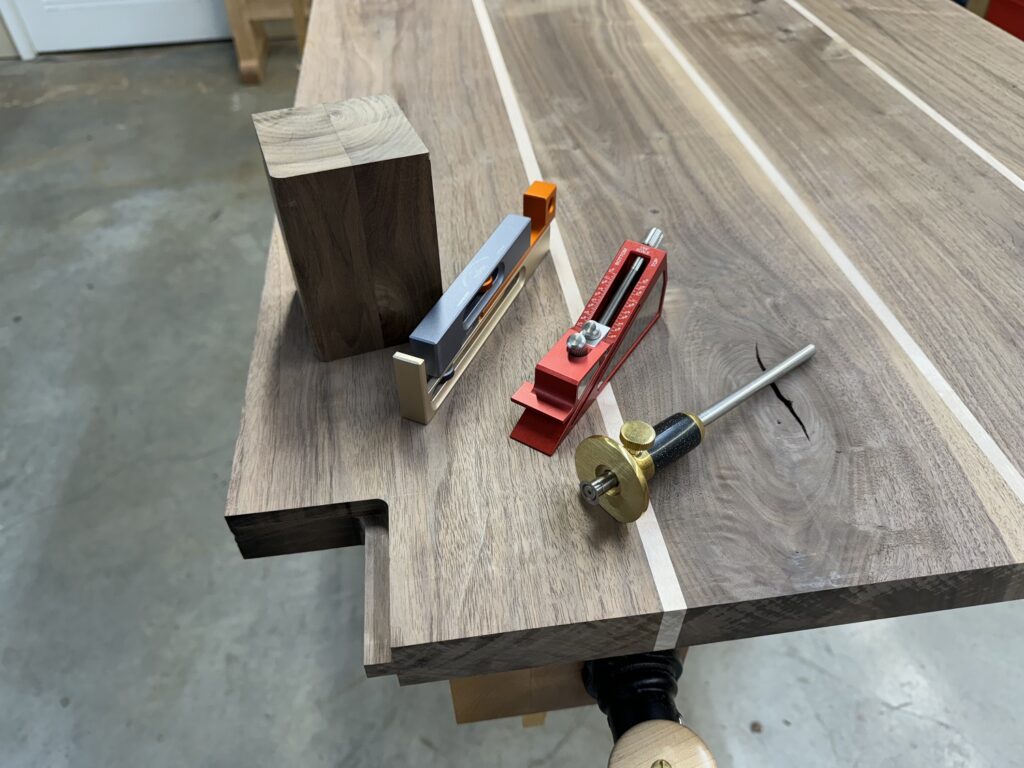
First, the marking gauge is used to set the distance between the top of the table and the top of the mortise, and marked on a test block.
Second, the blade height is set.
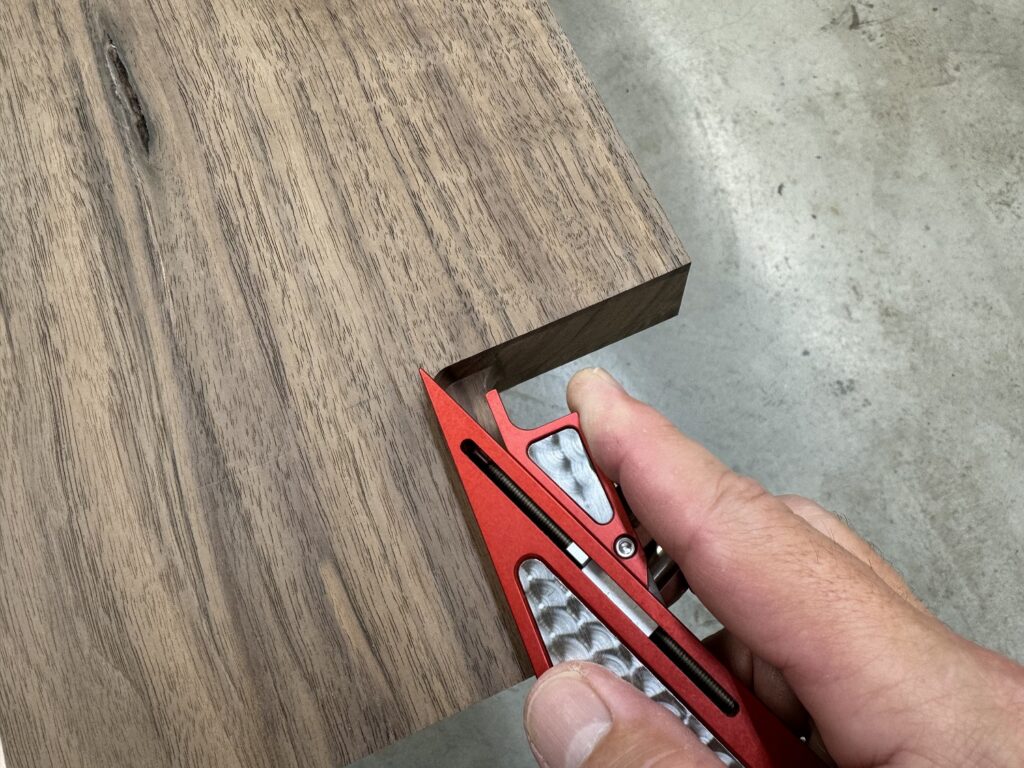
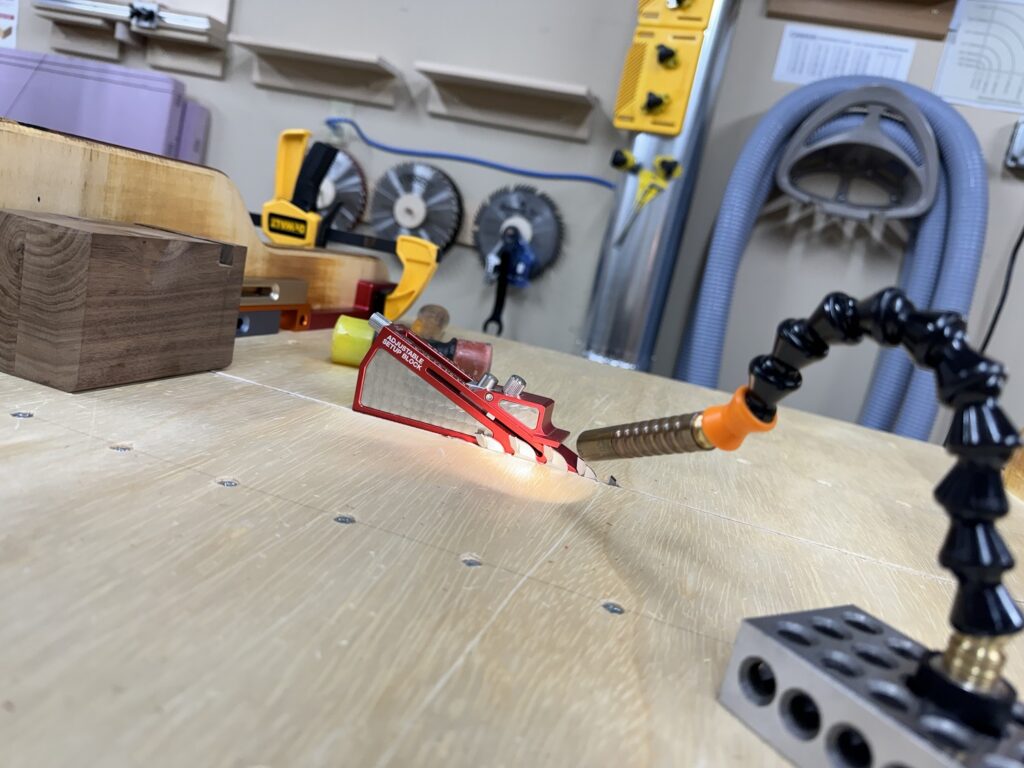
Third, the width of the mortise is set with the Kerfmaker.
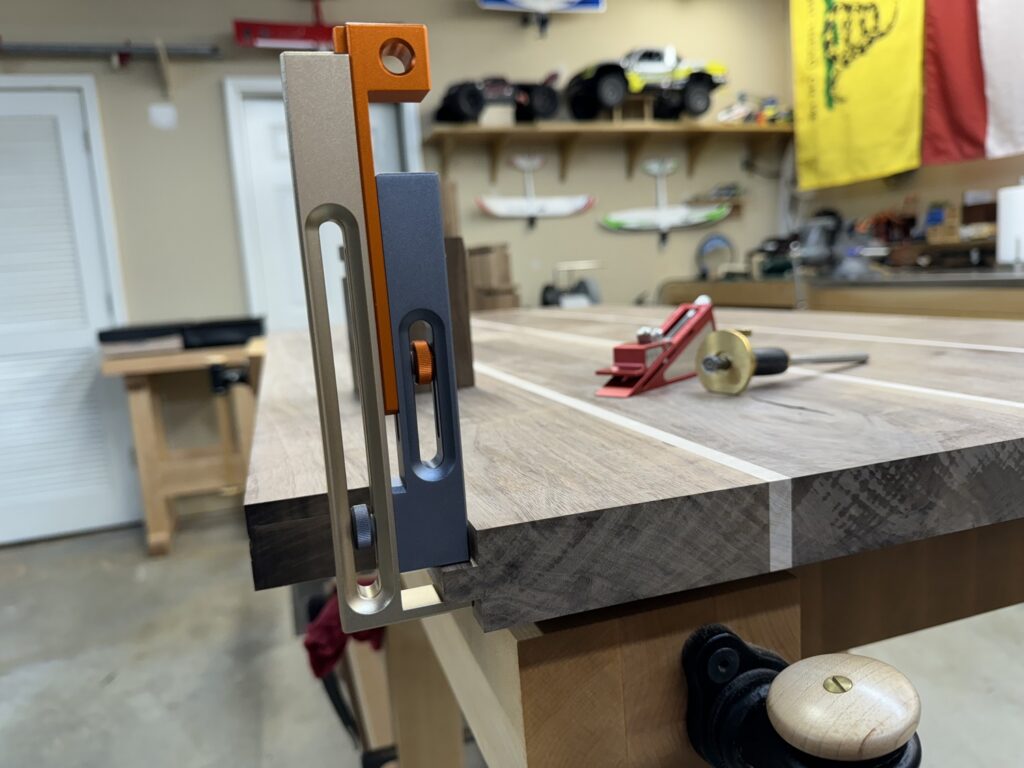
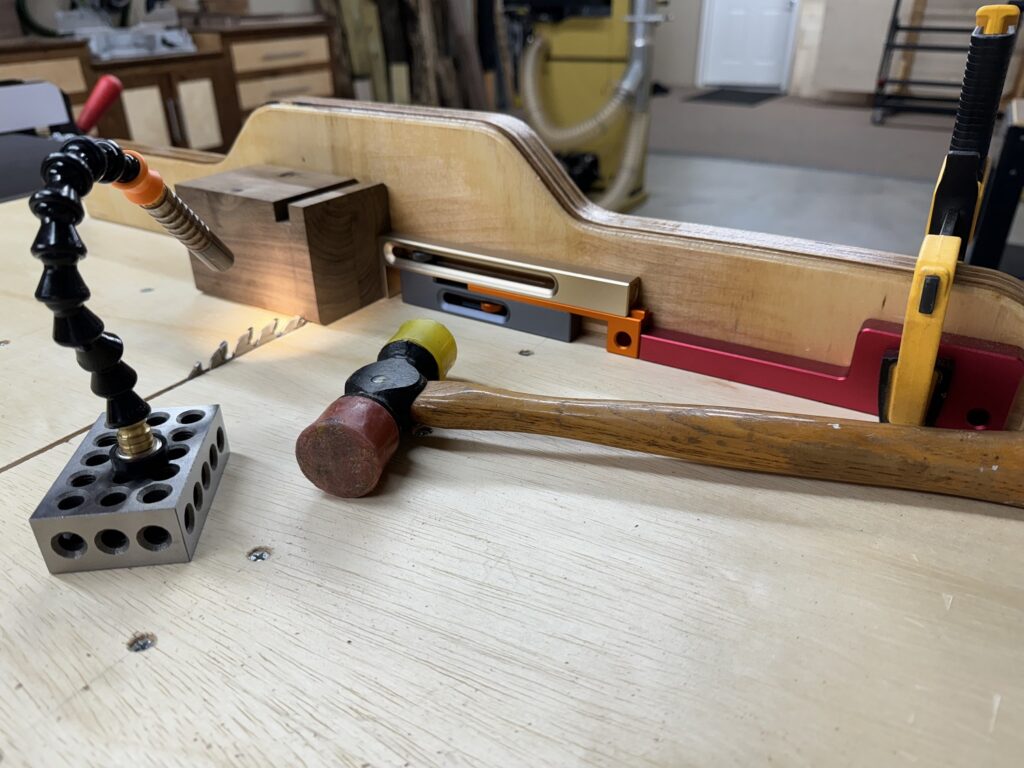
Finally, the mortise is cut on the test block, adjusted as necessary, and then the final cut is made in the leg. Rinse and repeat three more times.
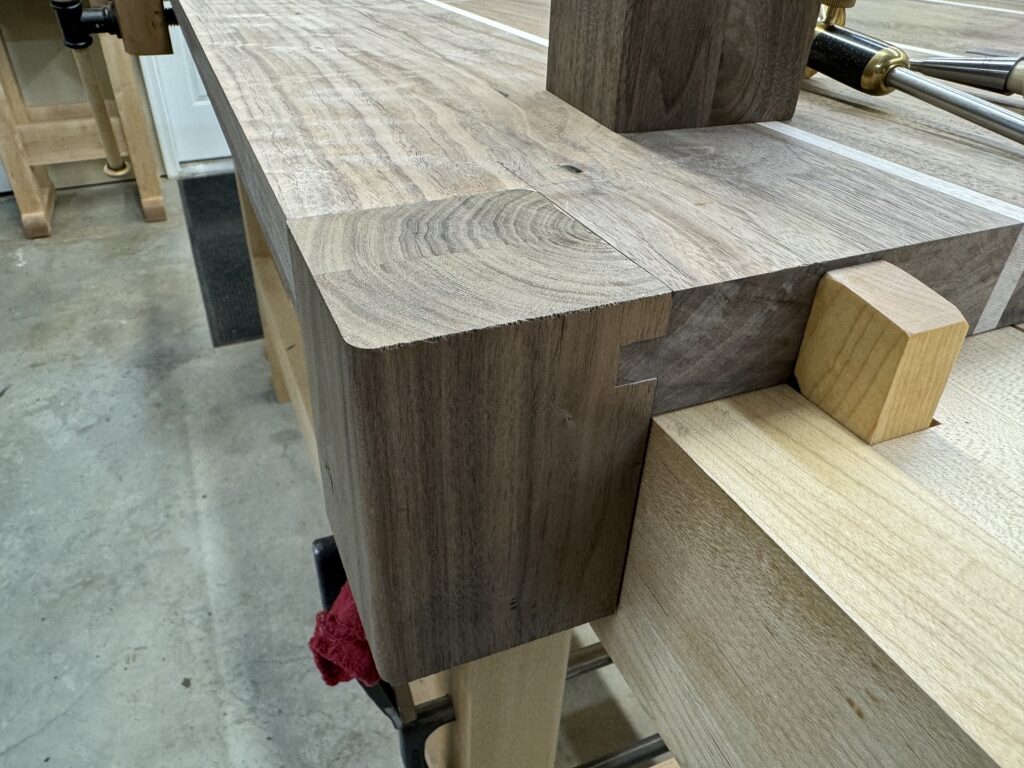
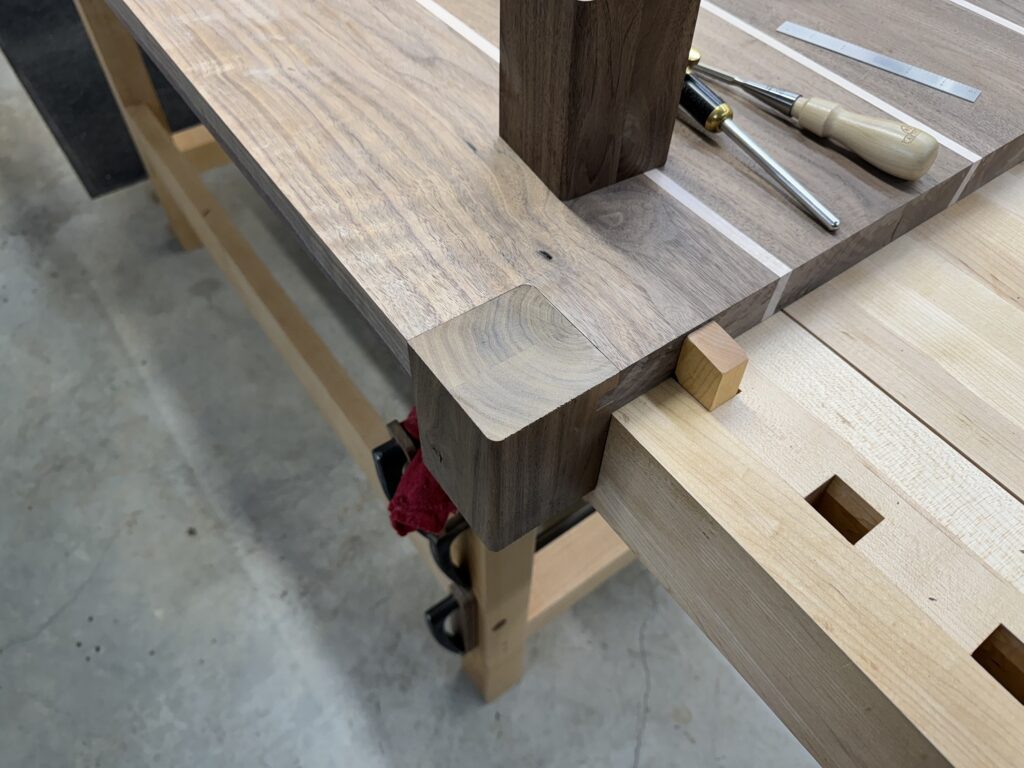
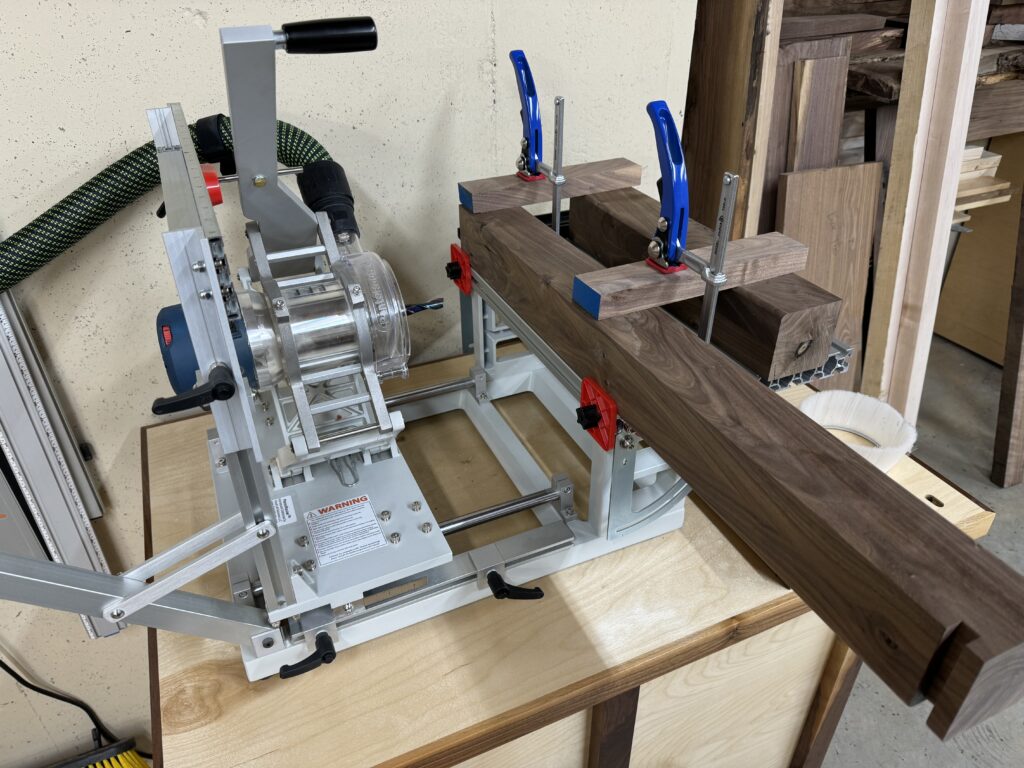
The stretchers are made and the mortise and tenon joinery for them is made on the Pantorouter.
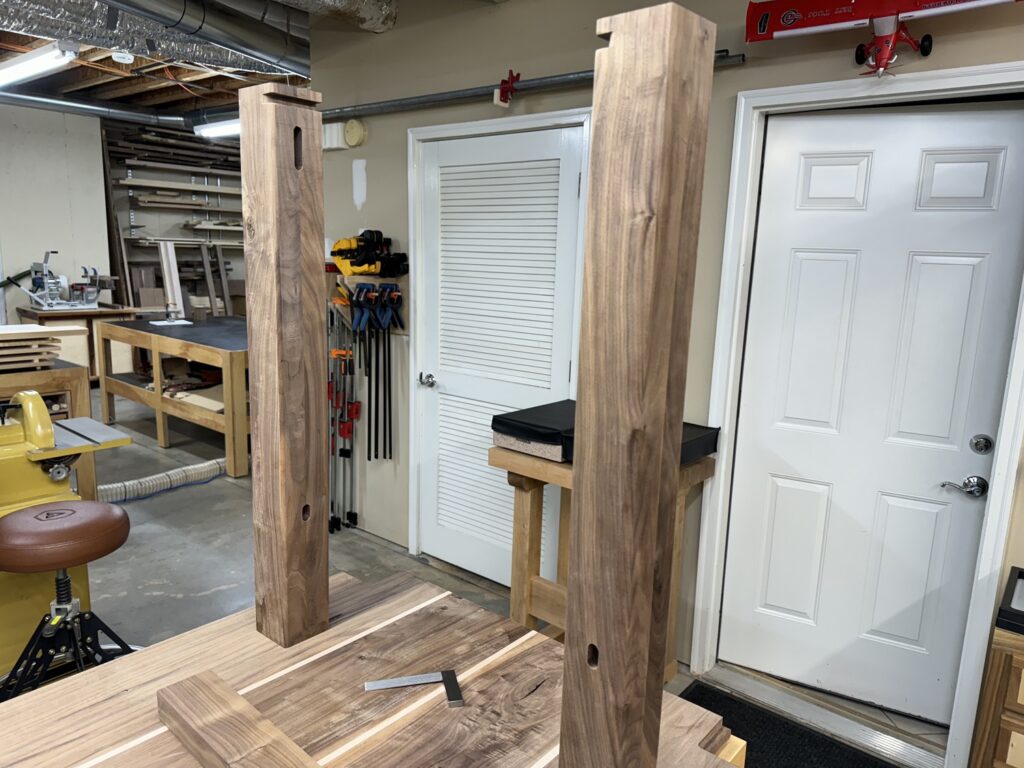
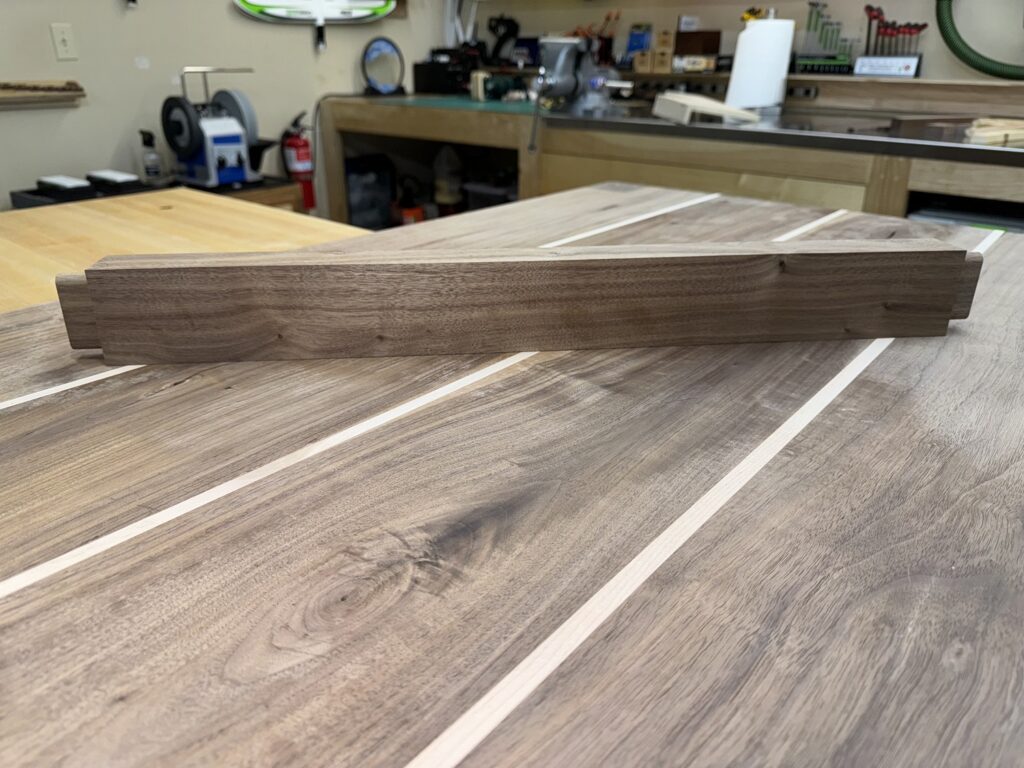
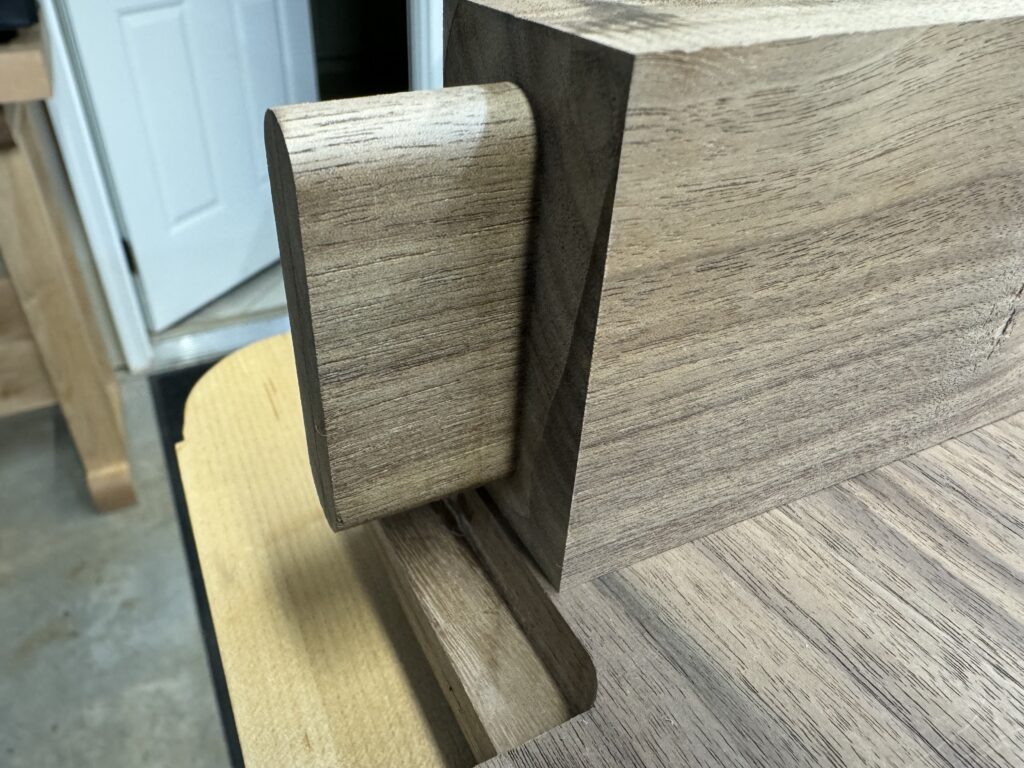
The dry fit looks good.
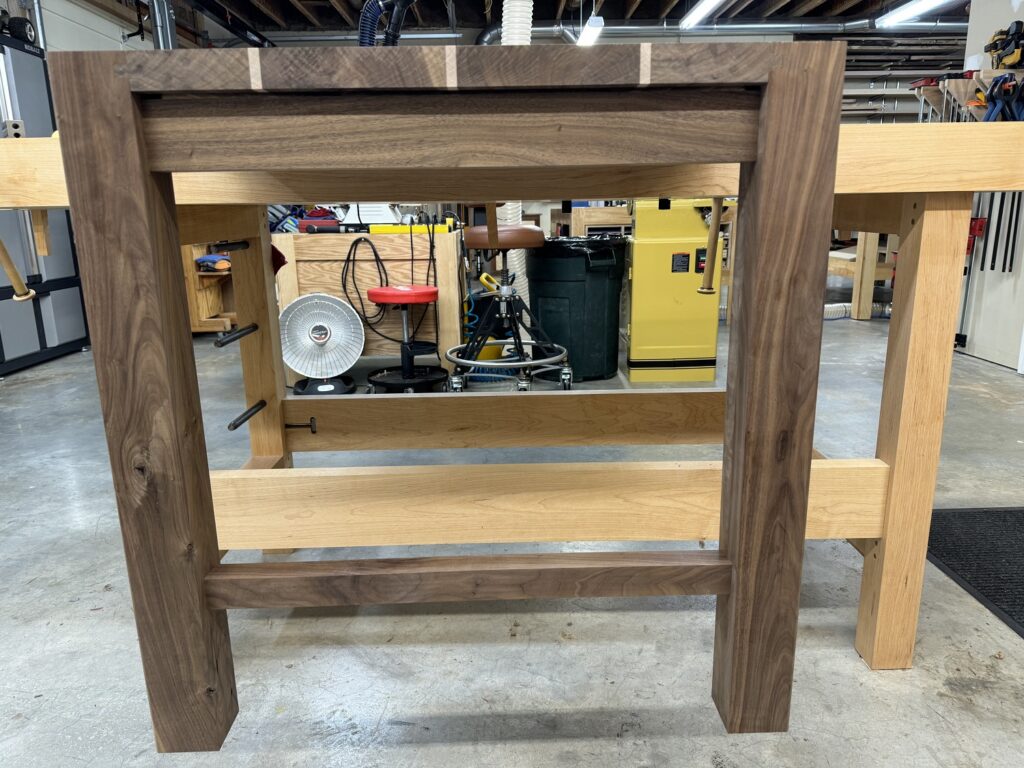
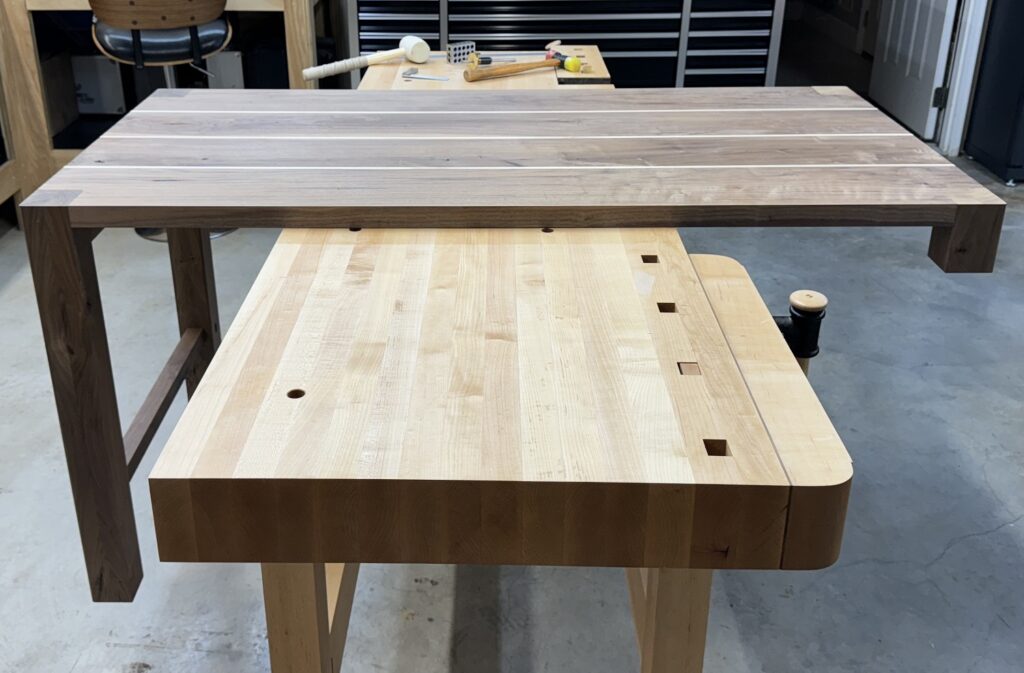
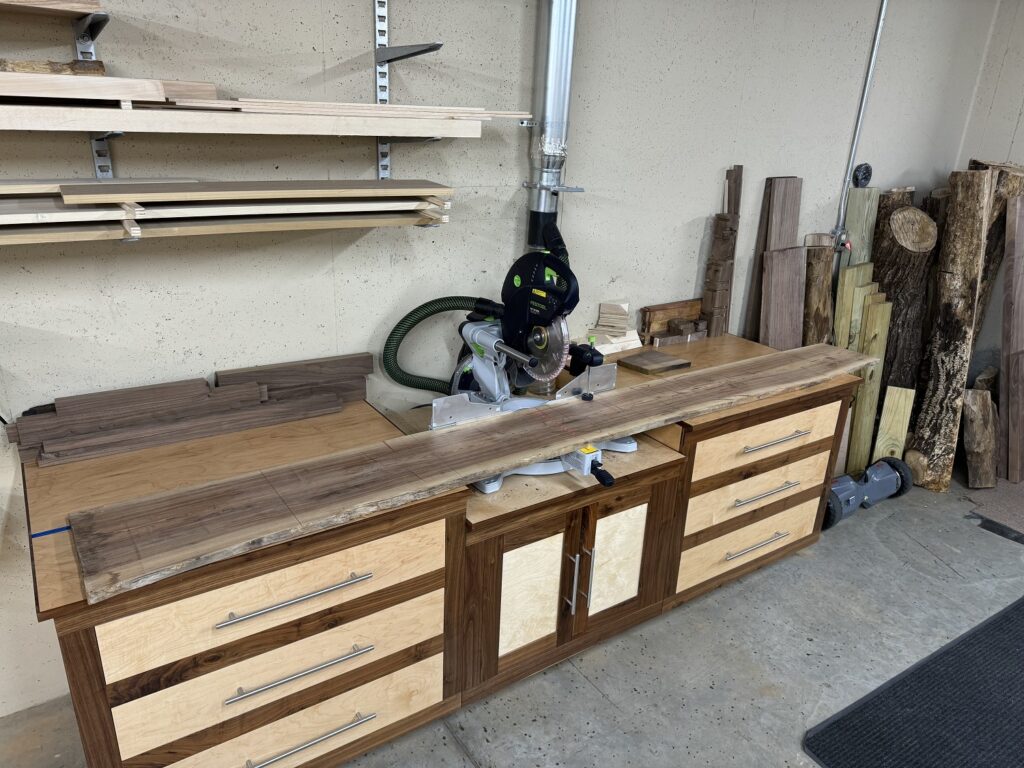
With the top and legs built, the last major component is the drawer cabinet. The first step is to put a straight edge on this rough cut slab which will be made into panels for the cabinet.
Then over to the miter saw to cut this and the other lumber for the cabinet to rough length.
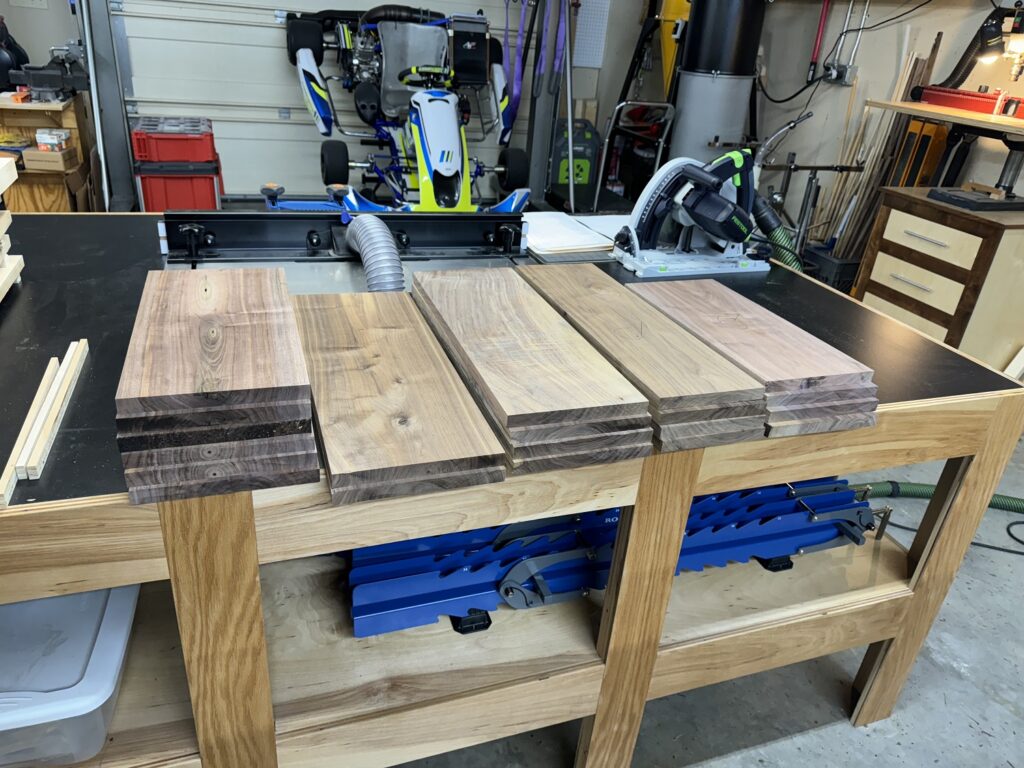
After the boards are cut to rough length, they are jointed, thickness planed, and cut to dimension on the table saw.
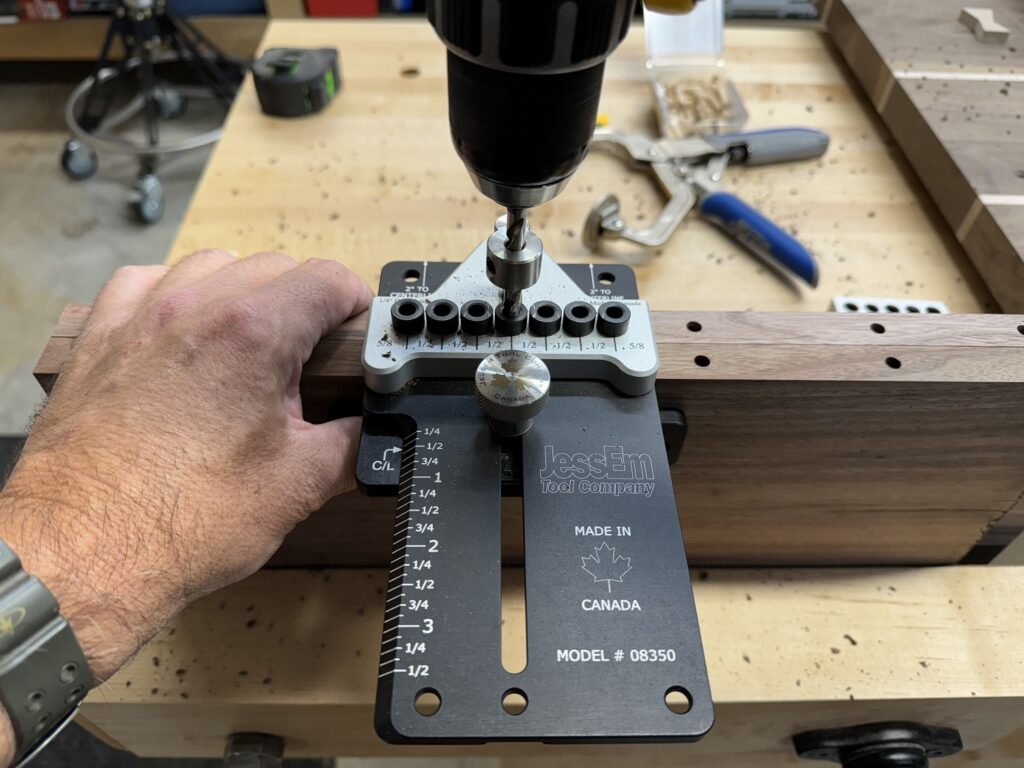
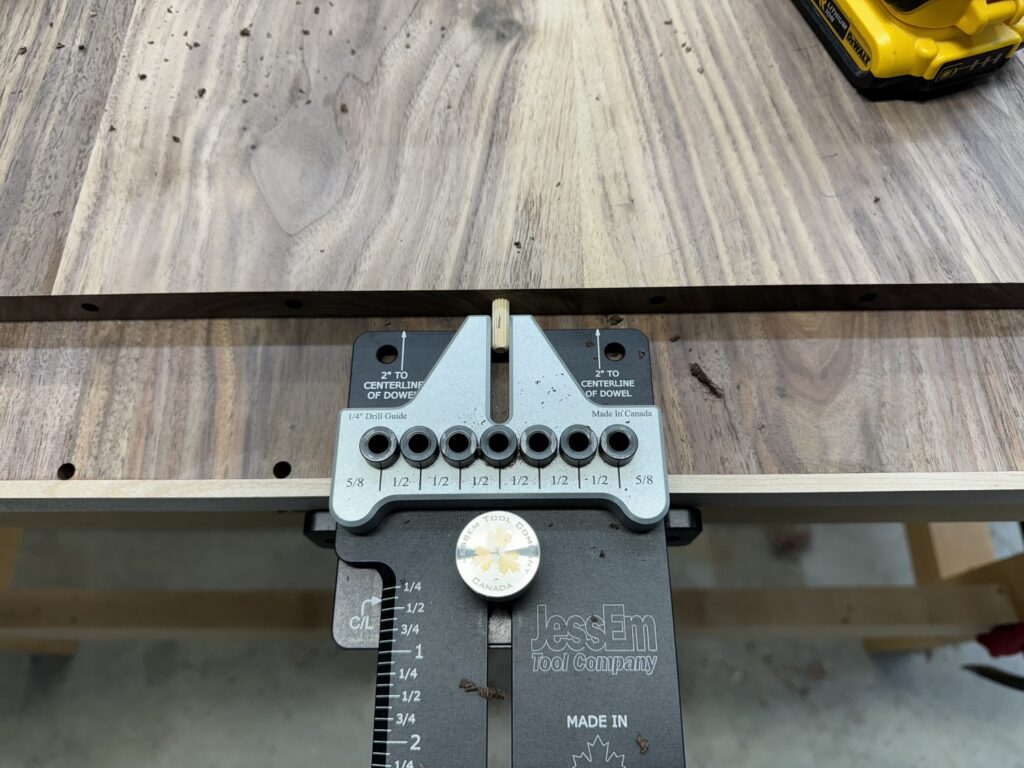
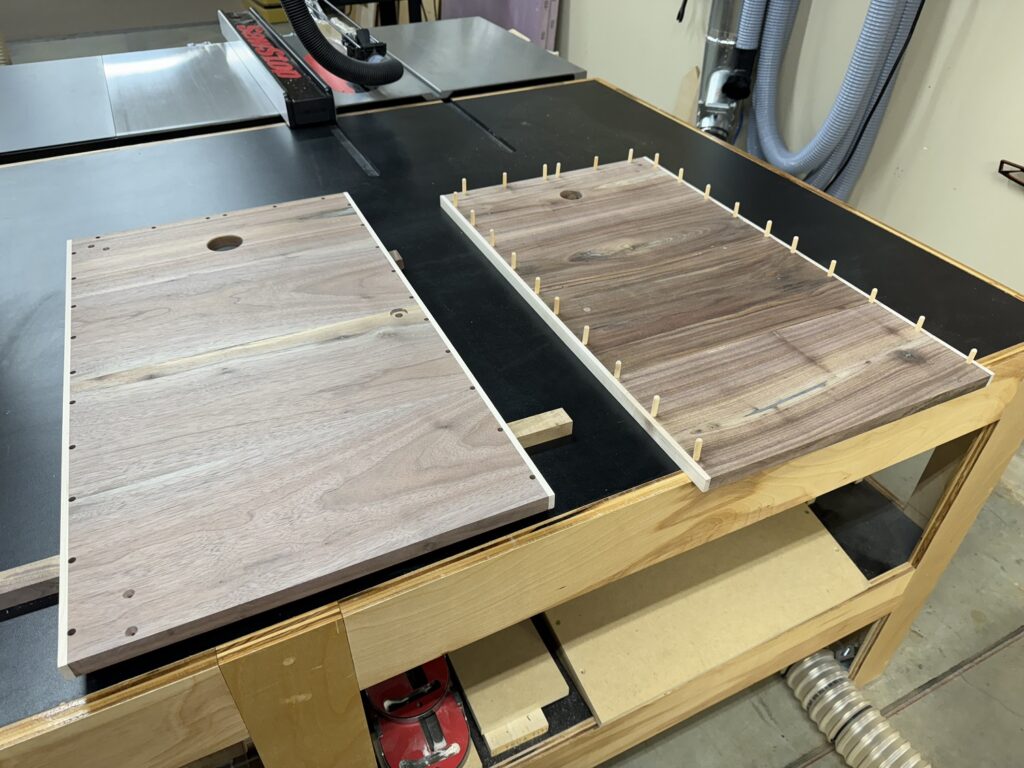
Dowels are installed in the edges of the boards to aid in alignment and add strength.
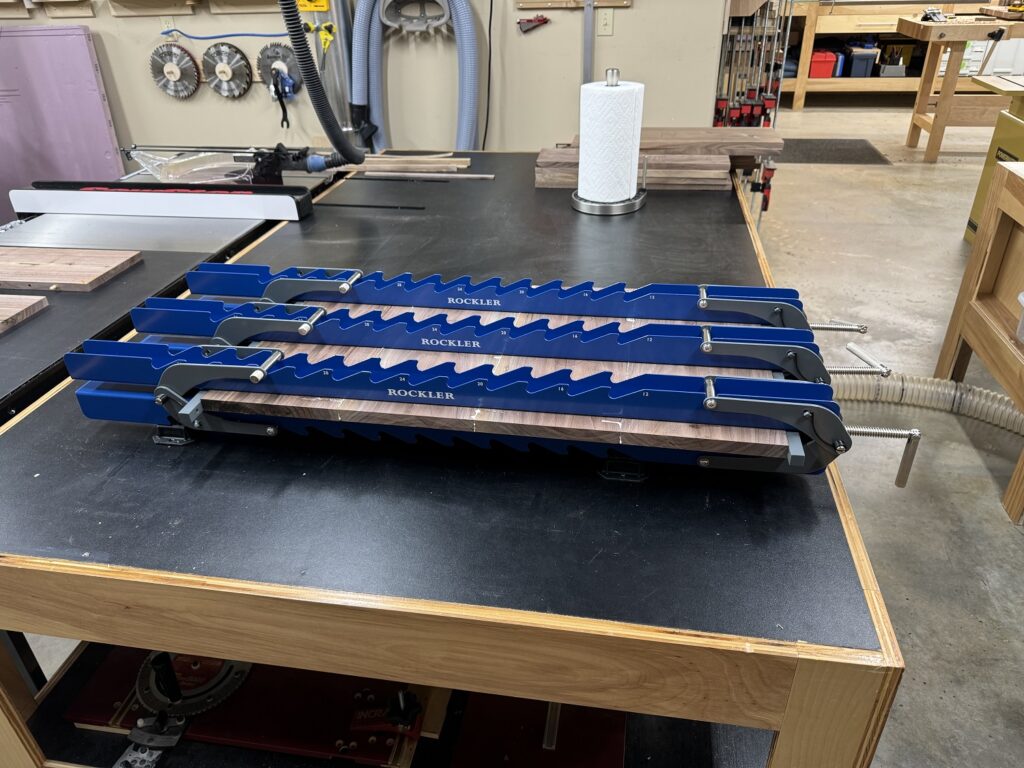
The panels are then glued up.
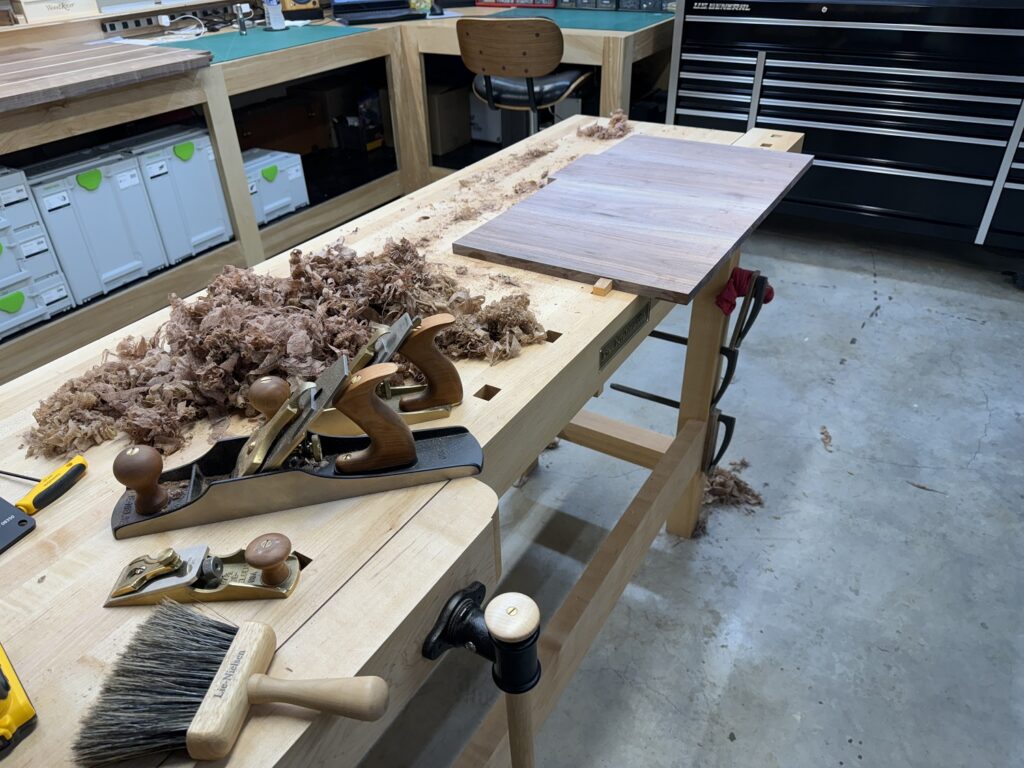
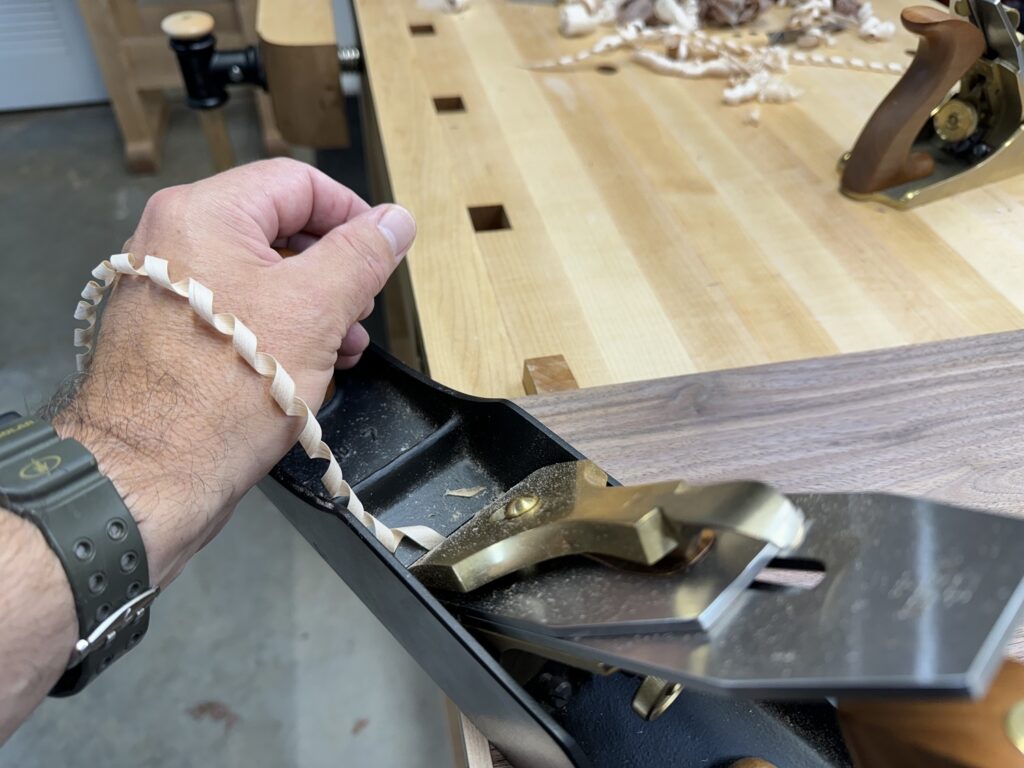
The glue joints are cleaned up with a chisel plane and the panels are planed flat with the No. 5 1/2 bench plane and the No. 4 smoothing plane.
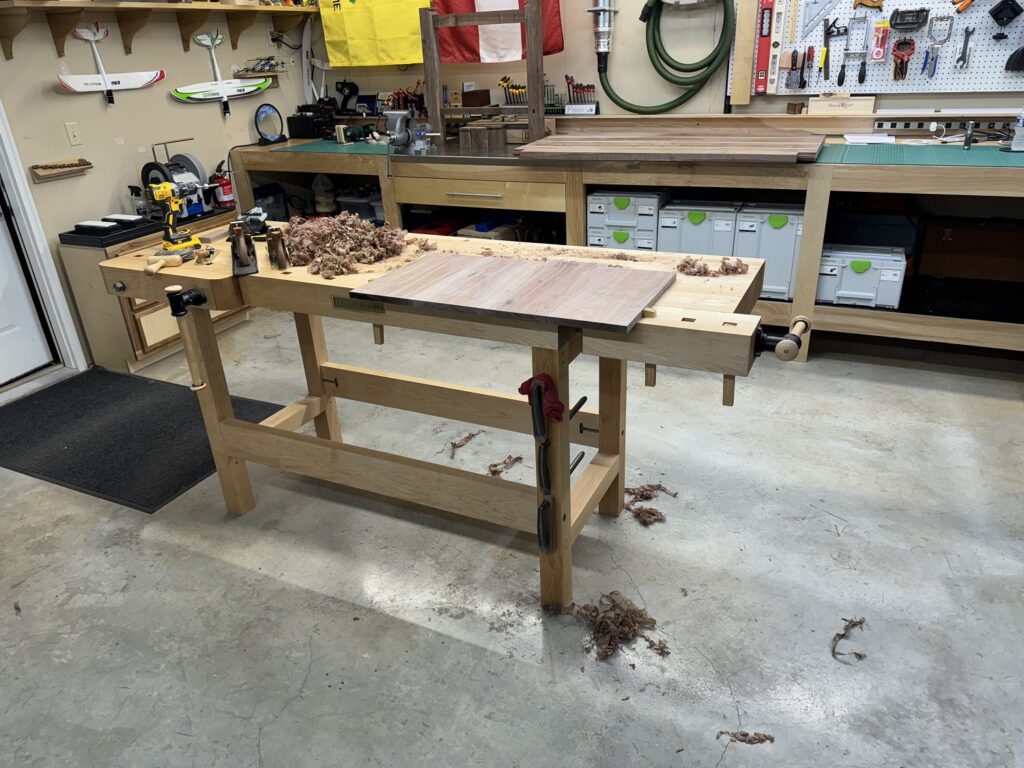
The panels are then trimmed to final dimension and test fit.
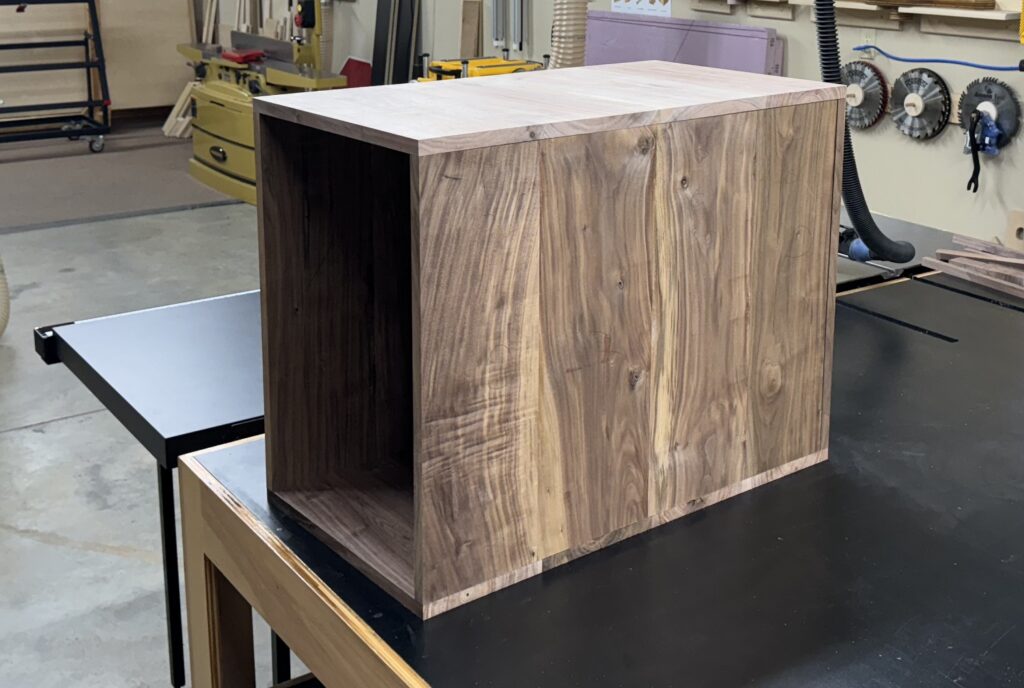
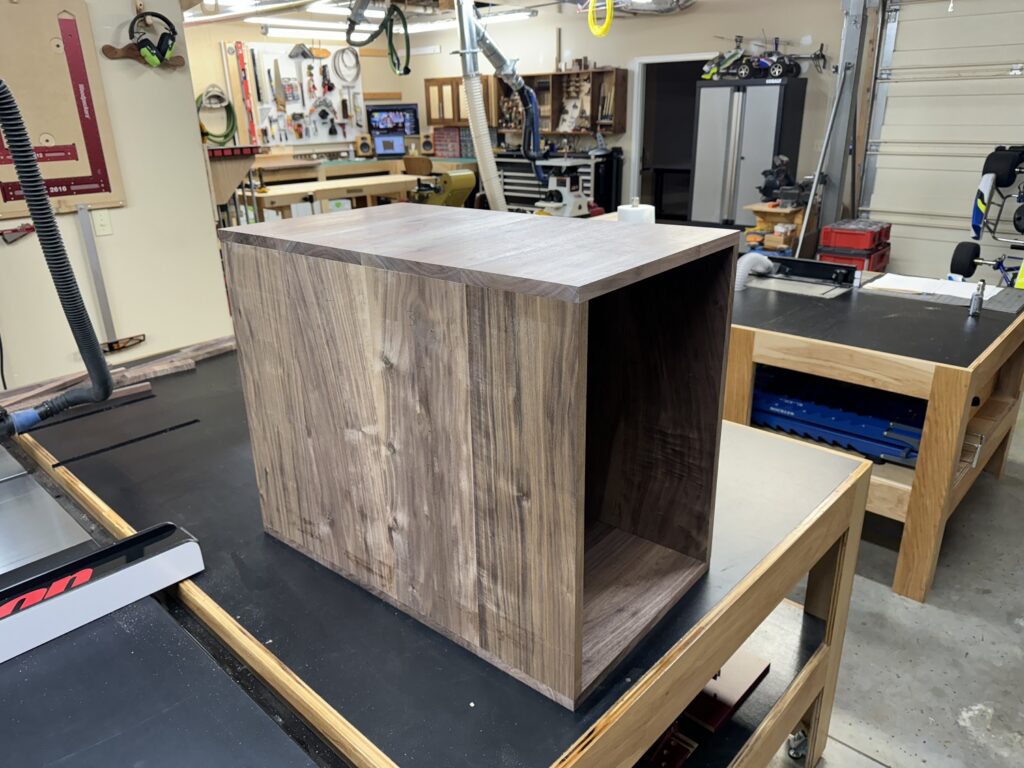
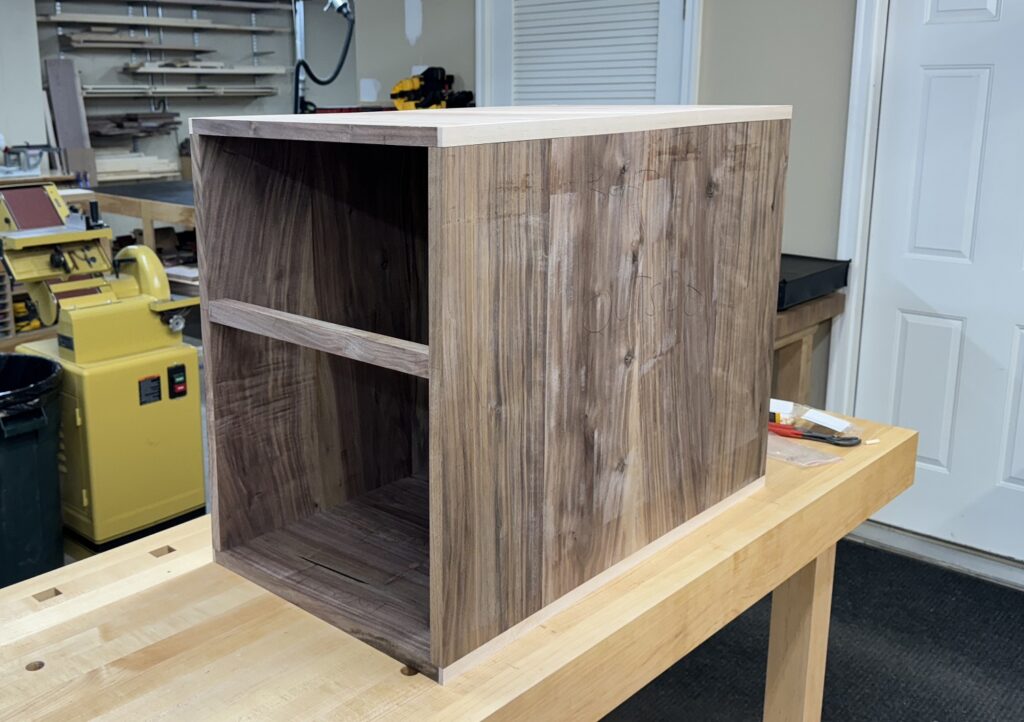
The carcass will be joined together with glue and dowels. But first, maple edge accents are added to the ends of the top and bottom panels.
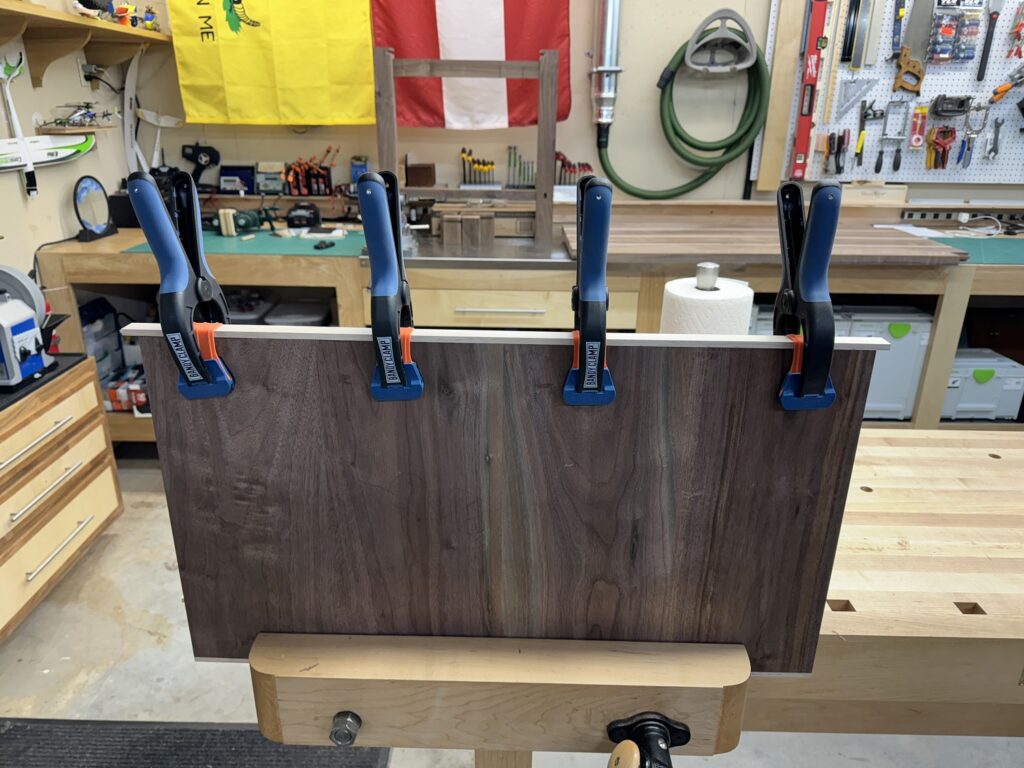
Dowelling.
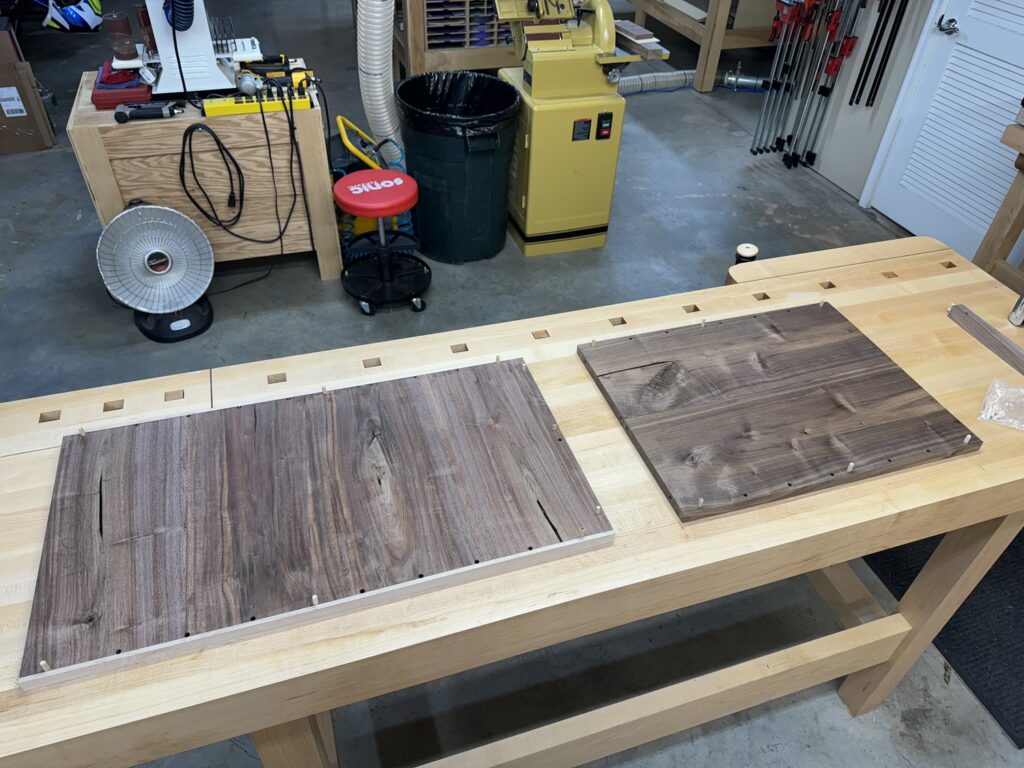
A cross-brace is made for the front of the drawer cabinet and joined with dowels. The cabinet is structural and has no face frame. A cross-brace will ensure stability.
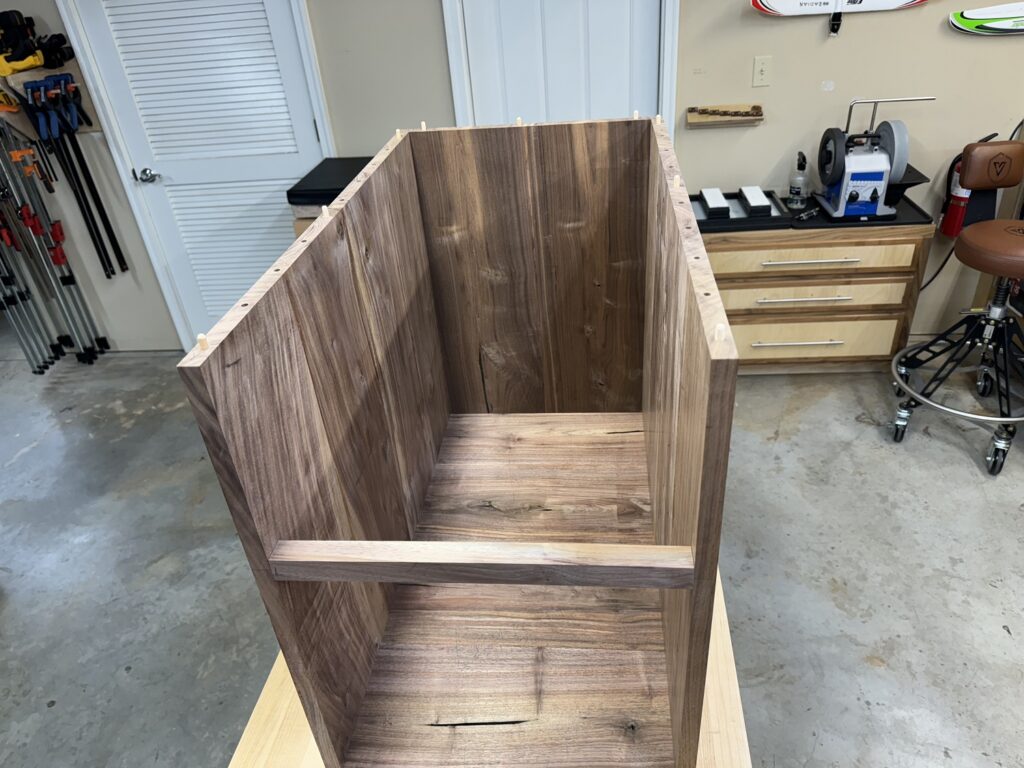
The dry fit for the dowels looks good.
Next, defects are filled with black epoxy.
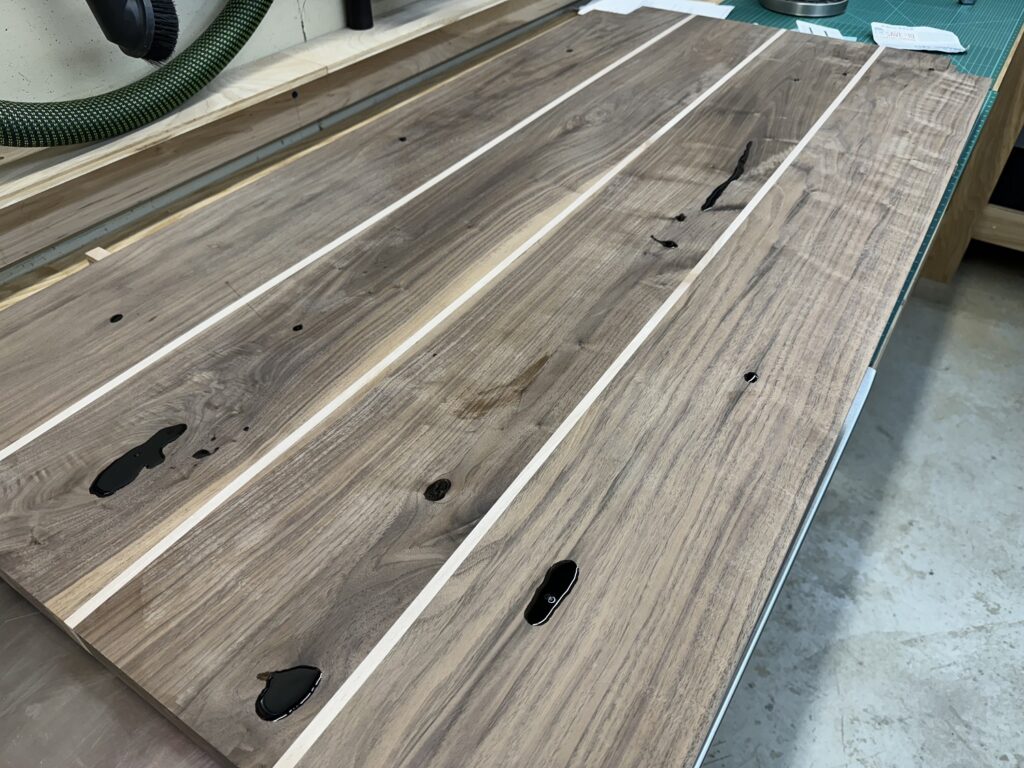
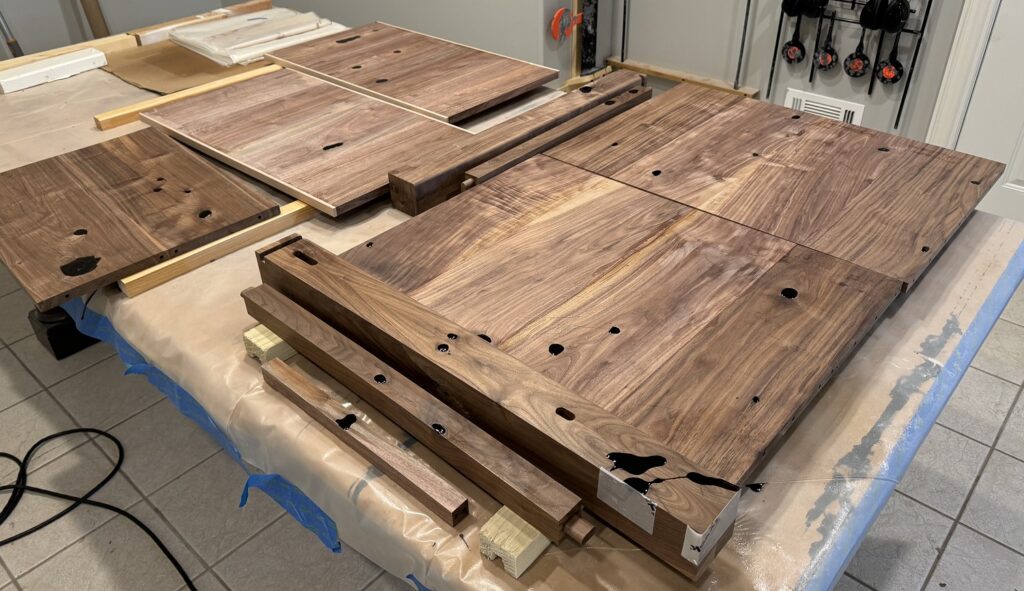
The epoxy fill is sanded down and the top is wiped clean with mineral spirits, which gives the first glimpse of how it might look when it’s done.
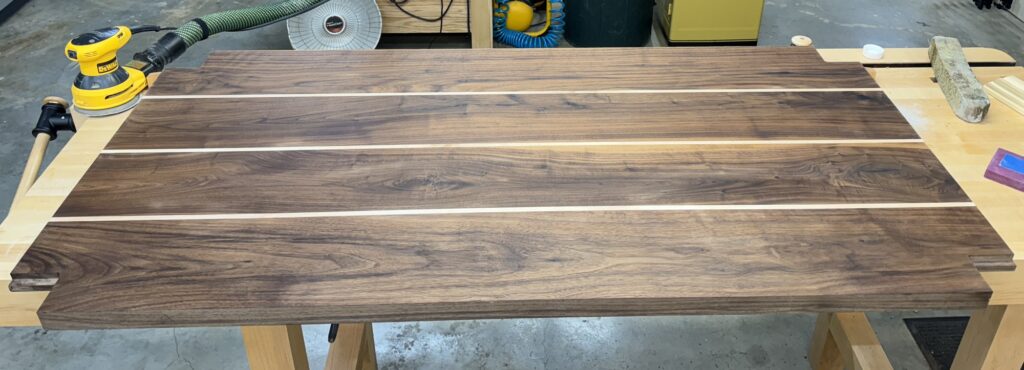
Holes for the attachment bolts are drilled in the legs with the drill press.
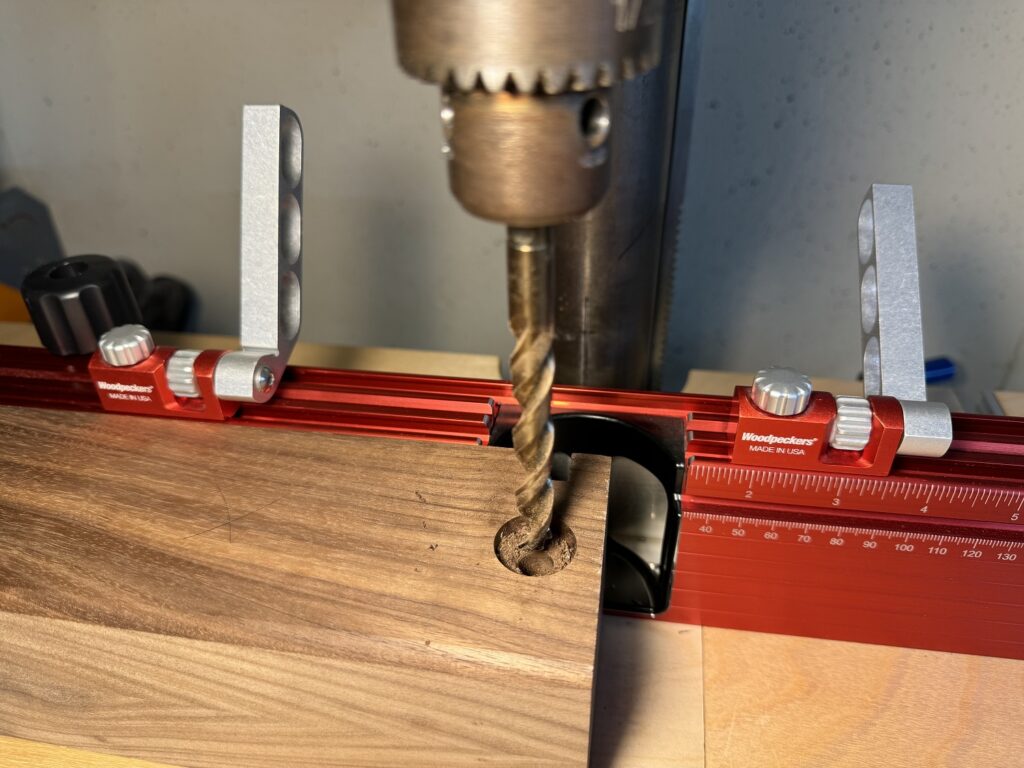
To make matching holes for the bolts in the top, the legs are attached with clamps and the drill bit is used to center punch the edge of the table.
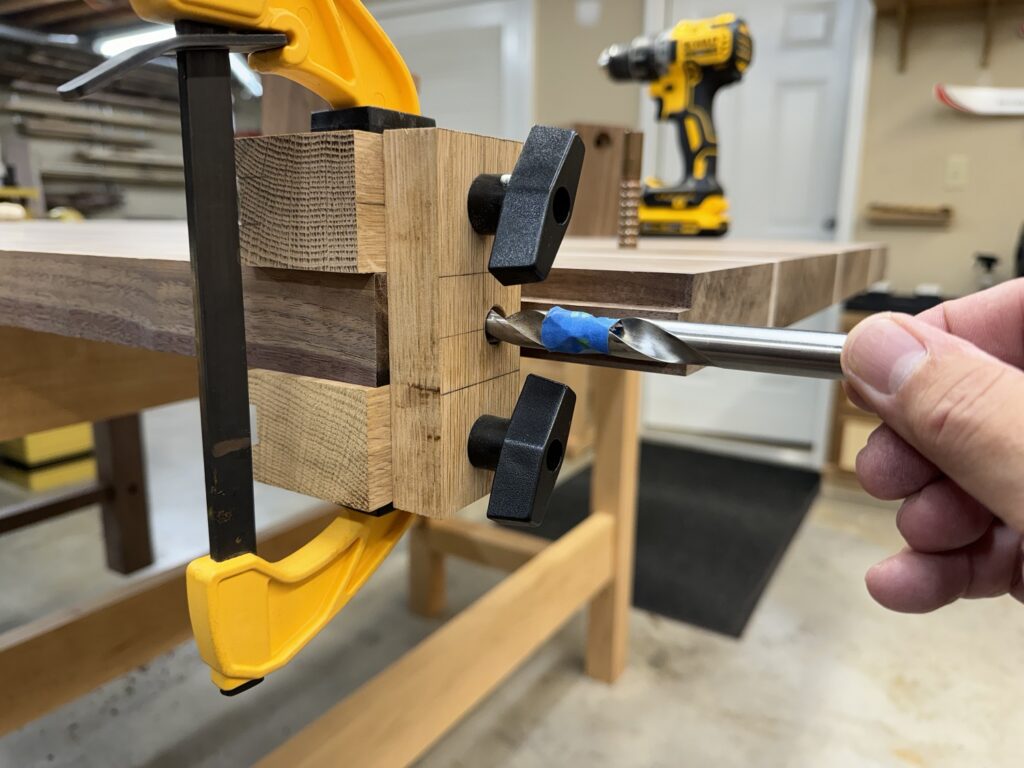
To ensure that the holes in the top are perpendicular and in alignment with the holes in the legs, a drill guide is made from hardwood scraps. The drill bit is inserted in the guide and the brad point of the bit is placed in the center punch to align the guide before the knobs are tightened.
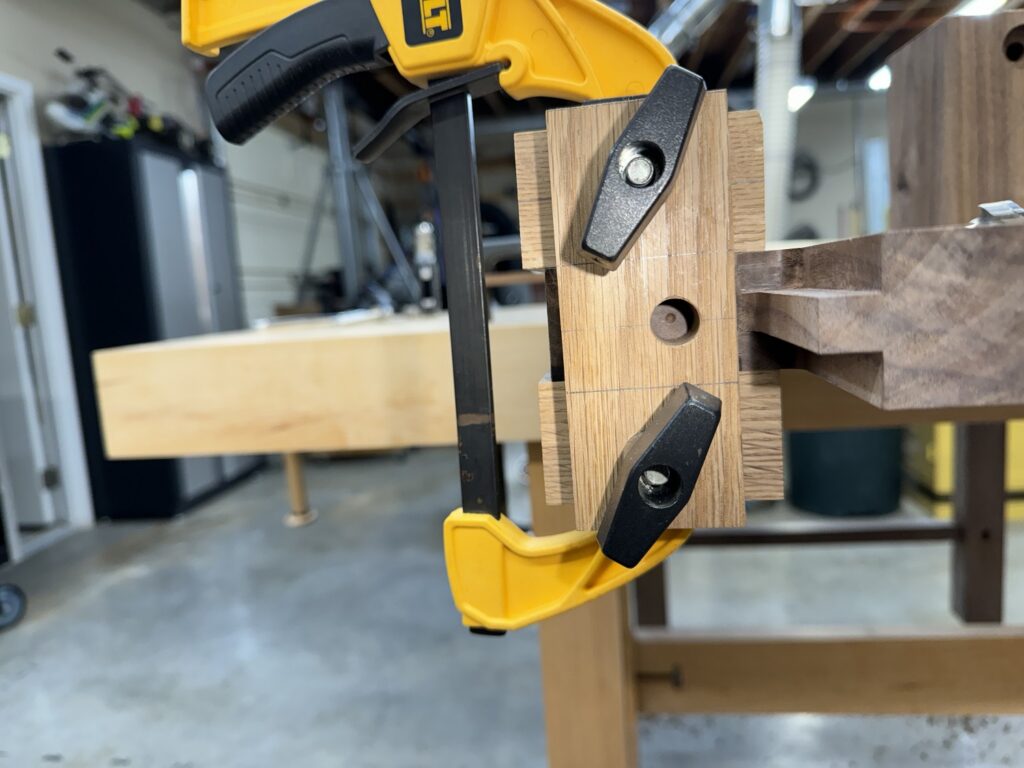
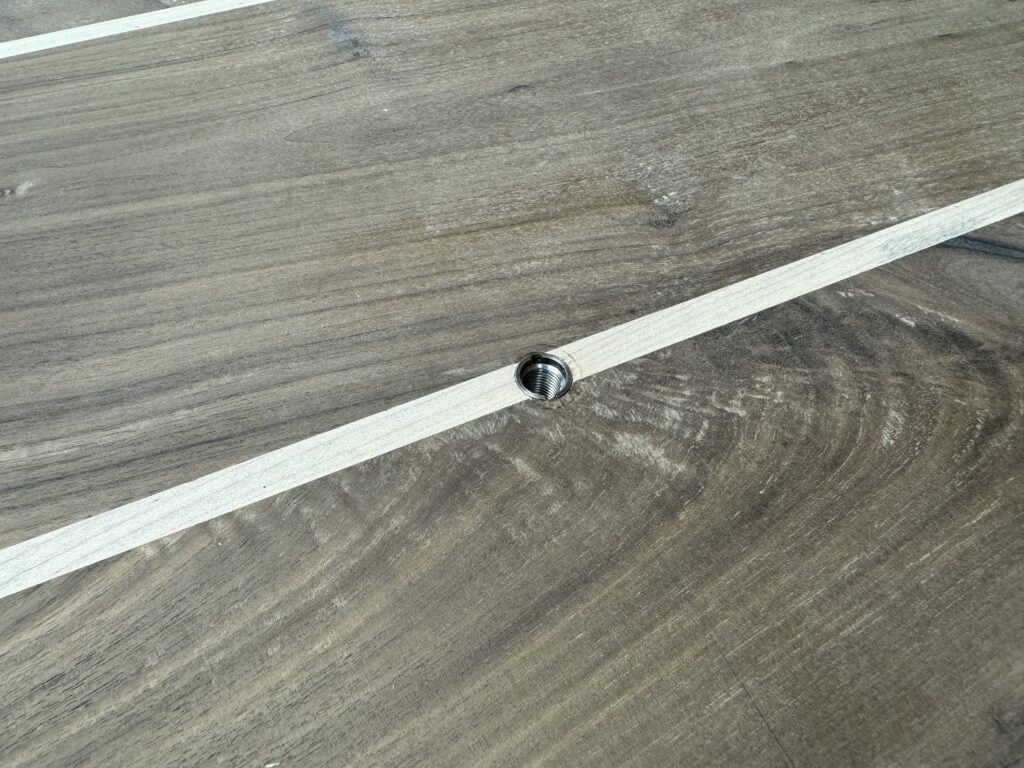
The threaded inserts are installed.
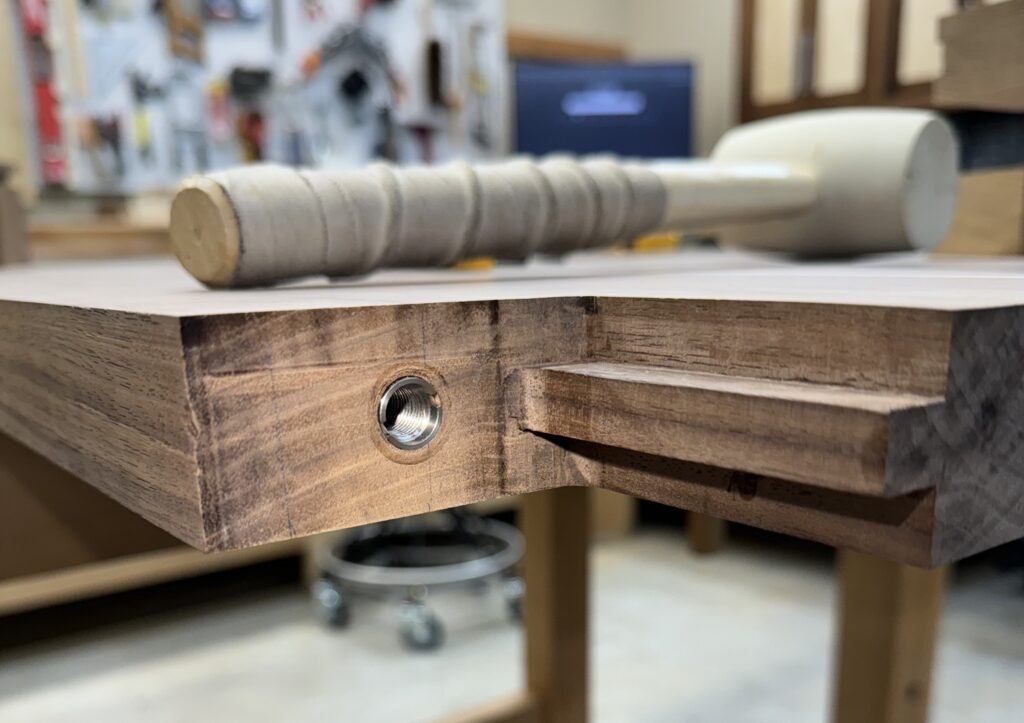
The legs are installed and the test fit looks good.
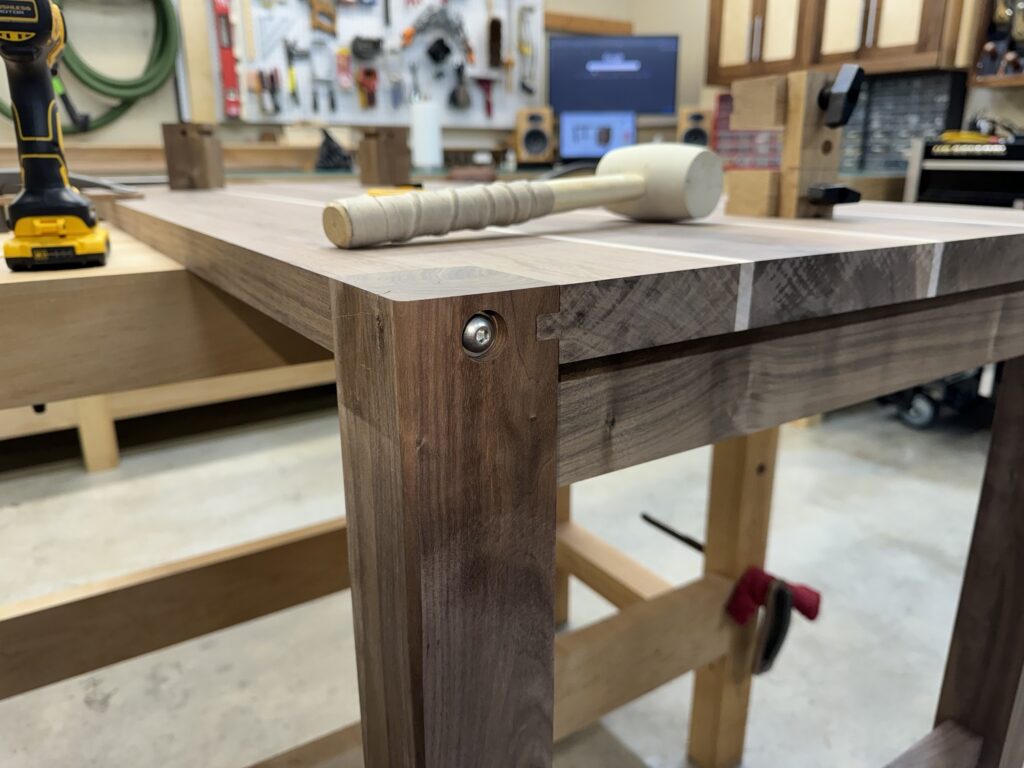
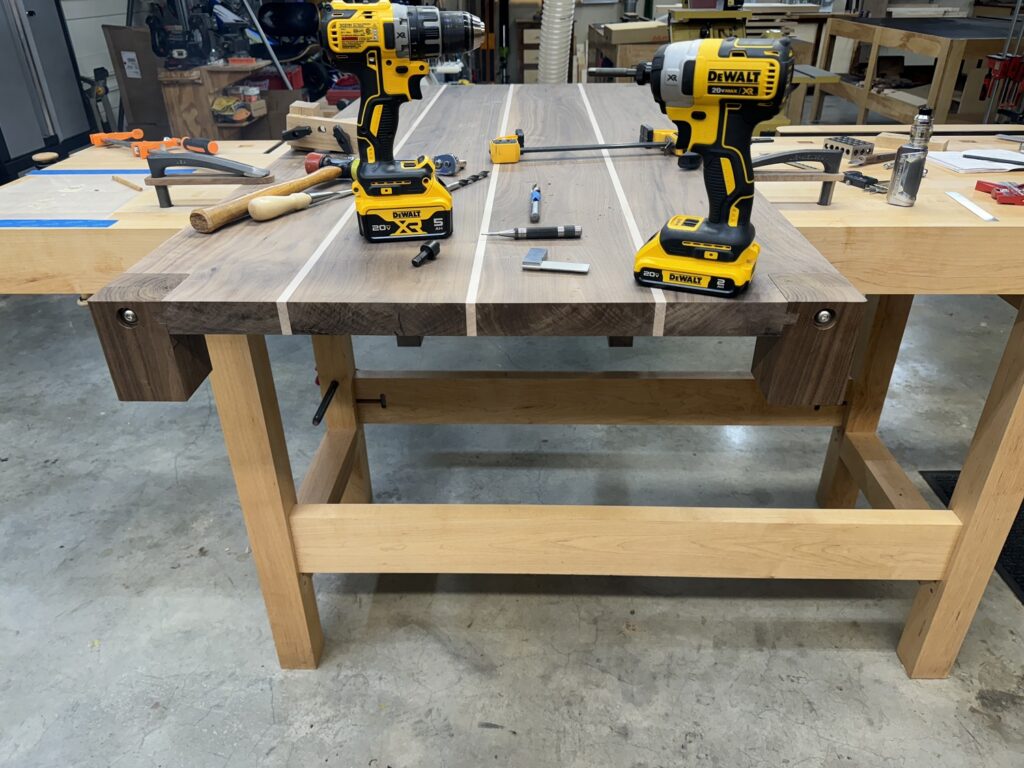
The next step is to drill holes in the drawer cabinet components for the leg and stretcher attachment points. These holes will be difficult to access with a drill once the cabinet is glued up.
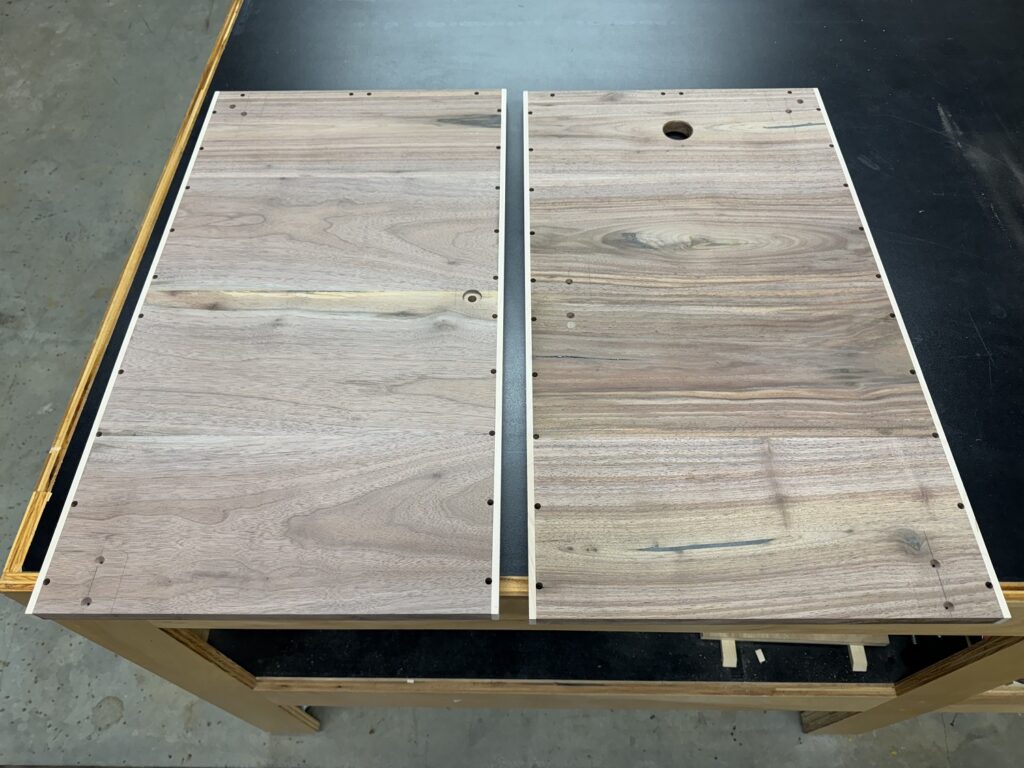
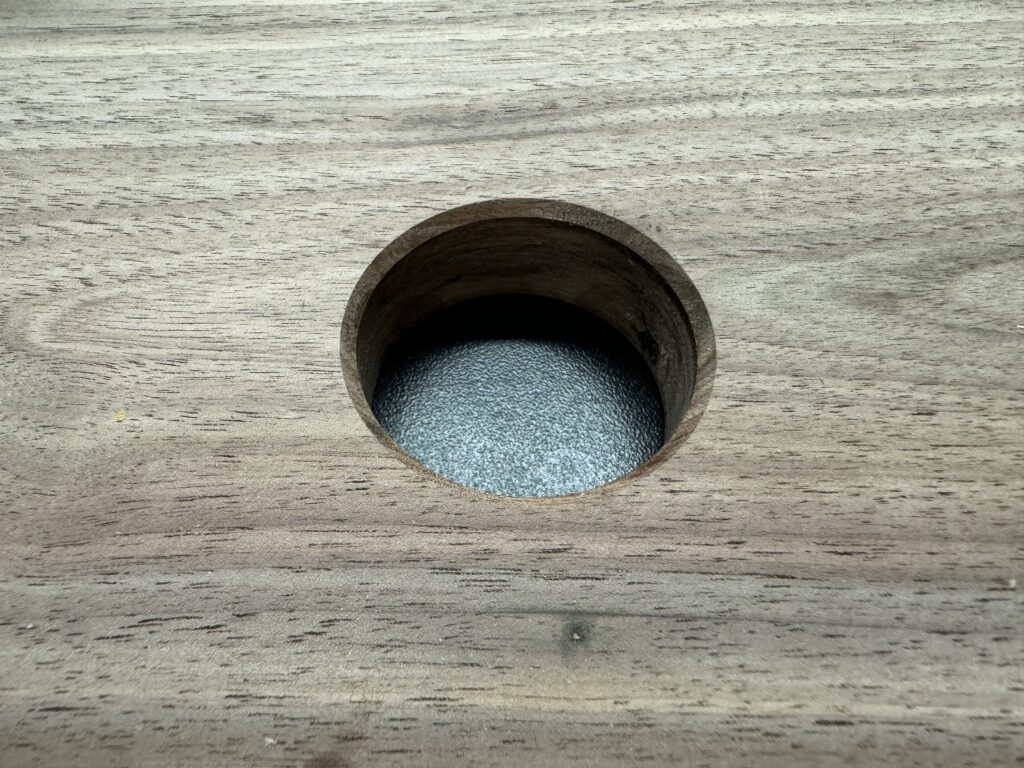
The hole in the bottom of the cabinet for the power strip cord is chamfered on both sides.
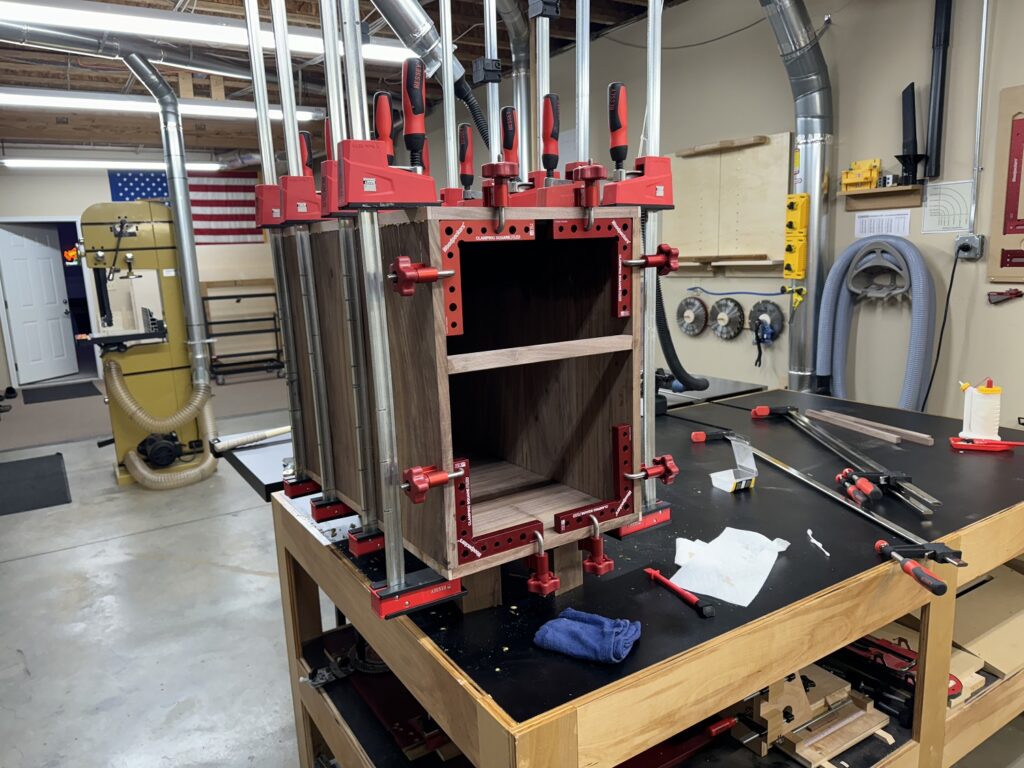
The cabinet is sanded final on the inside and then glued up.
After some sanding, the legs are attached to the bottom of the drawer cabinet.
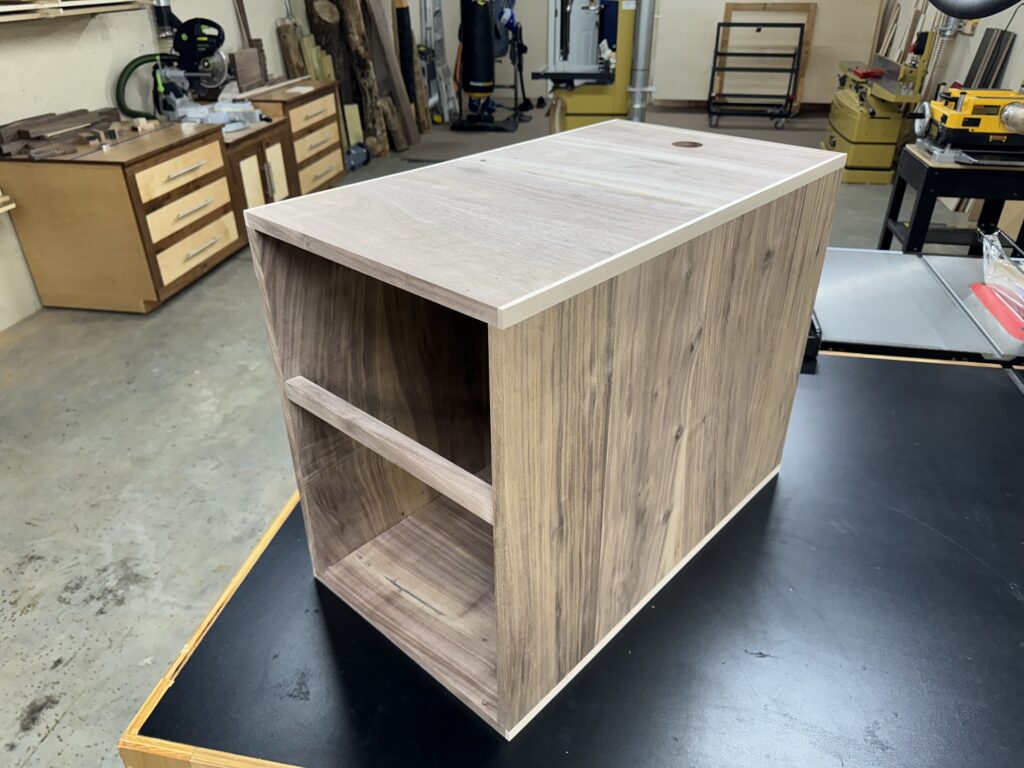
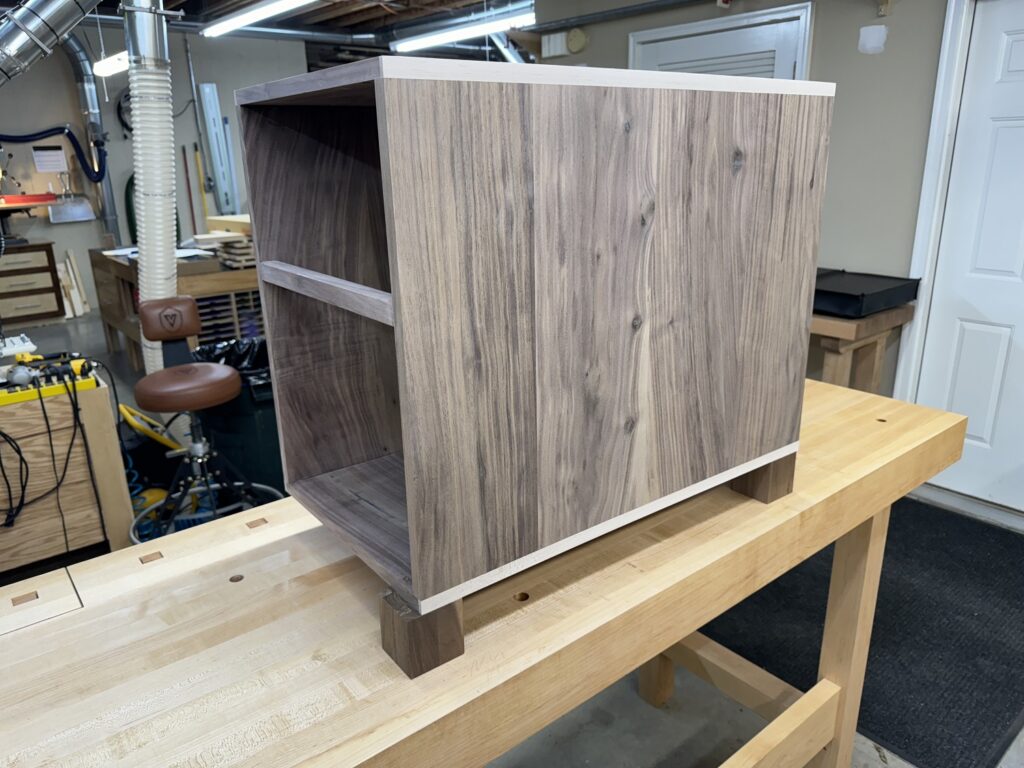
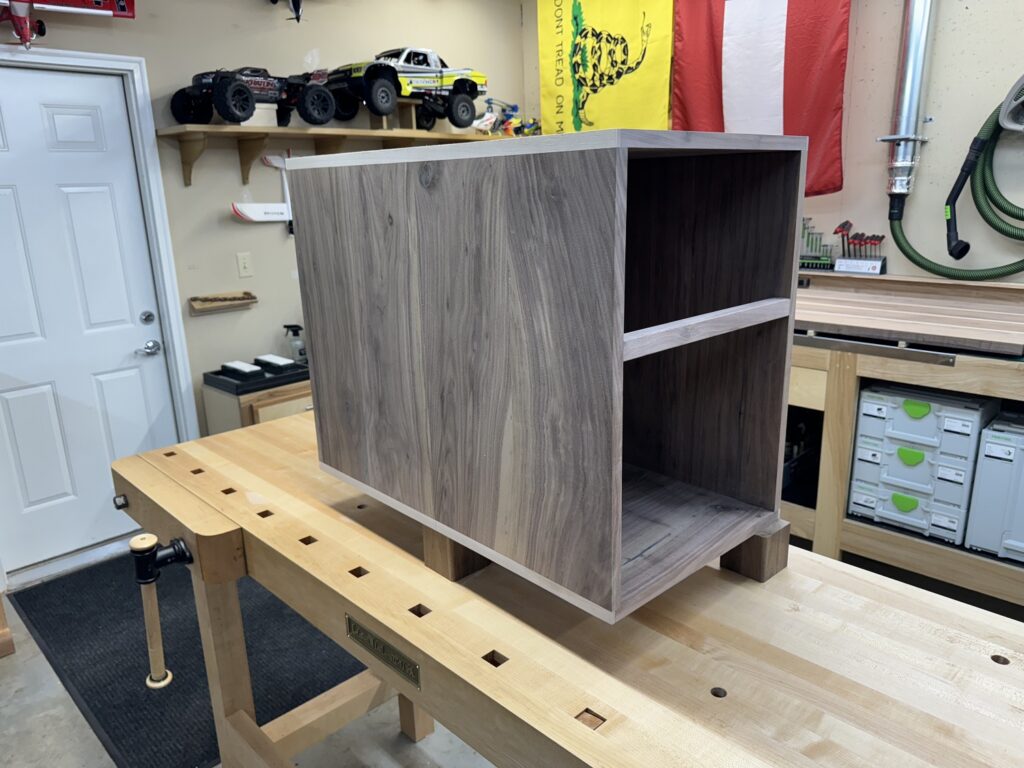
Then the legs are bolted to the top and the desk is dry fit, standing on its own legs, for the first time. After careful alignment, the legs are secured to the top of the cabinet.
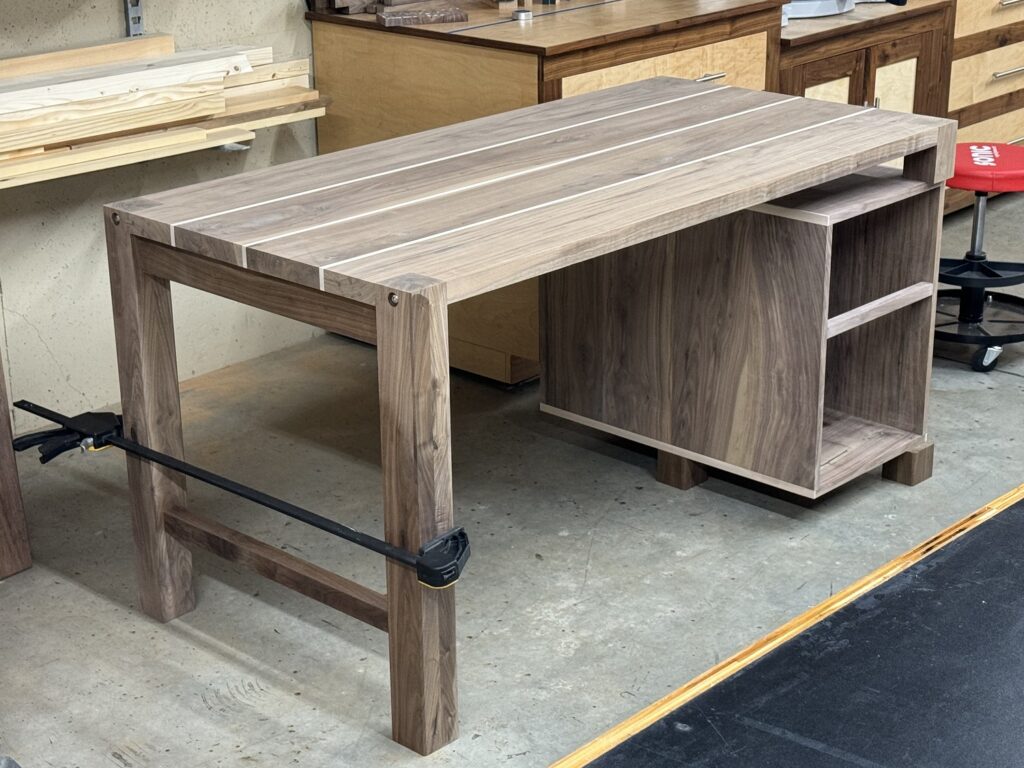
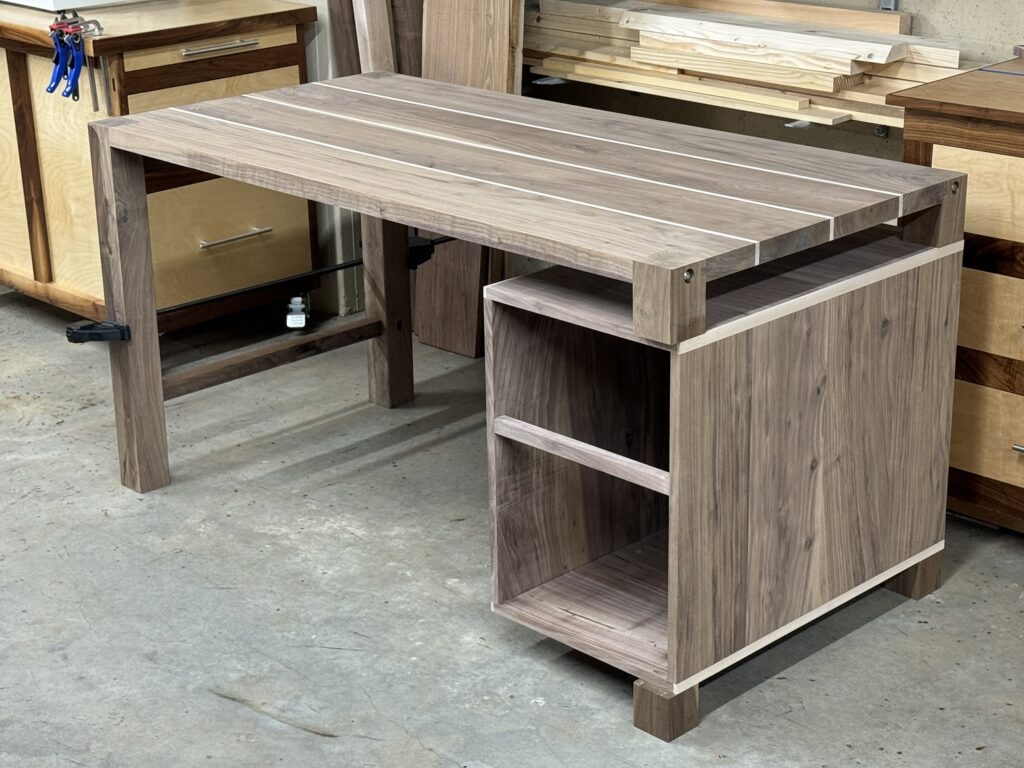
Next, the long stretcher is made.
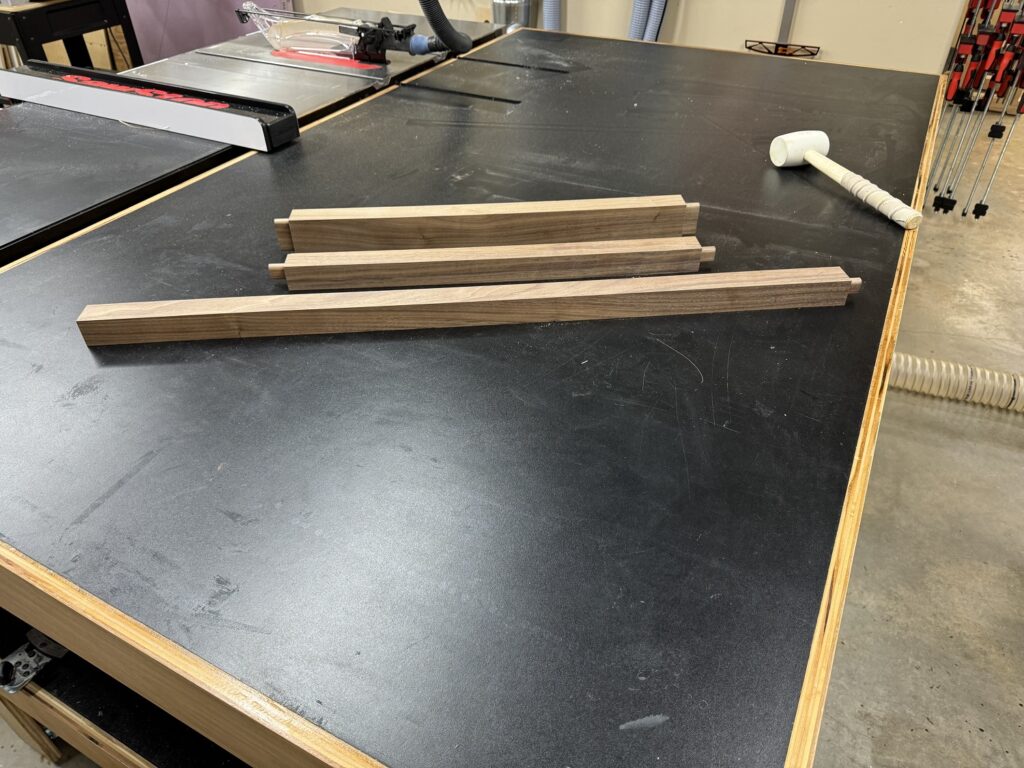
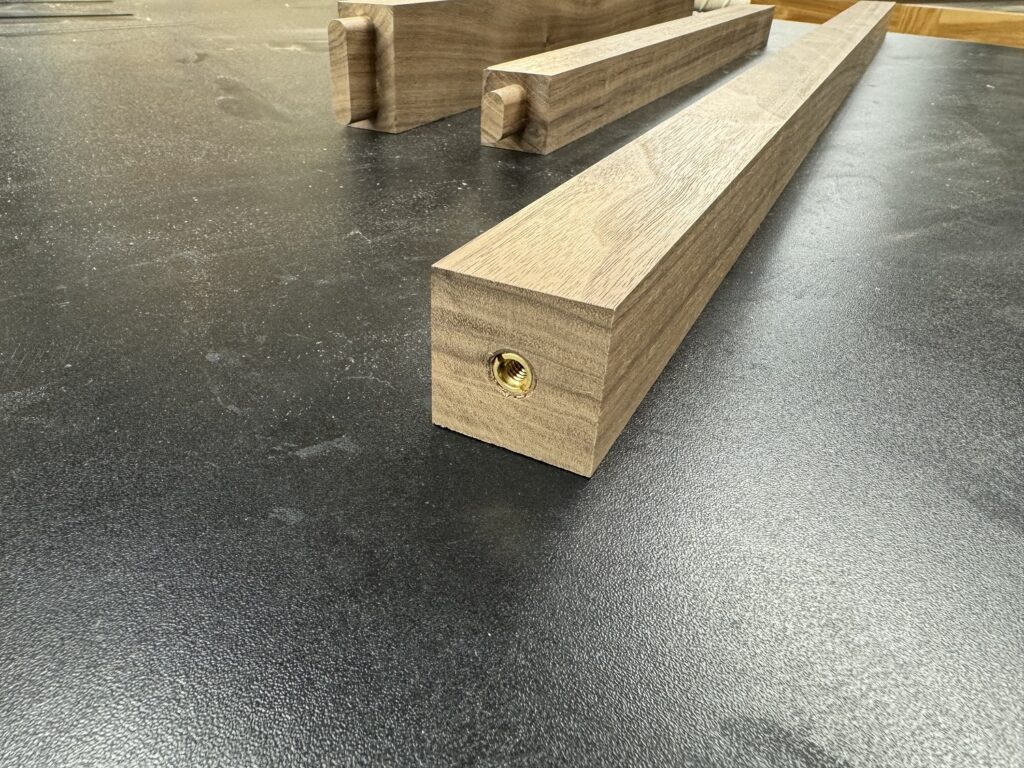
The stretcher is secured to the legs with a mortise and tenon, and to the cabinet with a 1/4-20 bolt and a brass threaded insert, which will enable disassembly for moving the desk.
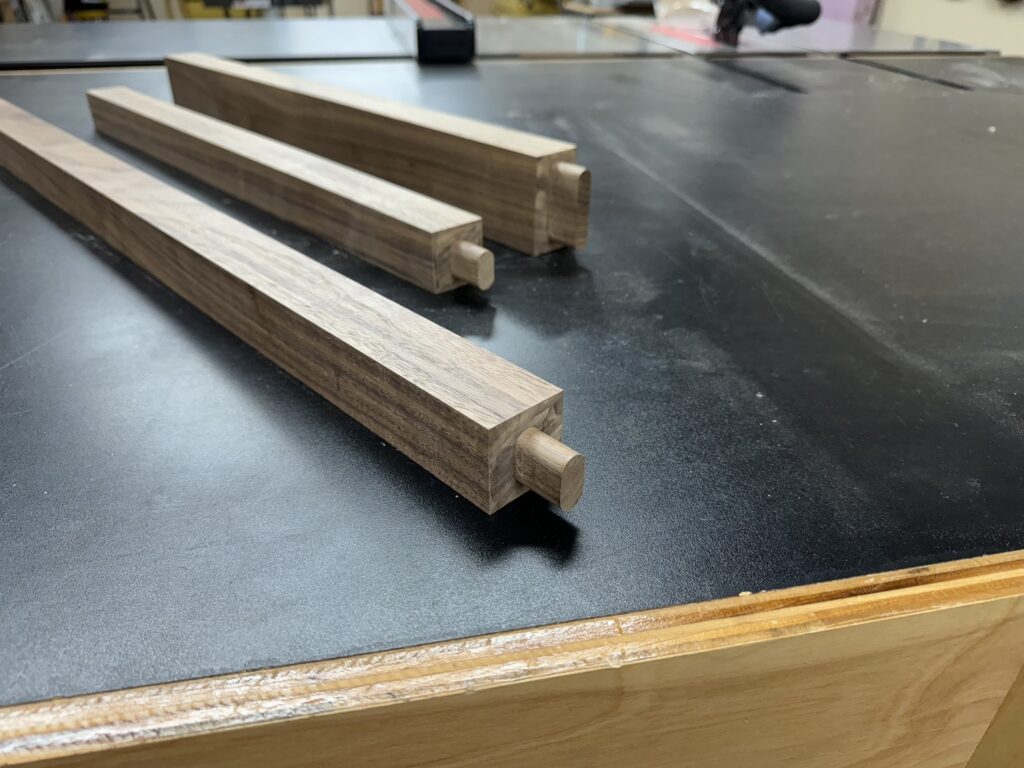
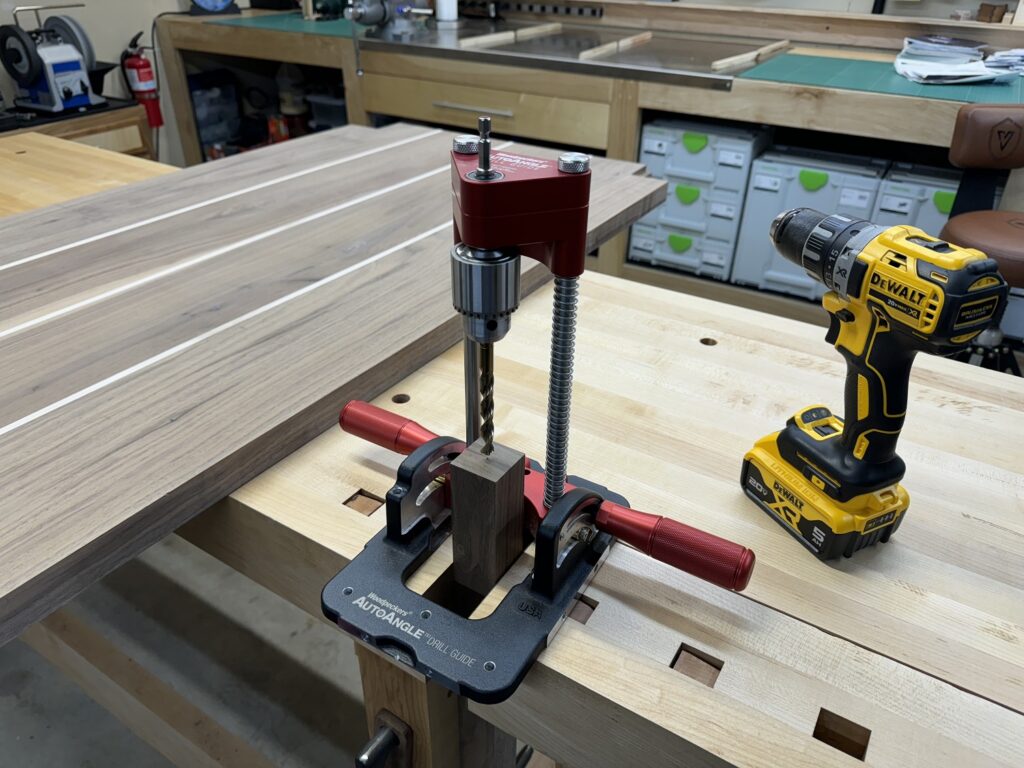
A support post is made which will mechanically attach the desktop to the cabinet so that when the desk is lifted in its assembled state, the weight of the cabinet will not be cantilevered on the two short legs.
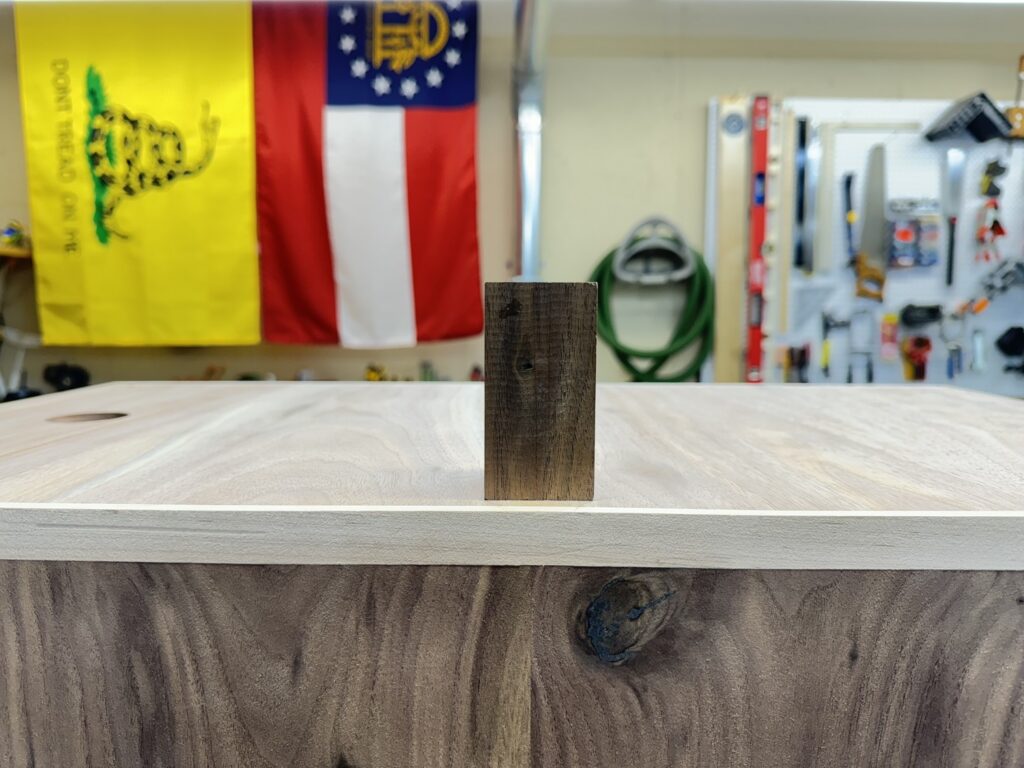
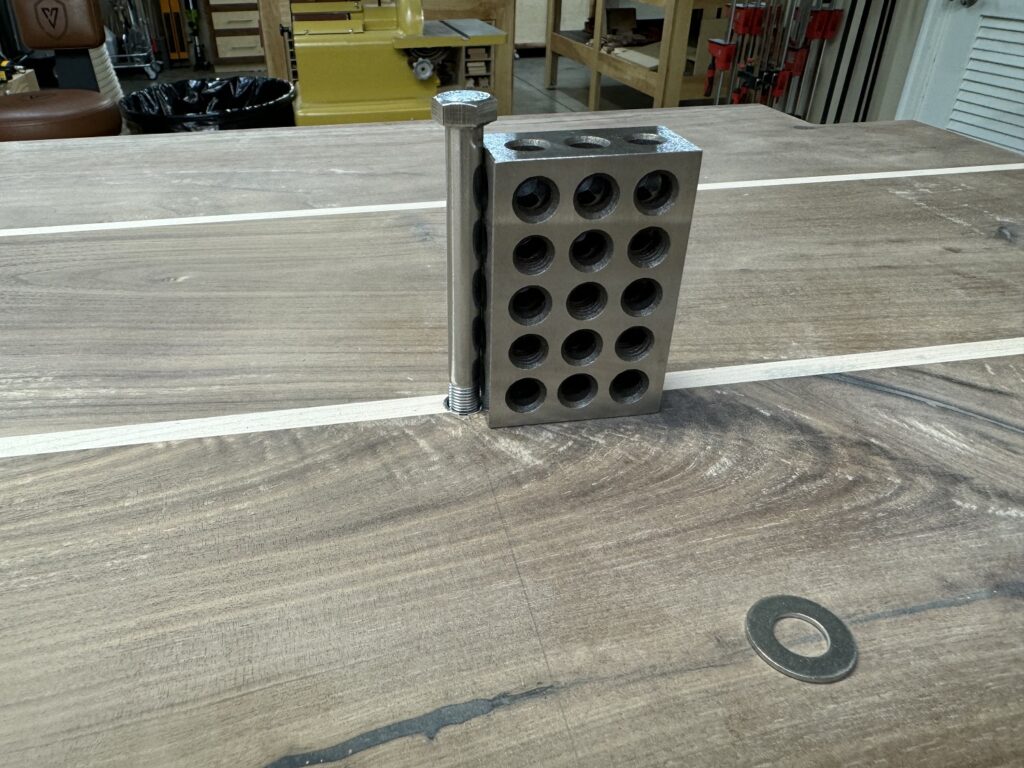
The support post is secured with a 4″ 3/8-32 bolt screwed into a stainless steel threaded insert in the bottom of the desktop–also to permit disassembly for moving.
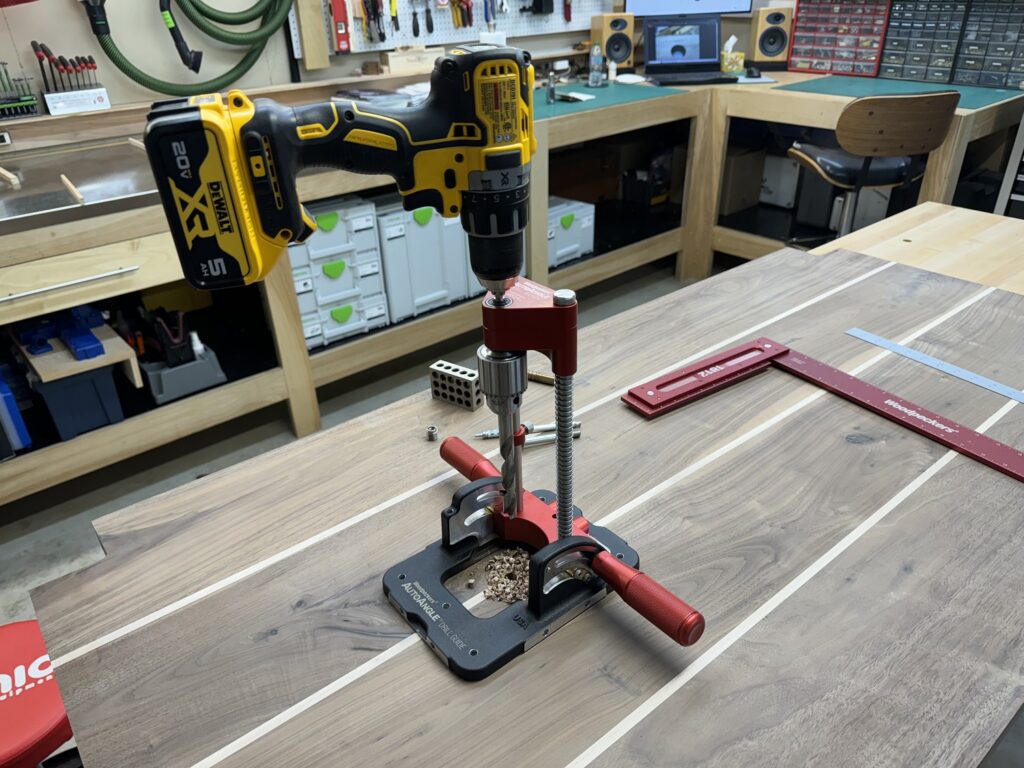
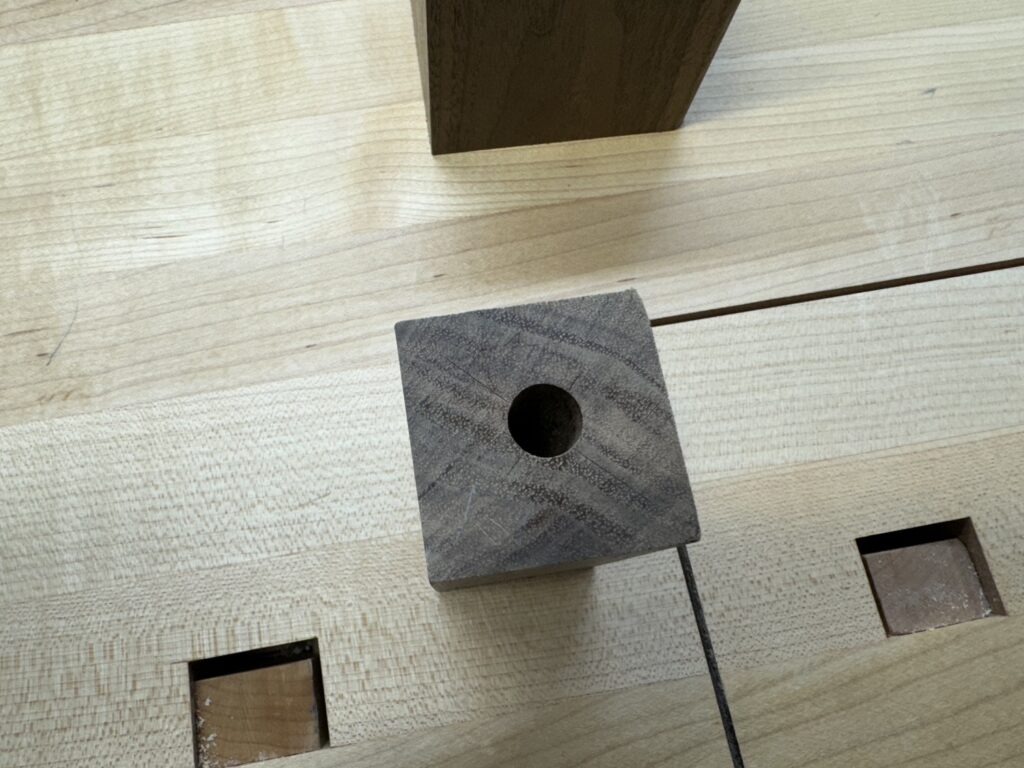
The legs and top are chamfered and the levelers are installed.
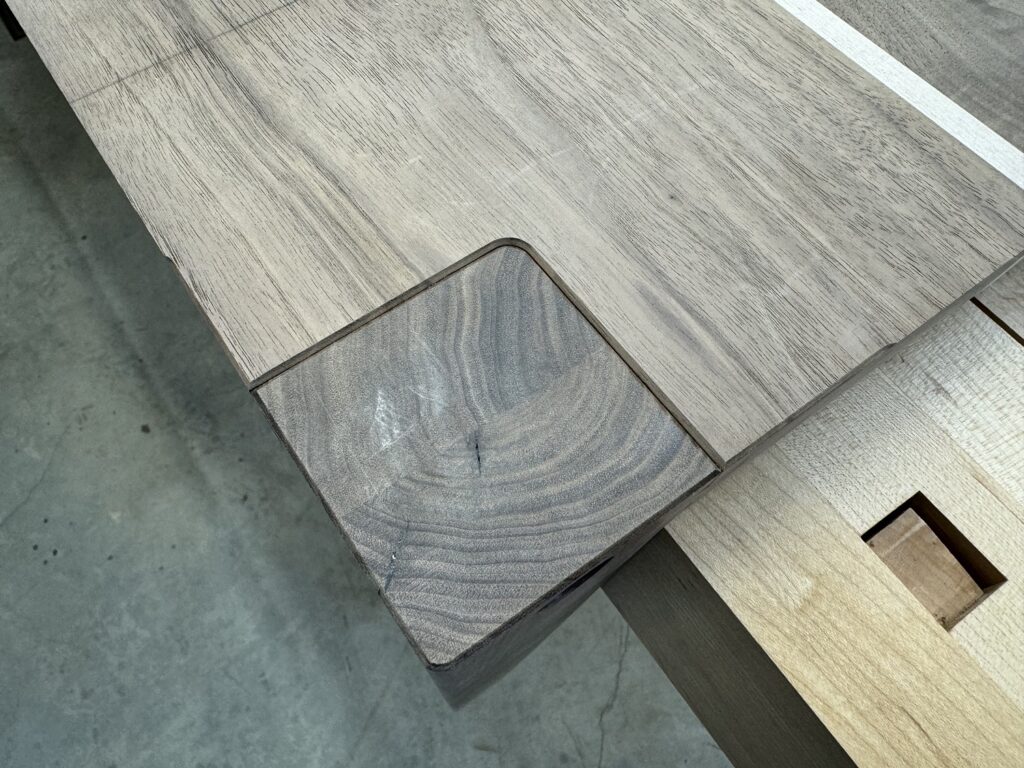
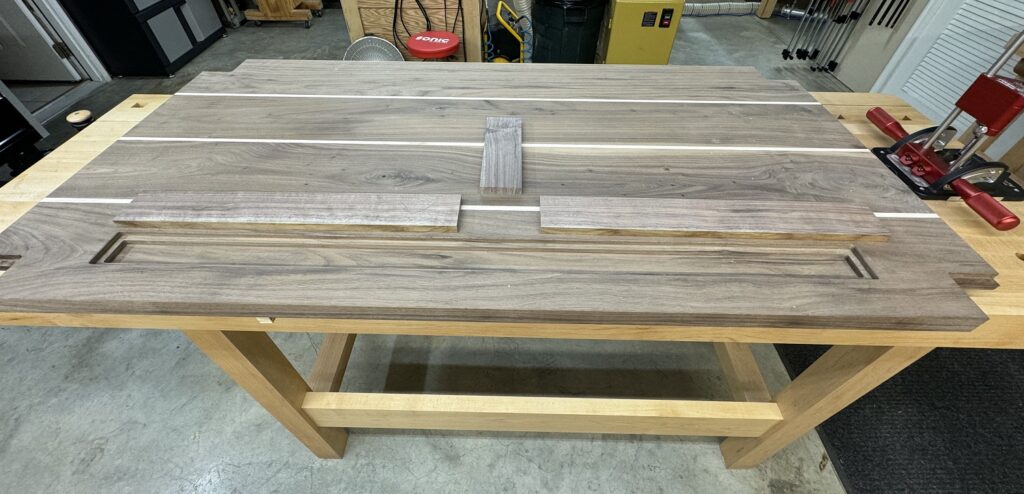
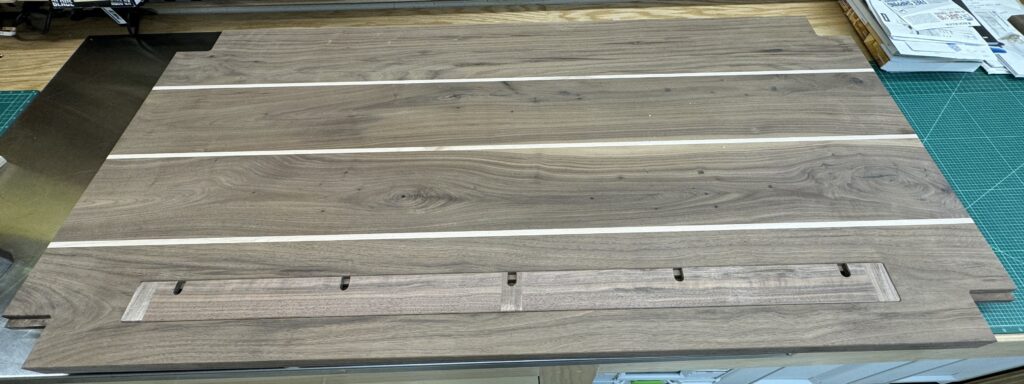
The wire channel is cut in the desktop with a router.
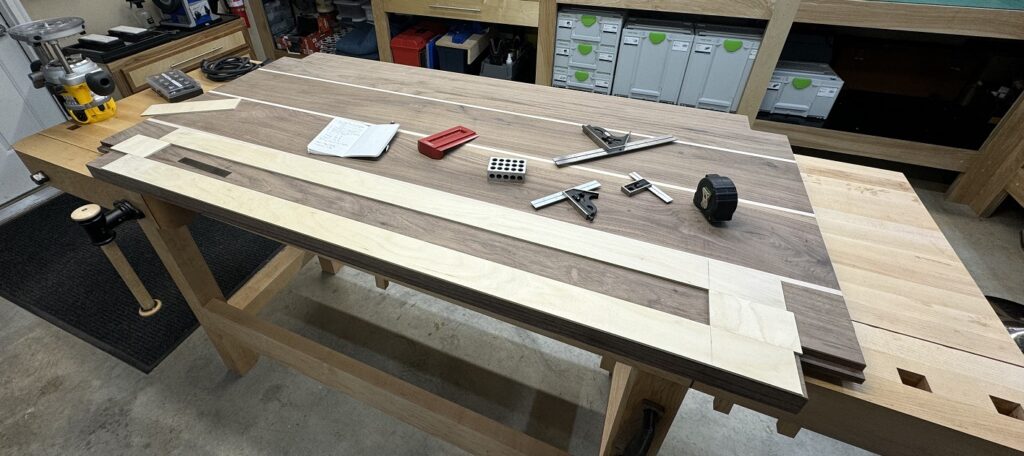
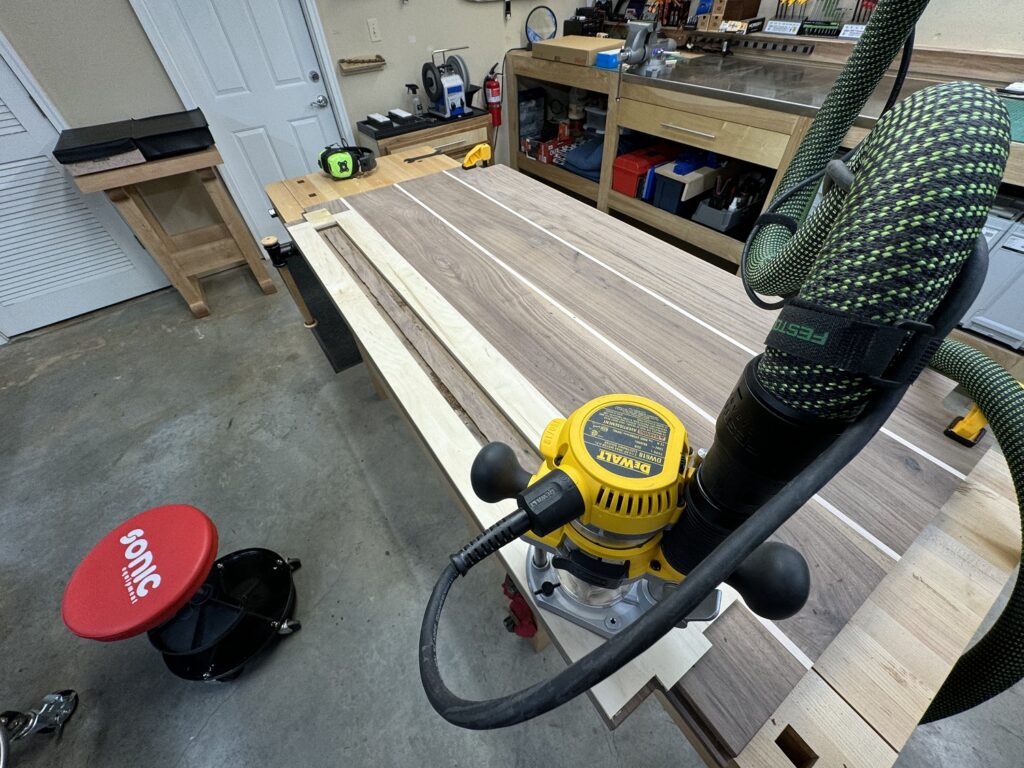
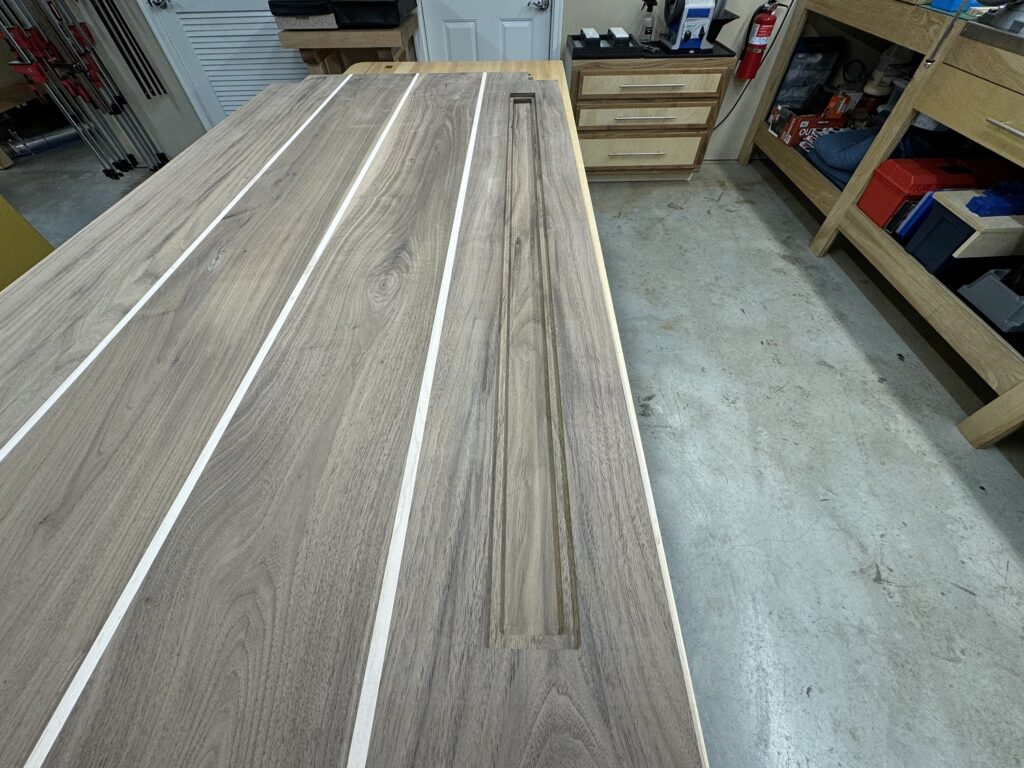
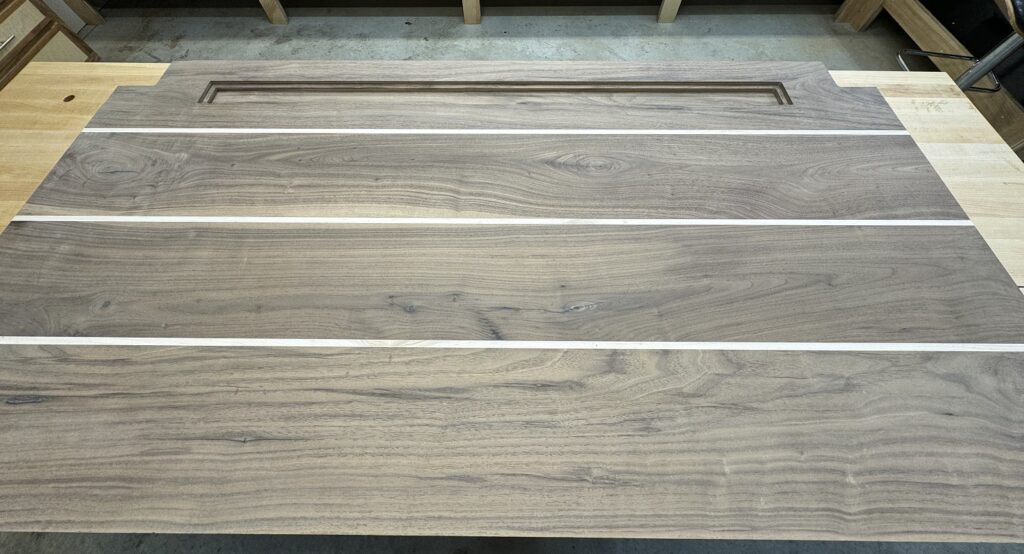
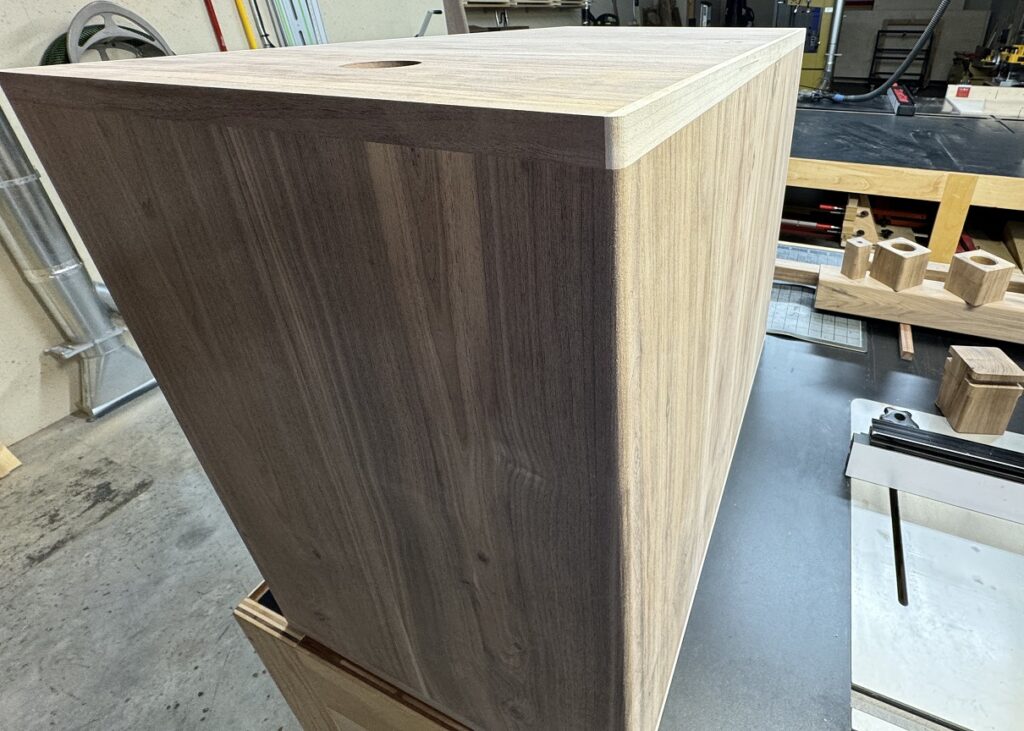
A hole is drilled for the wires to pass through the top.
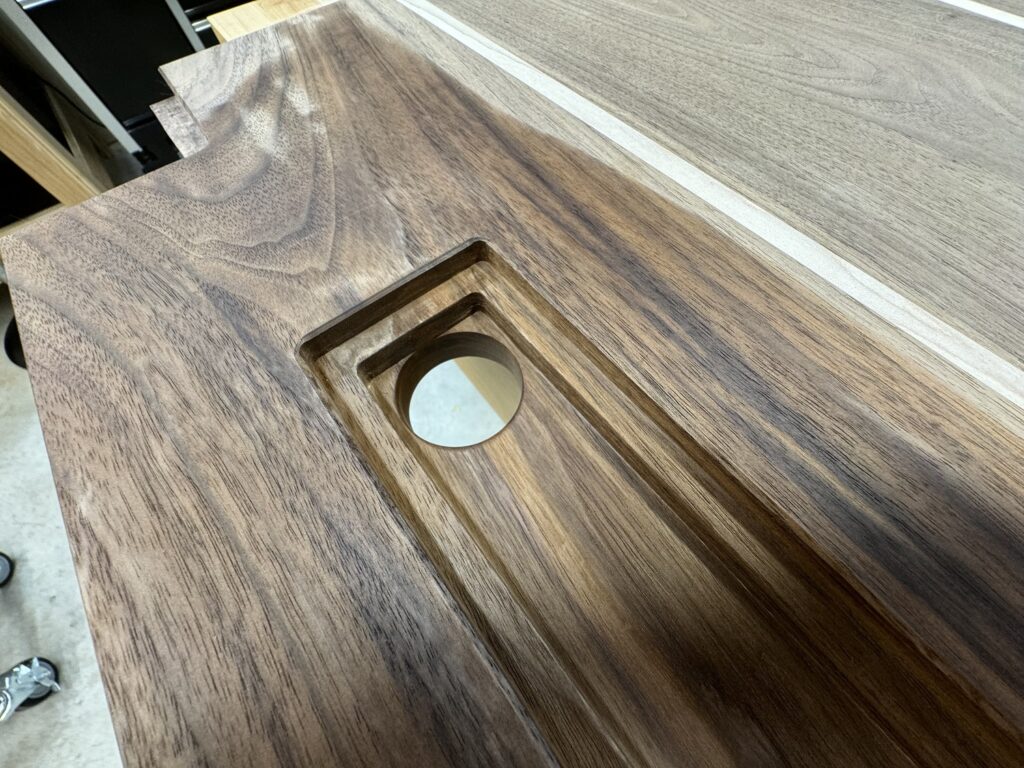
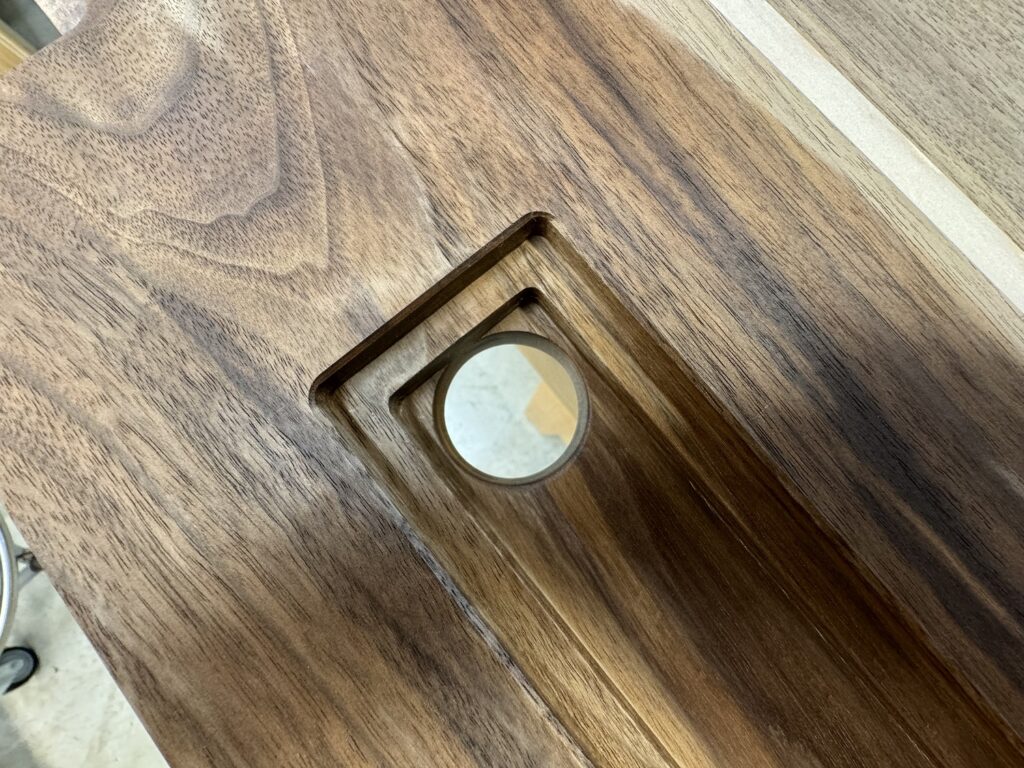
Now to make the cover for the wire channel.
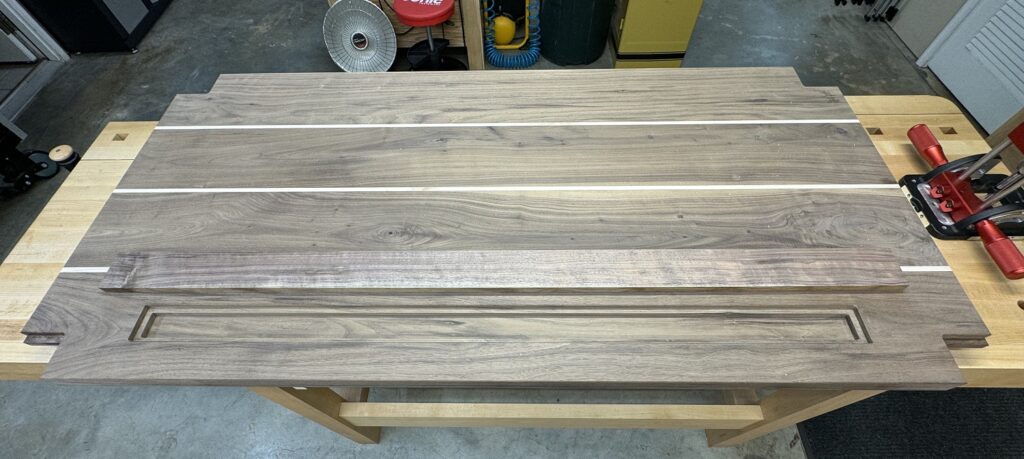
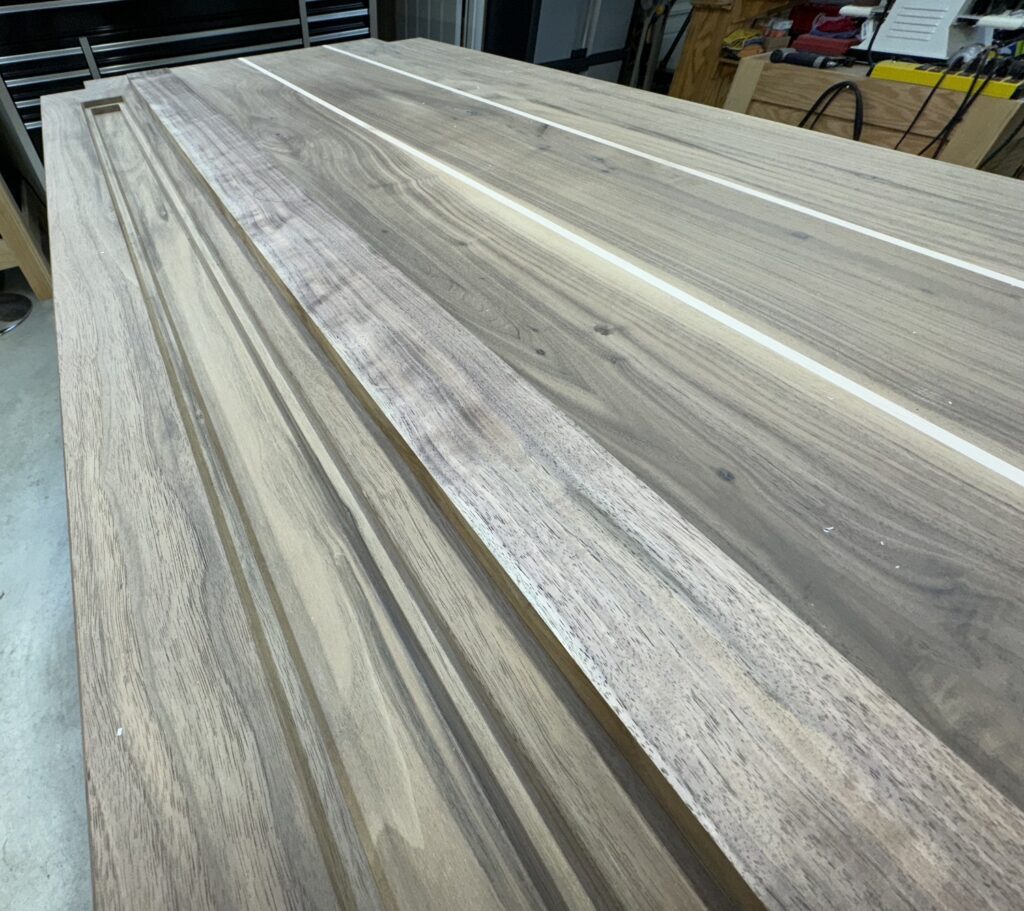
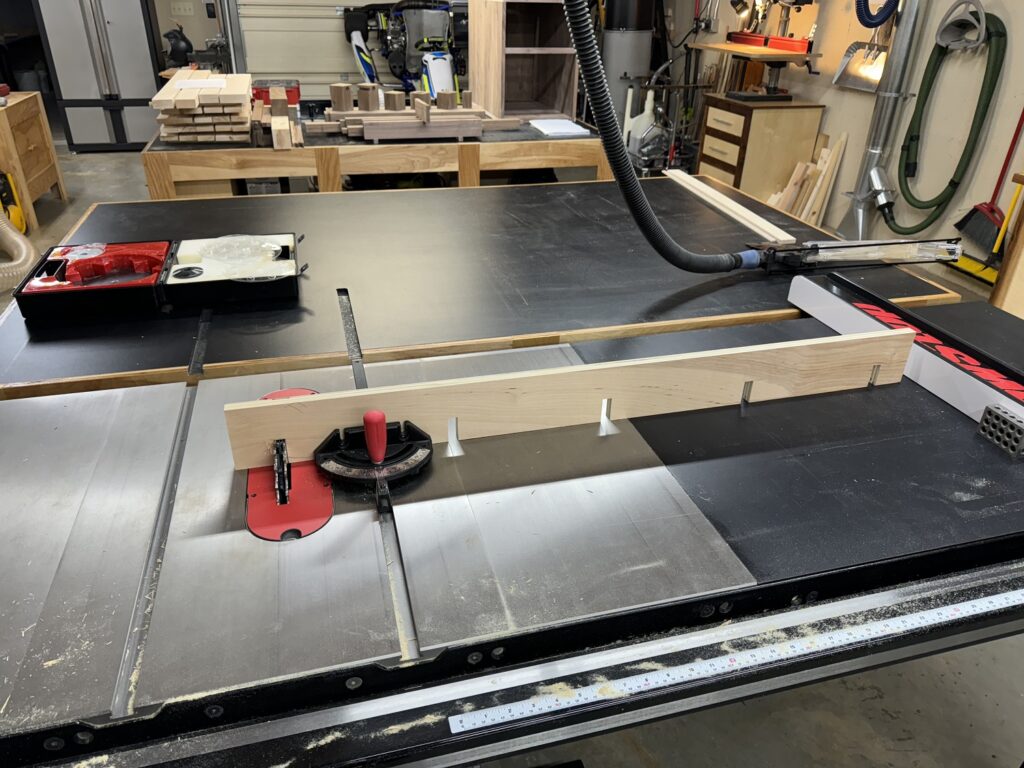
A template is made to route the wire slots.
The wire cover is glued up.
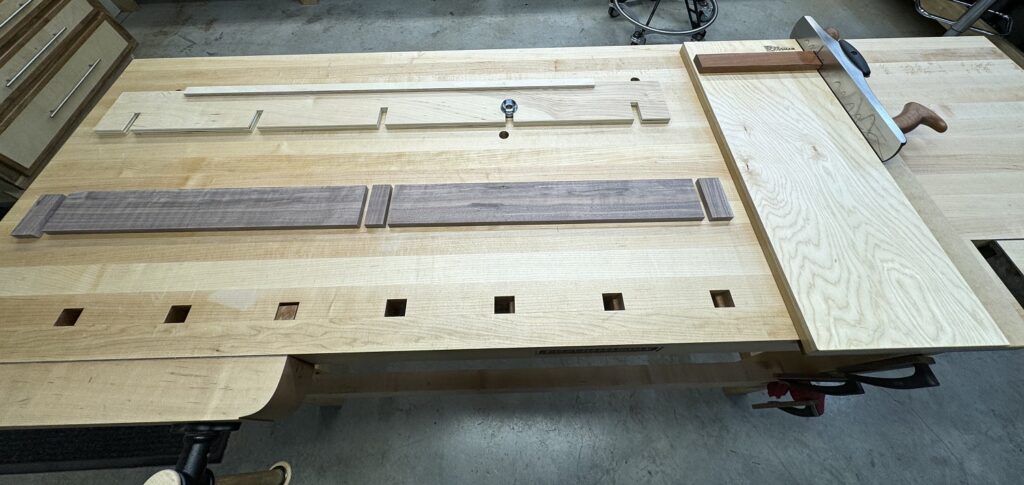
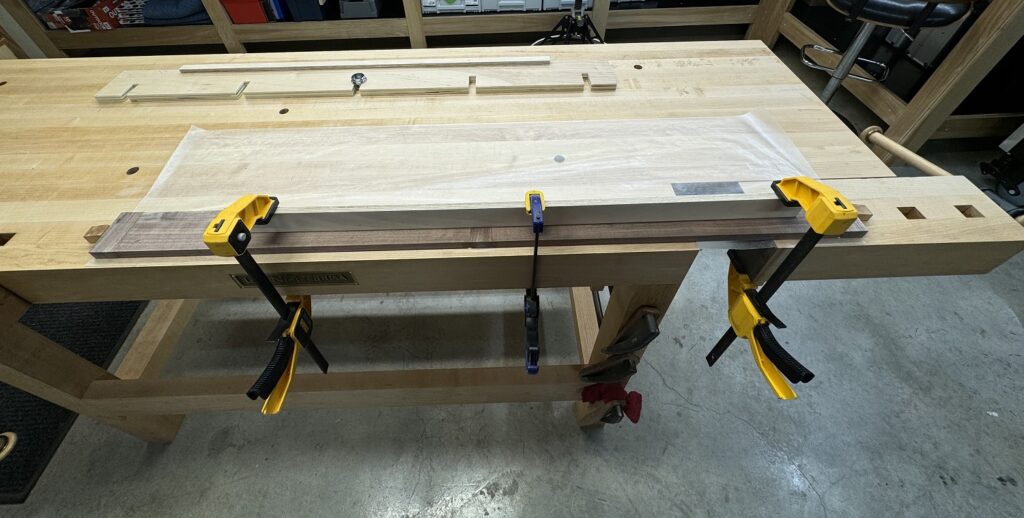
Then the wire cover is cut and planed to final dimension, and the slots are routed.
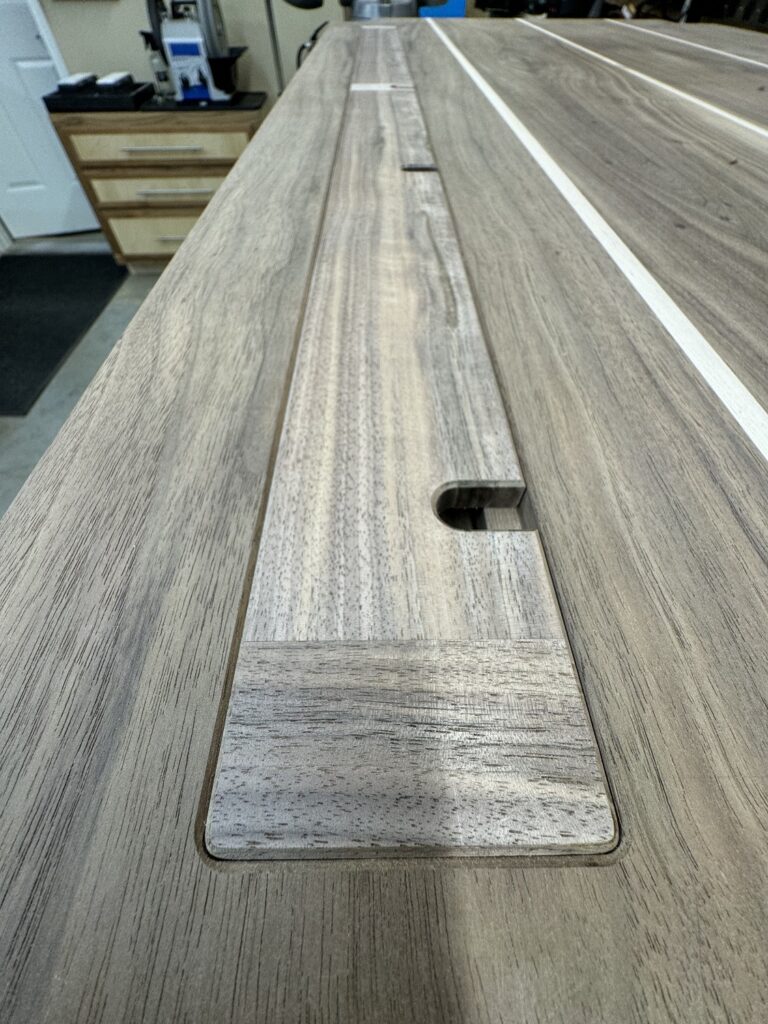
Reliefs are cut in the shelf.
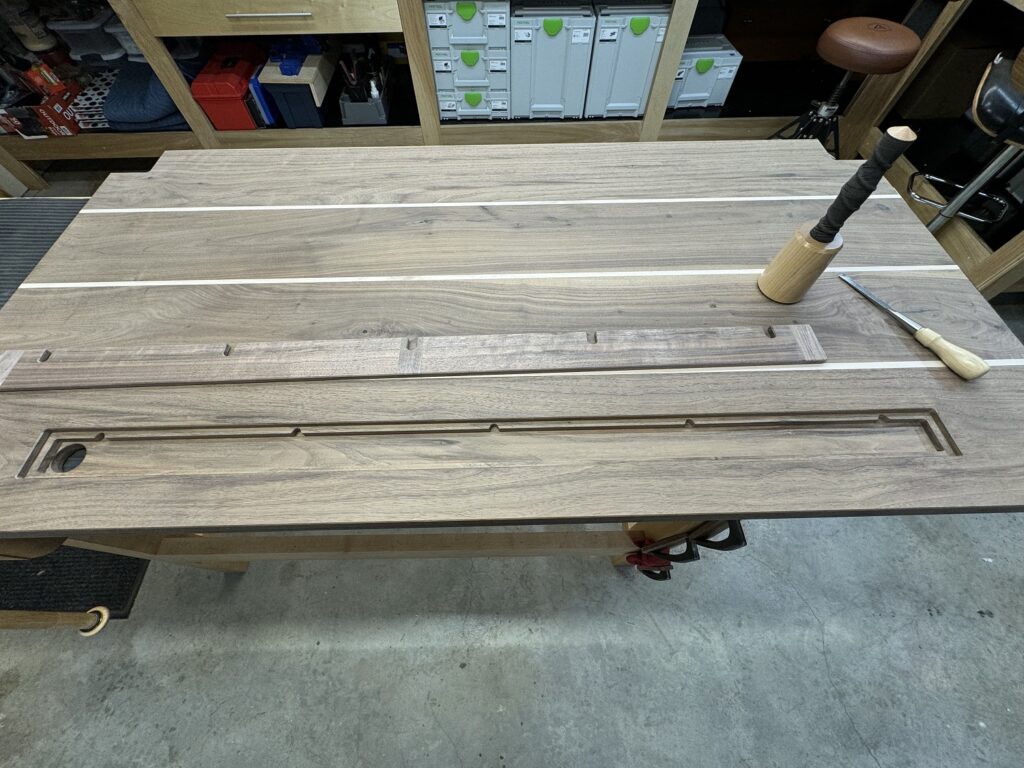
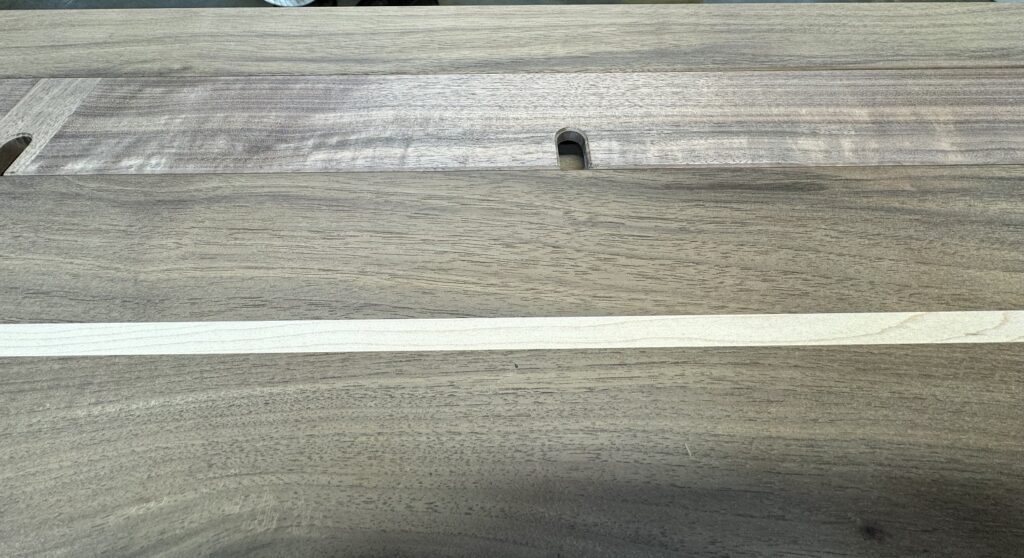
Magnets are installed to secure the wire cover.
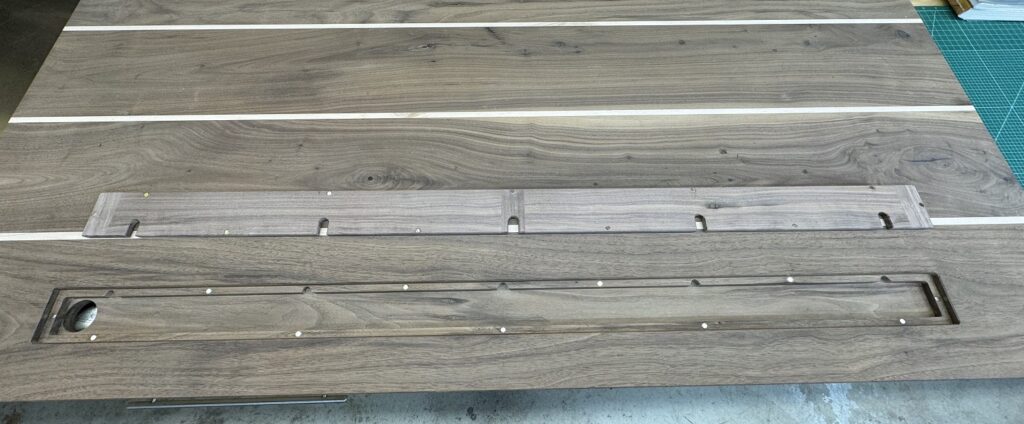
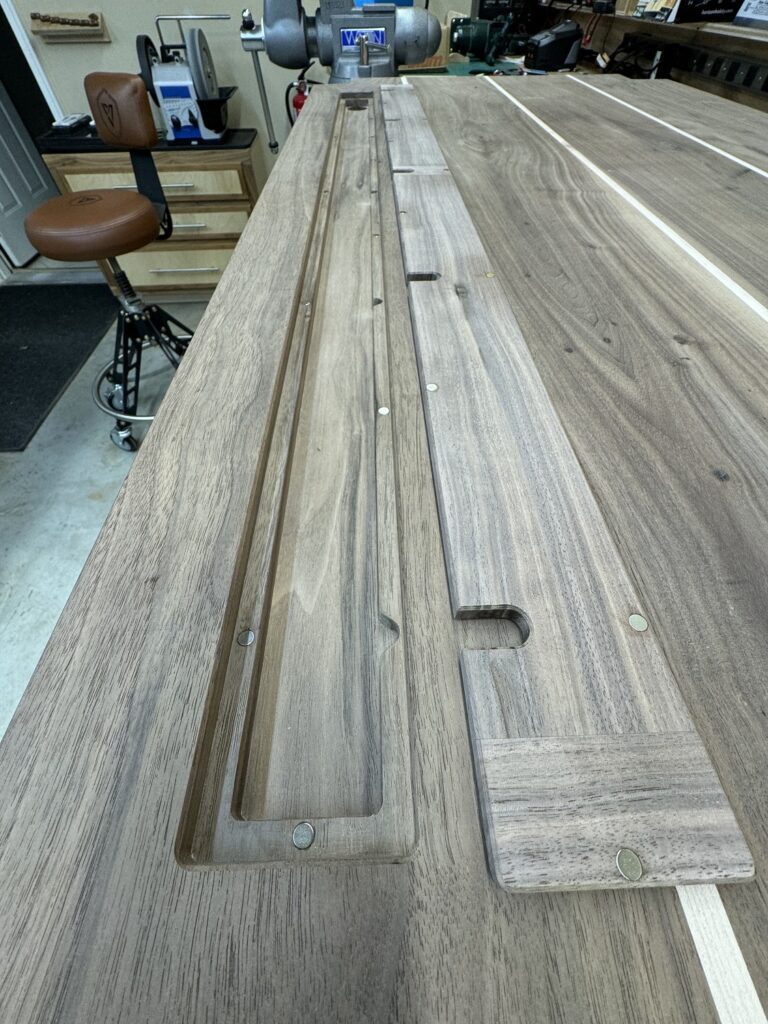
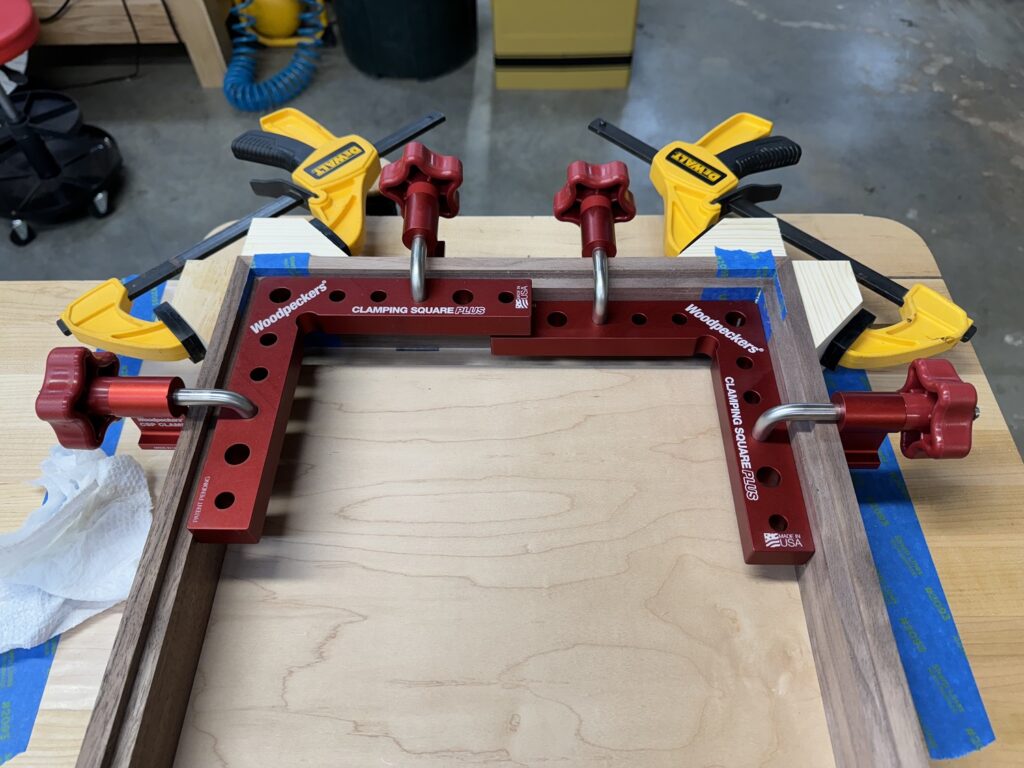
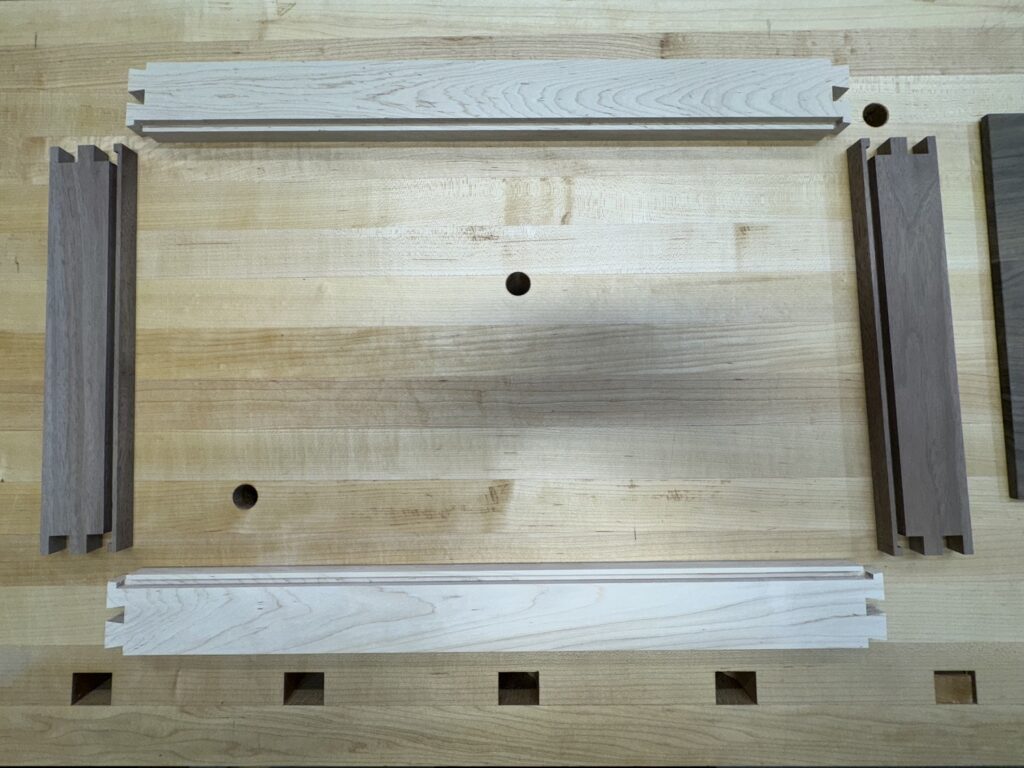
Next is the pencil drawer box. The pieces are milled to rough dimension and the box and drawer bottom panels are glued up.
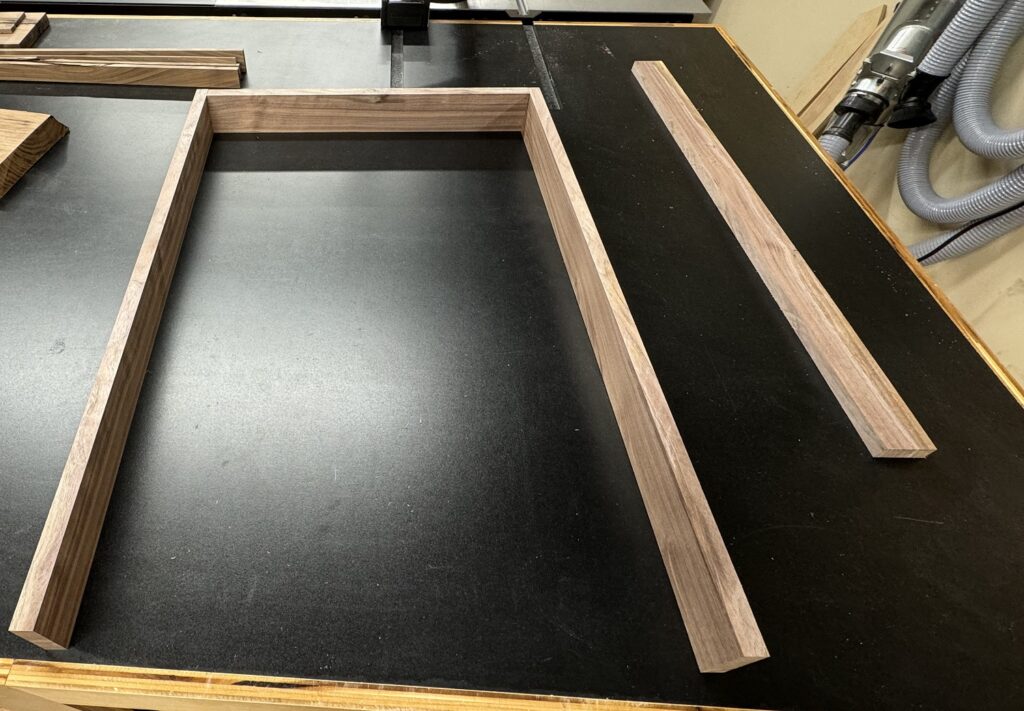
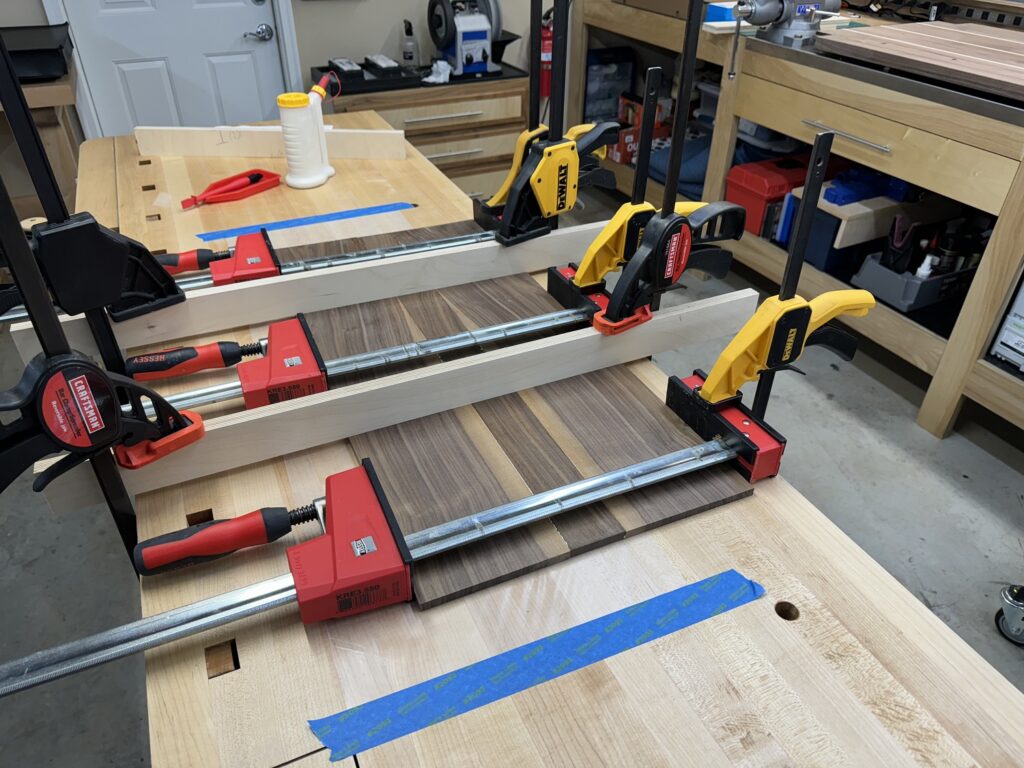
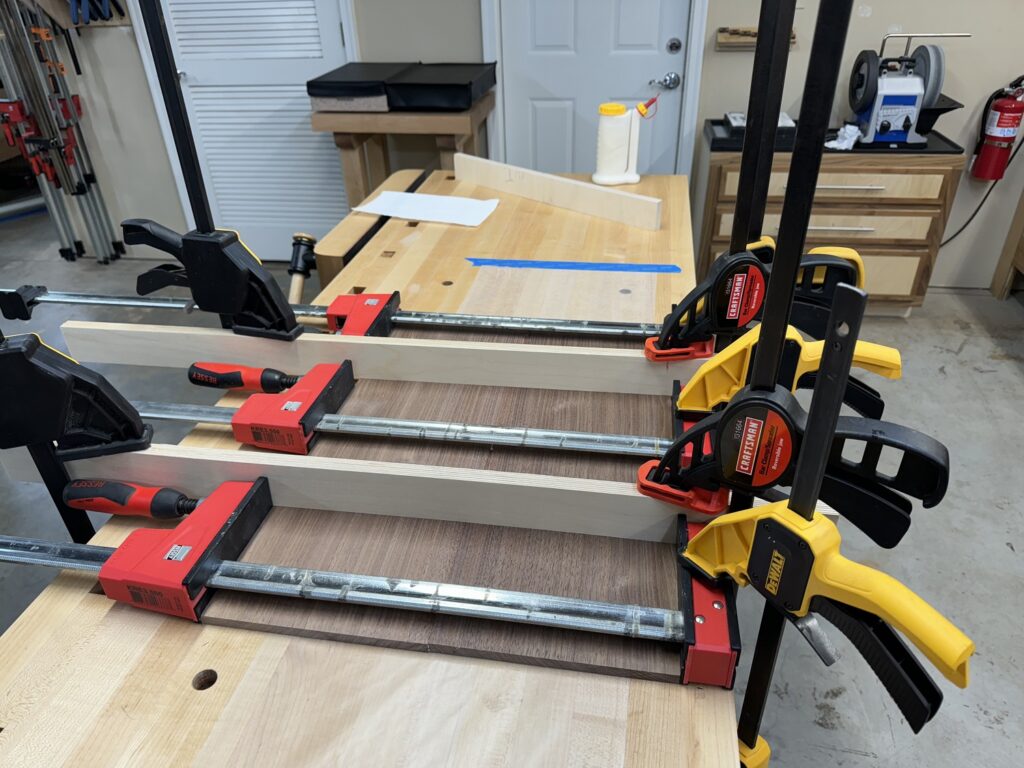
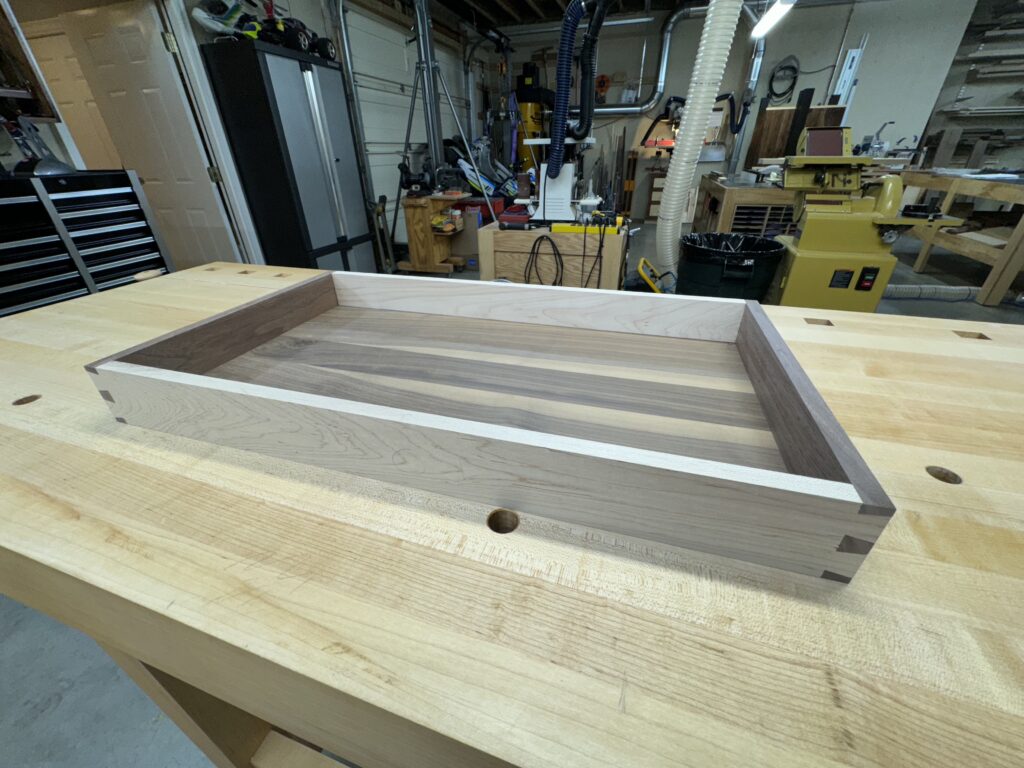
The drawer box is glued up.
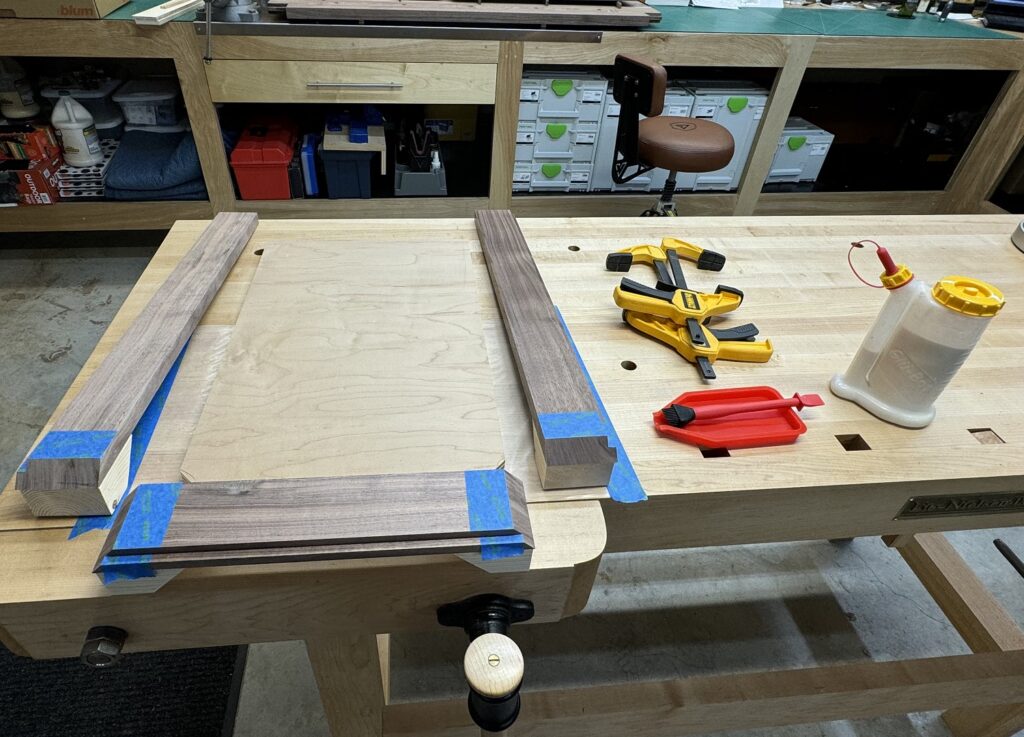
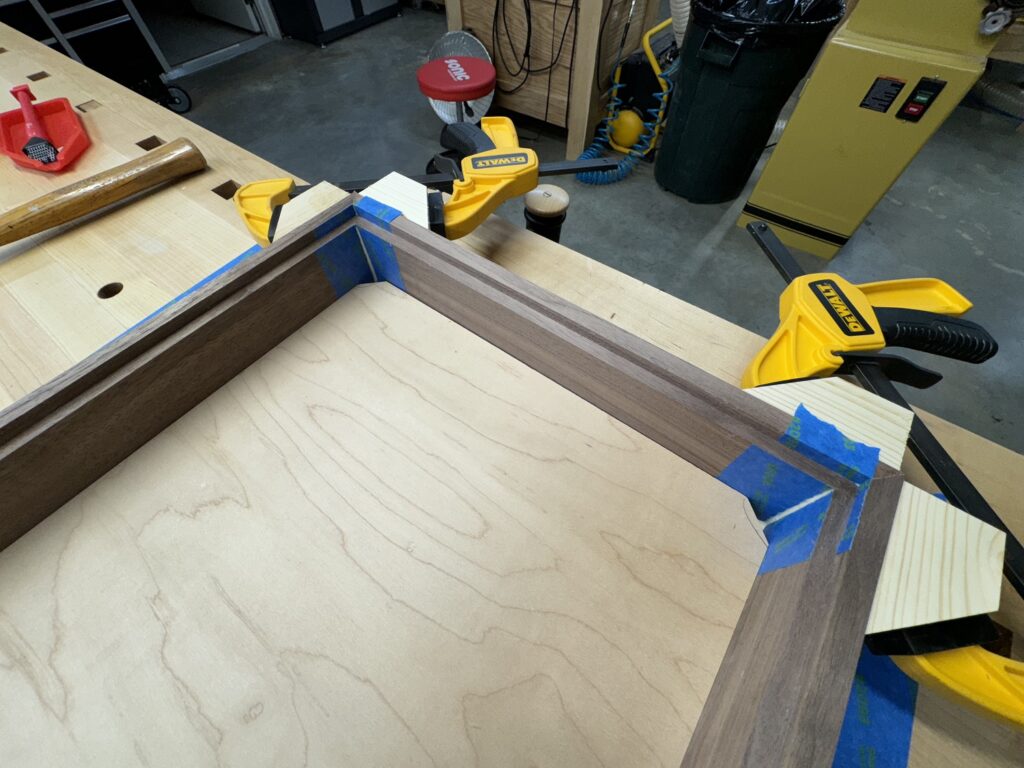
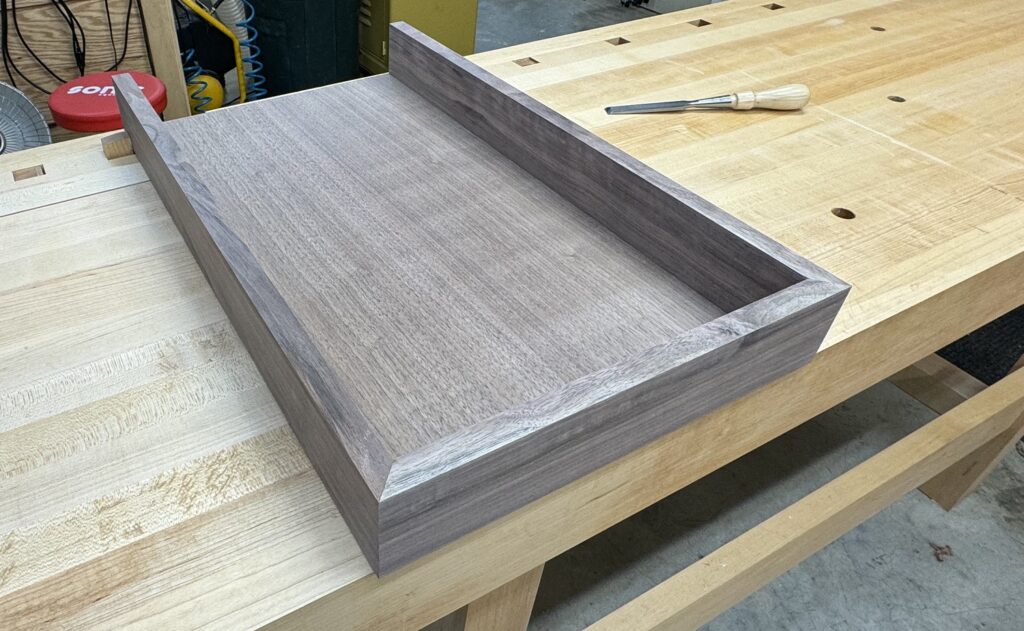
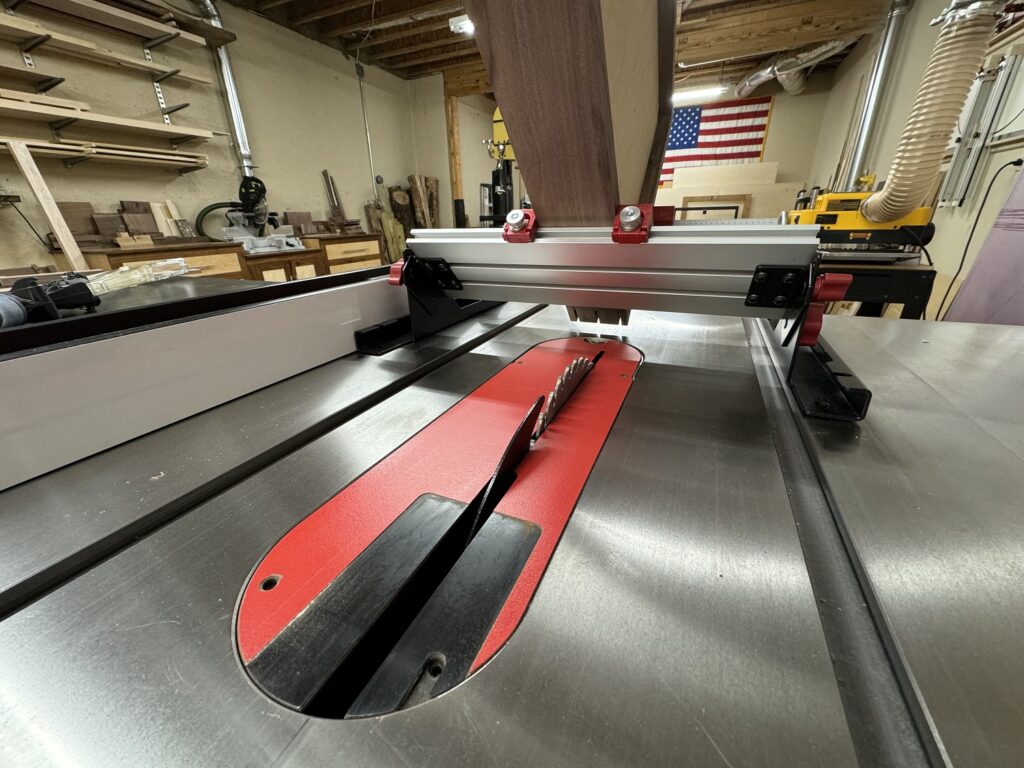
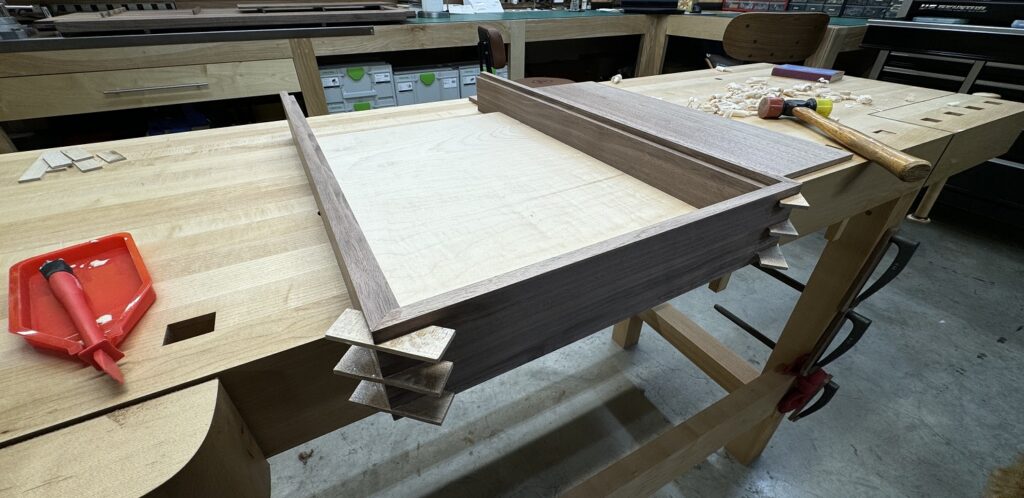
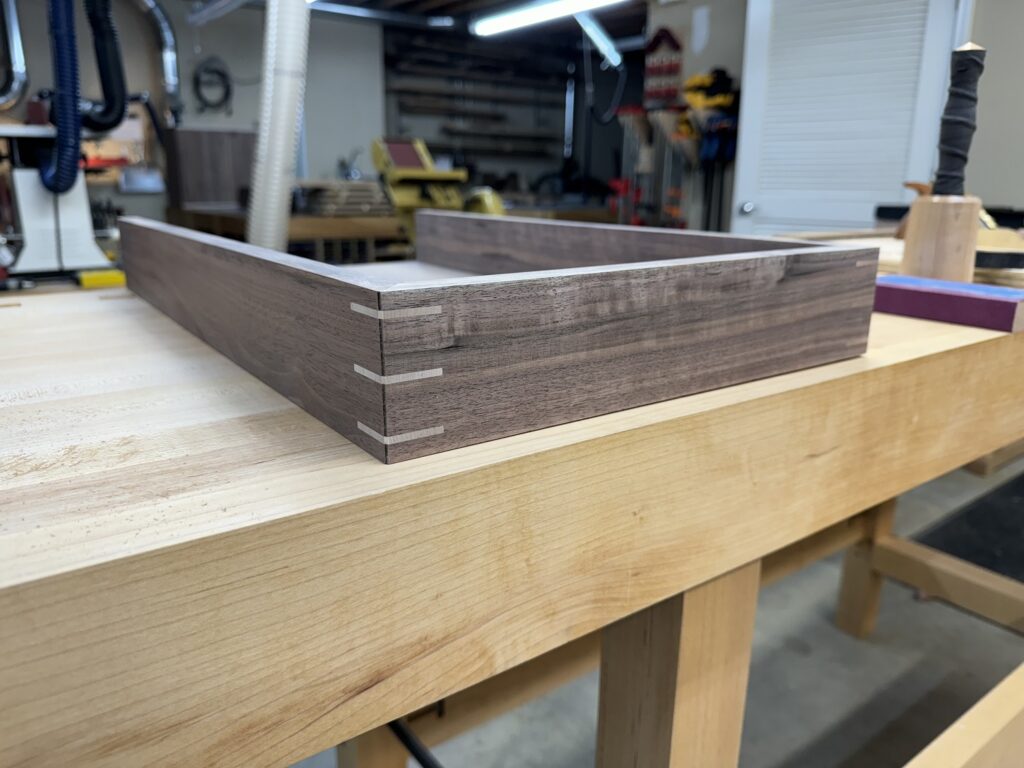
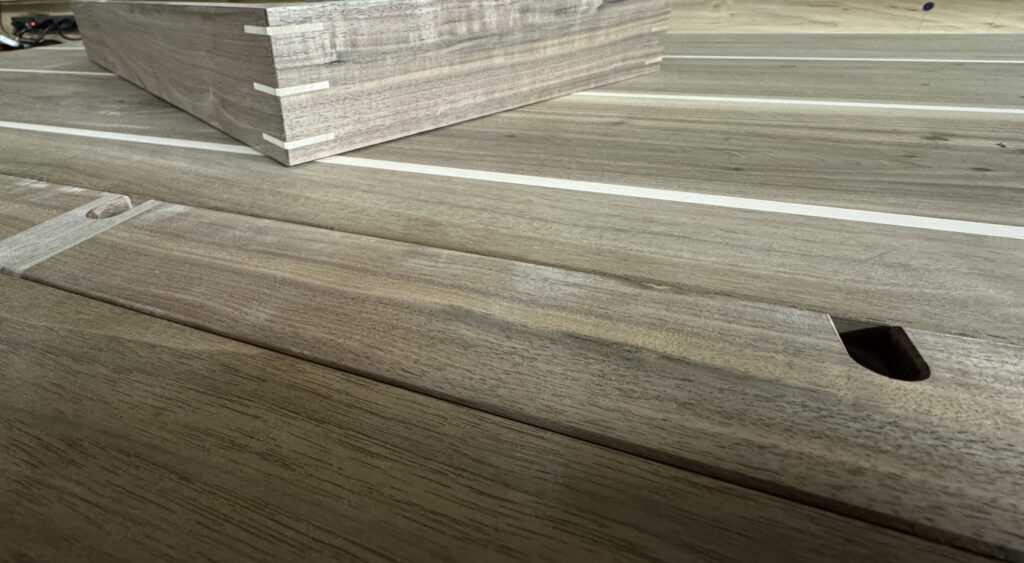
The miter joints are splined.
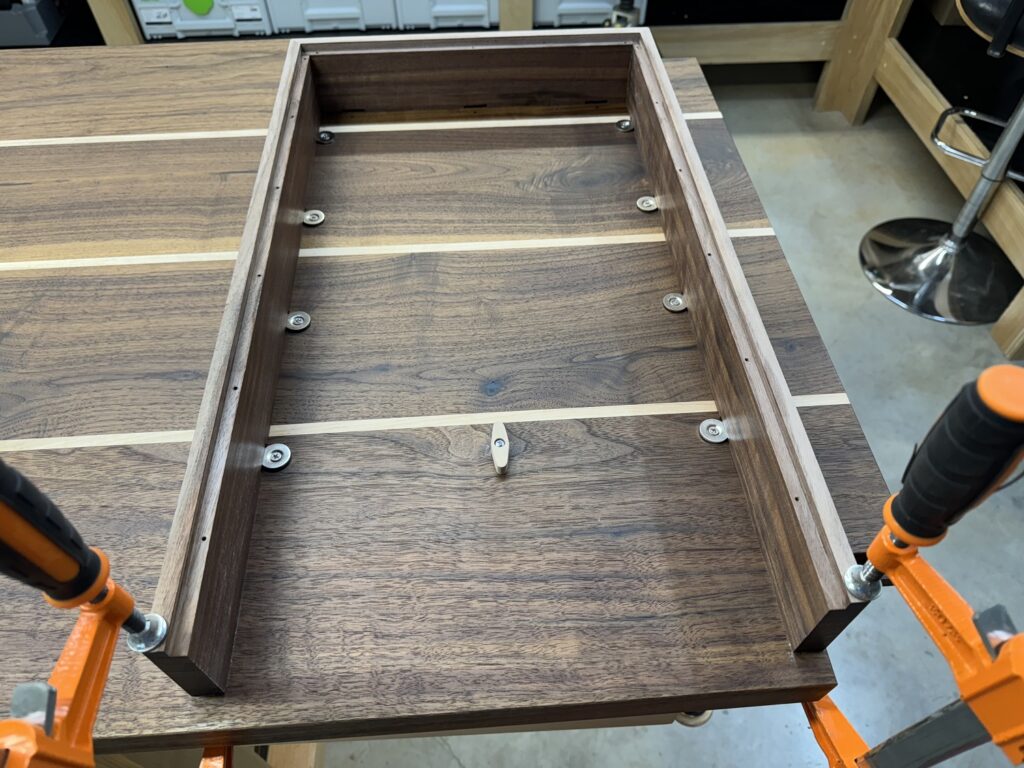
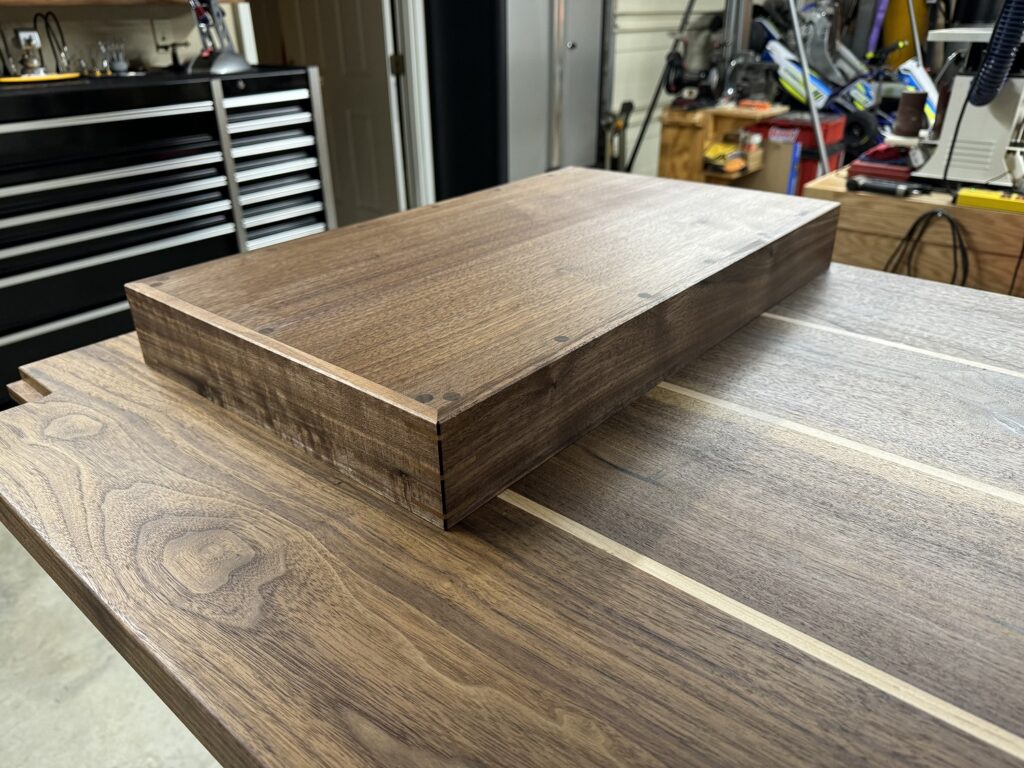
The figure 8 brackets are installed to secure the pencil drawer box to the bottom of the tabletop. The box is glued at the front to keep it’s position fixed while the figure 8 brackets permit seasonal movement across the rest of the box.
The legs are stained black with Rubio Monocoat Precolor Easy Intense Black.
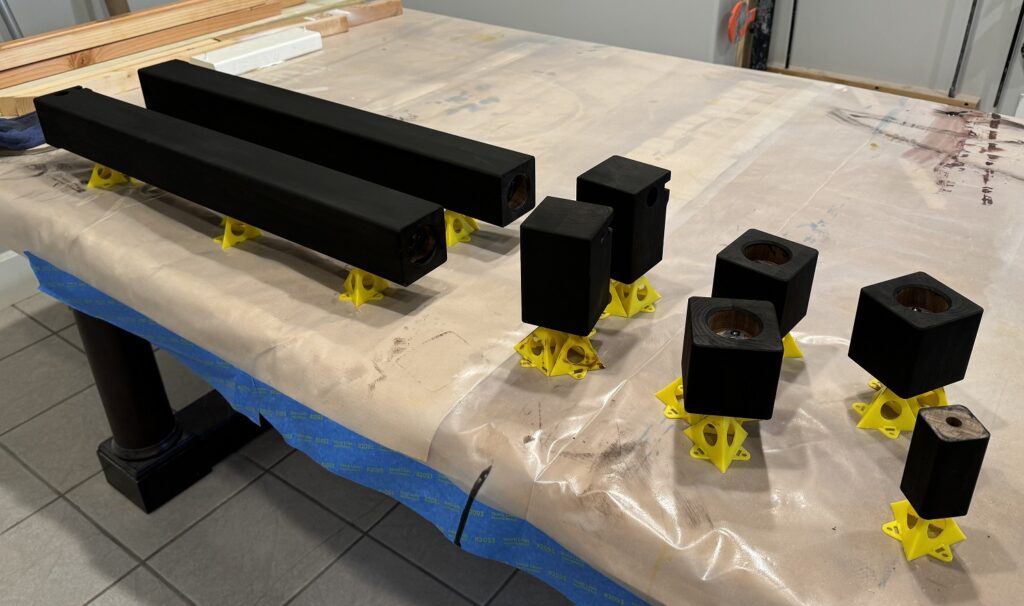
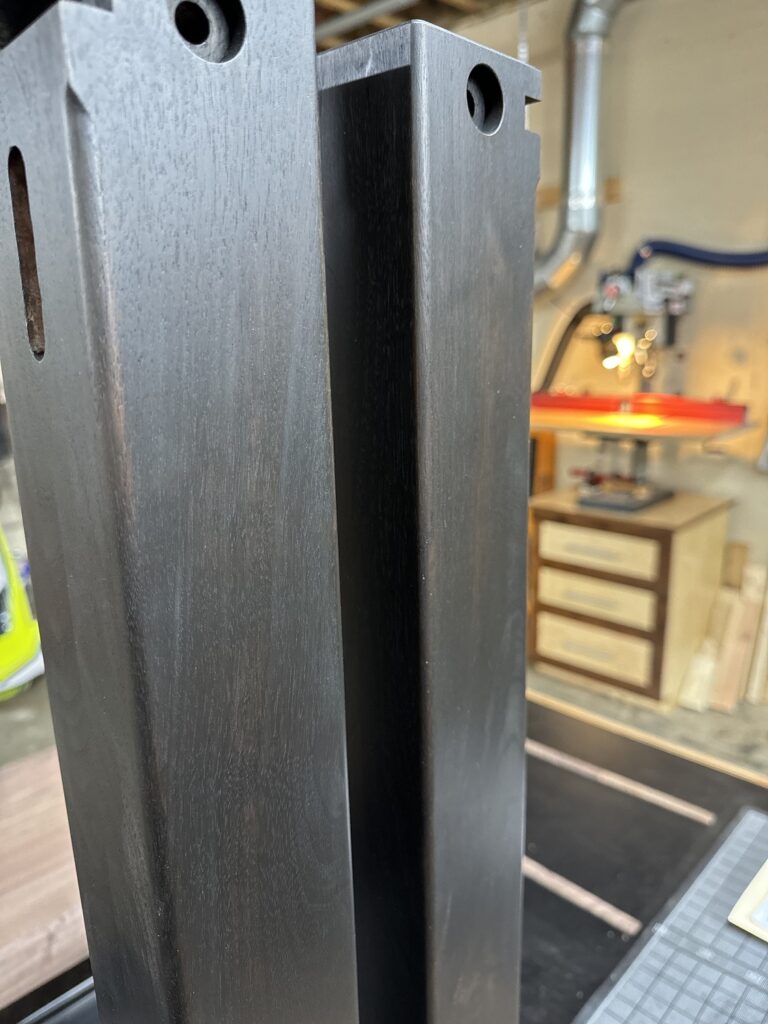
Then the legs are lightly sanded to bring back the grain and some of the color of the walnut, and finished with Rubio Monocoat Oil Plus 2C. They will also get a coat of Sheen Plus.
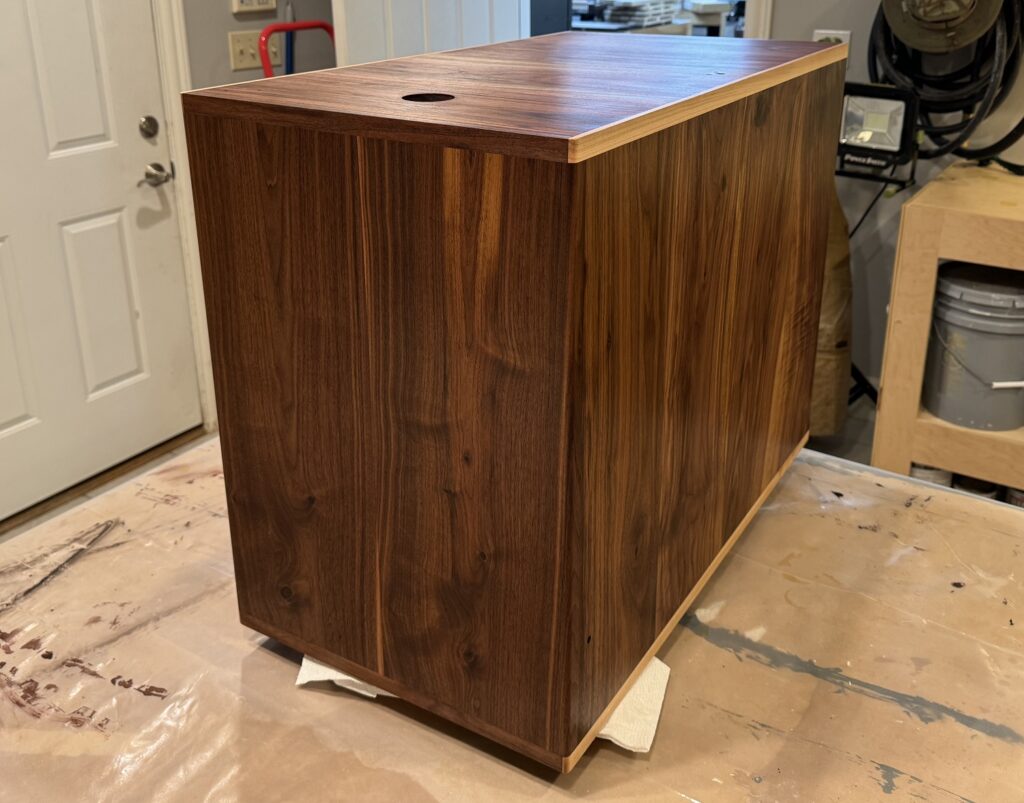
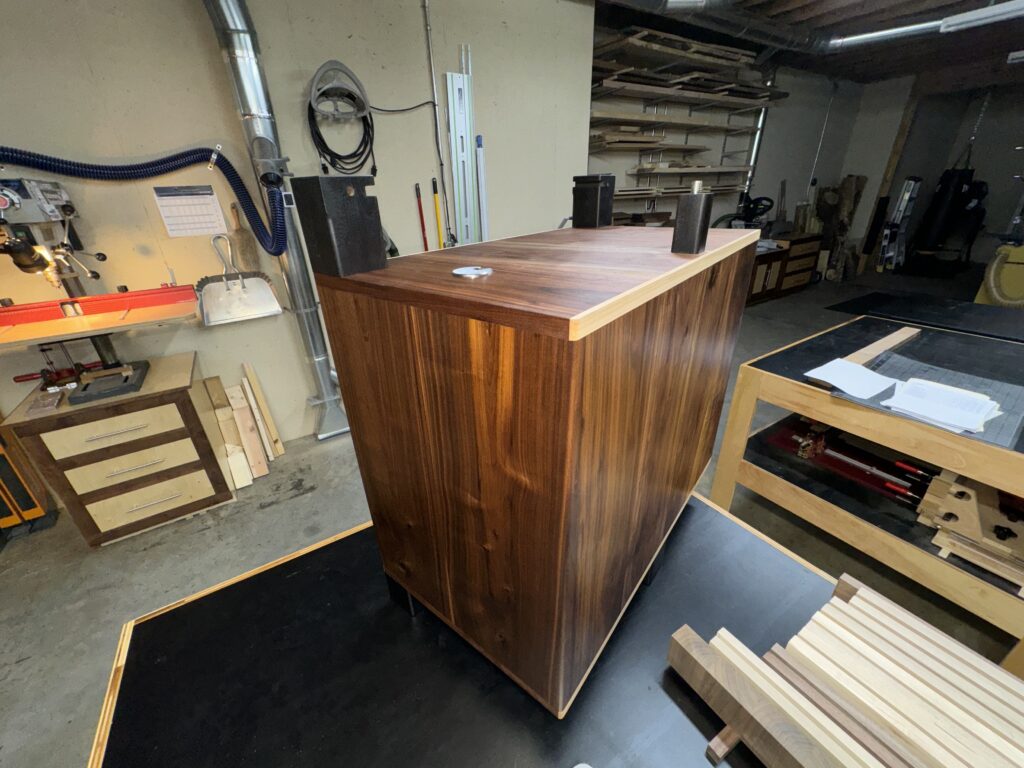
The cabinet is next.
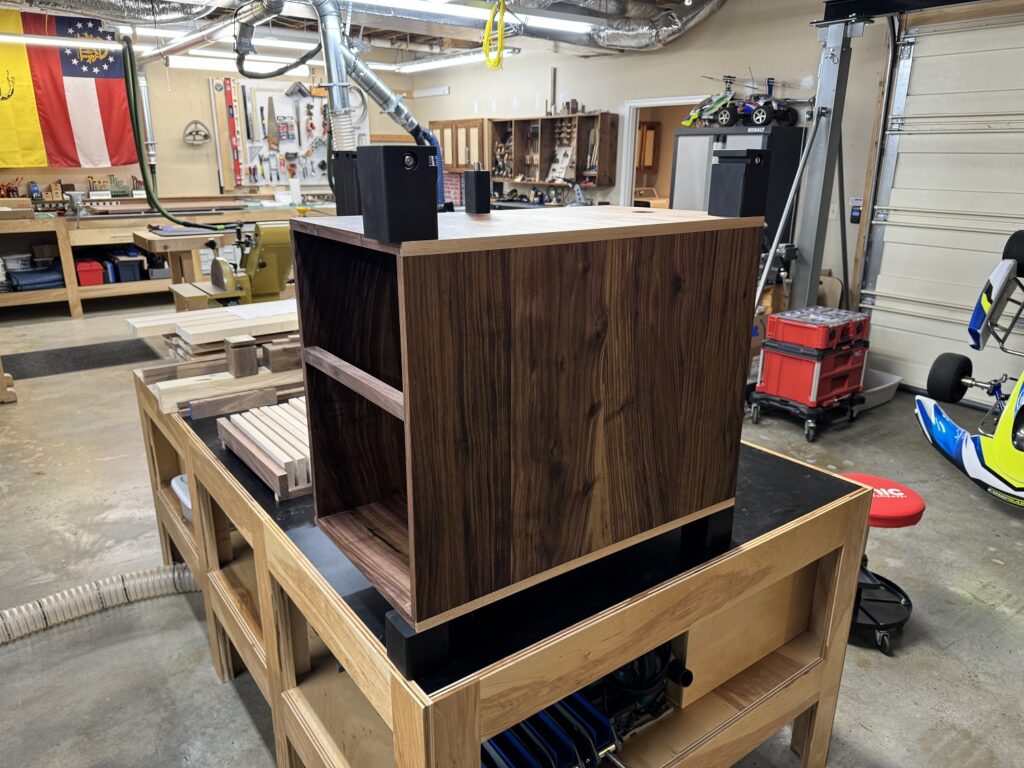
The pencil drawer is made.

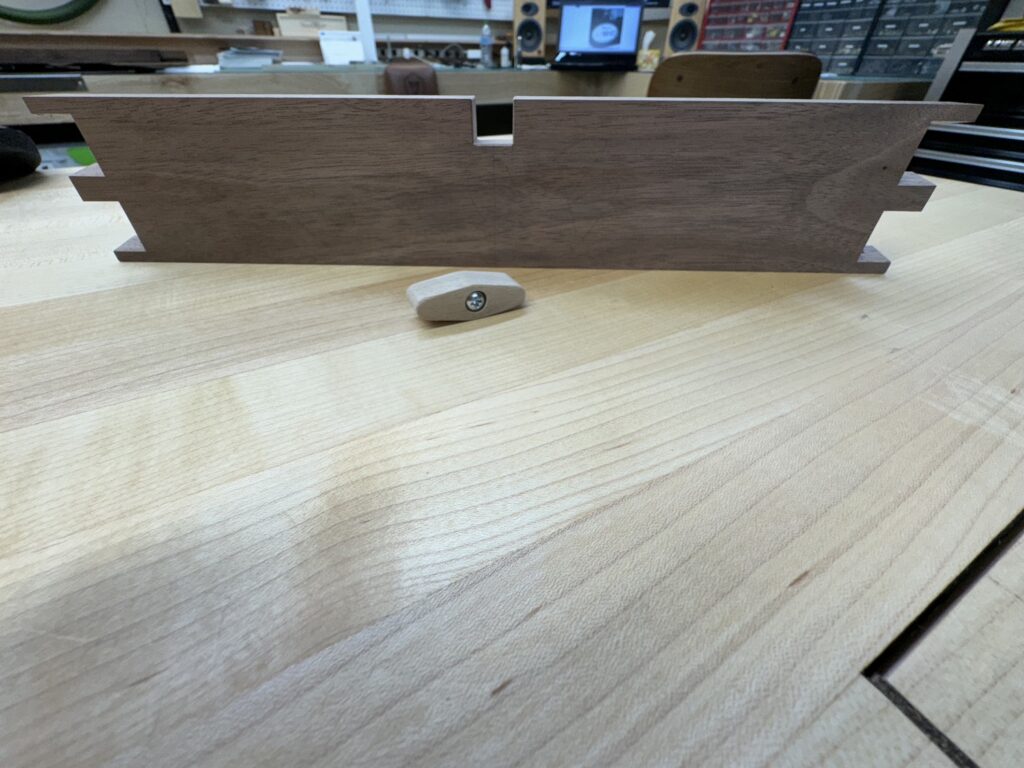
The pencil drawer catch is a wood block that swivels.
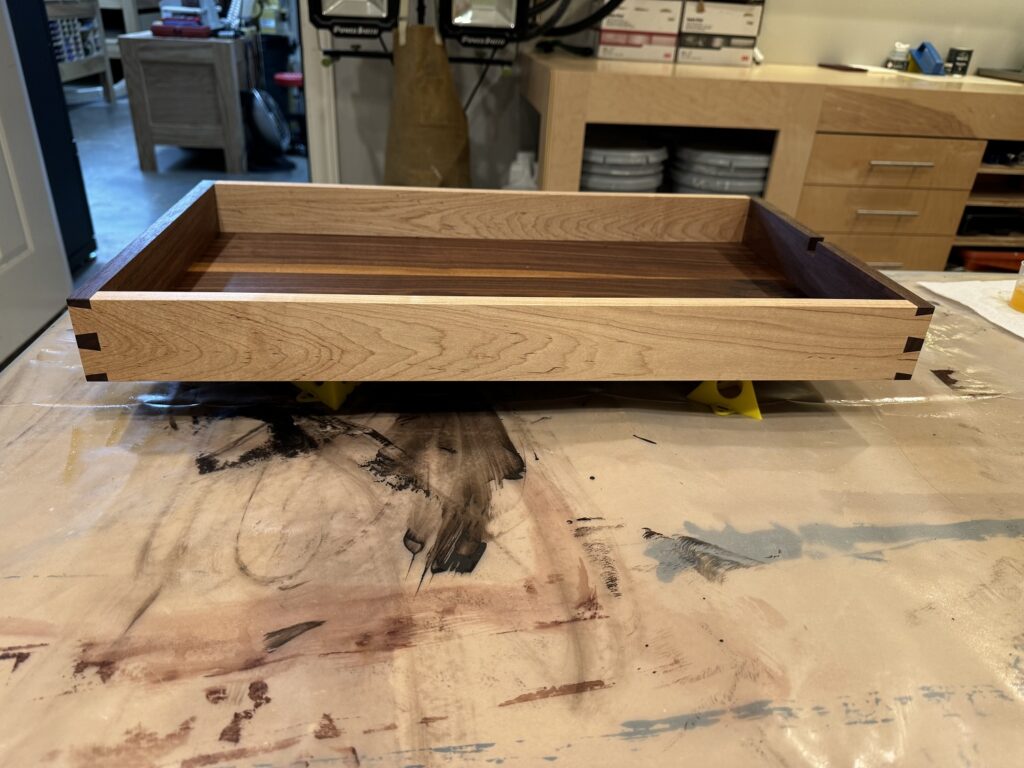
The leg group is glued up.
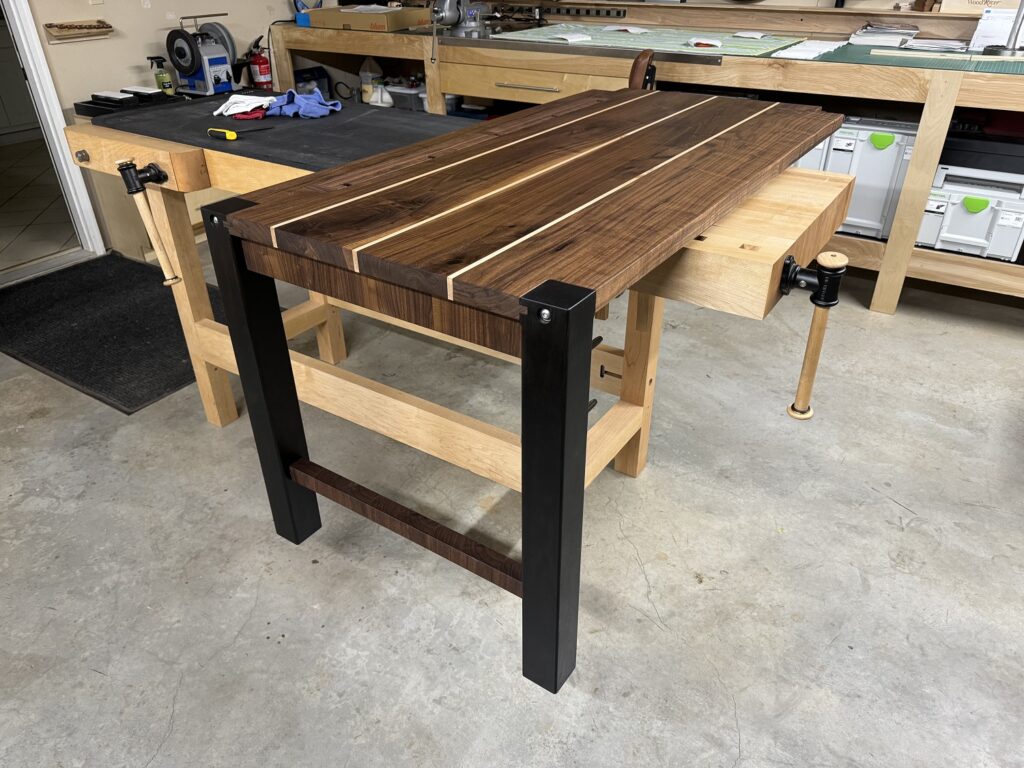
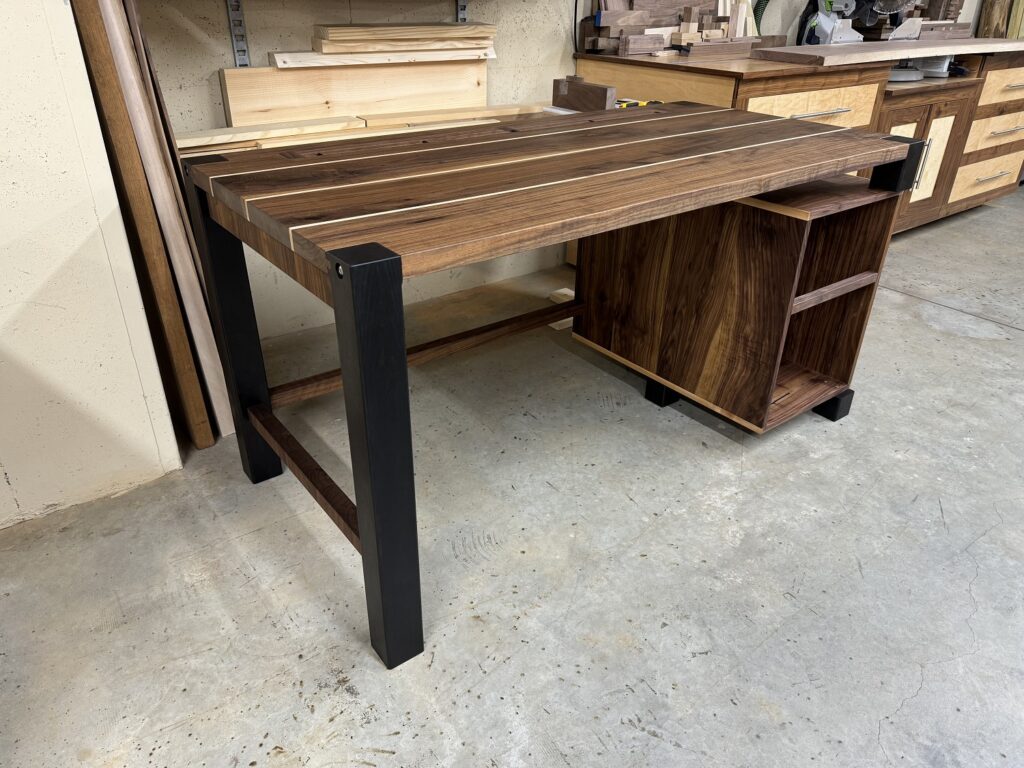
A second coat is applied to the top using Rubio Monocoat Sheen Plus.
UHMW pads are added to the pencil drawer to prevent sagging and aid smooth operation.
The pencil tray is made from walnut sap wood.
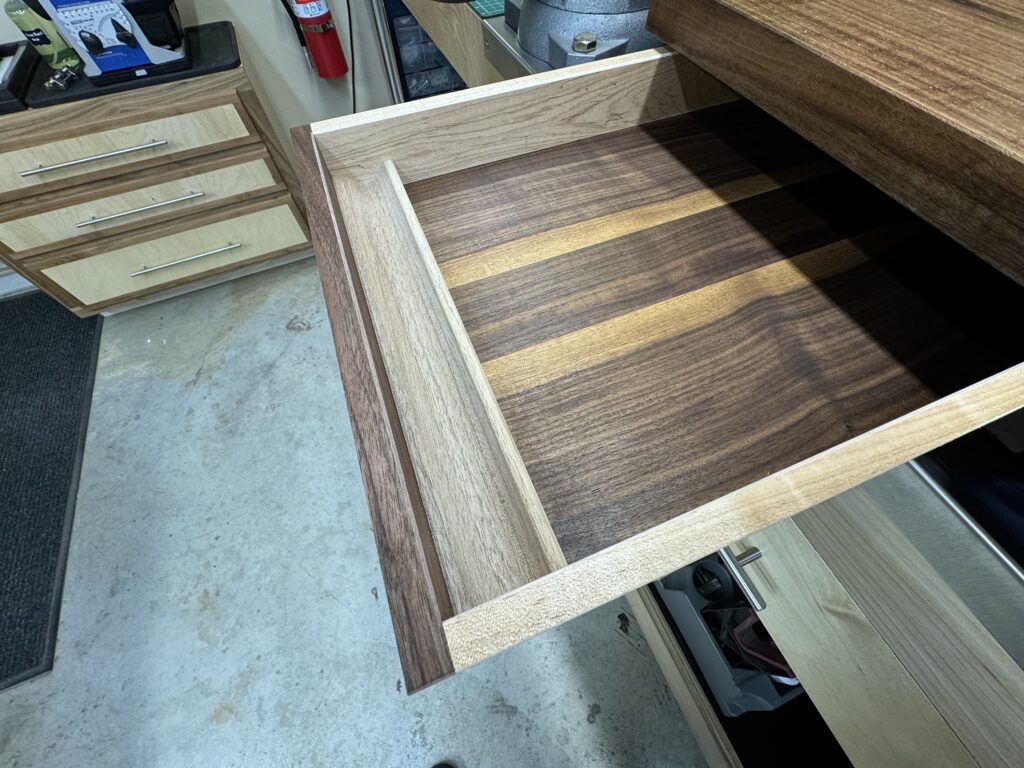
Now to make the big drawers.
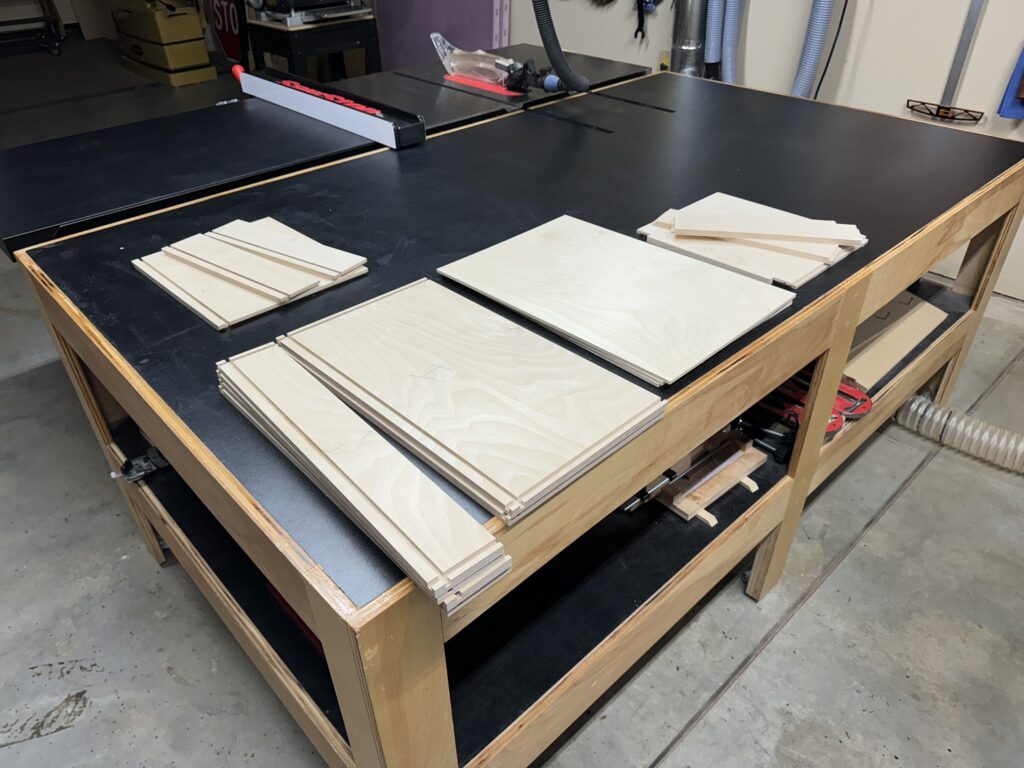
Walnut rails are added to the file drawer for hanging files.
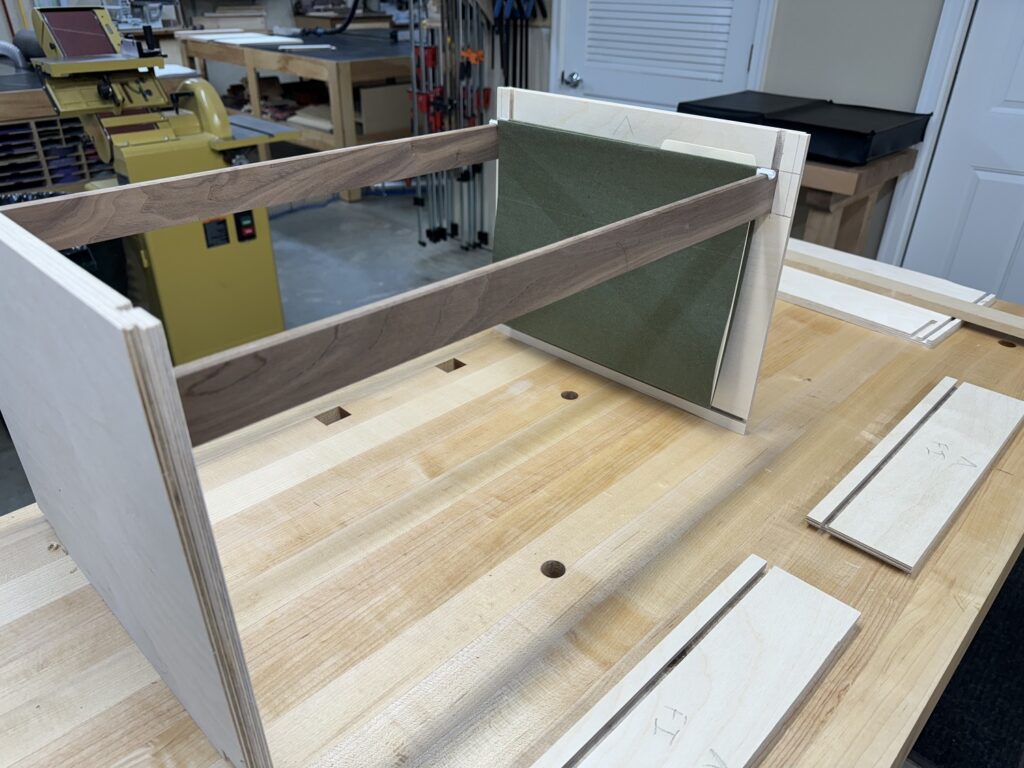
The inside faces of the drawers are sanded and the drawers are glued up.
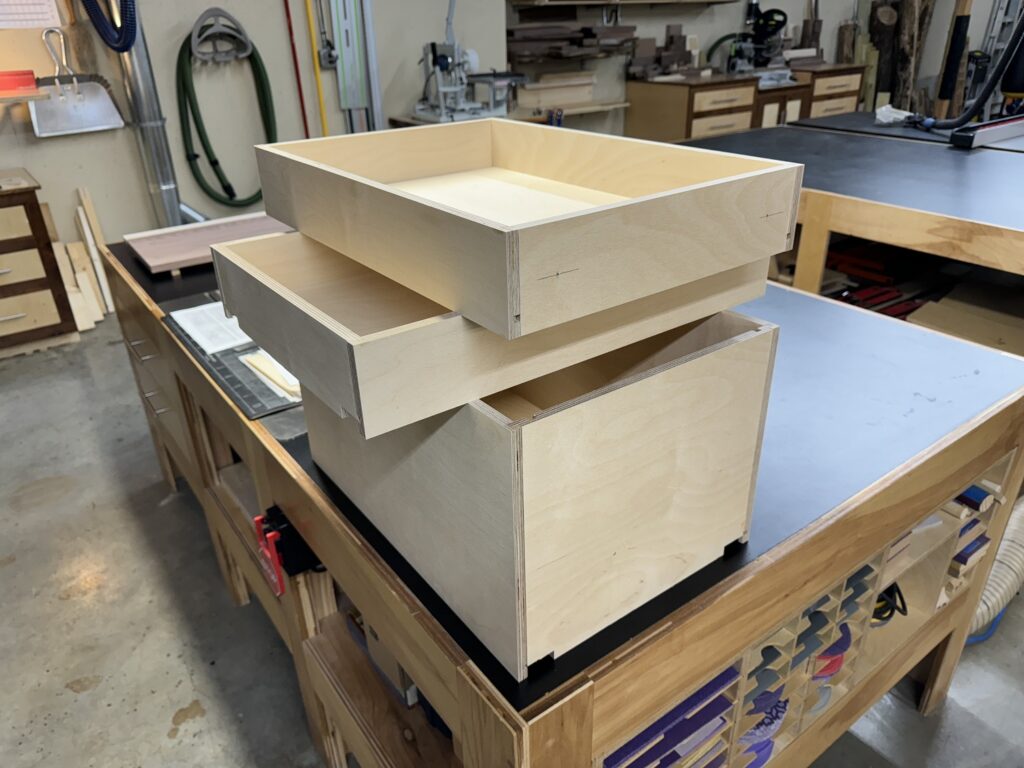
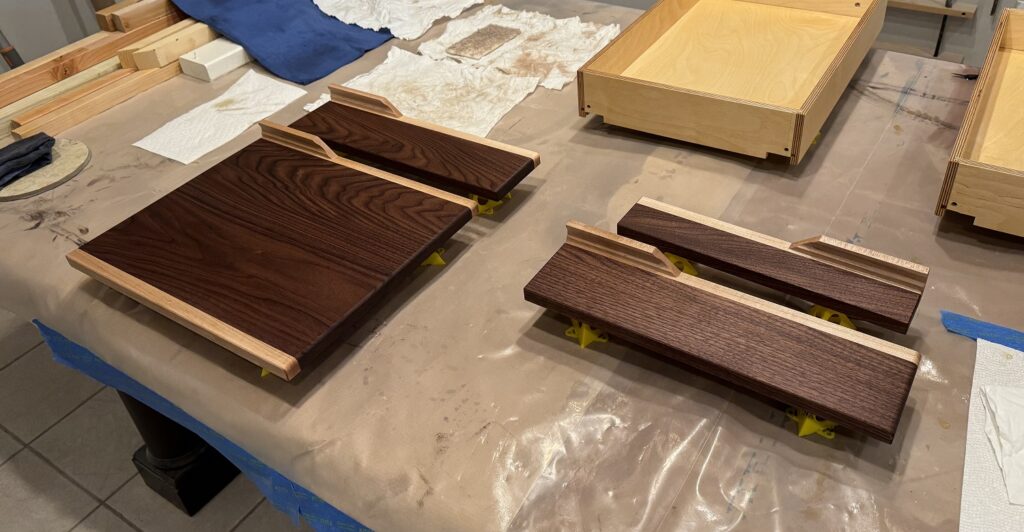
Now to make the drawer faces and pulls.
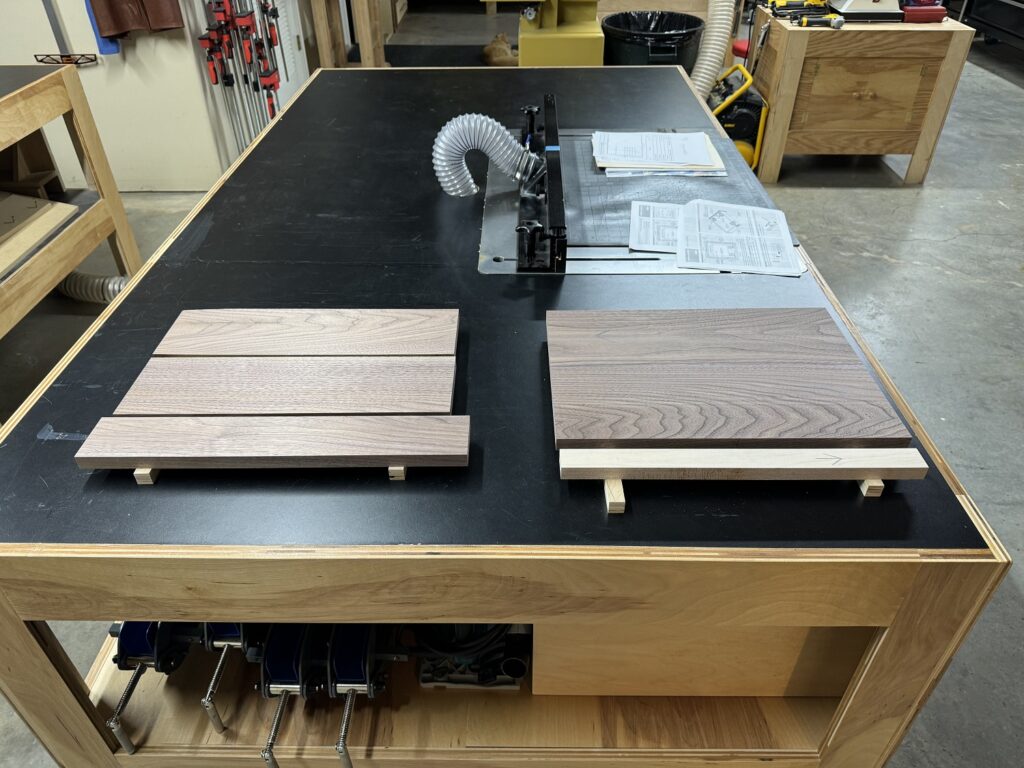
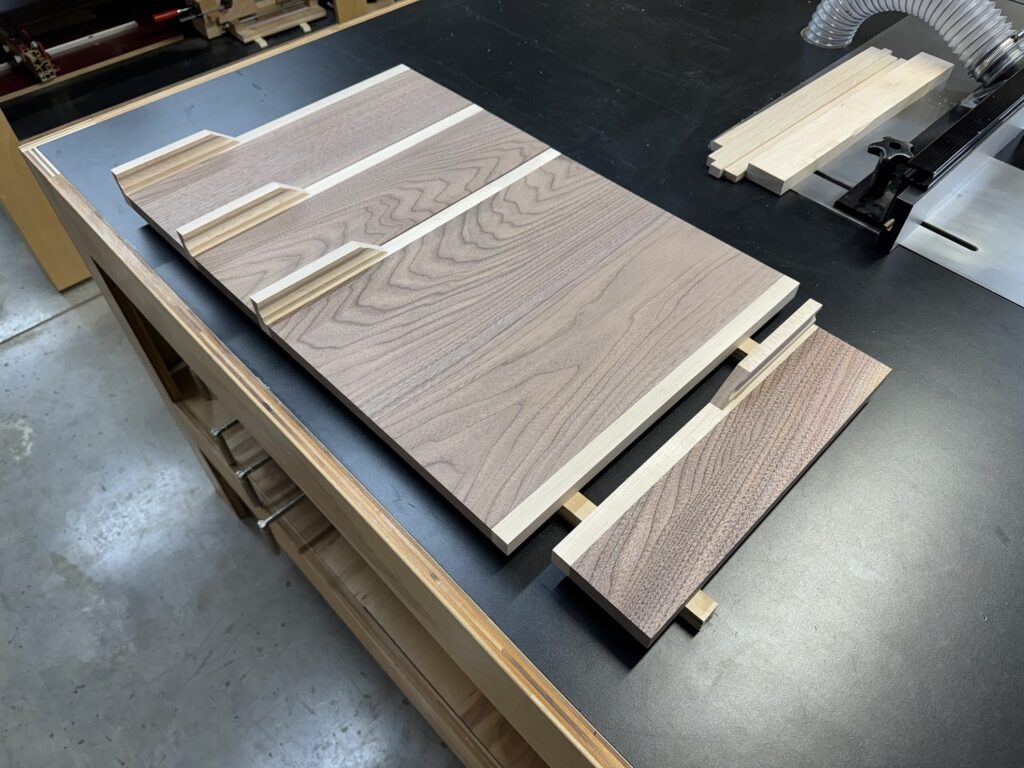
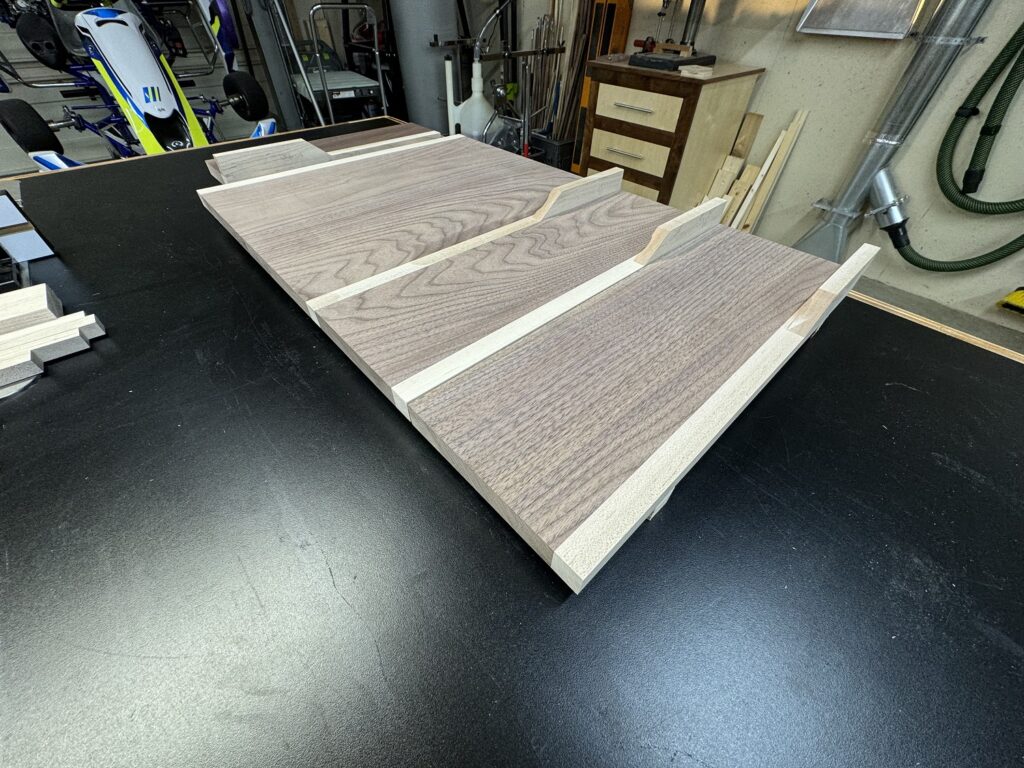
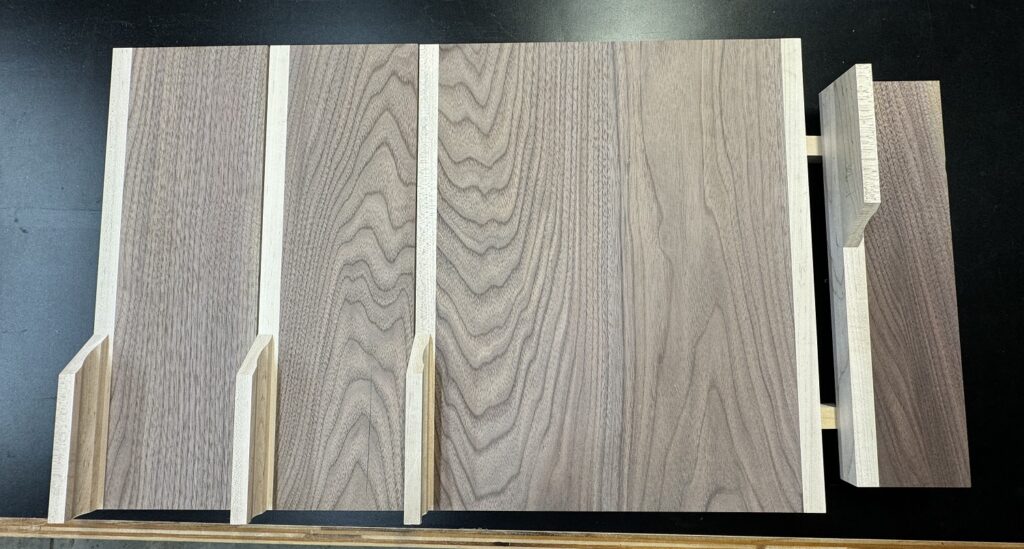
The drawer faces are fitted to the cabinet.
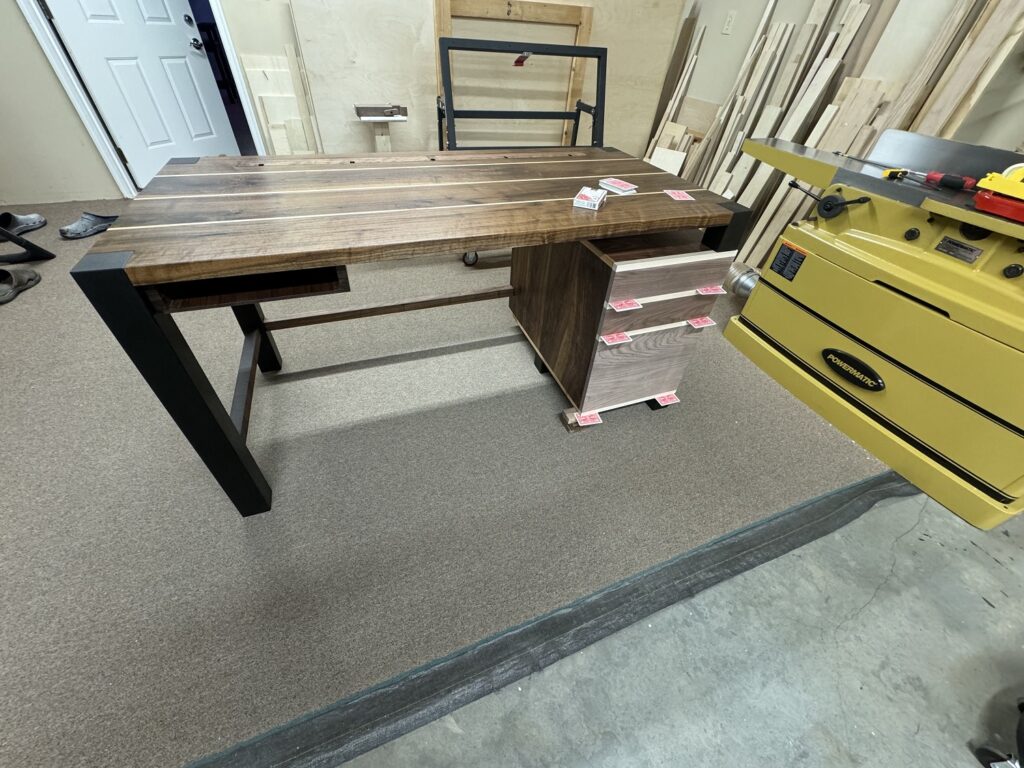
A wire dam is installed to prevent the wires from impinging on drawer operation.
The drawer faces are mounted. This completes construction. All that is left is to sand and finish the drawer faces.
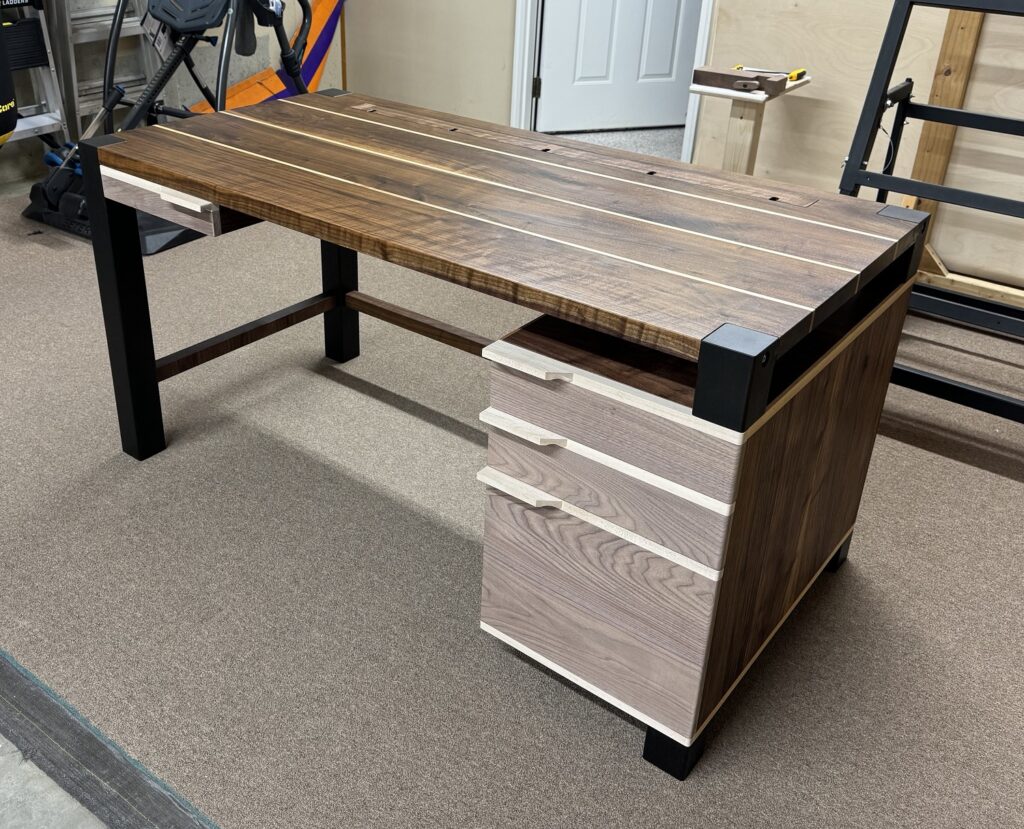
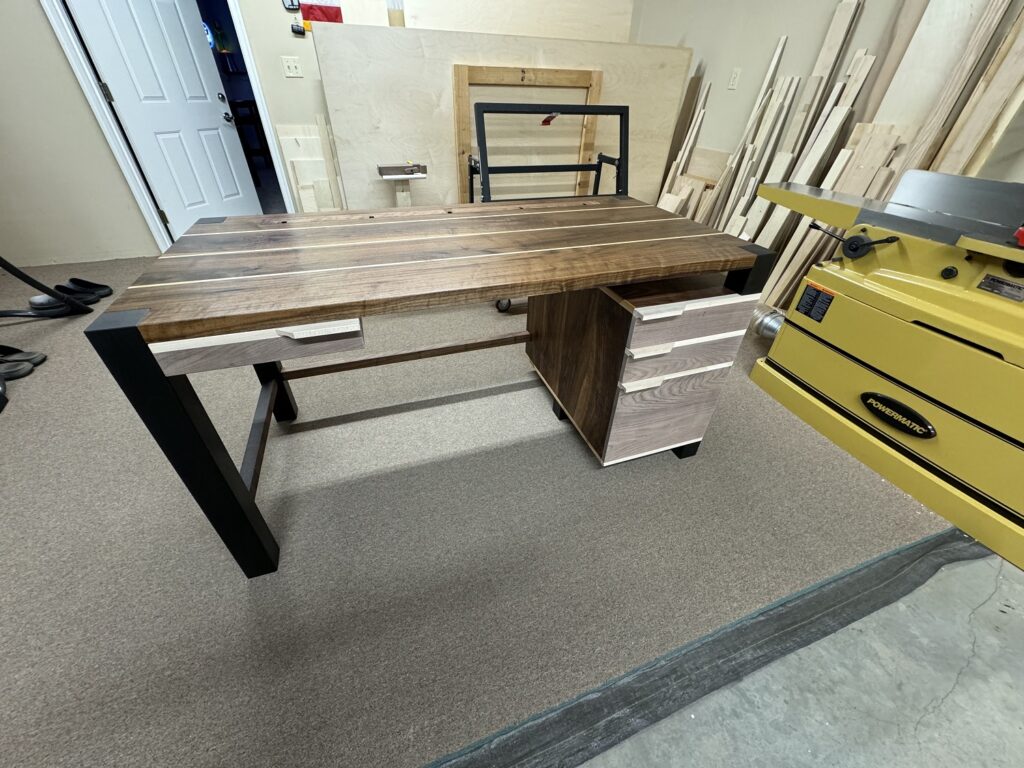
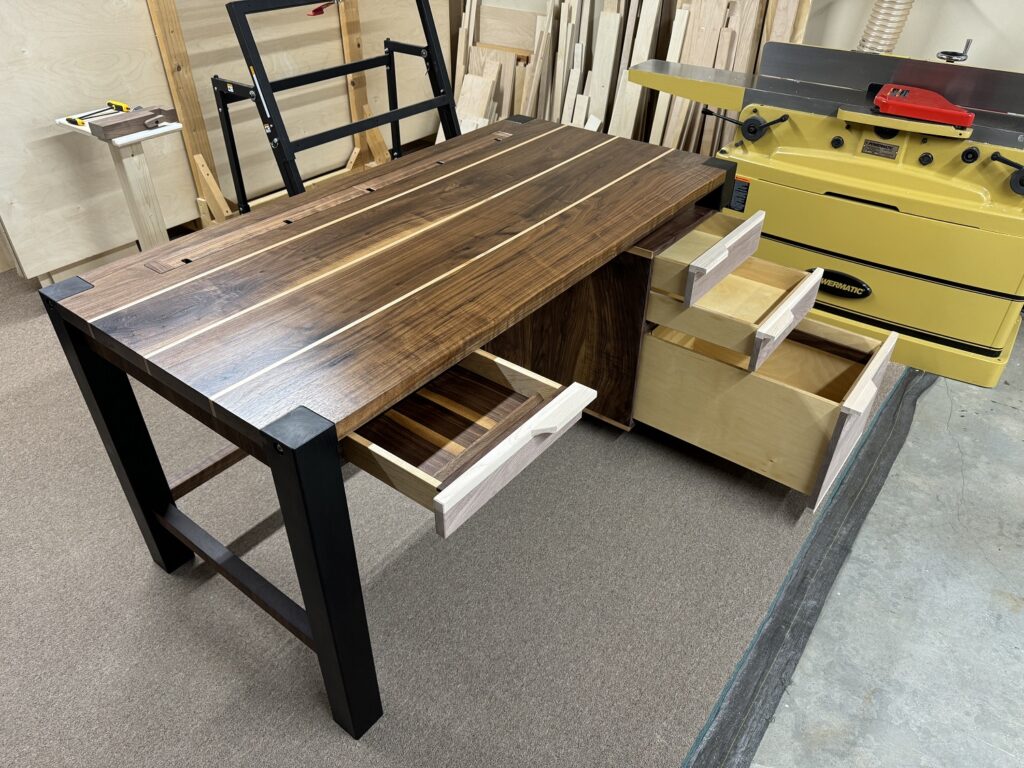
The drawer faces are finished with Rubio Monocoat.
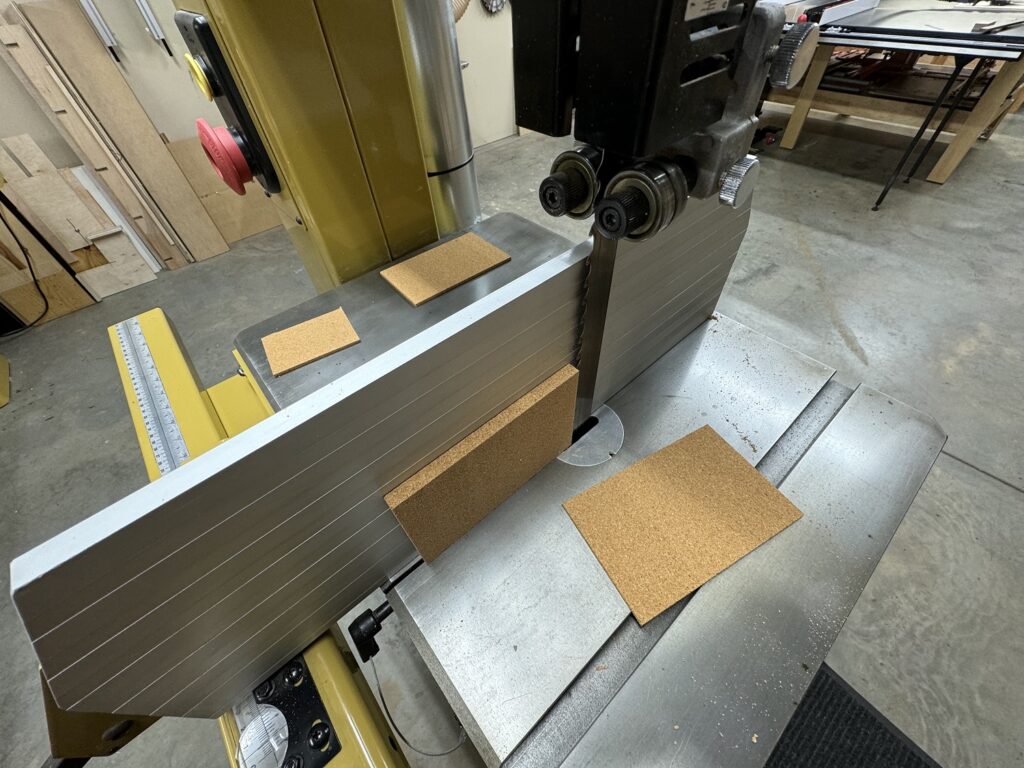
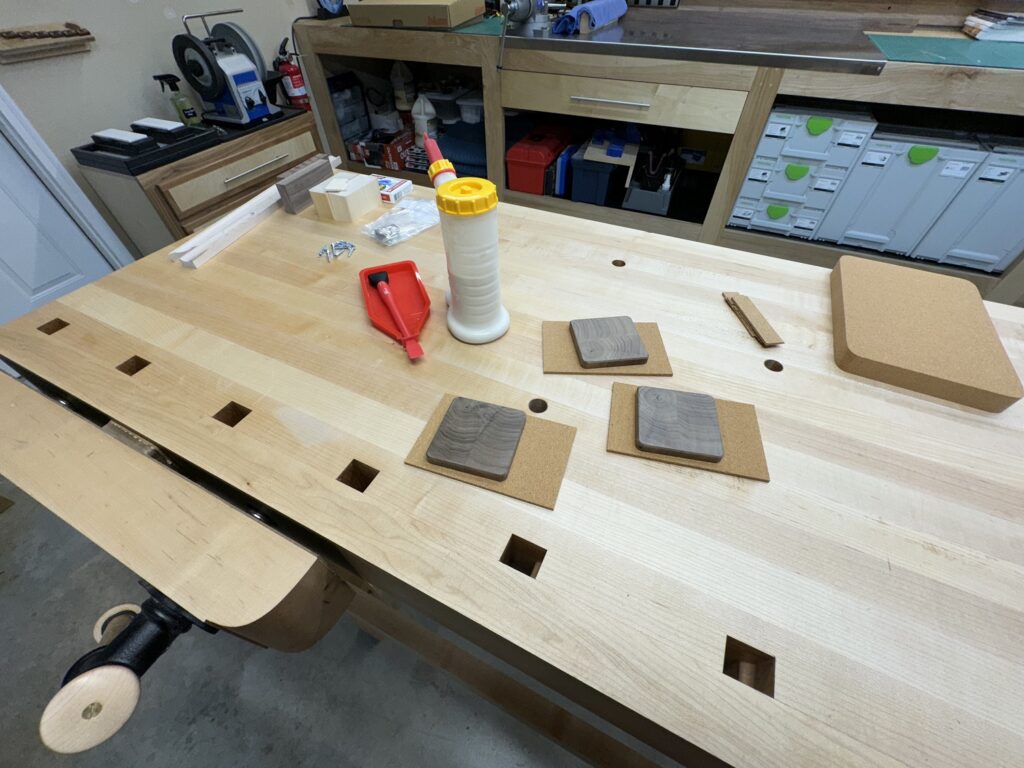
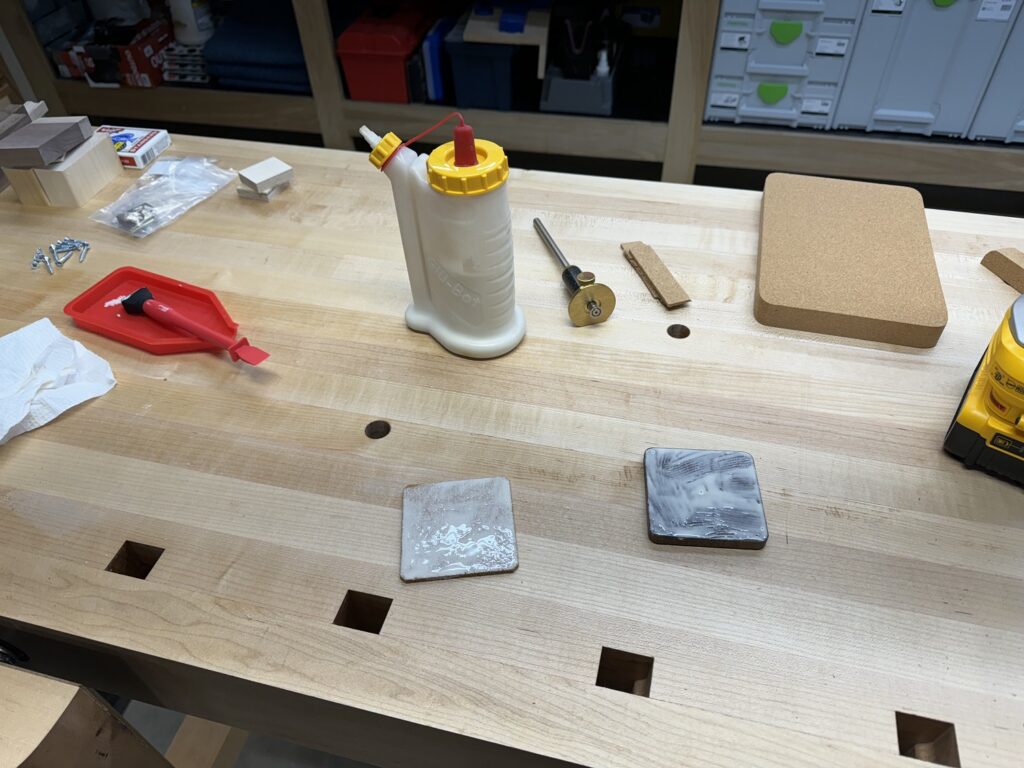
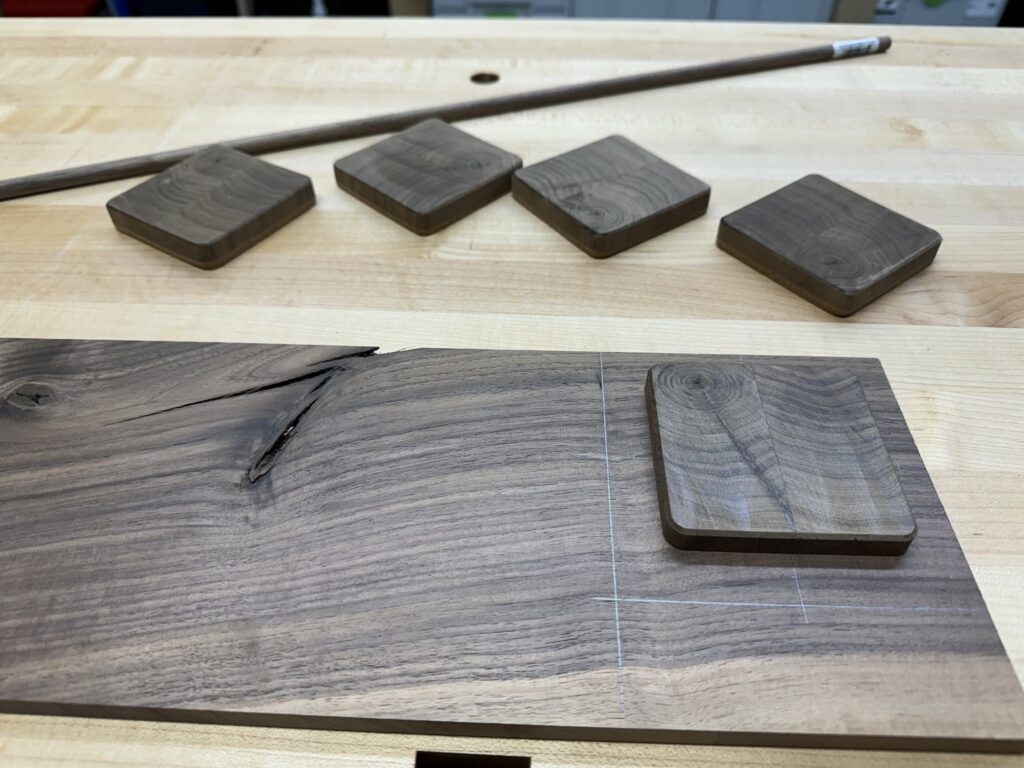
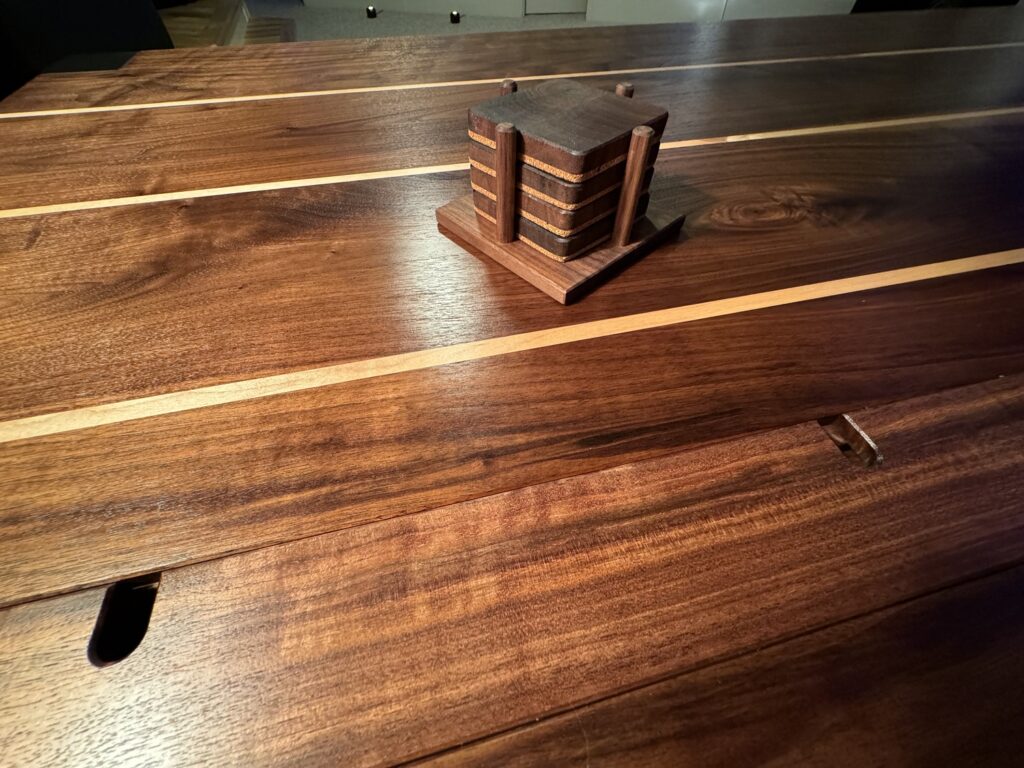
As a little “thank you” to the client, a set of desk coasters are made from left over leg stock.
Thanks for your interest.
