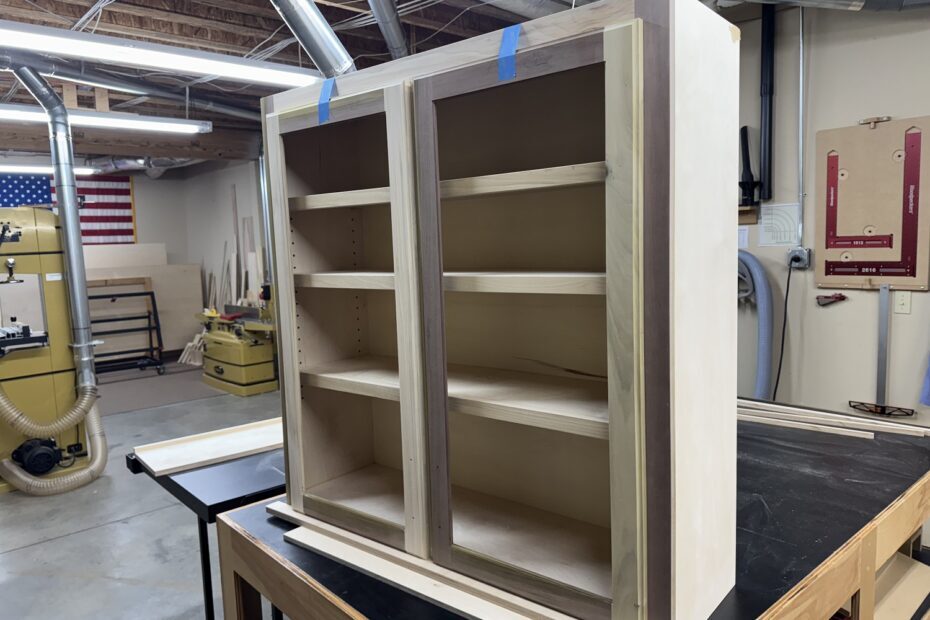
The client requested painted cabinets with glass doors and interior as well as under-cabinet illumination. This is a brief record of the build for the project.
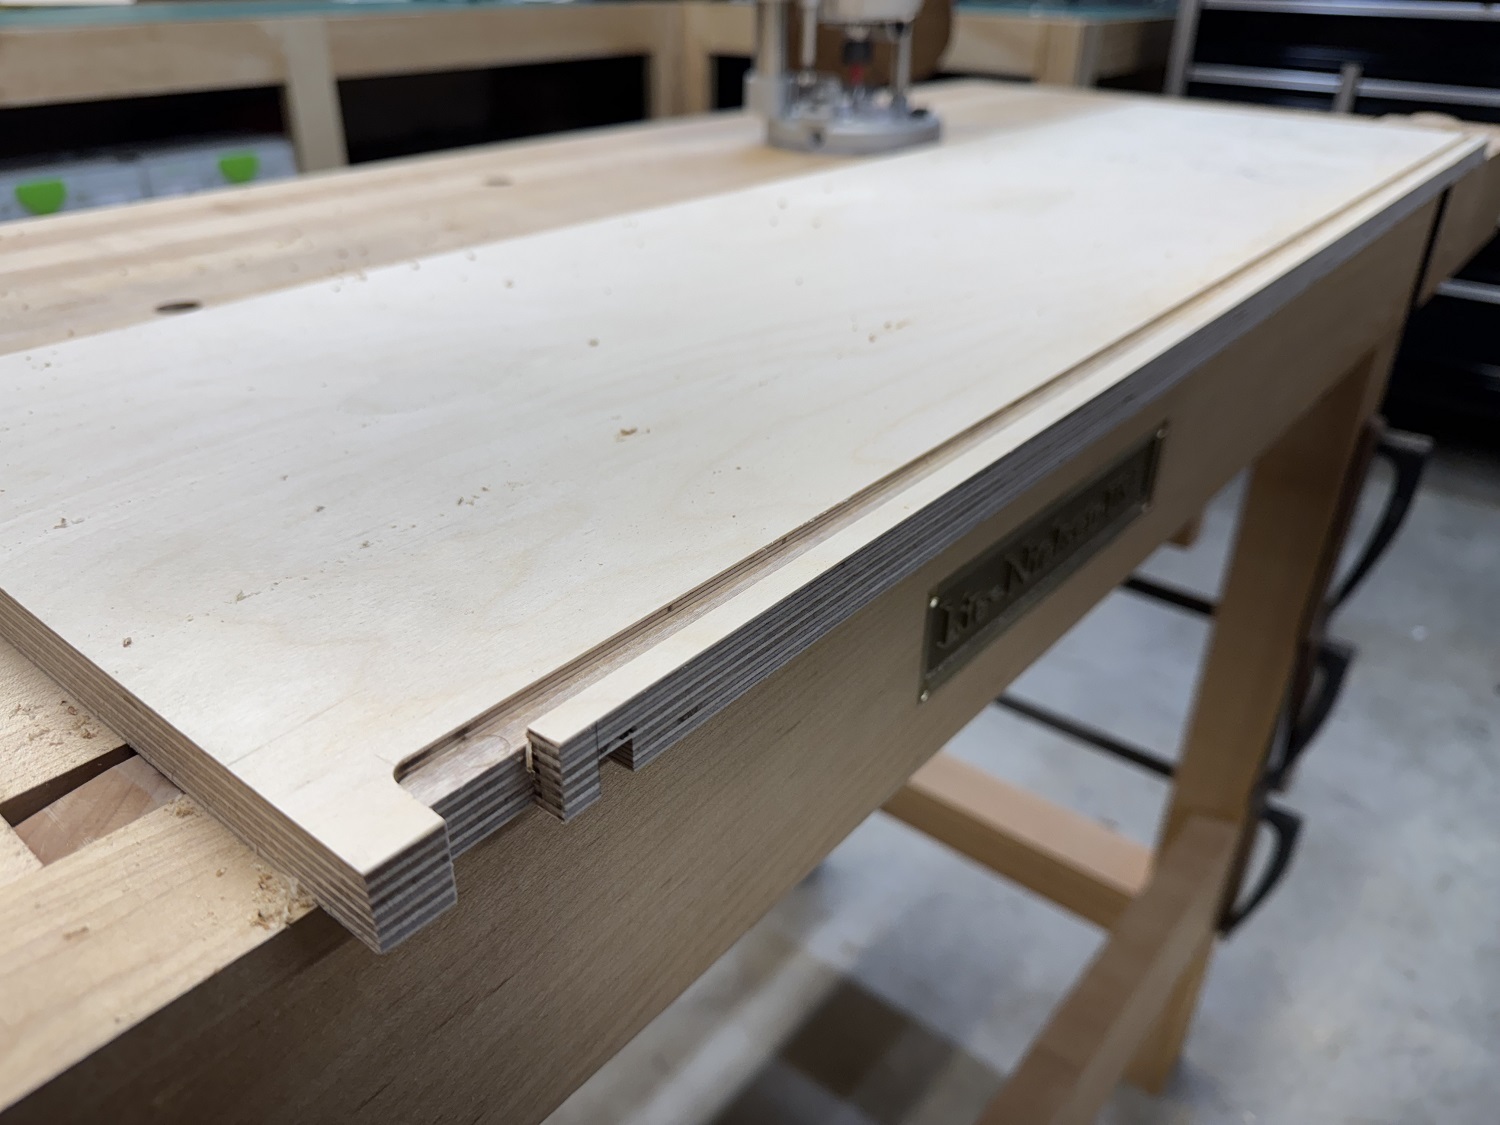
First, the carcass parts are cut to dimension, the locking rabbets are made to join them together, and grooves are cut to house the cabinet back.

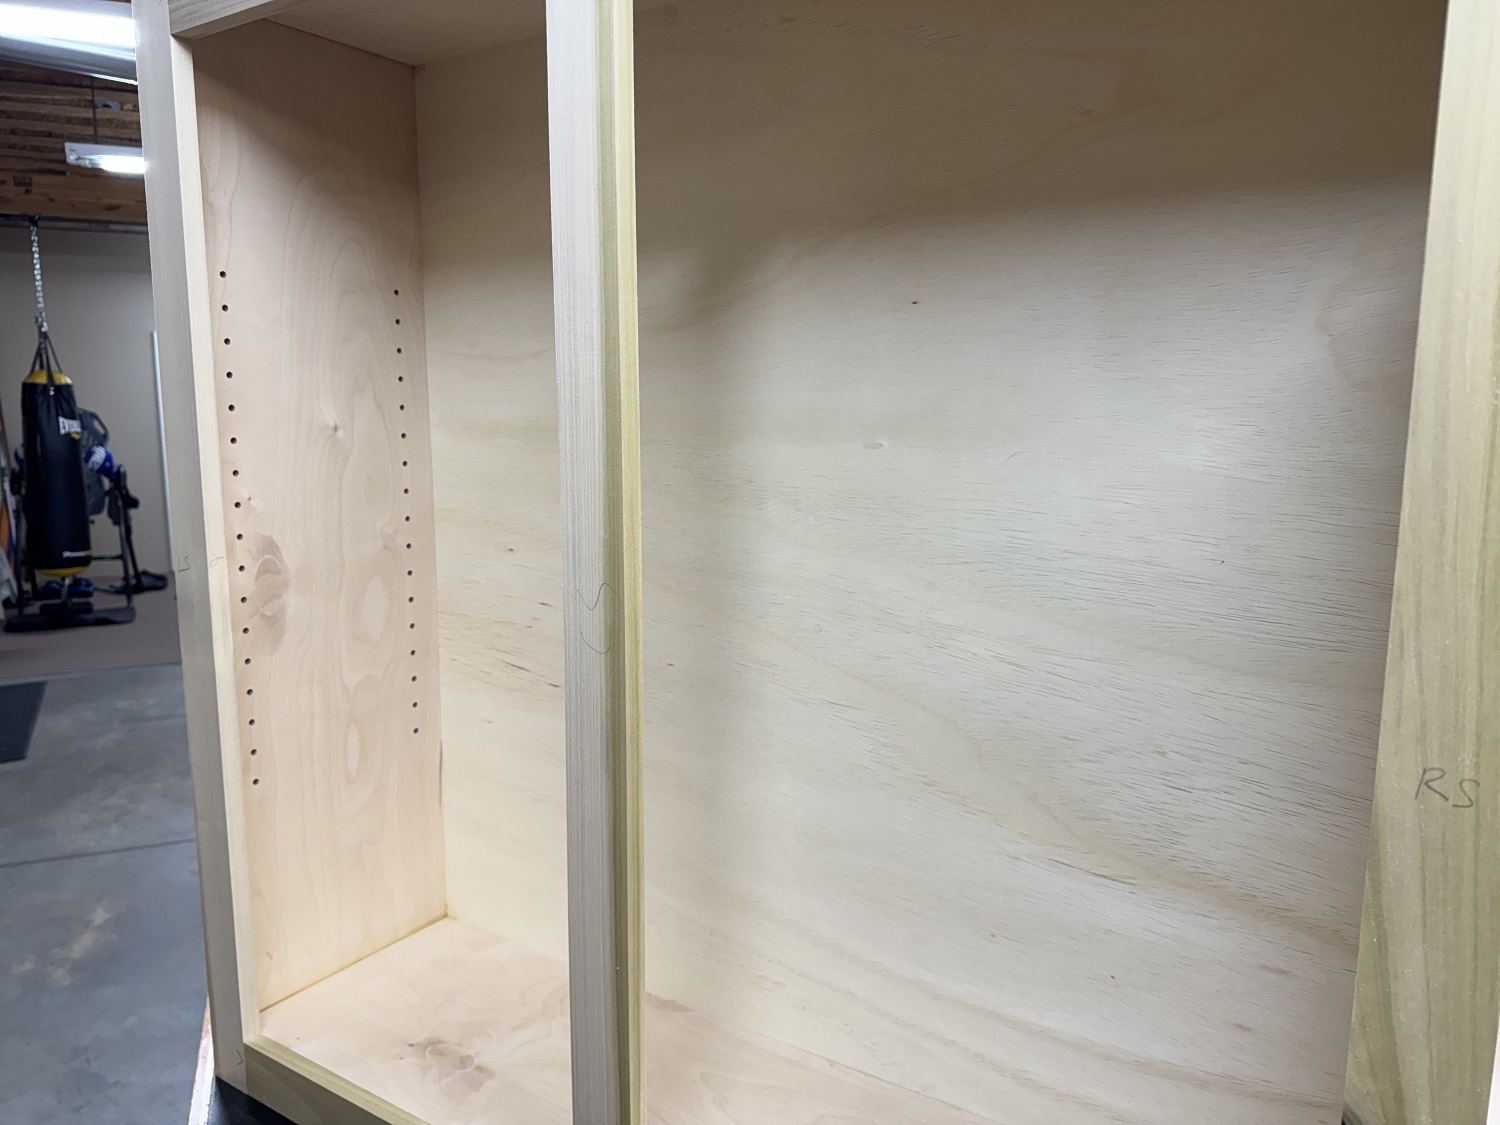
Then a wire channel is cut in the sides to power the under-cabinet lights.
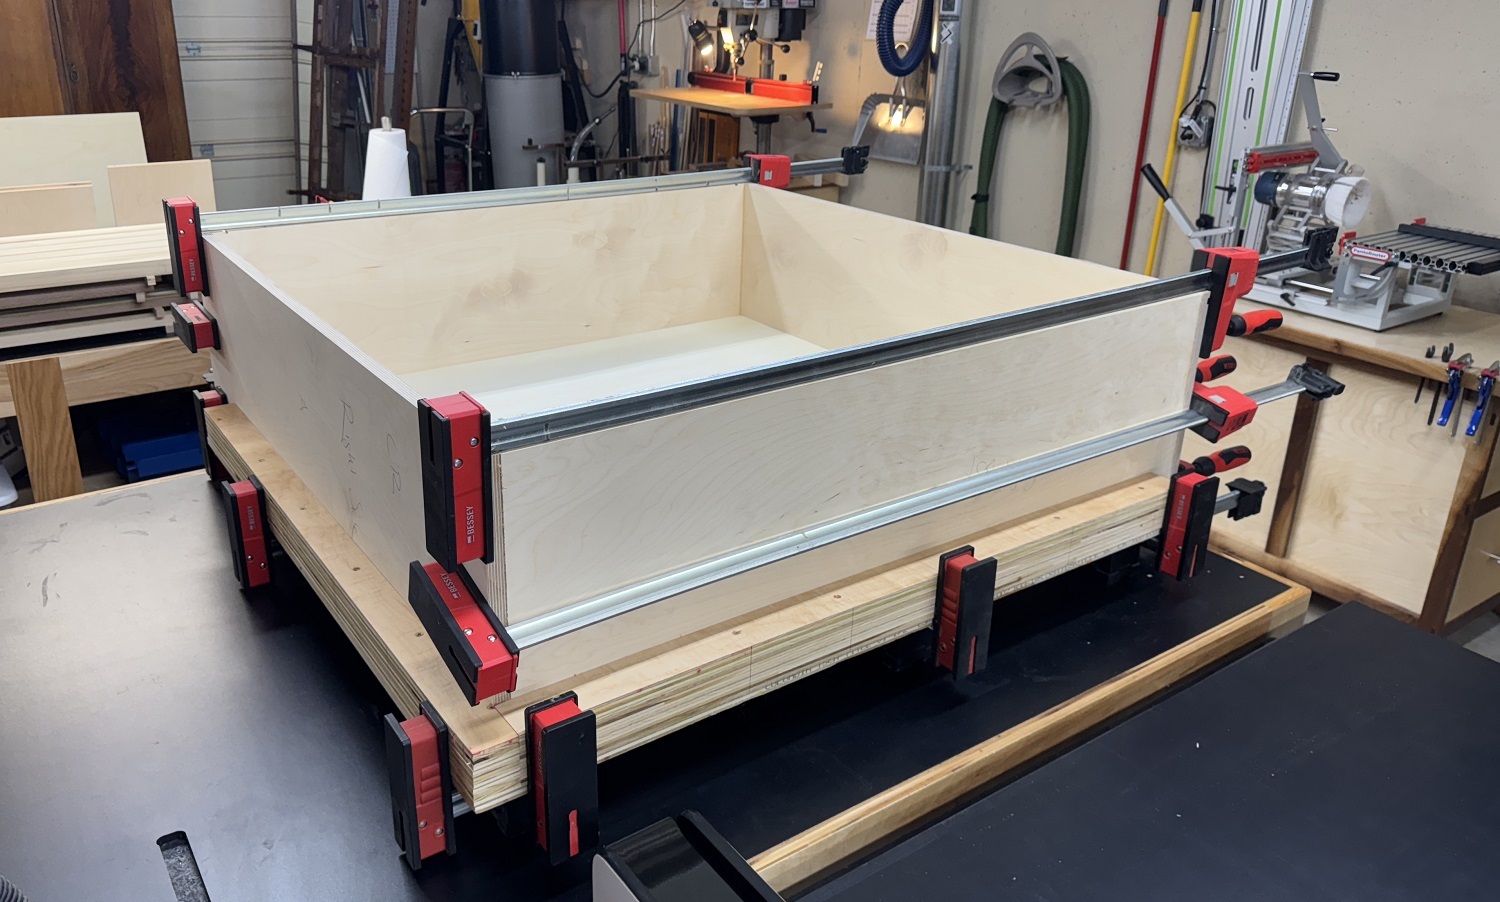
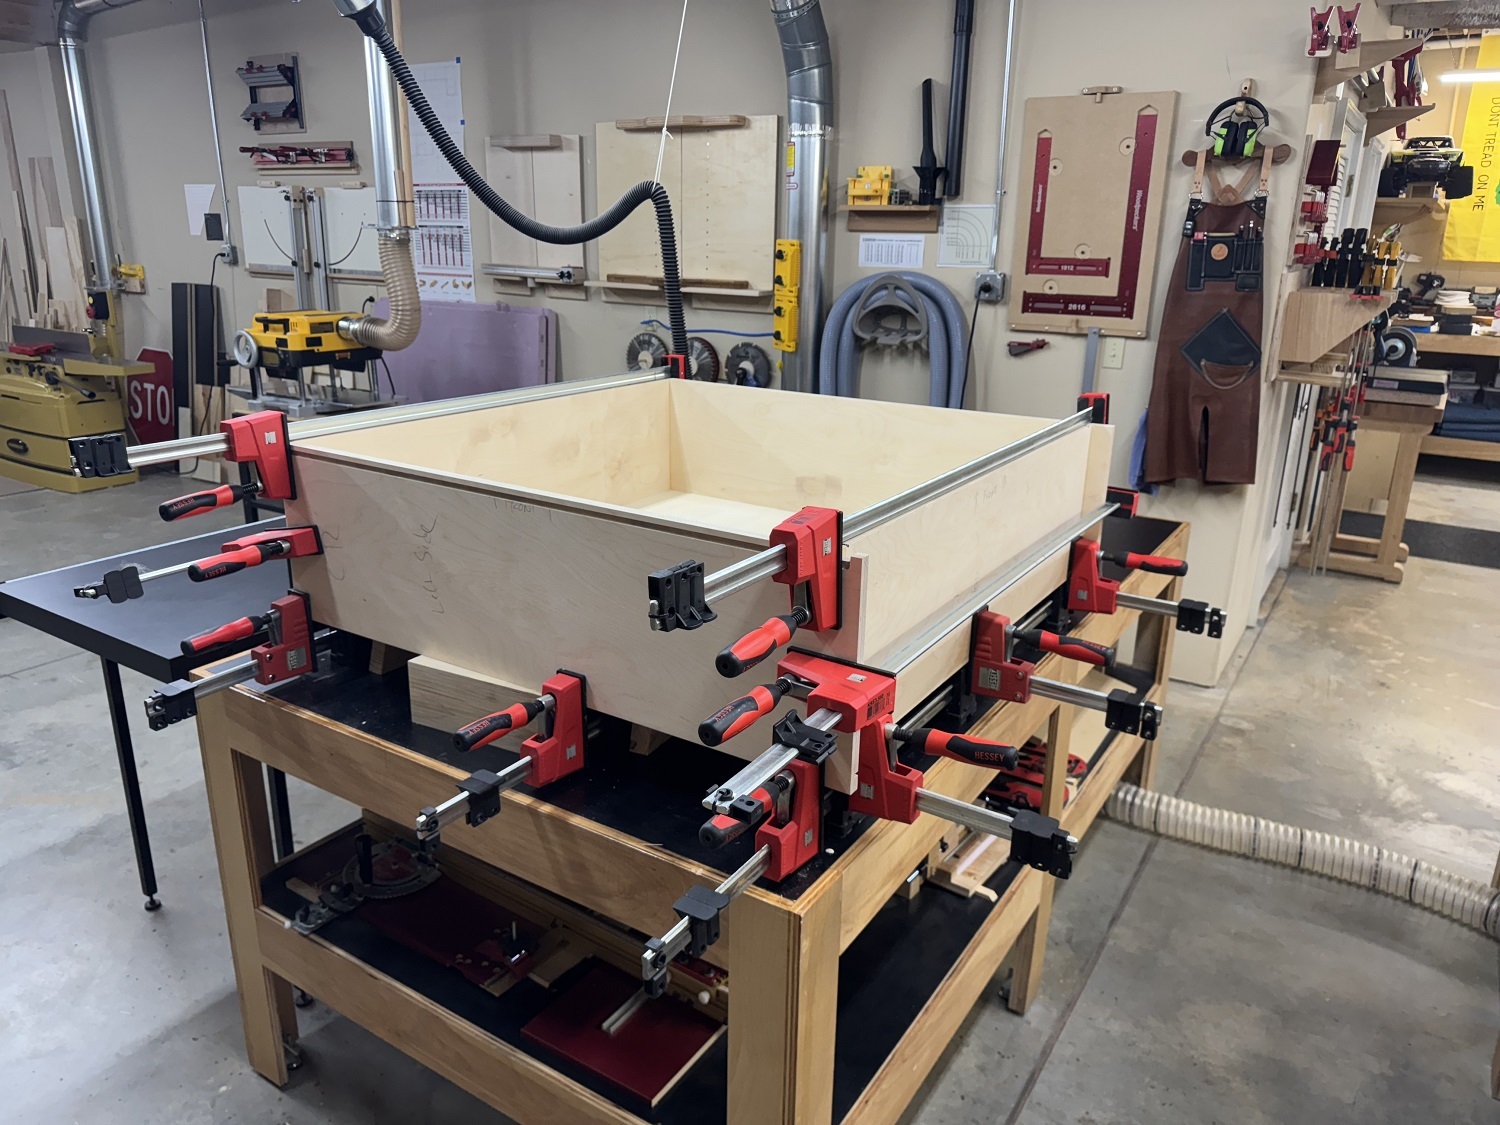
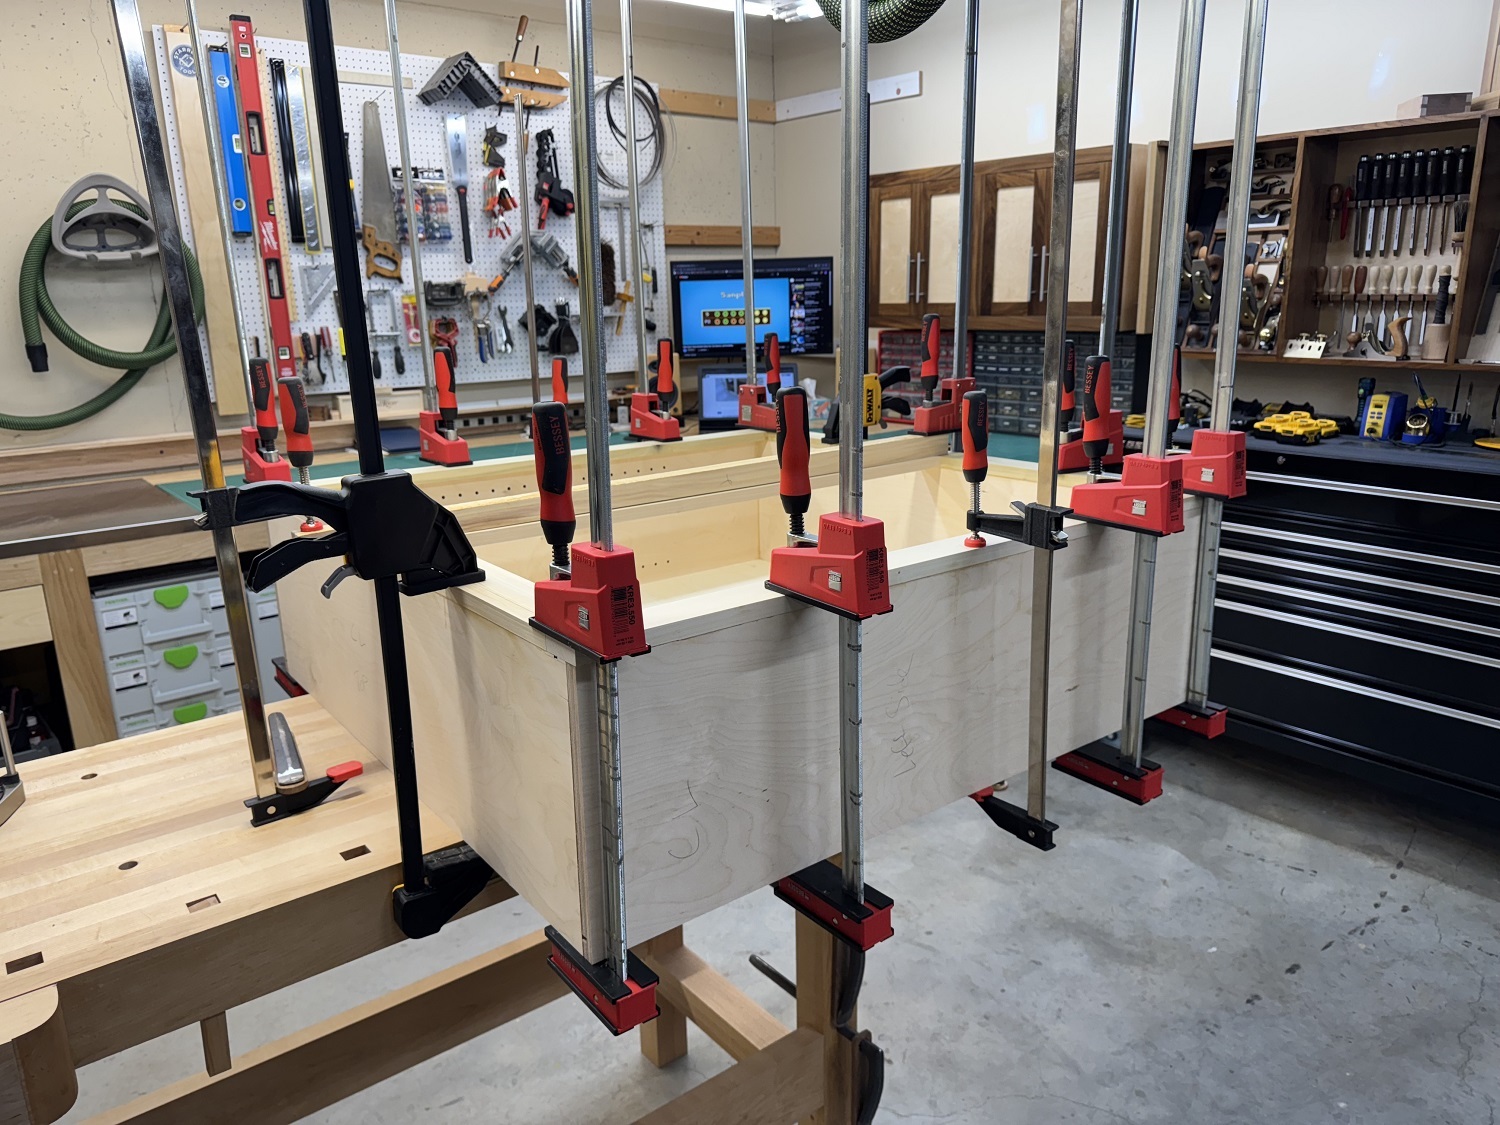
The carcasses are glued up using a squaring jig to hold them square.
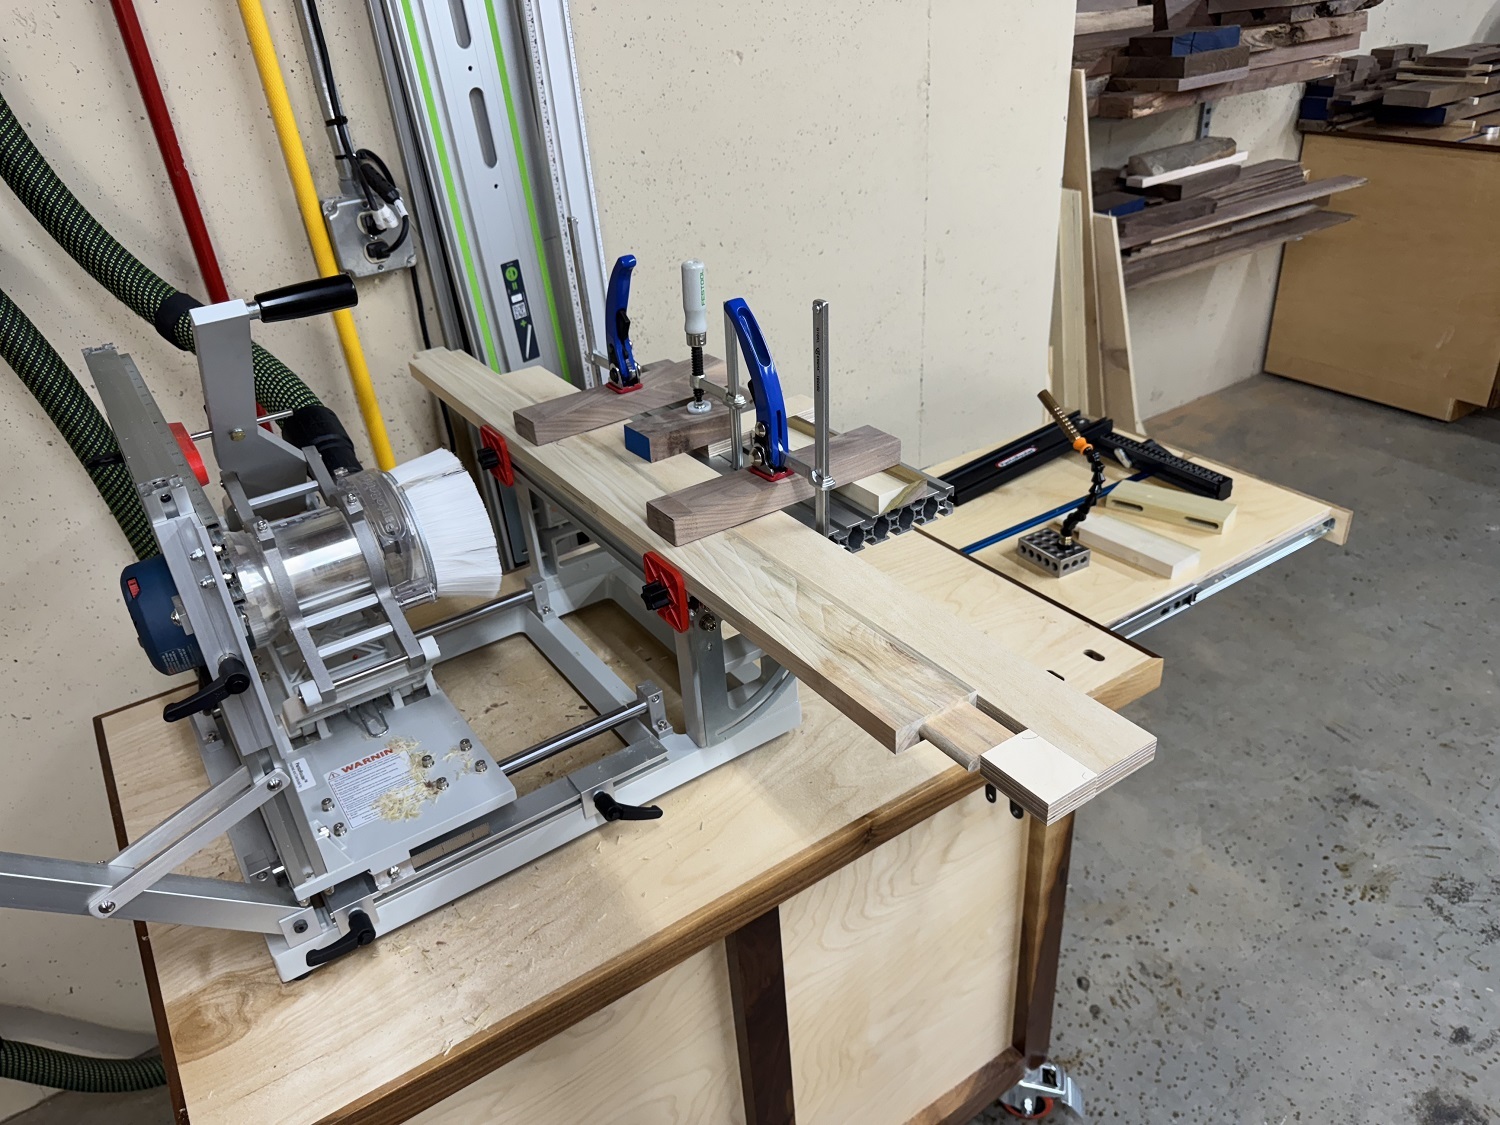
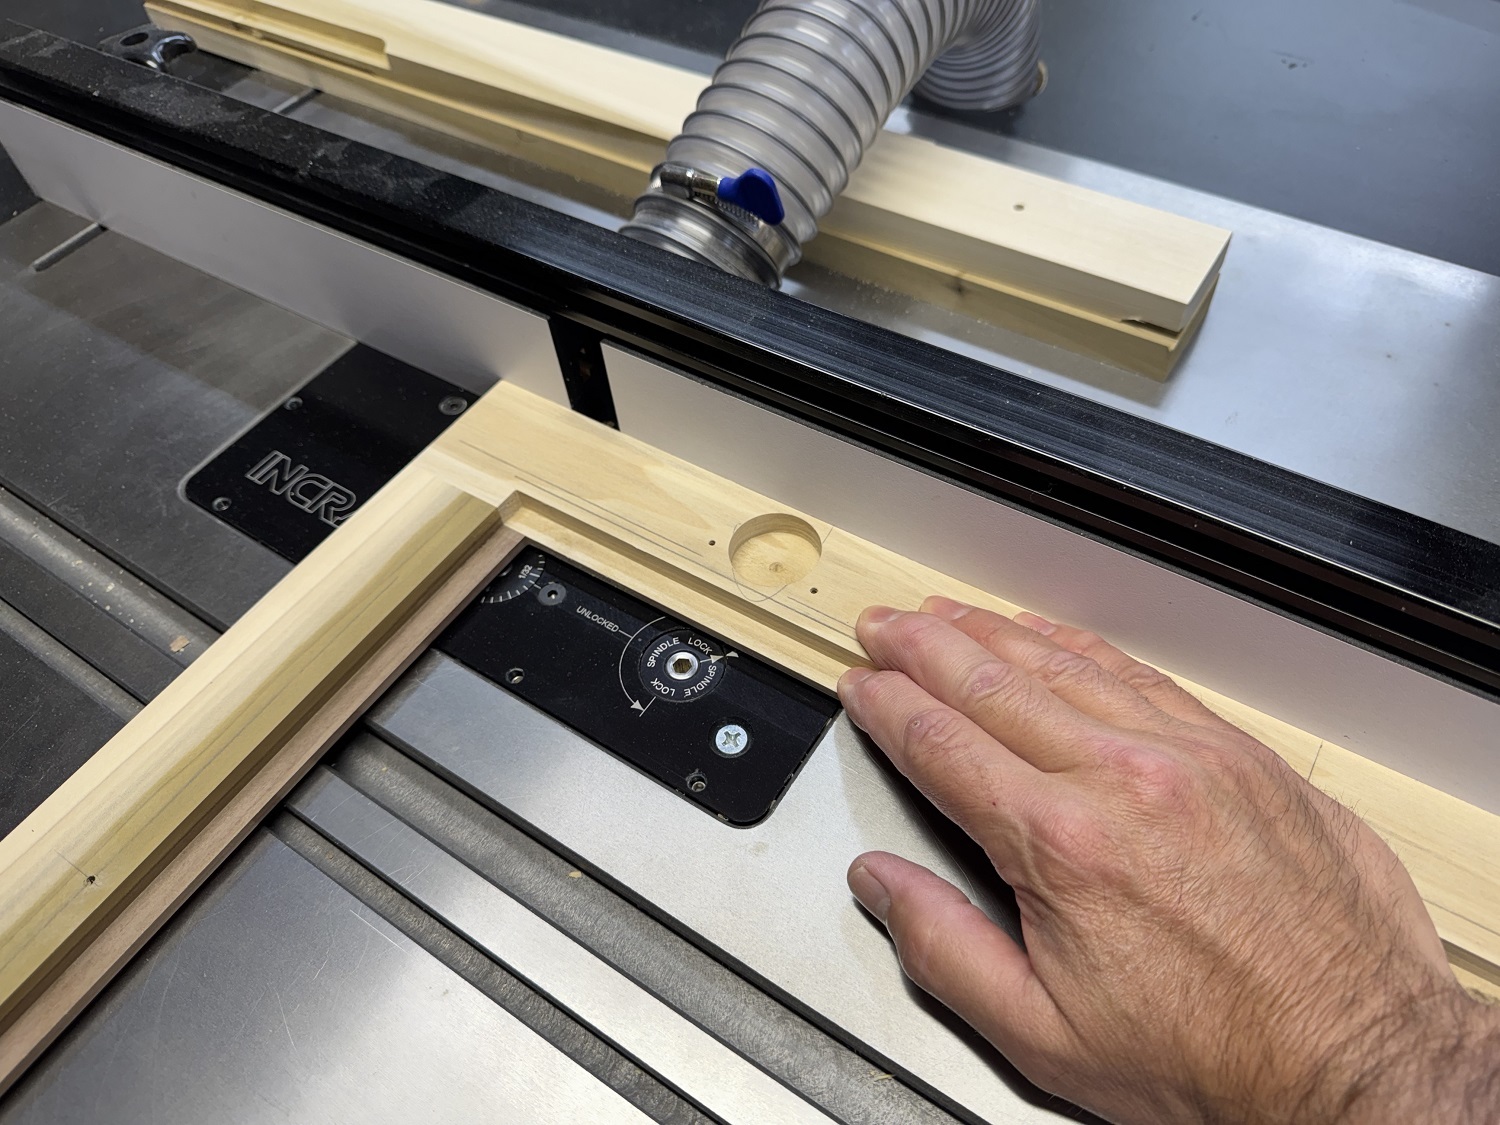
Next, the poplar lumber for the face frames and doors are milled to final dimension and the mortise and tenon joinery is cut on the Pantorouter.
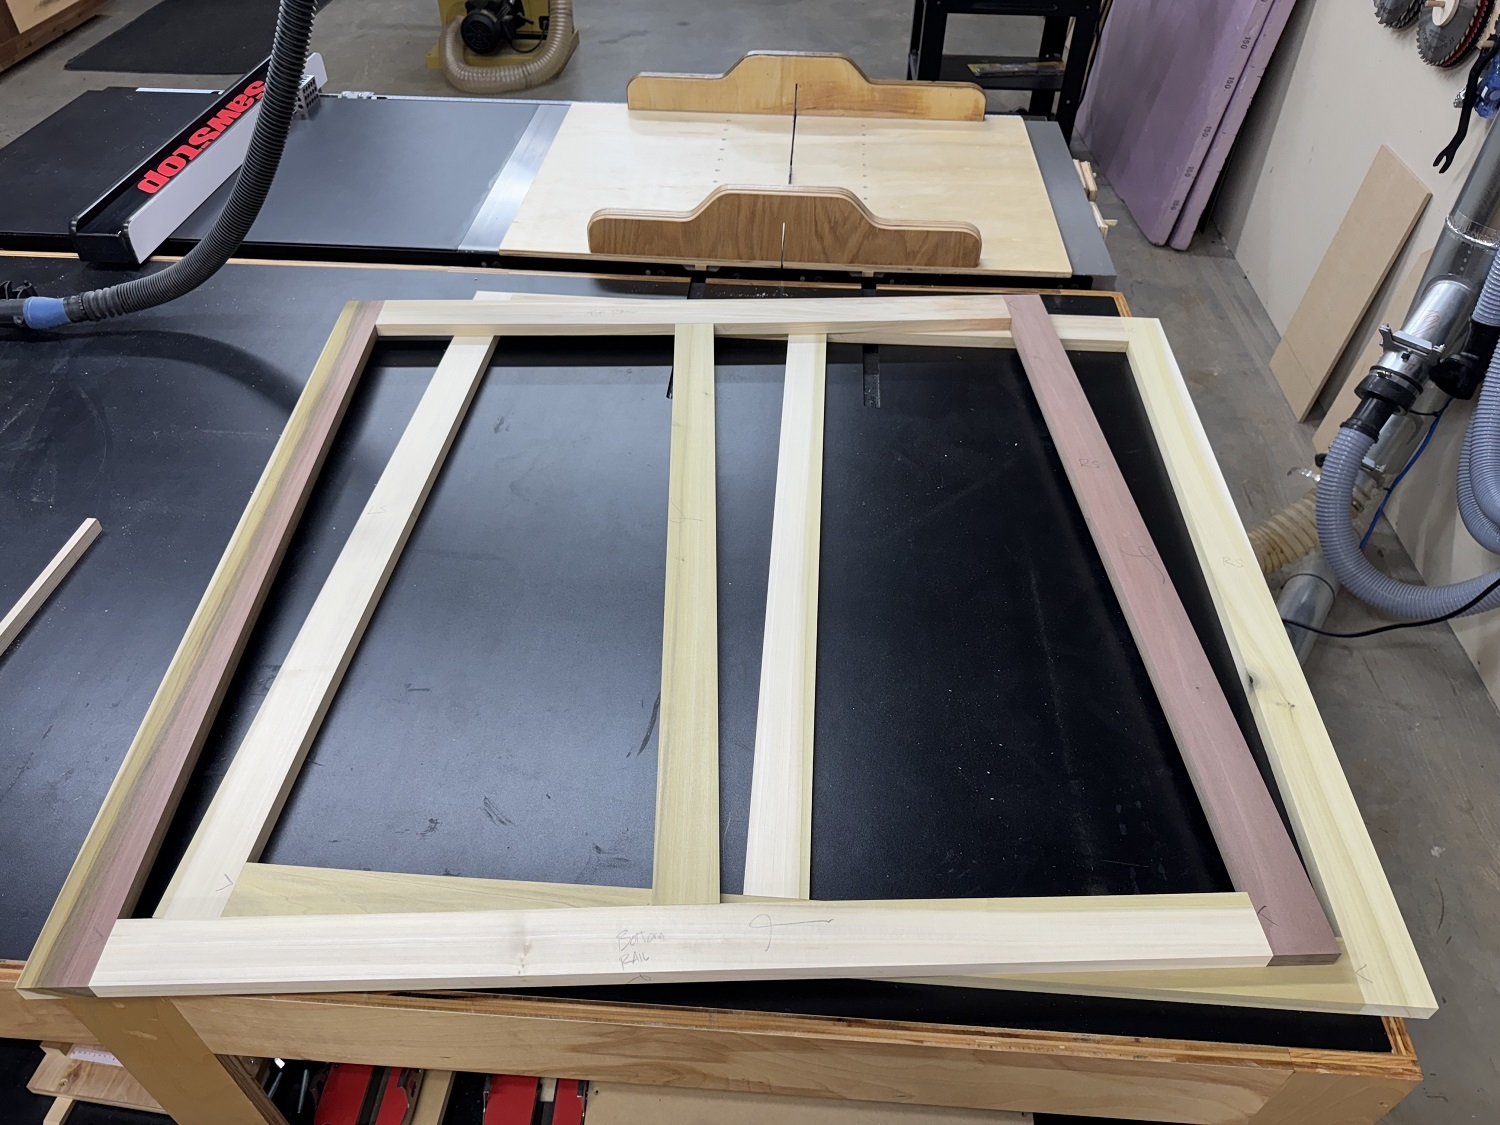
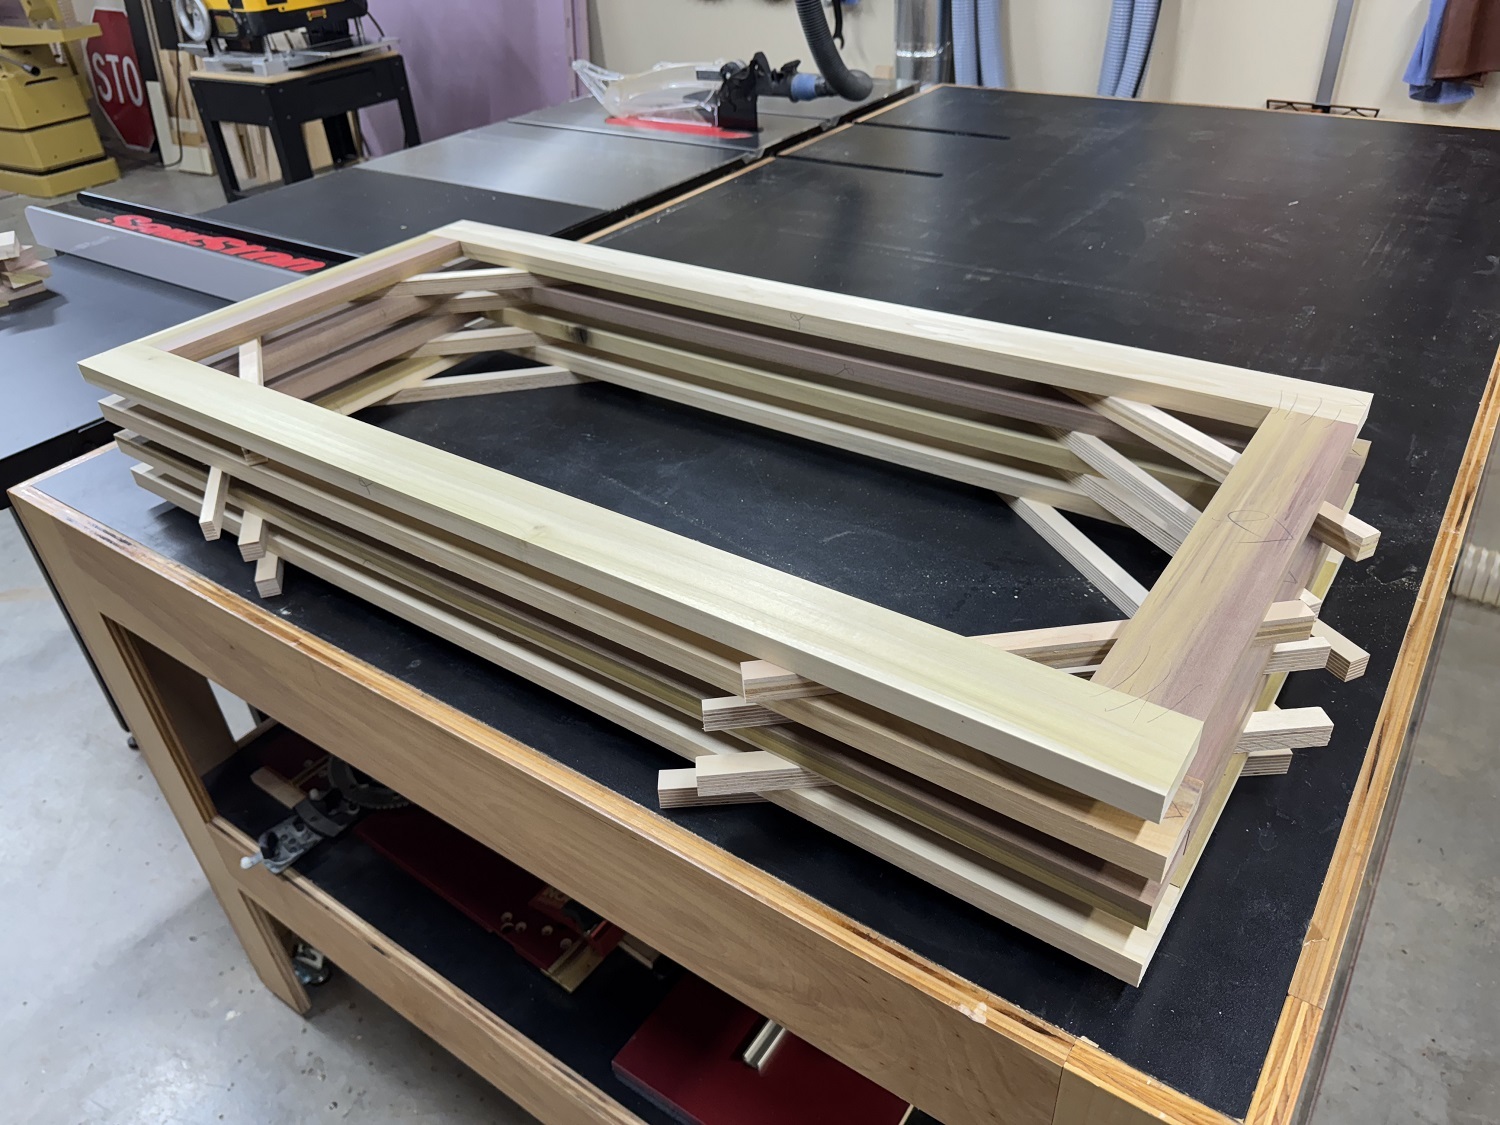
The dry fit of the face frames looks good.
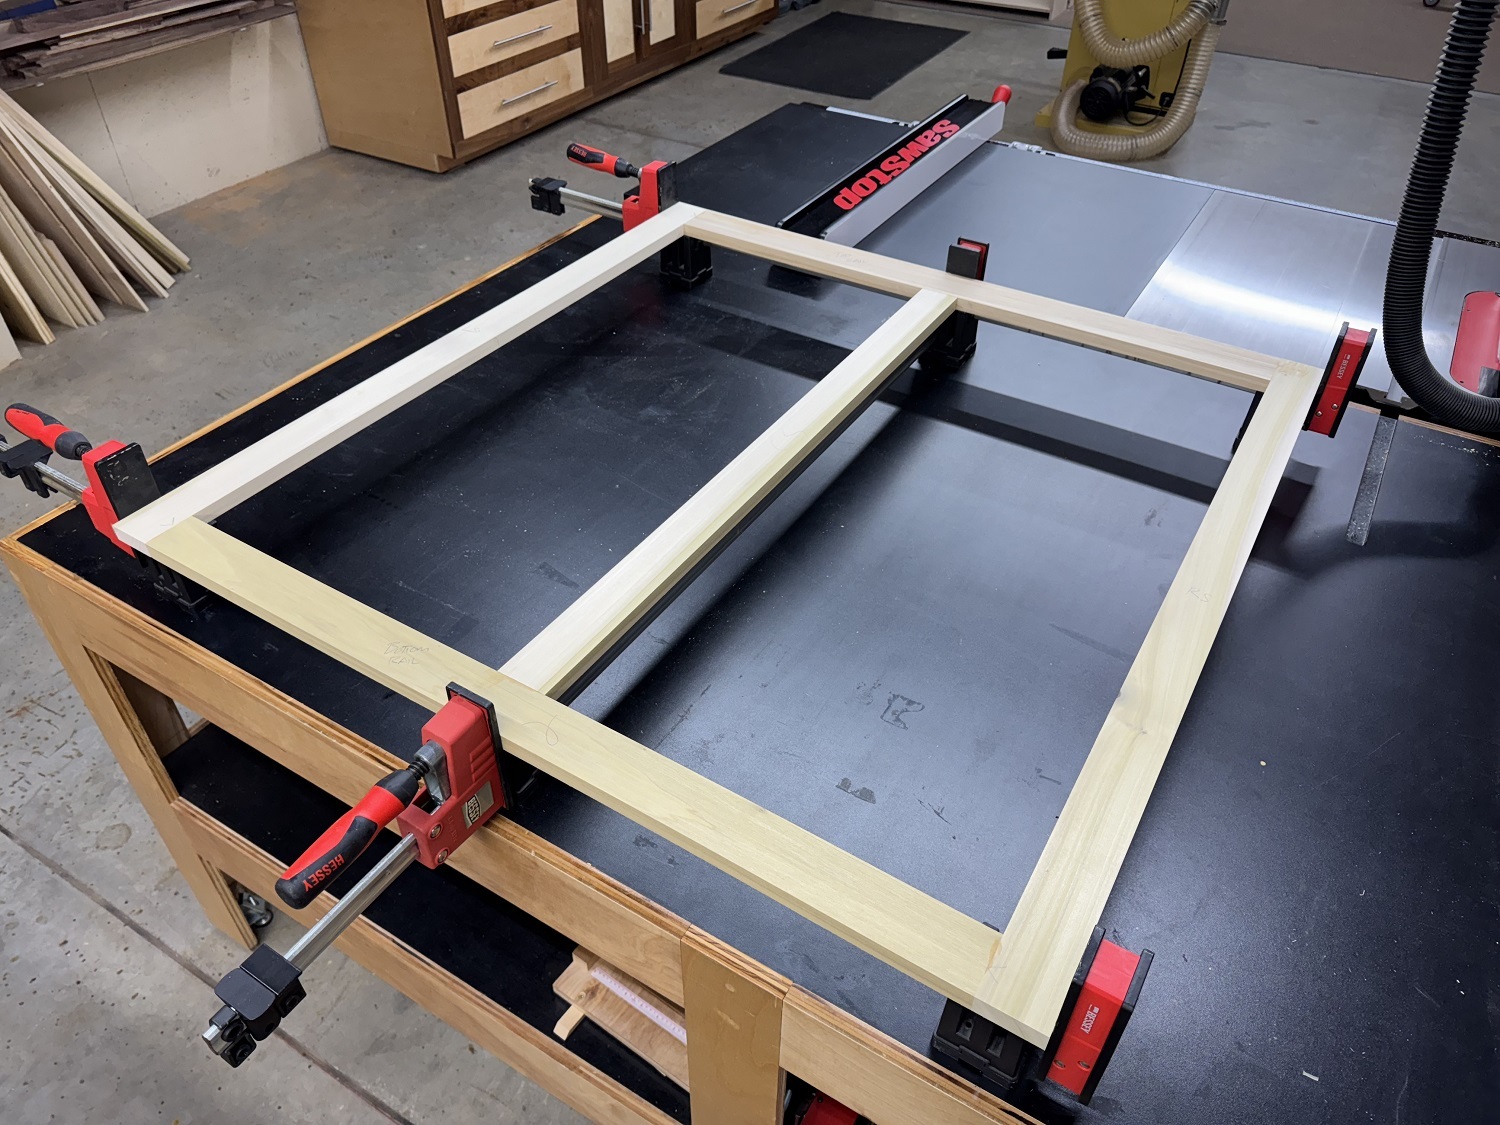
The face frames are glued up.
Shelf adjustment holes are added to the carcass sides.
Grooves for the LED ropes are milled in the inside faces of the face frames with a router.

The face frames are glued to the carcasses.
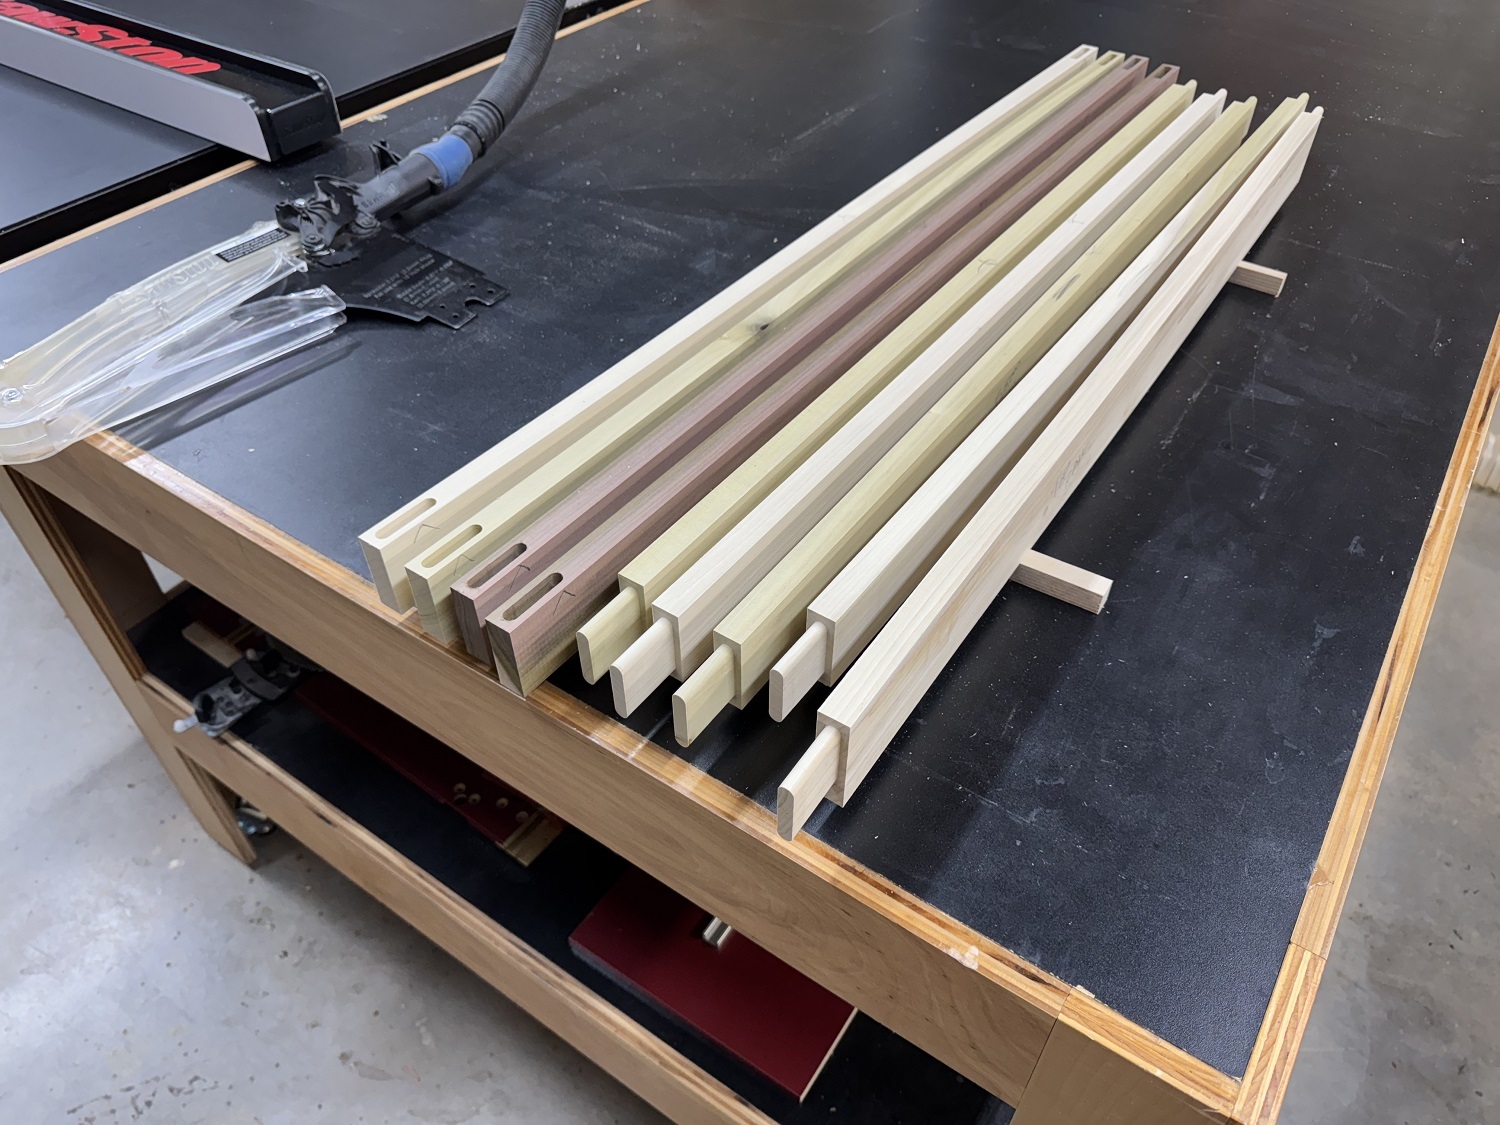
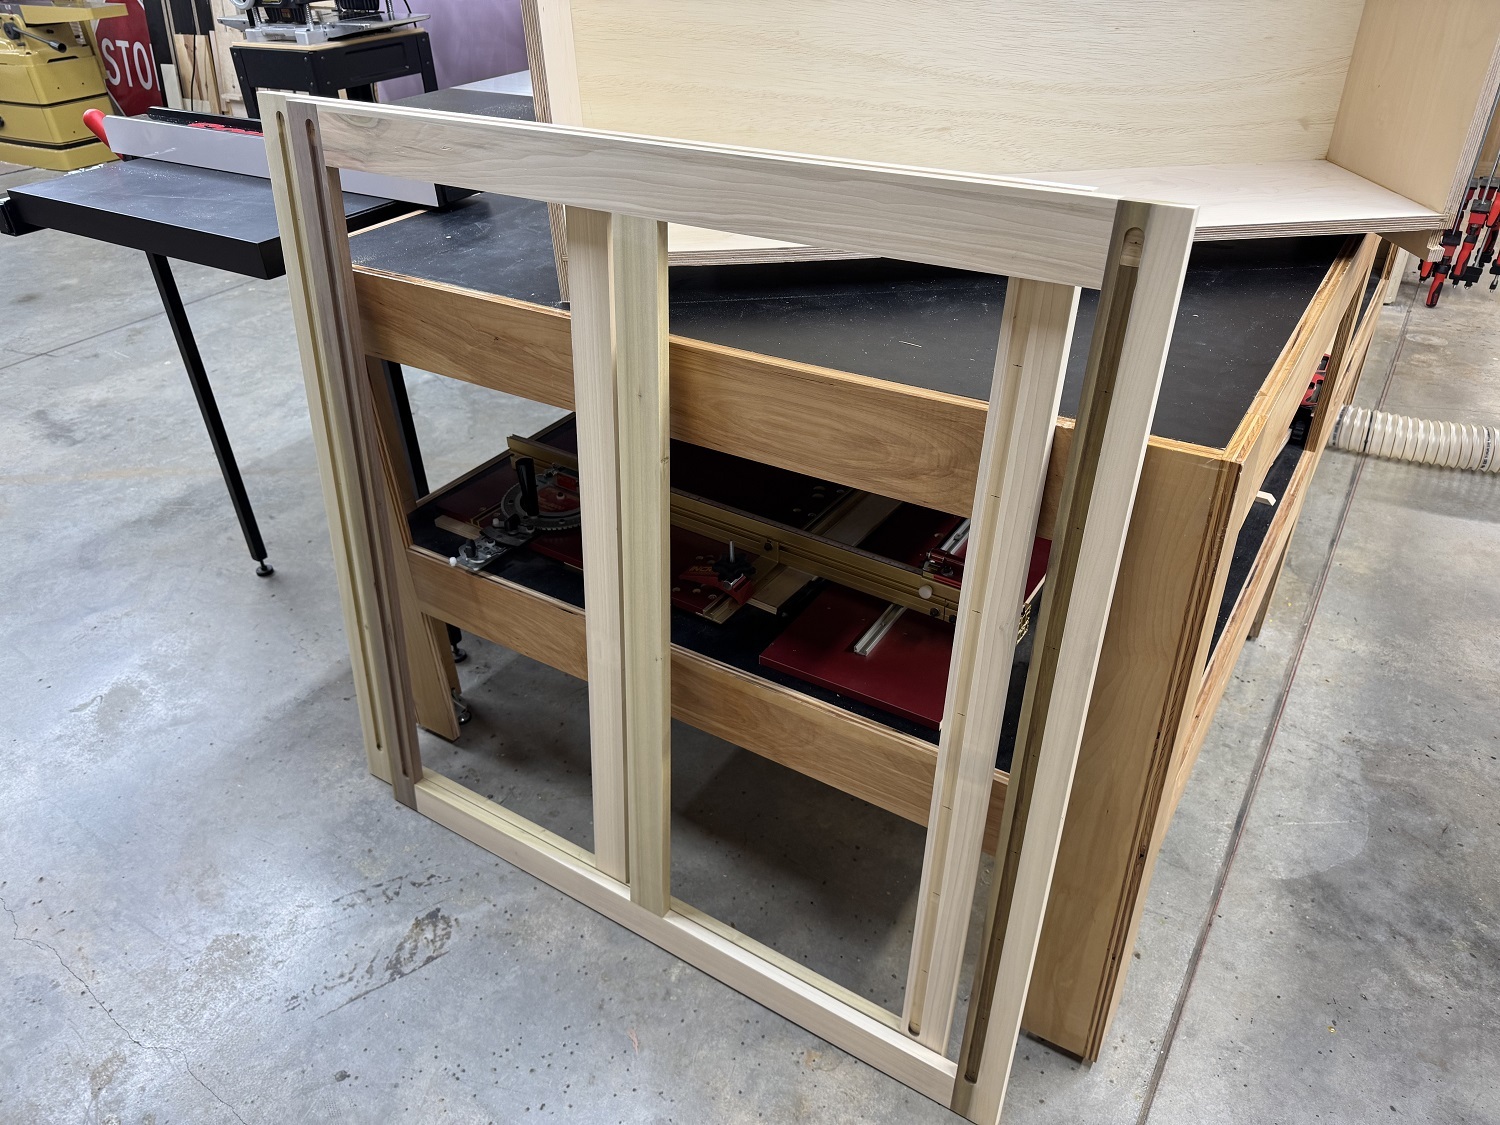
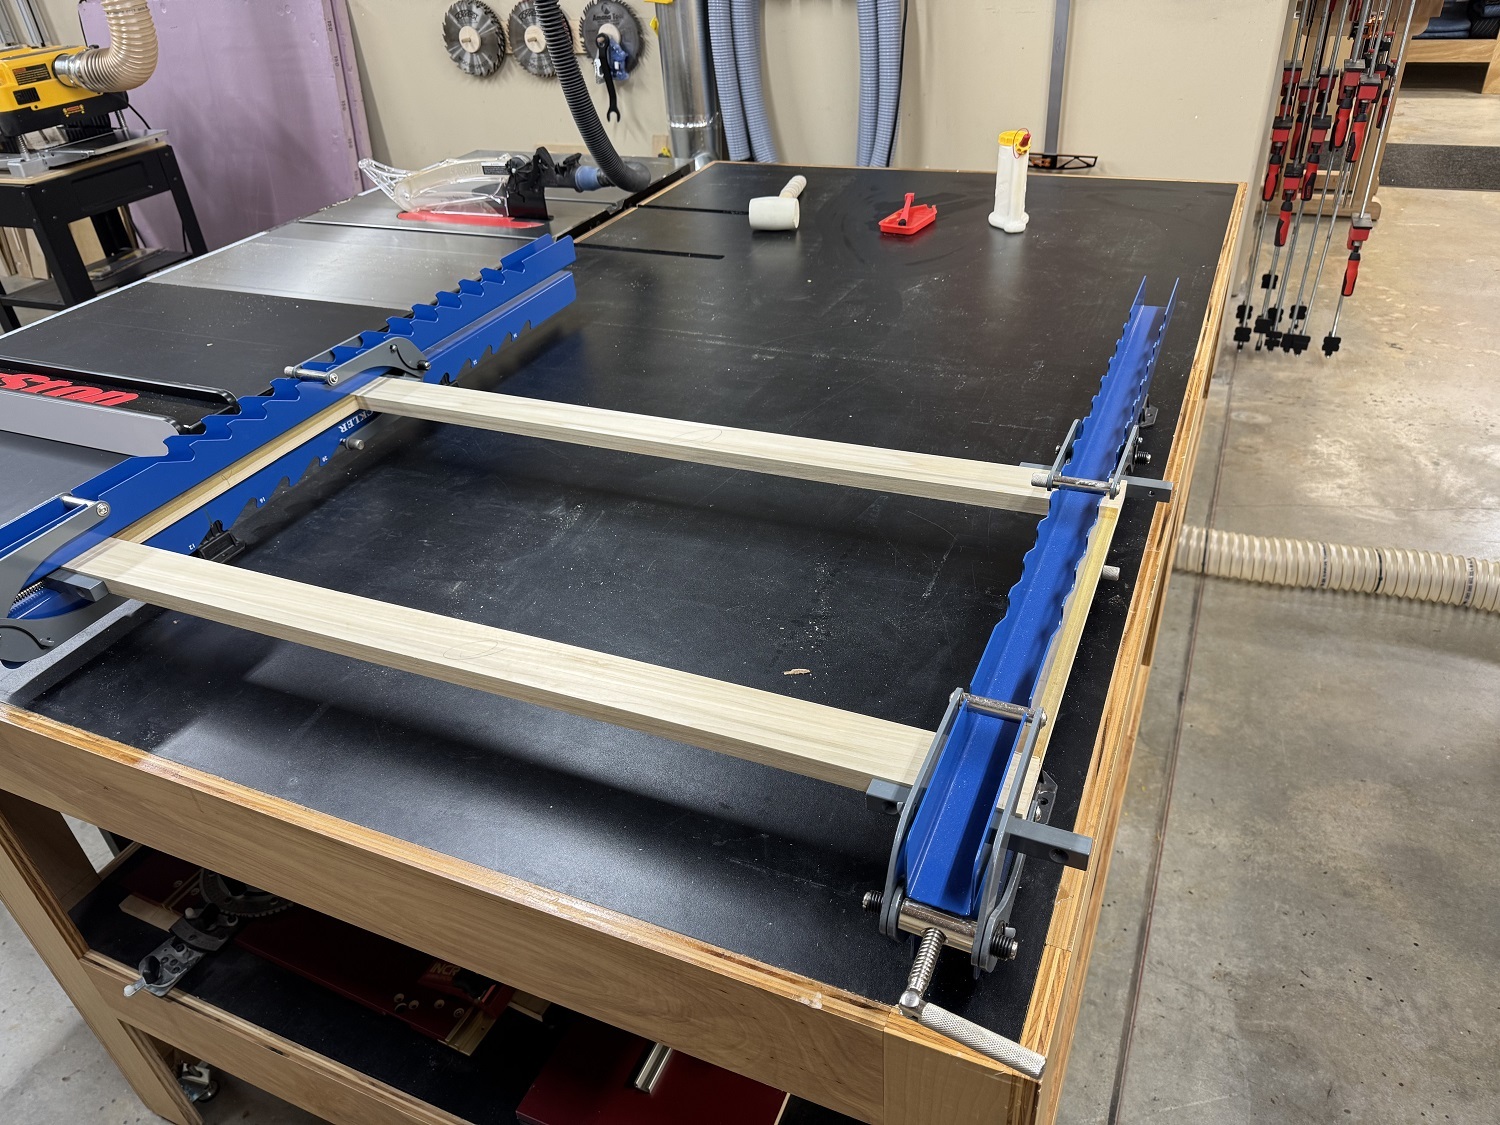
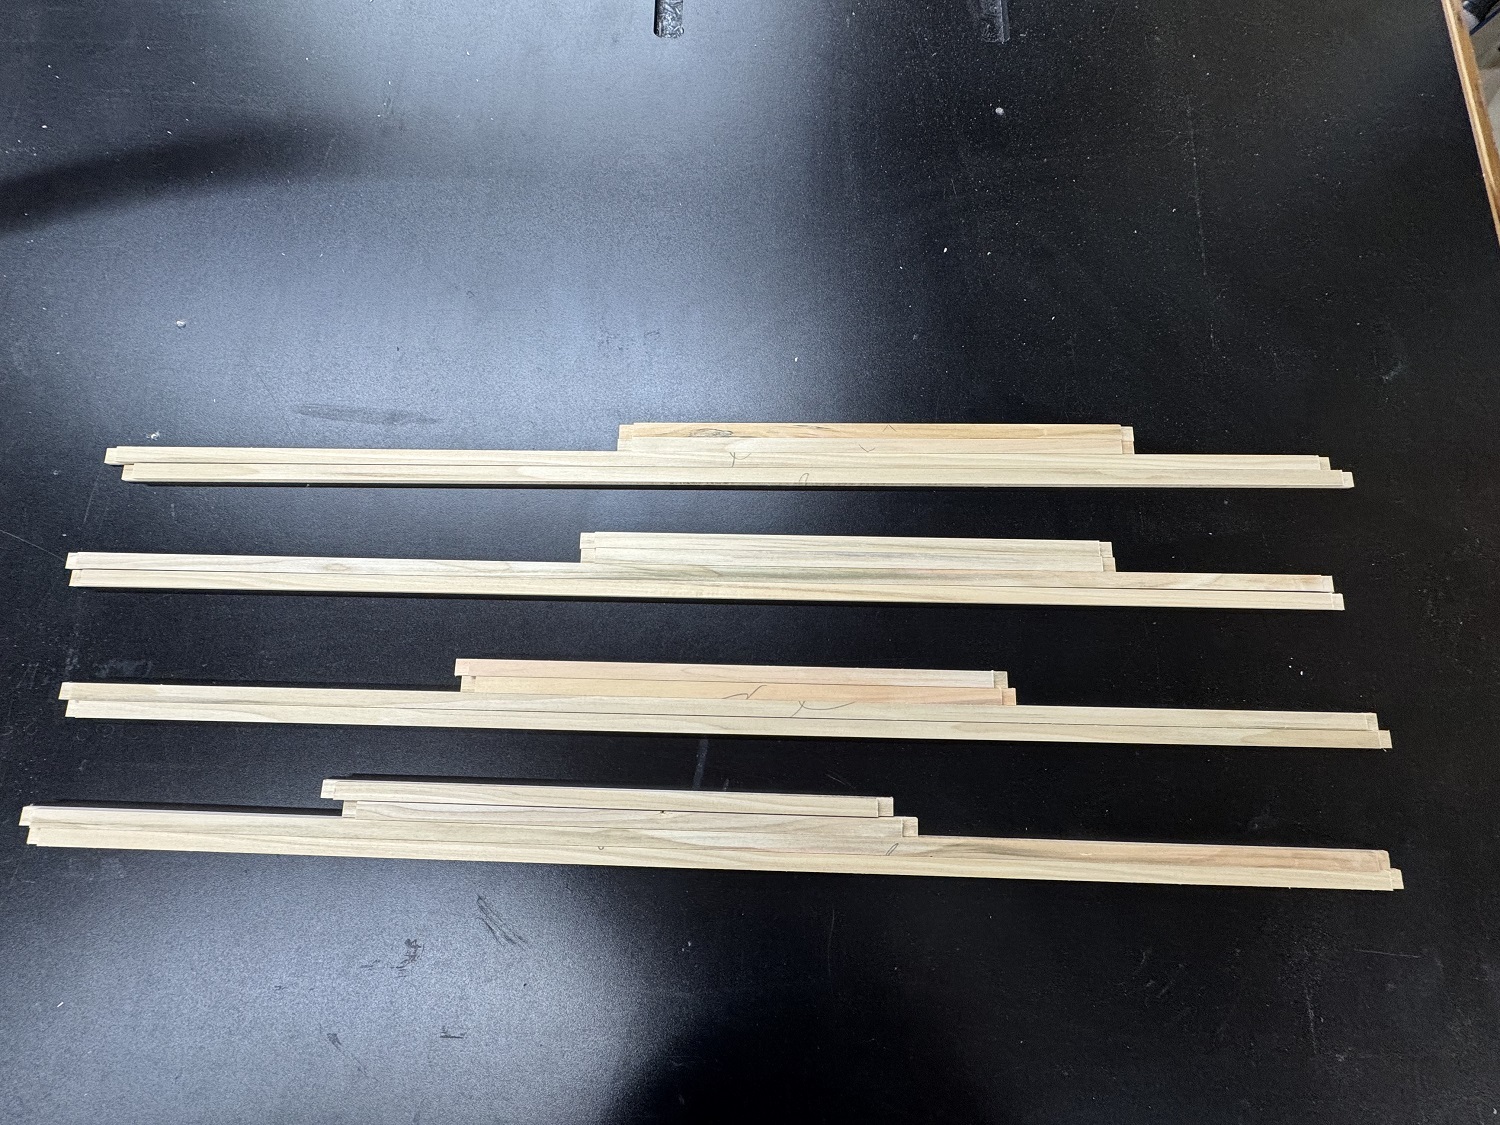
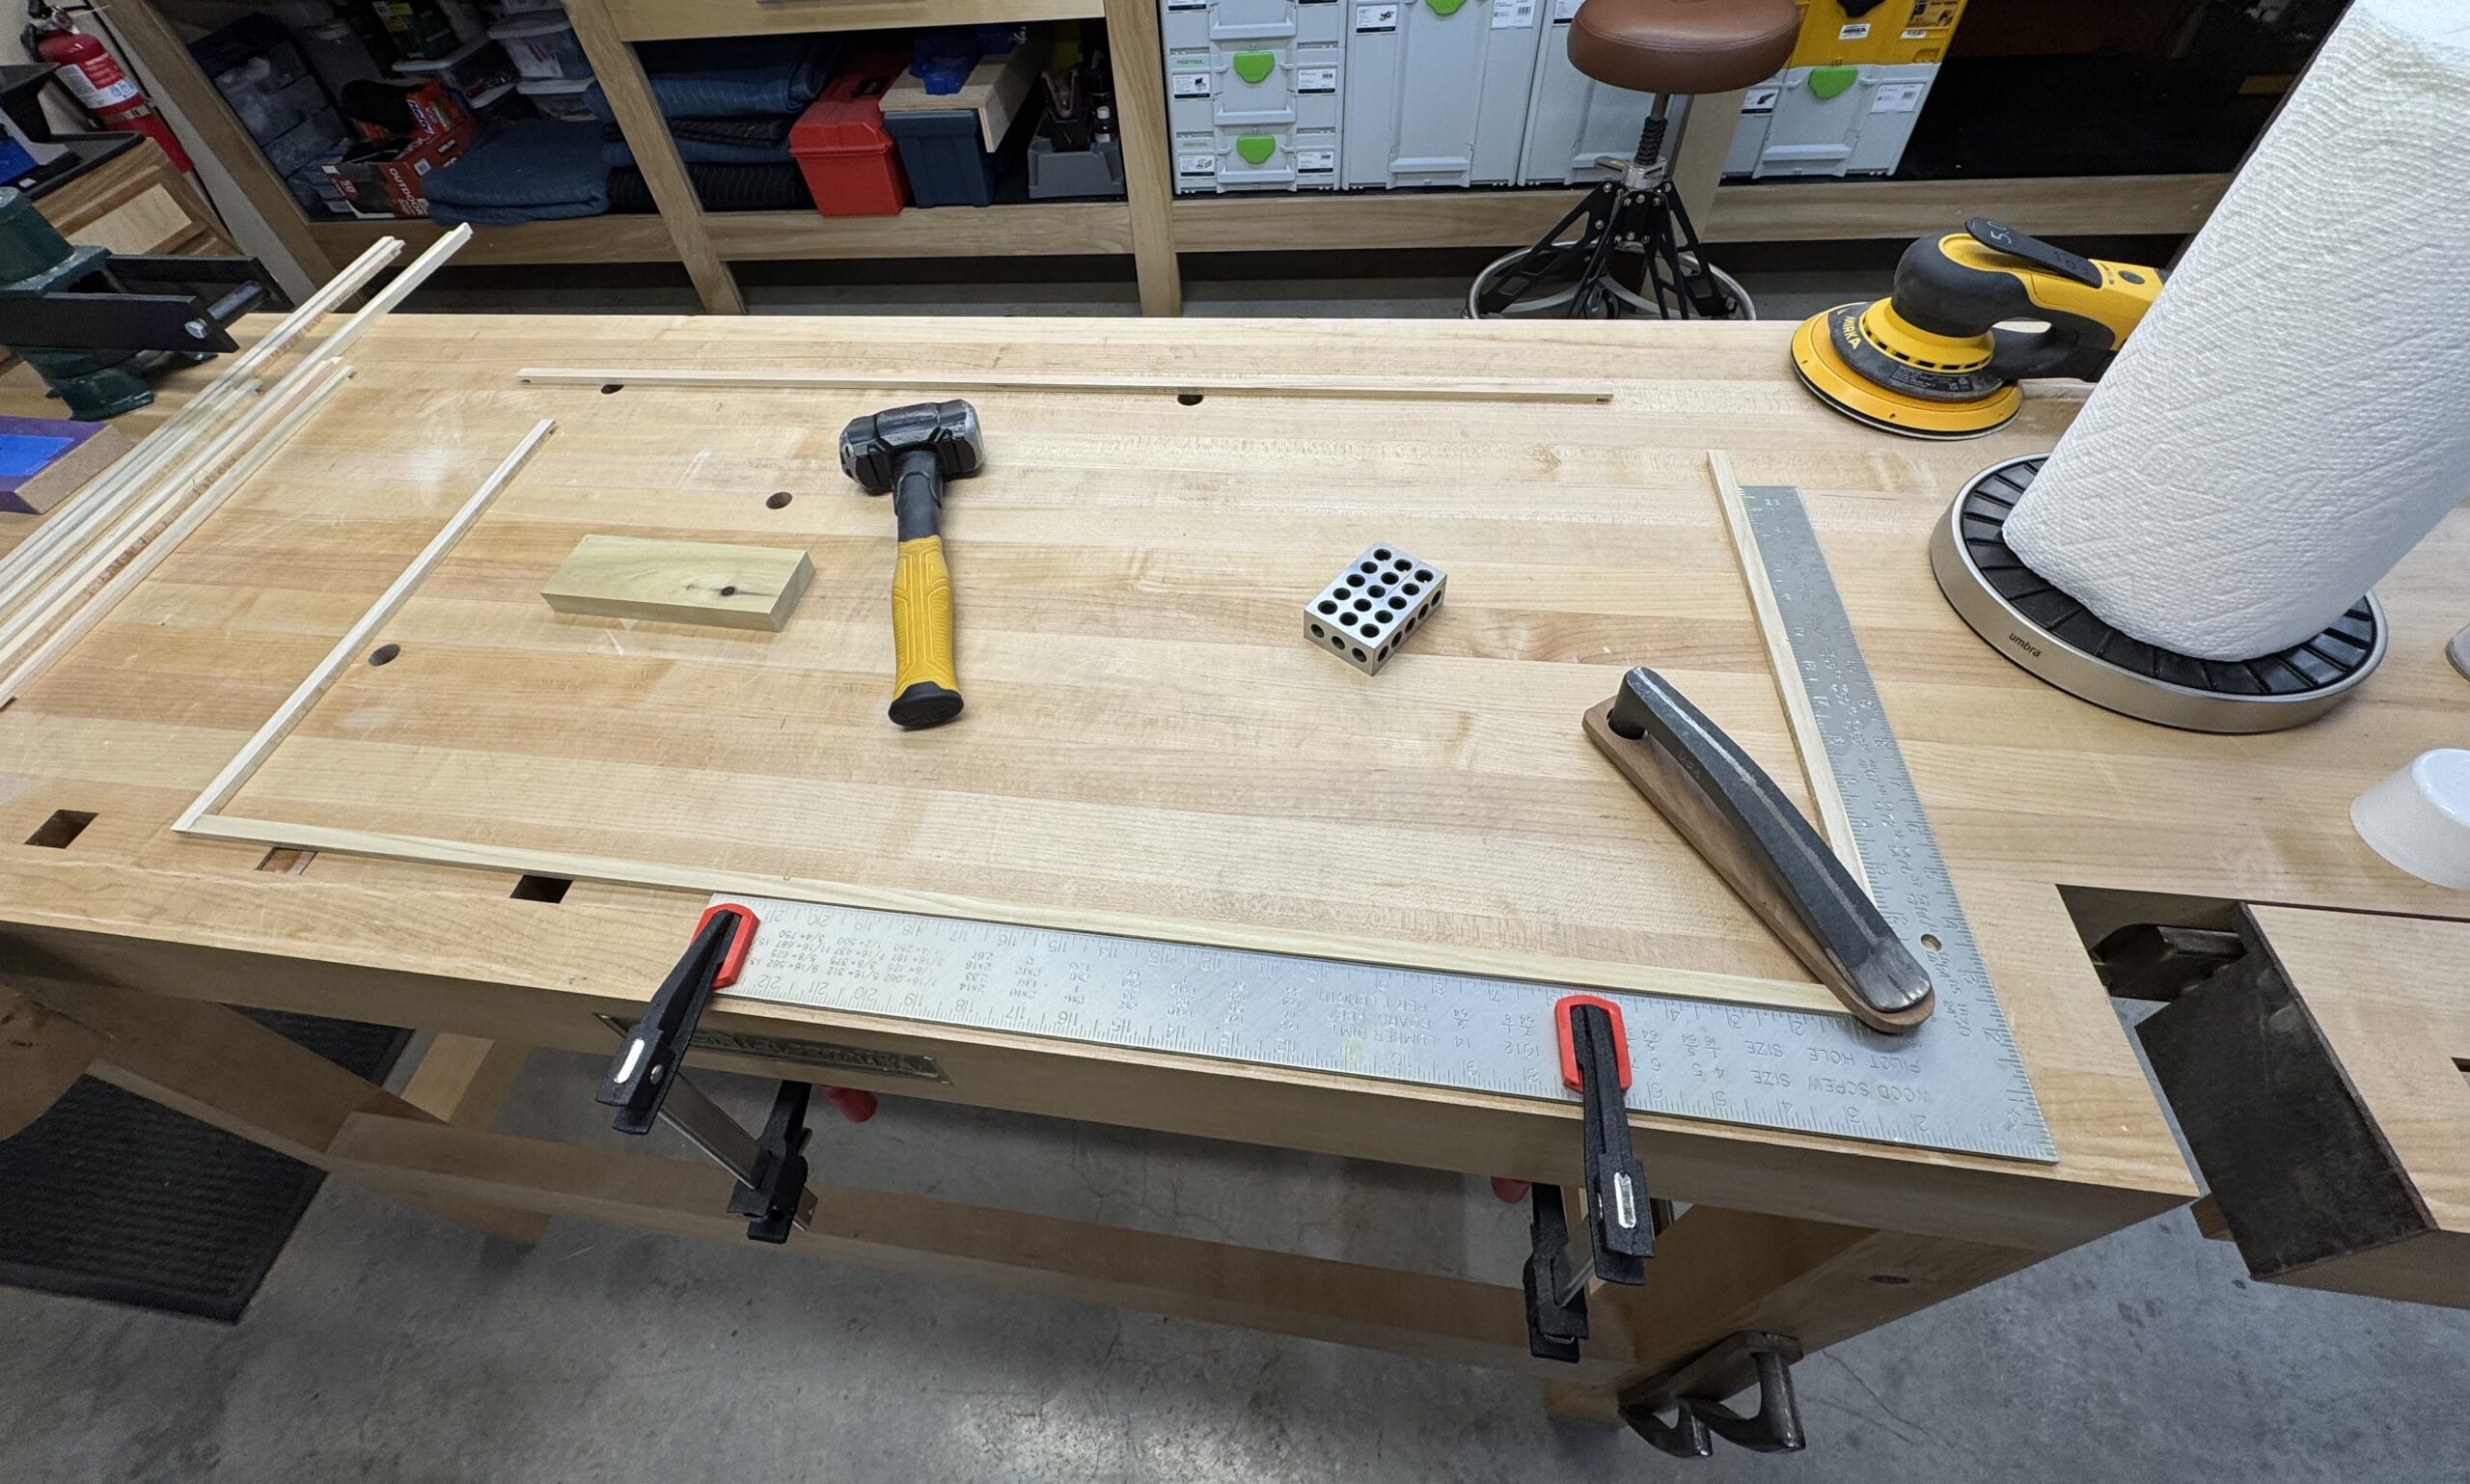
The door frames are milled to final dimension and the joinery is cut with the Domino.
Dry fit looks good.
The frames are glued up.
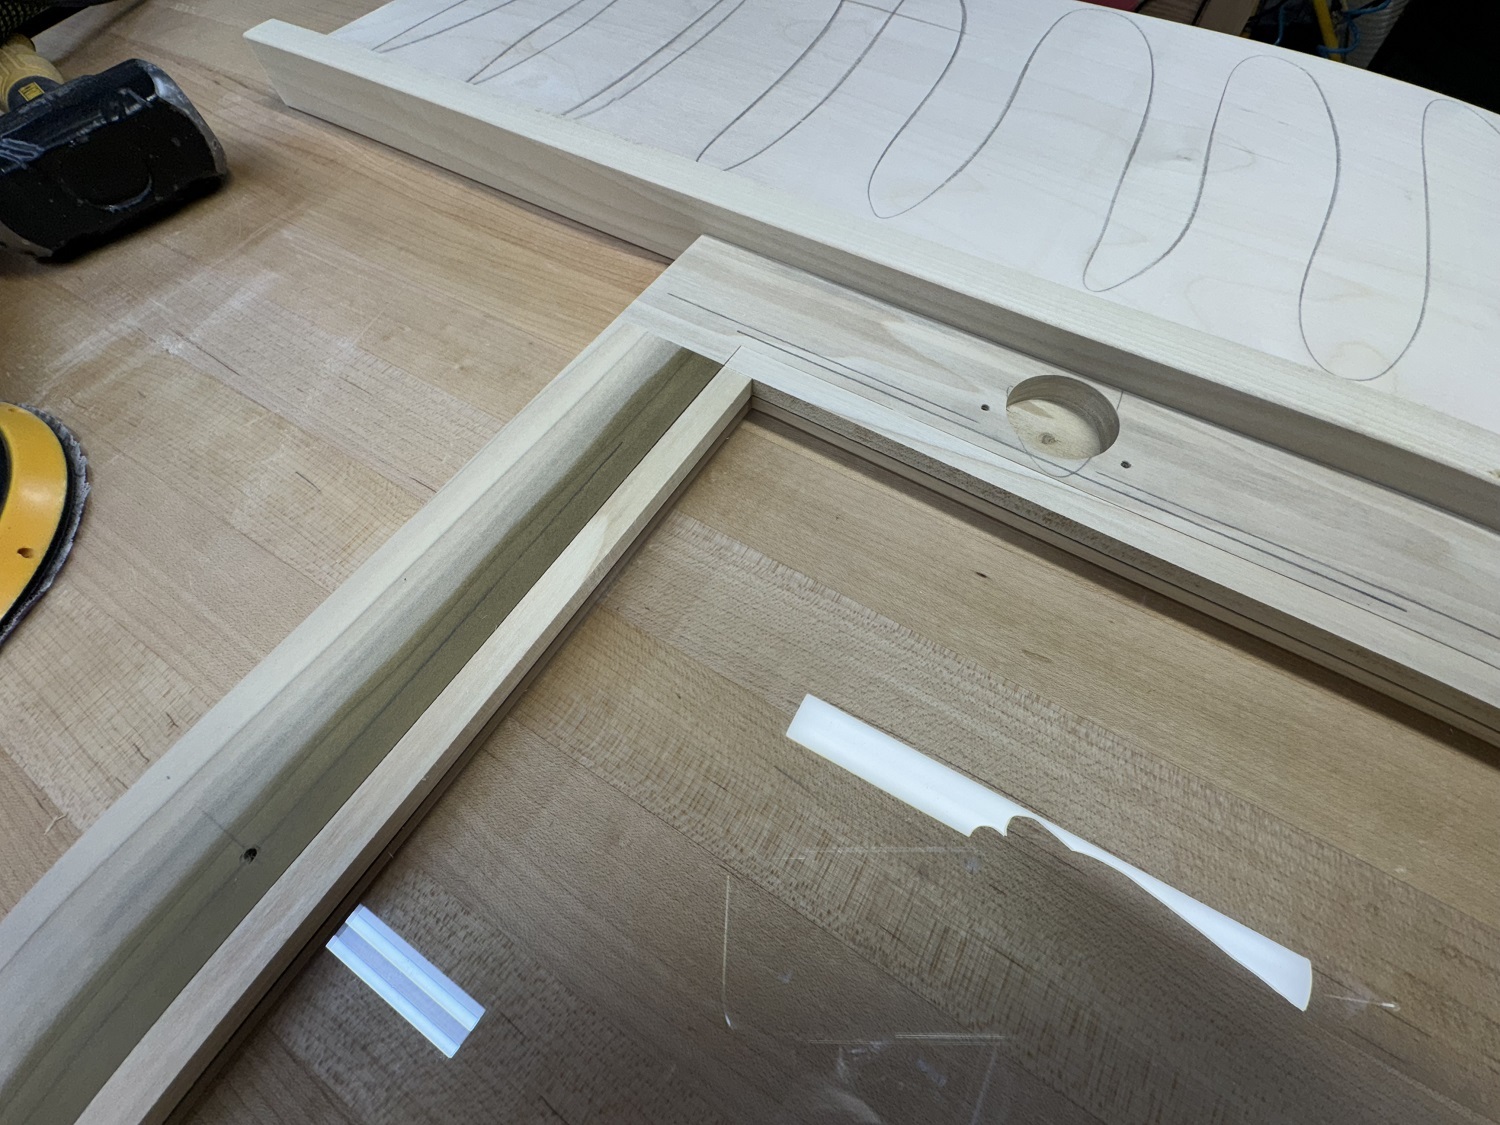
A rabbet is cut in the back face of the door frames to house the glass.

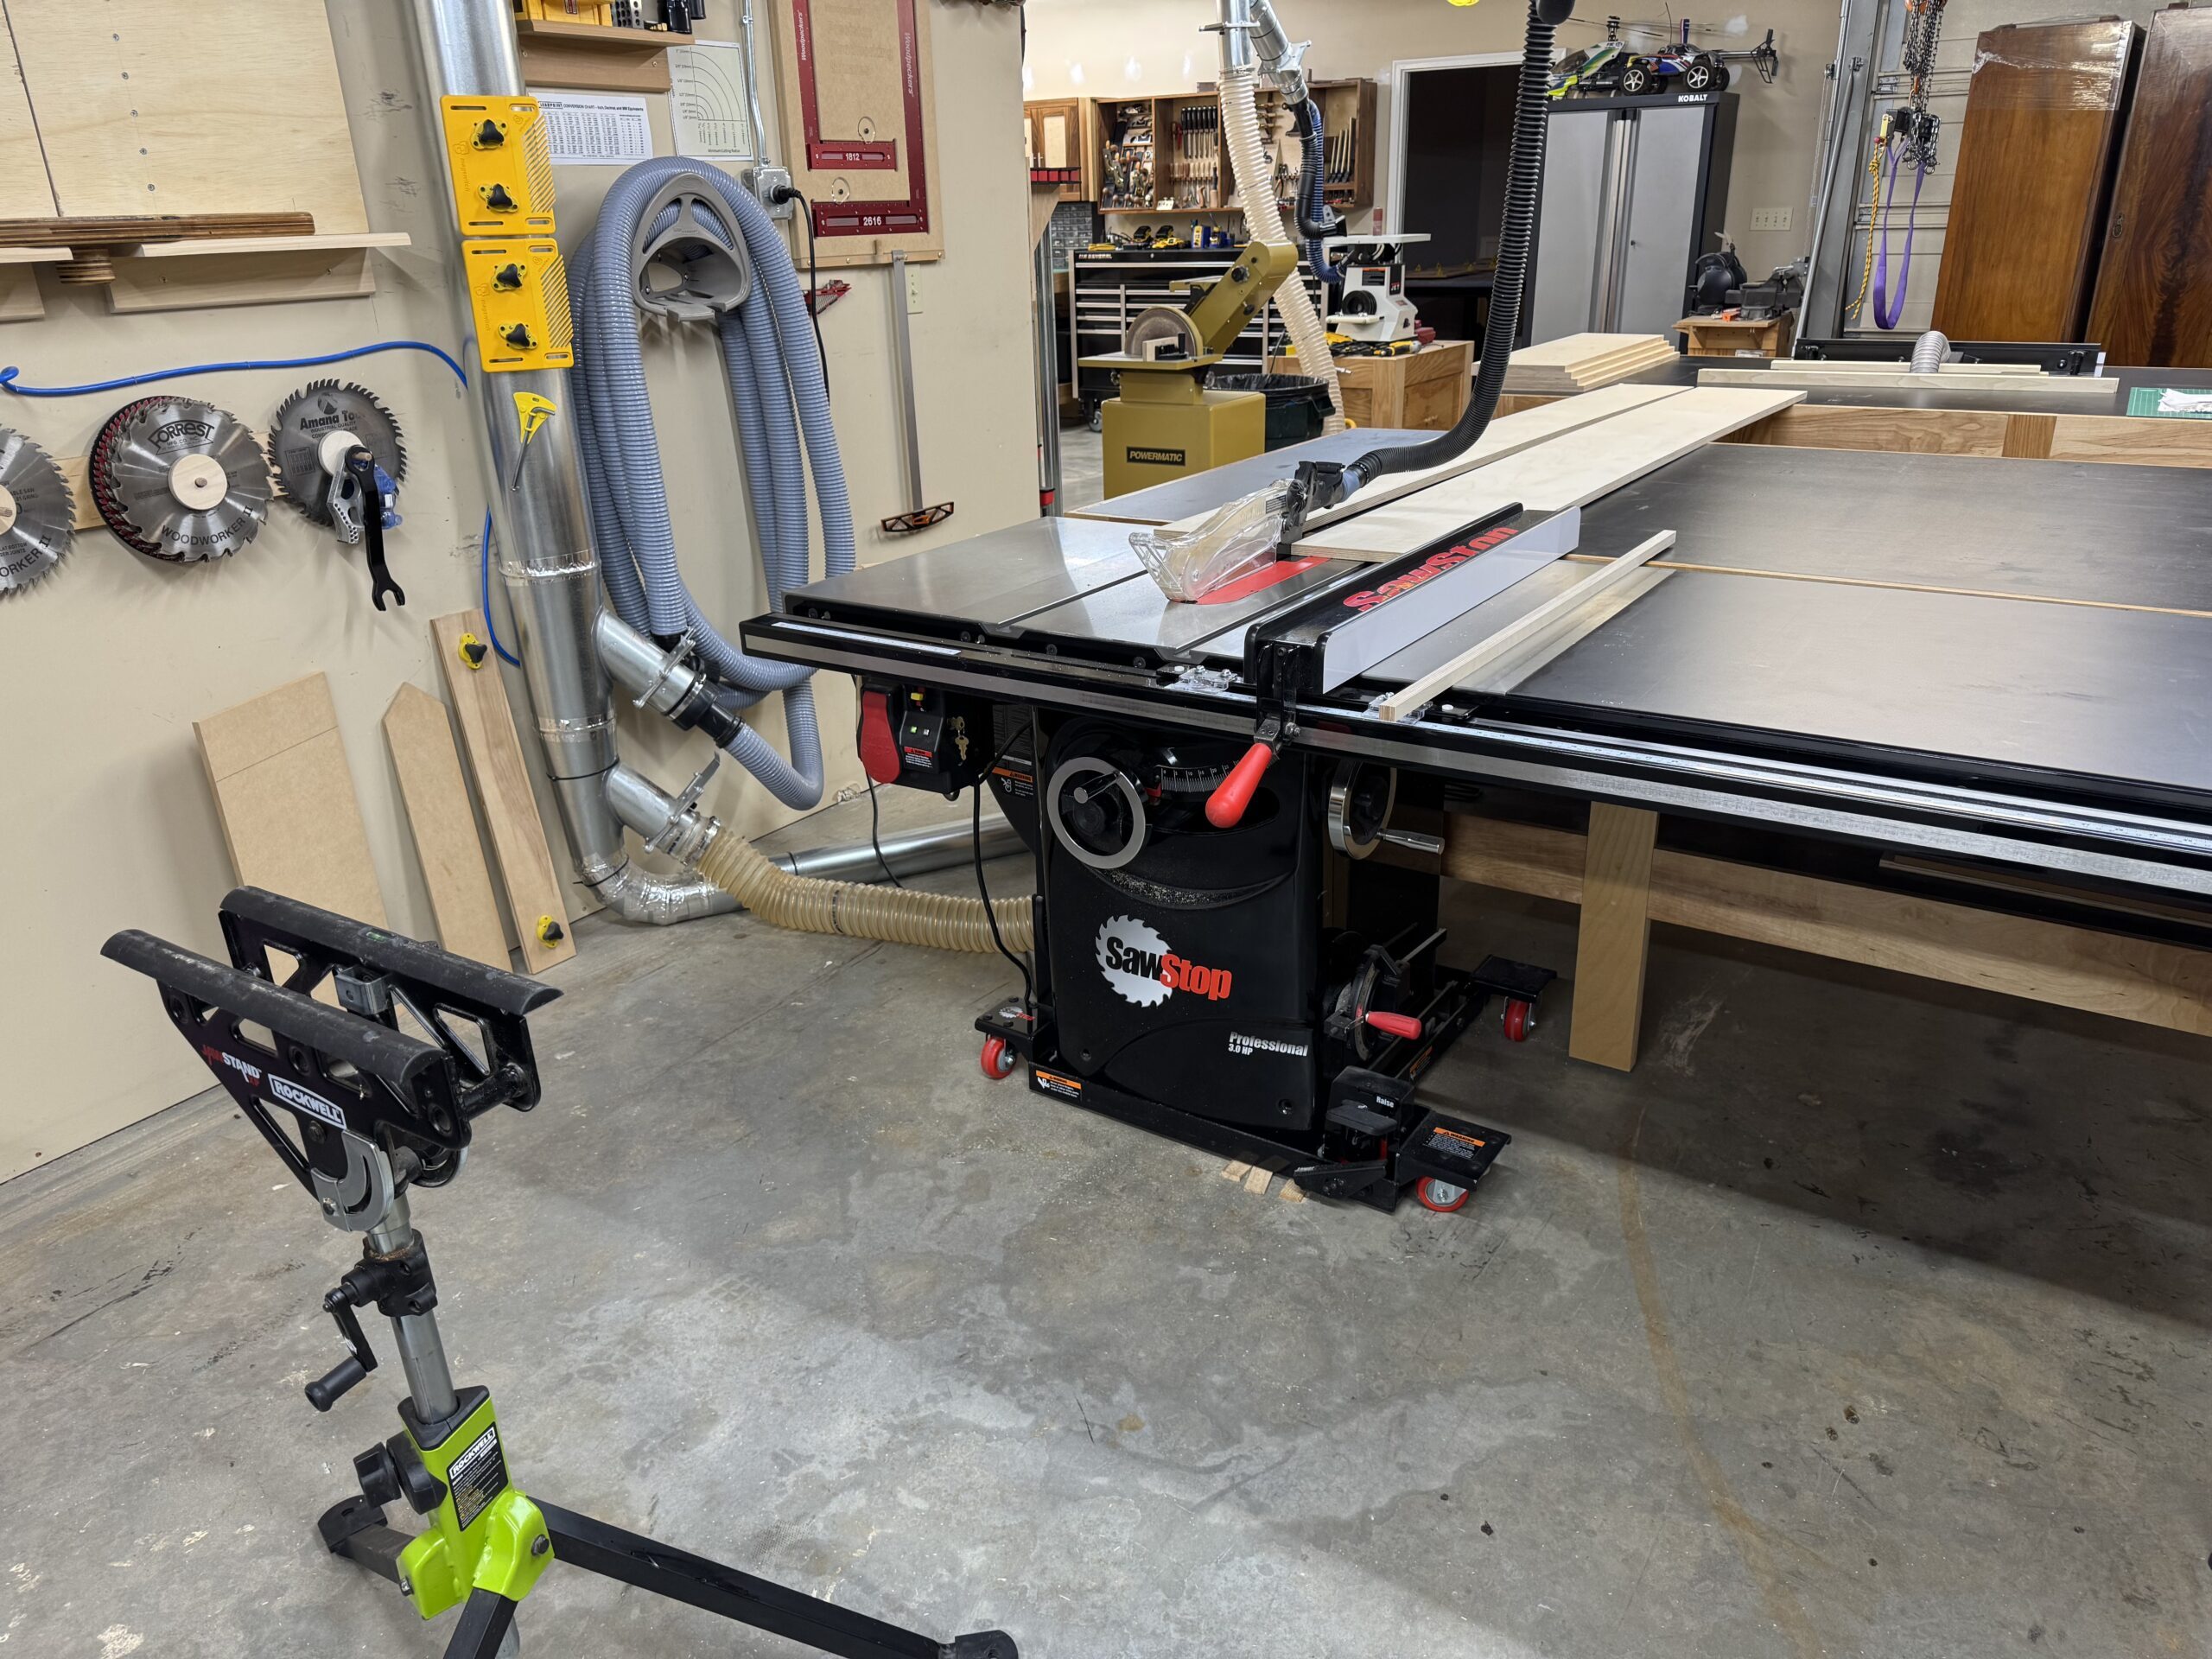
I love the trim router, but it sure makes a mess.
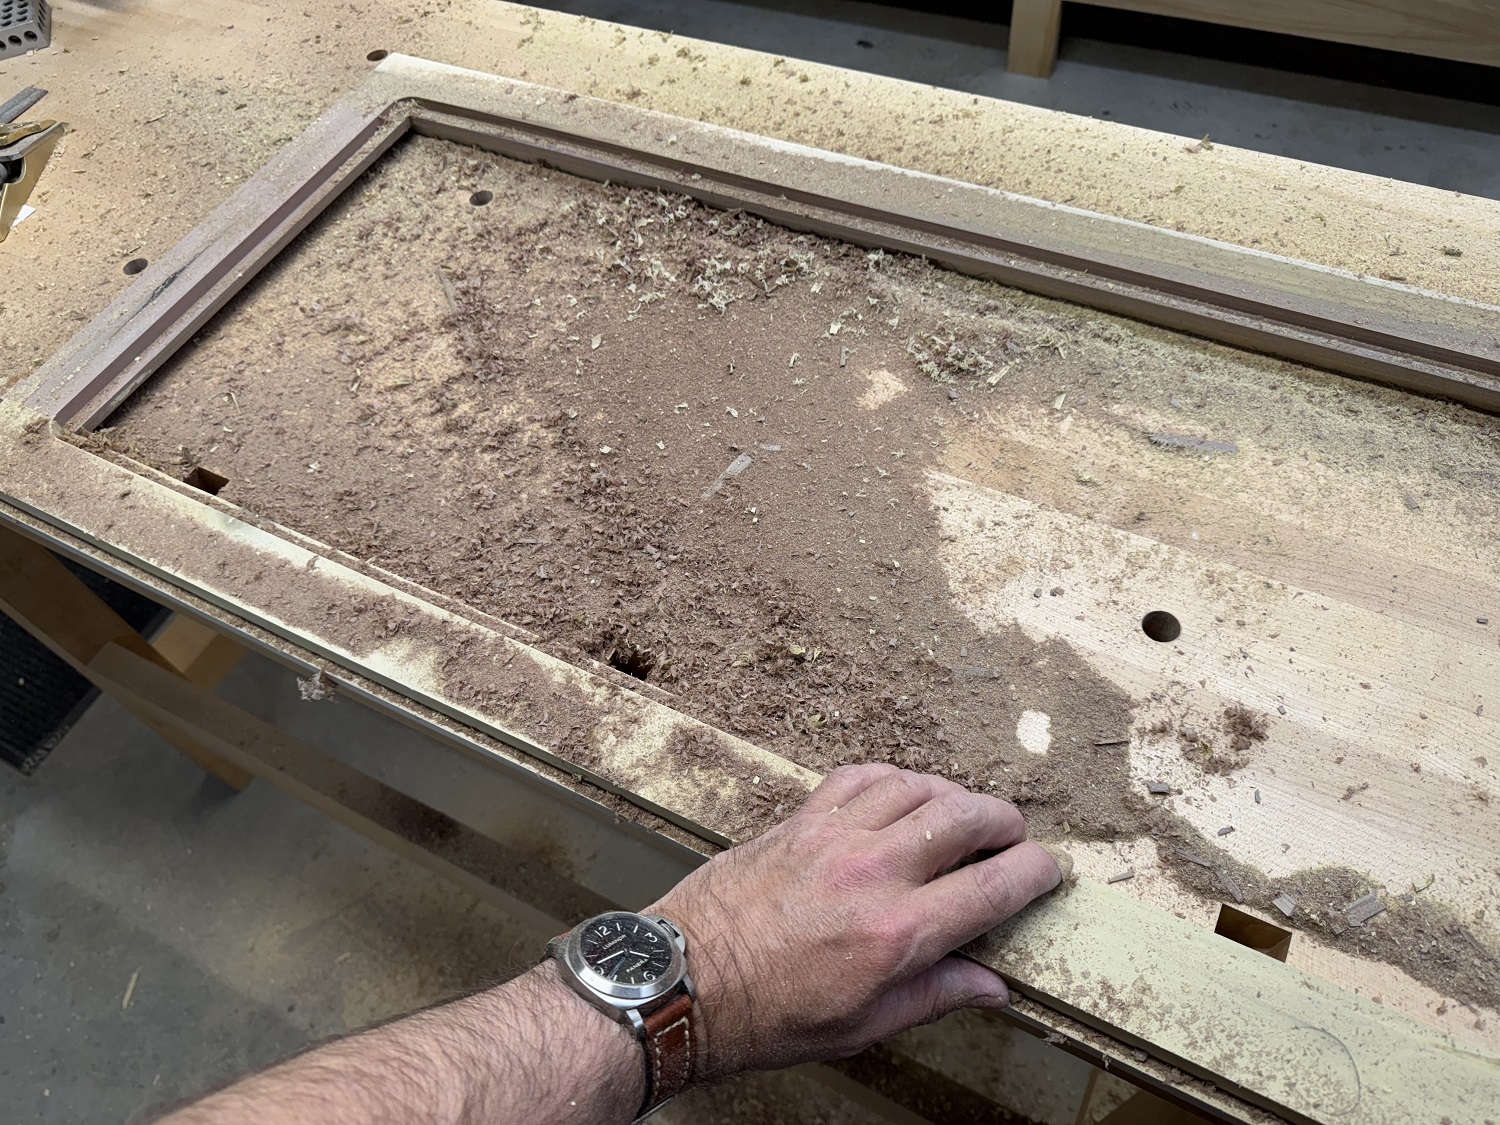
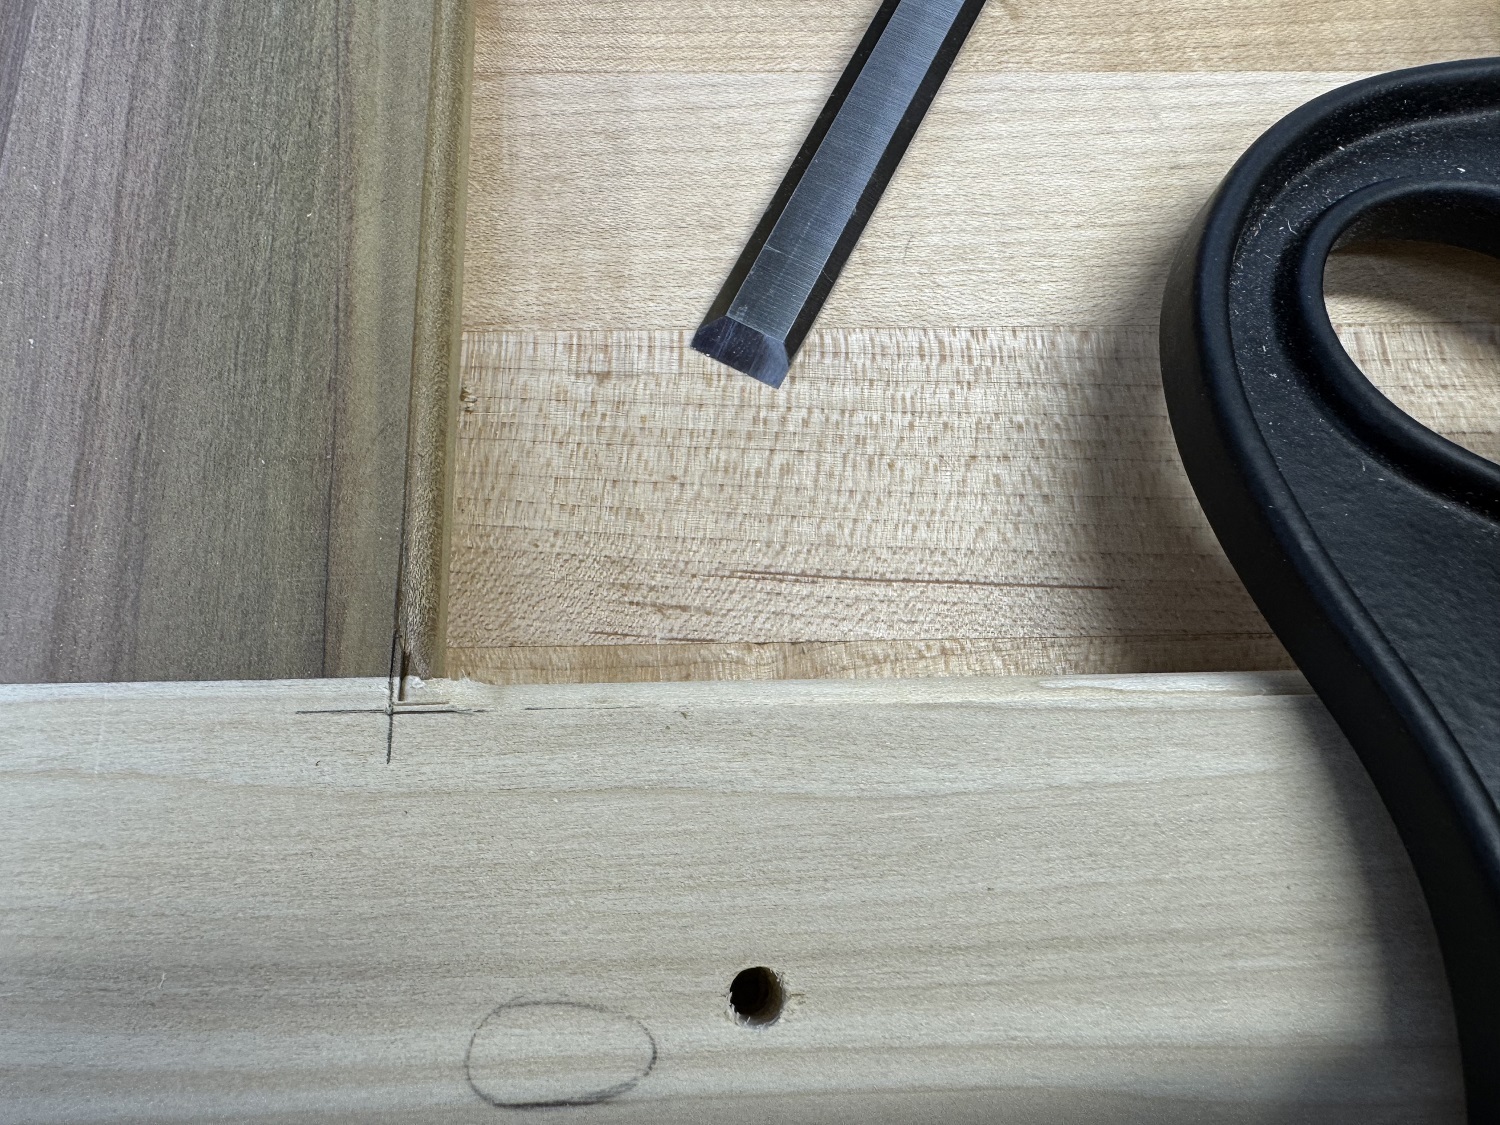
The corners of the rabbets are squared up with chisels and a chisel plane.
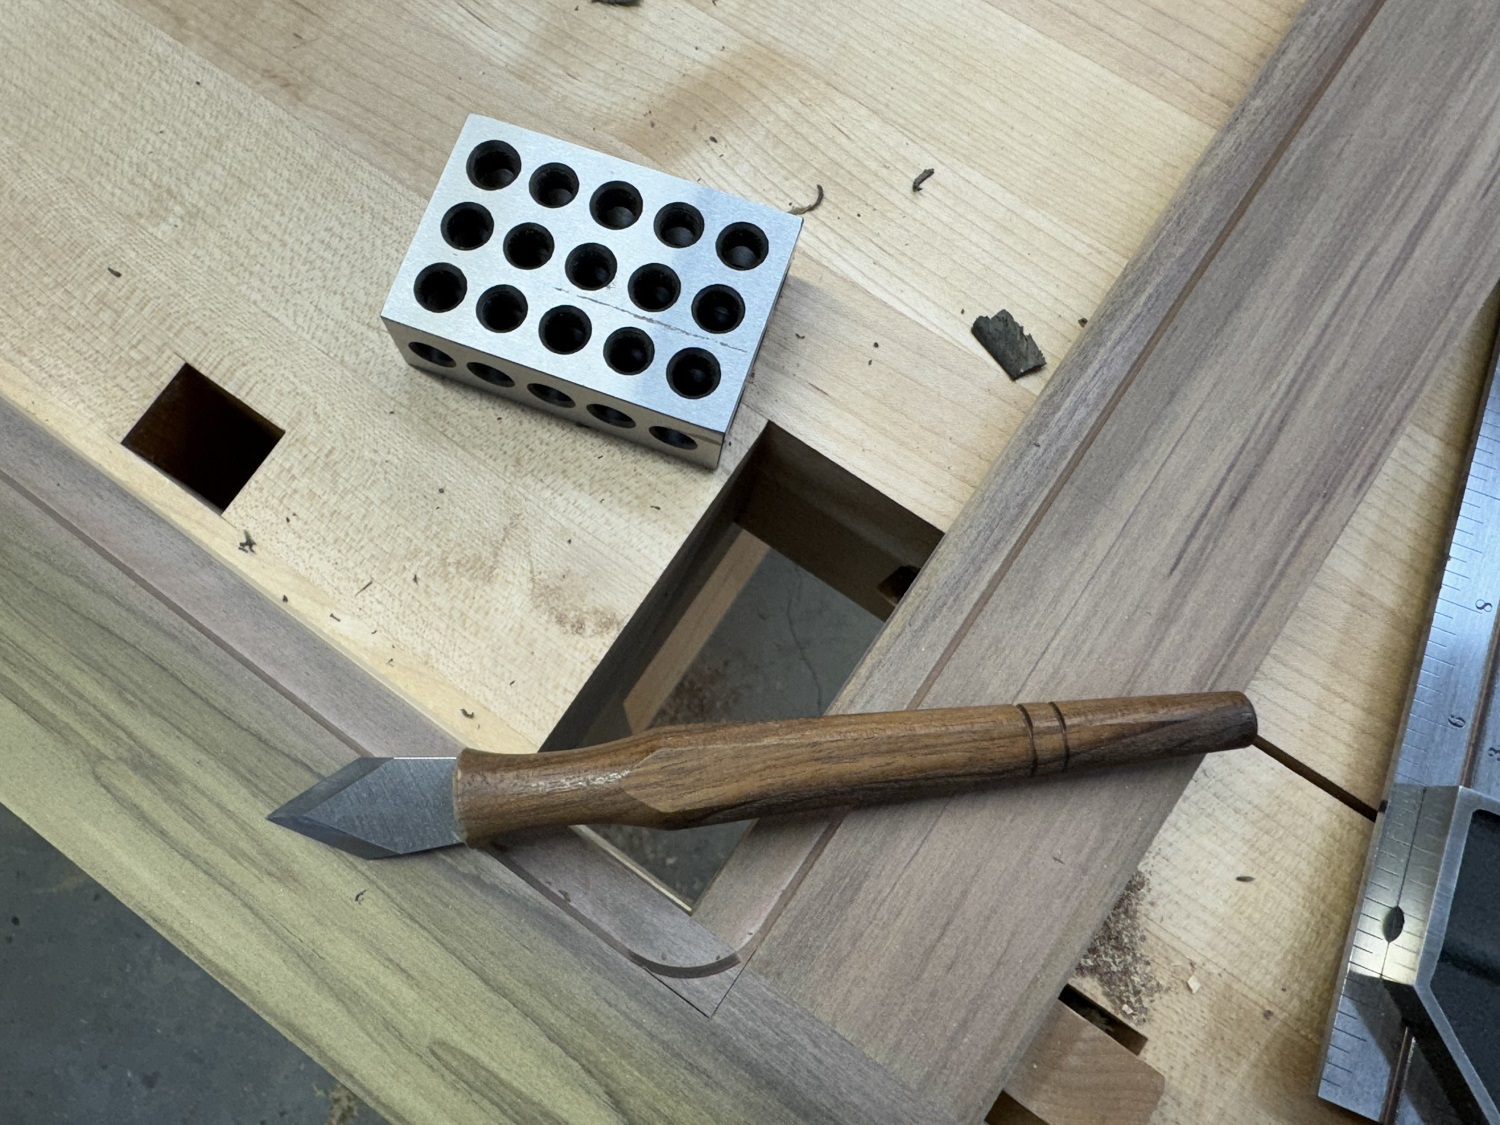
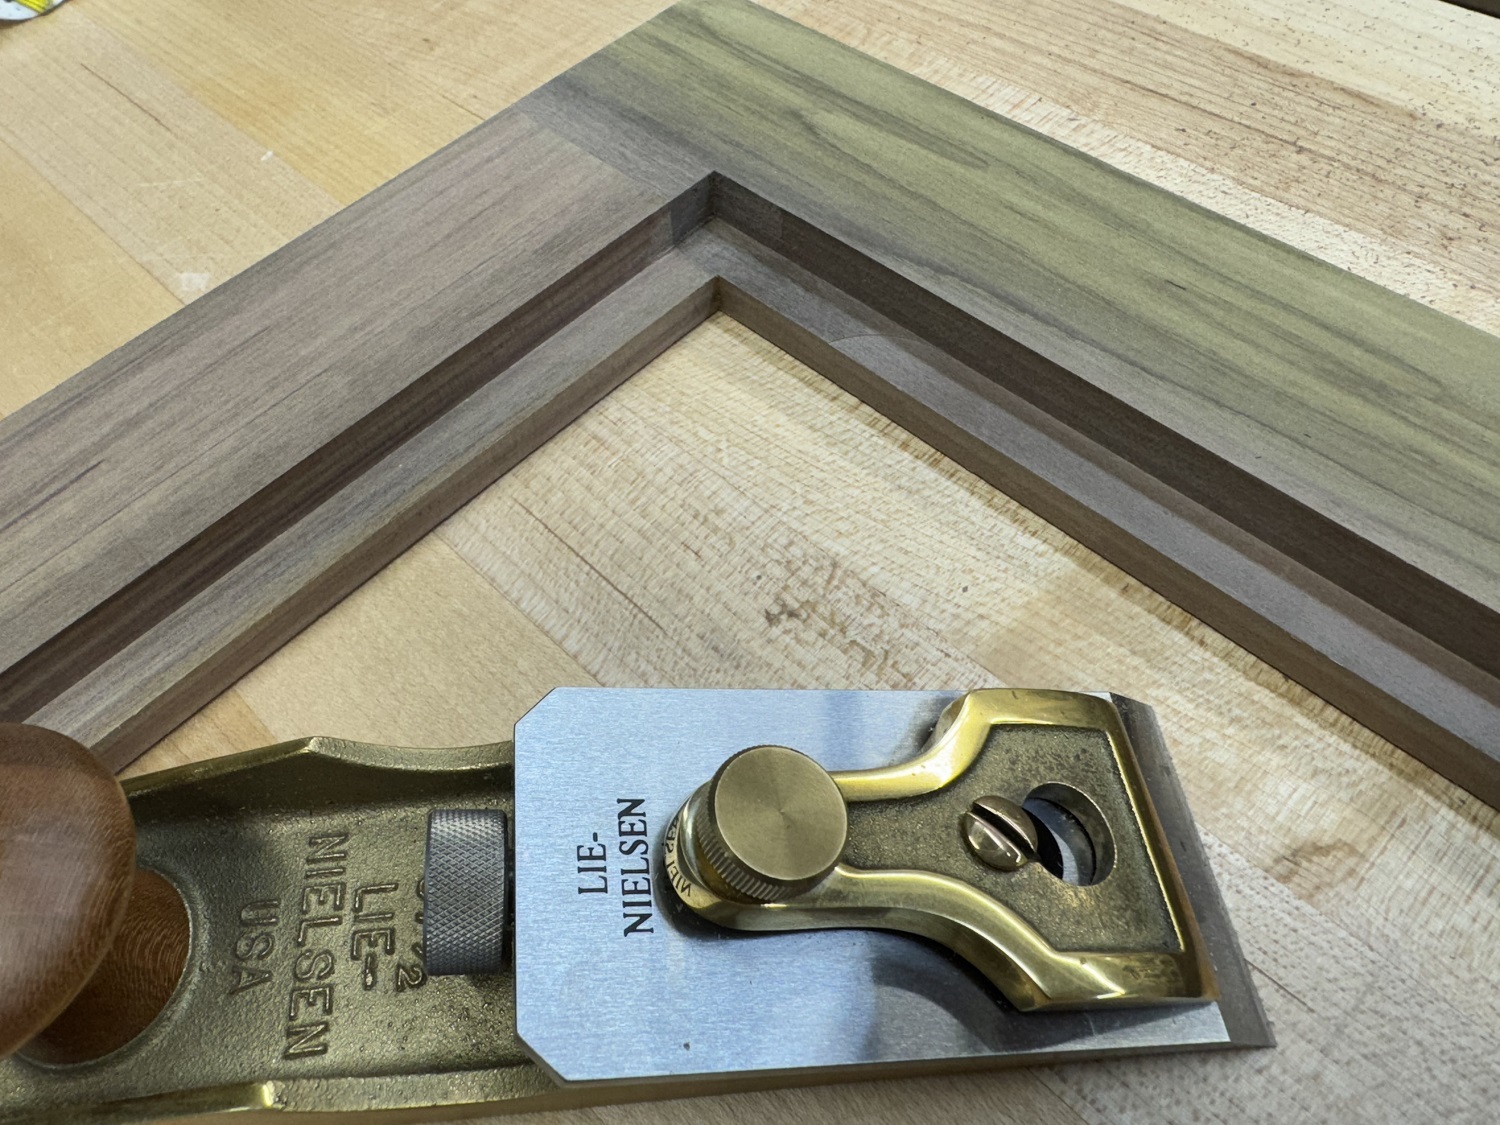
The doors are profiled on the outside edge on the router table with a core cox bit, and beaded on the inside edge with a roundover bit in the trim router.
The beading is squared up in the corners with a chisel and the router plane.

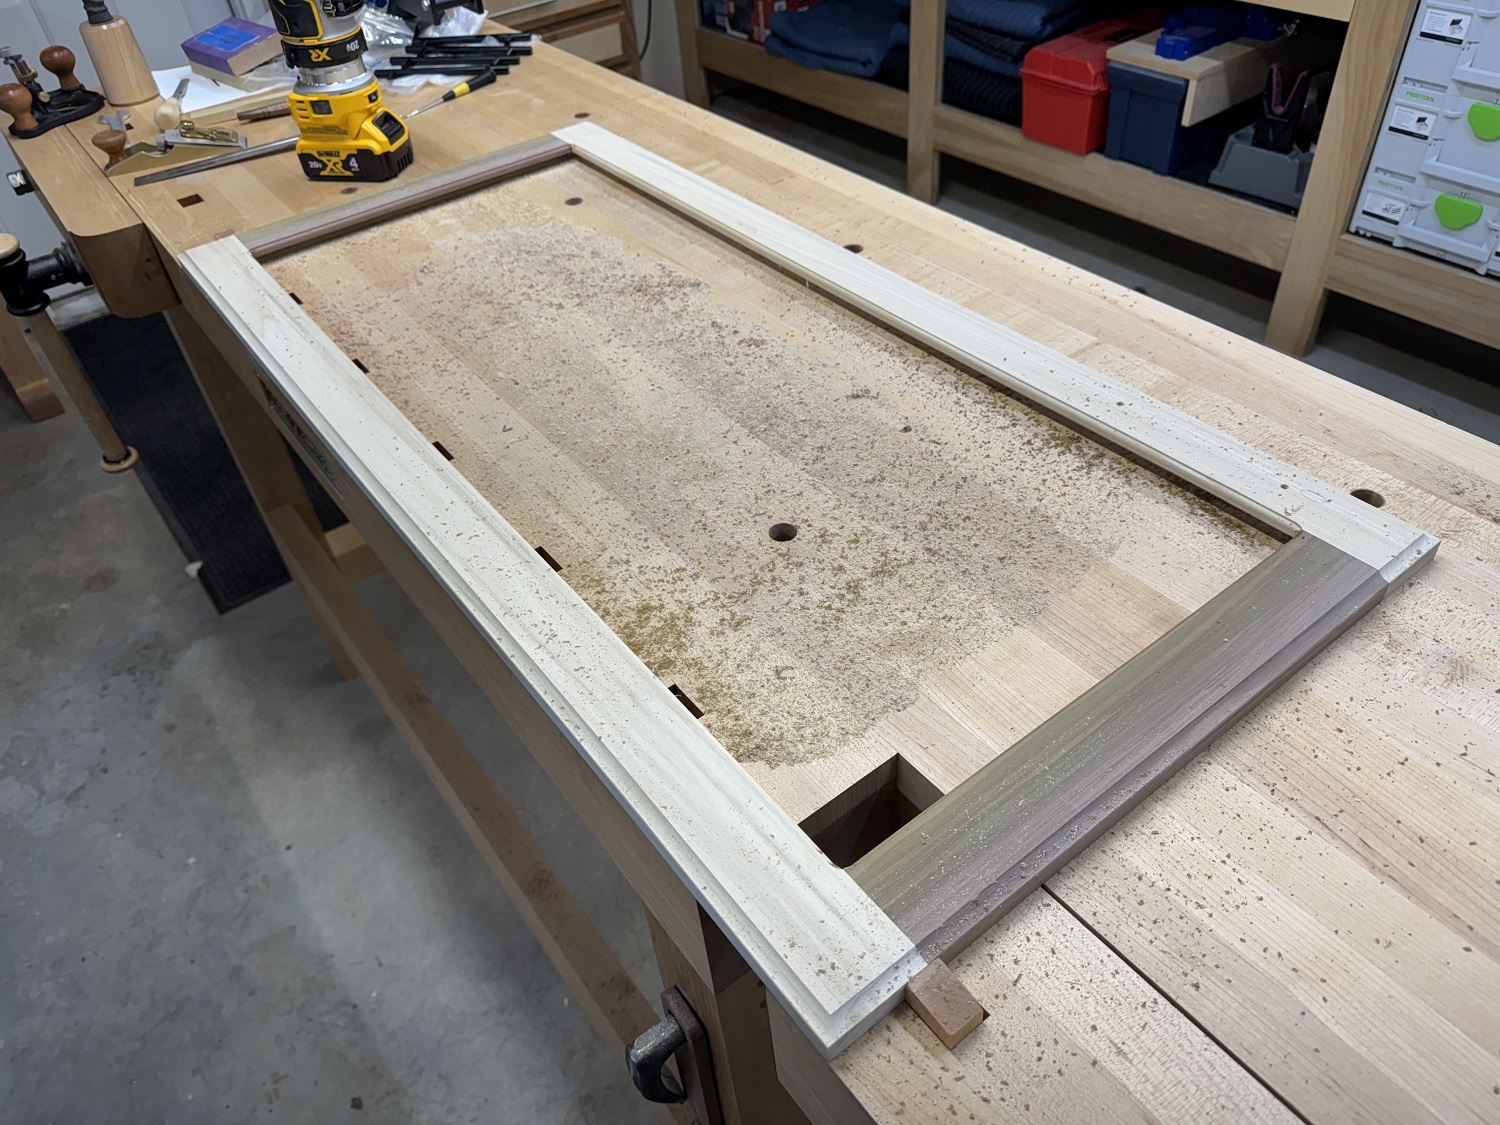
Shelves are cut from 3/4″ Baltic birch ply and front edges of 1 1/4″ poplar are glued on.
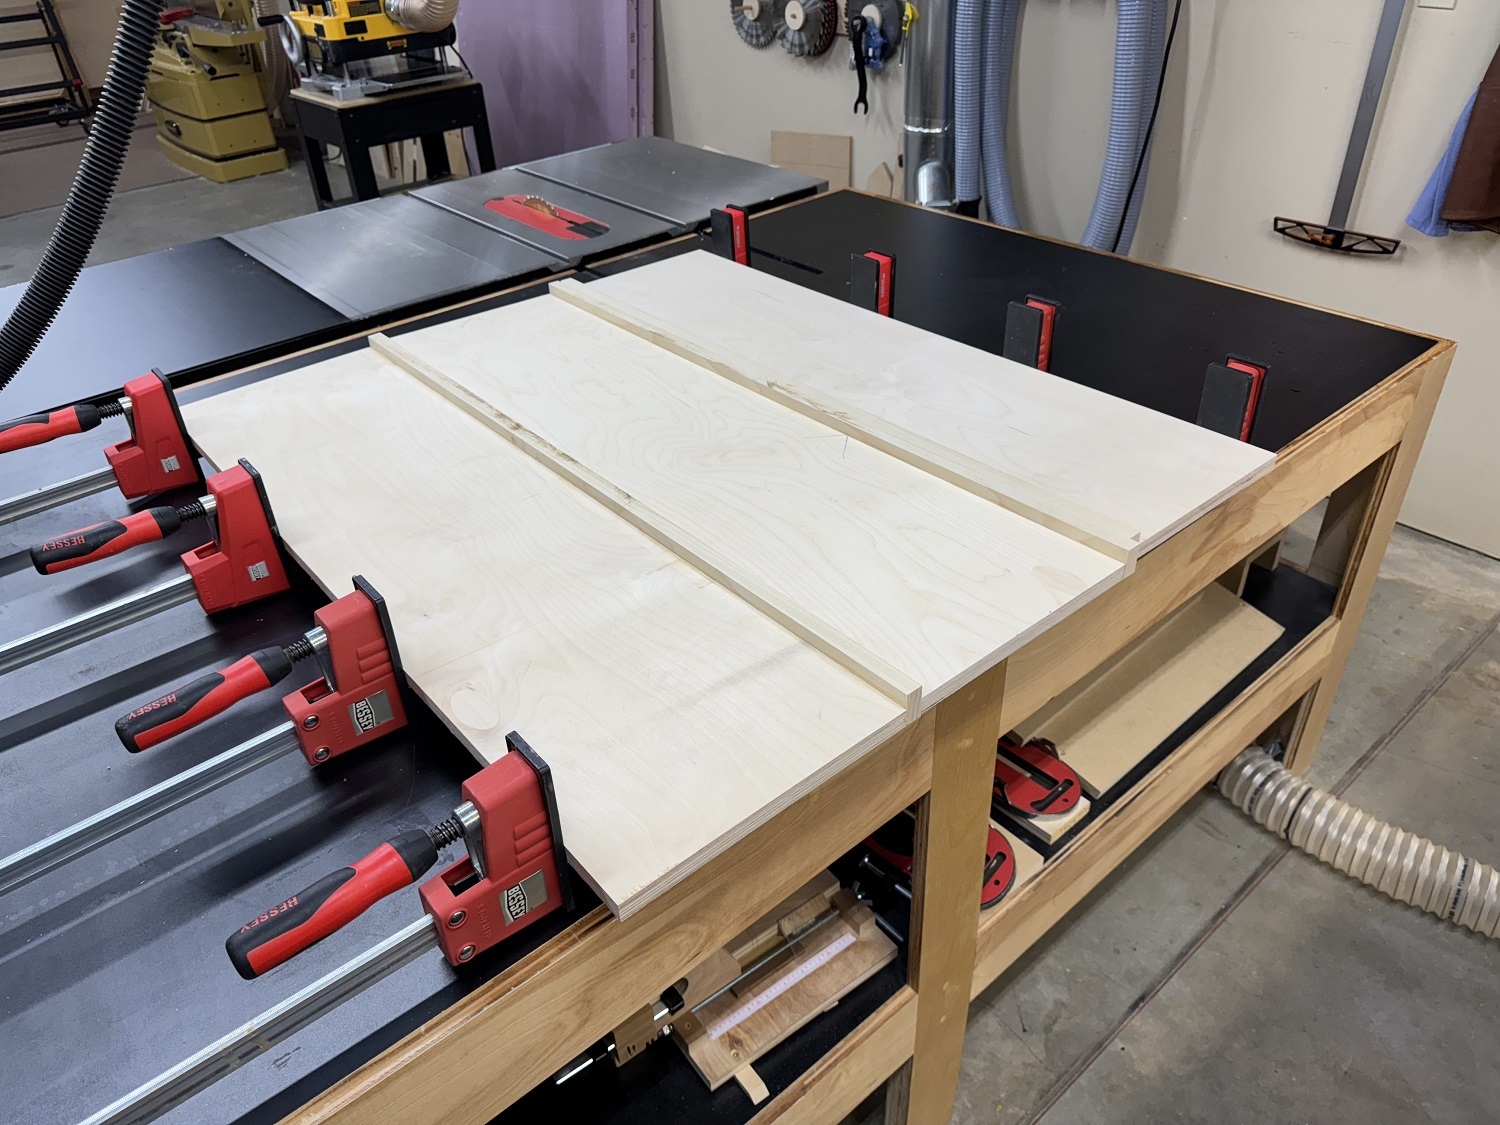
The dry fit looks good.

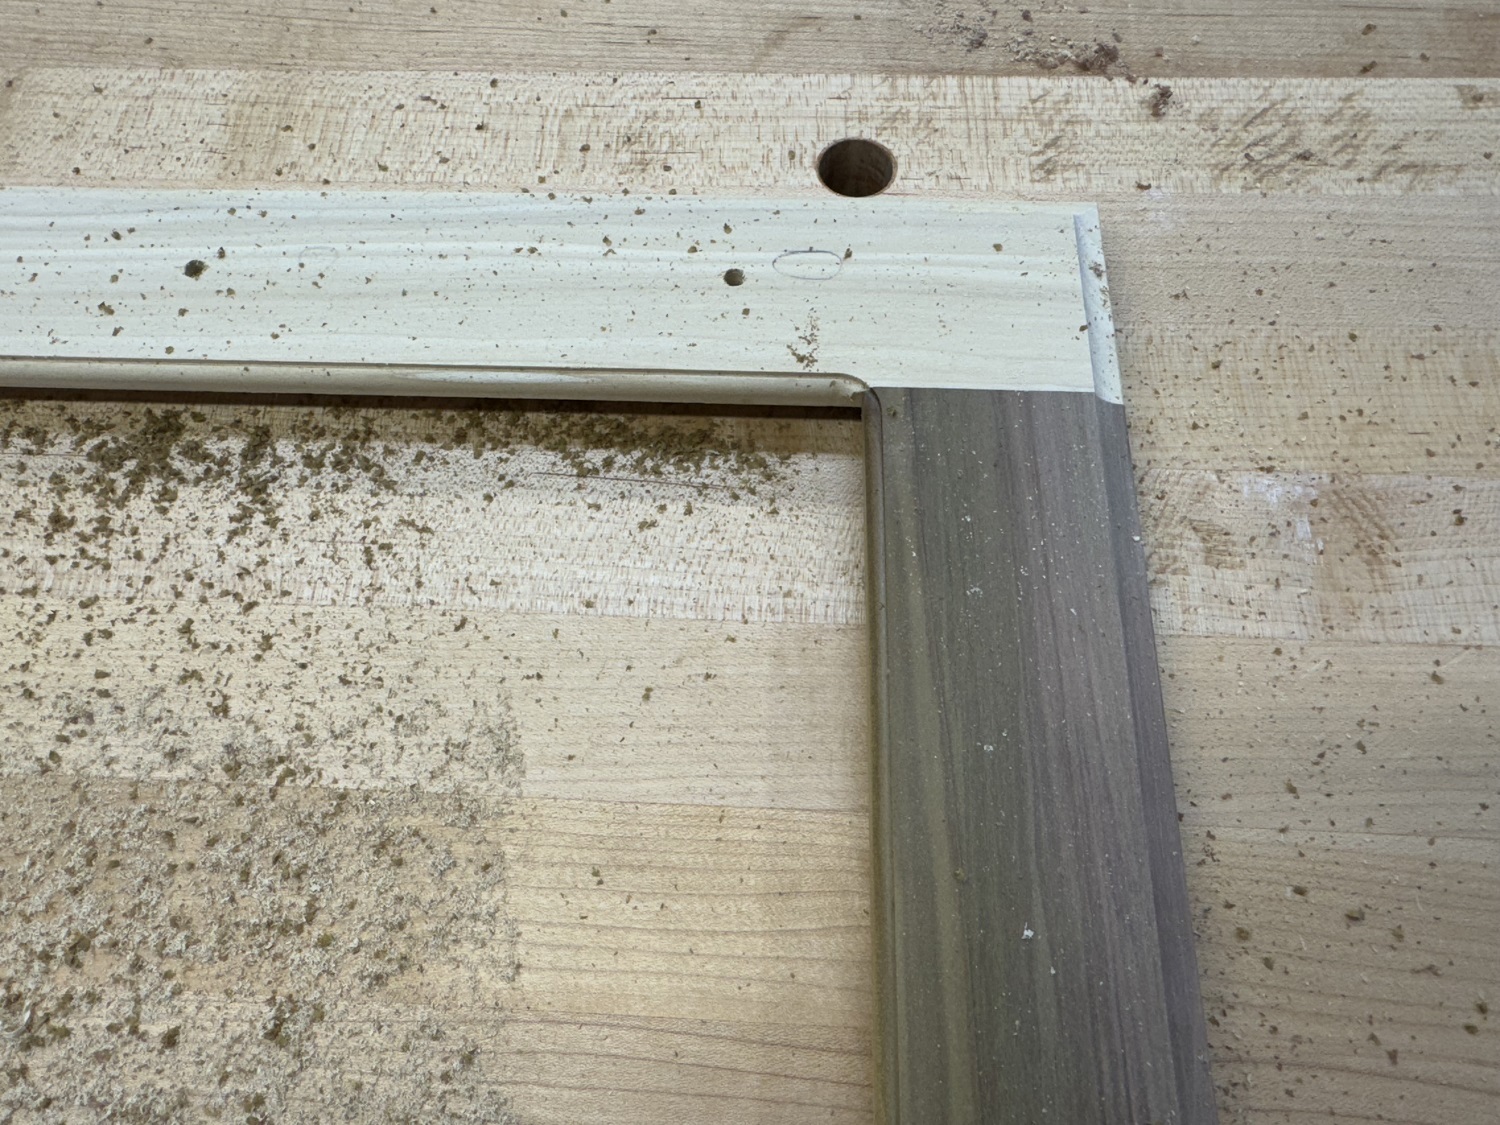
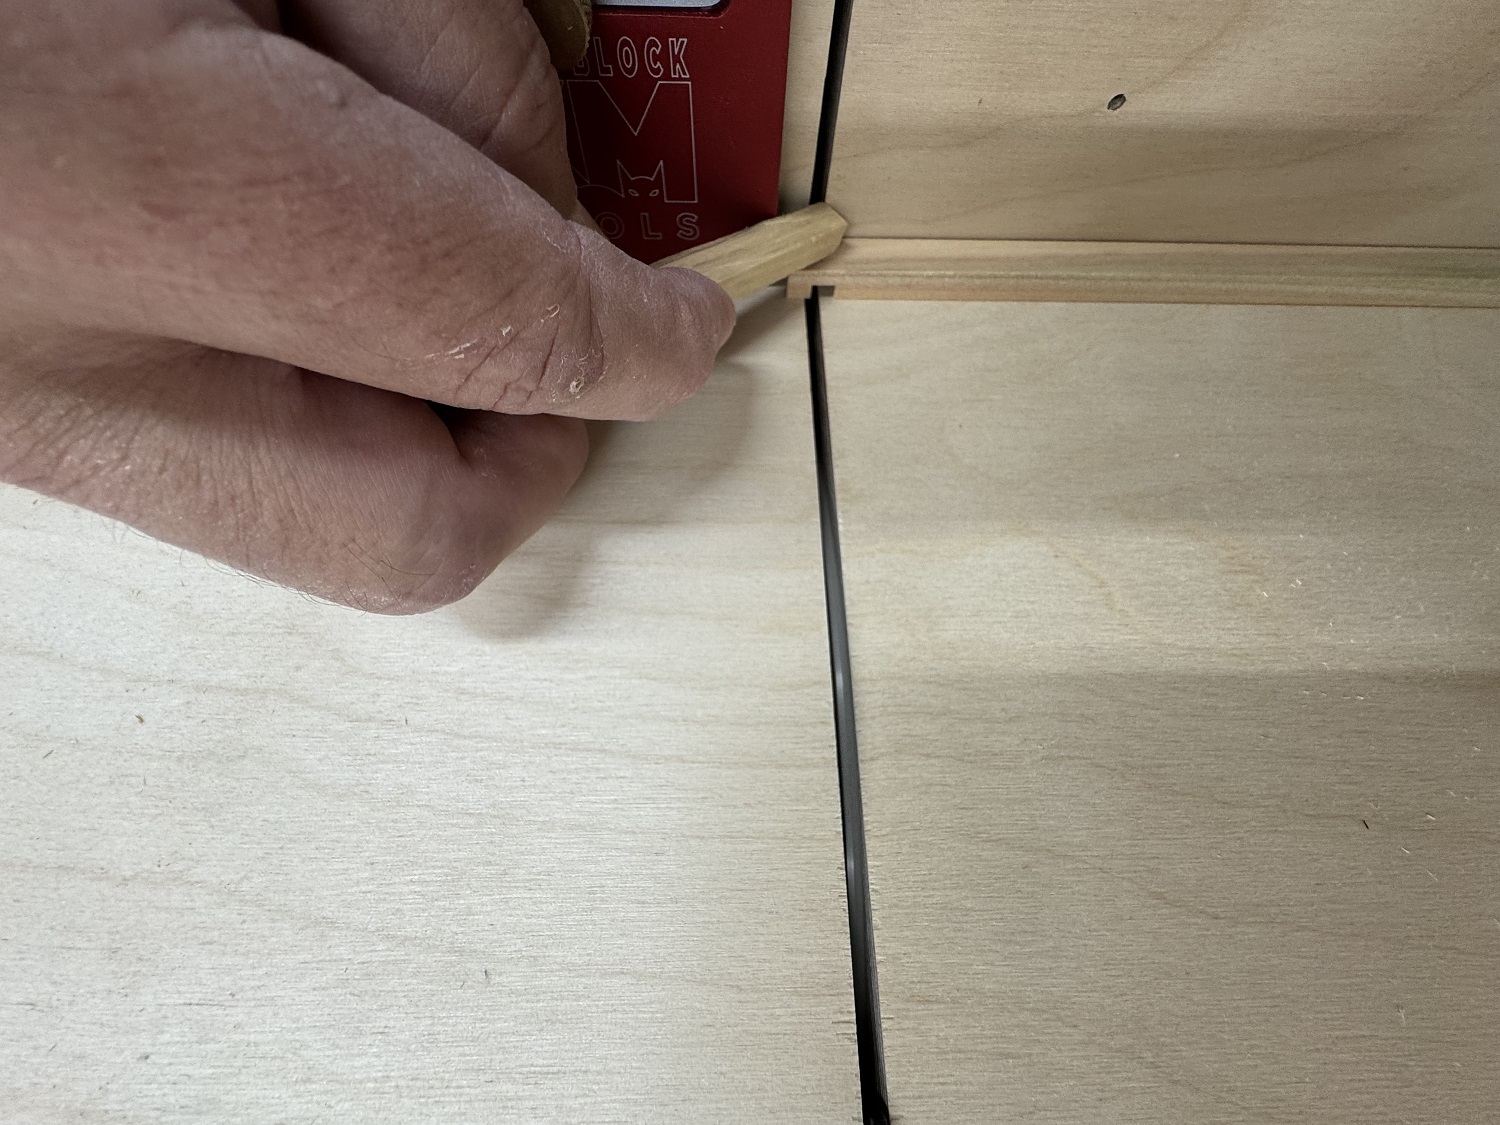
To make the glass removeable/replaceable, glass retention frames are made with half-lap joints. Not much glue area here, but the retention frames will probably never be removed and will not be subject to much force, so it will be fine.

On to final sanding, priming and painting.