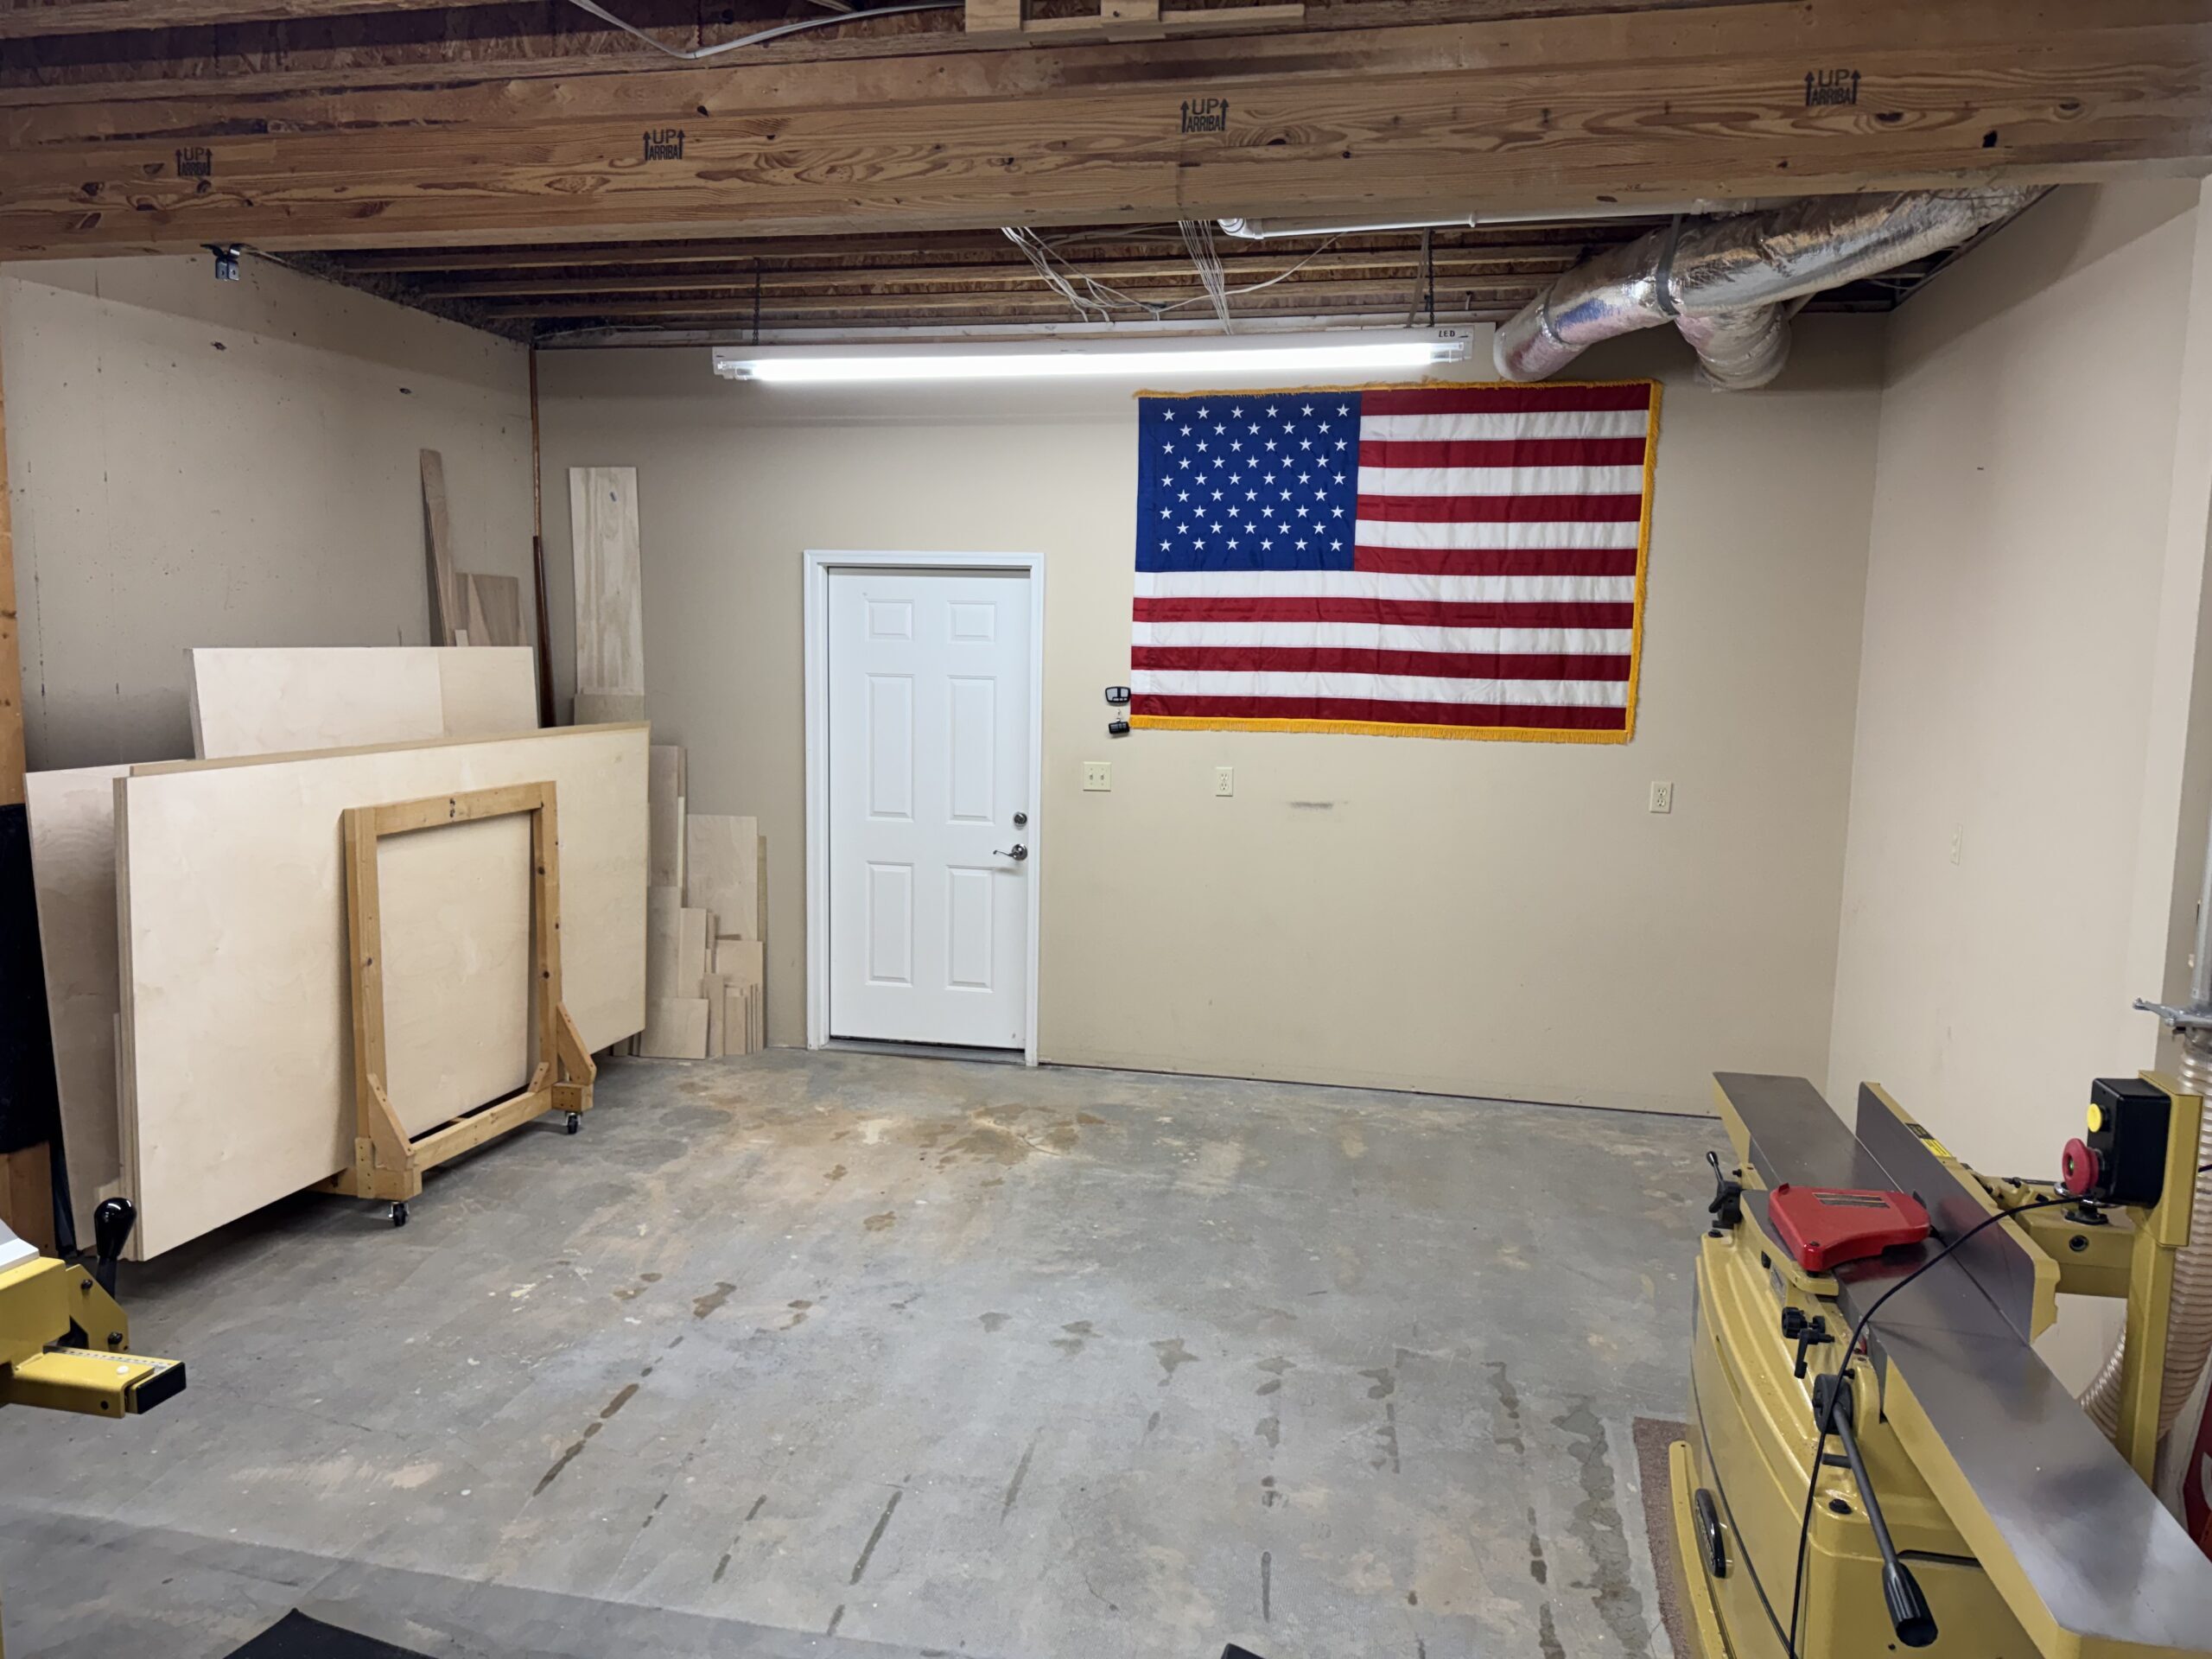
The back corner of the shop has become an inefficient accumulation area for plywood sheets and scrap. It’s time to better utilize this space by building a proper plywood sheet and scrap storage rack. This will free up space for a home gym.
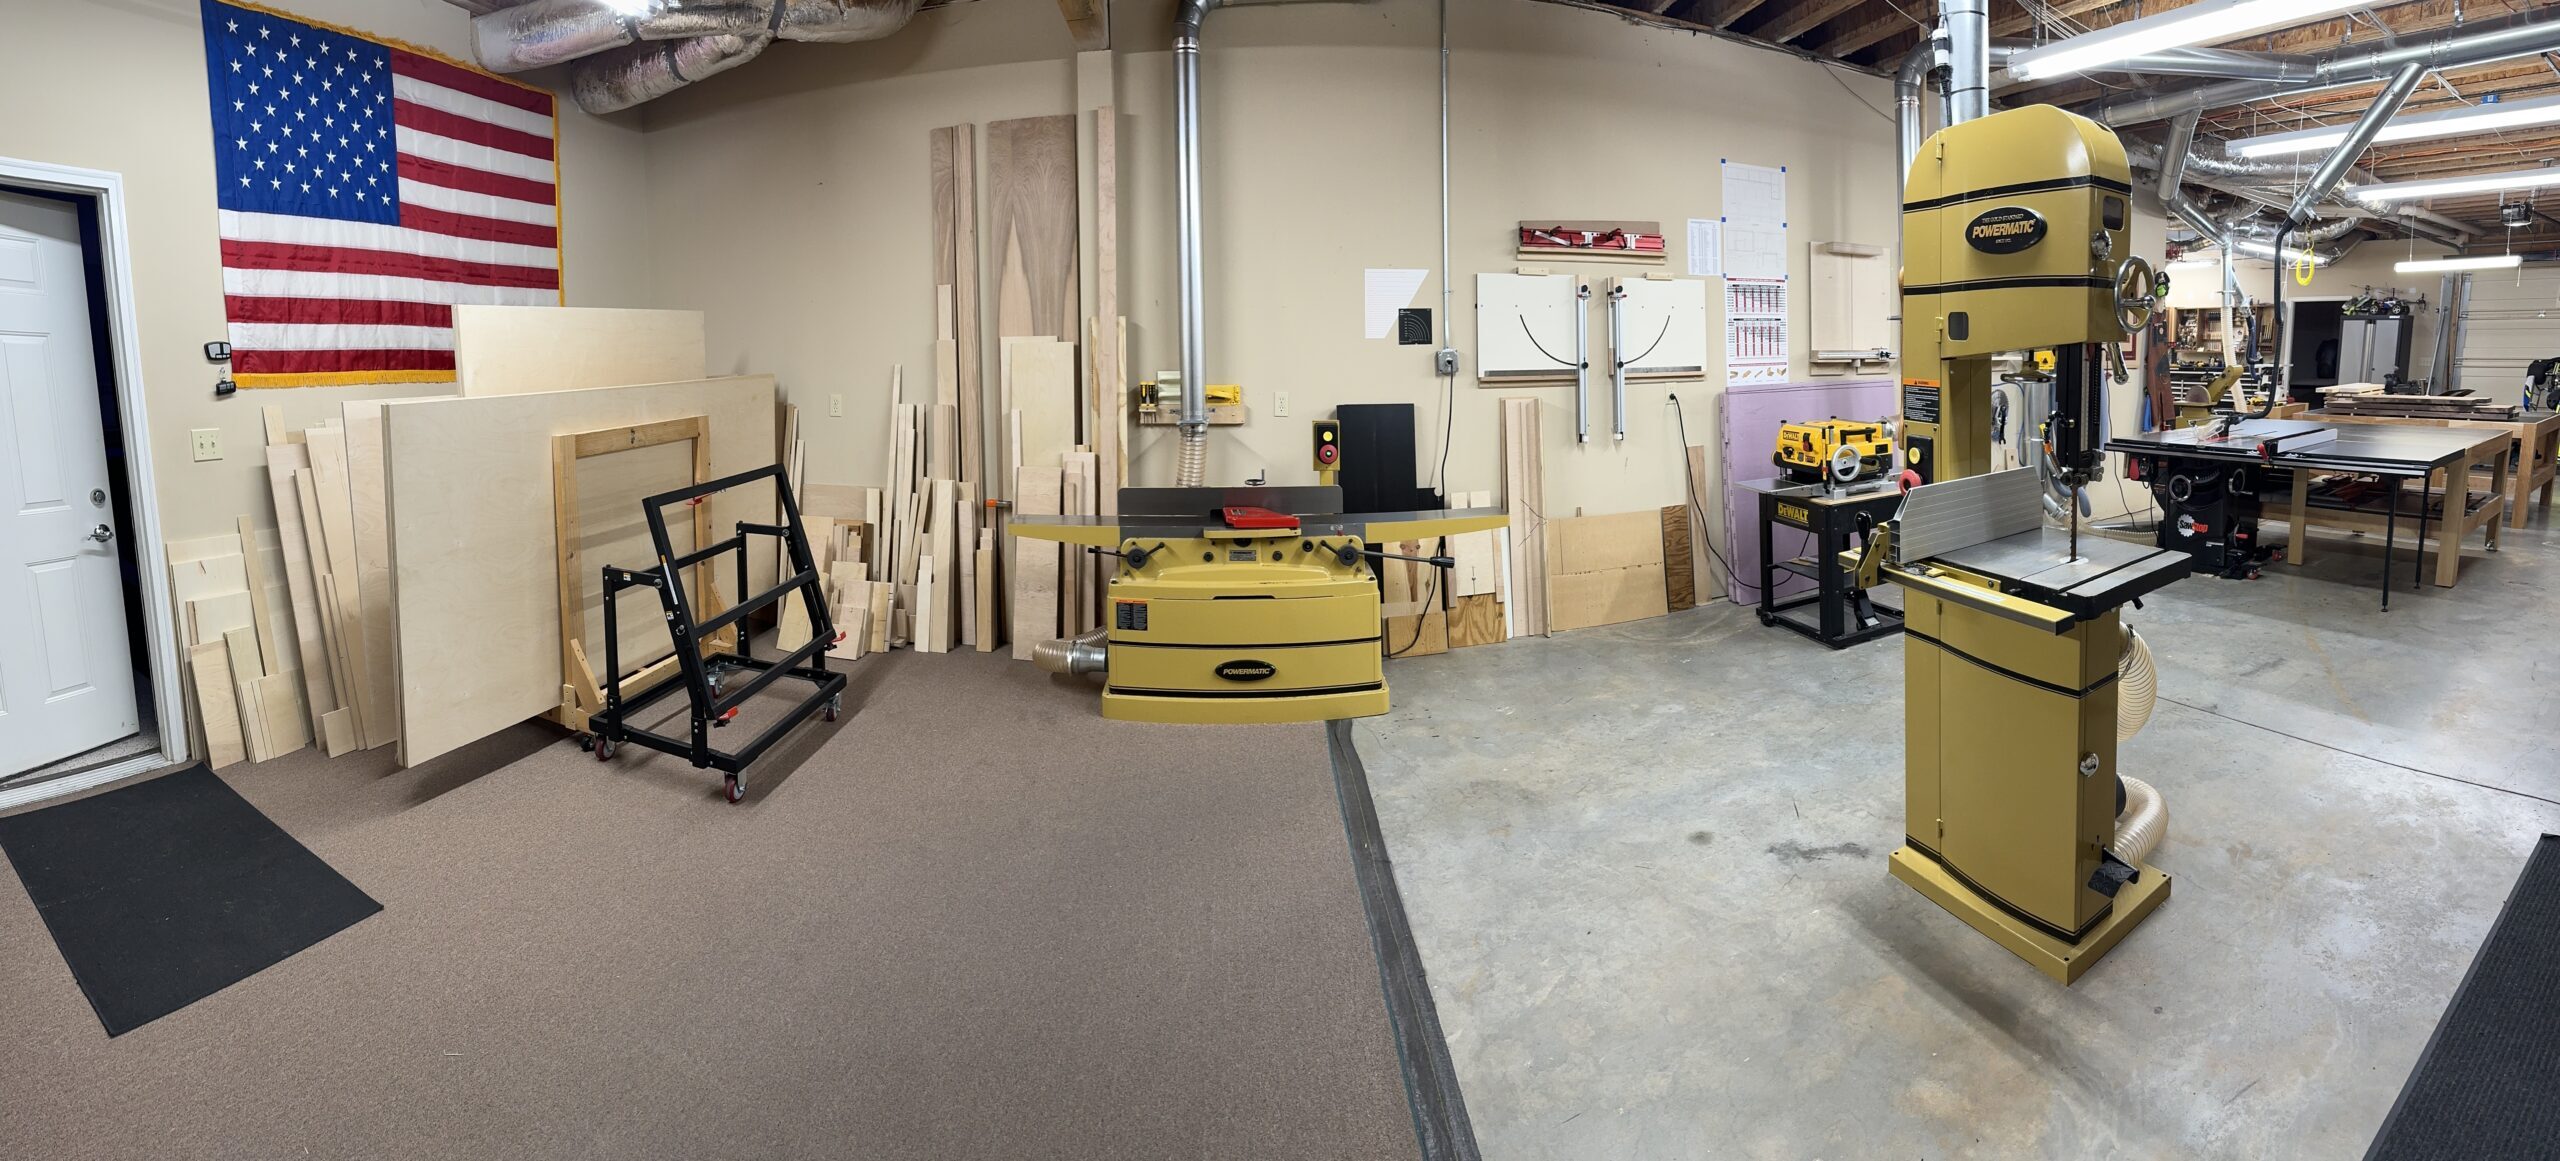
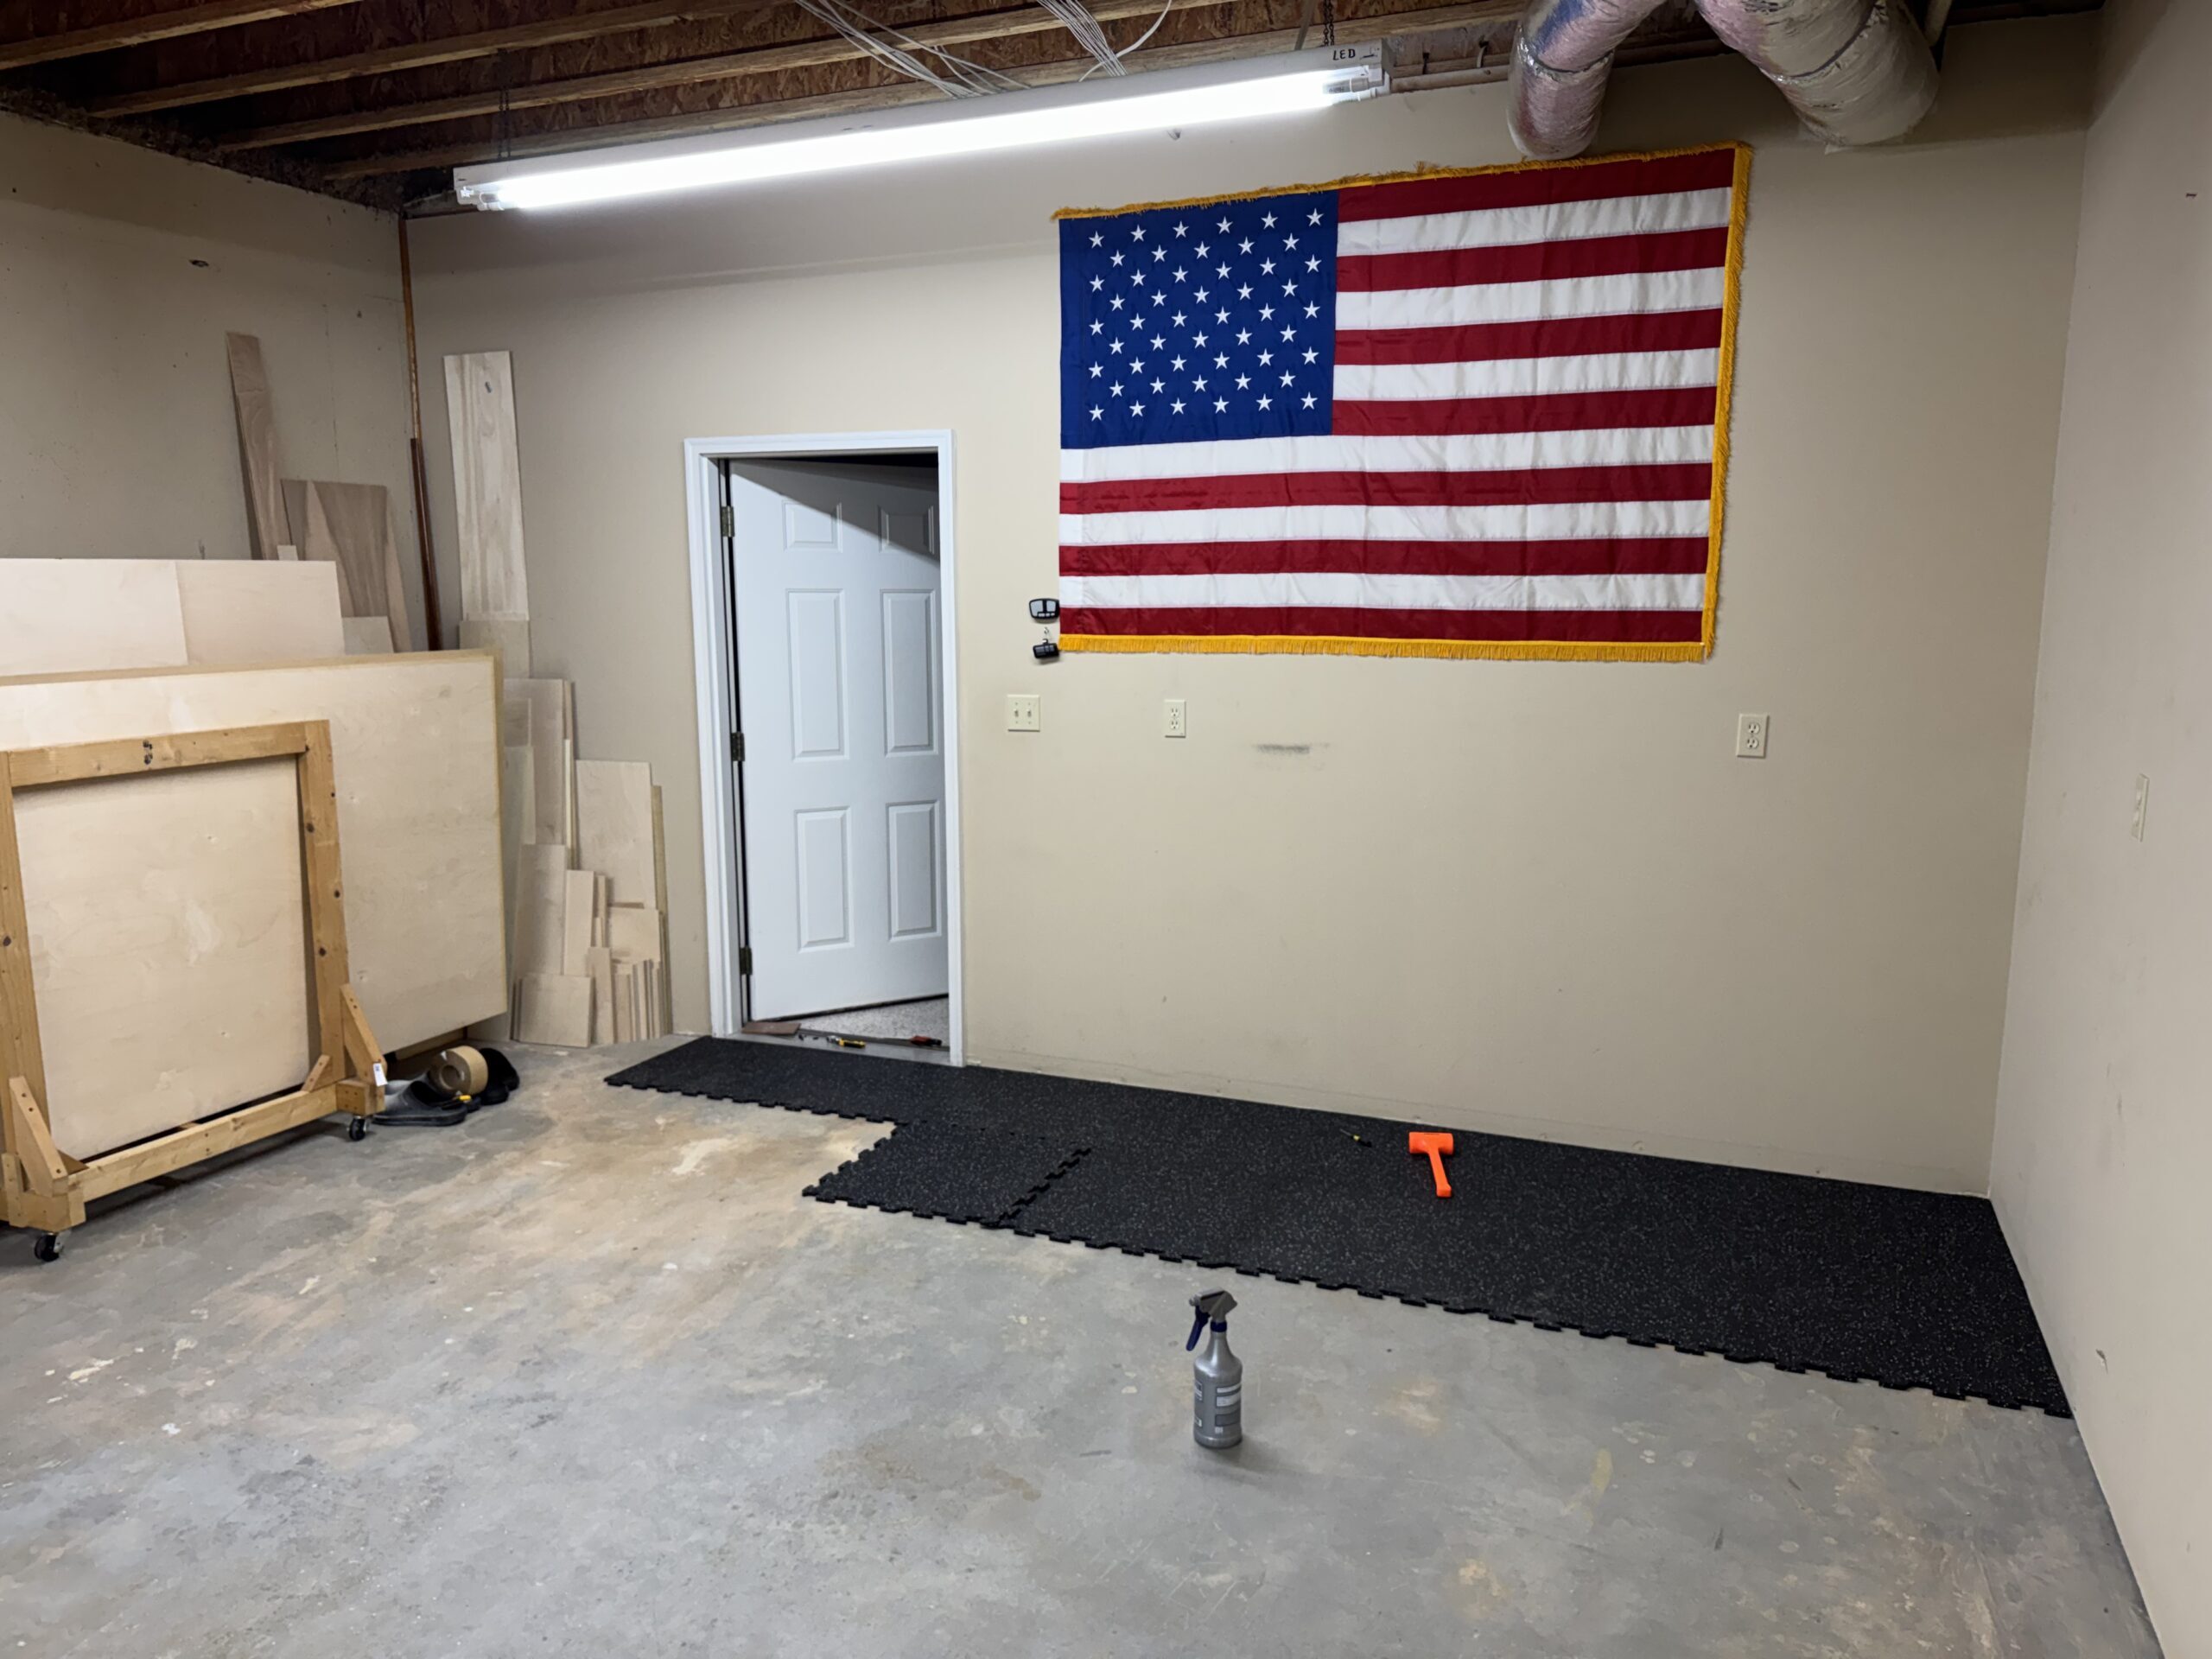
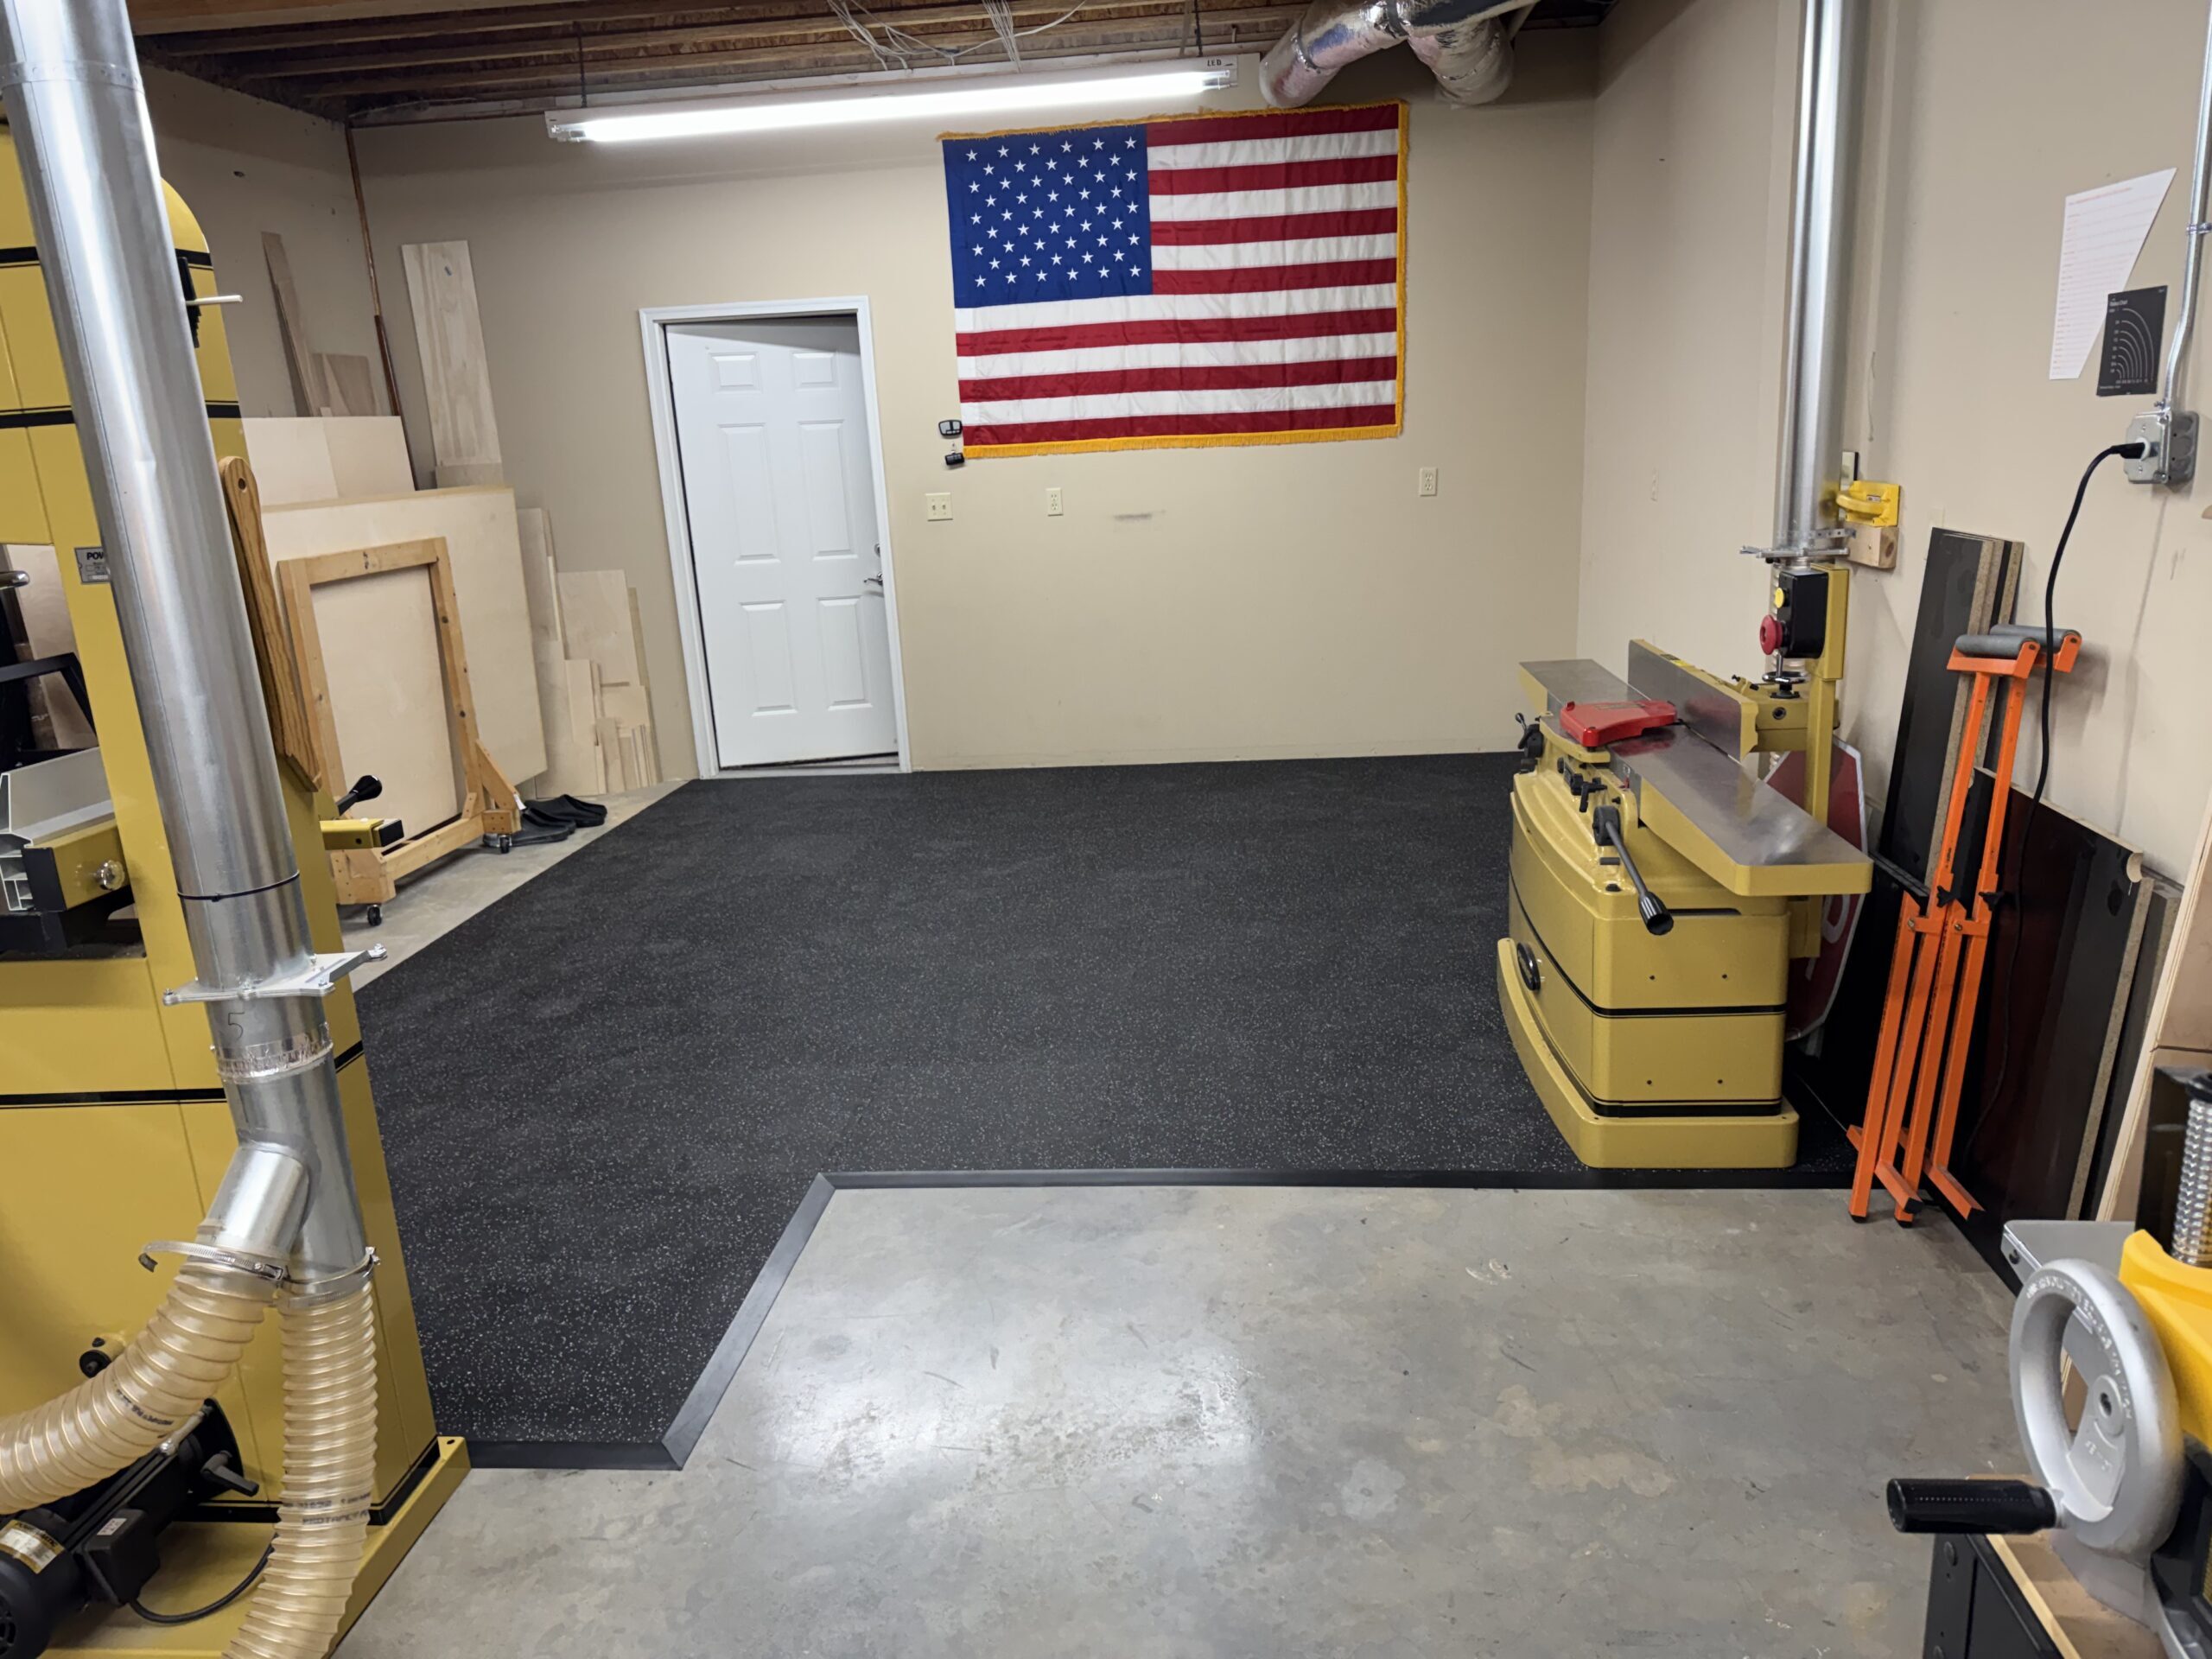
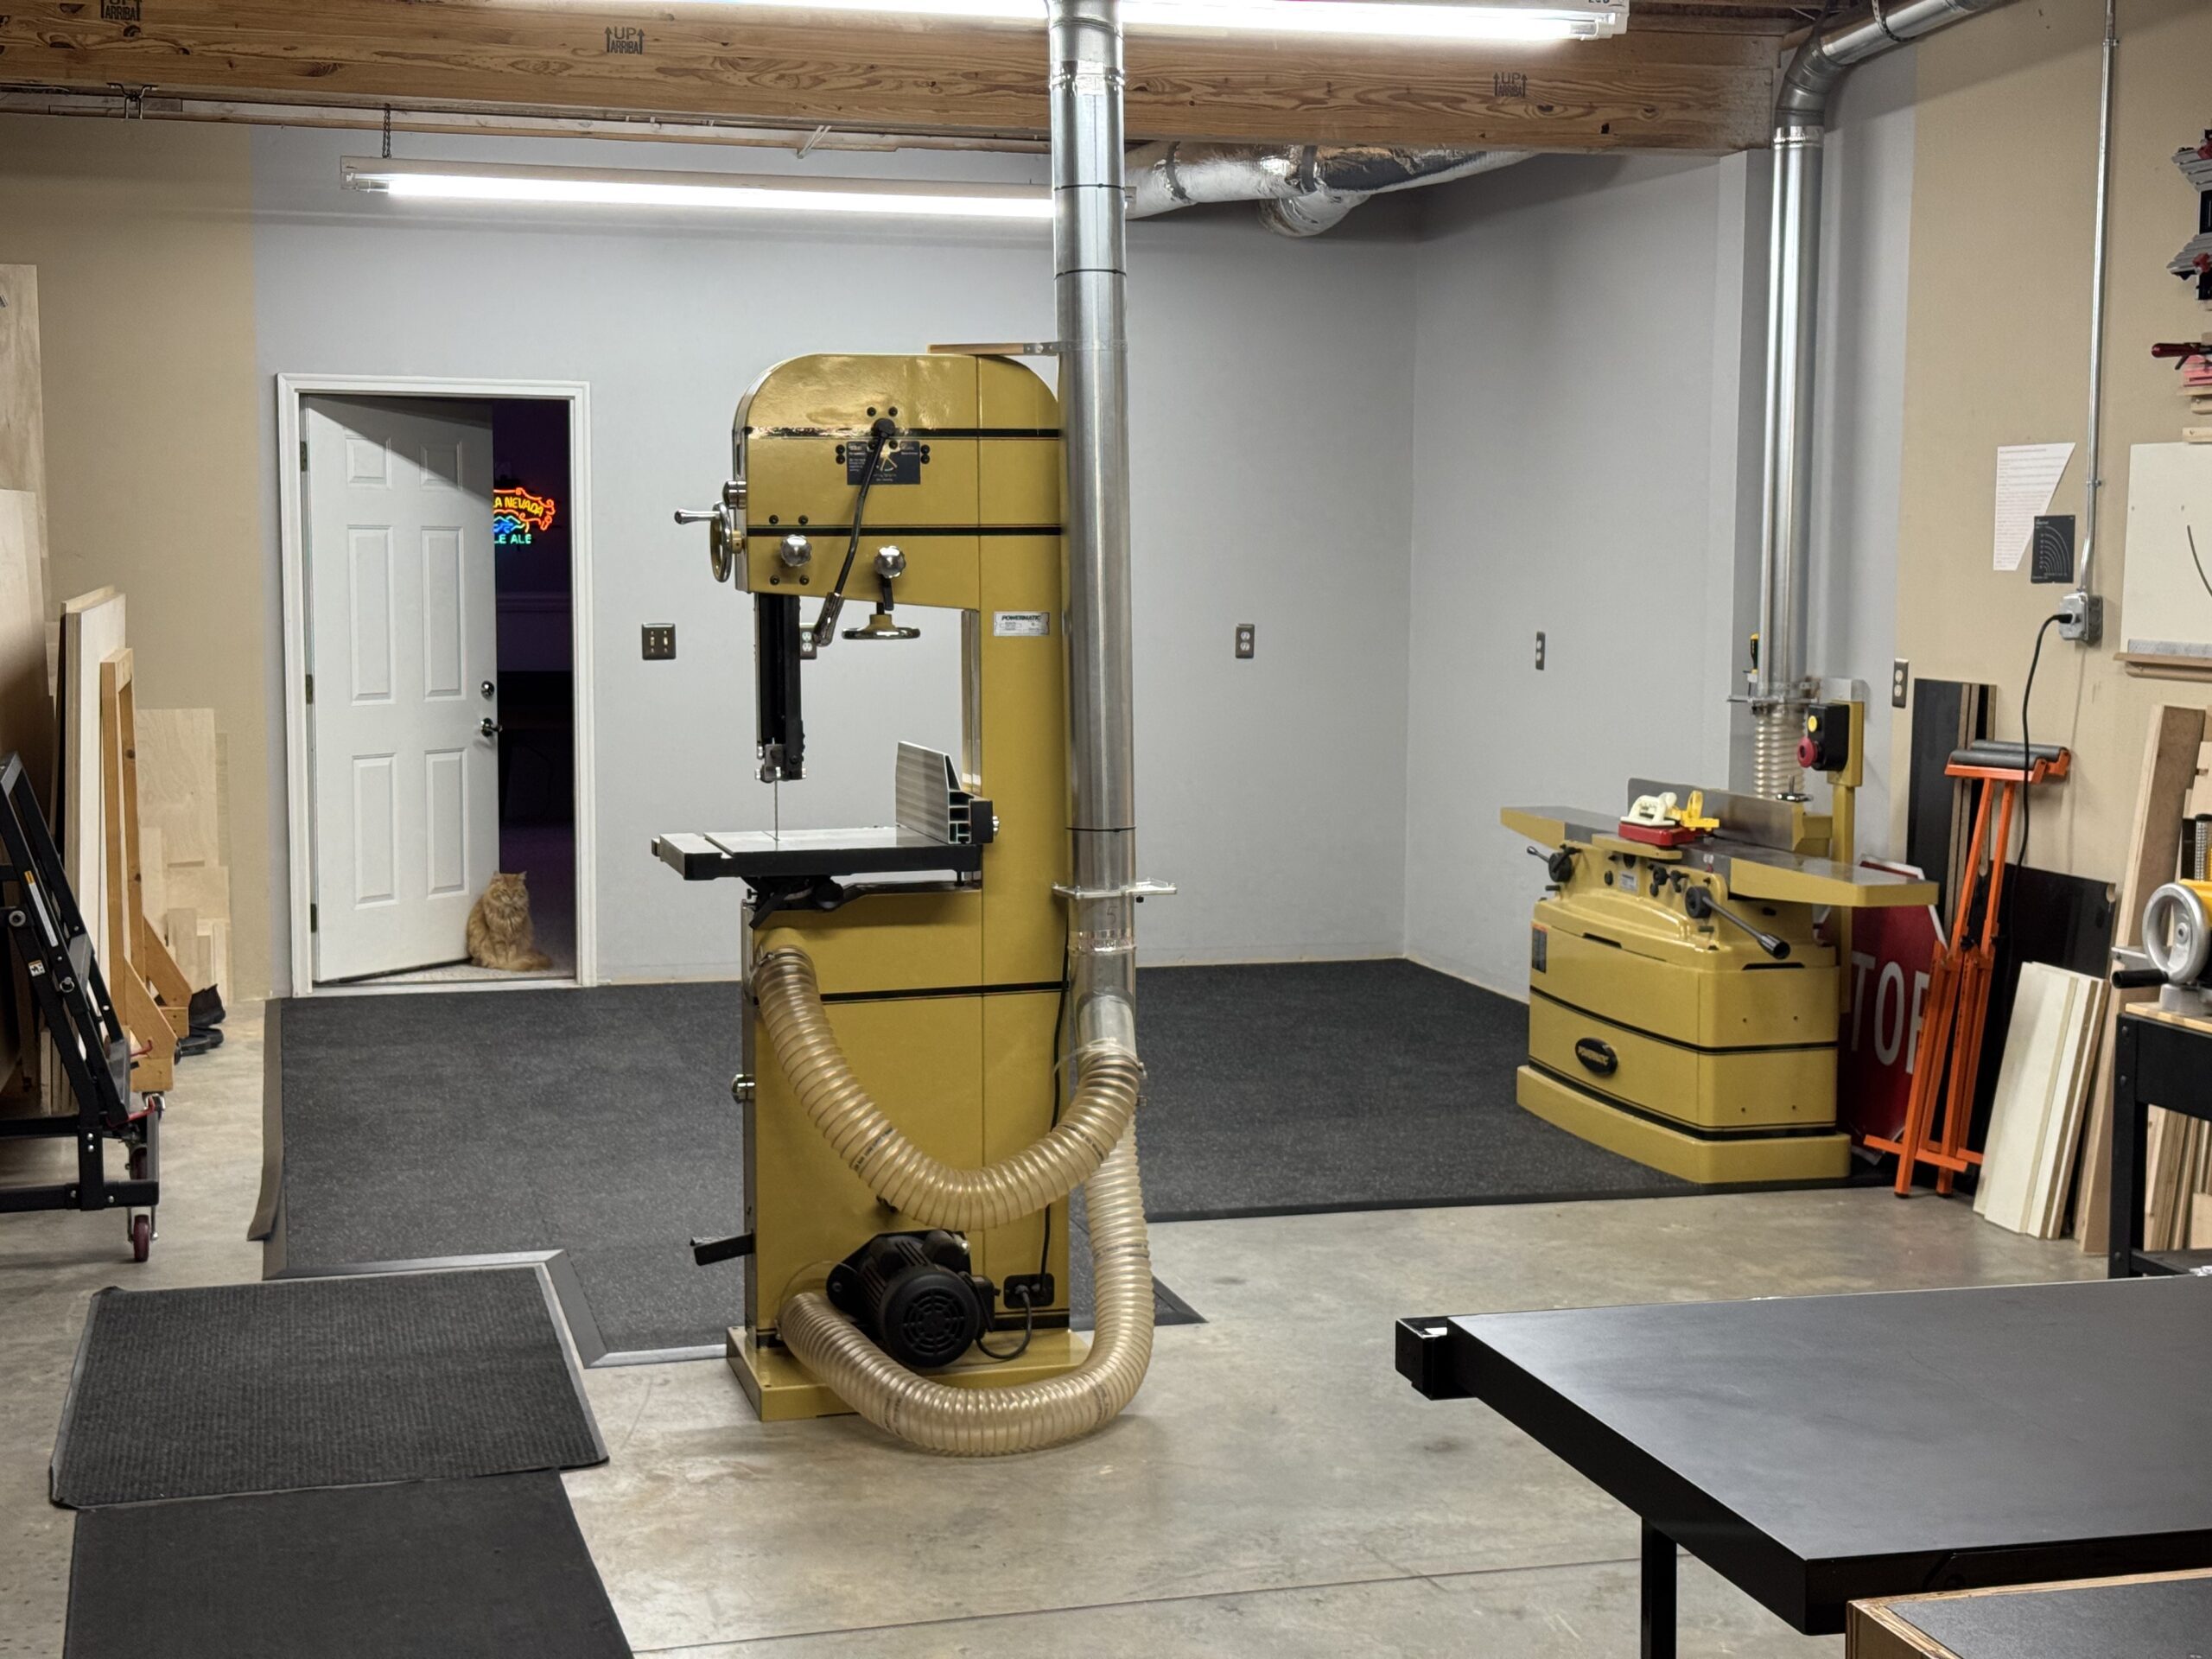
The back corner of the shop went from this:
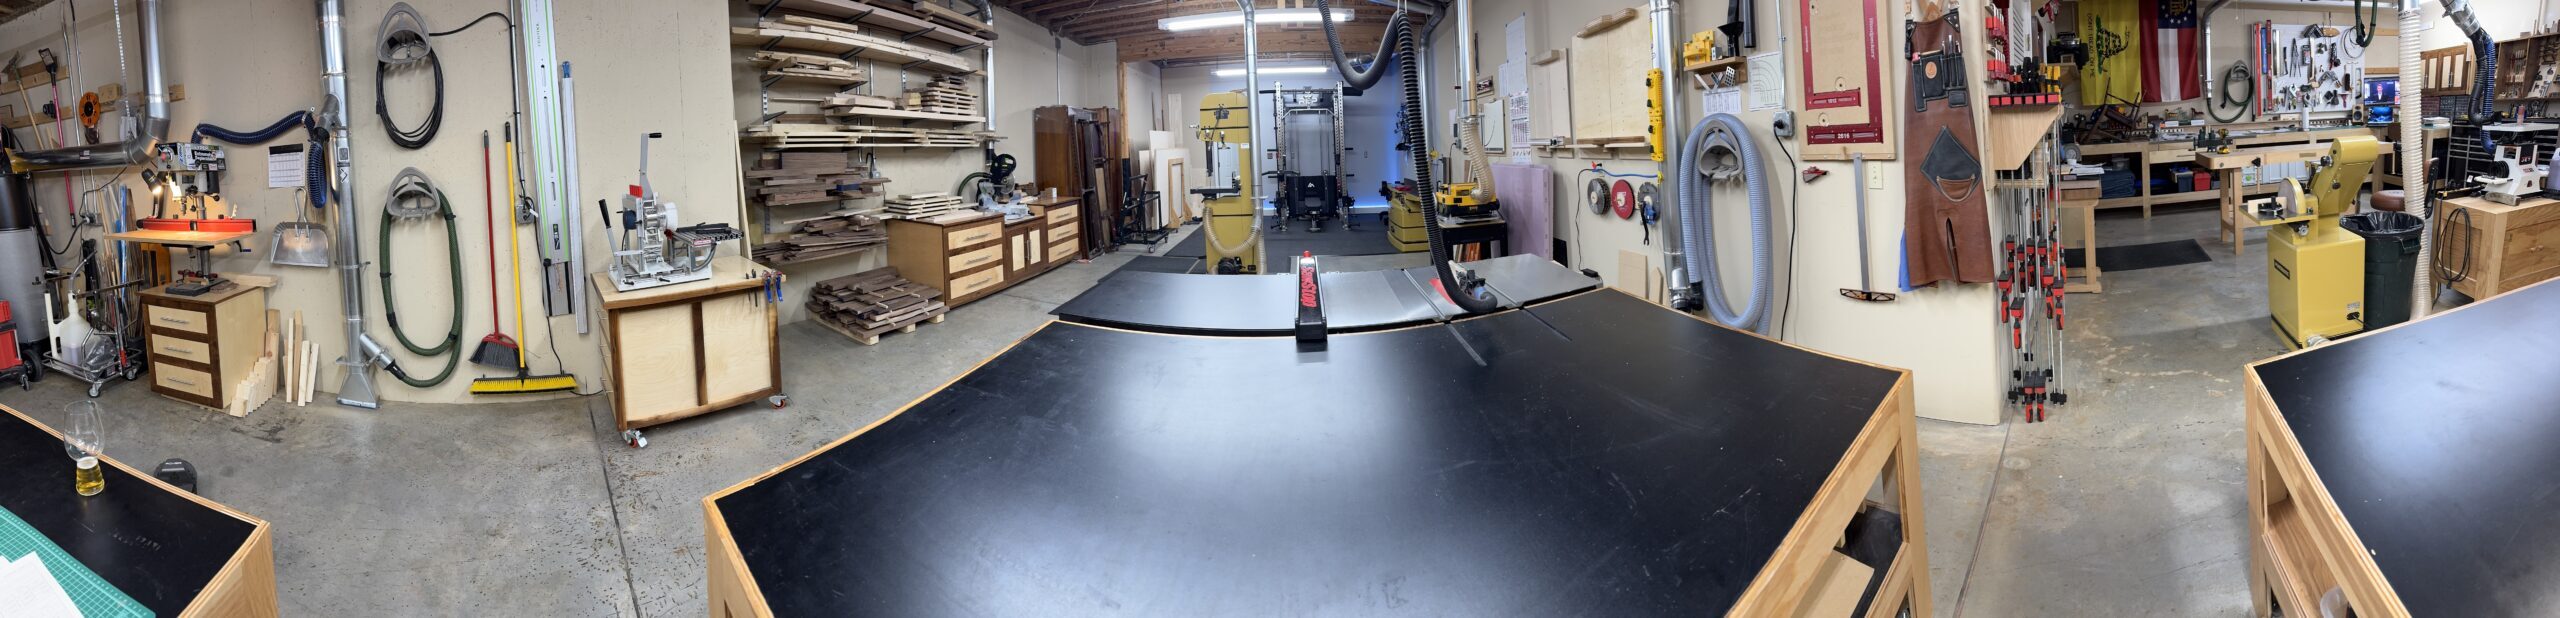
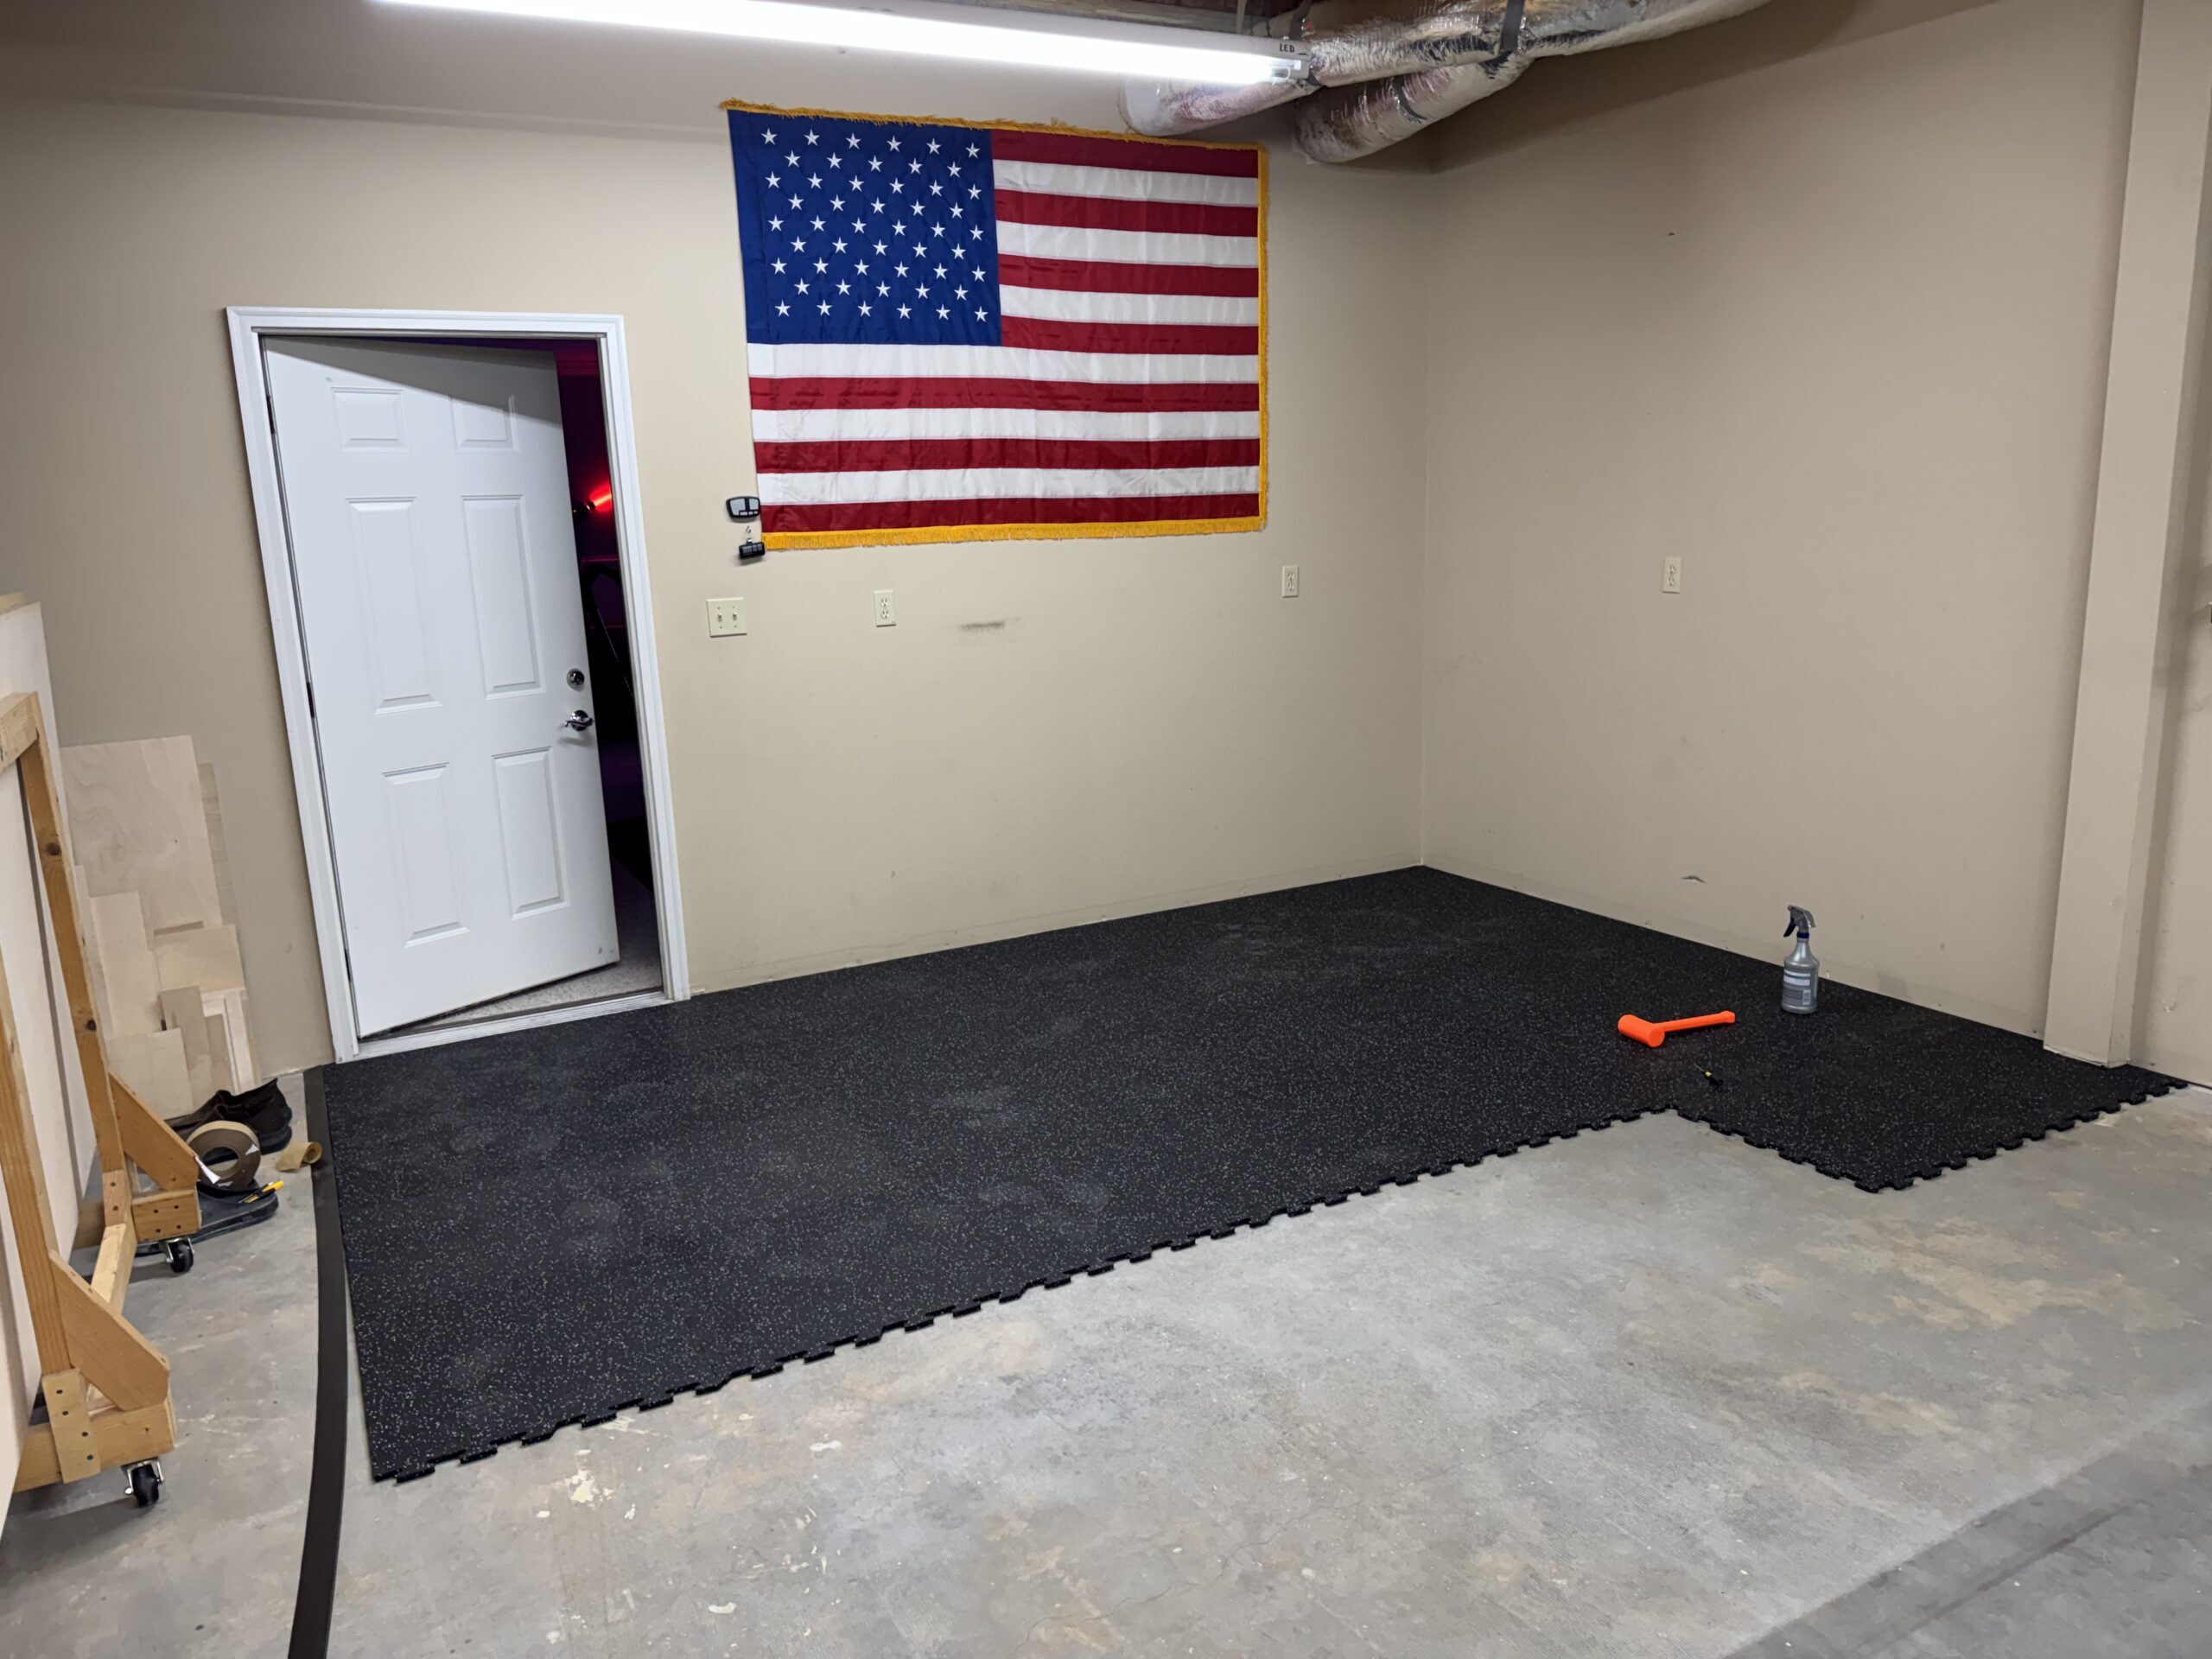
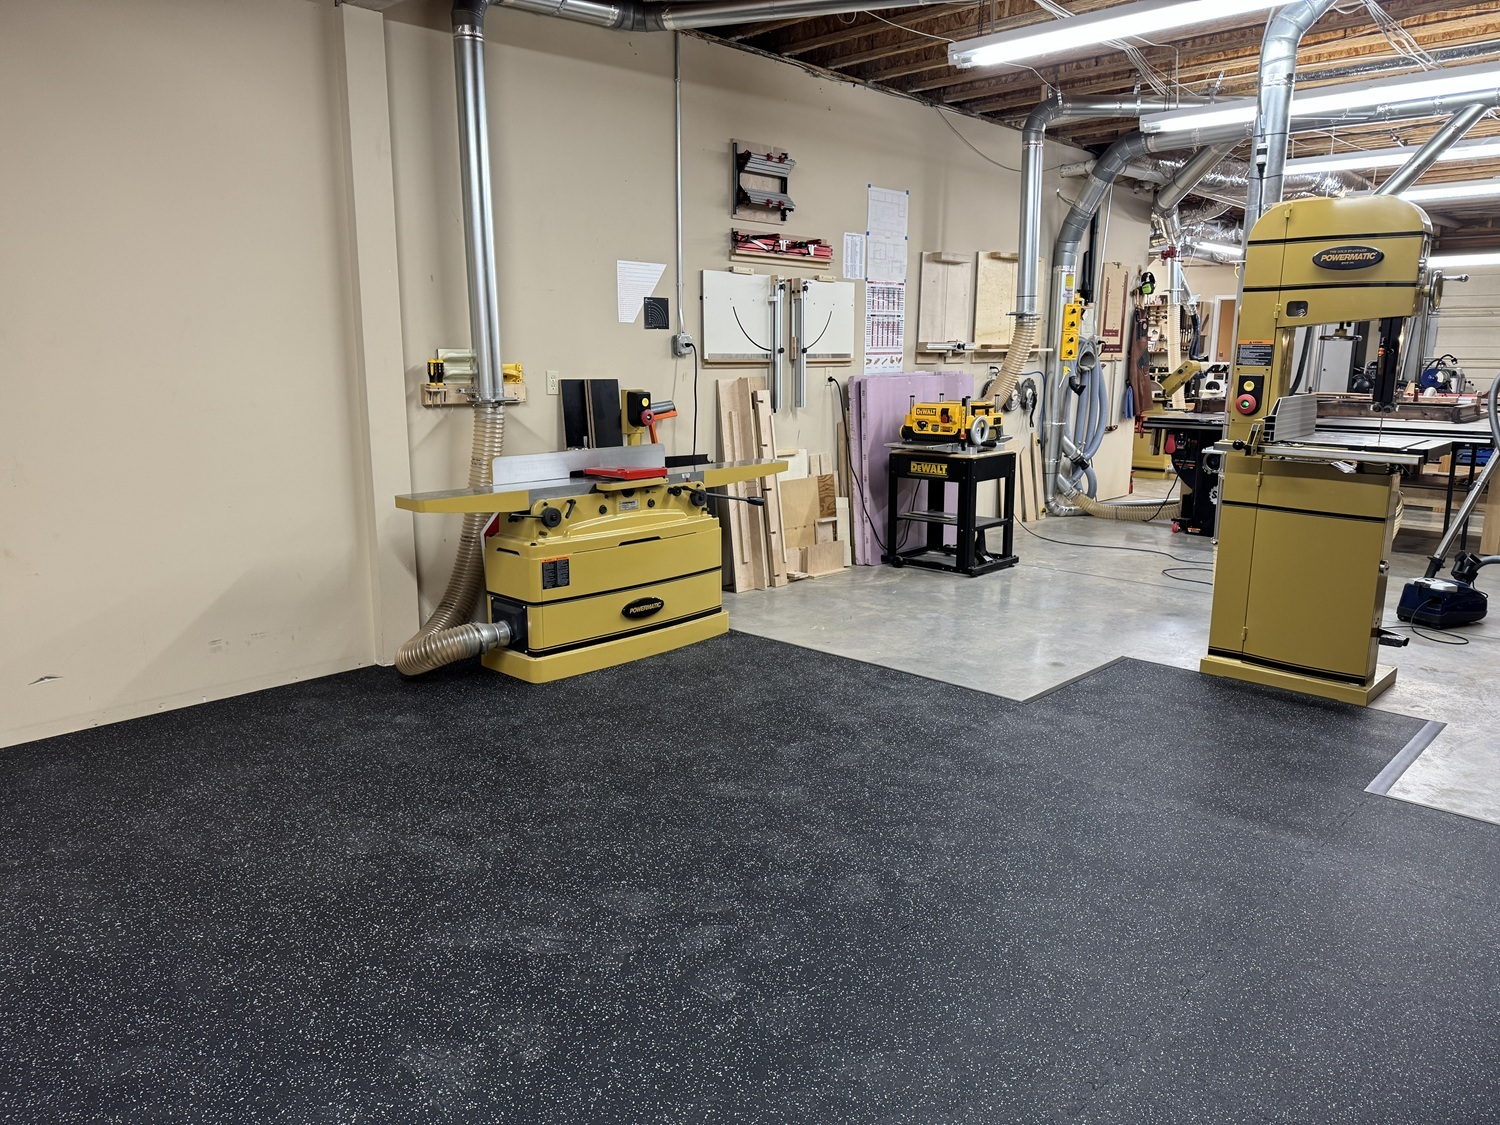
To this:

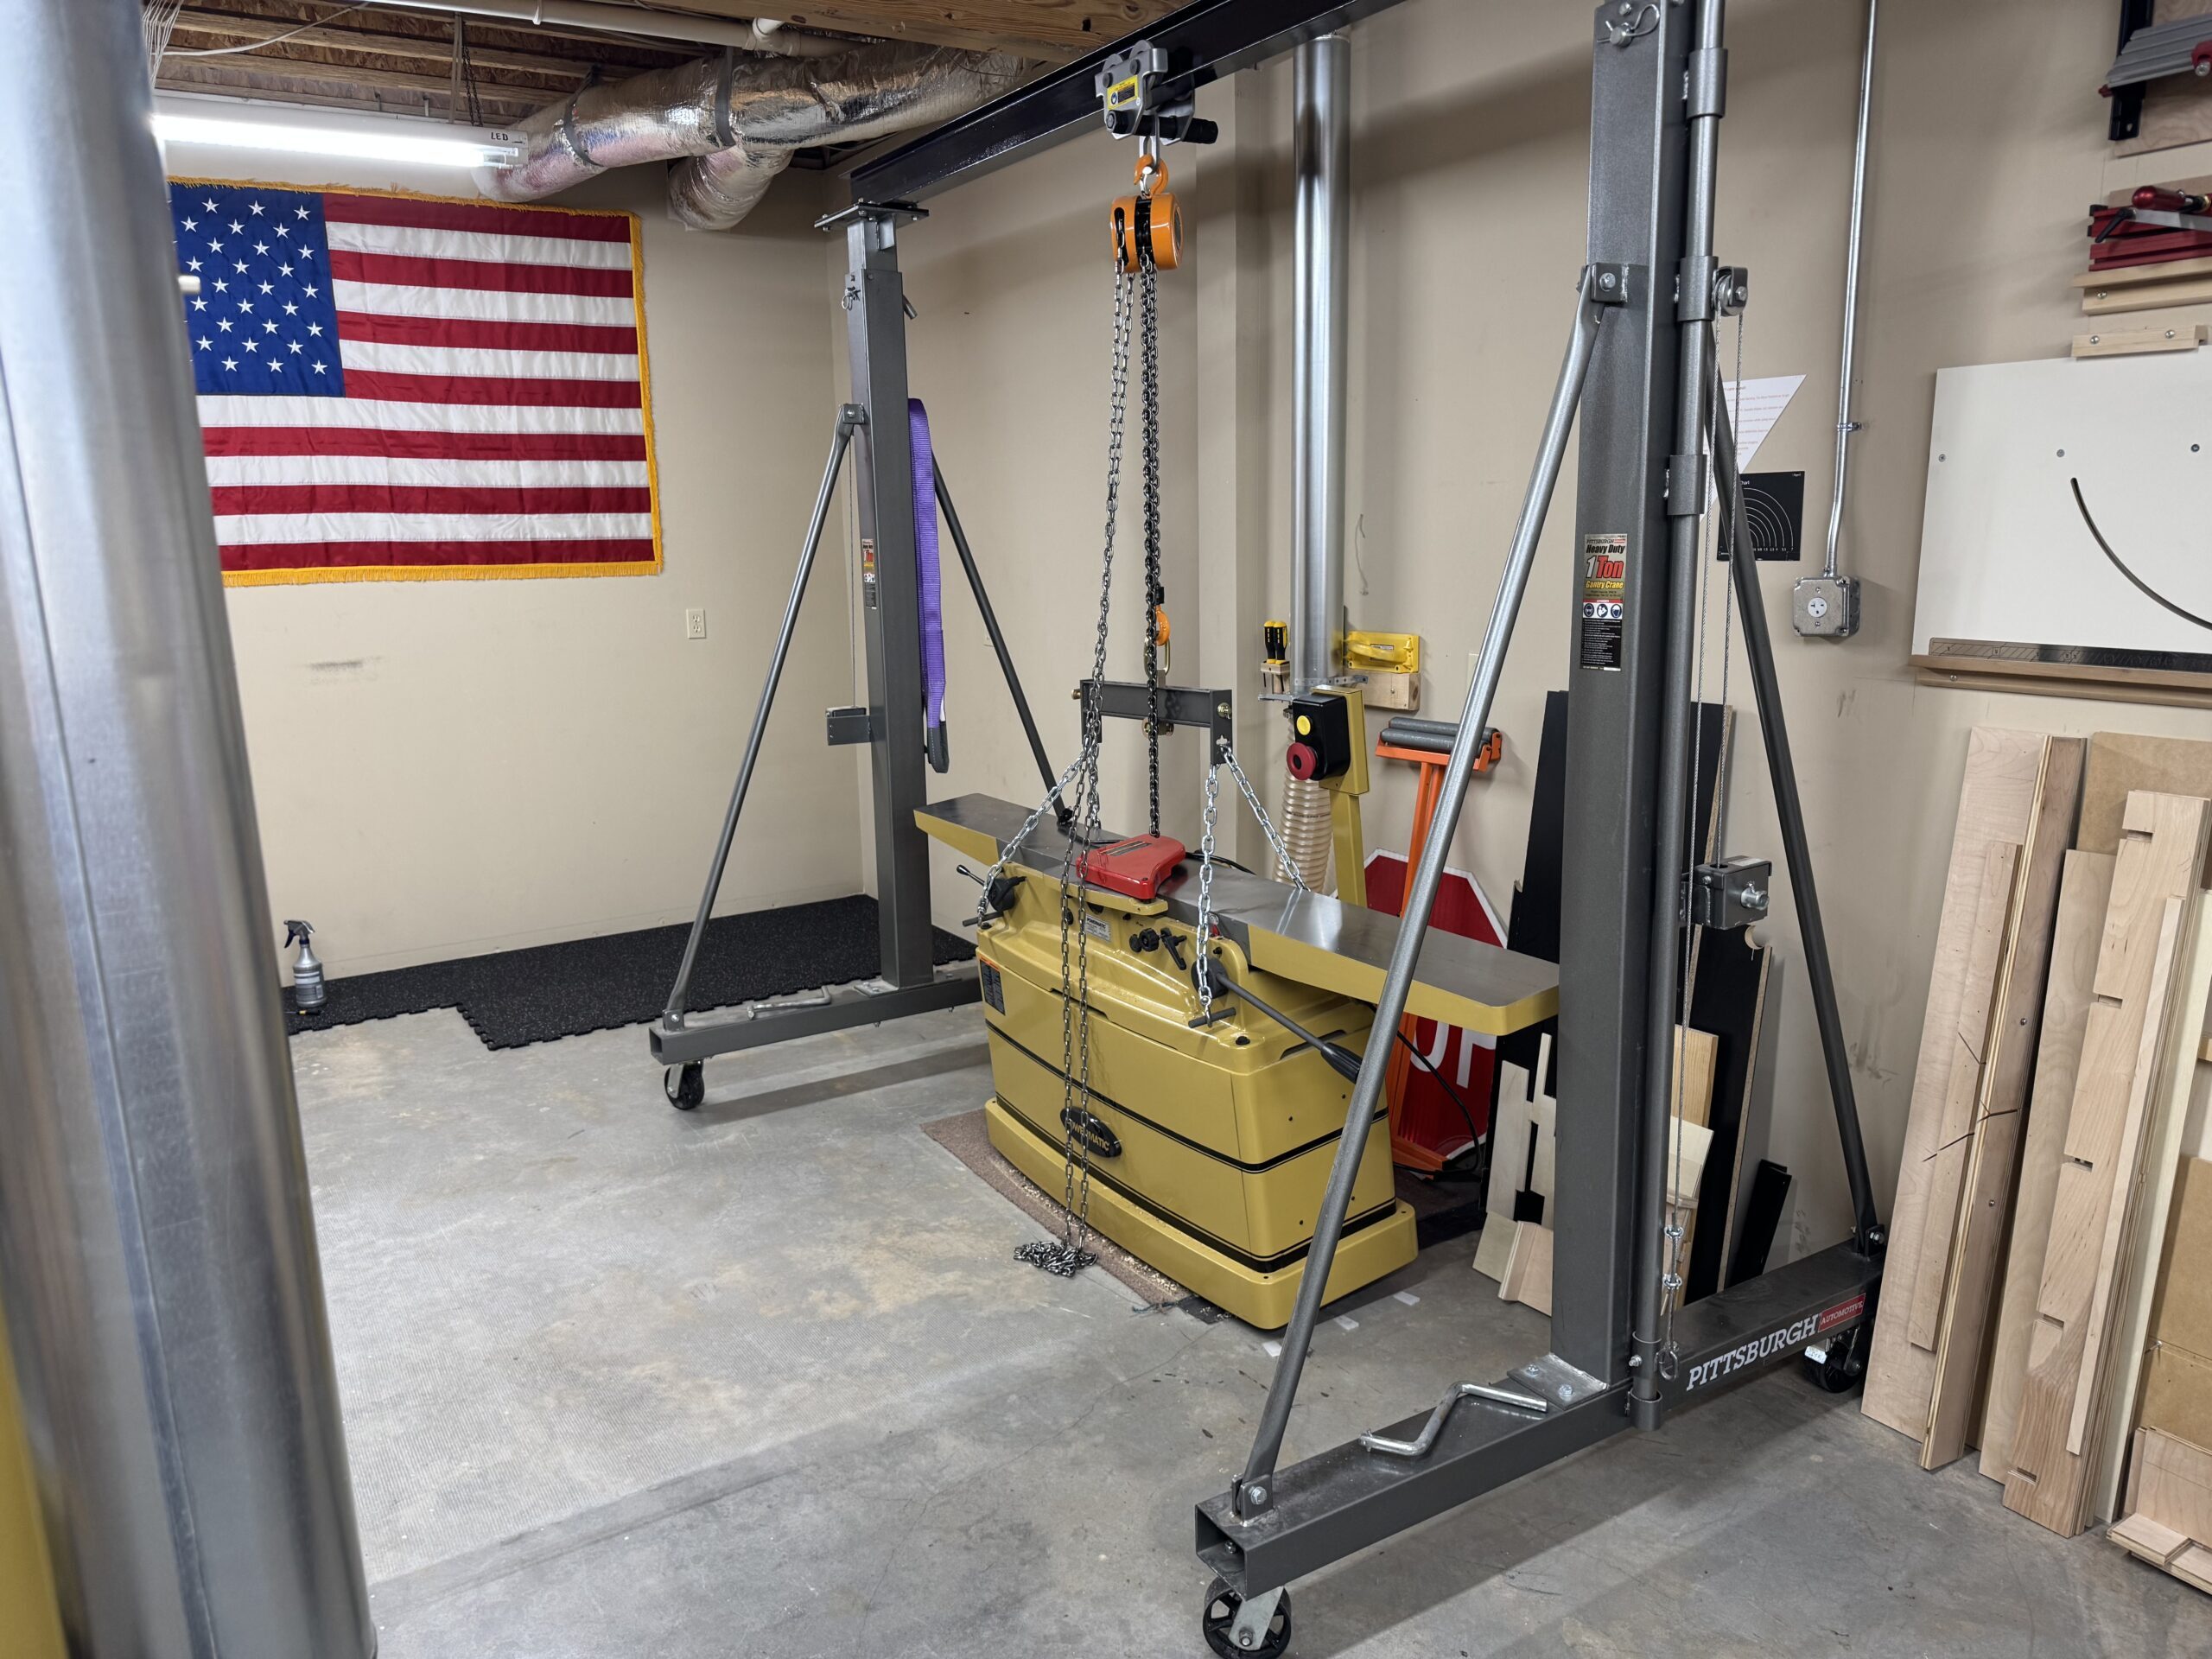
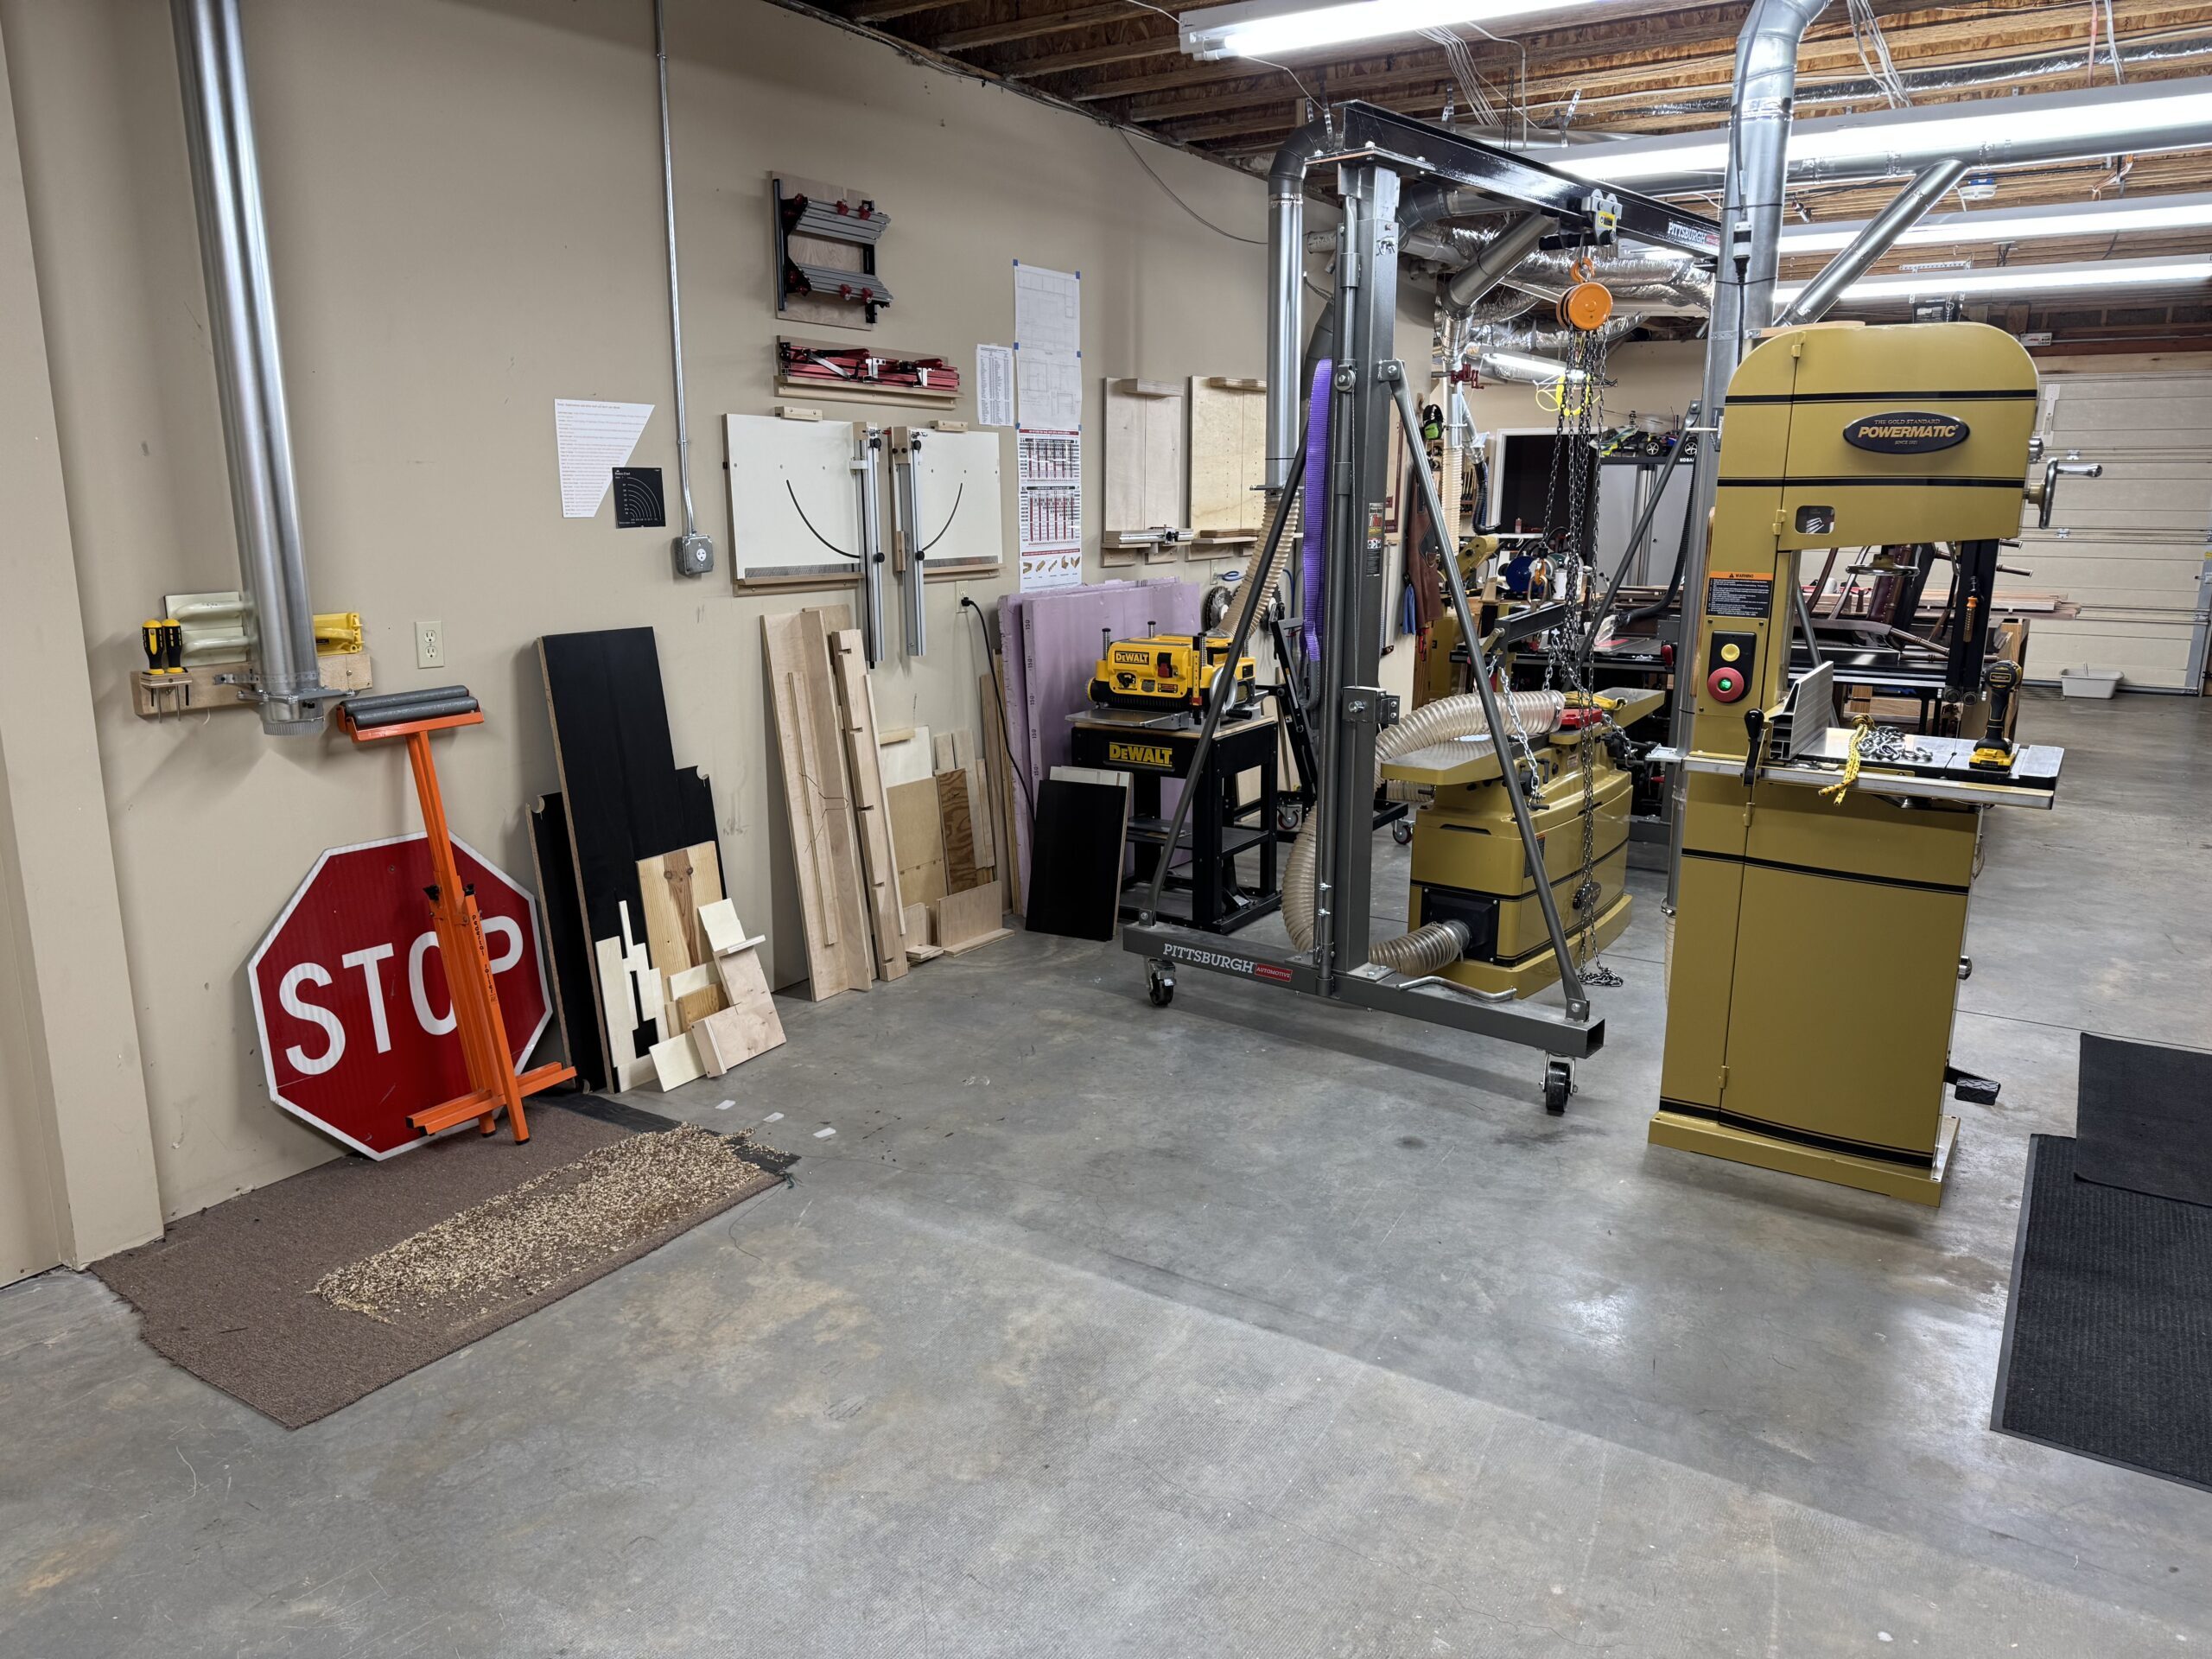
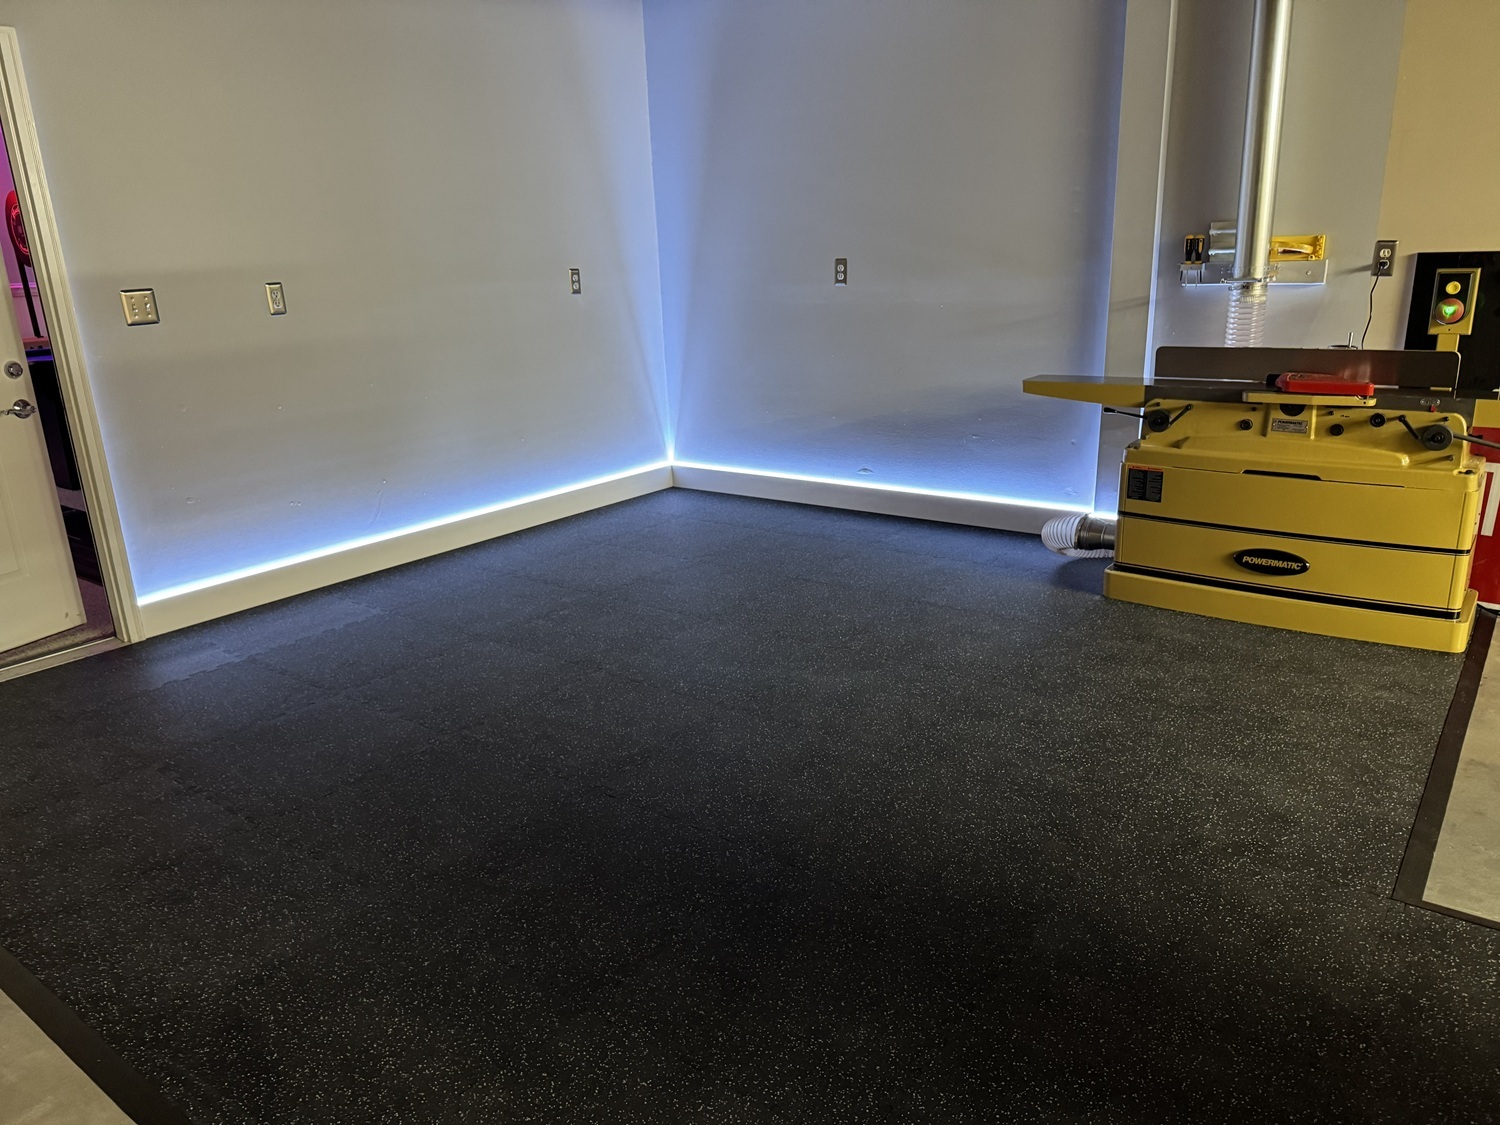
The first step is to move everything out of the way, ditch the ratty old carpet, and put down rubber gym flooring.
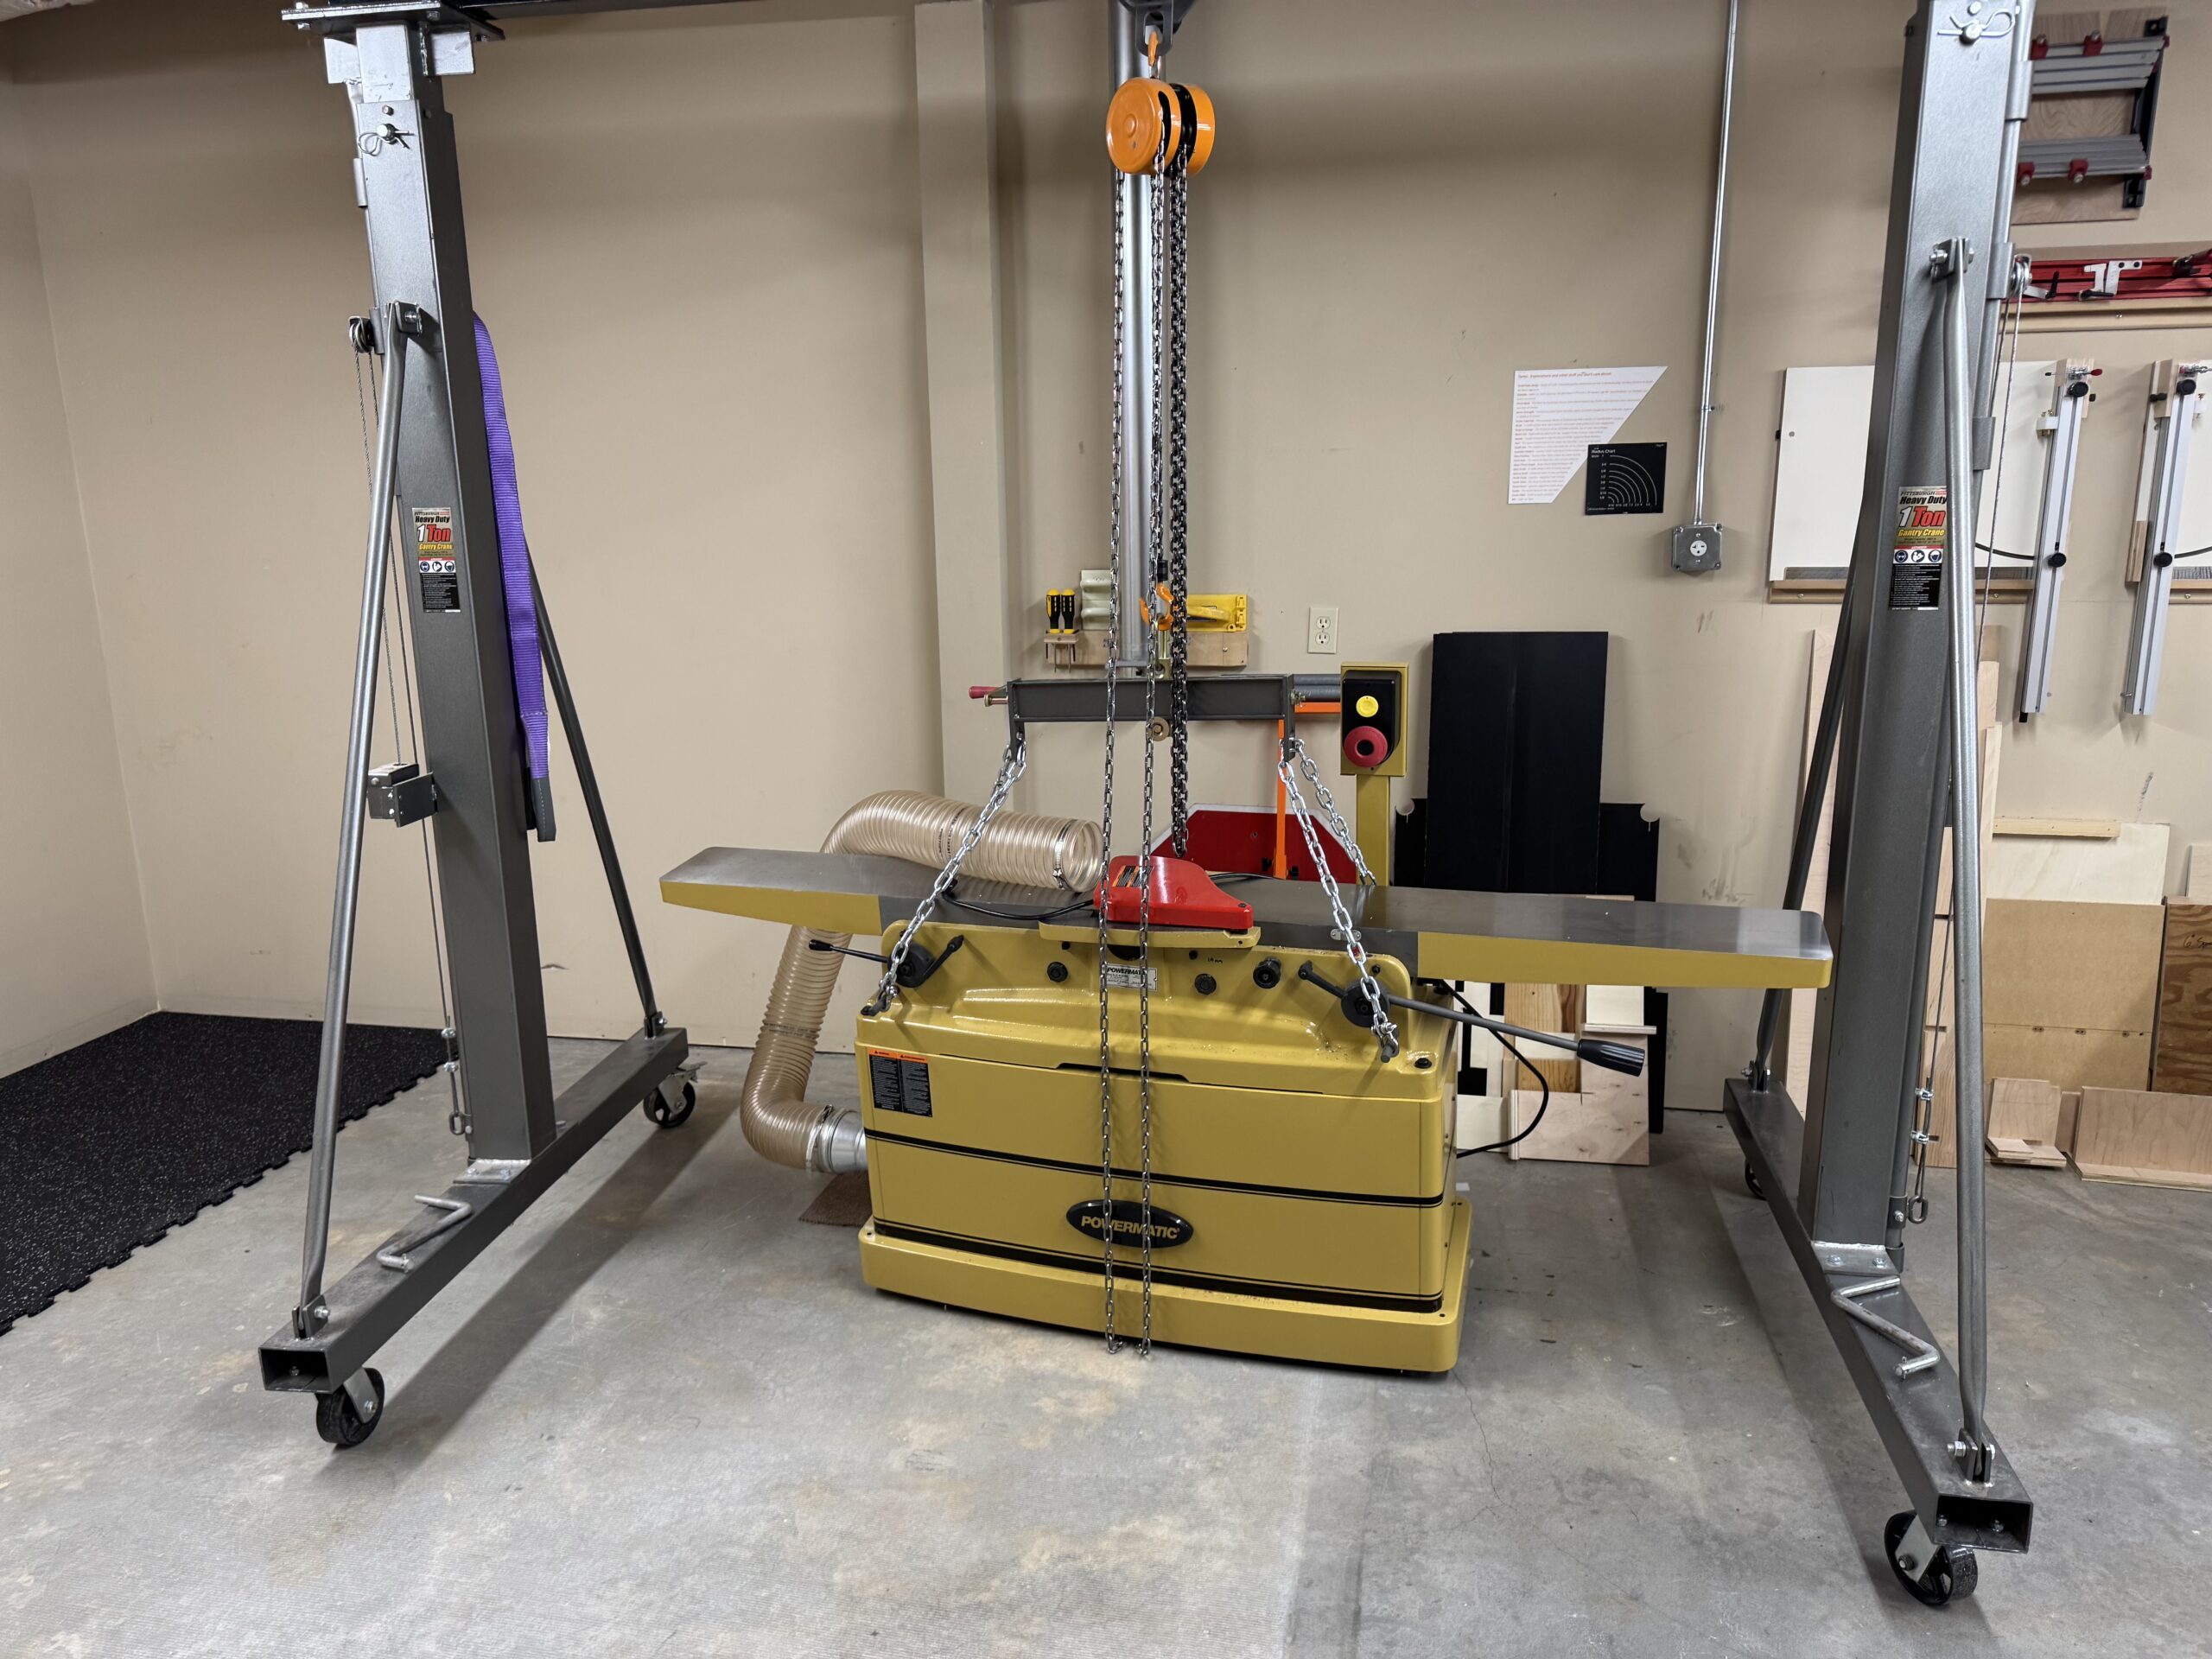
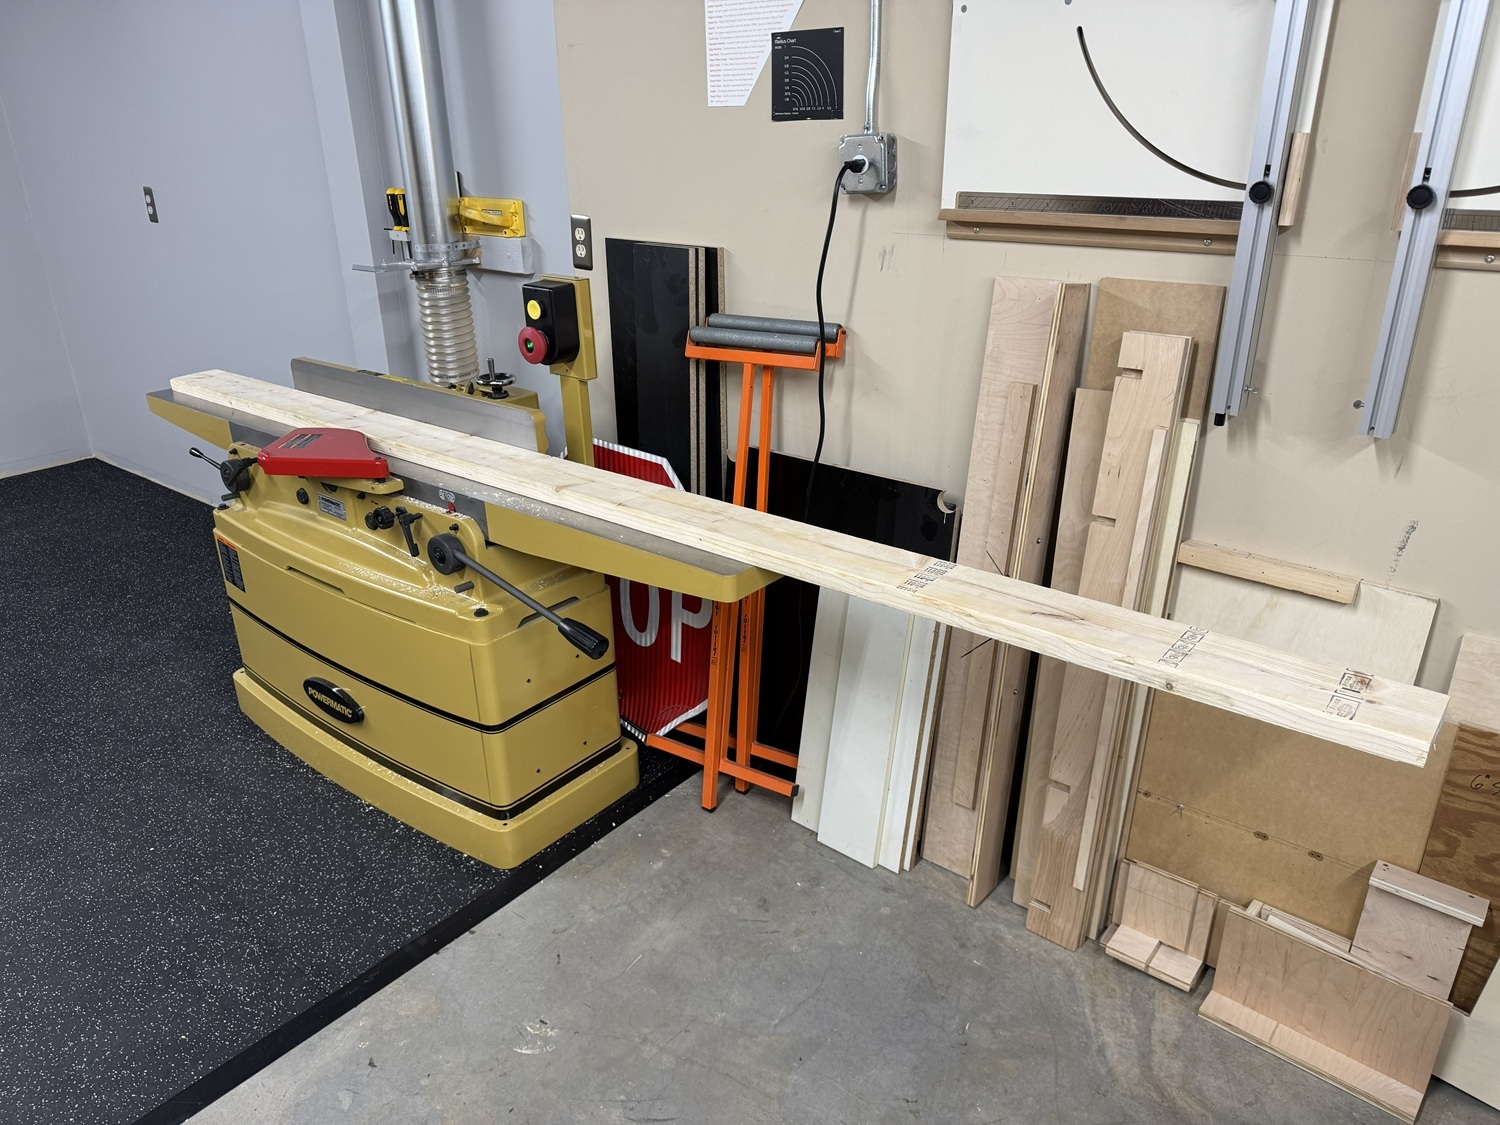
The jointer will need to be moved temporarily.
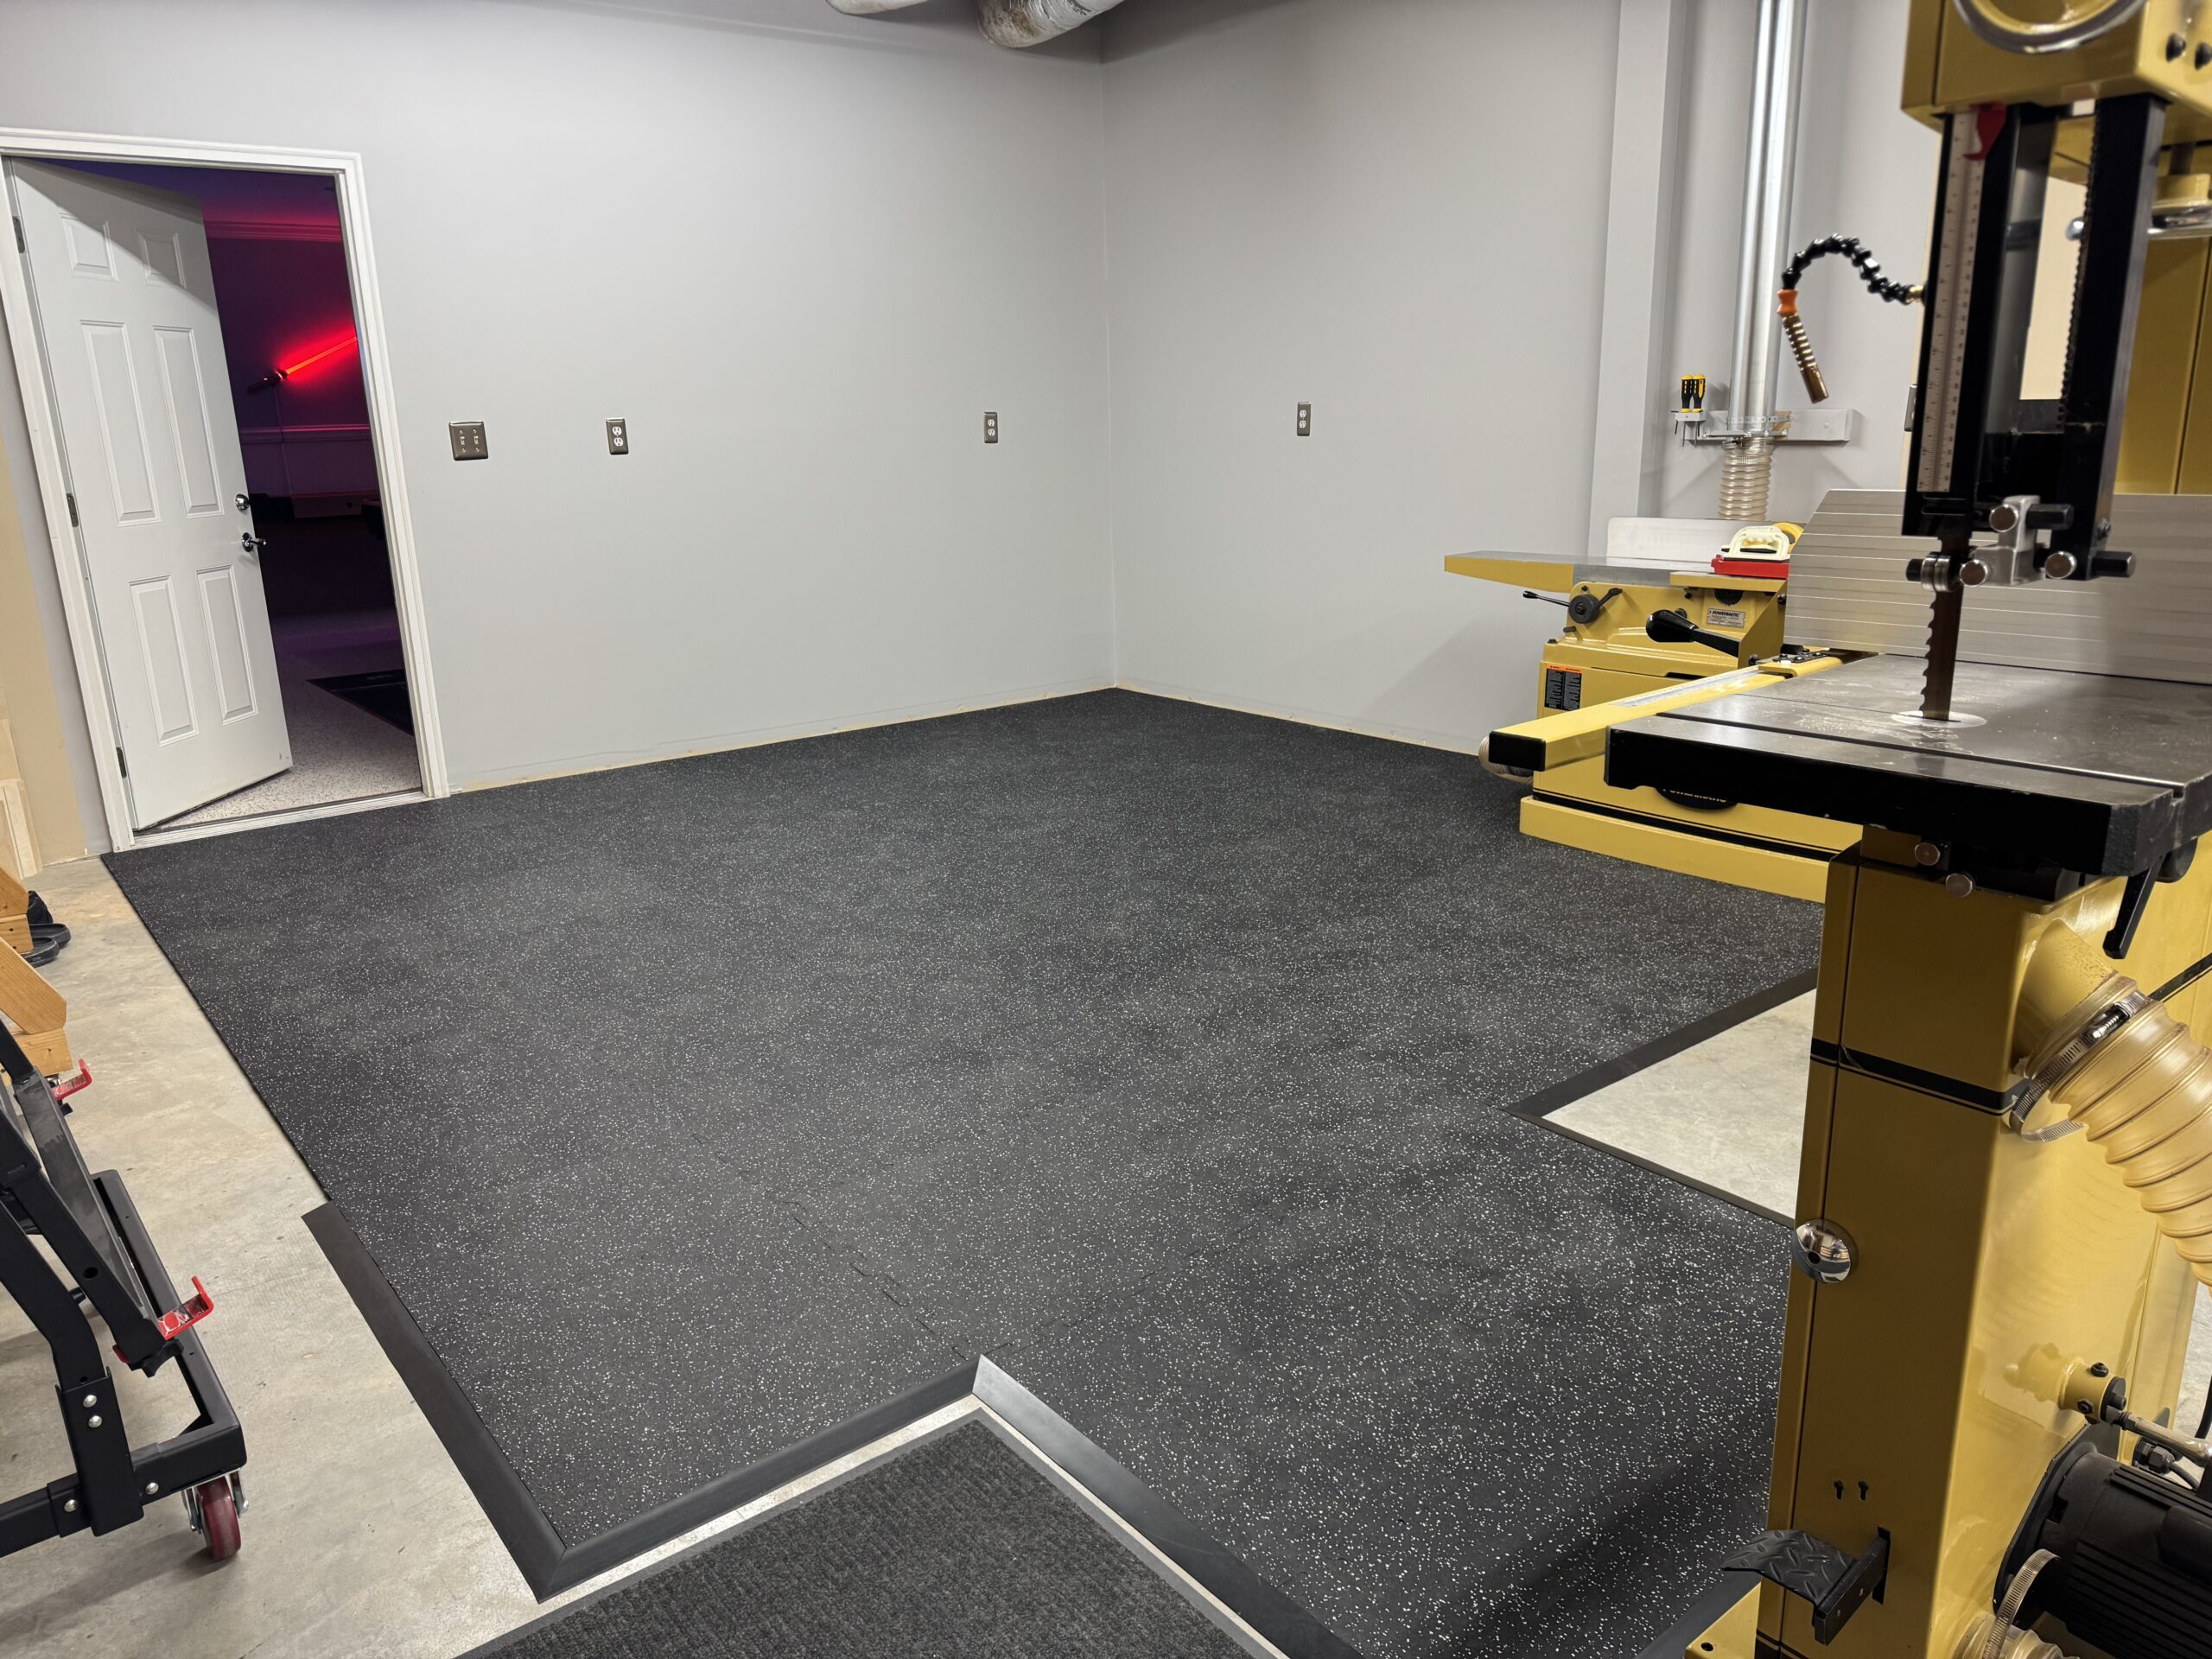
The carpet is replaced with 1/2″ interlocking rubber tiles from Hammer Clad purchased from Freedom Fitness.
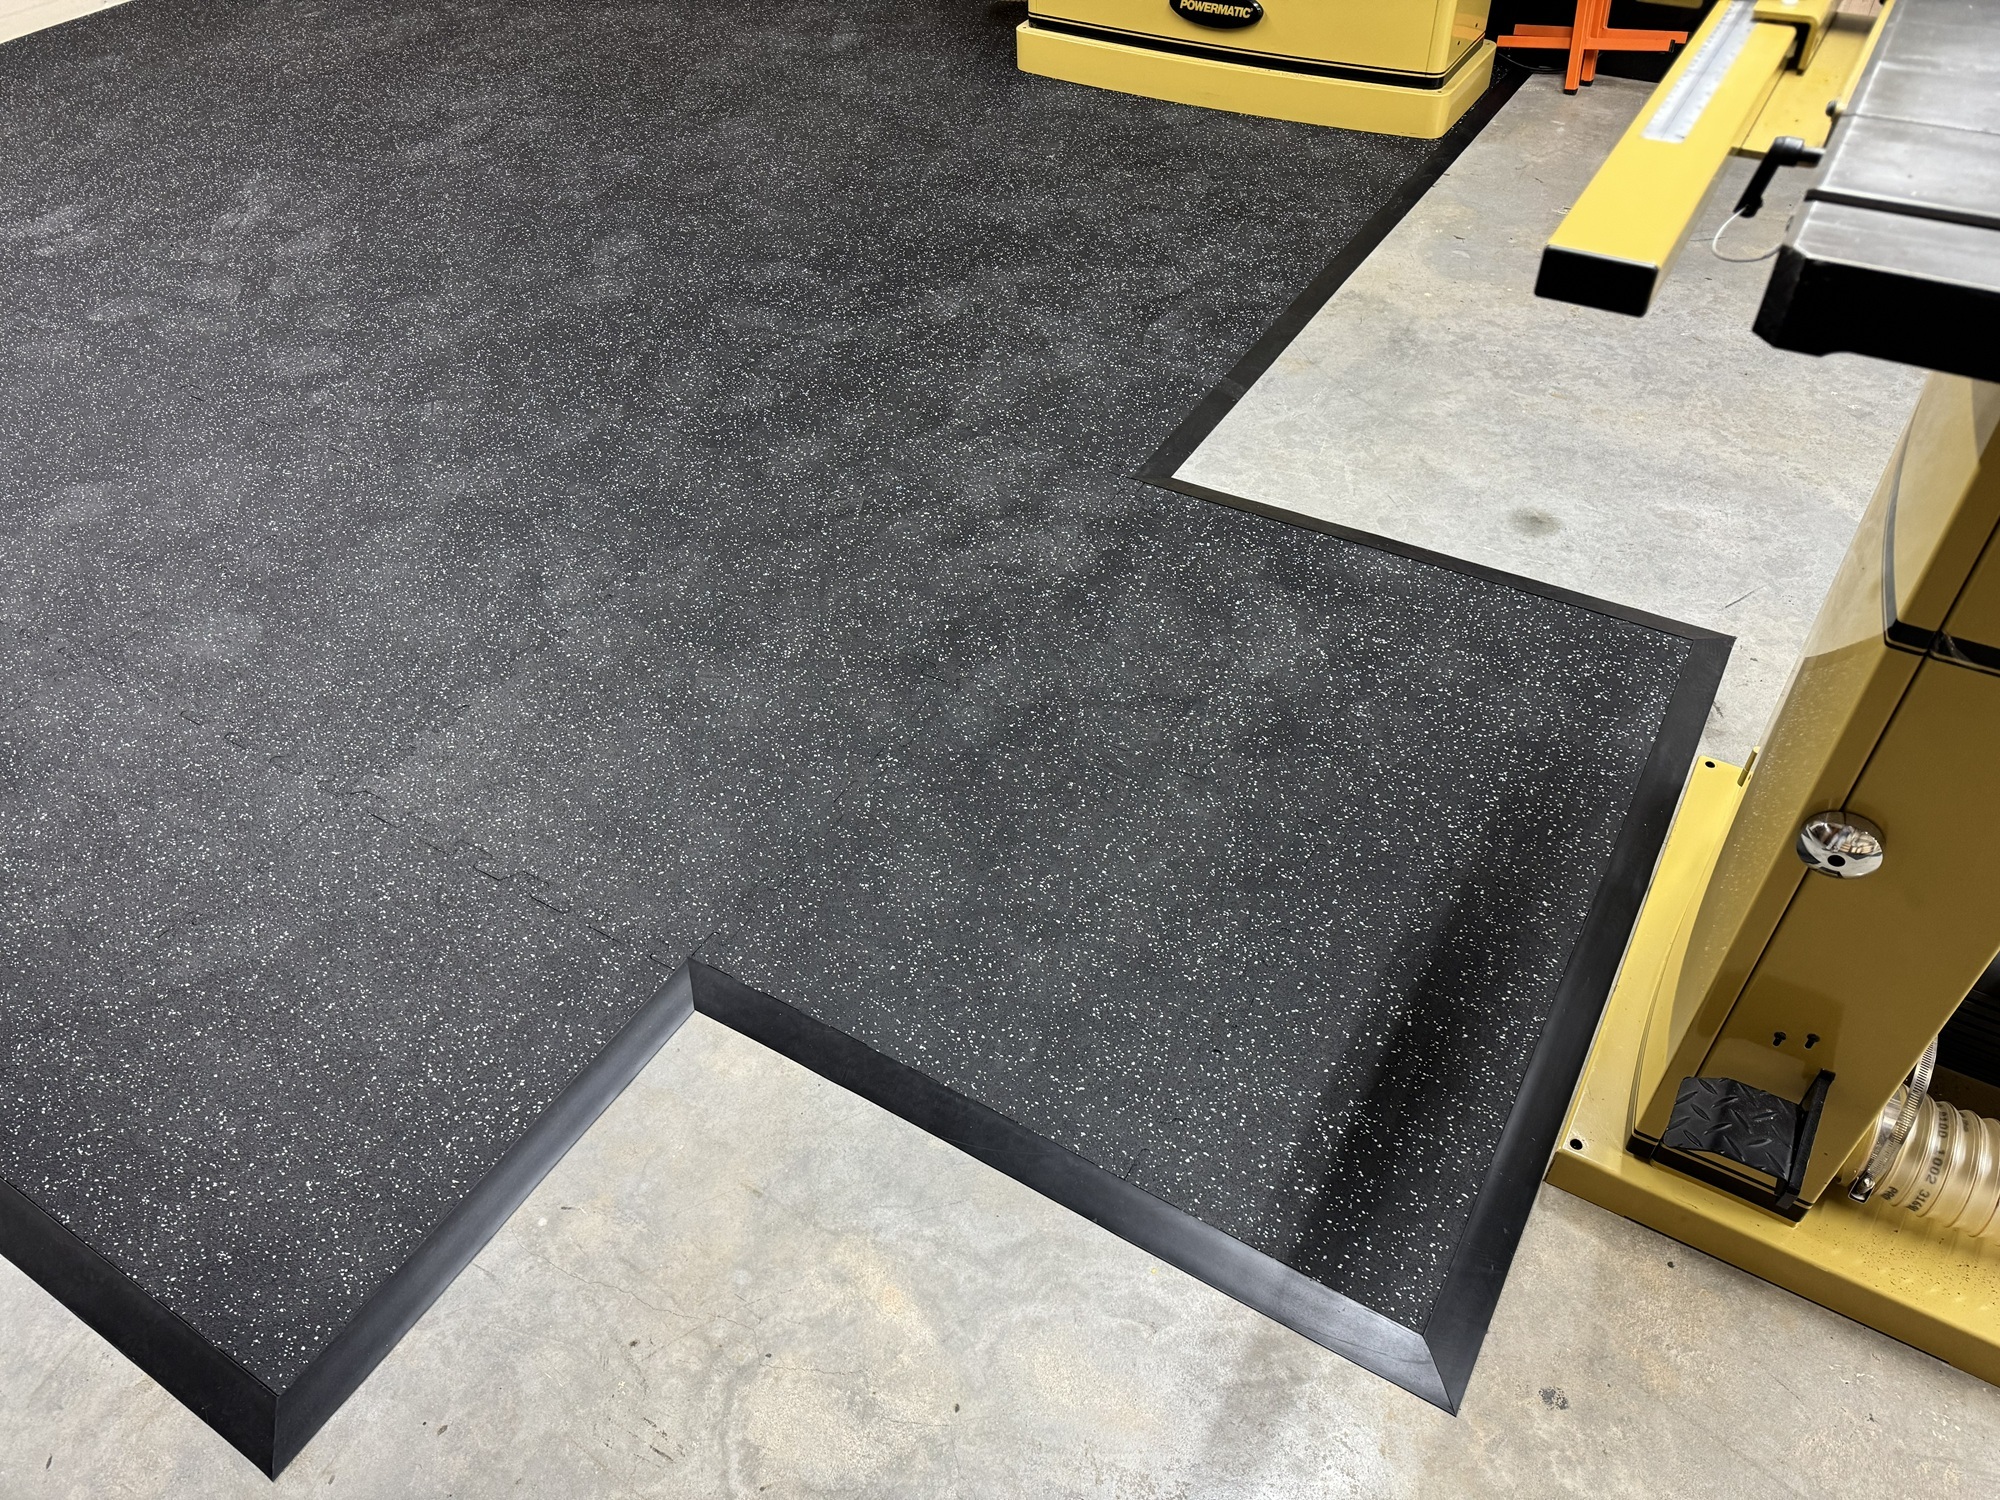
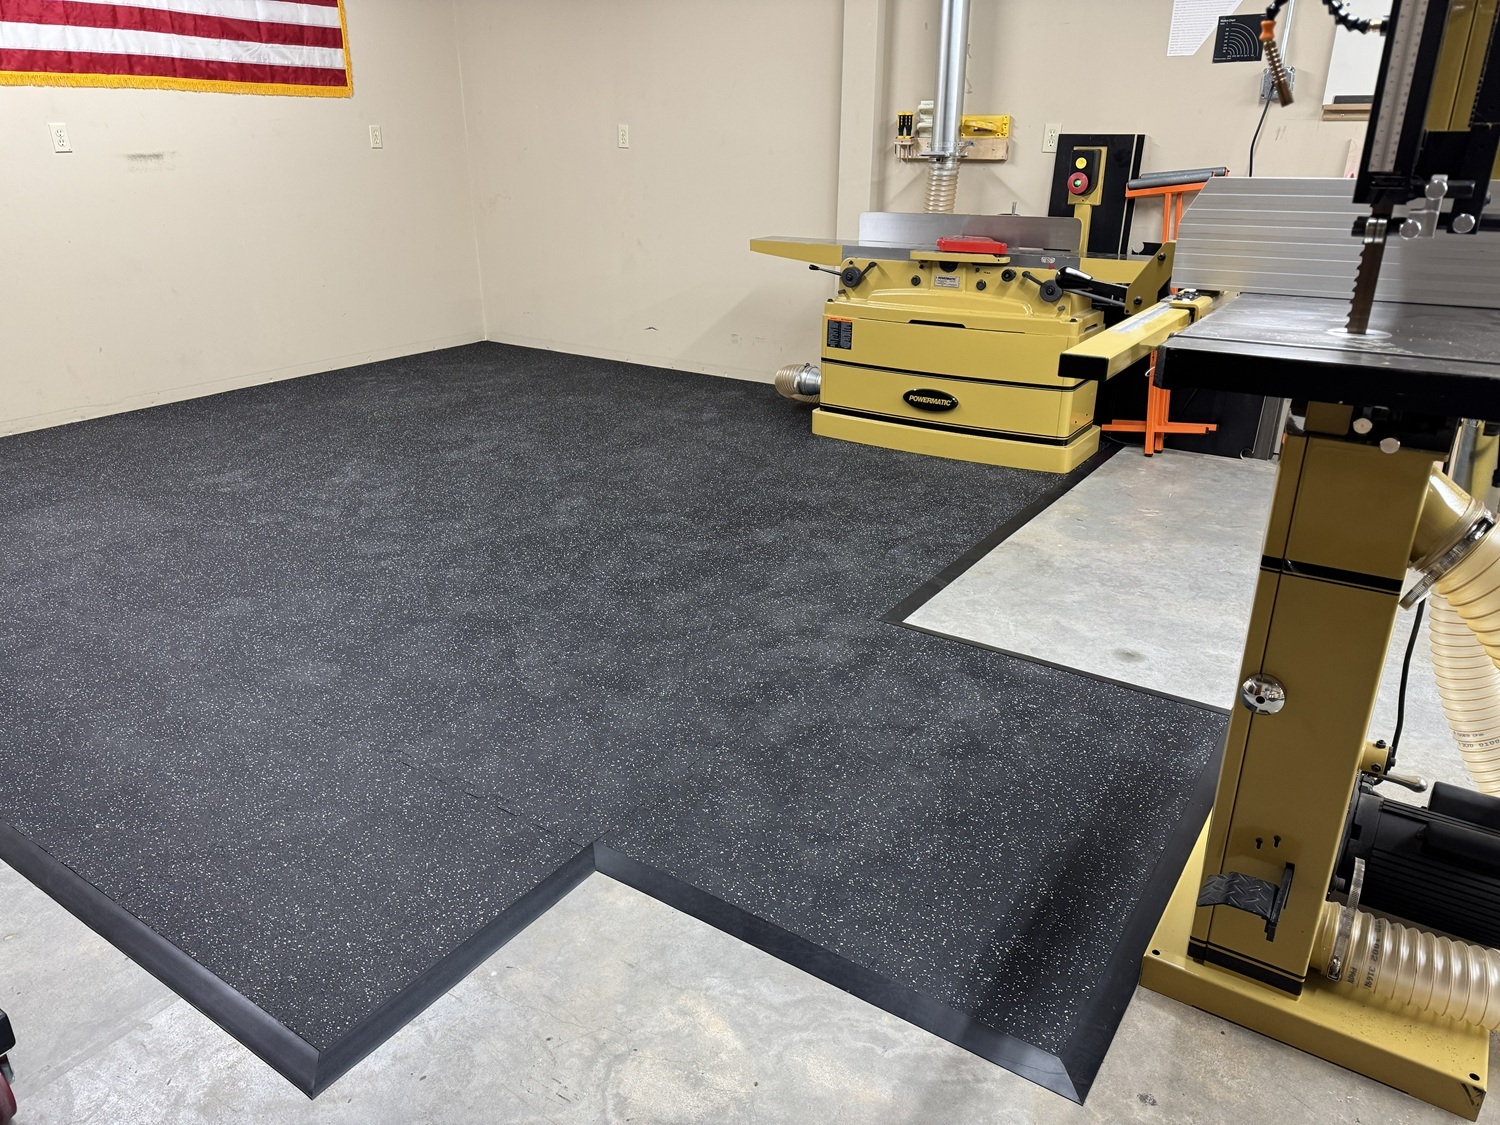
Transition ramp edging is mitered and installed with carpet tape. To avoid having a transition near the front of the band saw, the flooring is extended in this area.
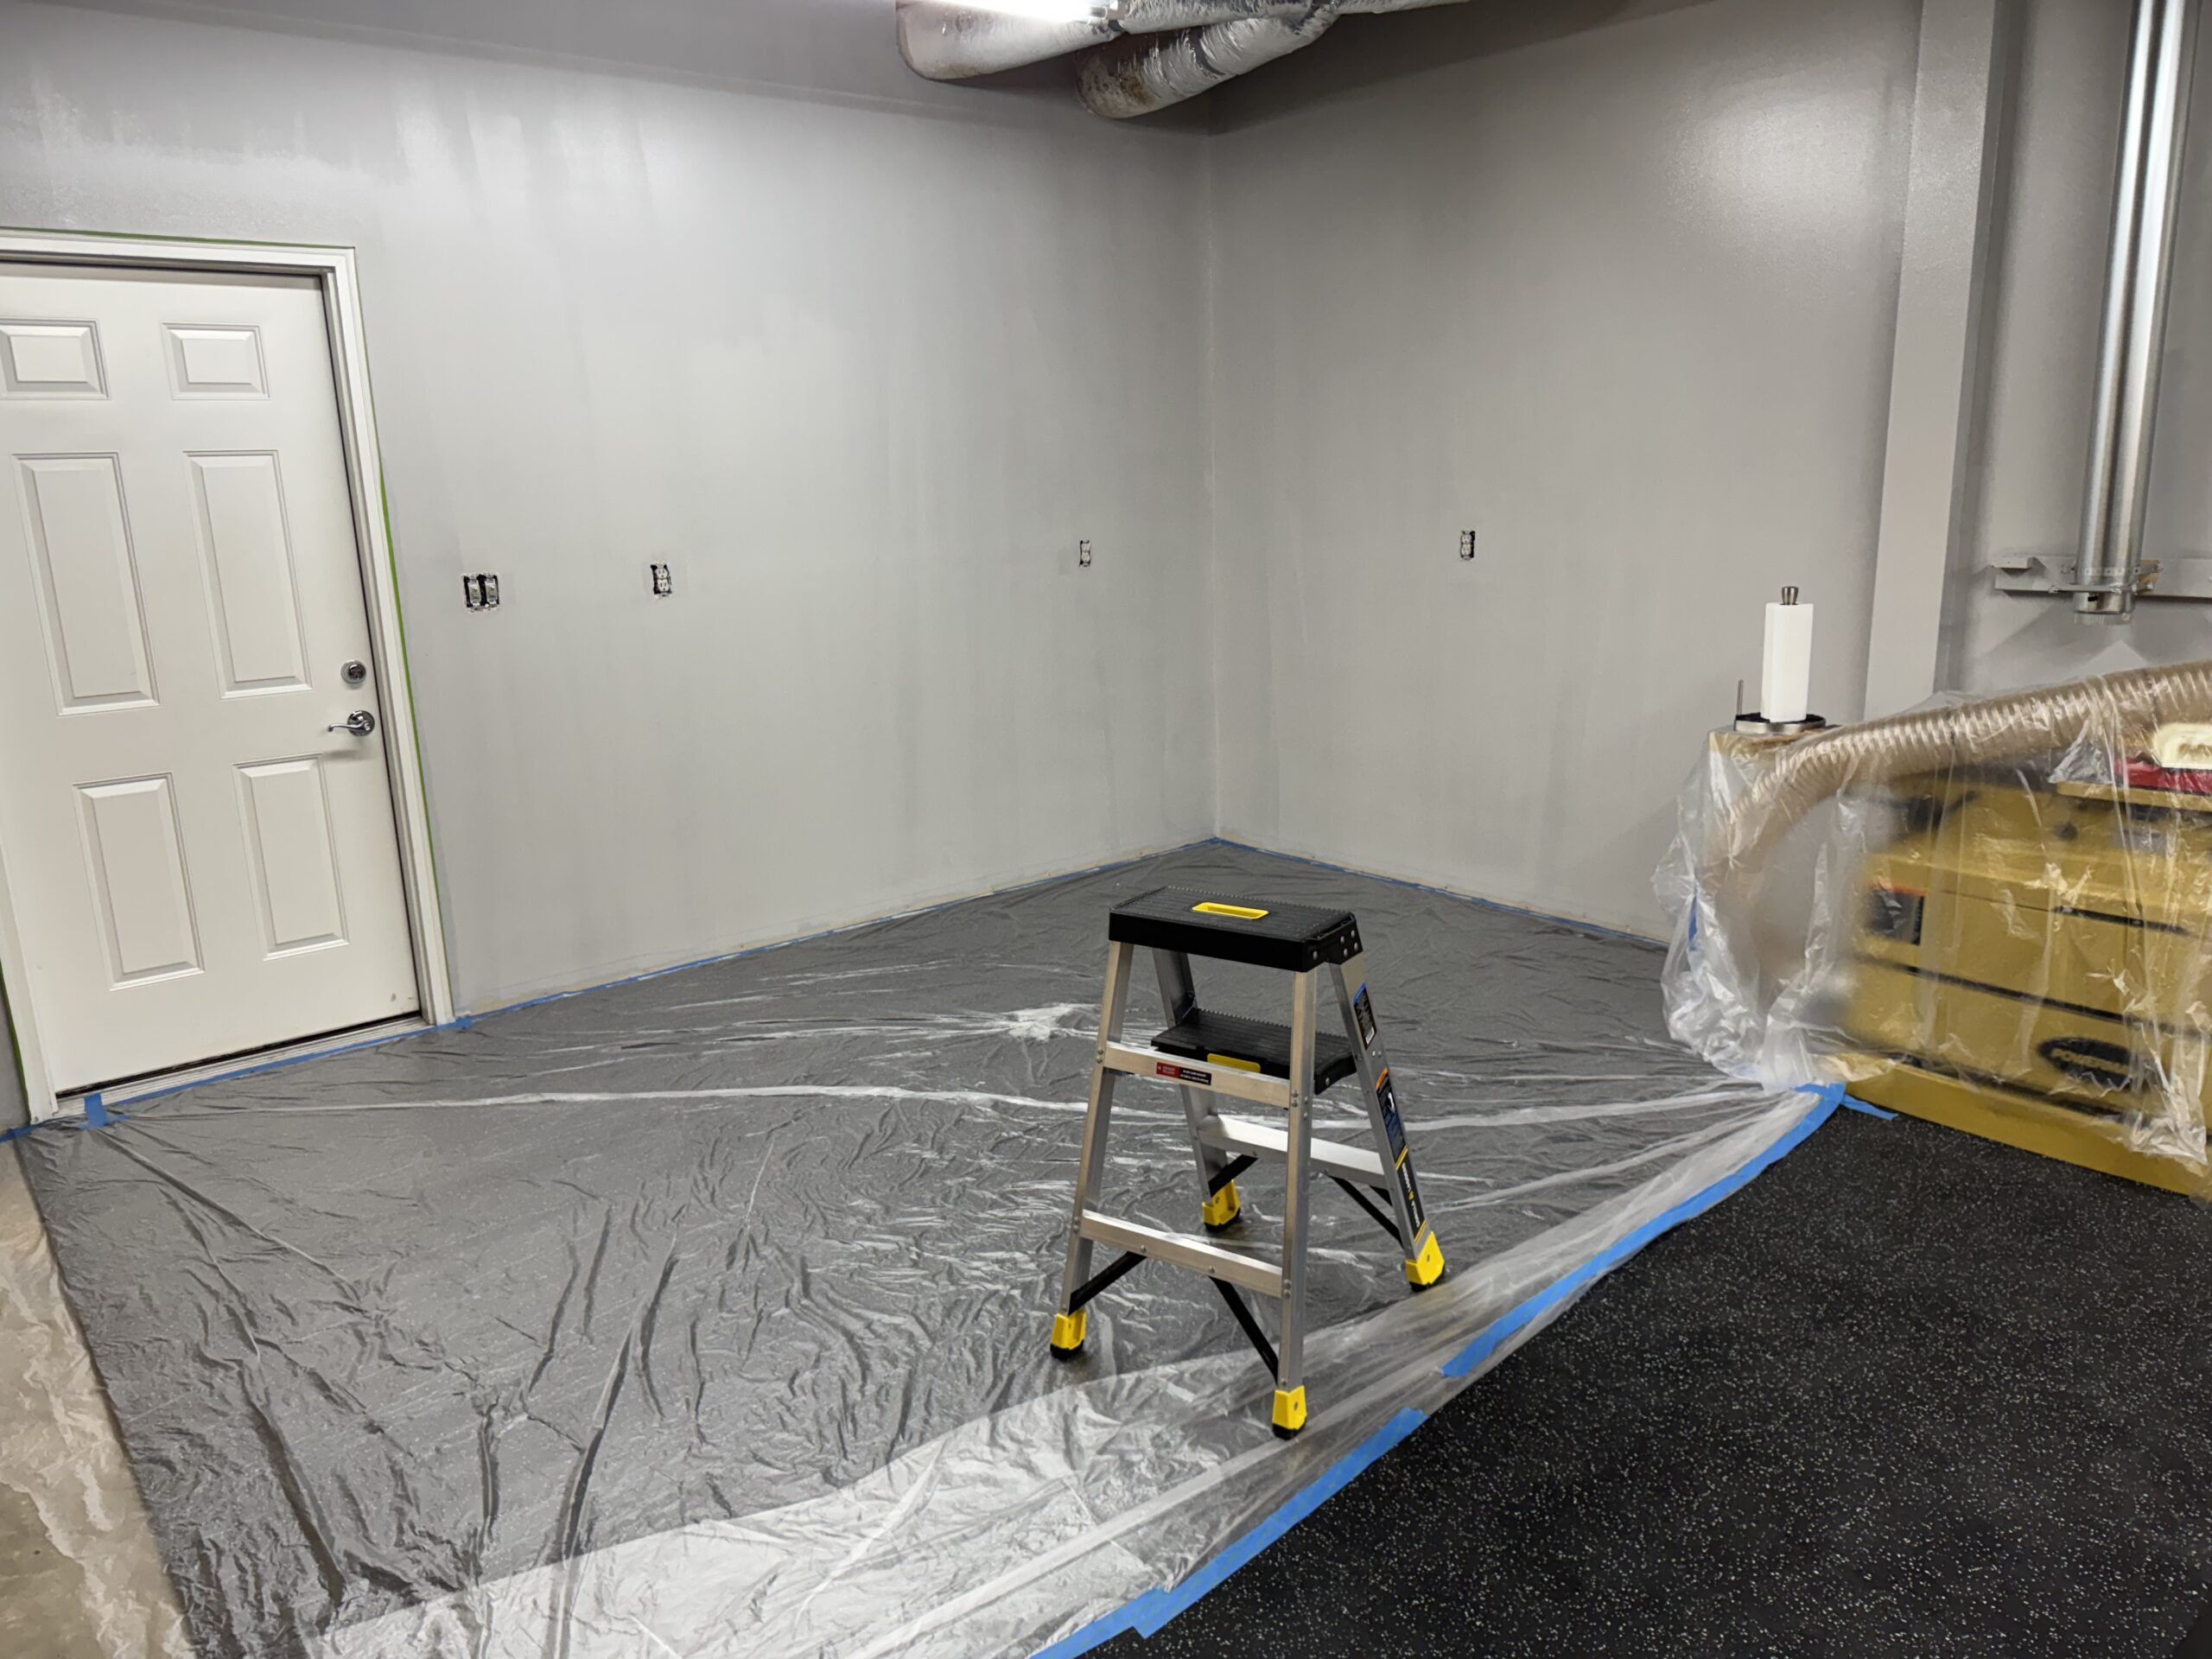
Next up is drywall patching and paint.

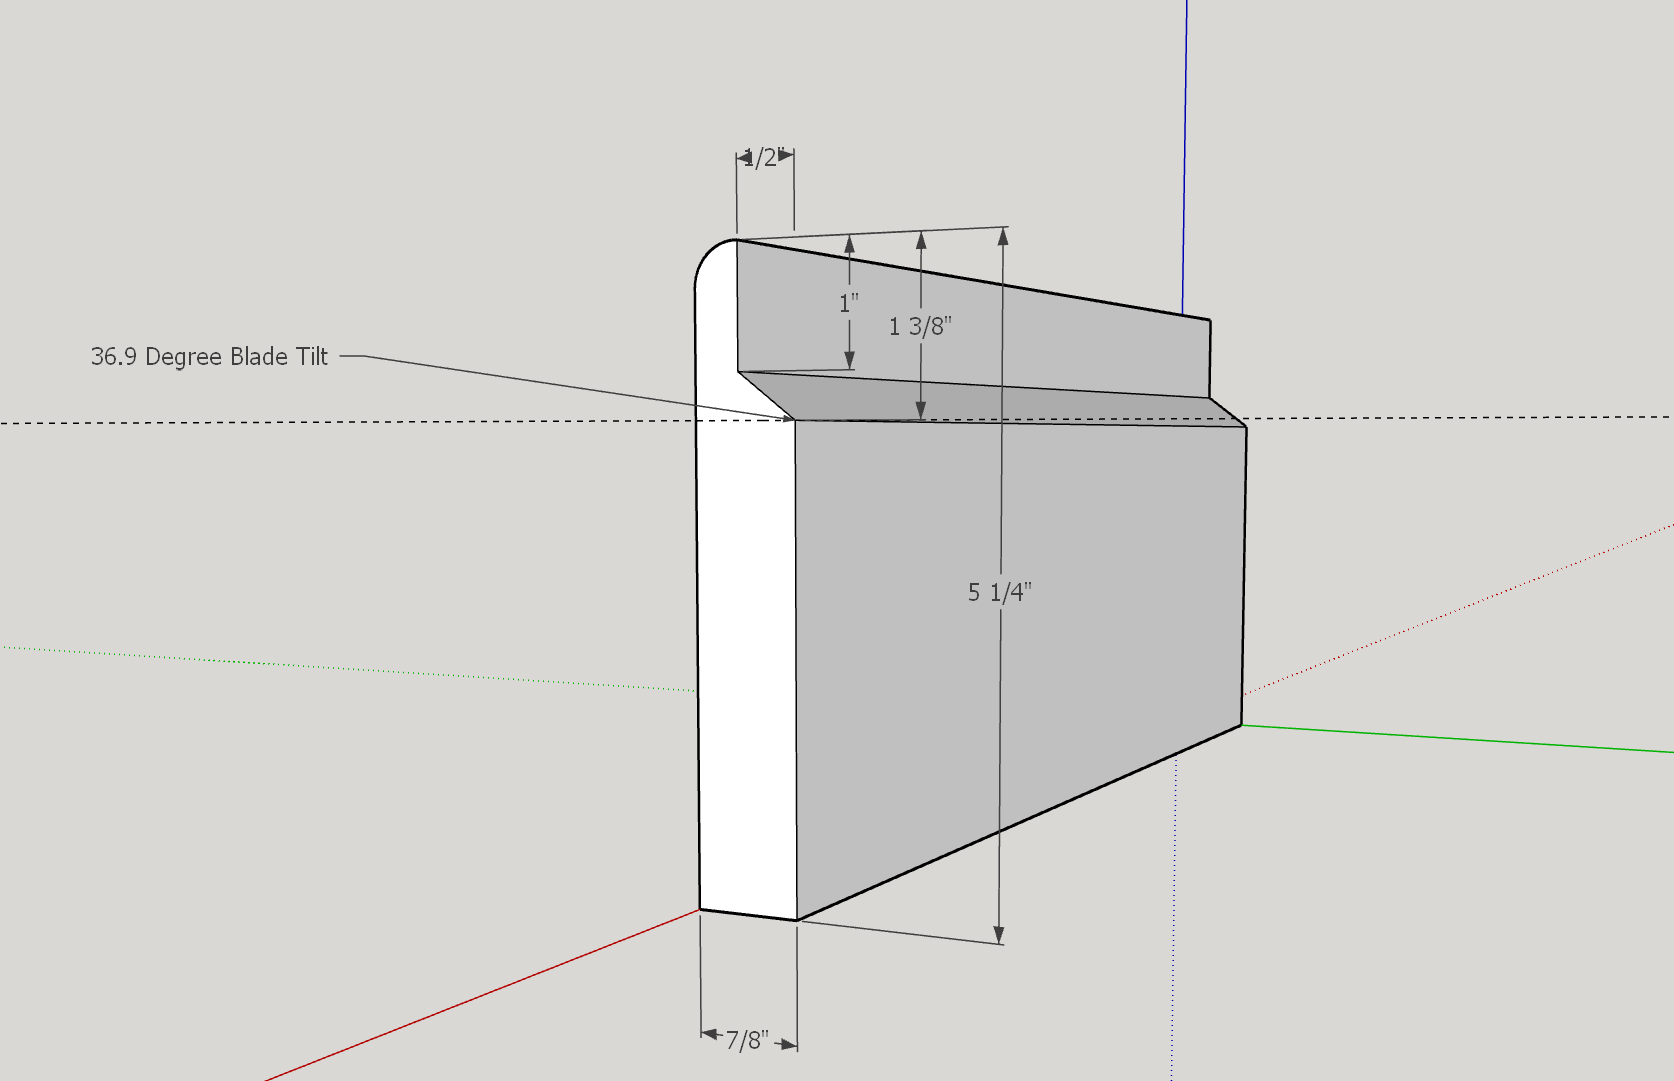
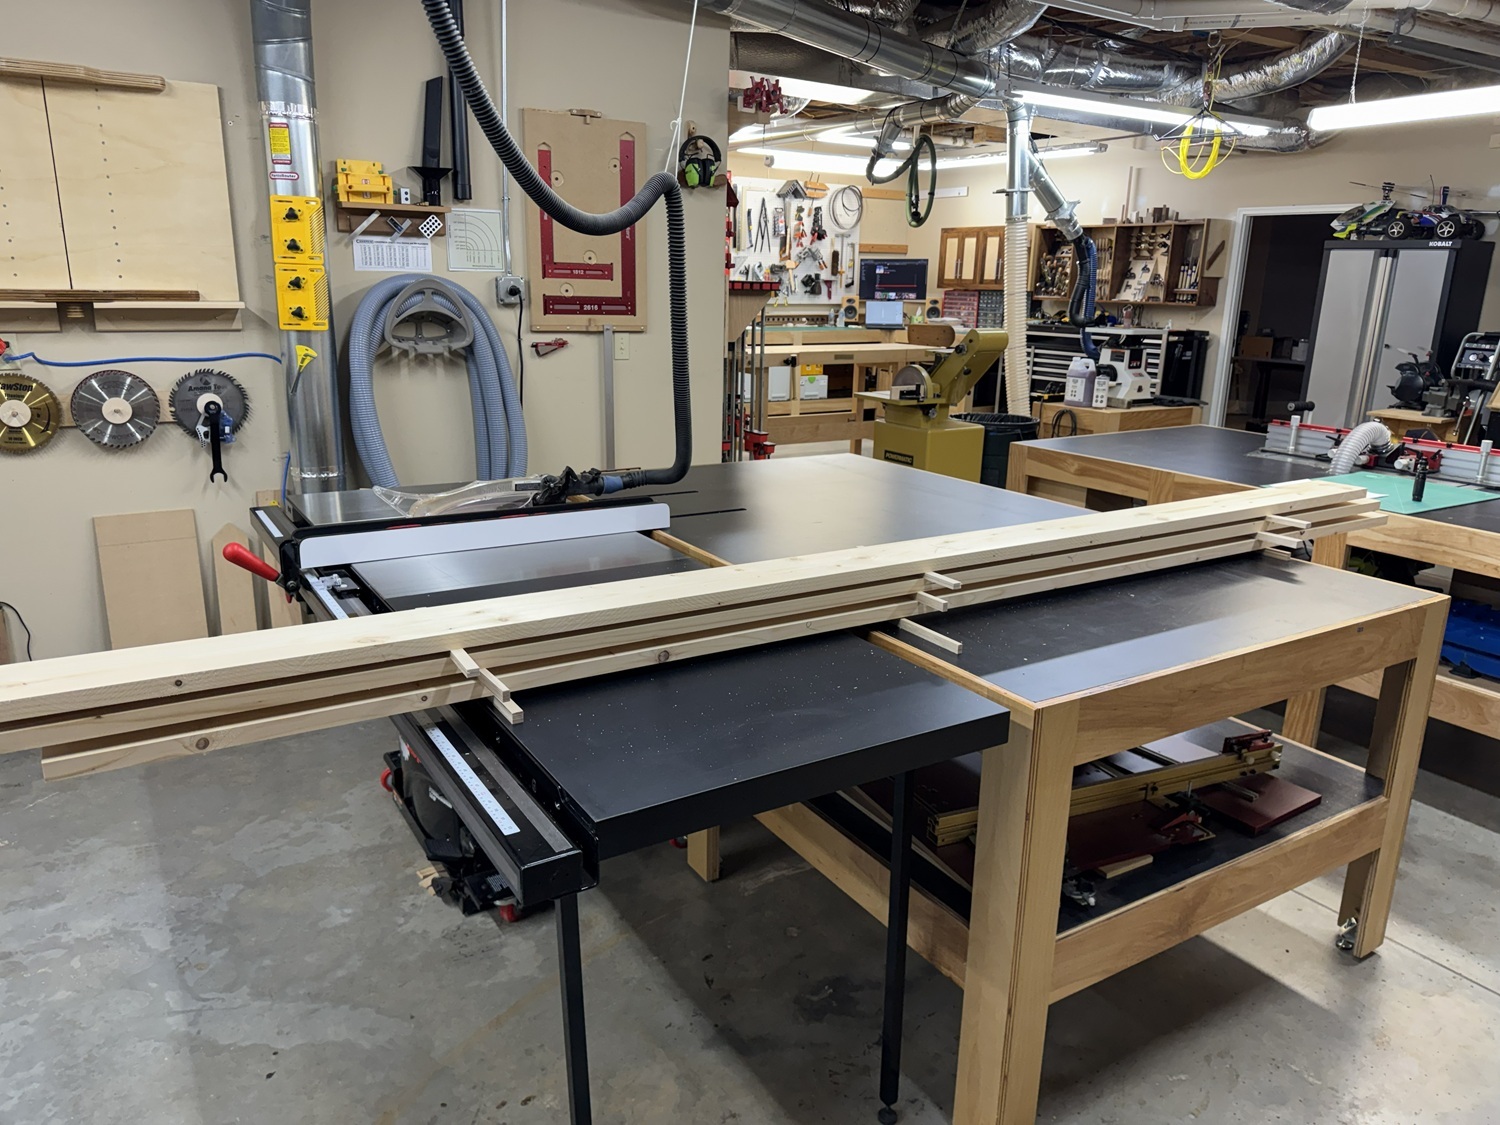
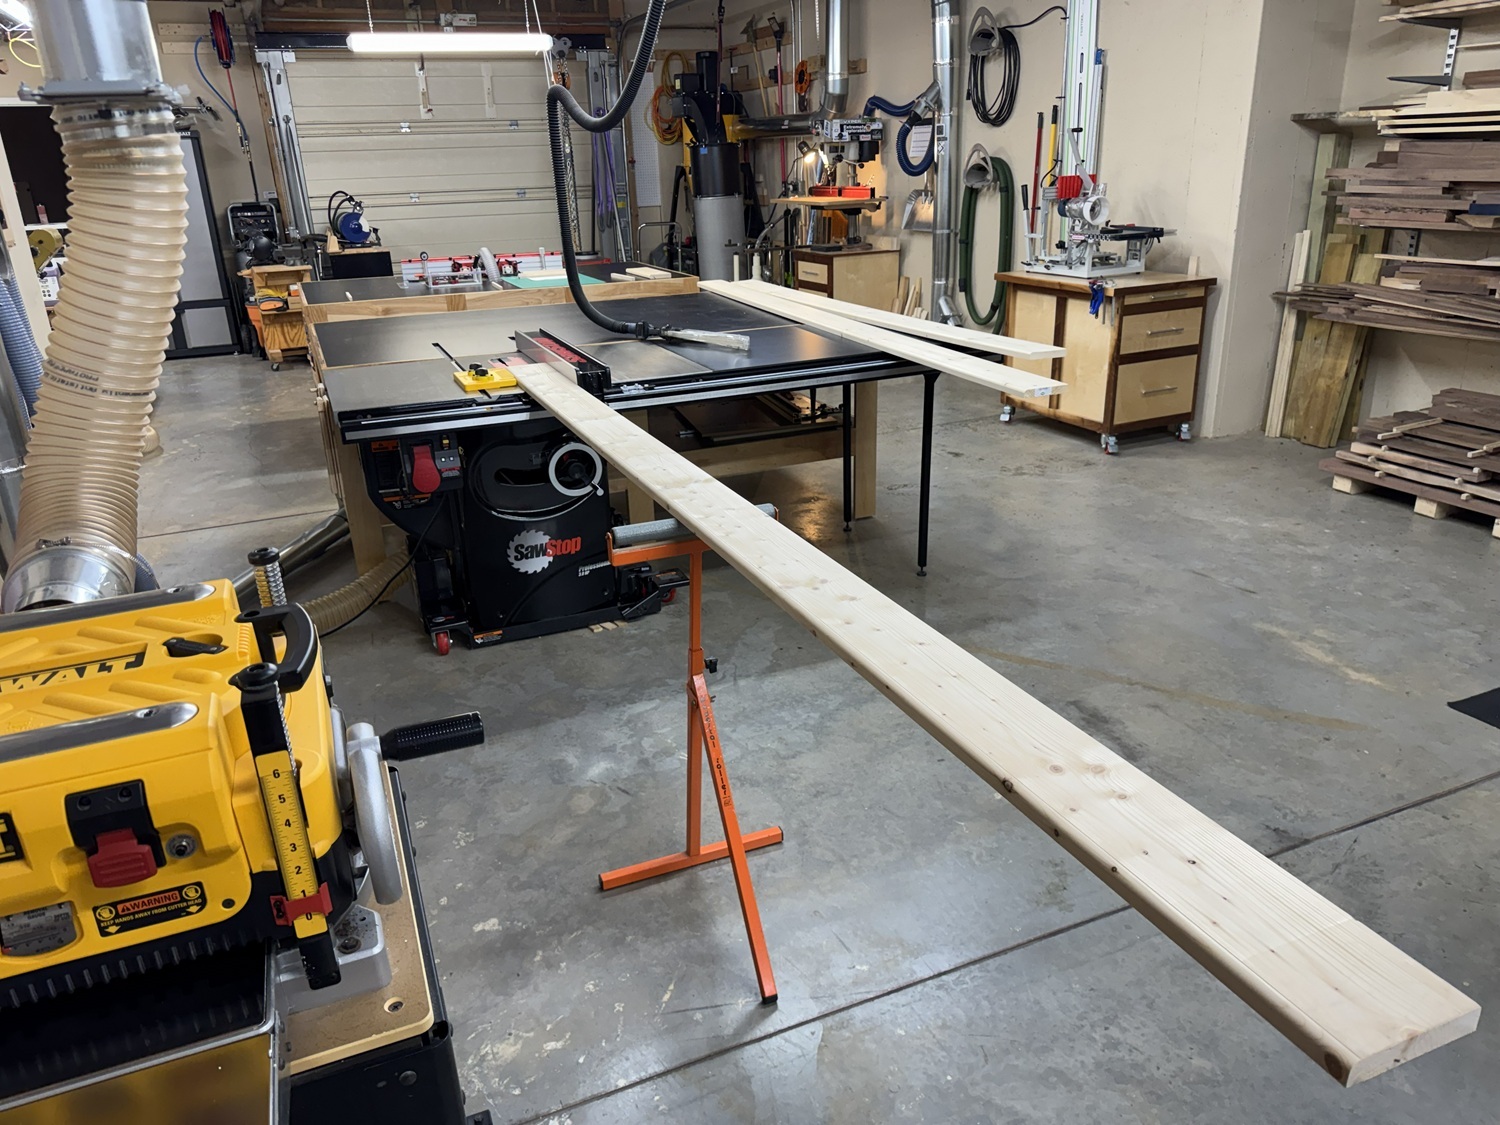
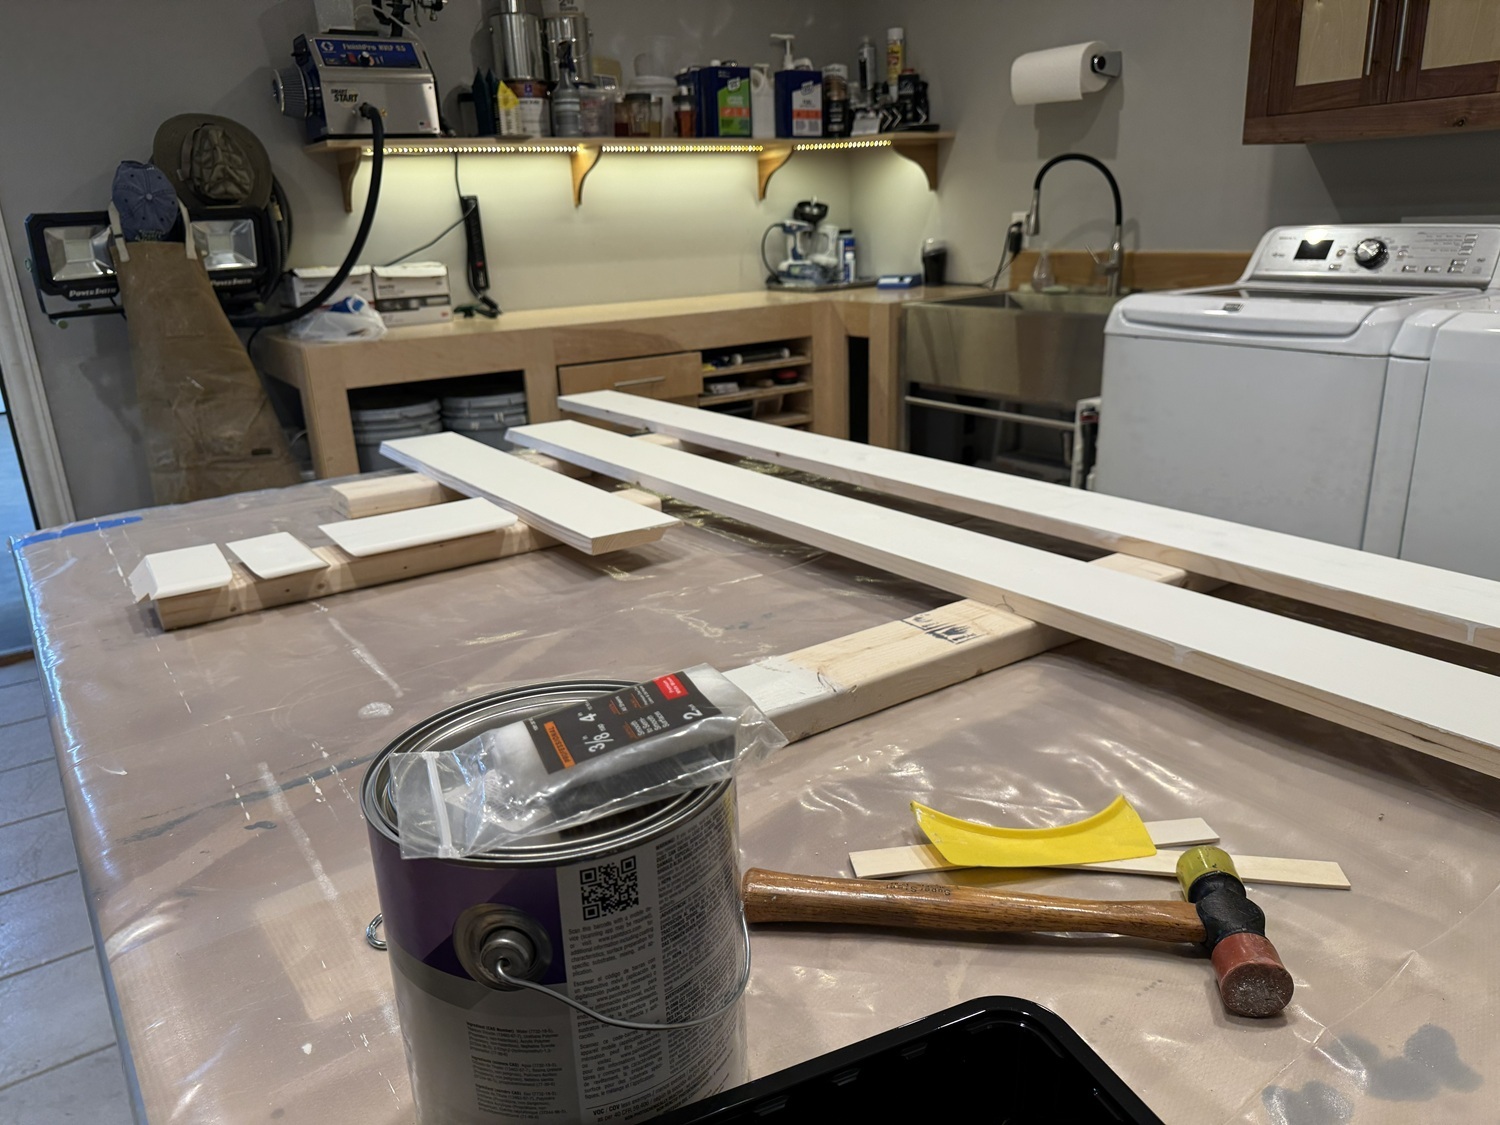
LED baseboards would be cool, and the rest of this space is a wood shop, so I’ll just make some. The lumber is standard 2×6 from the box store. It will be milled to a final dimension of 5 1/4″ x 7/8″. Although this means that much of these boards will be turned into chips and dust, it’s still very economical at $8 for a 10′ board.
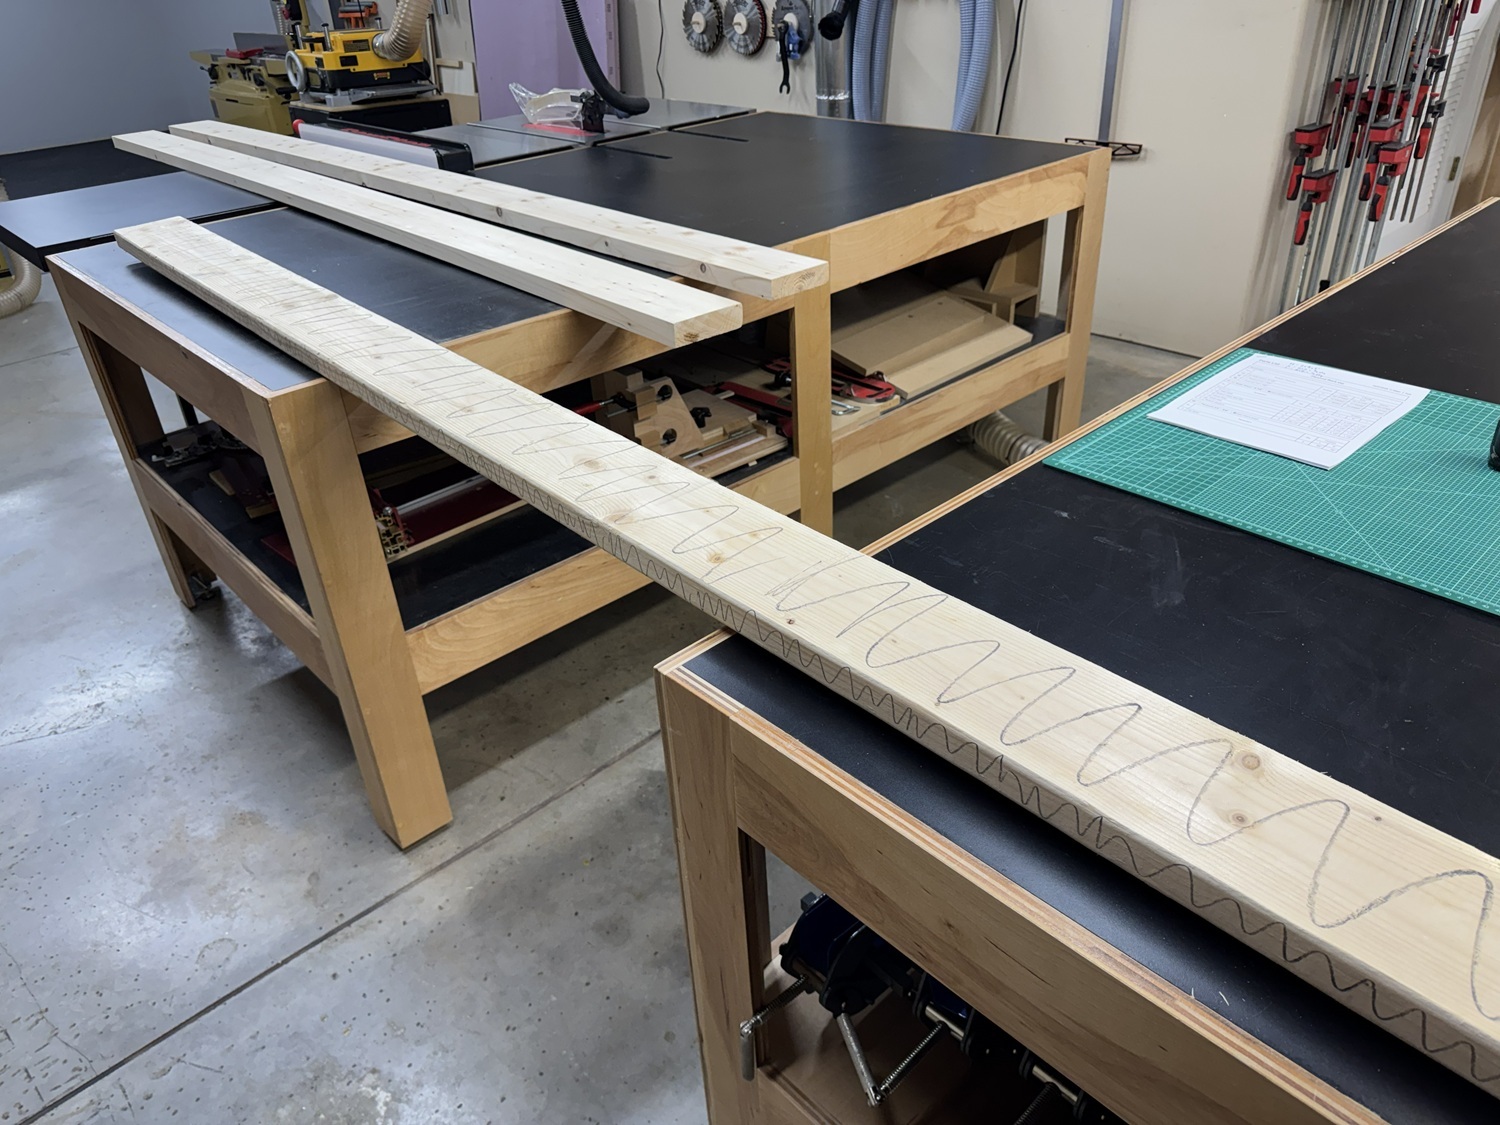
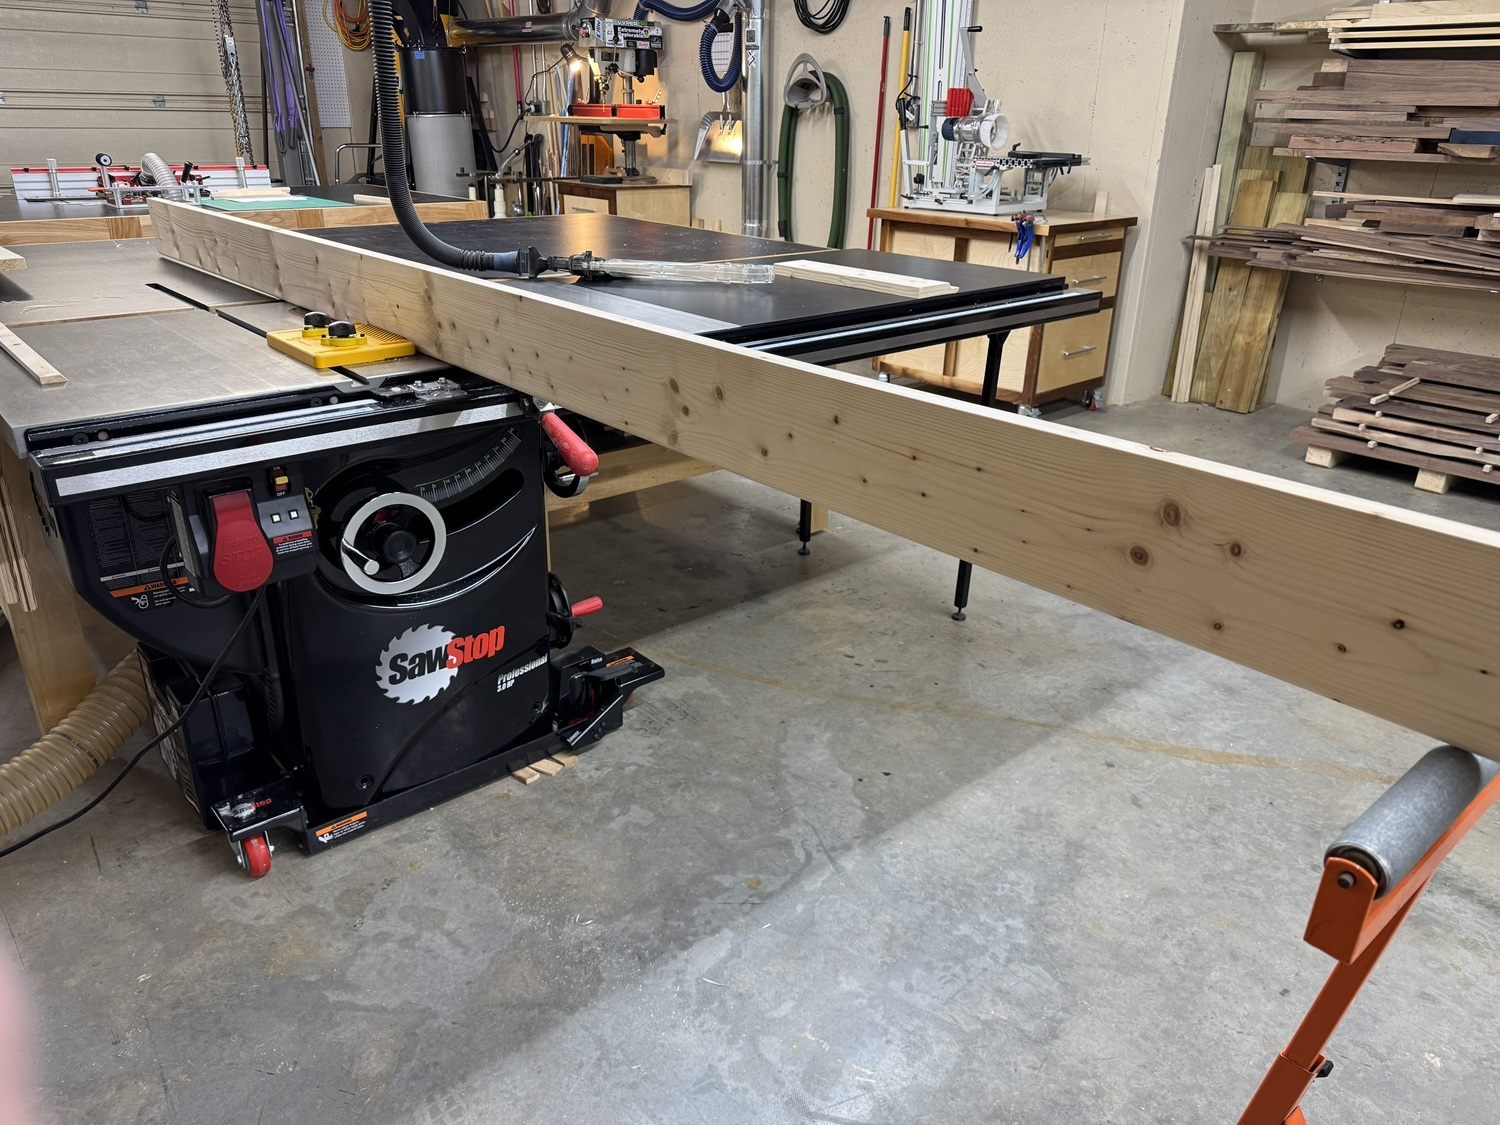
First to the jointer, then to the thickness planer, and finally over to the table saw to get these milled to rough dimension.
Rough milled to about 1/8″ oversize.
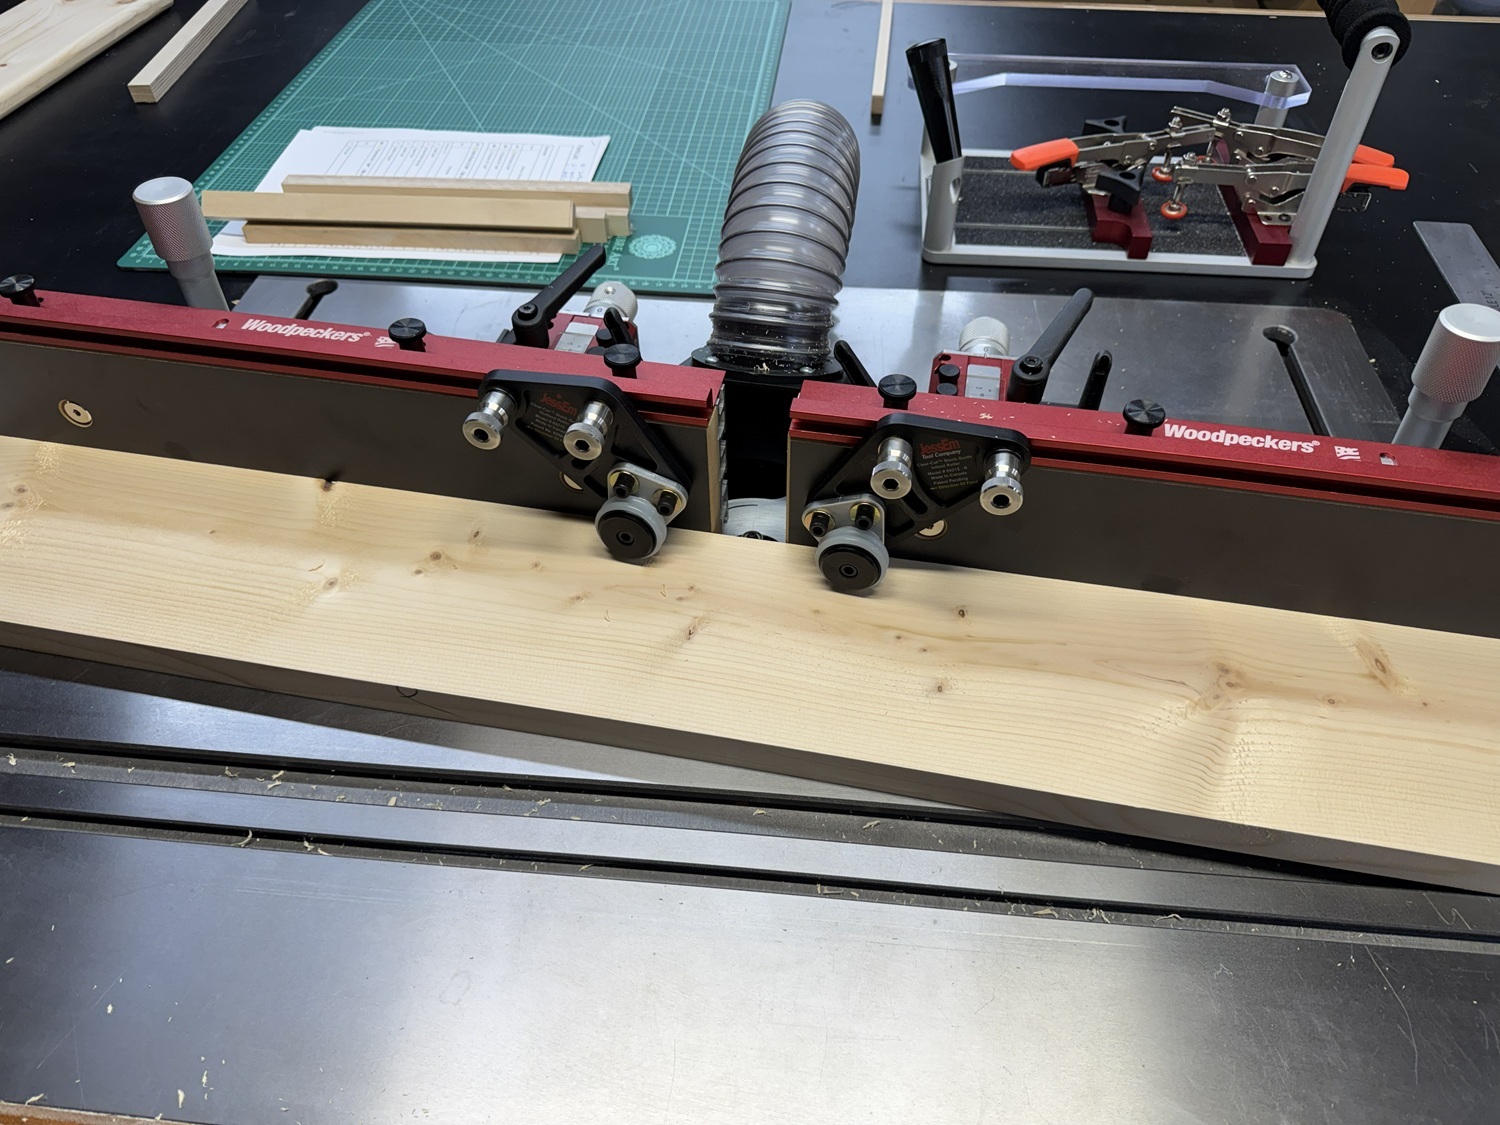
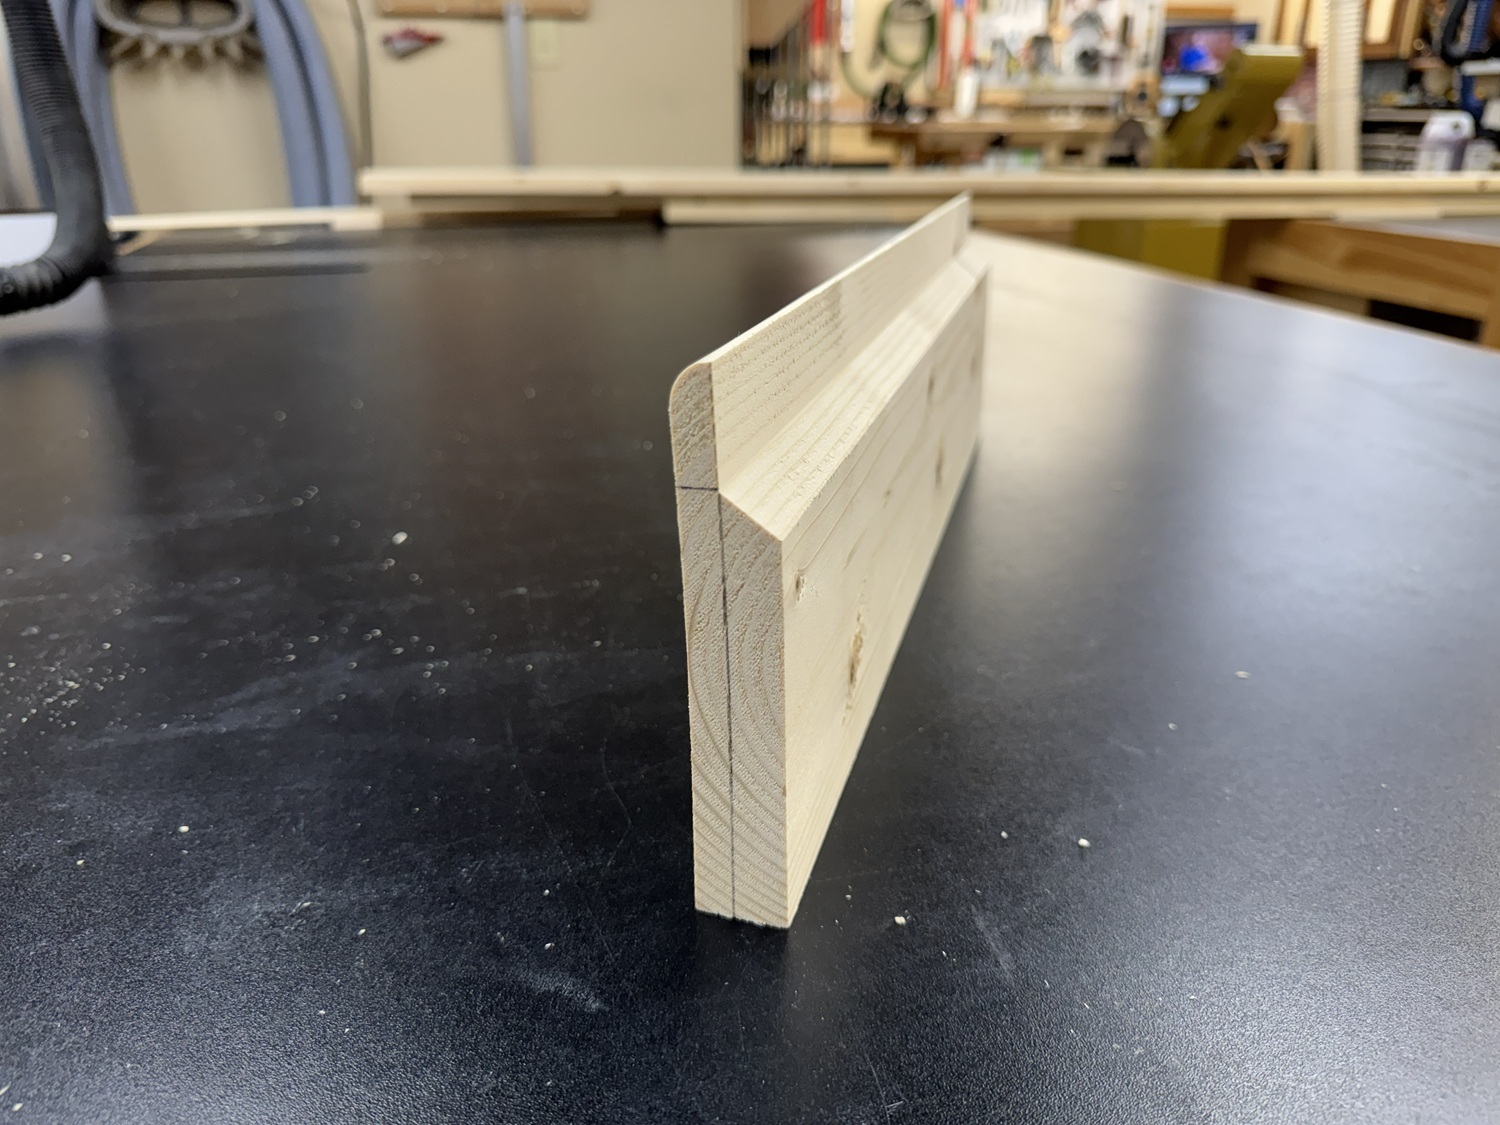
After final milling, the top edge is rounded at the router table.
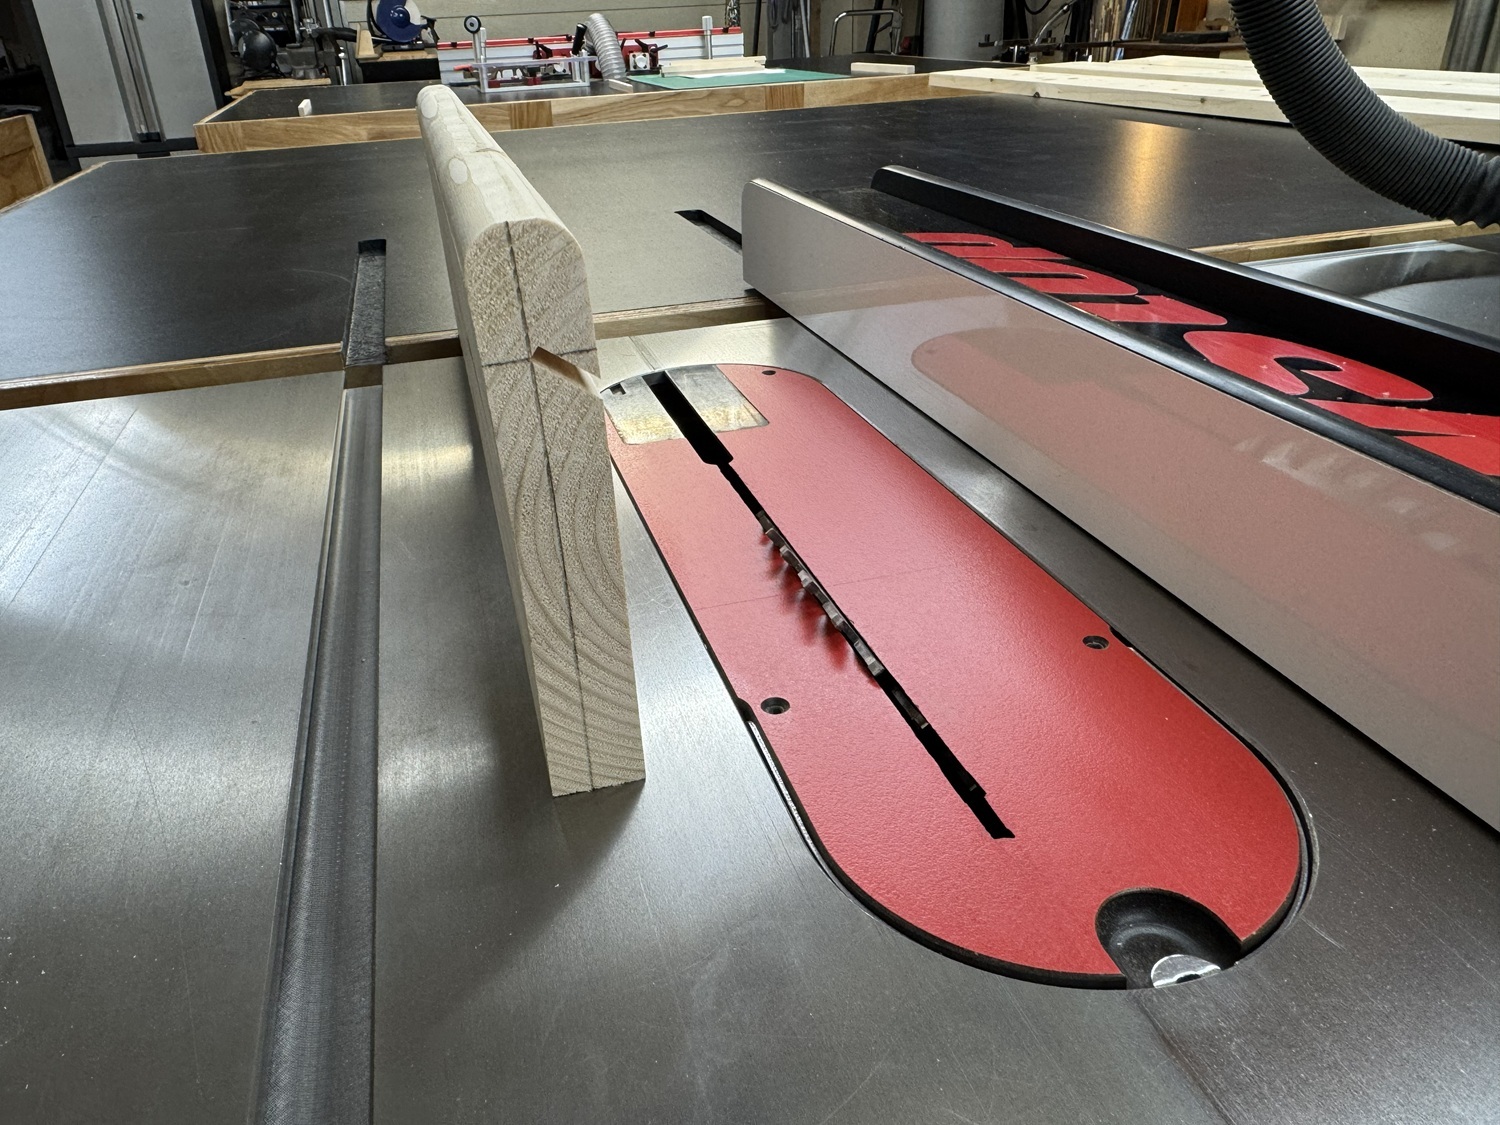
Then over to the table saw to cut the relief feature to accommodate the LED strips.
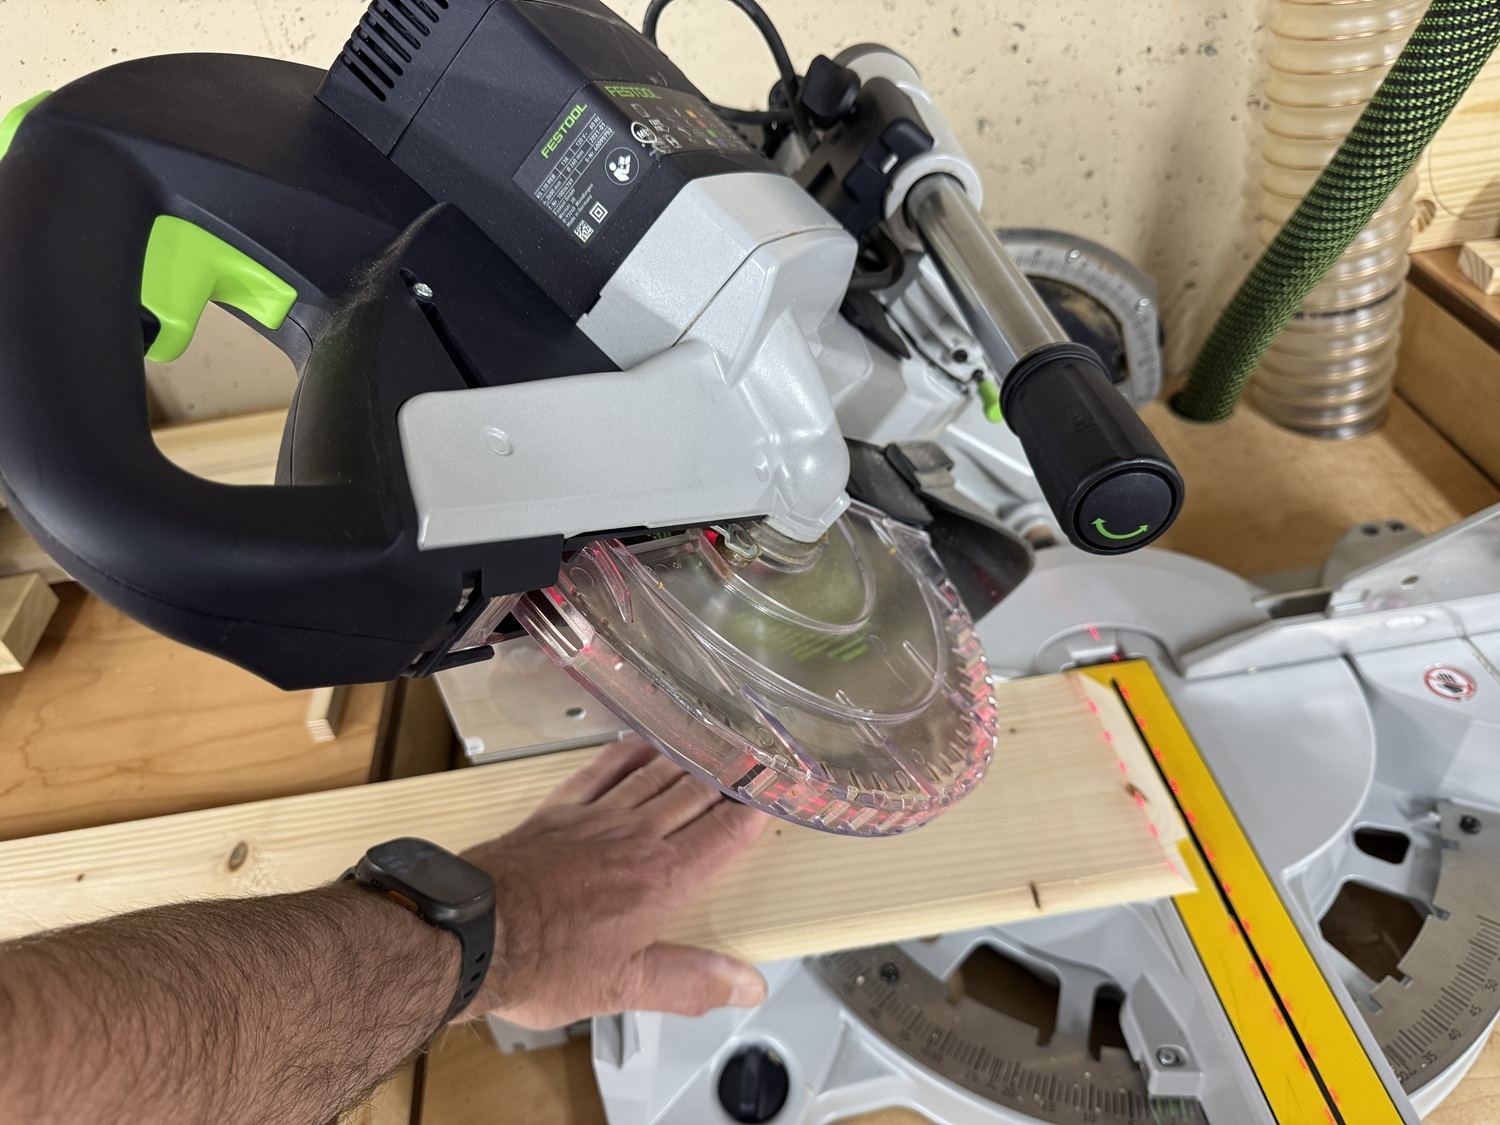
The baseboards are mitered to length.
All that remains is painting and installation.
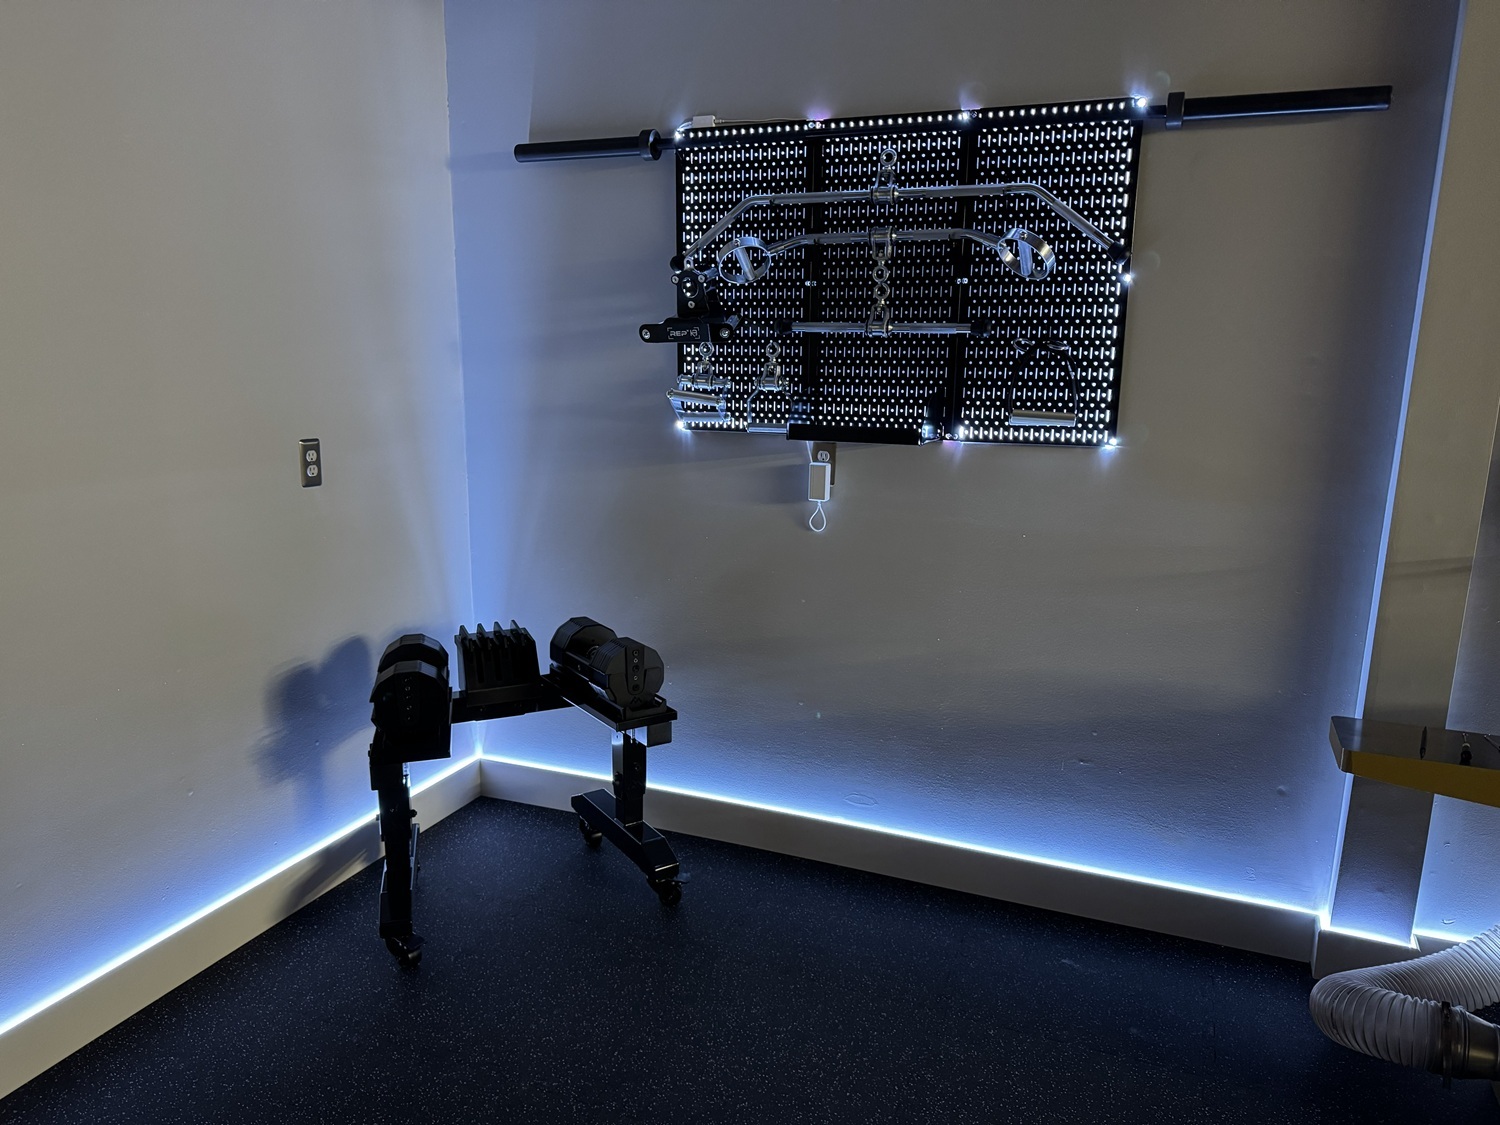
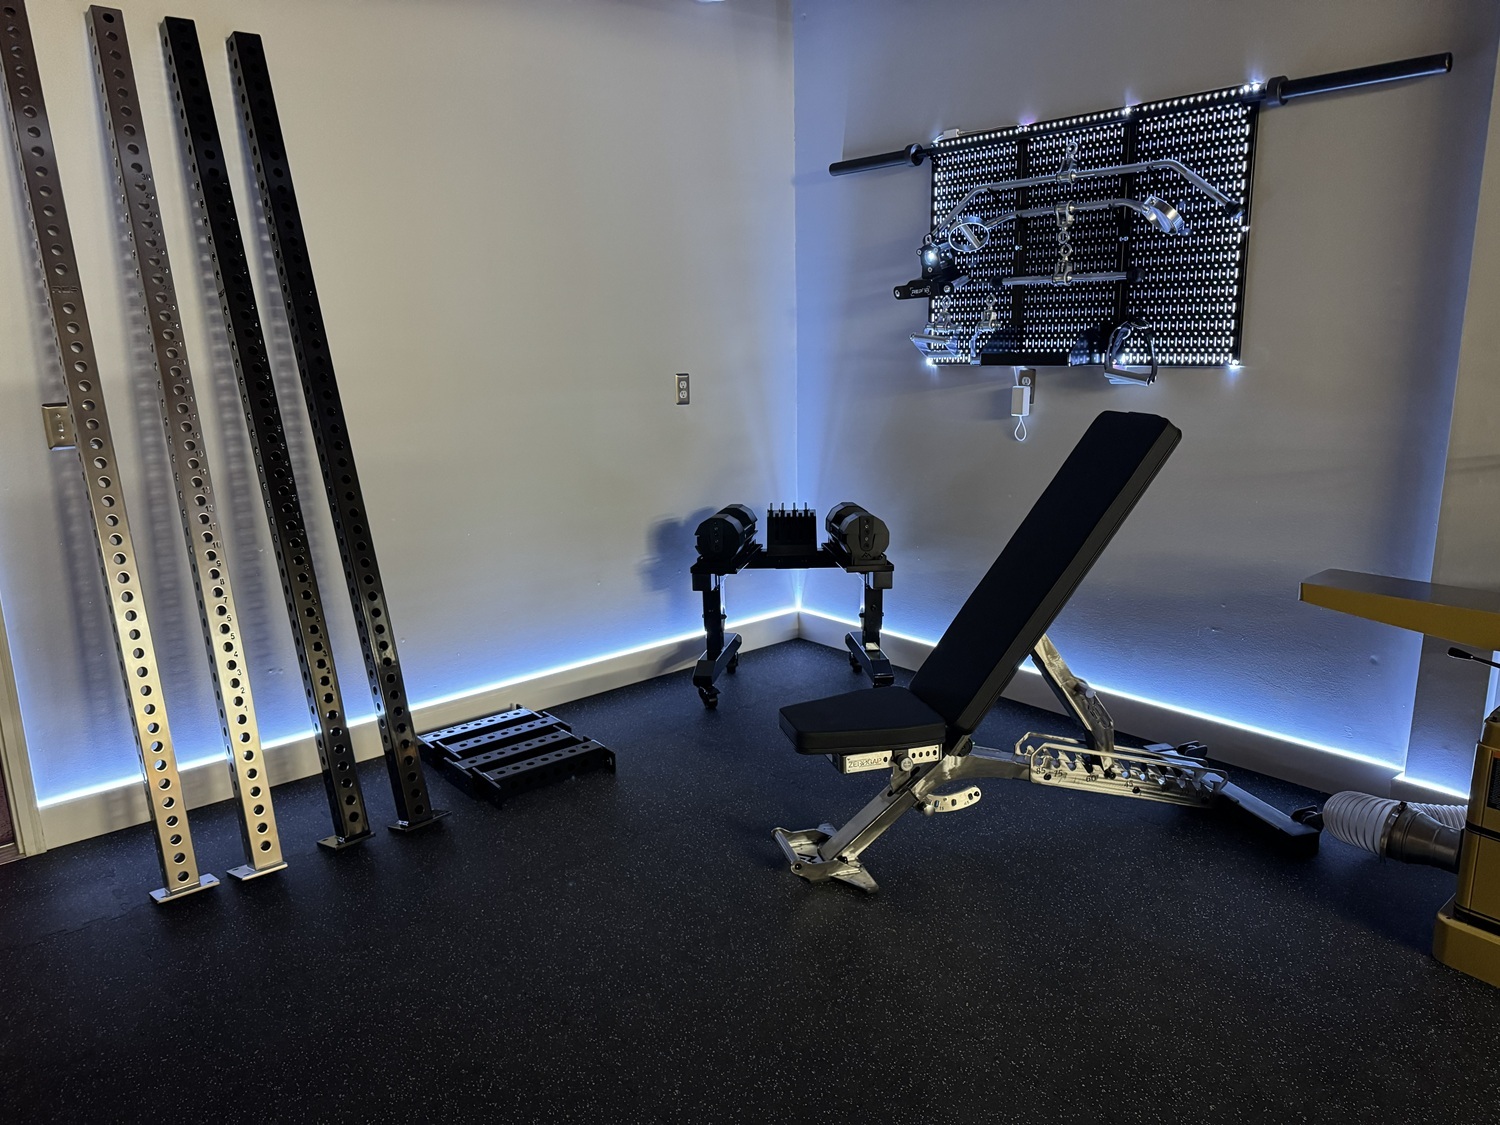
Done!

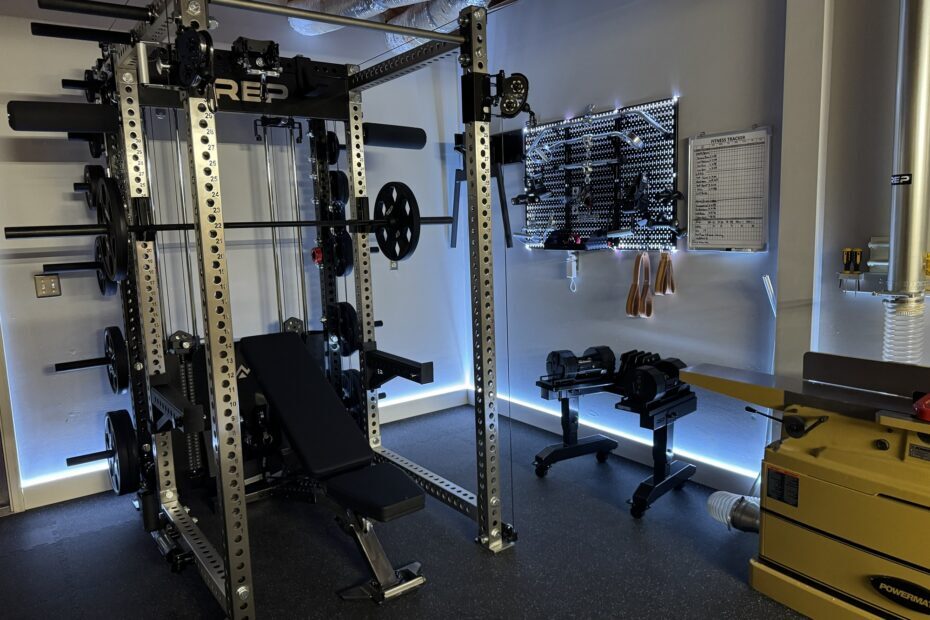
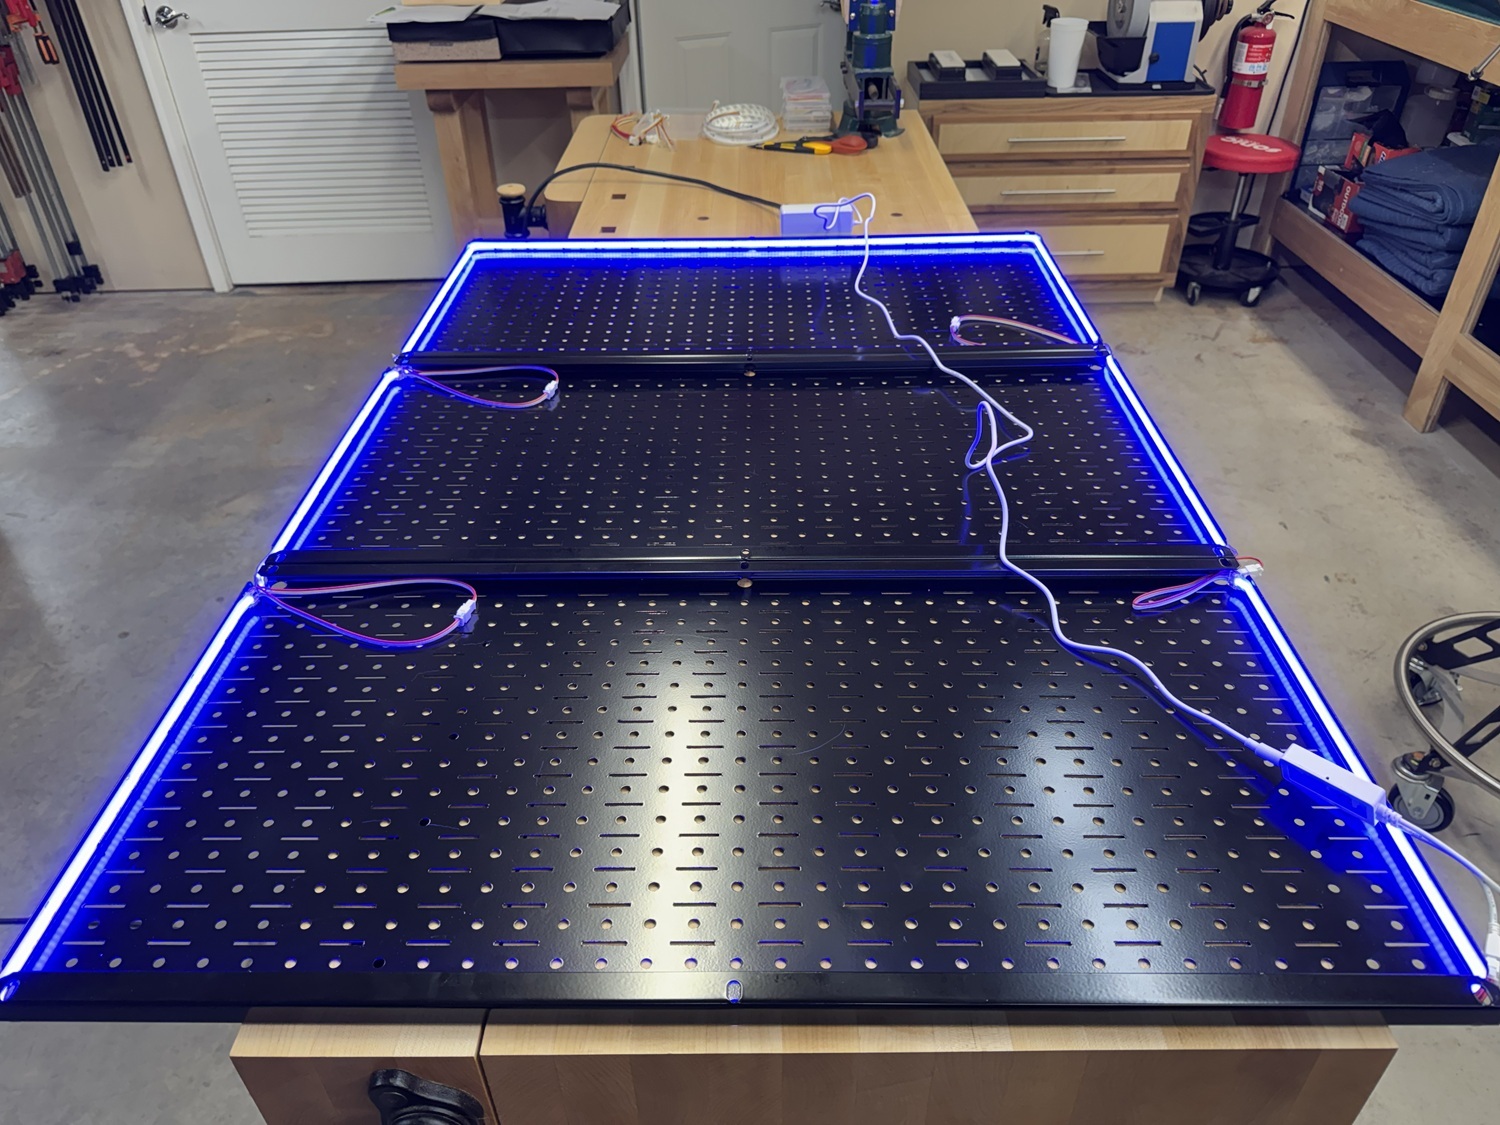
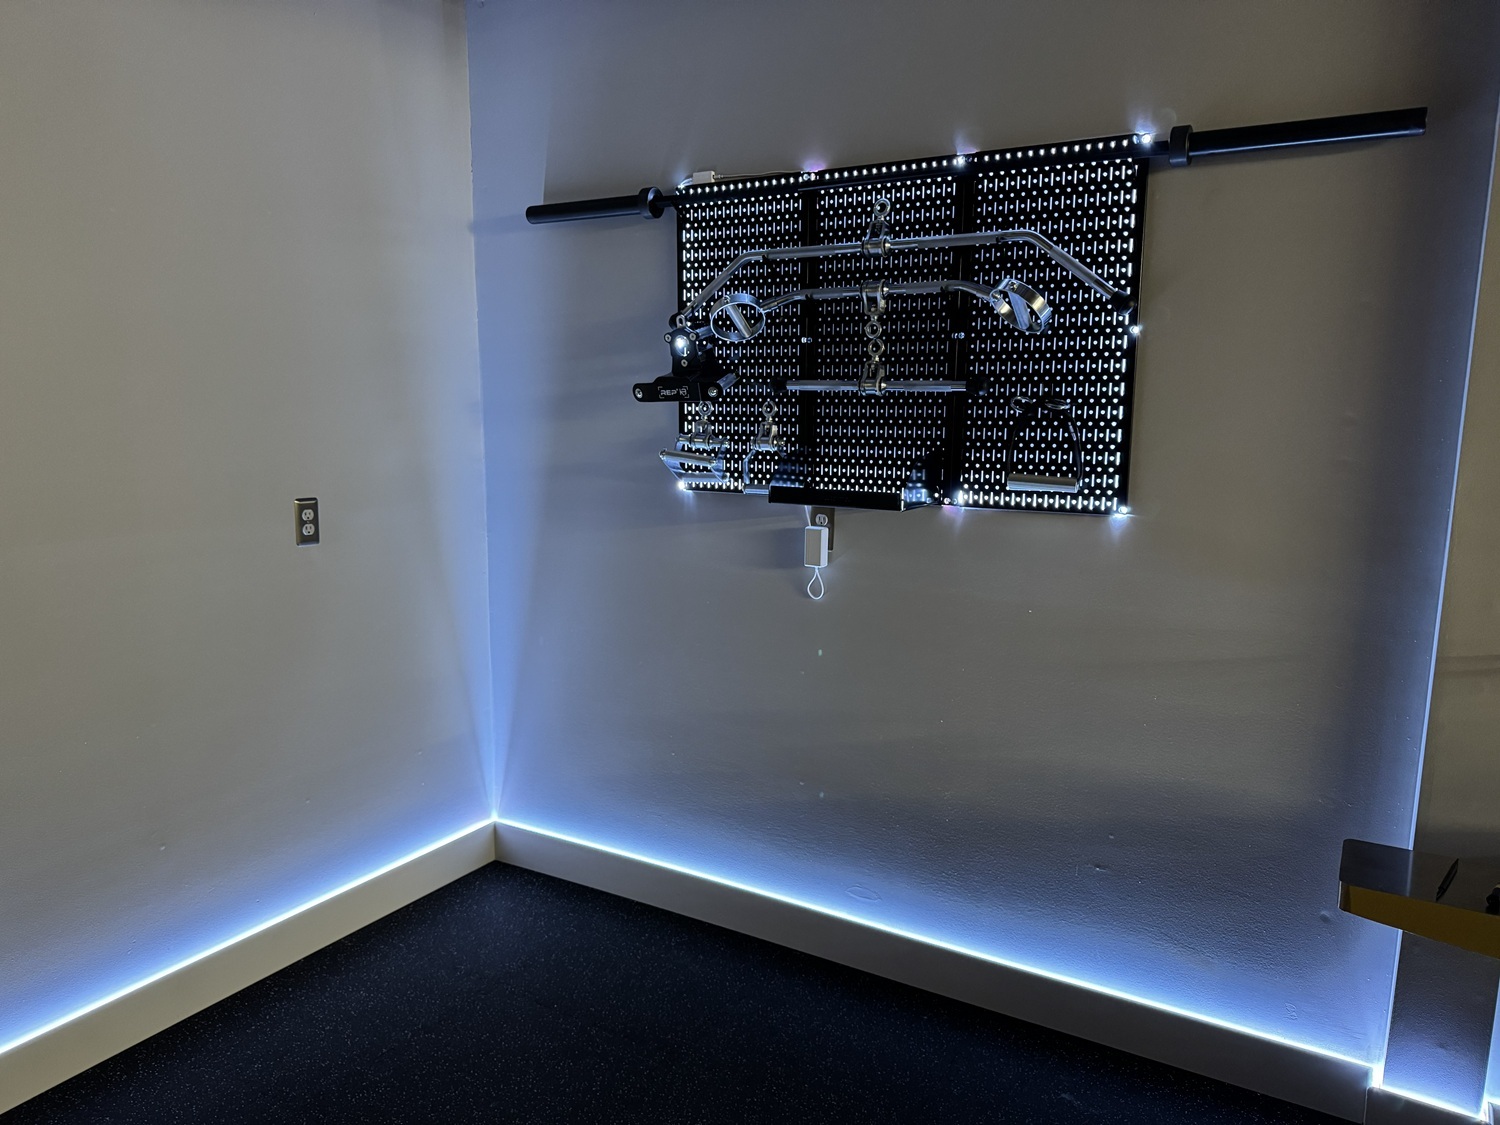
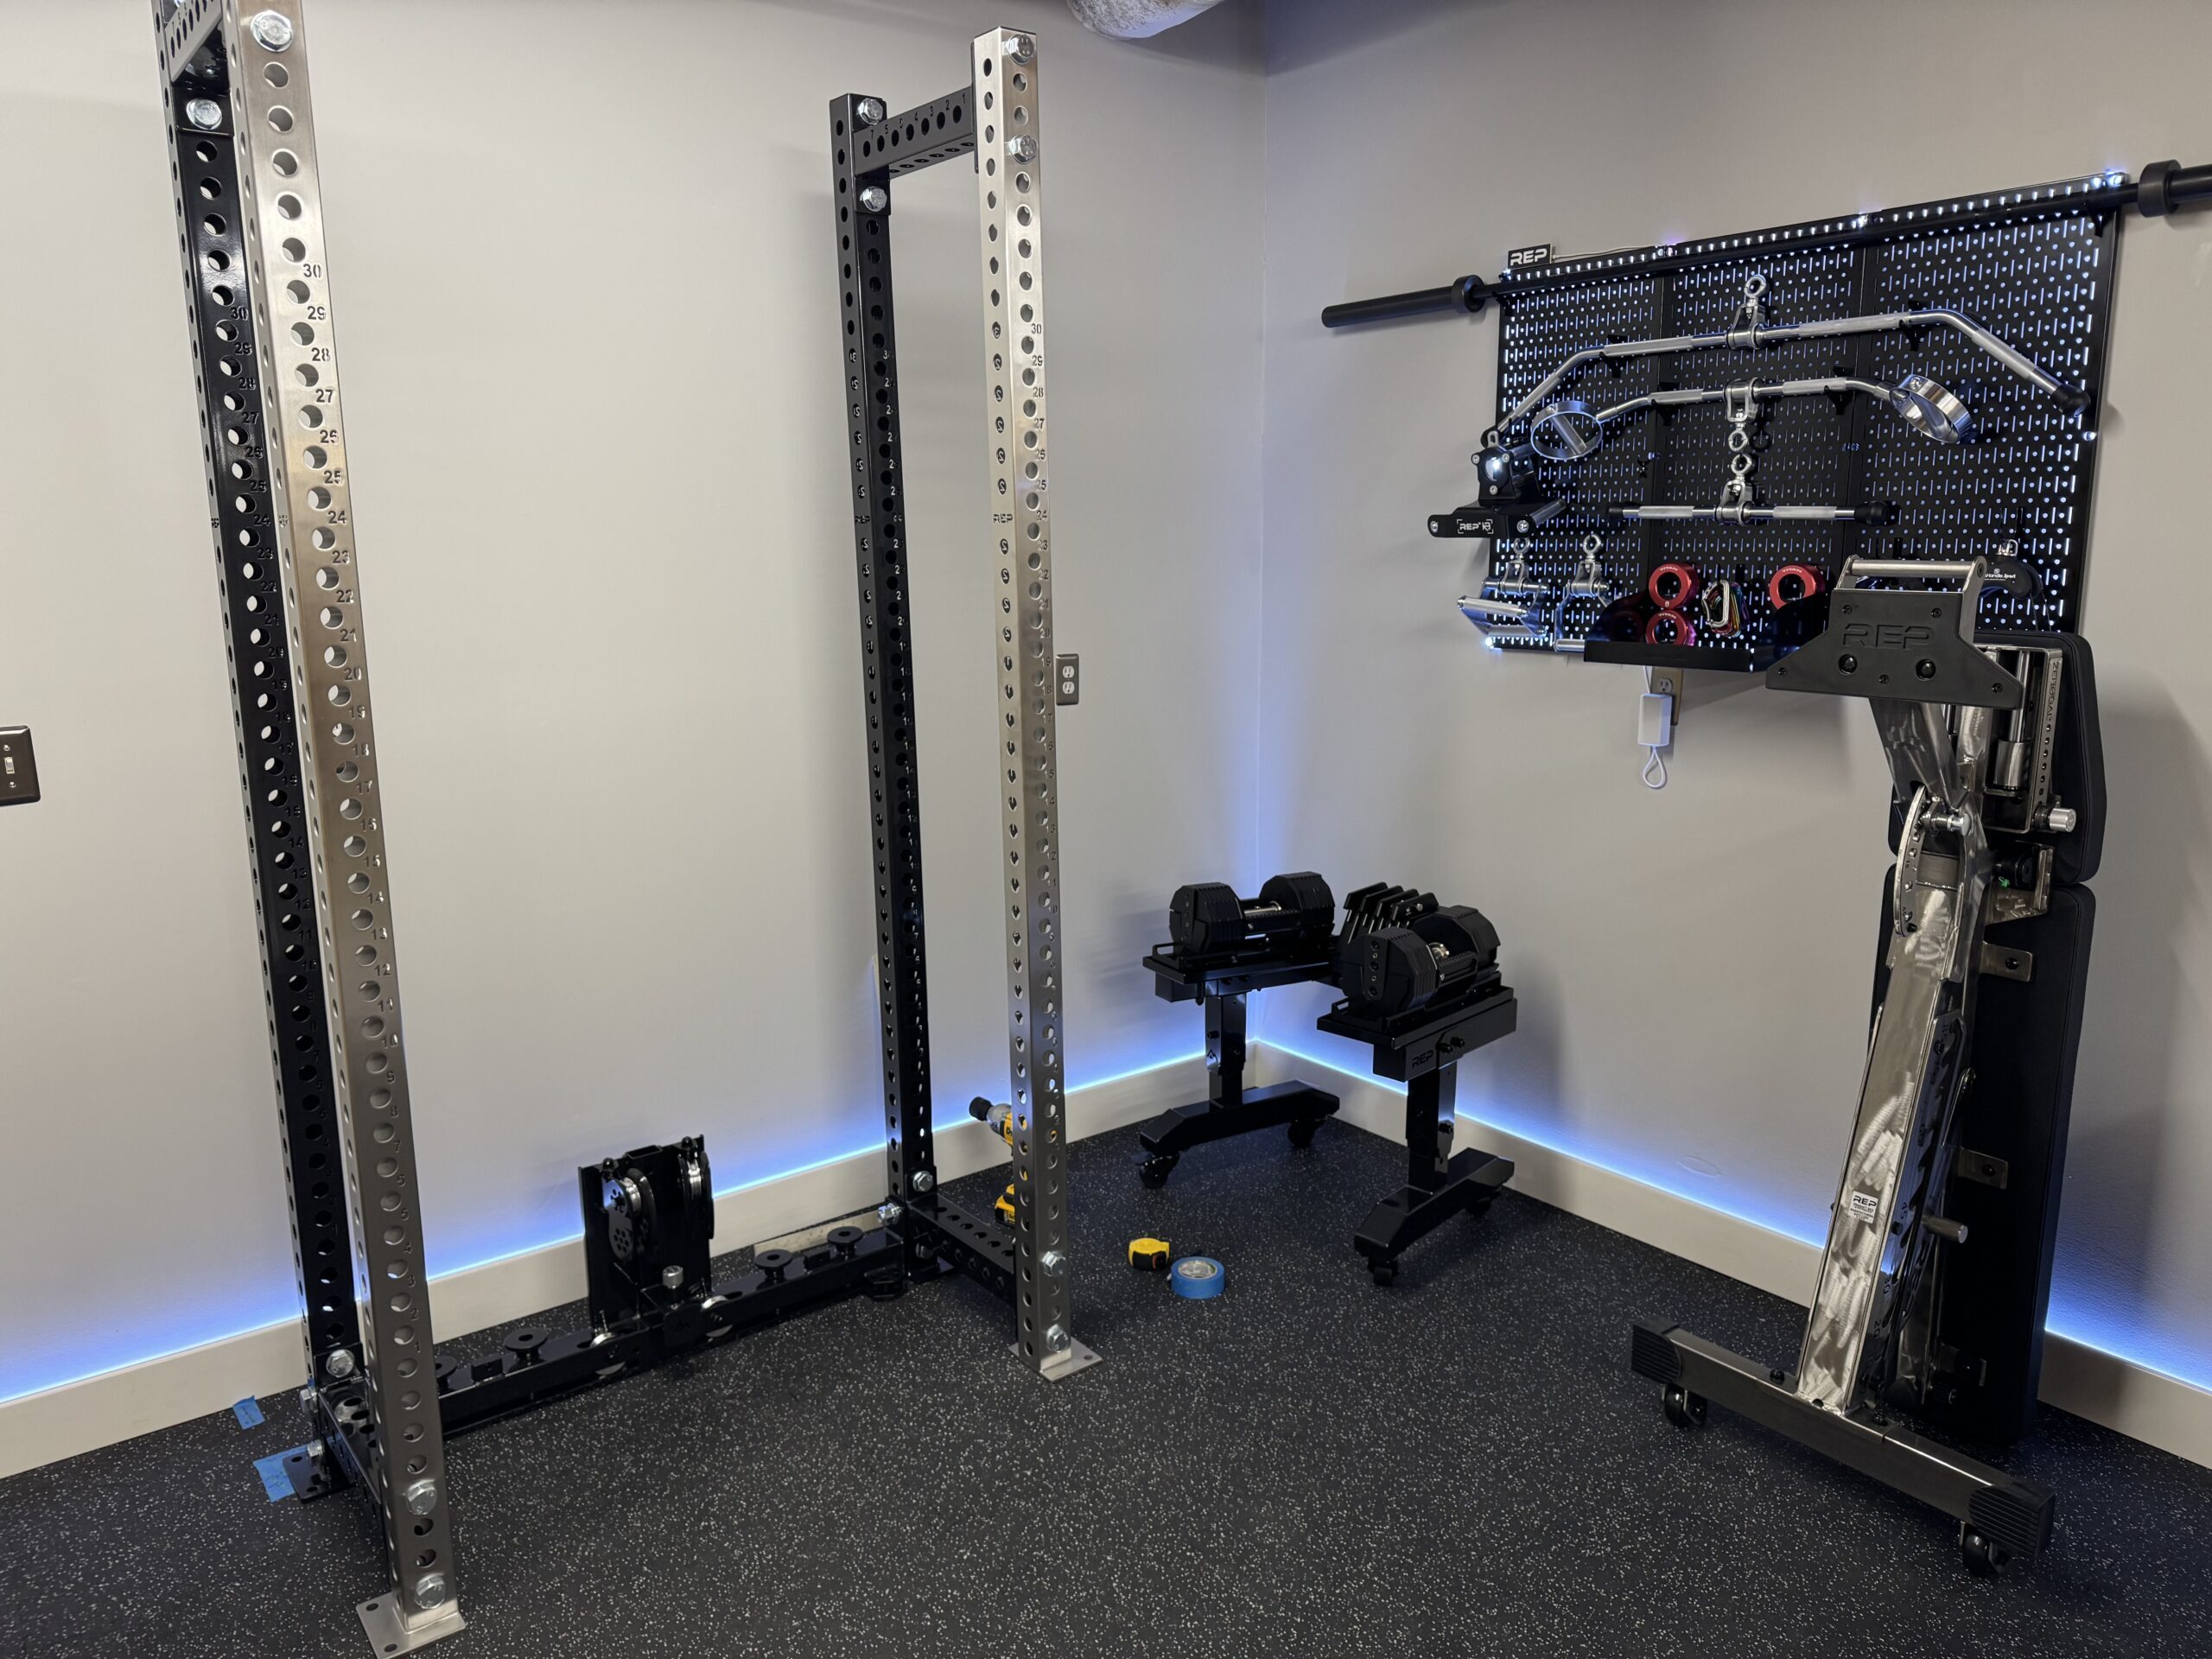
Metal pegboard storage from Wall Control with diy LED backlighting is added to keep accessories organized.

Done!
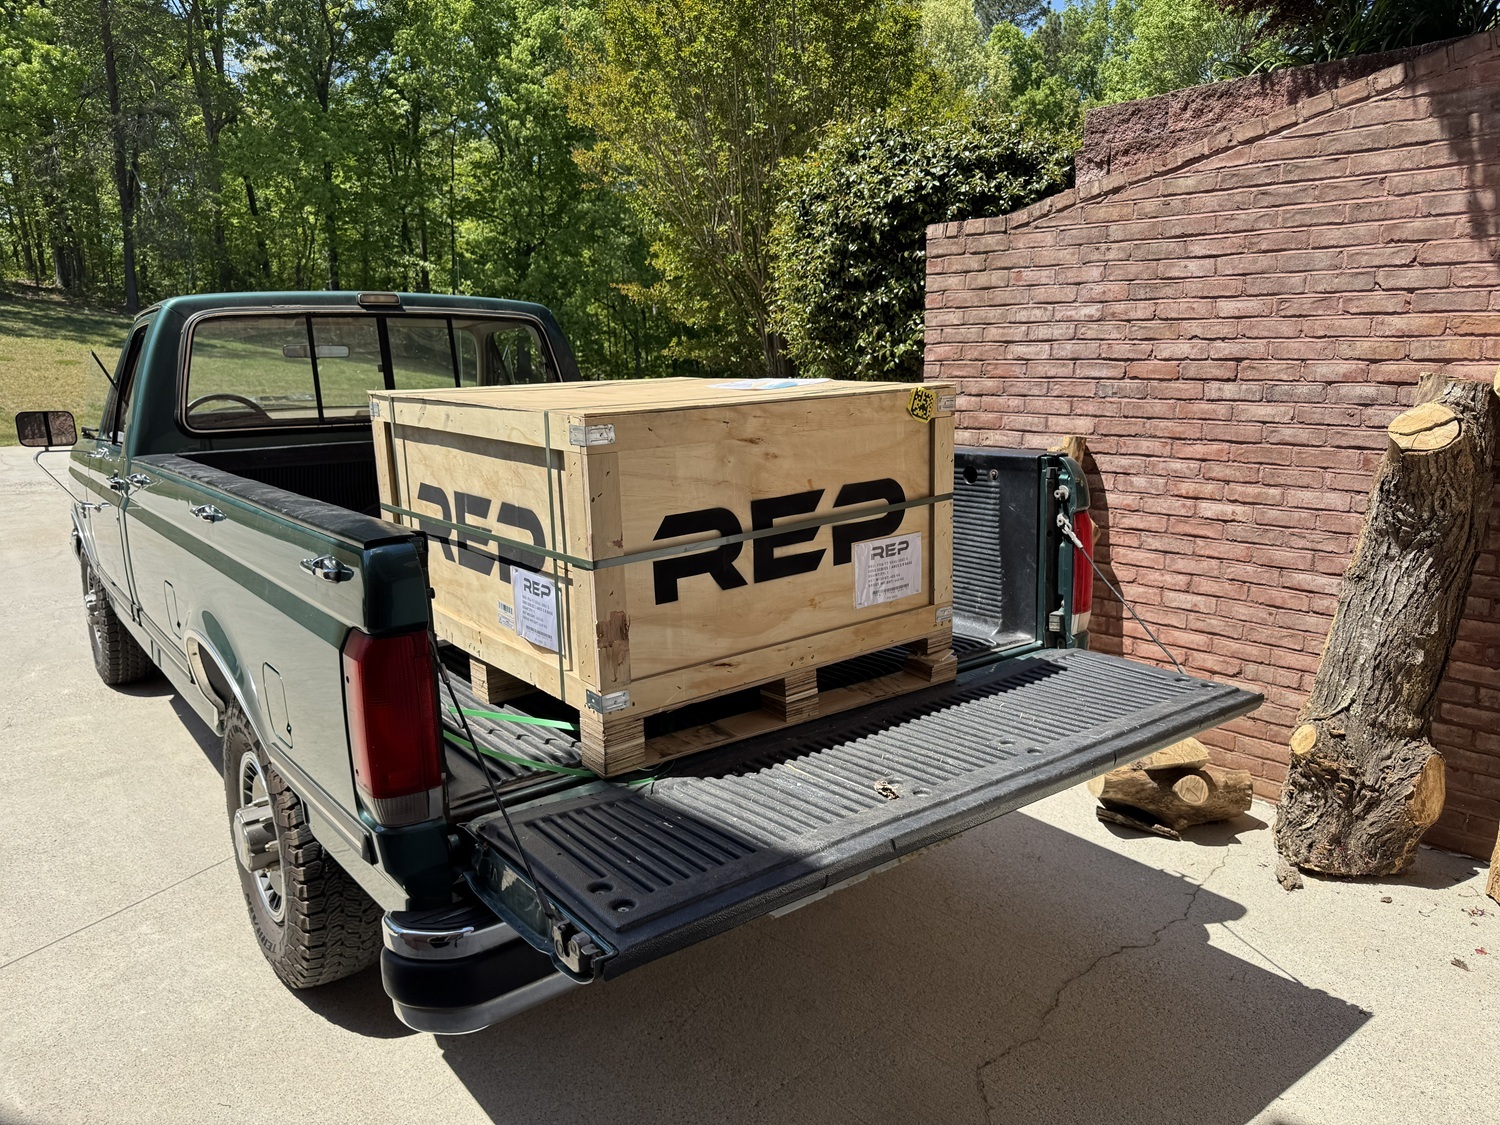
The rack and other equipment was delivered curbside on the very same day that the room preparation was completed. Moving 3,000 pounds of equipment from the curb to the shop door was an adventure, but the delivery guy was kind enough to break down the huge pallet into manageable chunks that were loaded directly into the bed of my pickup.

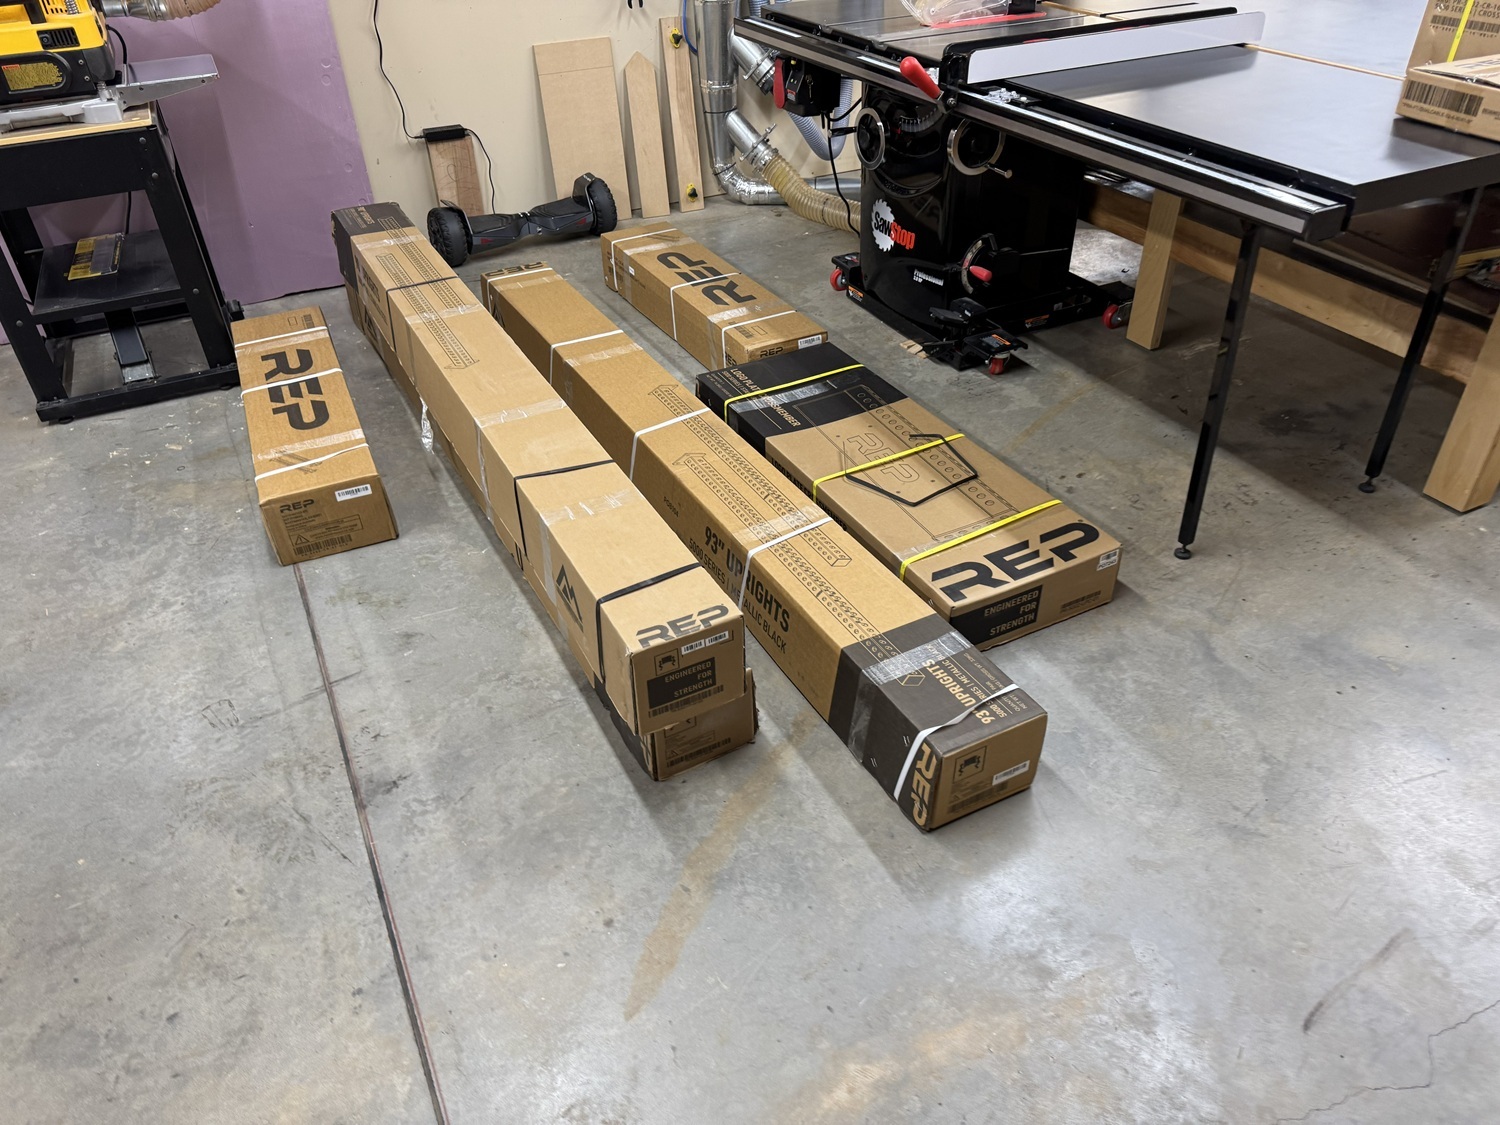
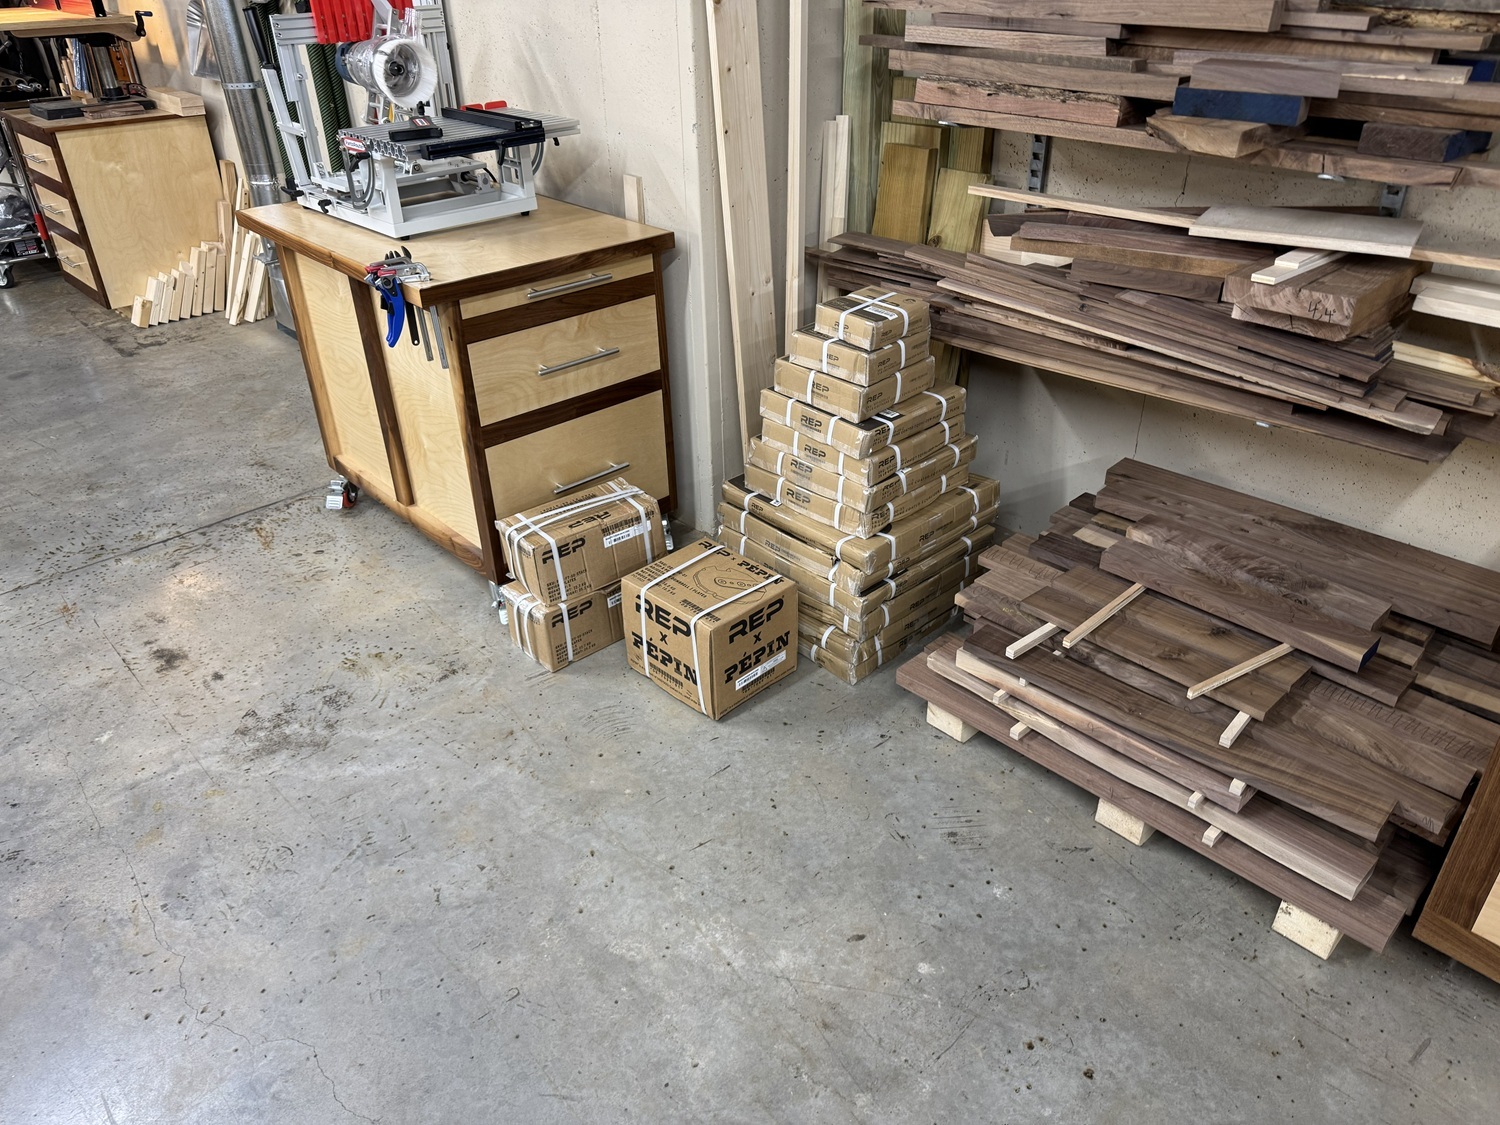
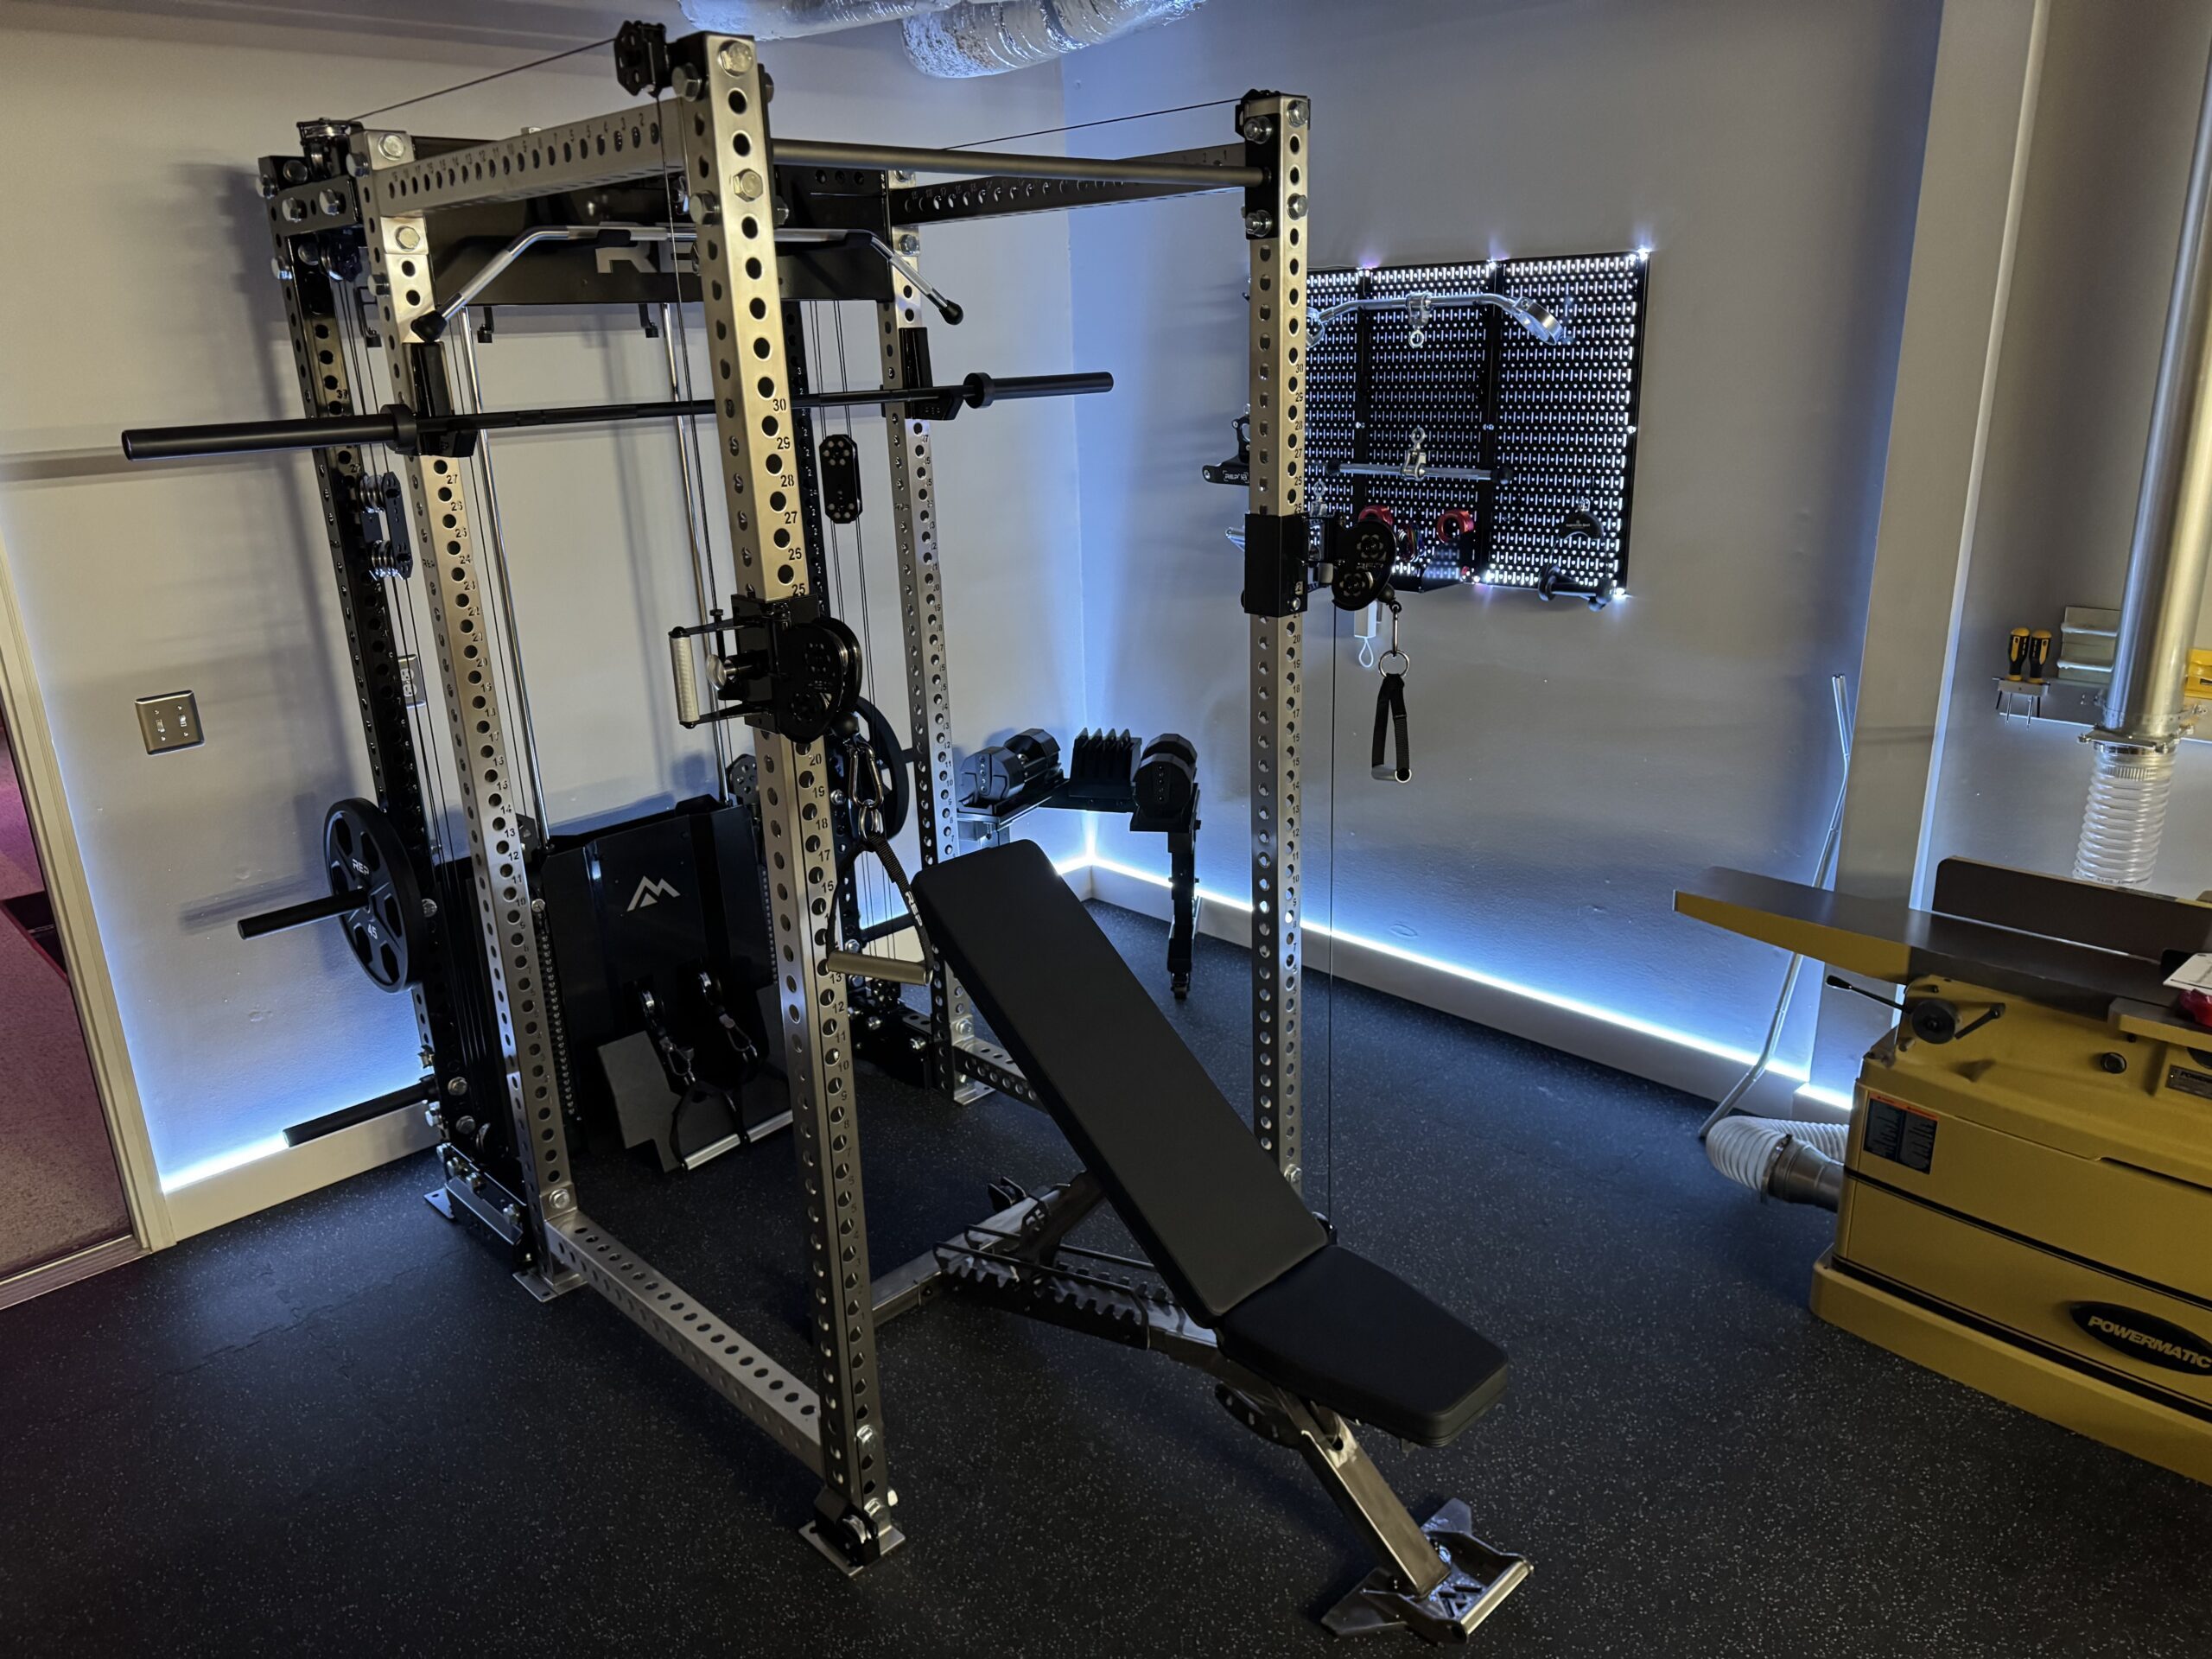
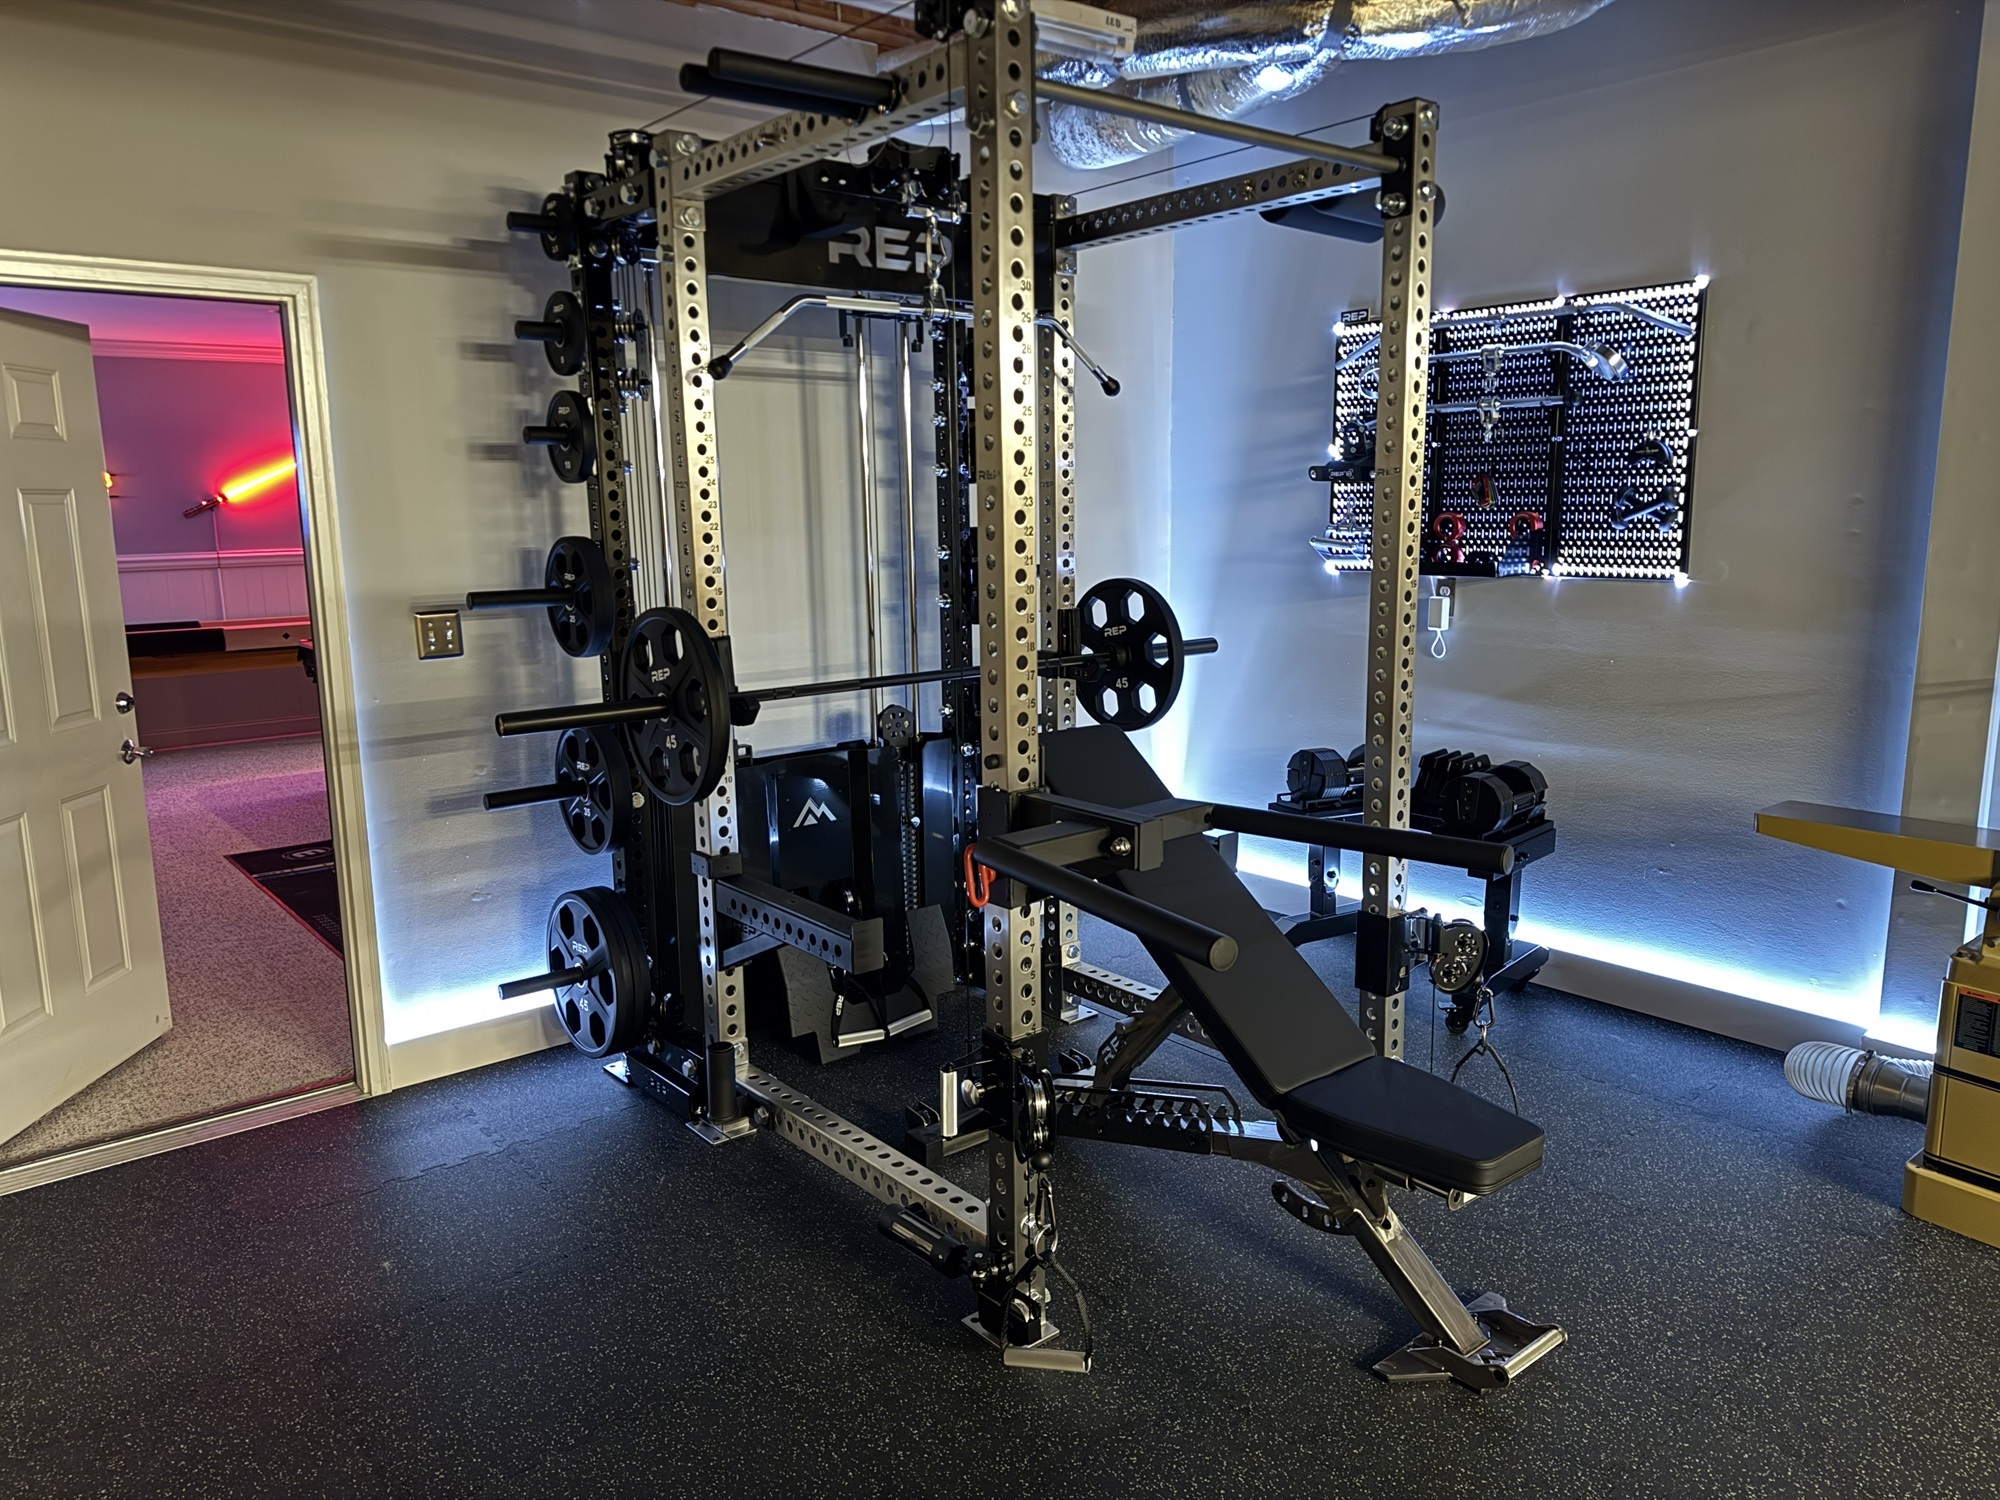
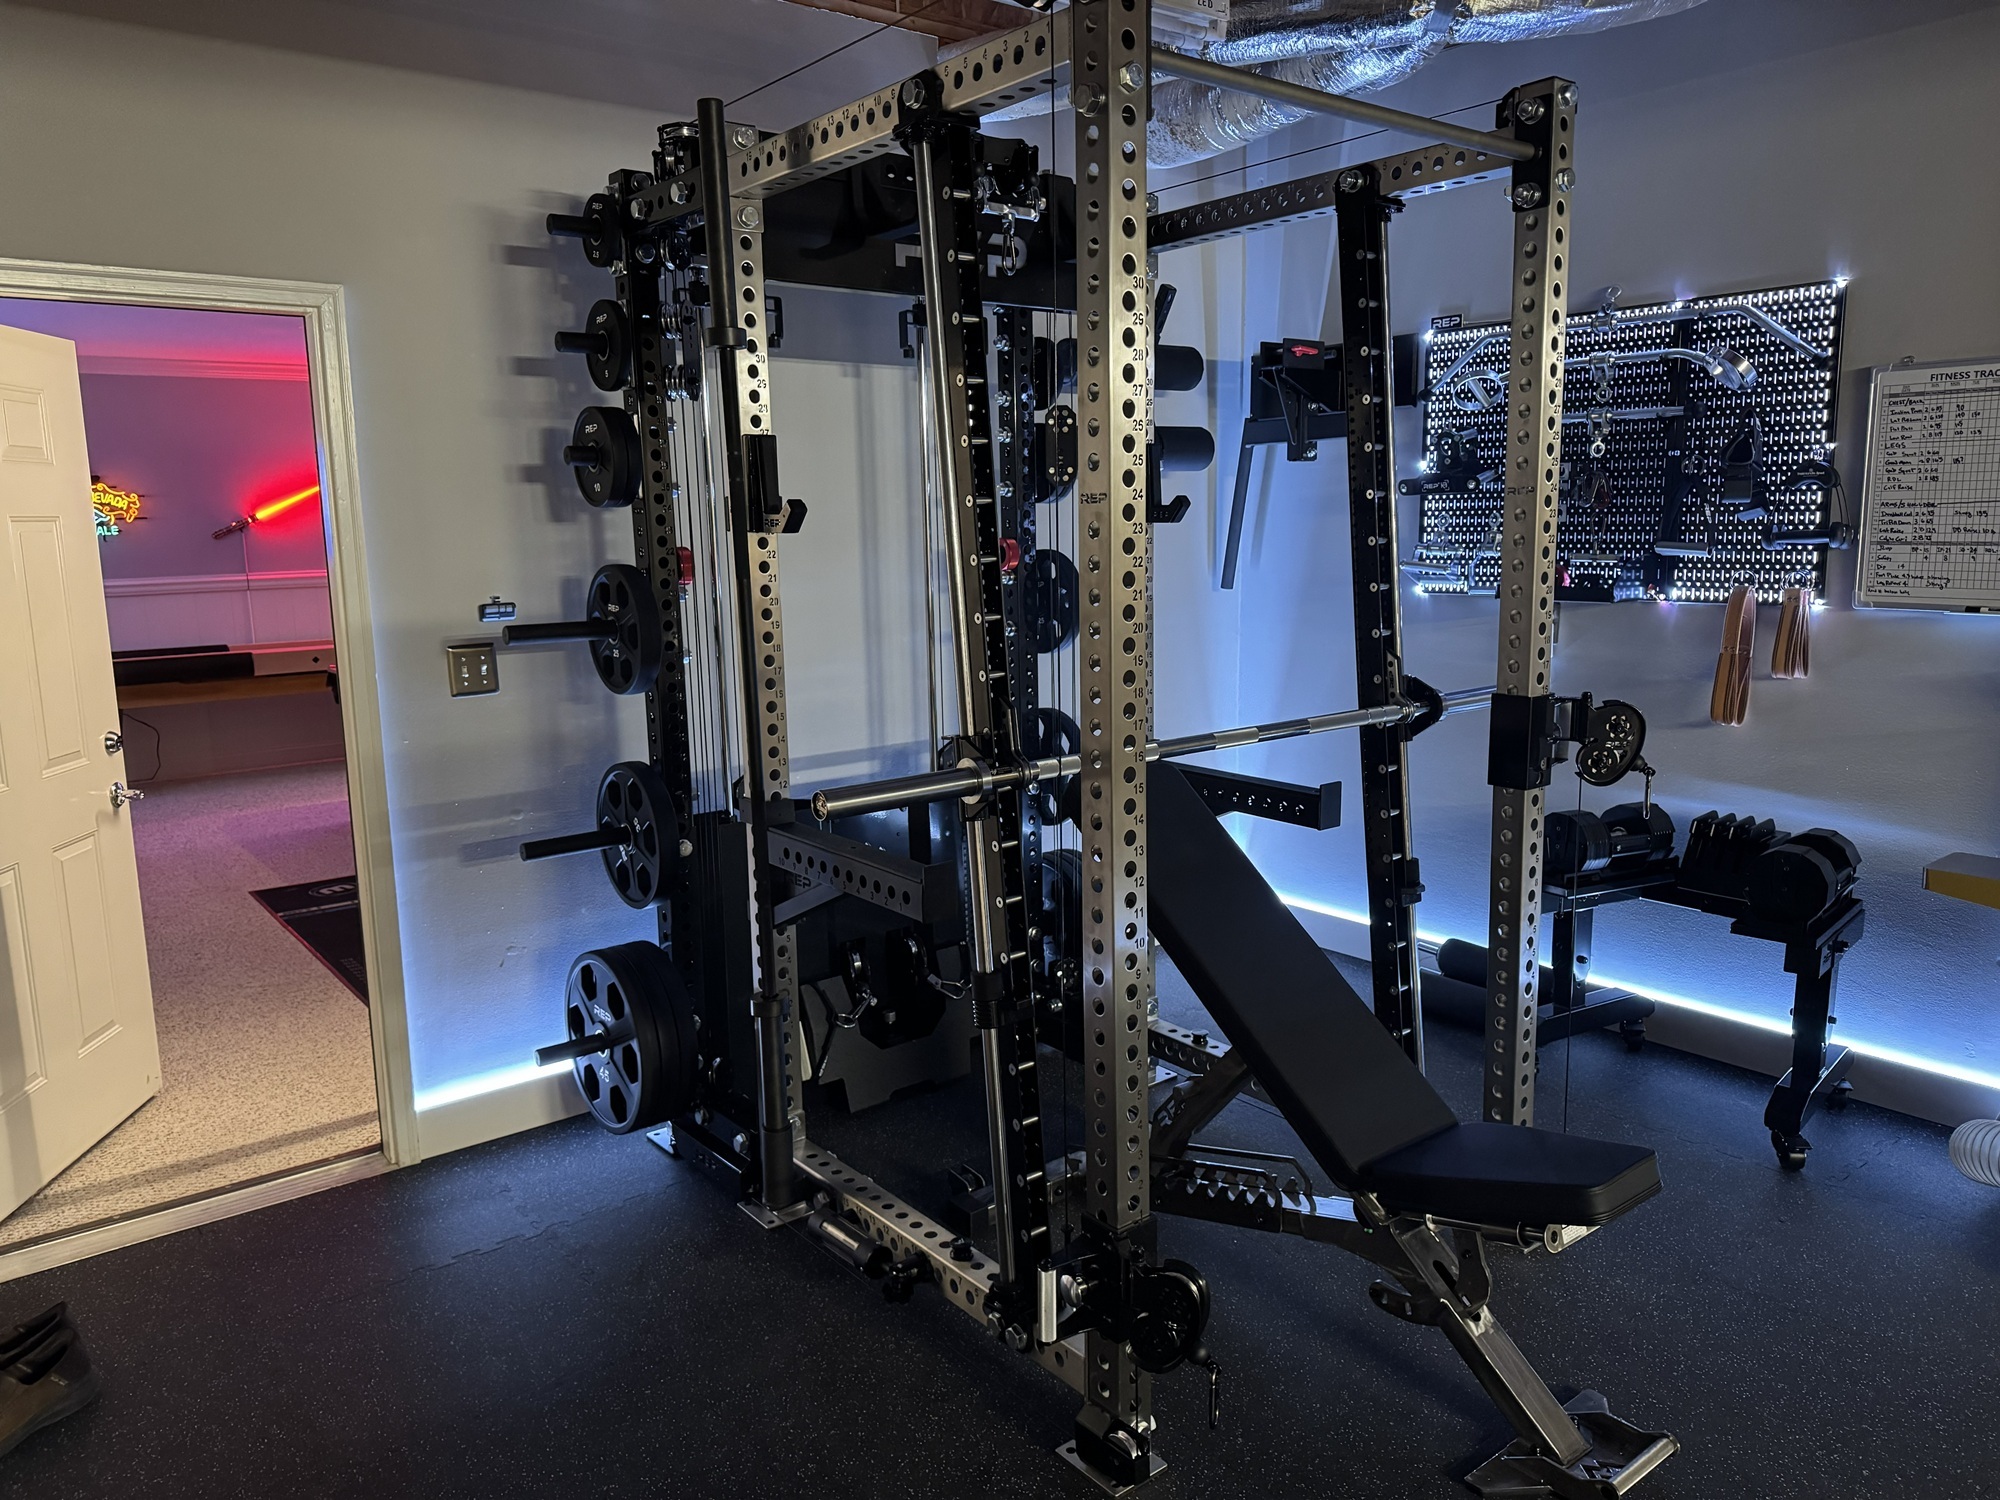
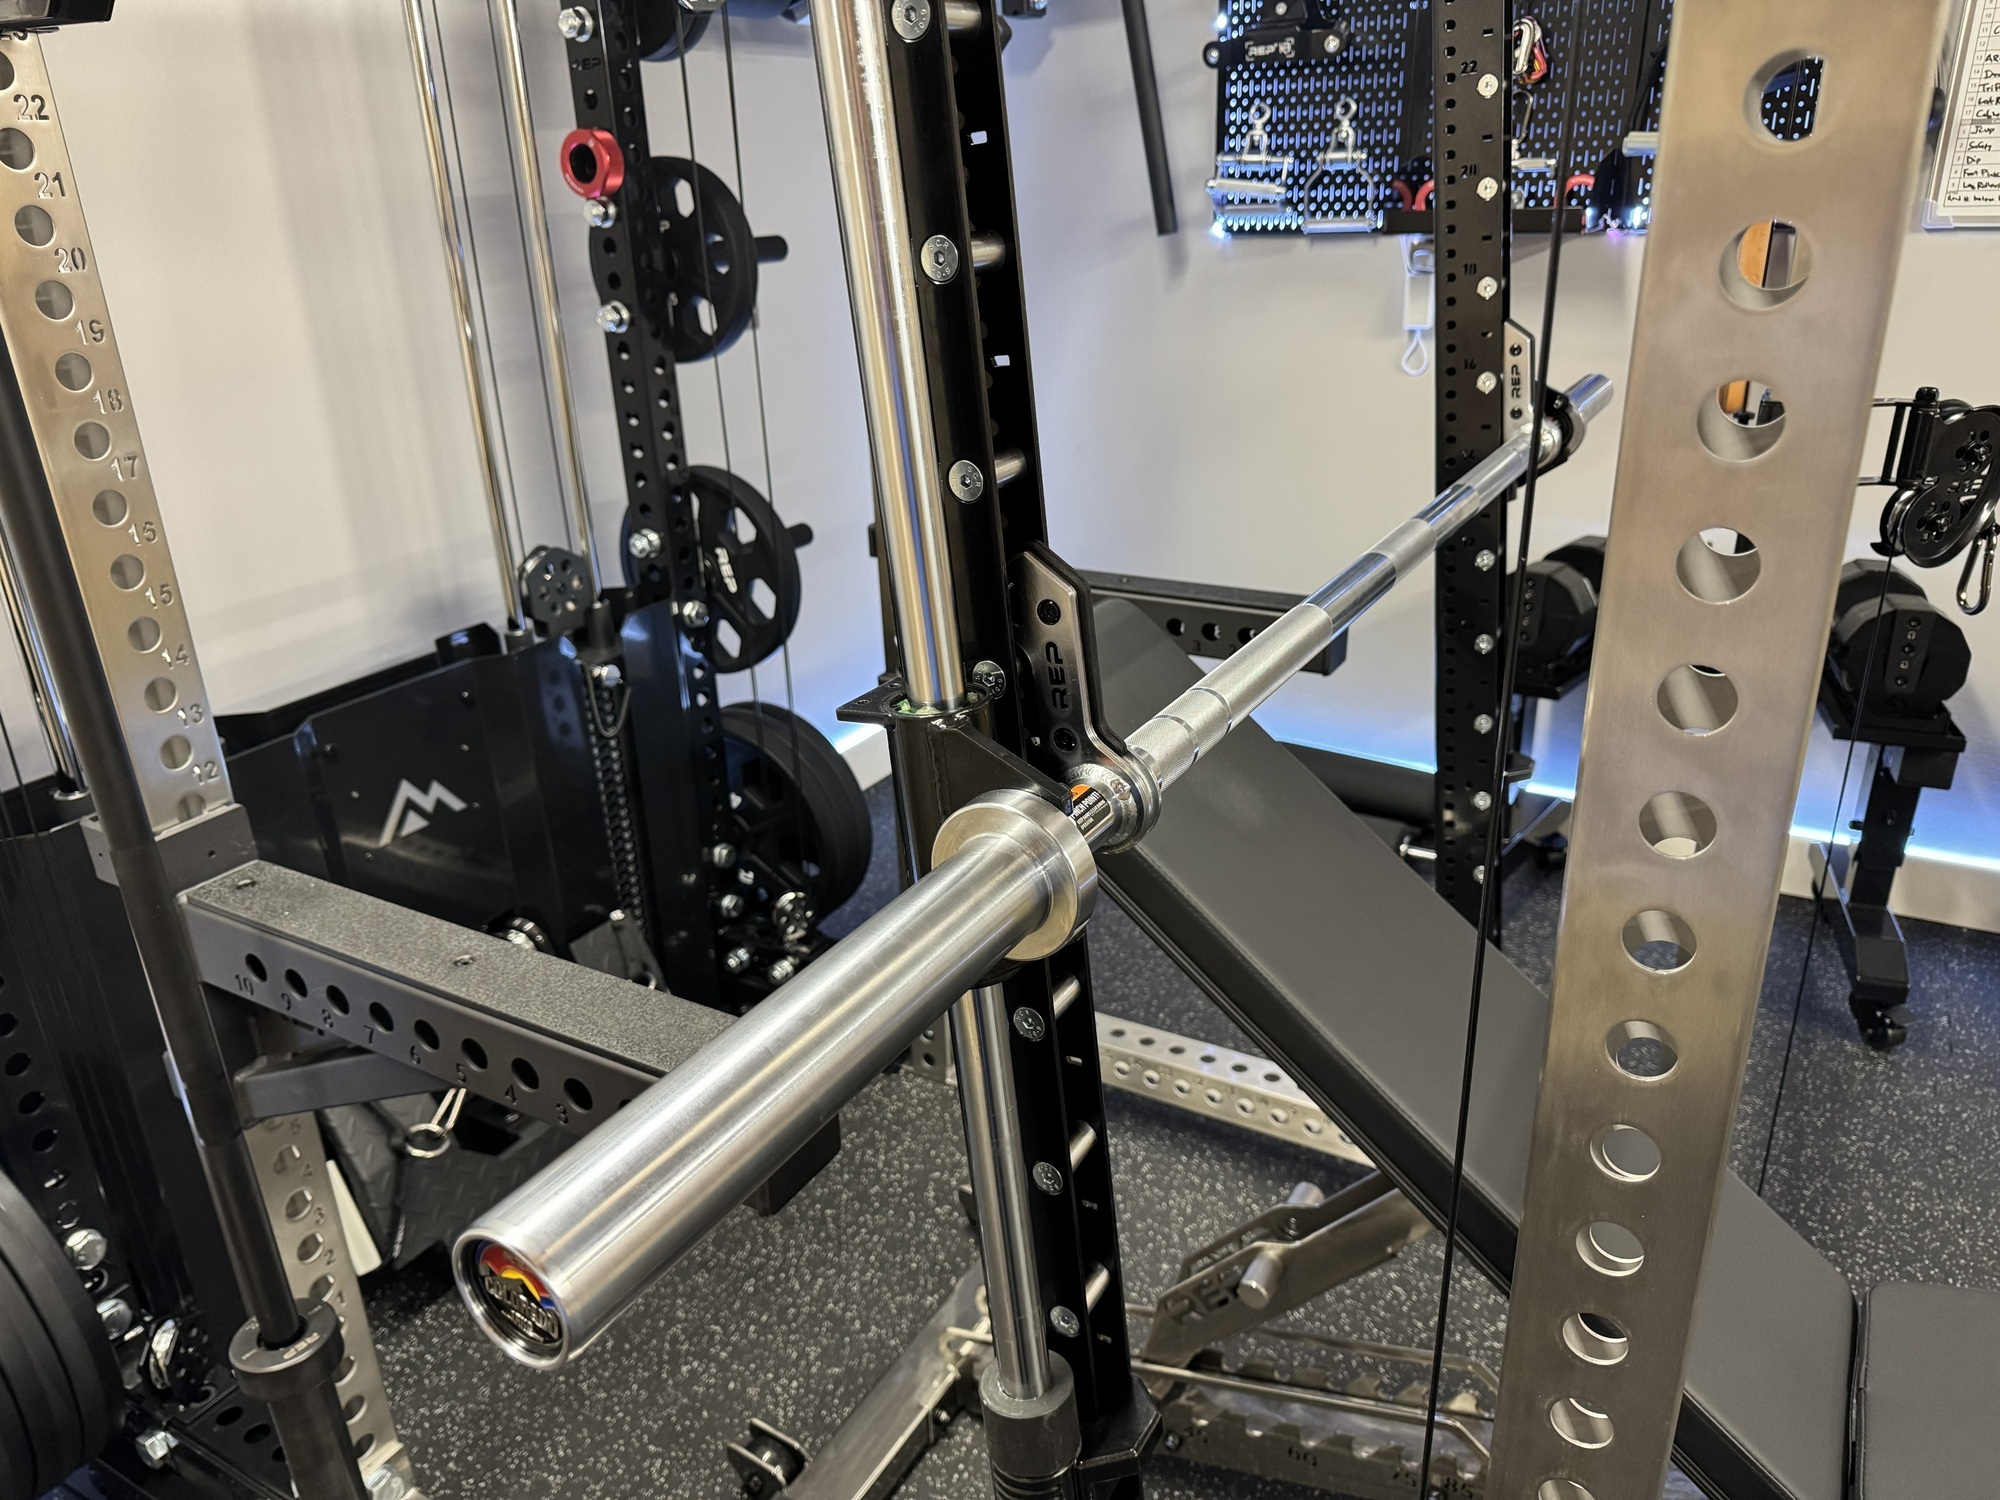
Now to assemble the rack, which is a REP Fitness PR5000 93″ 6-post, 41″ cross-member, in black and stainless steel, coupled with an Ares 2.0 cable system. The first step is to assemble the rack.
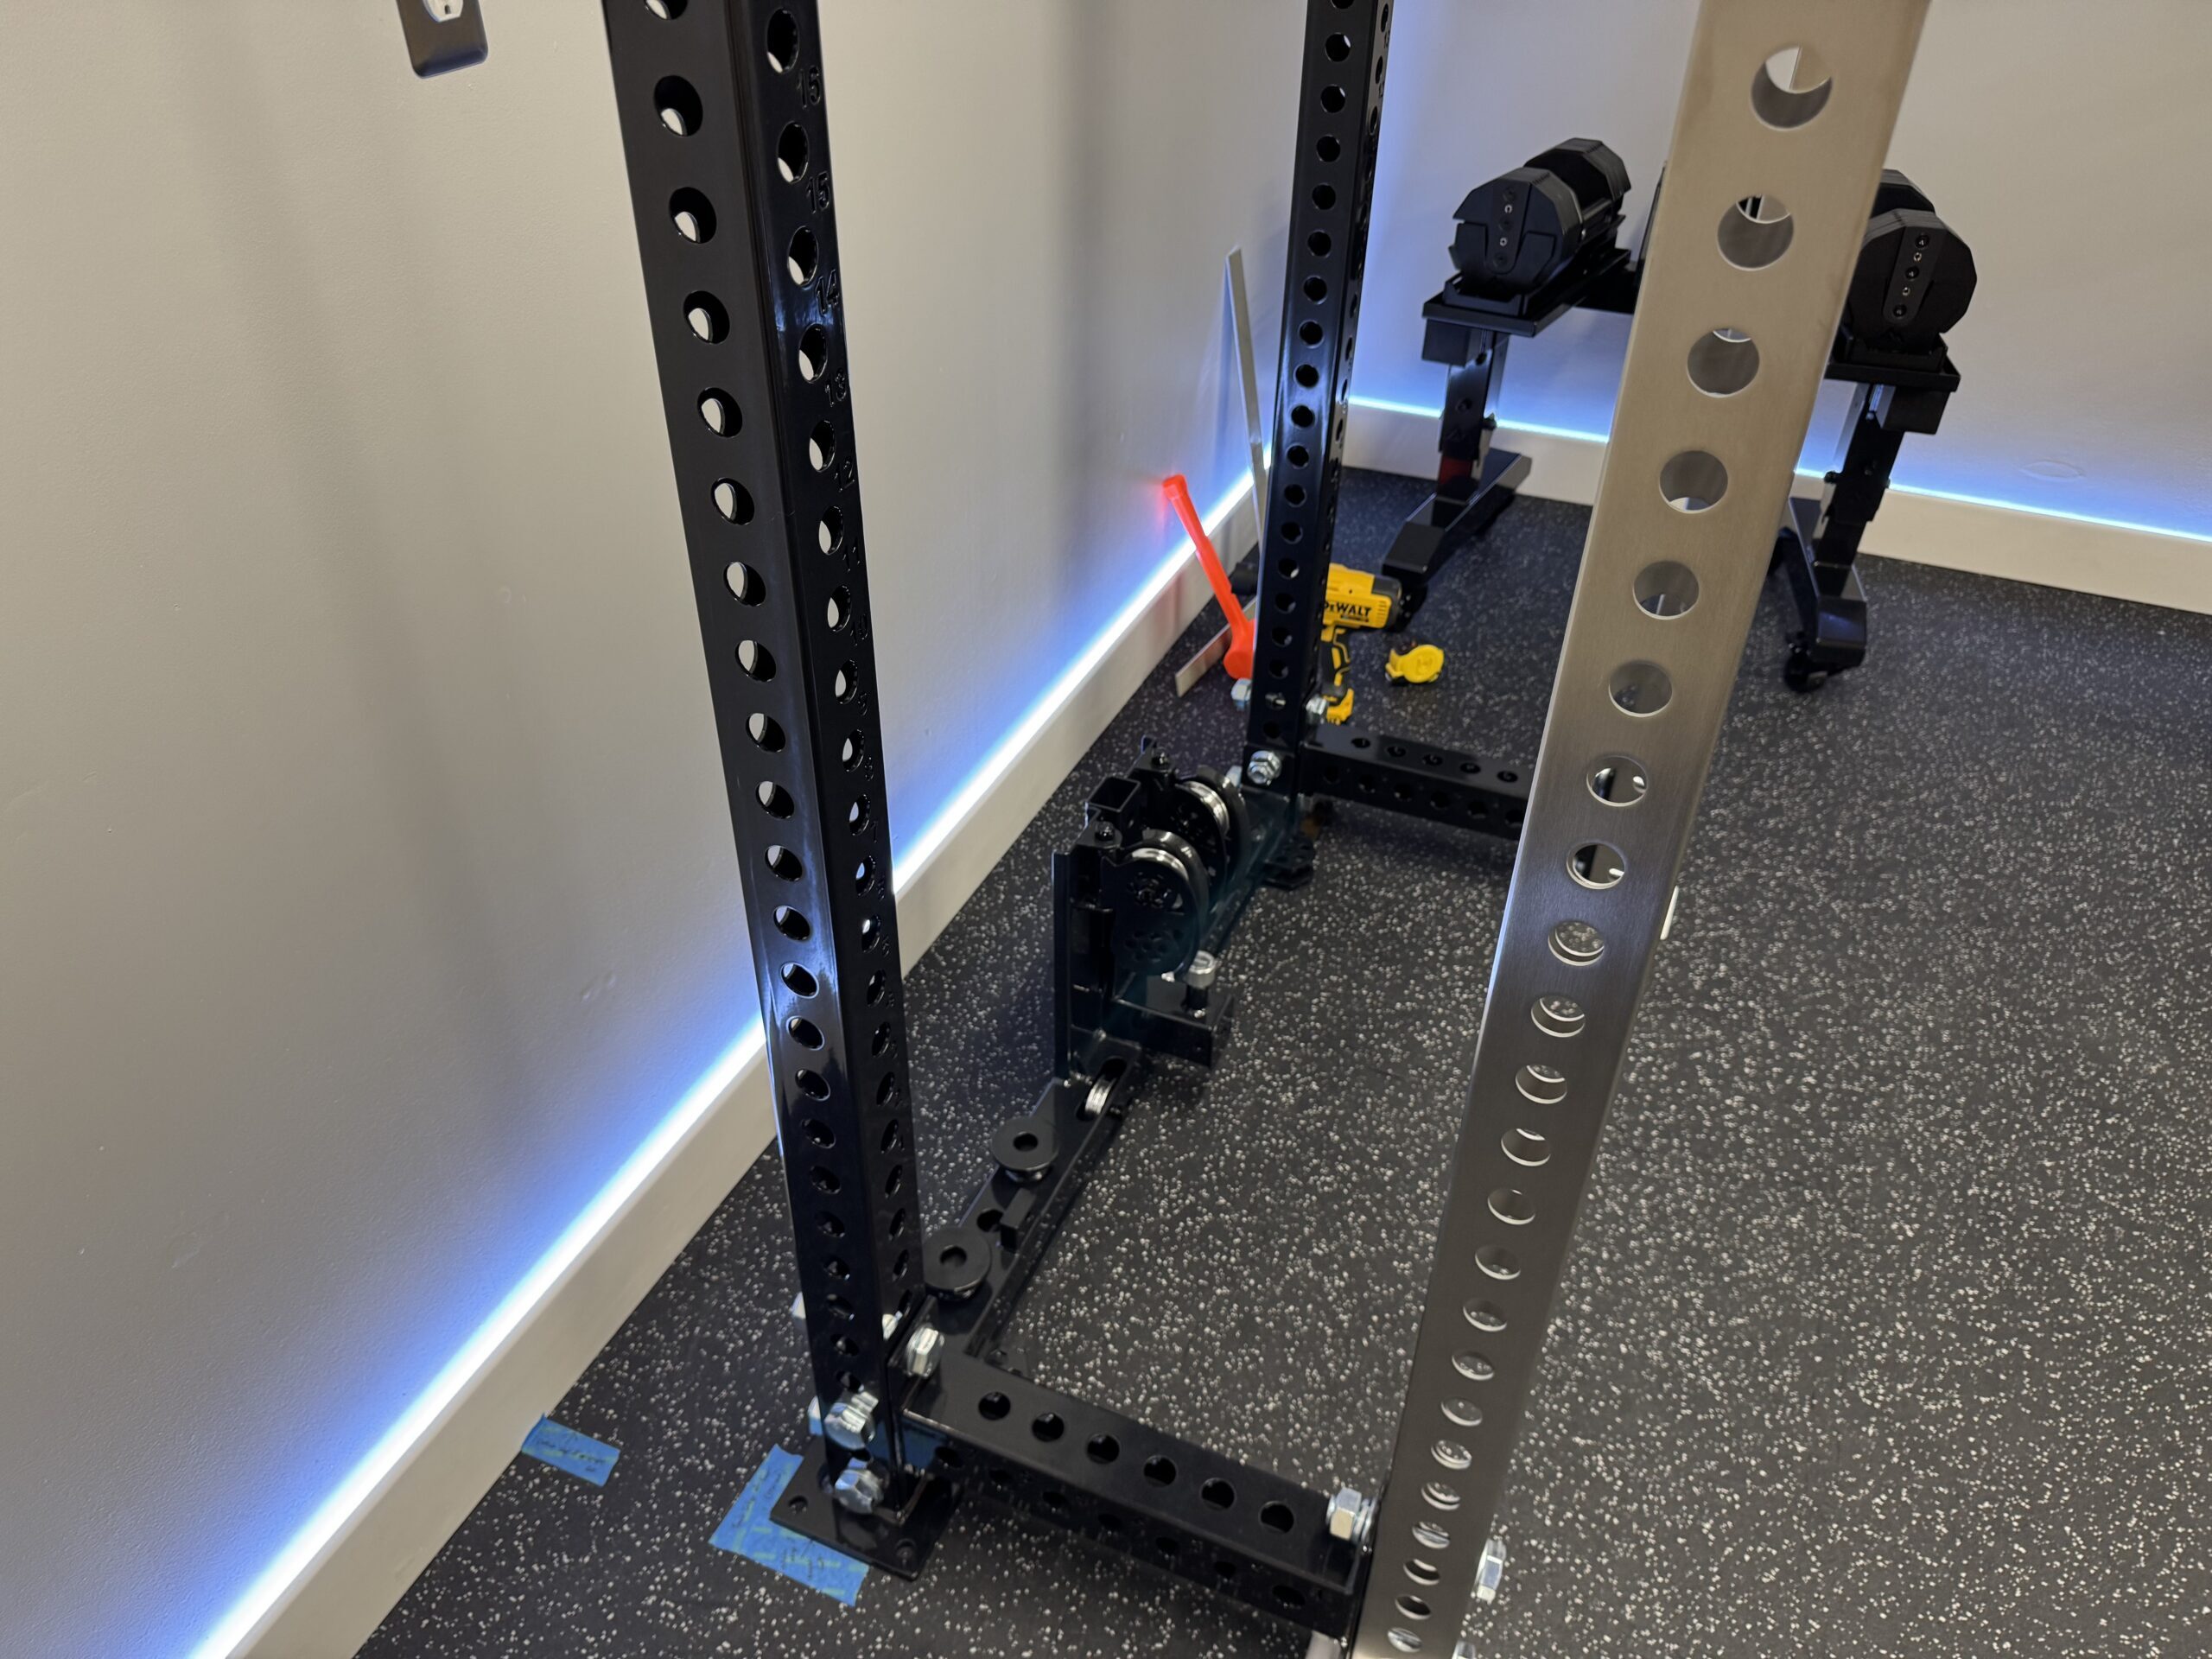
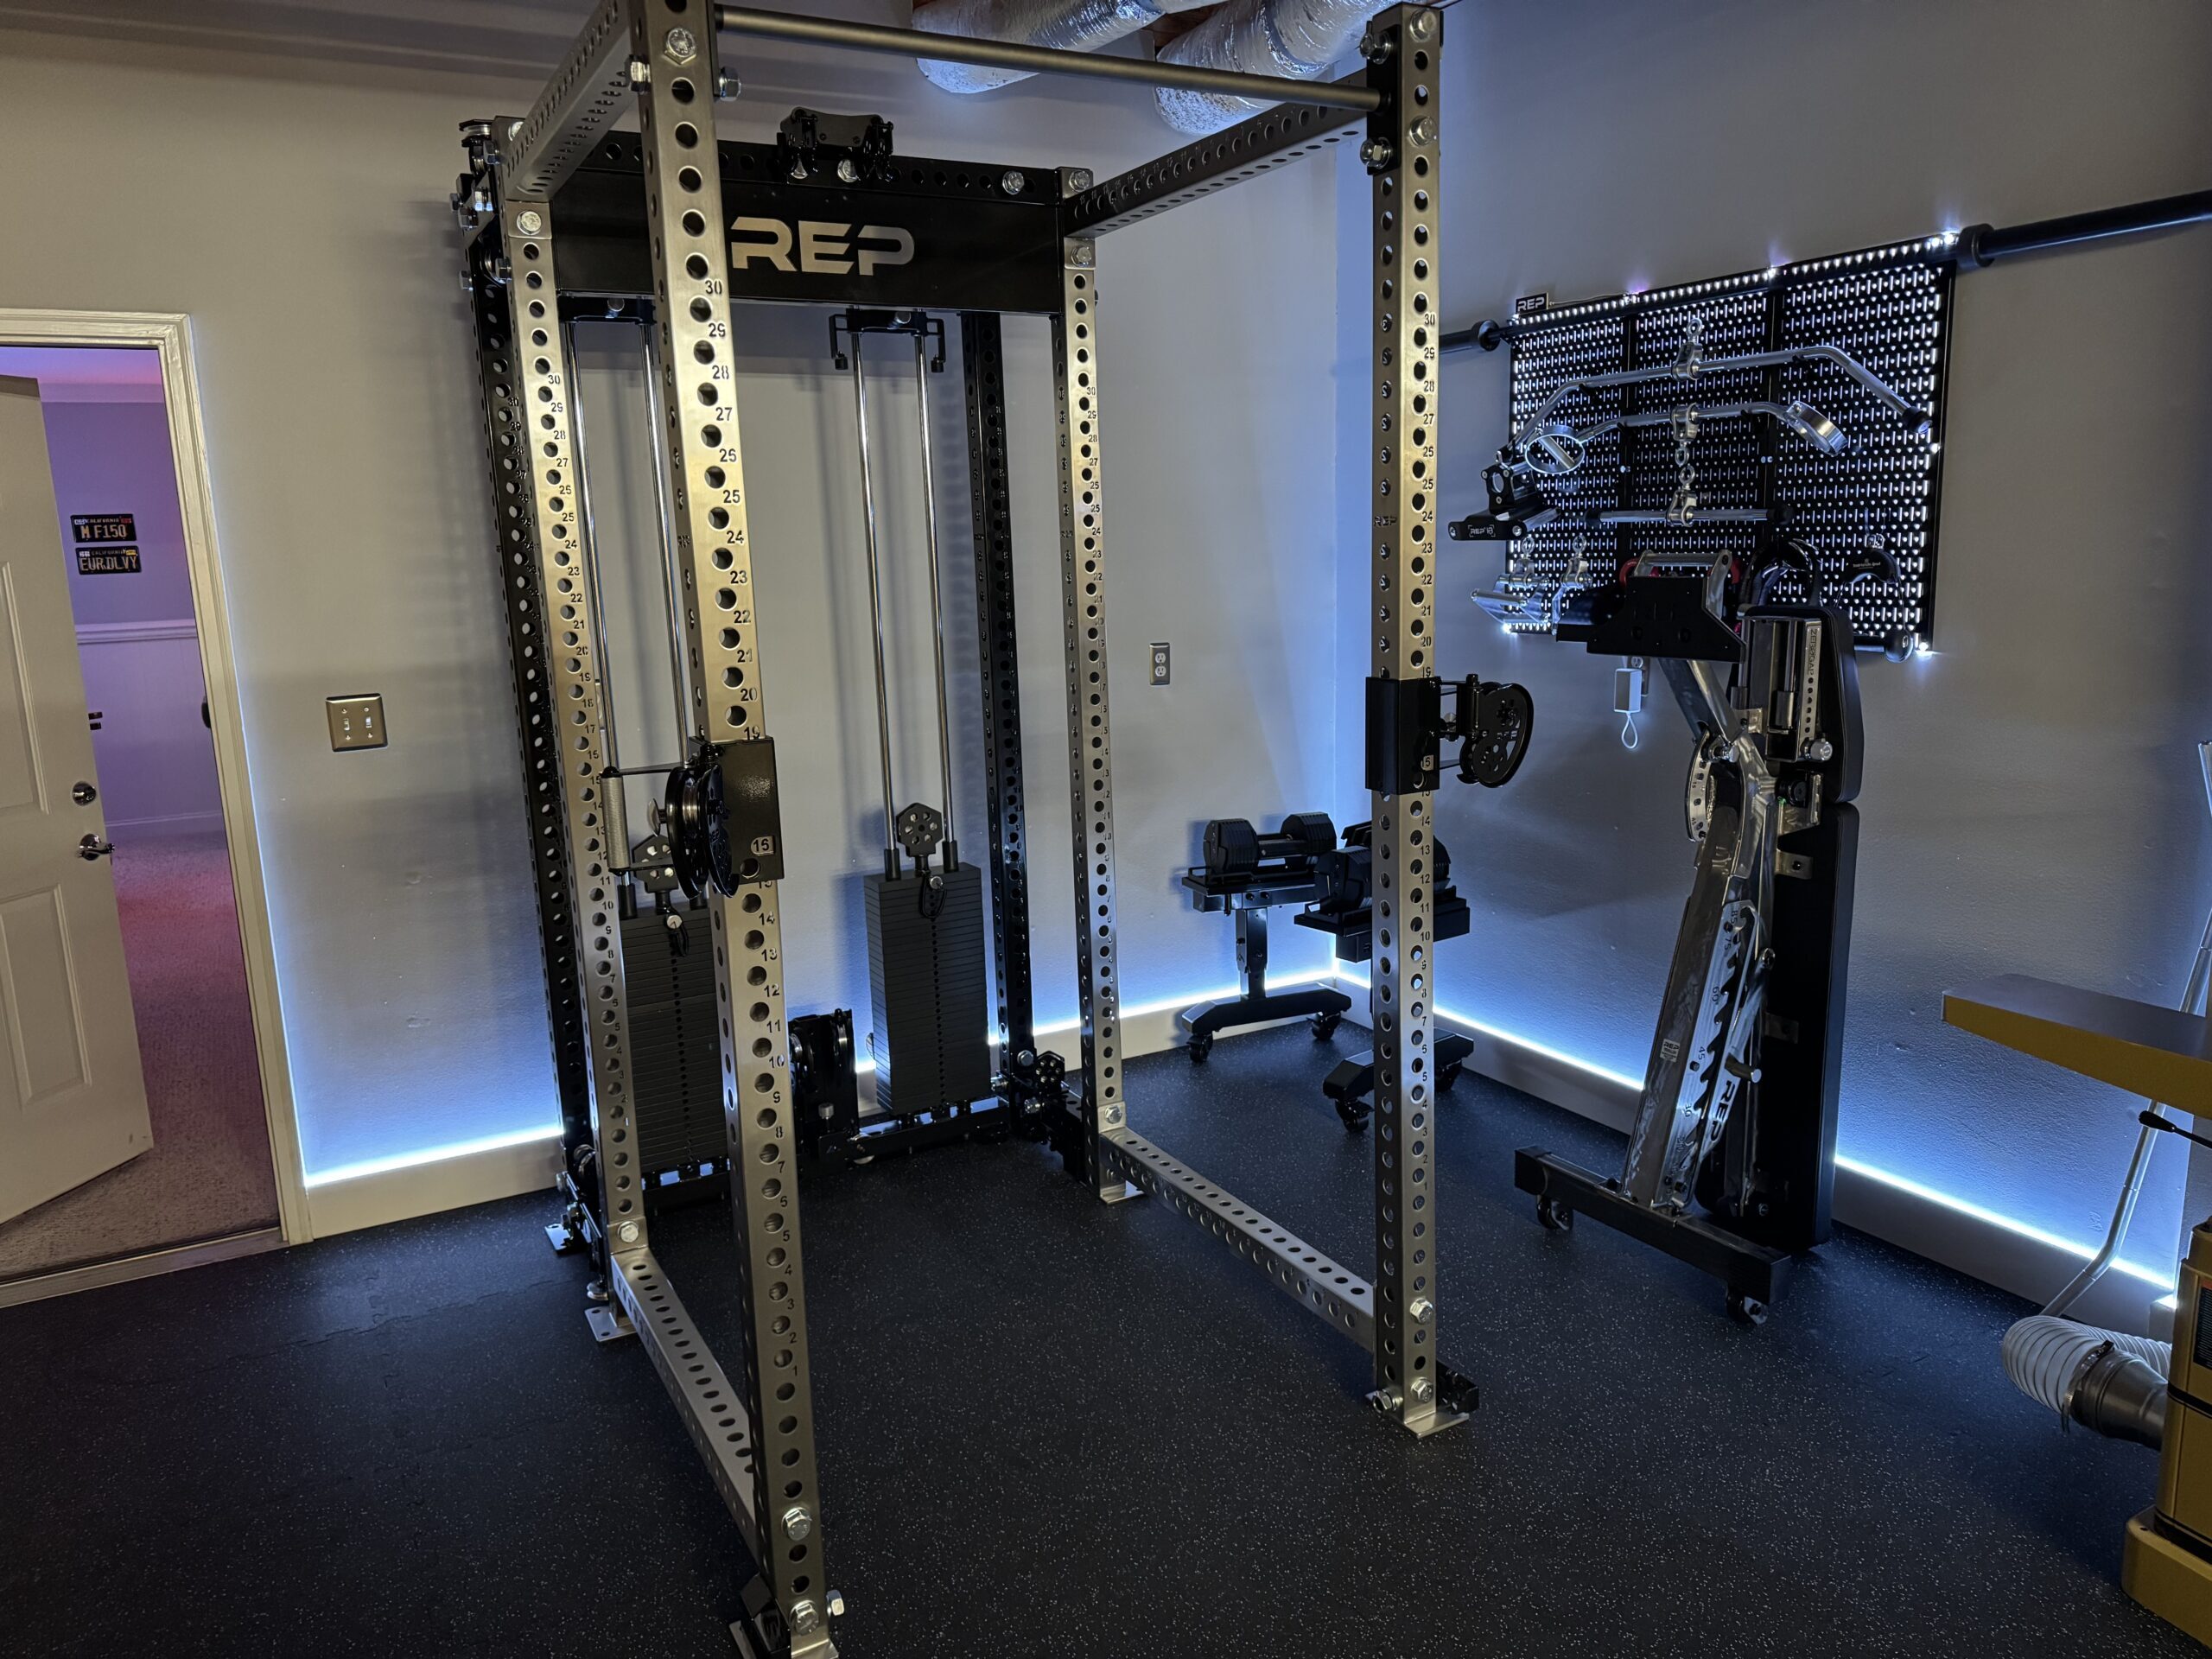
Next up is the cable routing, stickering the weight plates, tightening the whole thing up, and installing the shrouds.

Now to make a wall storage rack for the dip station attachment.

Done!


The REP Smith machine just arrived, so it is installed on the rack.
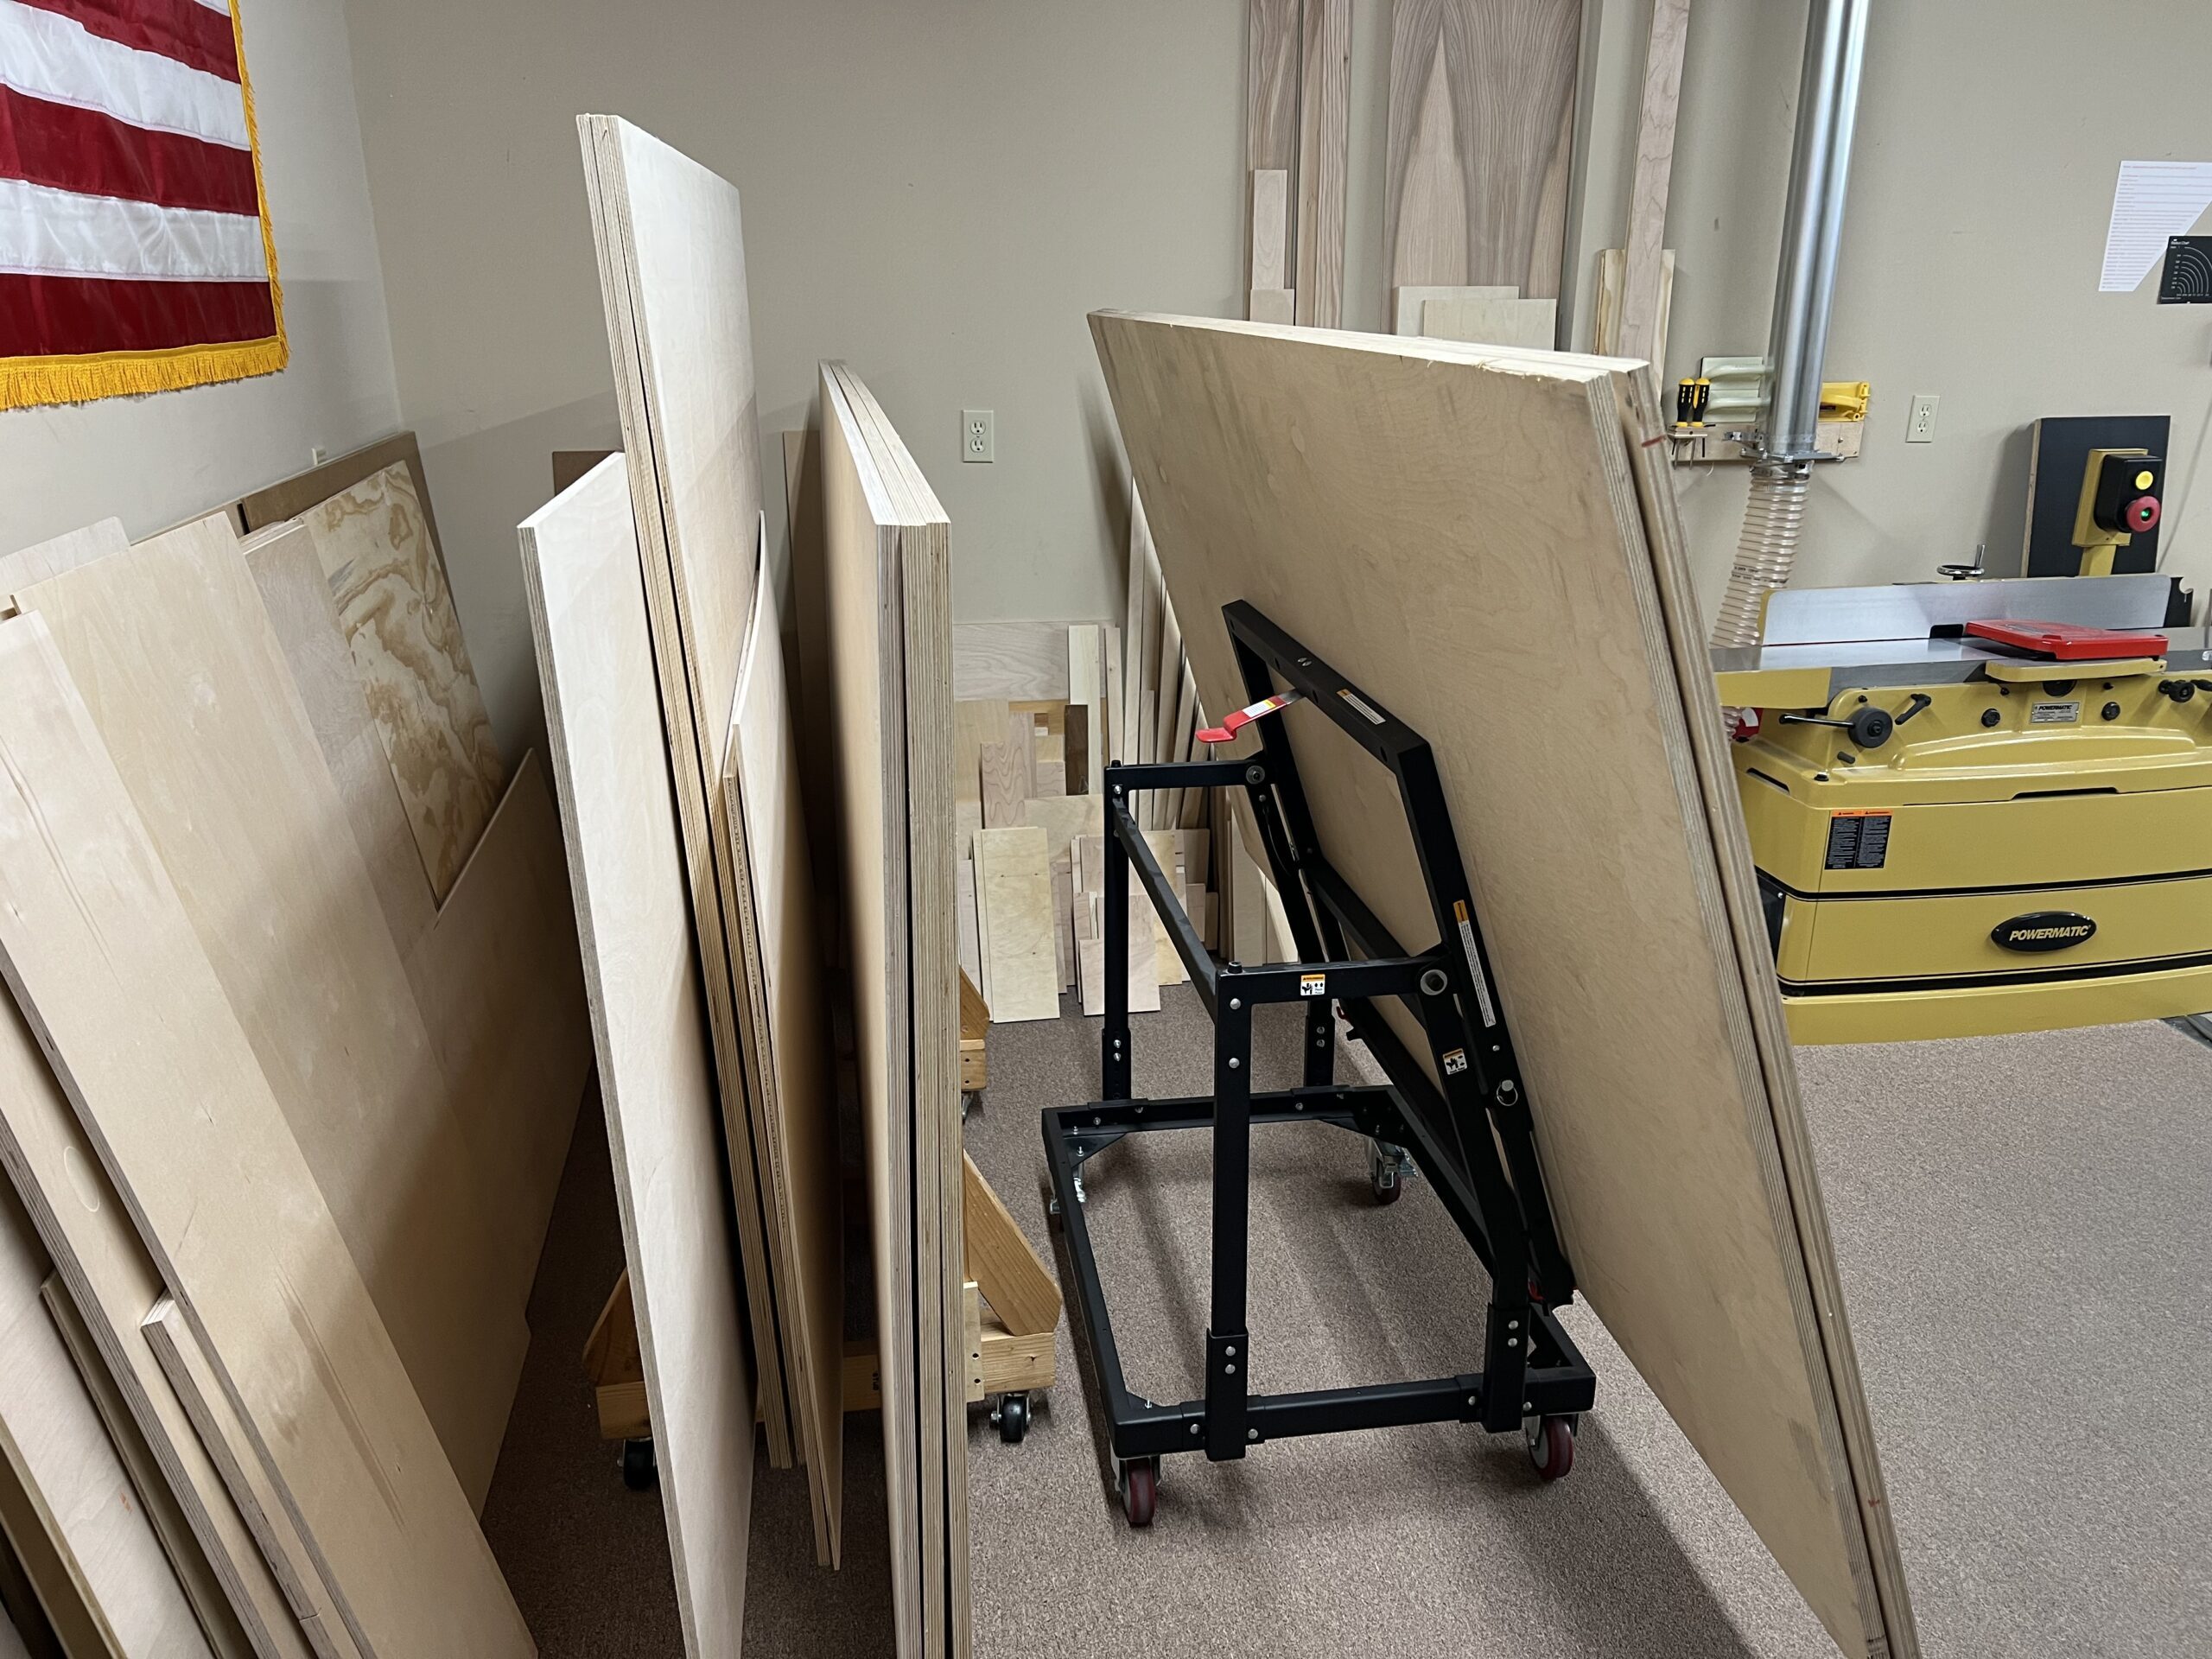
Finally, the new plywood rack needs to be built in the other back corner of the shop.

The Base supports are assembled with double dominos at each joint and glued up.

The base supports are fastened to the base plate and placed in position.

The cross members are dadoed to receive the angled supports.

The angled supports are cut to shape using the track saw.

Dados are cut into the angled supports to receive the horizontal cross members.

The angled supports are attached to the cross members and mounted to the base.

Done!


Thanks for your interest.

