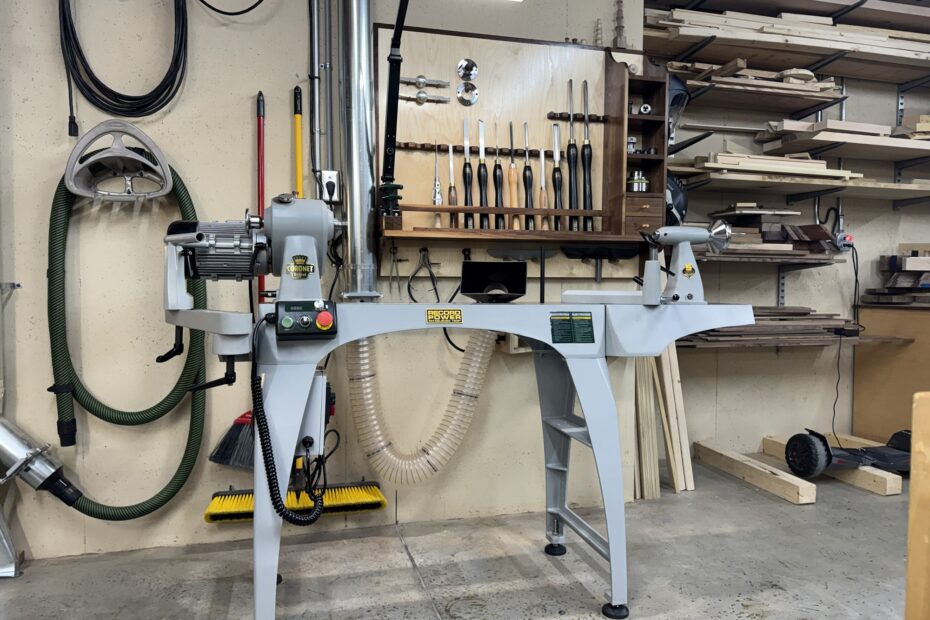
I’m not a wood turner…yet. I’ve used a wood lathe only once. It was in high school wood shop class. I made a bowl for my mom. Every wood shop should have a lathe, and this missing tool has actually been needed on several occasions. Many hours have been spent considering which lathe to get. The use cases encountered thus far have primarily involved the need to make custom sized or featured dowels for furniture repair, and the desire to make spindle-type parts without the ability to do so. But bowls and lamps–and turning generally–has always been an interest.
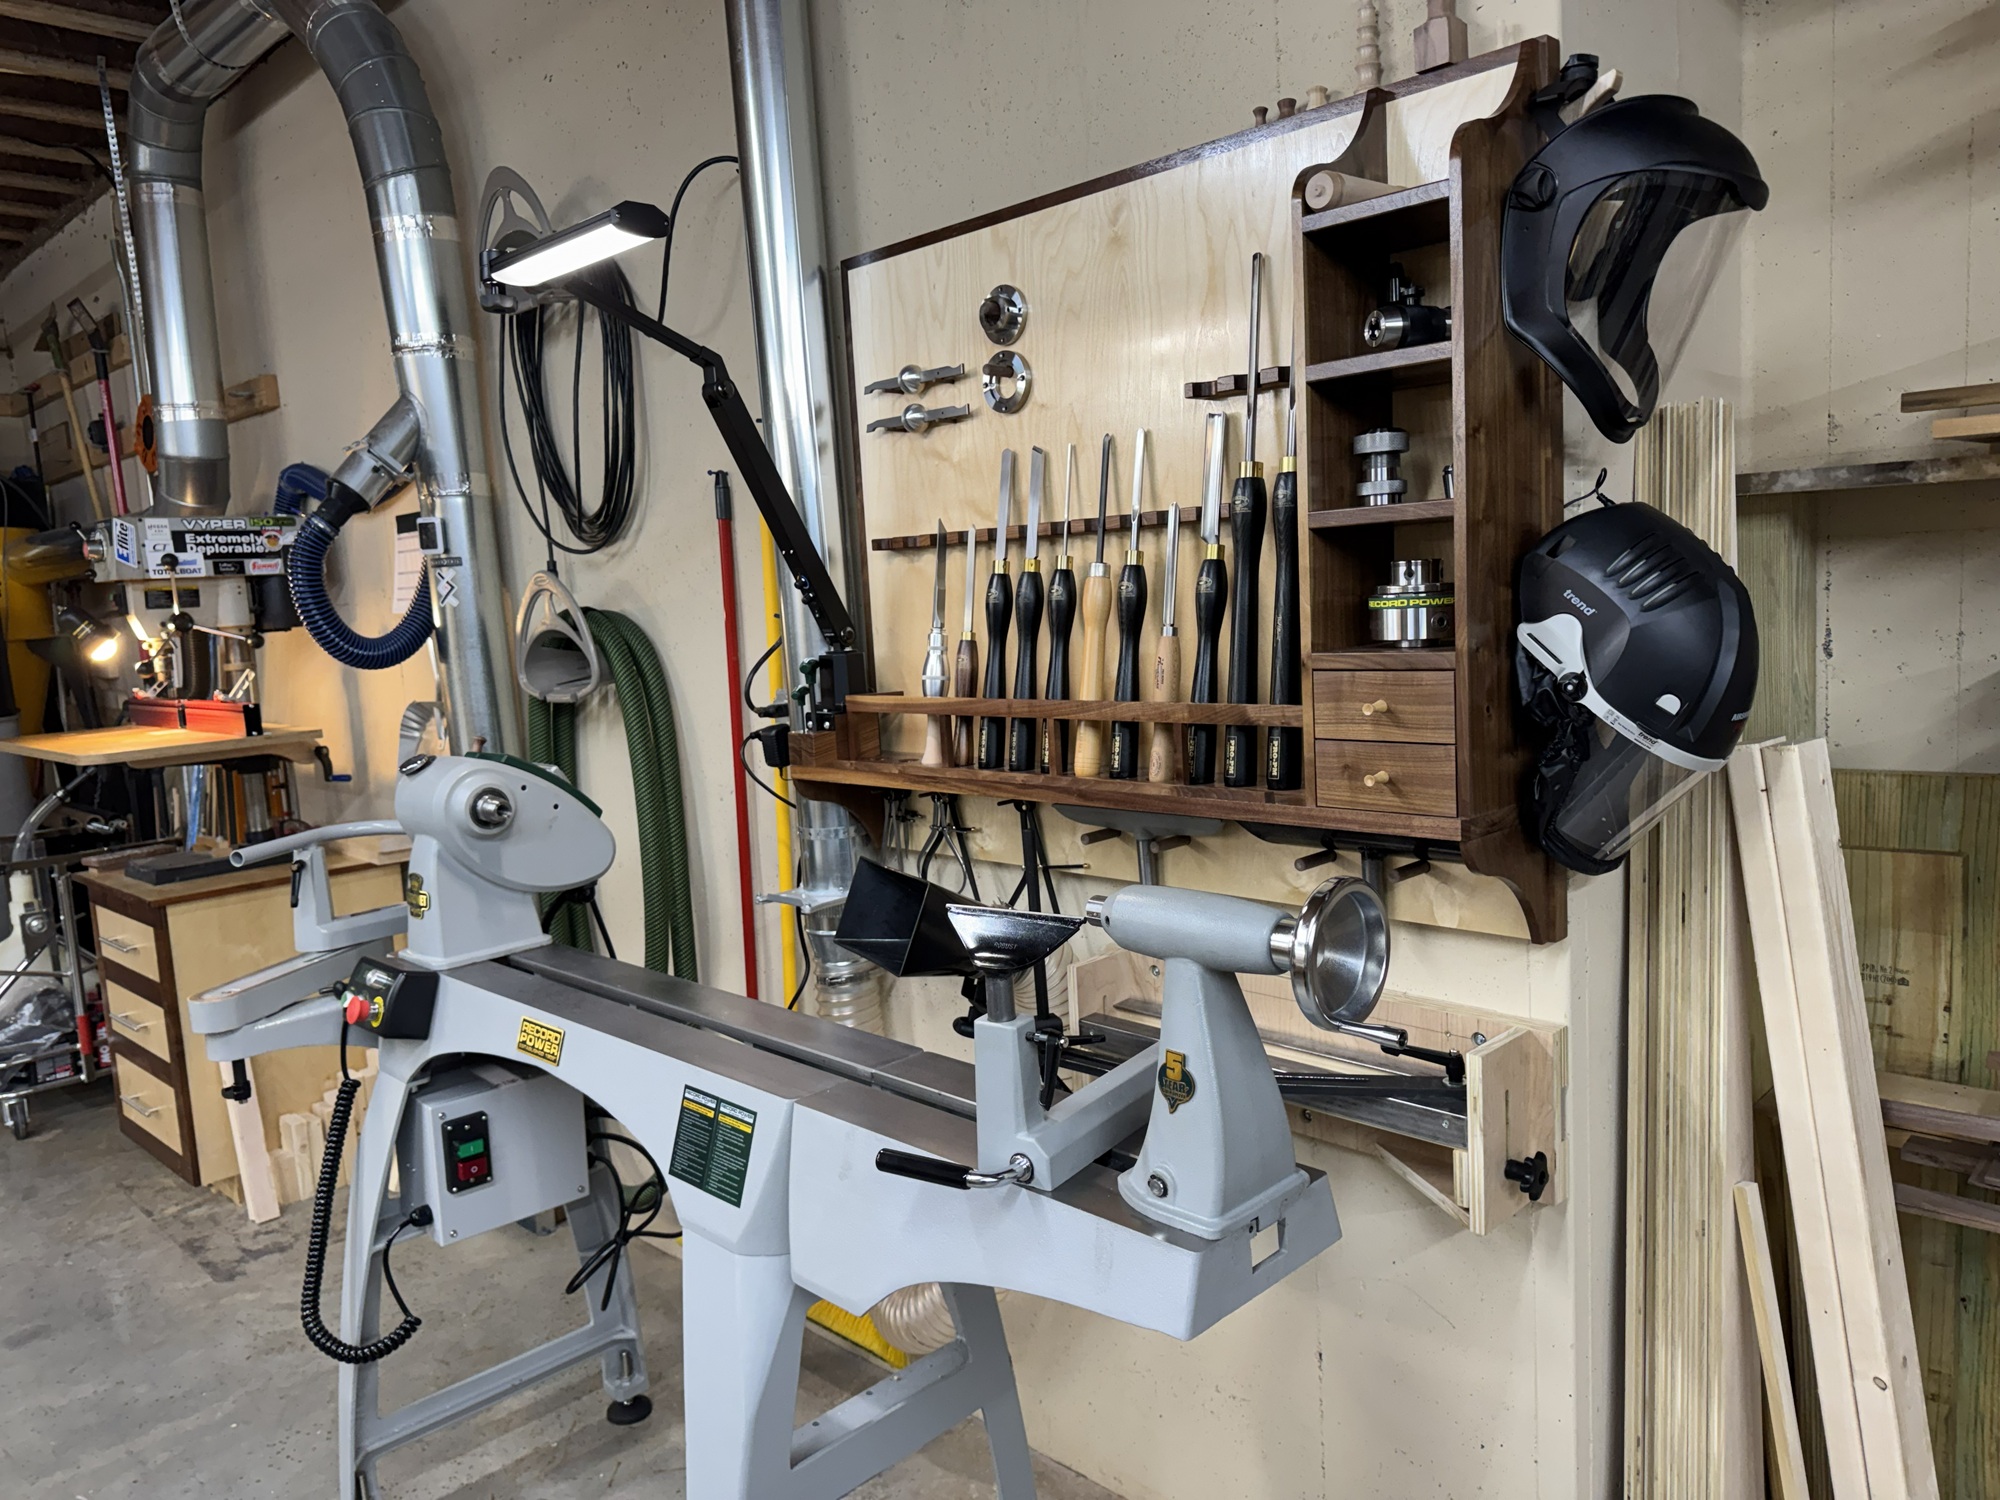
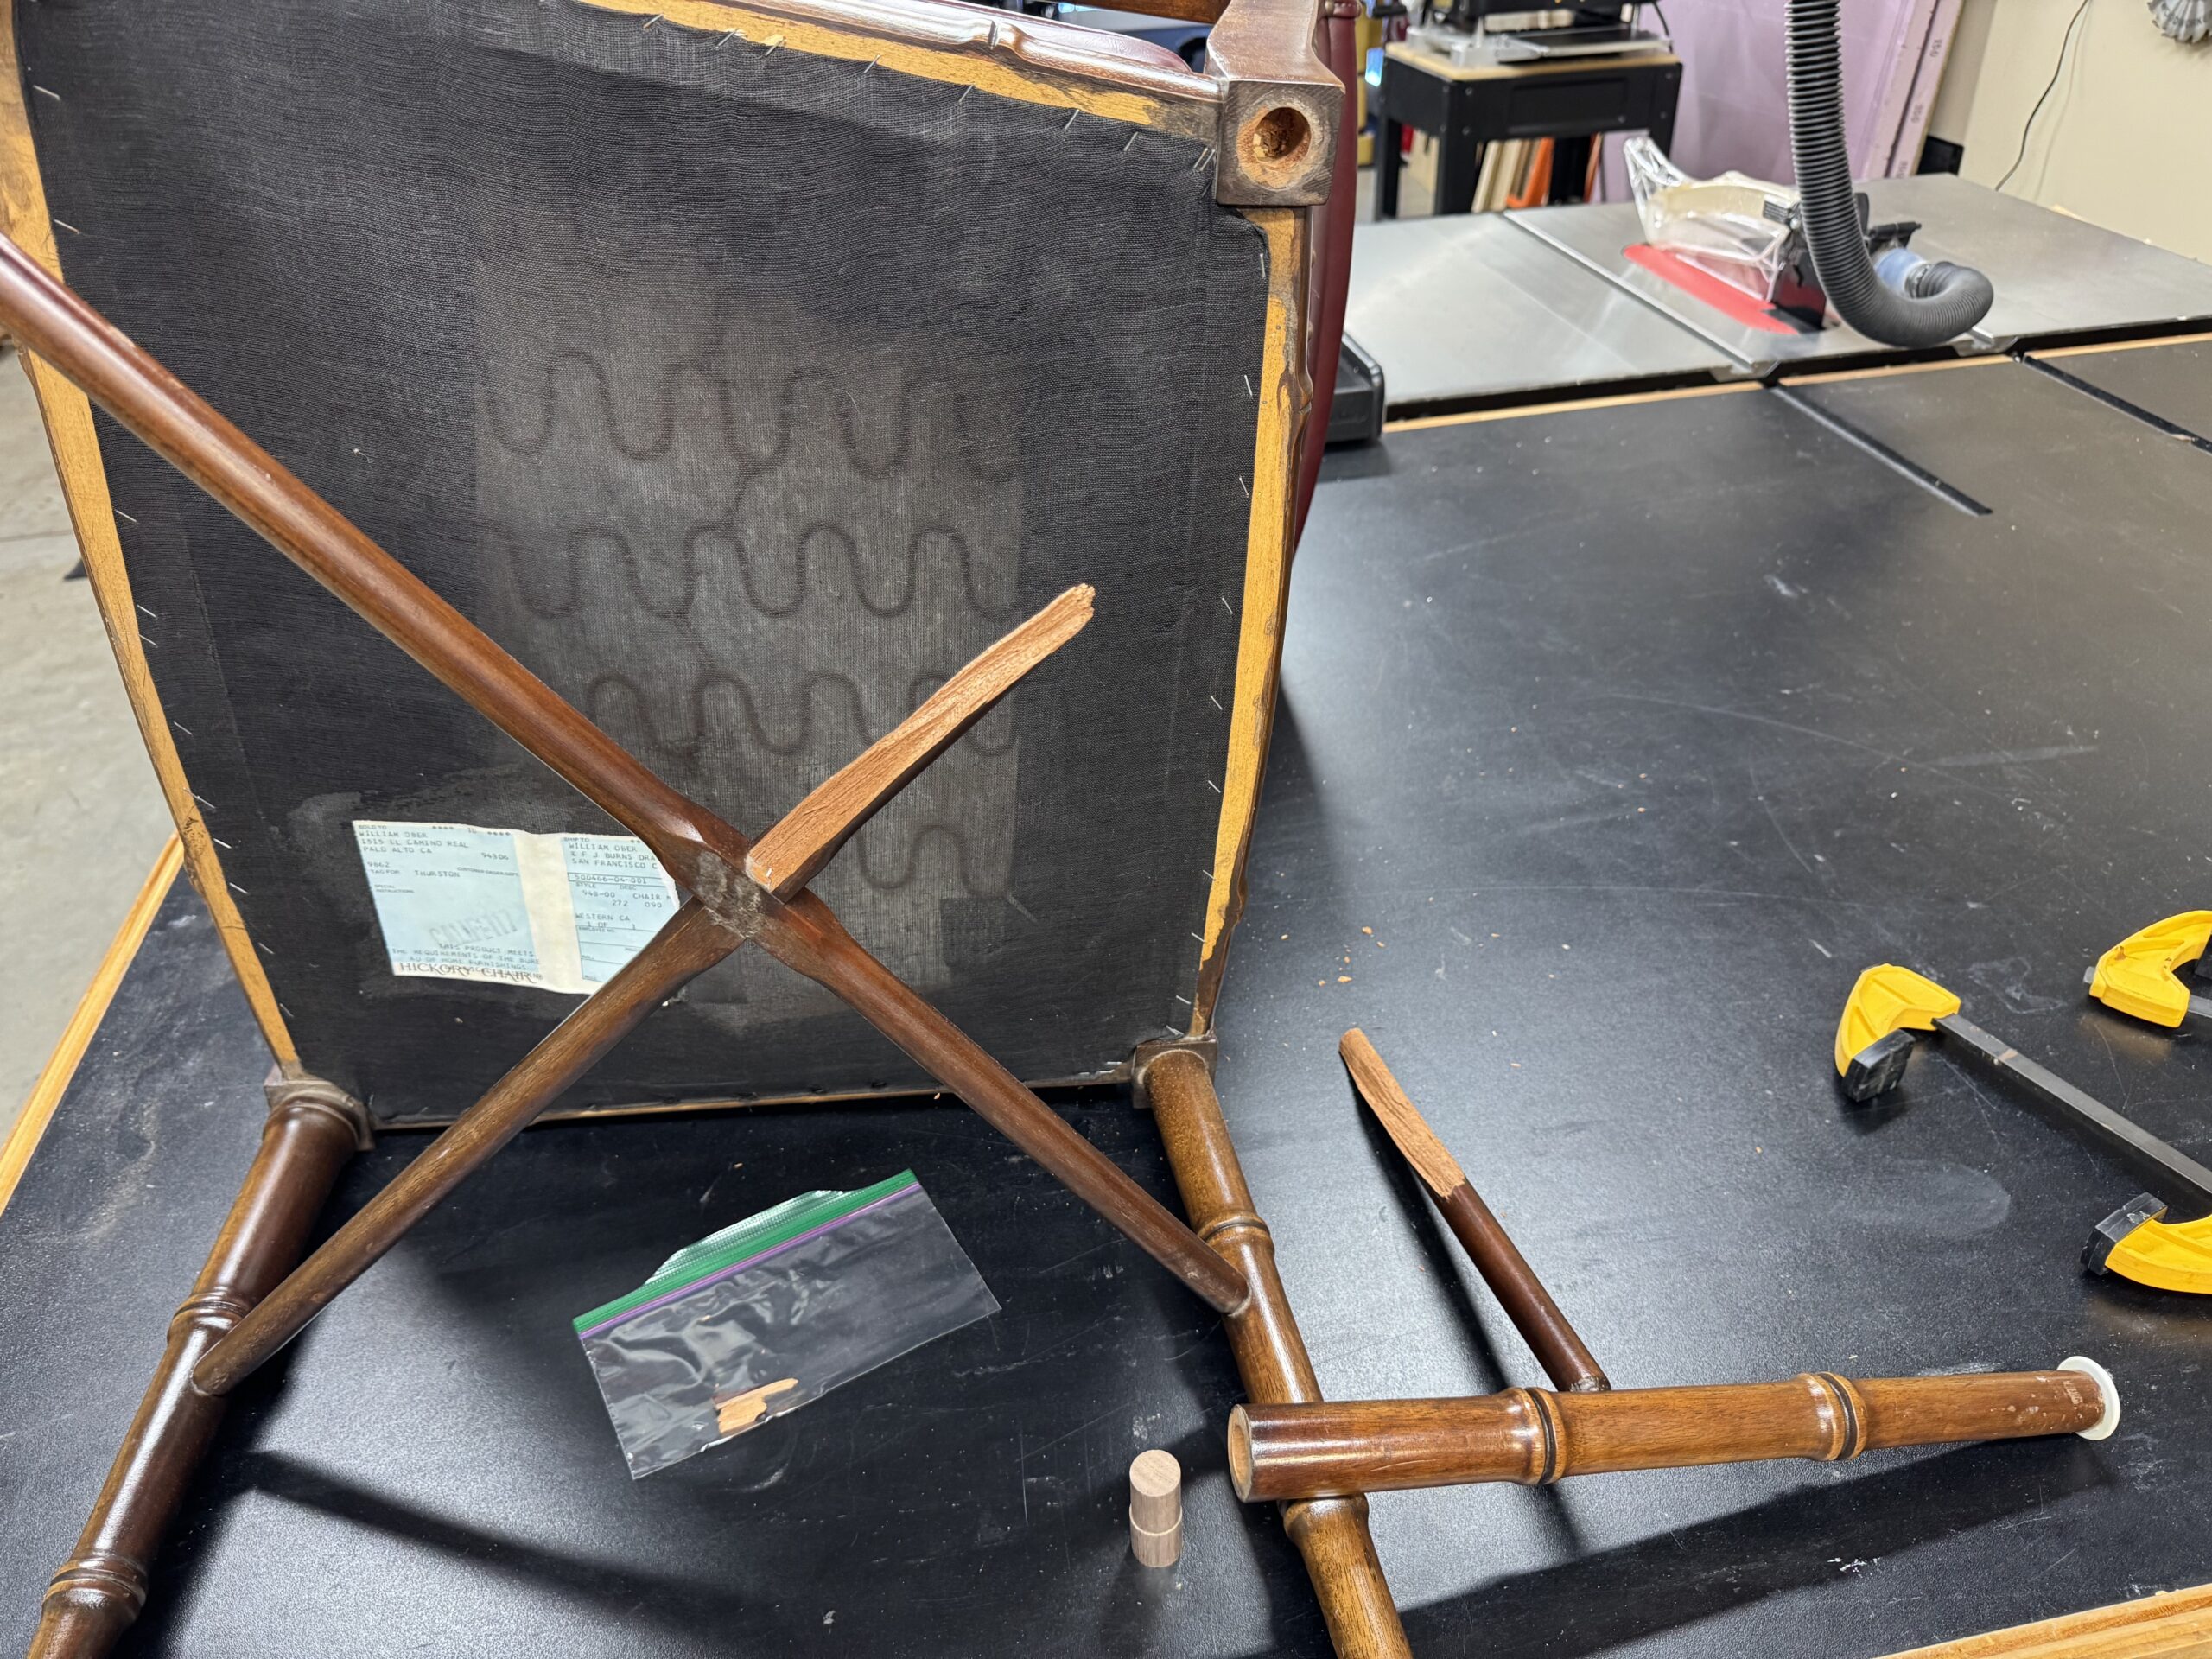
A recent use case involved creating a custom dowel for a chair repair. A leg had been broken off the chair, leaving a mangled tenon on the leg, half of which was still embedded in the mortise, which was 0.8″ in diameter–good luck finding a 0.8″ dowel, To make matters worse, the tenon had to be cut off of the leg and replaced with a hole to receive a dowel. The upshot is, a dowel with a diameter of 0.8″ on one side, and 0.75″ on the other side, was needed for the repair.
This was accomplished with the Shaper Origin, which did a great job, but this would have been so much easier with a lathe.
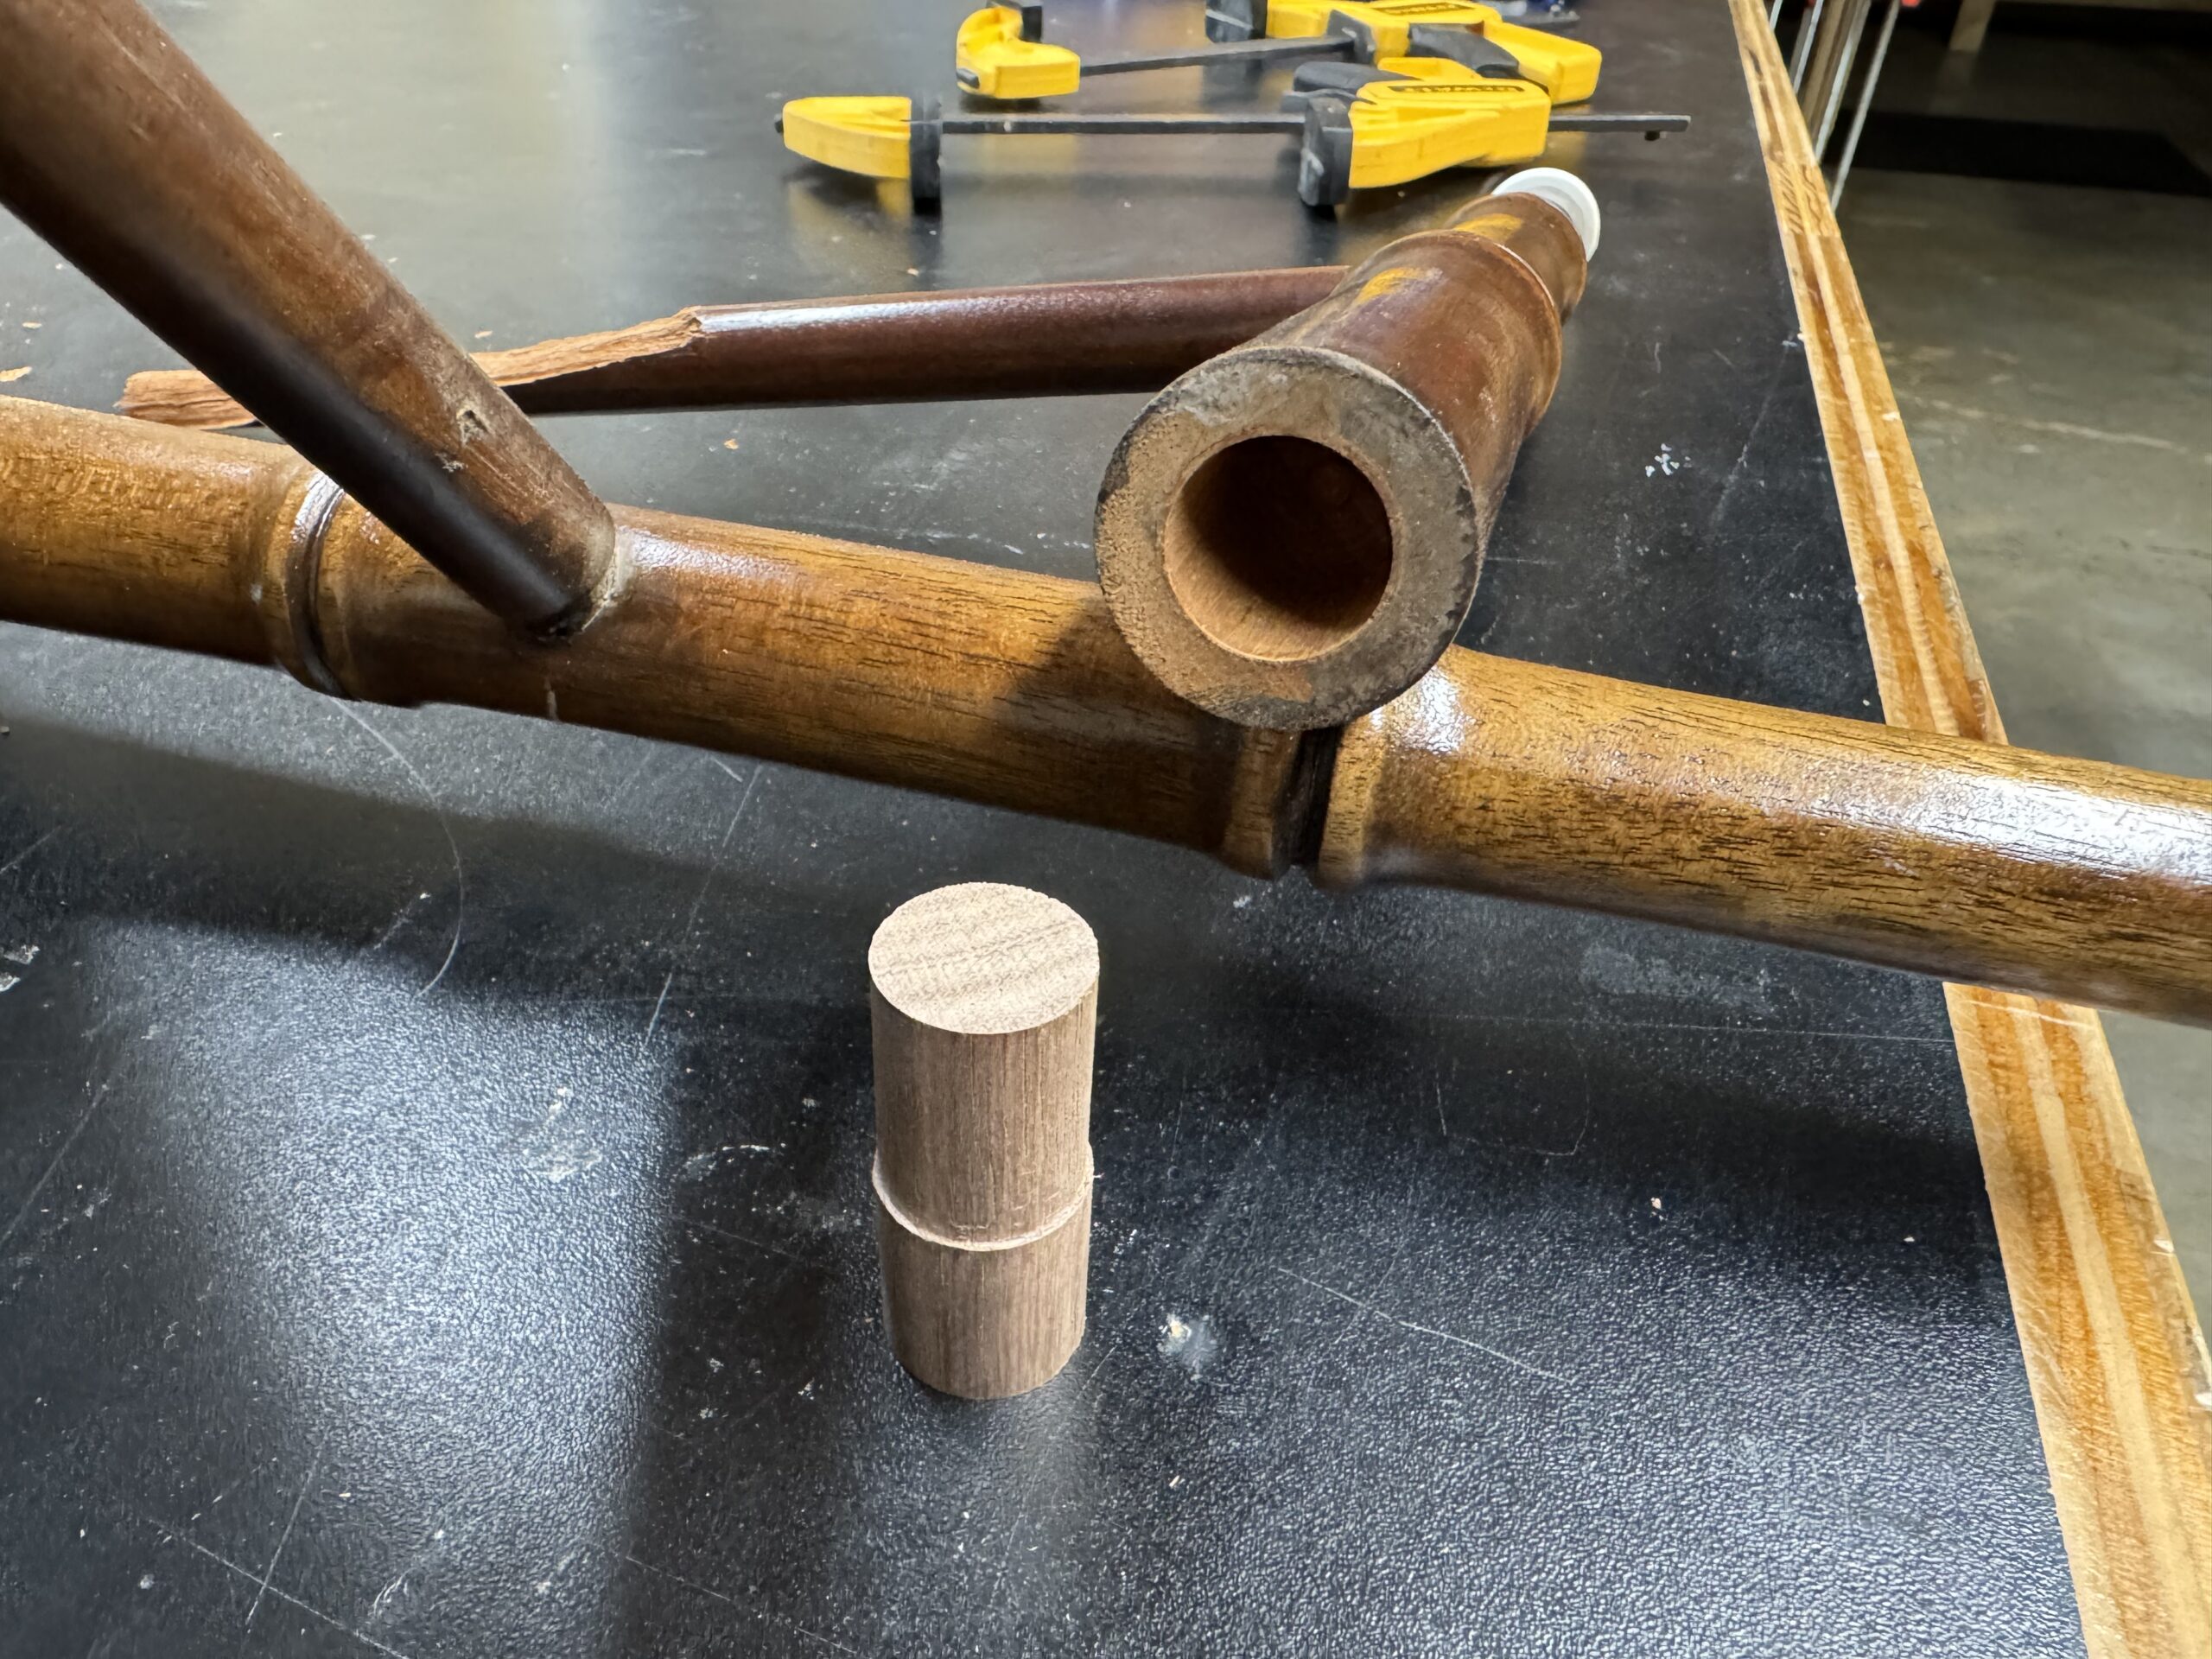
Although midi lathes were initially considered, since it is still unknown how much a lathe will actually get used, a full size, 18″x40″, 2 HP 220v machine with outboard turning capability was ultimately chosen. If there is one thing that has been learned on this journey, it is that more power and capacity is always a good thing.
A Record Power Regent was selected. Many alternatives were considered within the $3,000-$4000 (fully spec’d) price range, including Powermatic, Harvey, Laguna, Oneway, Rikon, Jet, Grizzly, and others. The Regent was selected for it’s value, fit and finish, rotating and sliding head stock, capacity, and British retro styling. Lathes are very simple machines. What really matters is weight, power, capacity, electronic variable speed, solid cast iron construction, fit and finish, and ergonomics.
In CCW’s inexperienced estimation, the Regent offers the best mix of these features at this price point. It offers a true two-plus horsepower at the spindle, a European made inverter, a heavy cast iron chassis and legs (352 pounds as pictured), huge capacity, ample tail stock quill travel, electronic variable speed, three sealed bearing spindle, five year warranty, and a rotating sliding head stock. It also has nice old-school styling, beautiful castings, nicely machined ways with good surface finish, very nice lever locks for all of the components, and a magnetic pendant control box. Very nicely done by an old British tool company with a great reputation for customer service. It was also helpful that there is a local dealer with floor models on display.
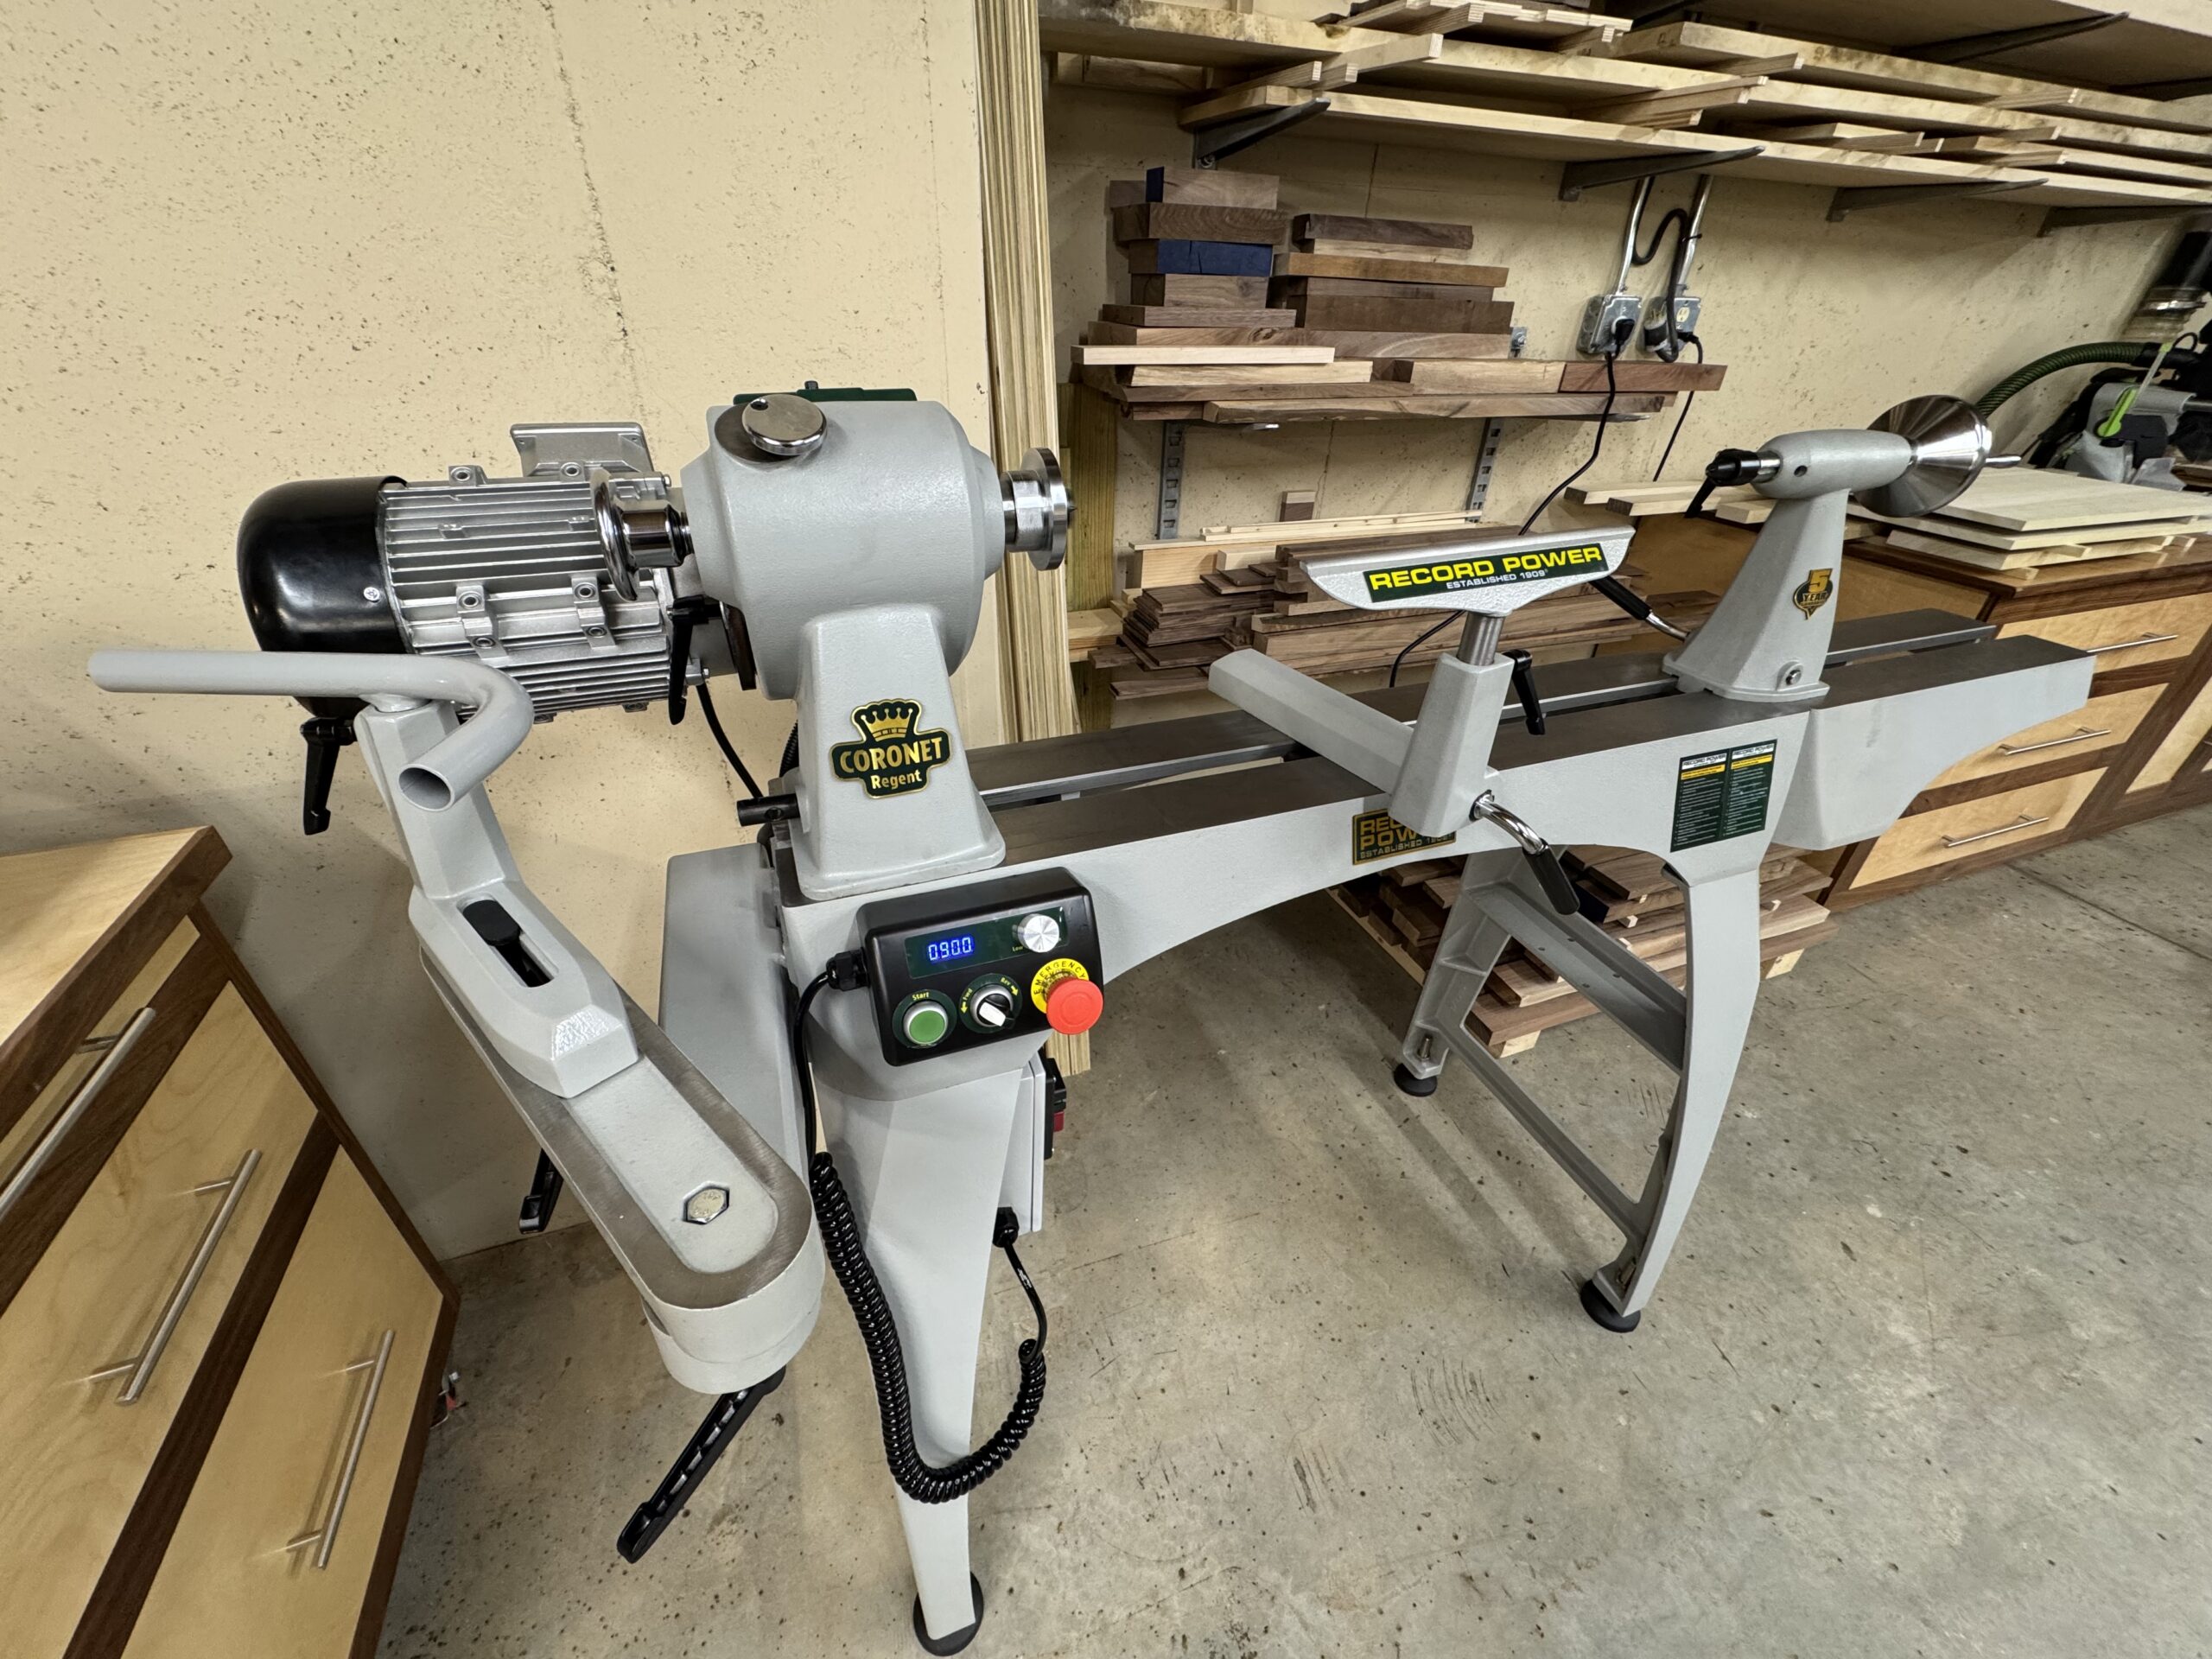
As the proprietor of this shop is an older guy, the rotating head stock had considerable appeal because it allows the turner to present the work toward the operator for hollowing out bowls, as well as permitting increased outboard turning capacity compared to table extension-based outboard turning configurations. It is unlikely that the full capacity of this setup will be used, and it would not be optimal if one was regularly turning very large projects, but it is nice to be able to accommodate the edge case need once in a while if necessary.
Initial impressions of the Regent: It was very well crated and was undamaged. All the parts were present and, apart from the usual cleaning process associated with cast iron tools, assembly was very easy. The instructions are lacking and inaccurate in places, but it is readily apparent how things go together. Fit and finish is good, and quite a bit better than some competitors at this price point. The lathe is smooth and quiet. Belt changes are easy and the middle range, which runs from 150-1850 RPM, should handle 90% of projects. Some websites publish the specs for this machine inaccurately in that they report minimum spindle RPM as 250. Actually, the minimum is 70-80 (I’m getting 70, which is plenty slow enough). And did I mention the aesthetics?
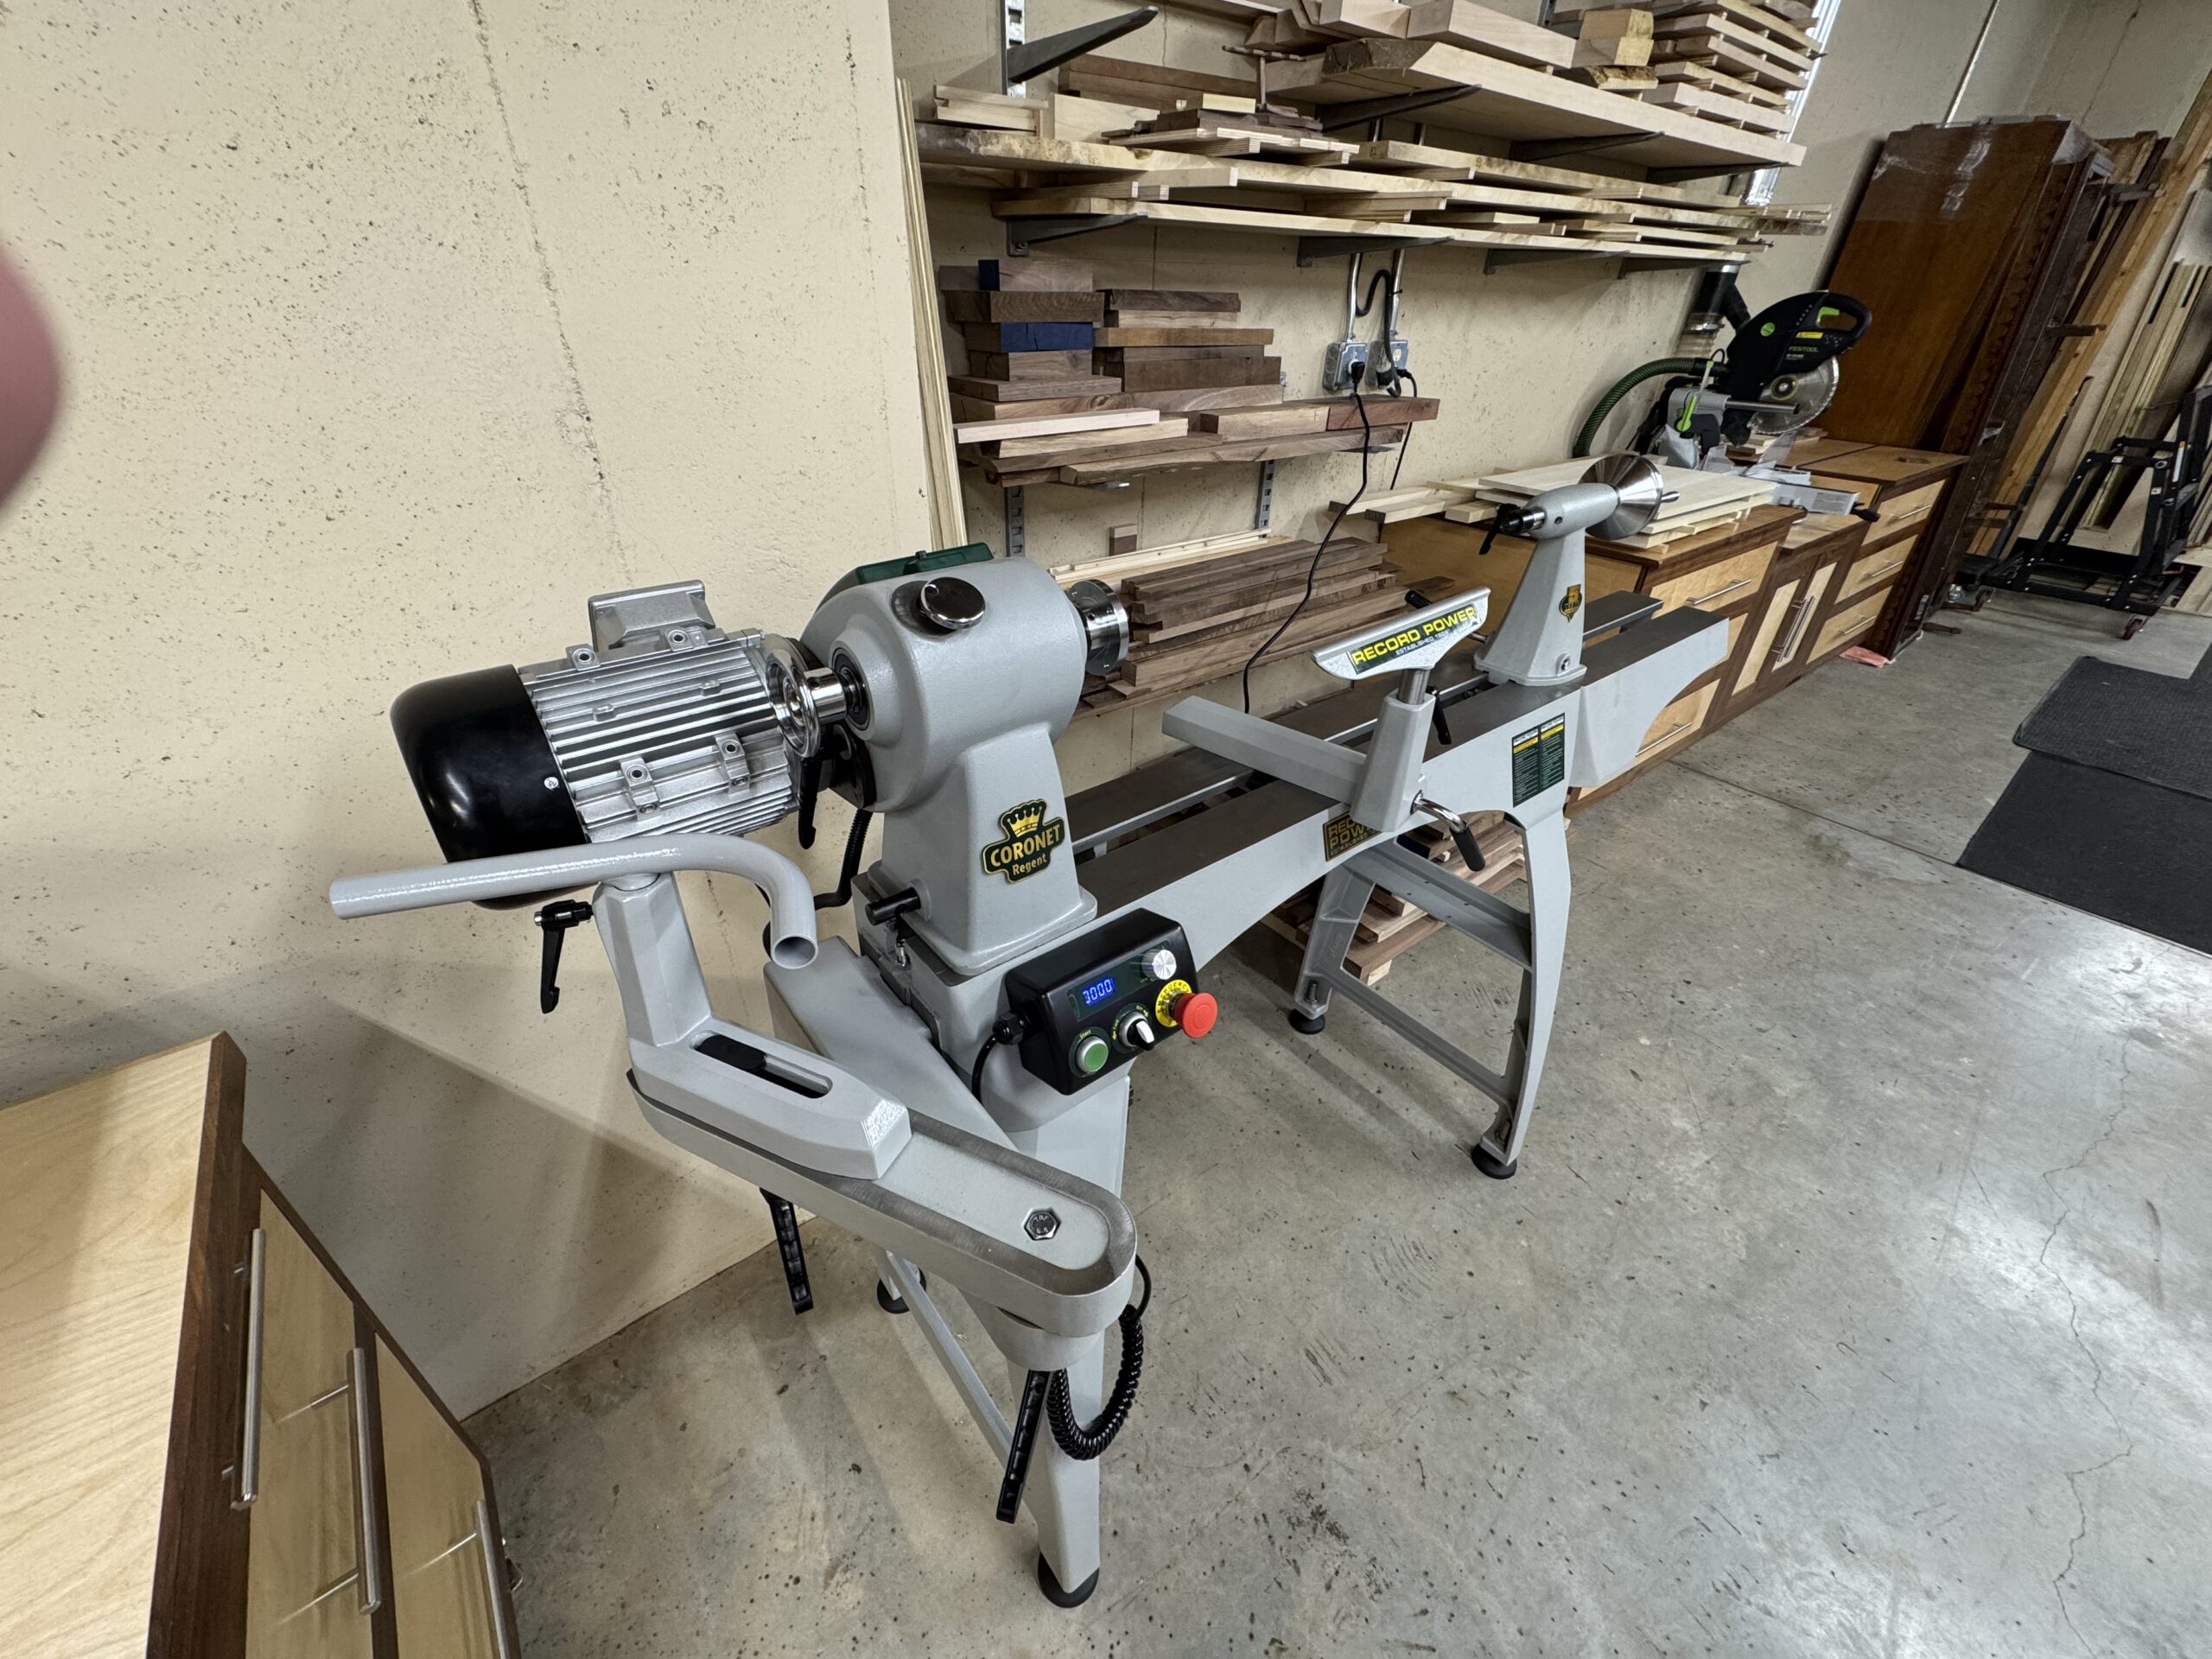
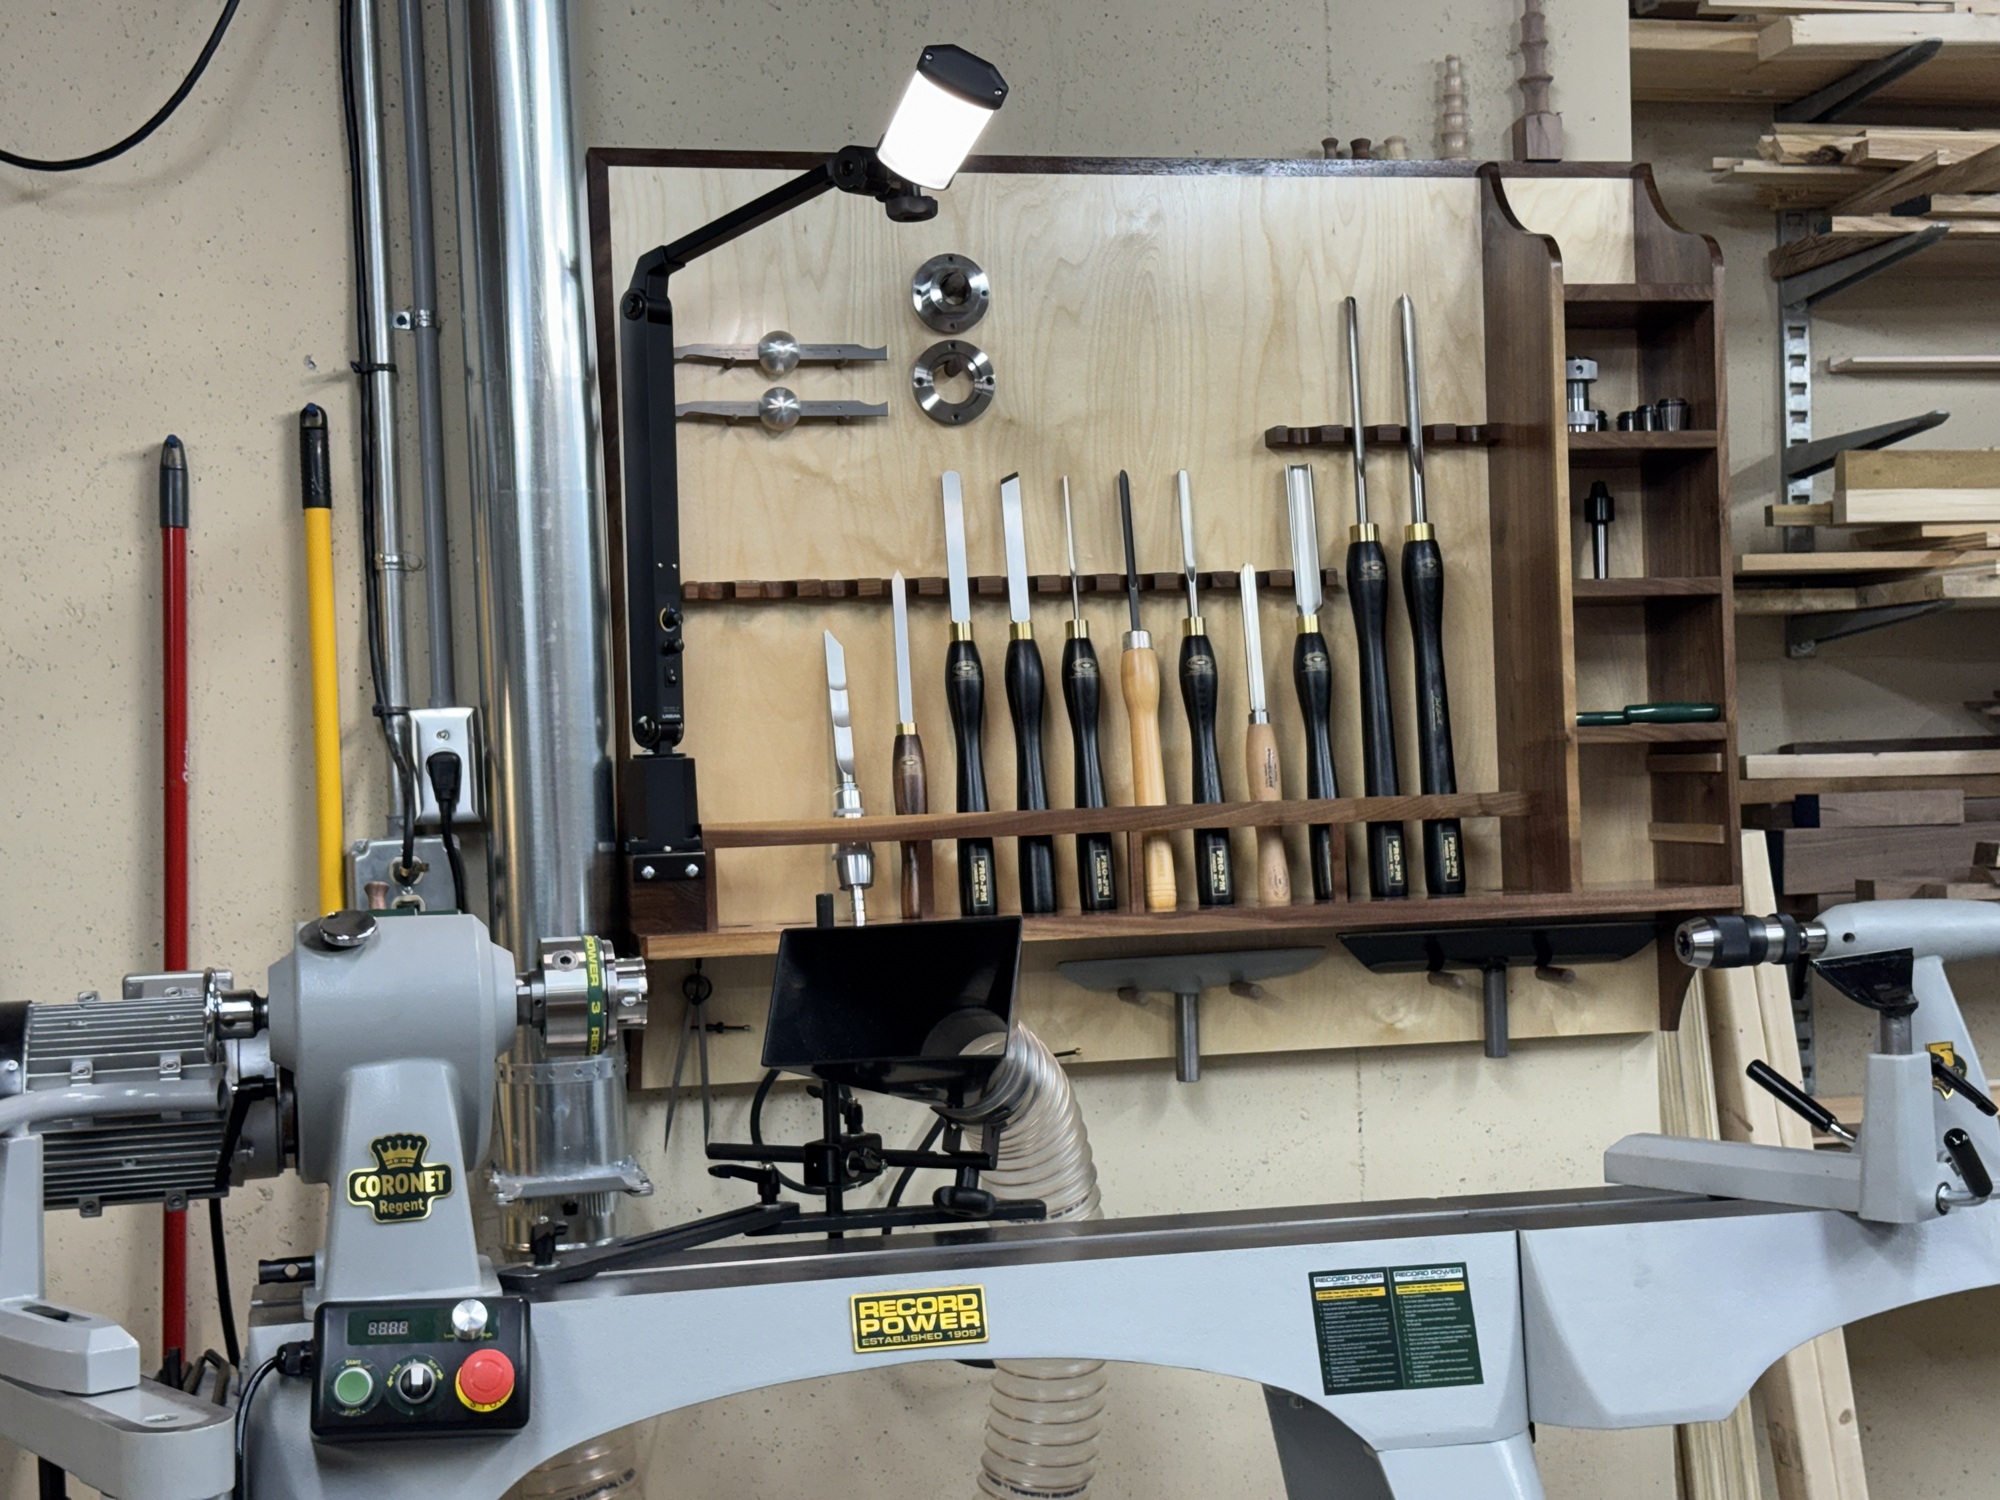
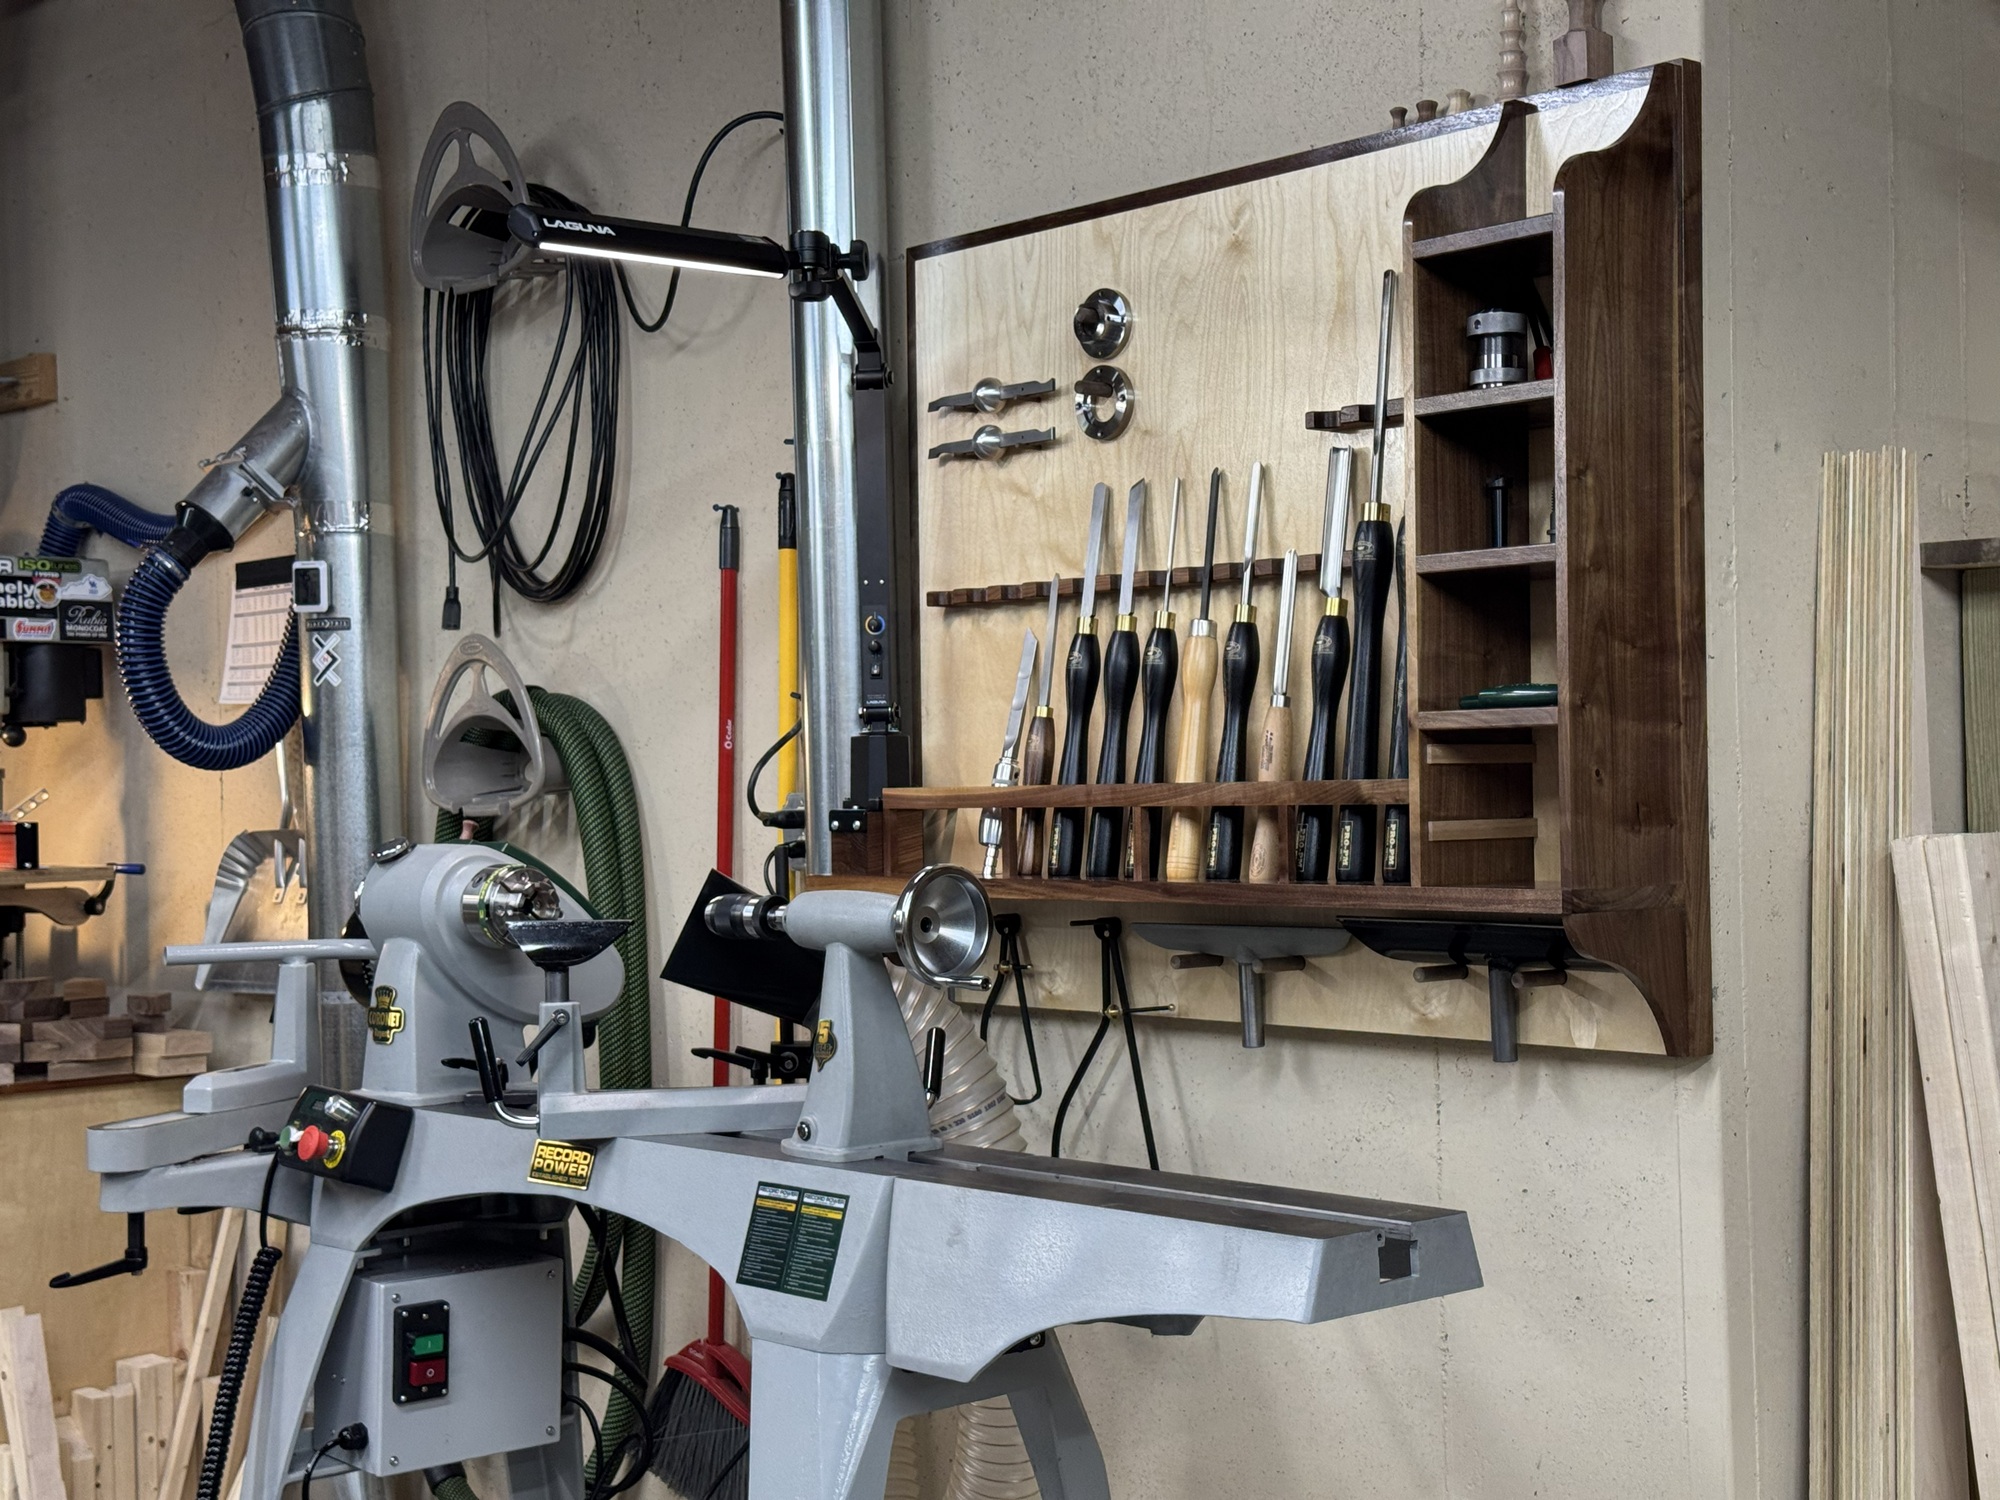
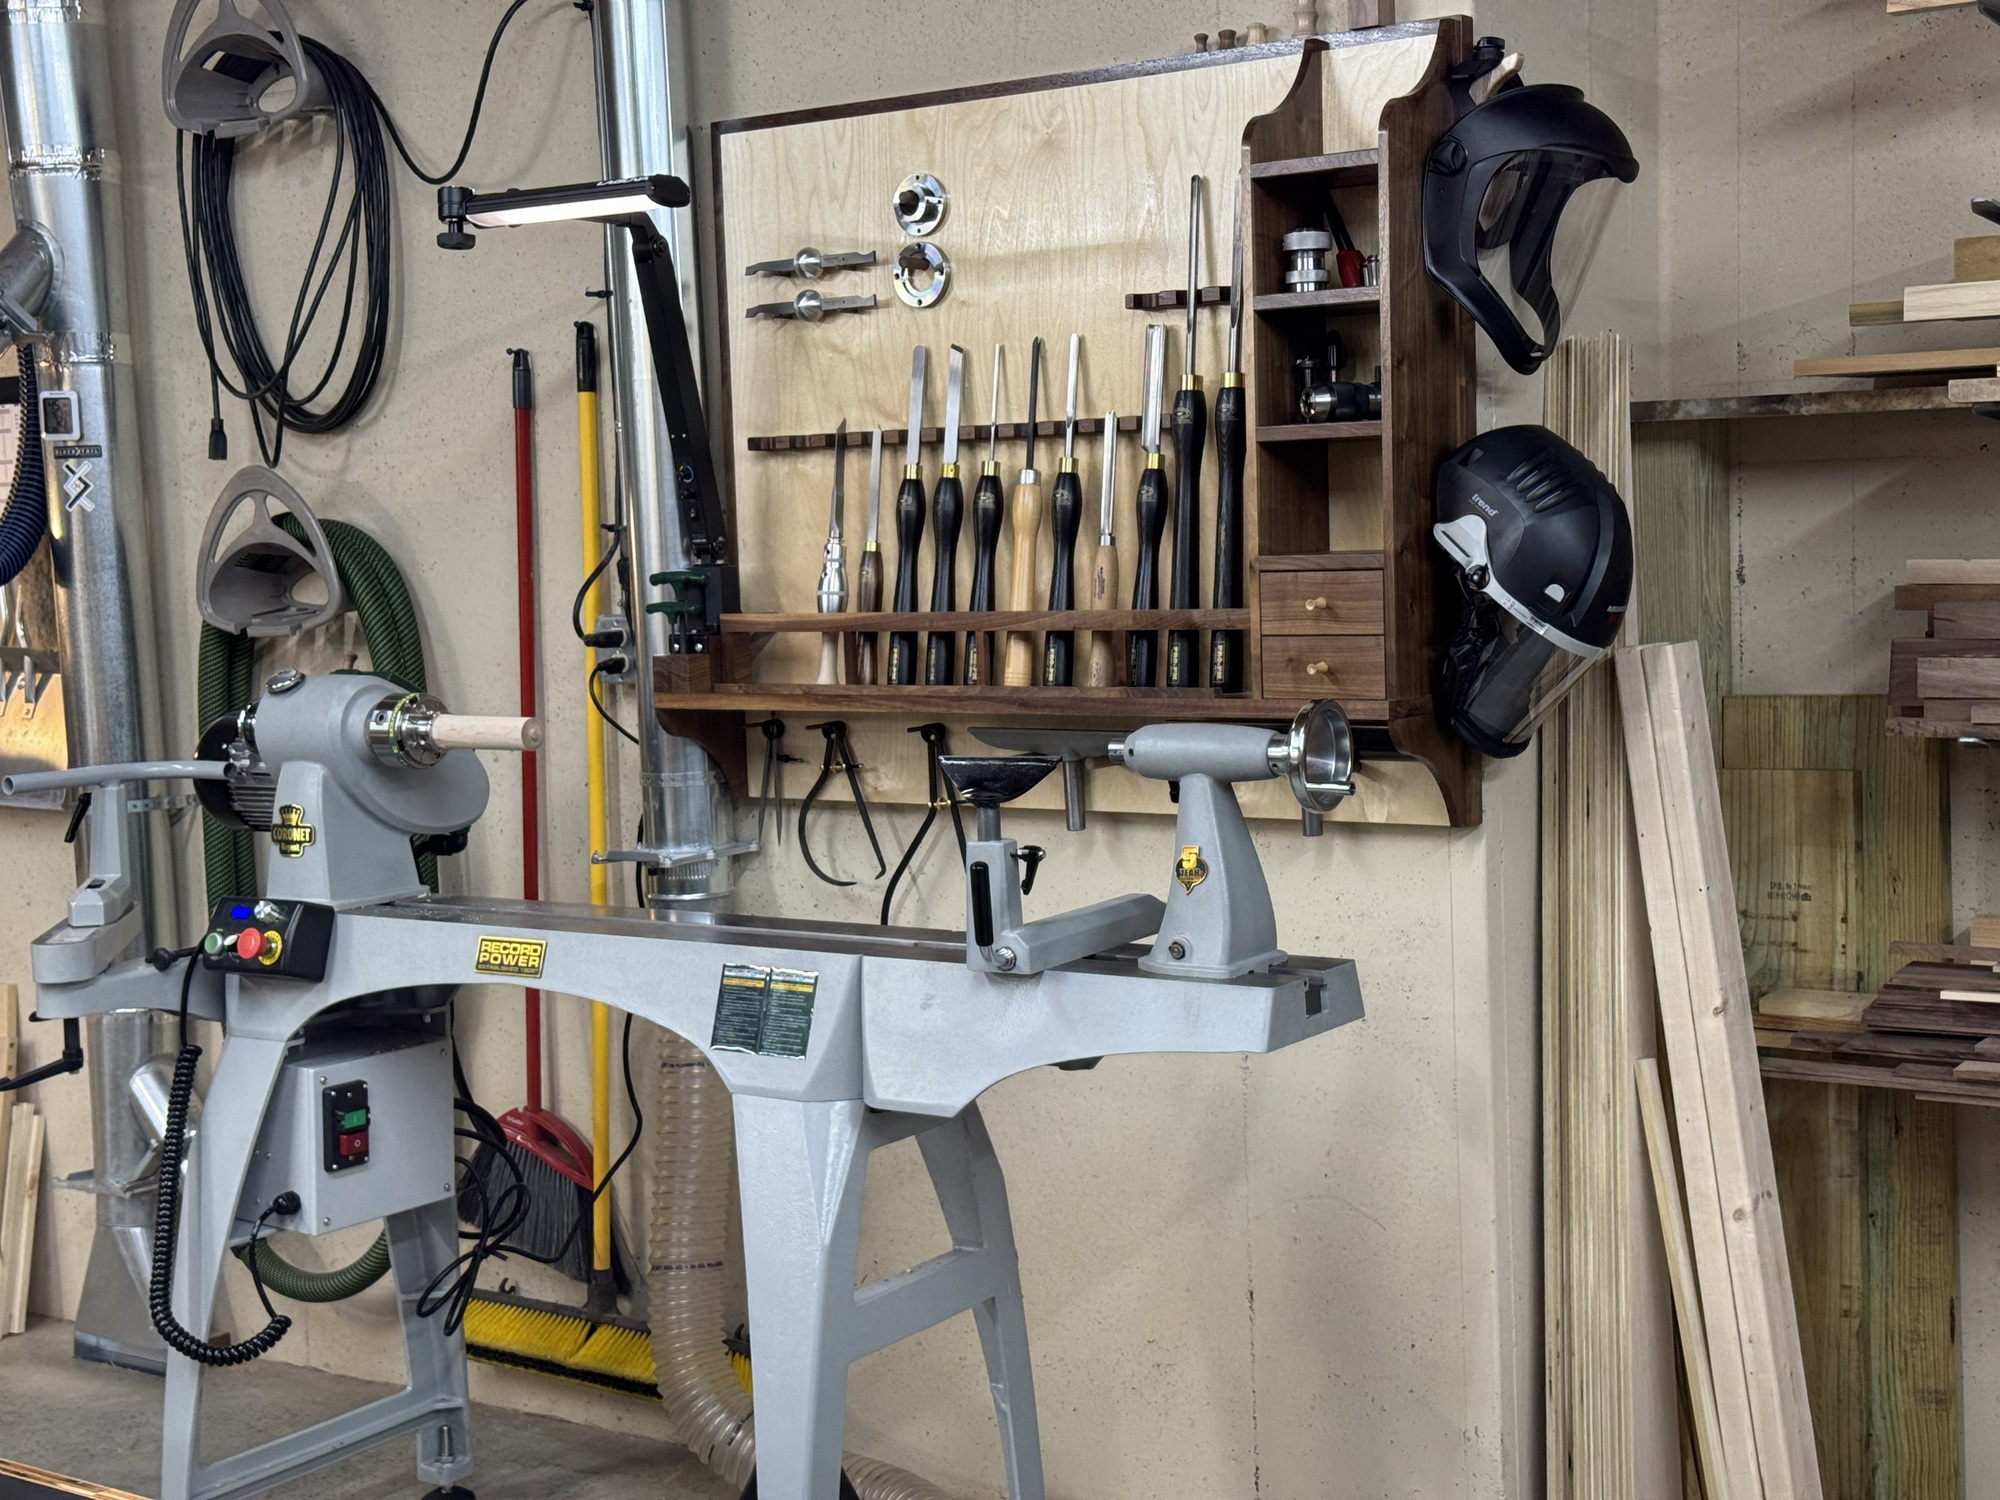
Now to put the lathe in its proper location, install a dedicated 220 circuit for it, install a dust collection drop, and make a wall mounted tool cabinet for the turning tools and lathe accessories.
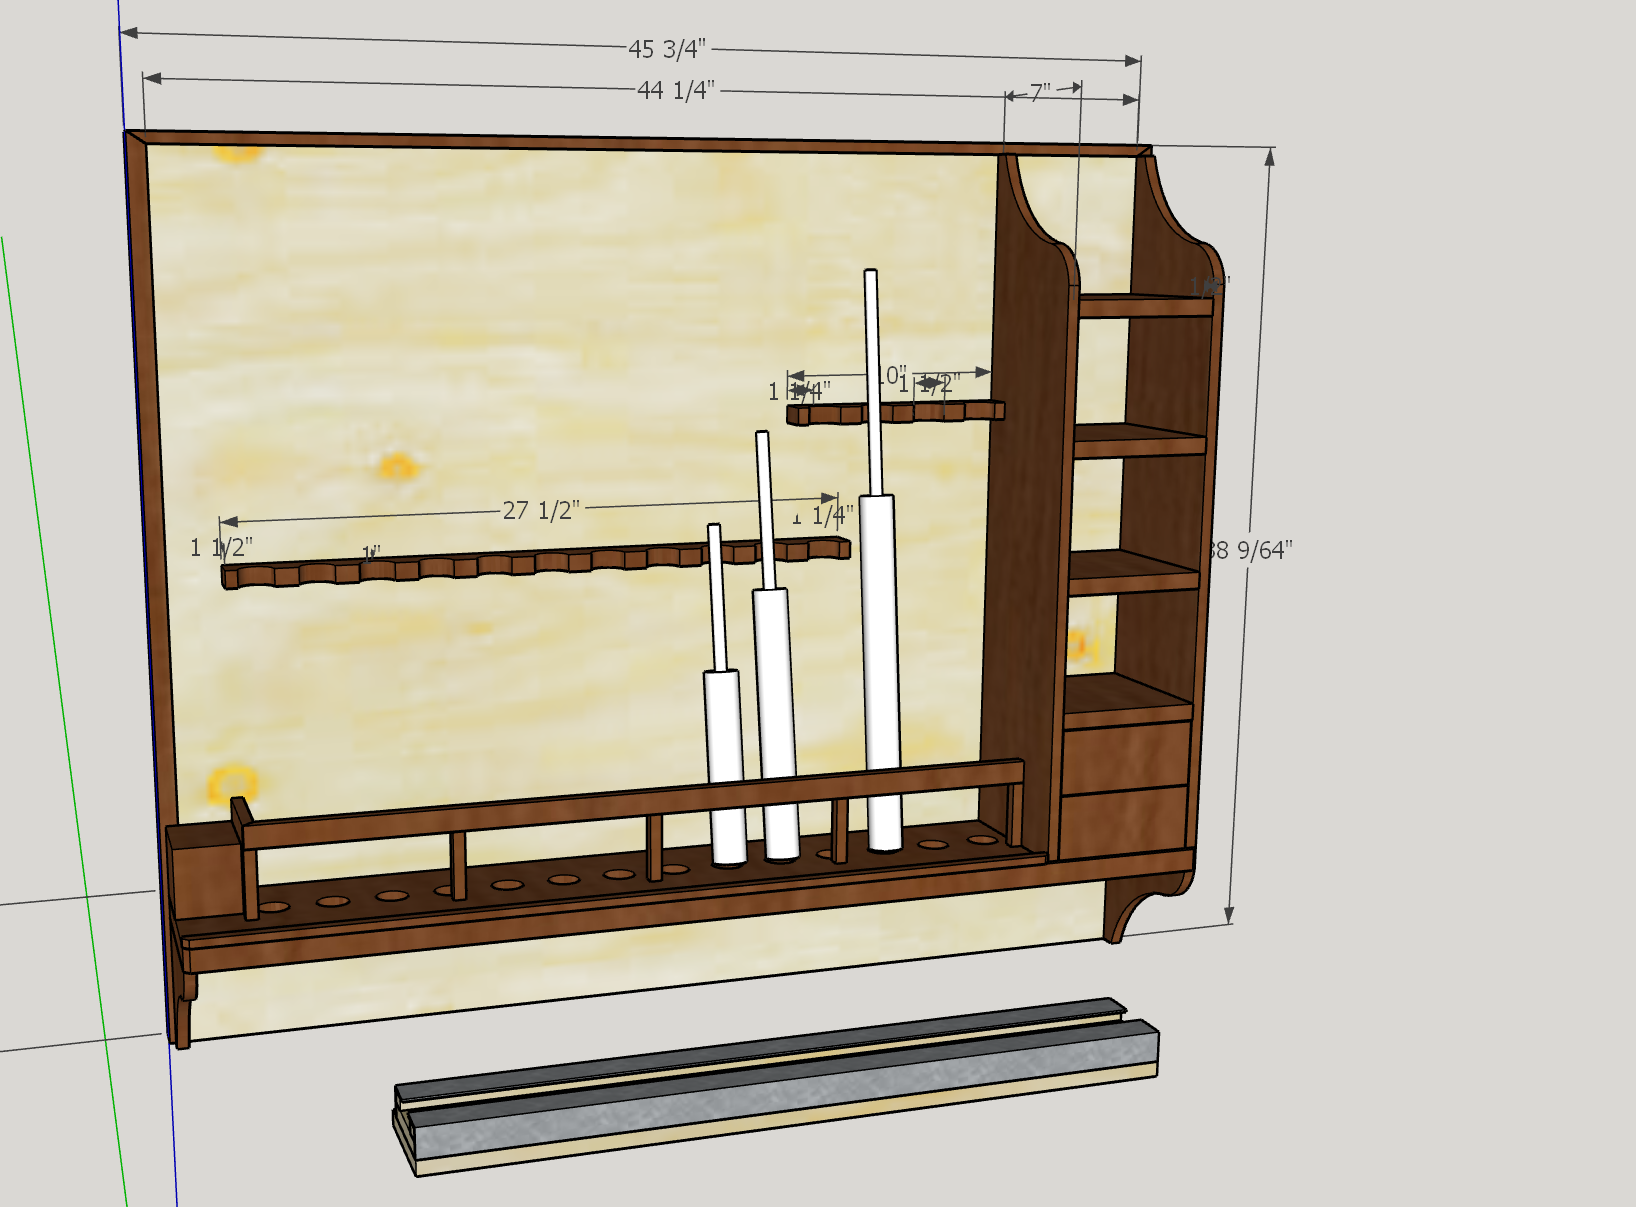
The tool cabinet is designed in Sketchup.
Walnut boards are resawn for the tool cabinet.
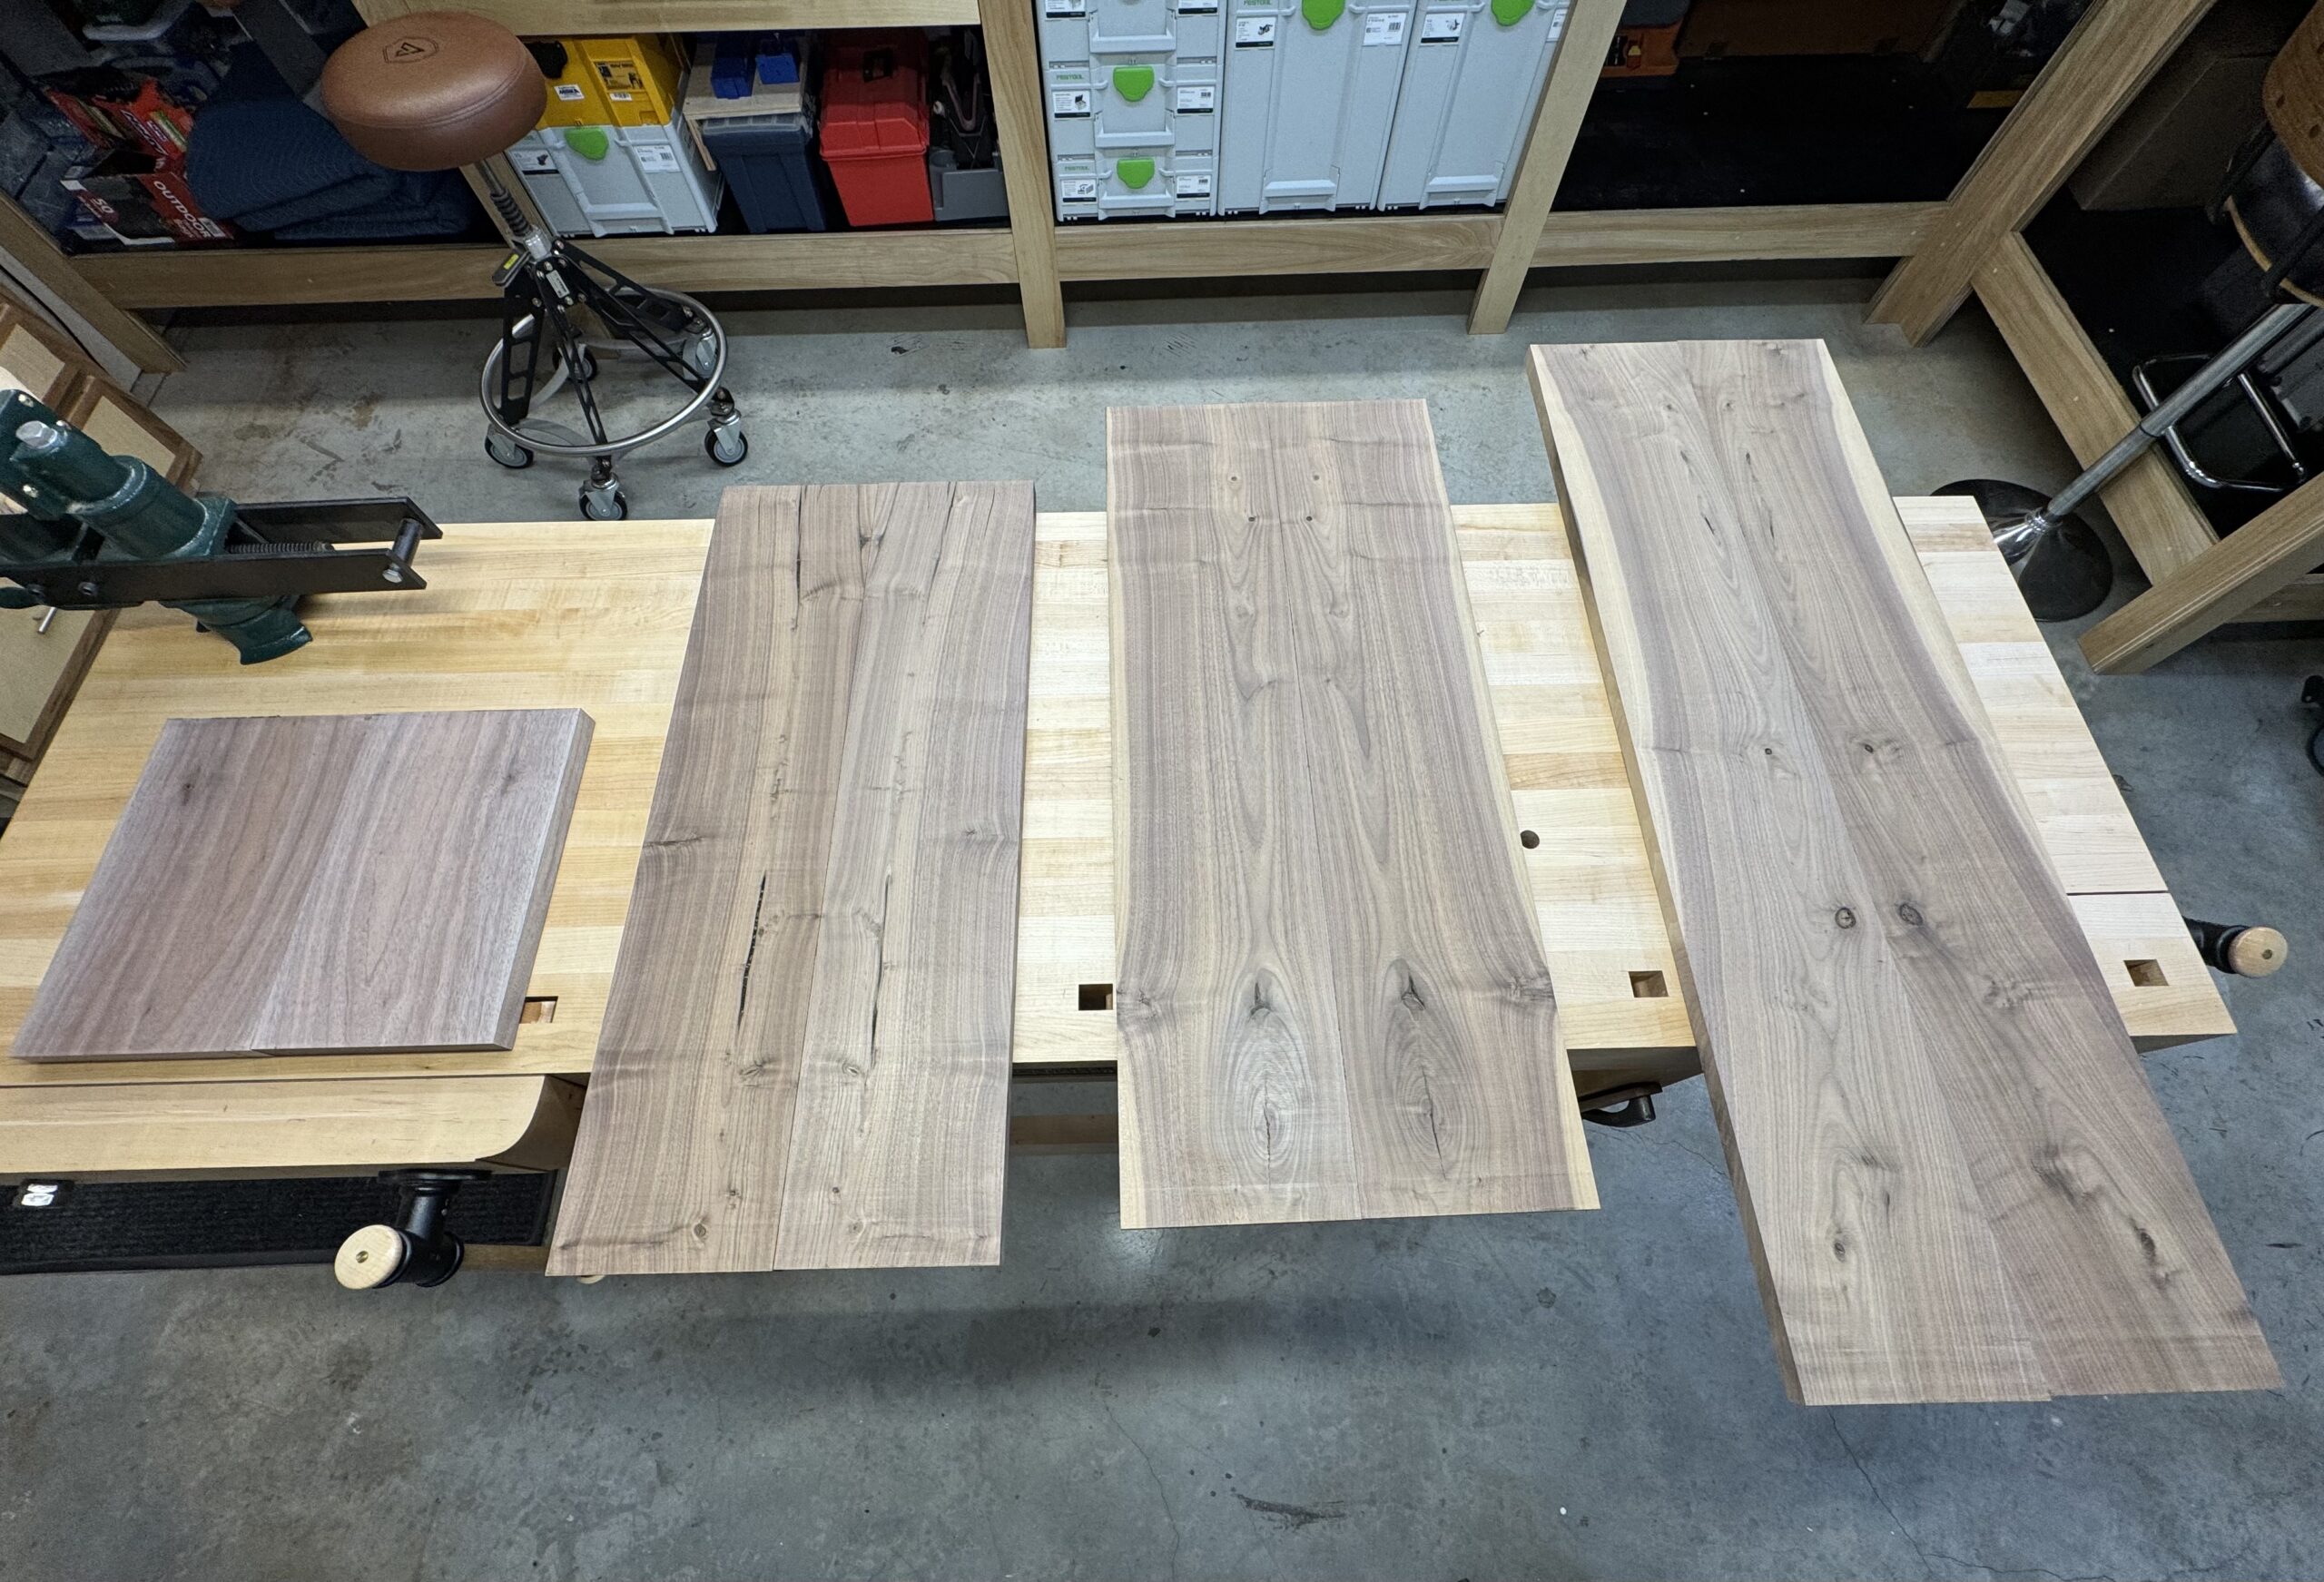
Although the parts could be made using traditional layout and tools, the Shaper Origin was chosen to gain some additional experience with this new tool, and exploit its ability to make parts directly from the Sketchup drawing. For parts with numerous features that must be precisely aligned with other non-adjacent parts, this saves a lot of layout time, even if the cutting itself is slower than it would be on tools like the drill press.
An adjustable and reusable jig is made to provide a repeatable workspace for solid wood pieces that are larger than the Shaper Workstation can handle. It has a 1/2″ MDF panel with a tape field that nests inside a frame and can be height adjusted from 1/2″ up with interchangeable shim sets. If a new height is needed, a new set of shims is made on the thickness planer. With the built in fence, work pieces can be accurately and repeatably placed in the jig for noncontiguous operations or subsequent modifications. It is simple and works well.
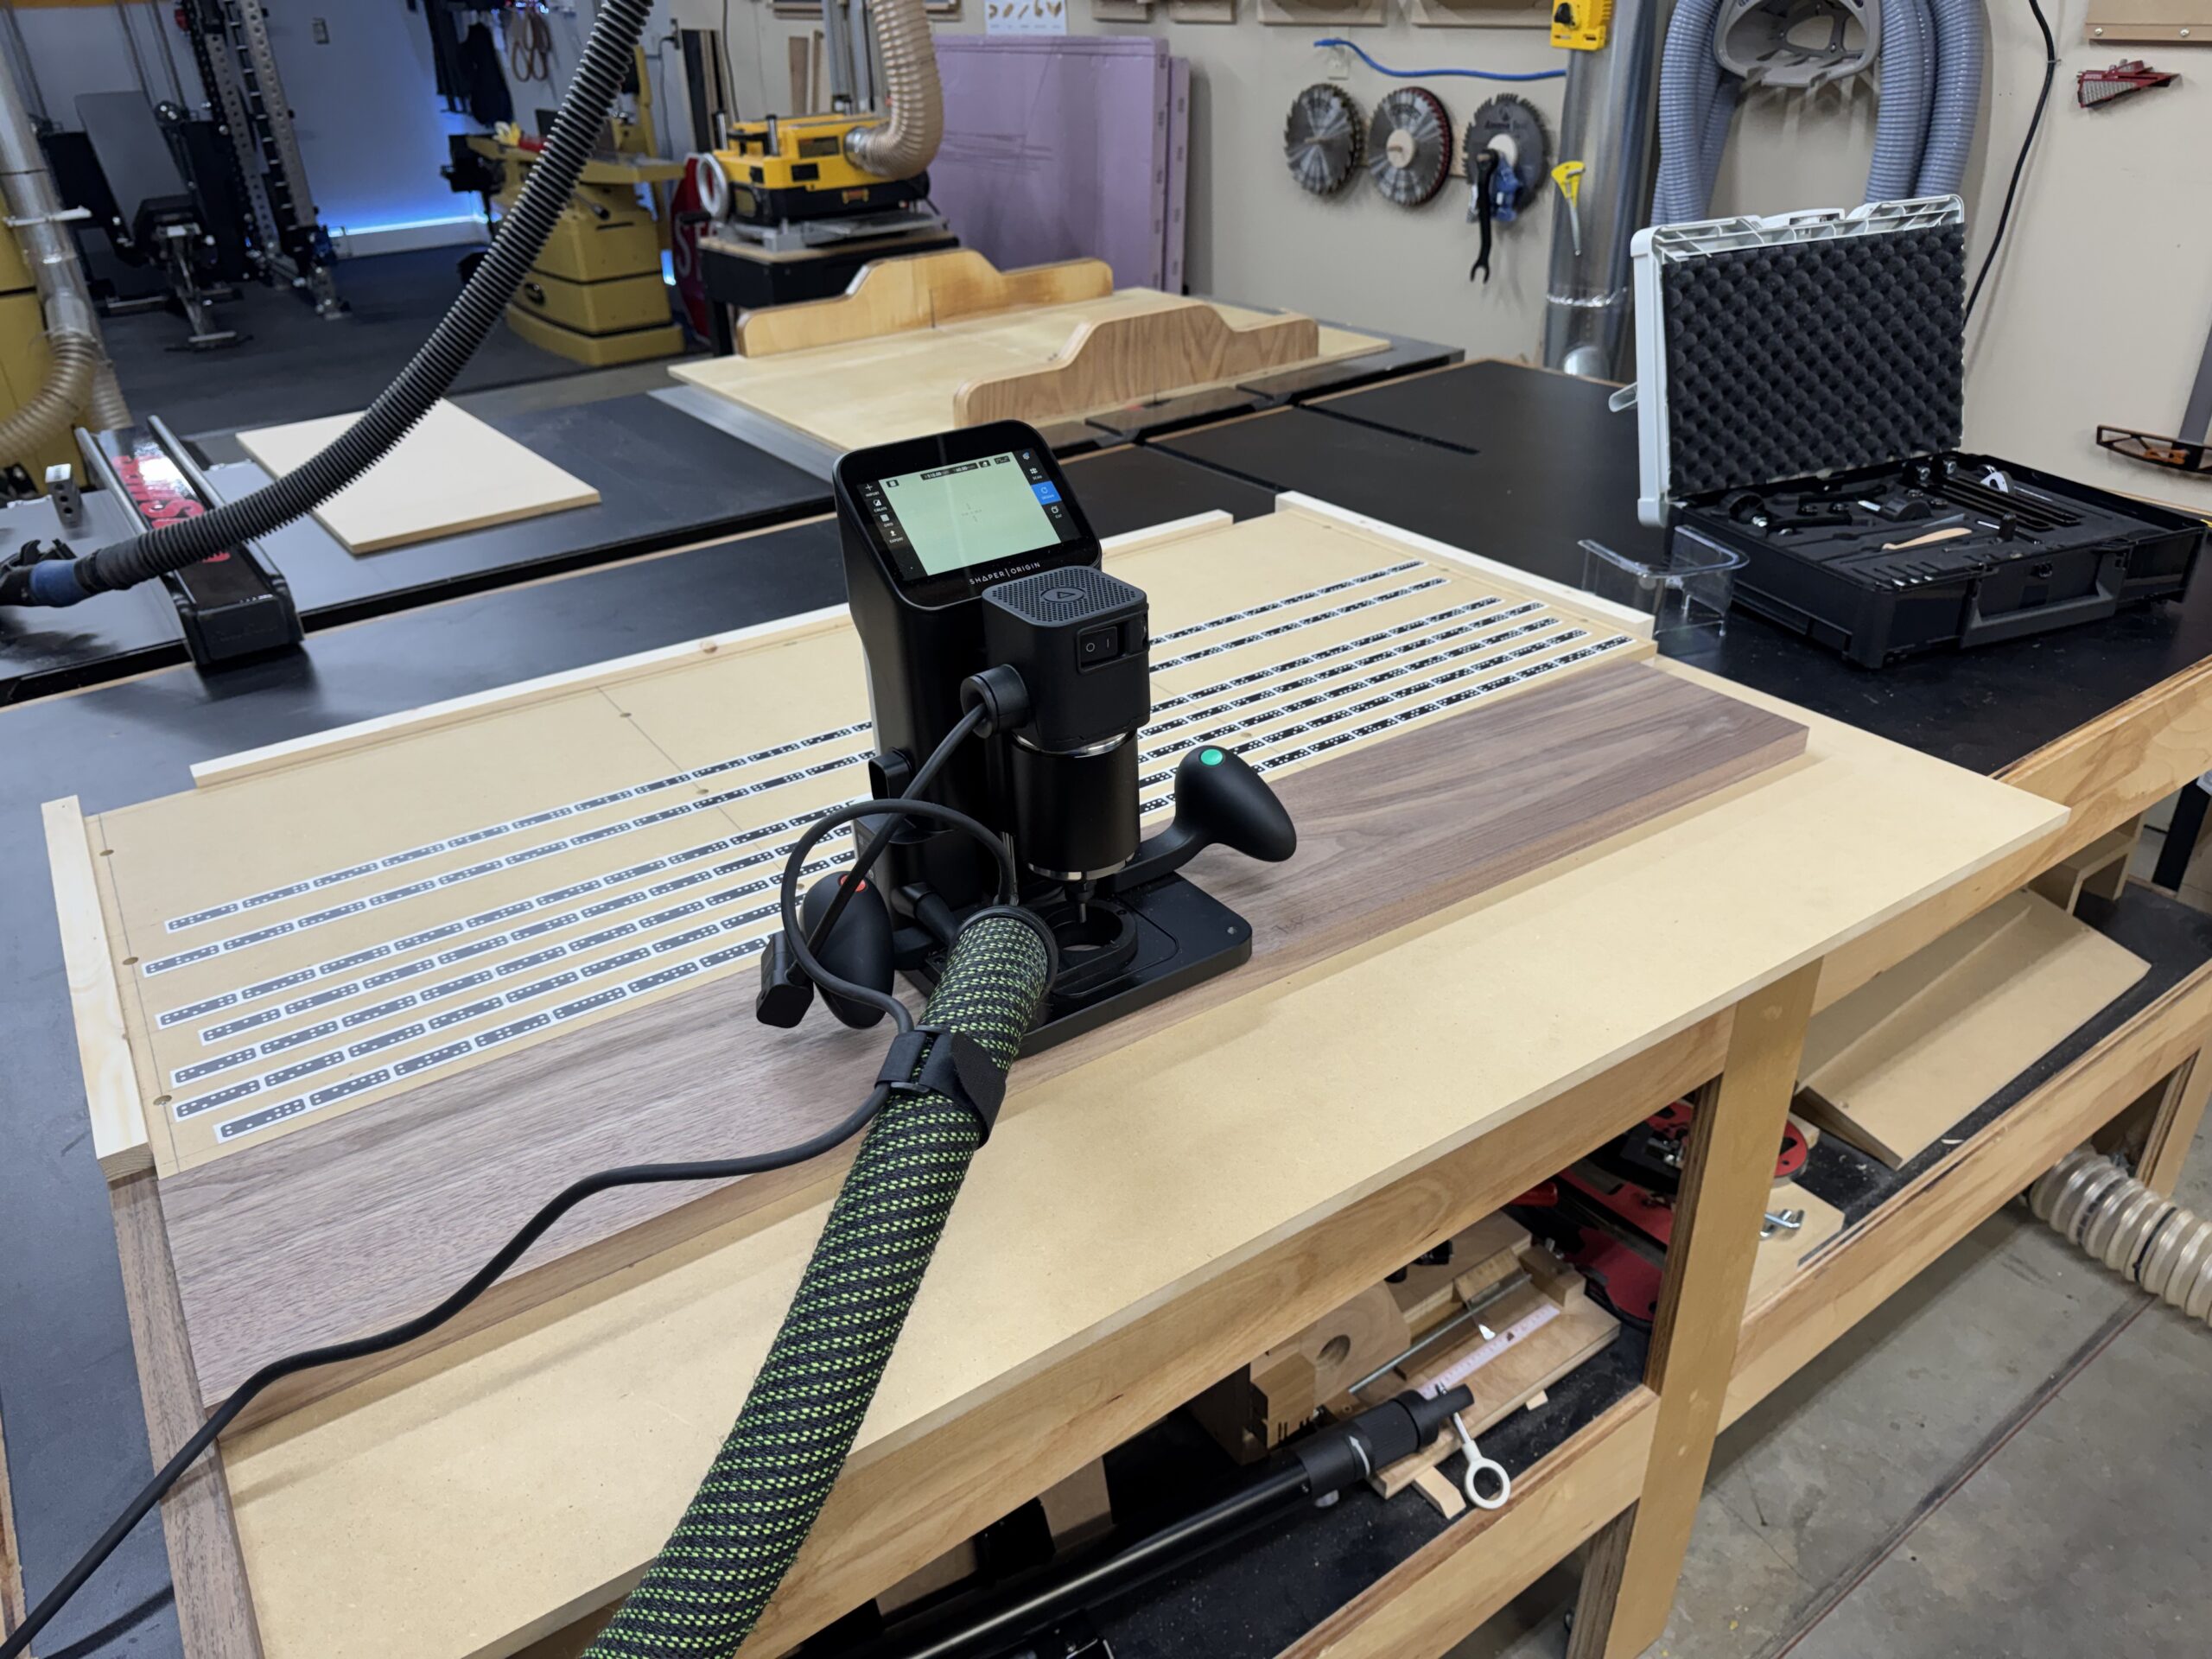
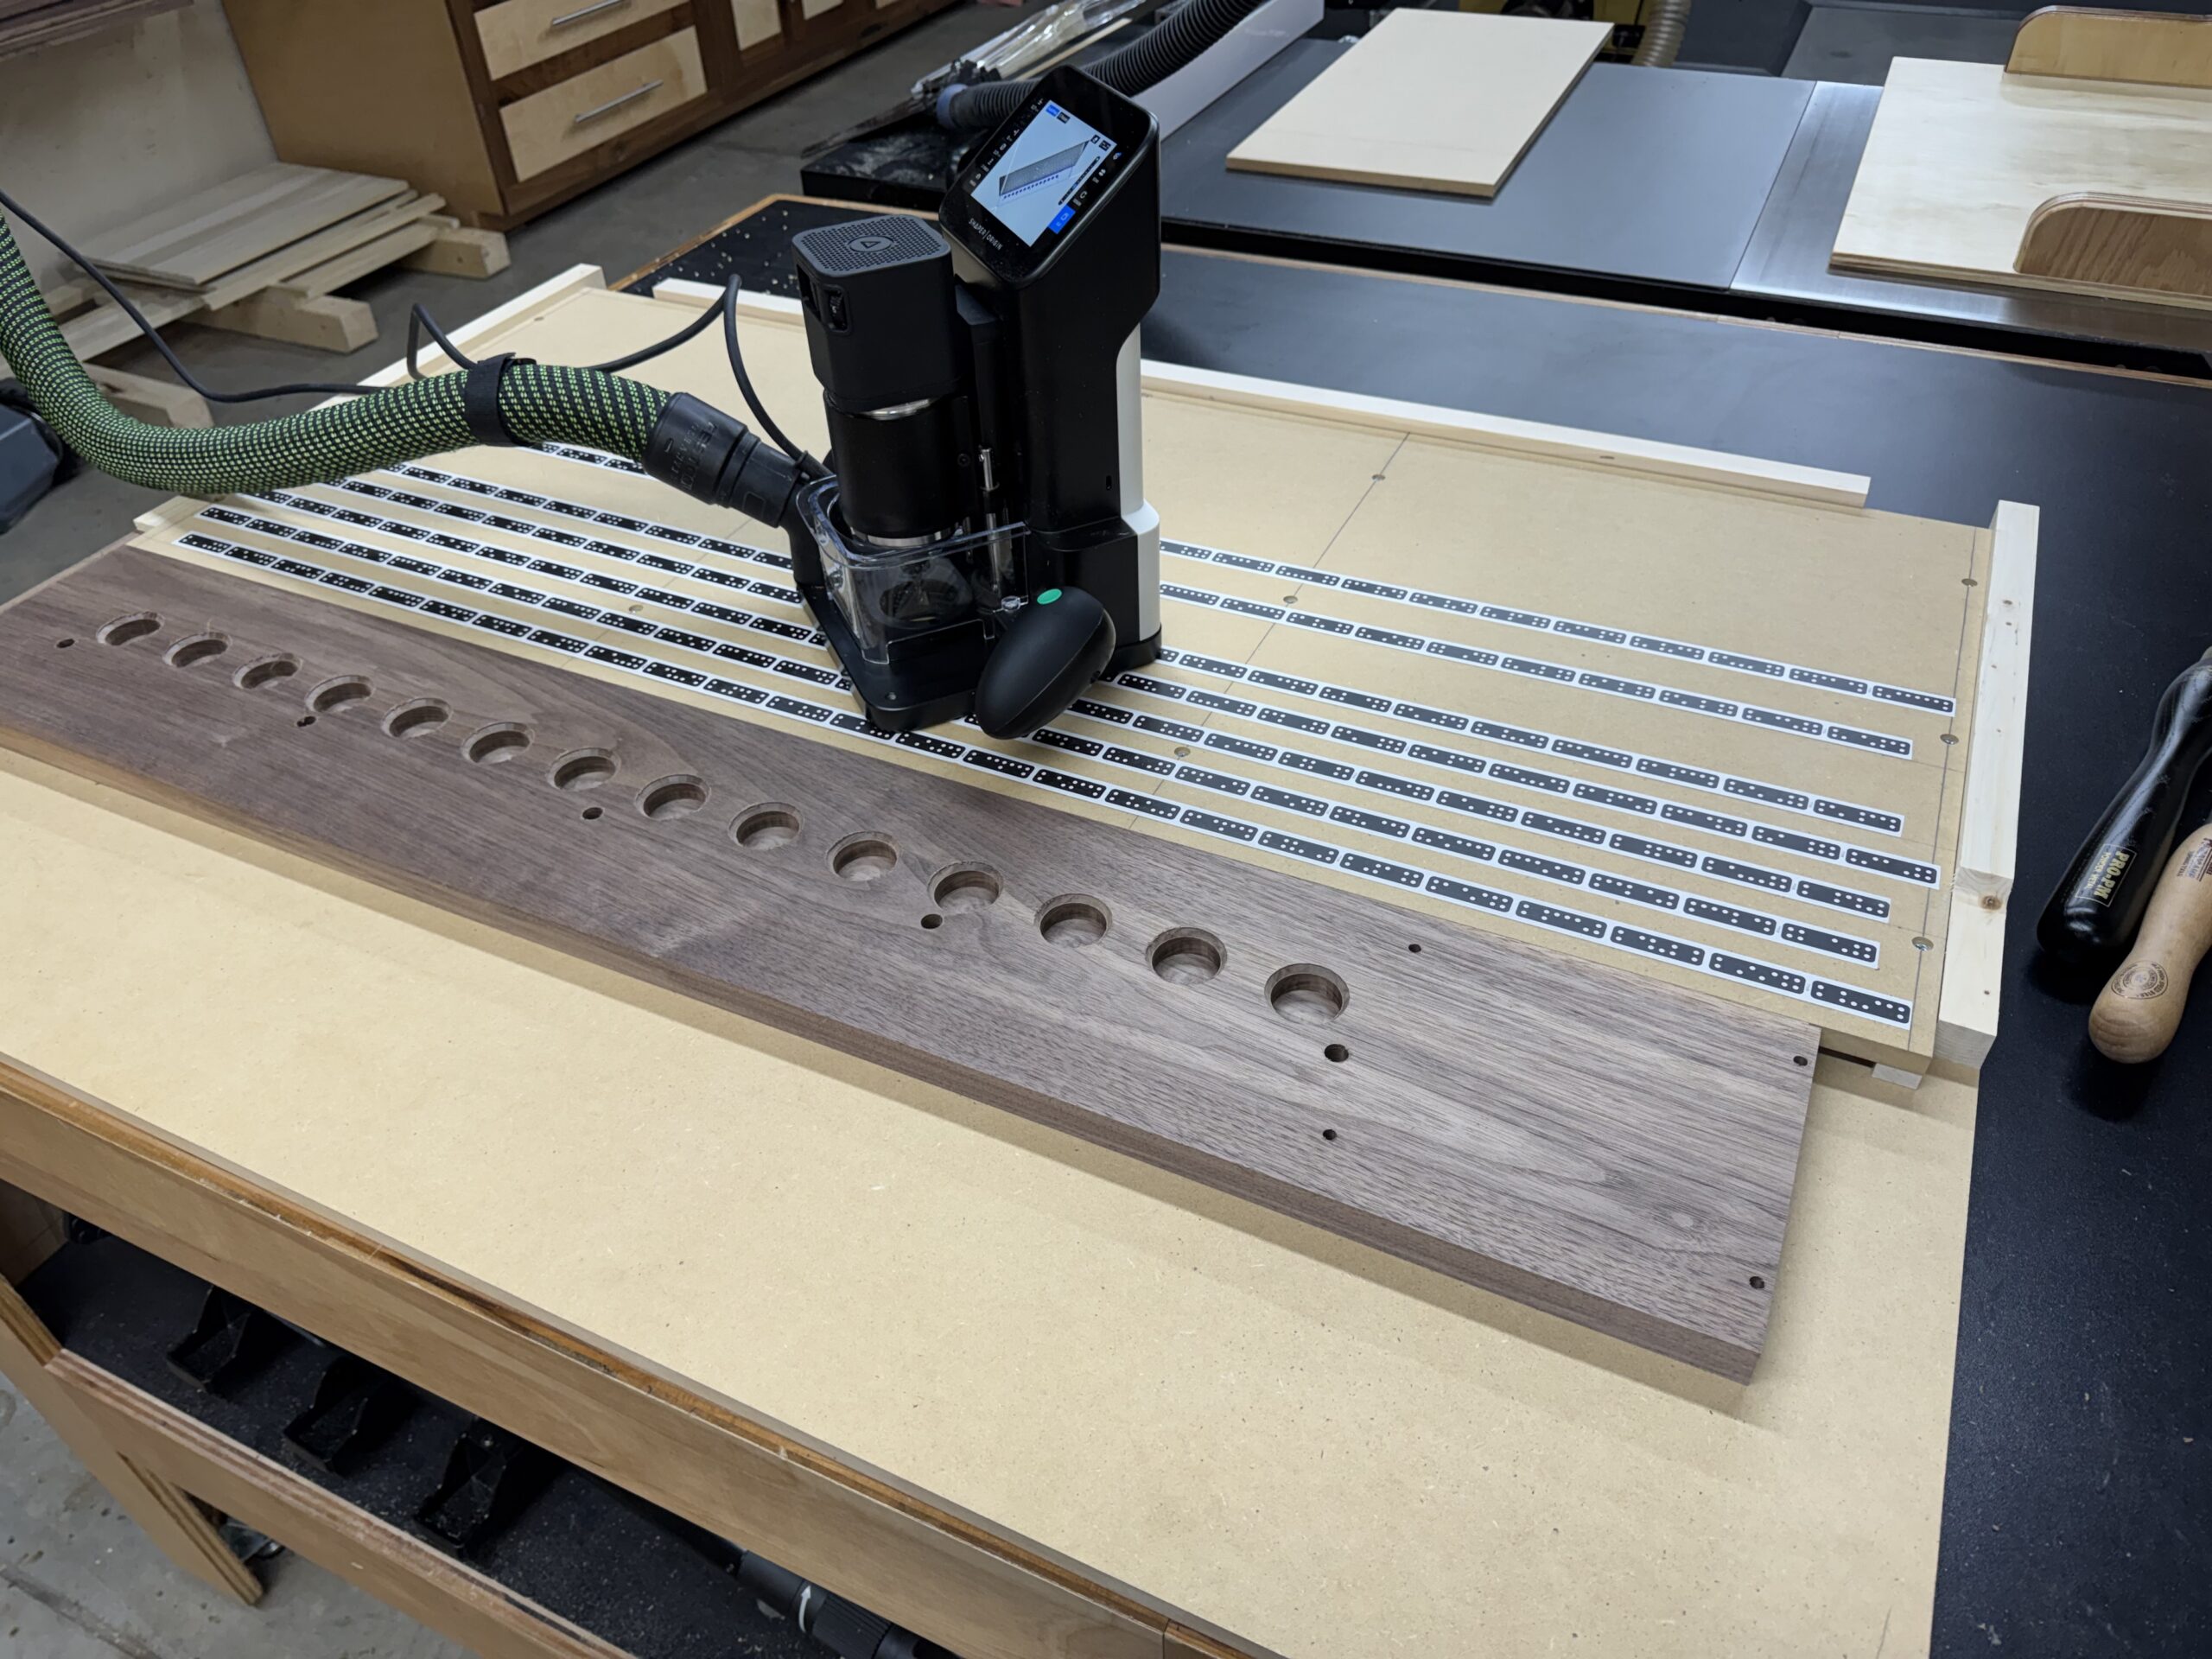
Rather than laying out a pattern, running it through the band saw, sanding it down to the lines, and pattern routing the sides, the Shaper Origin makes them straight from the Sketchup drawing, including the stopped dados. It’s almost too easy.
One thing that has been noted is that Sketchup does not do true curves. It does line segments. Thus, the holes and curved edges end up having subtle facets. For things like the tool handle pockets and dowel holes in the shelf, it is either inconsequential or advantageous as glue squeeze out channels. For features like the ogee curves on the cubby sides and shelf supports, some hand fairing is required, but it’s not a big deal. The SVG files could be modeled natively in Shaper Studio to eliminate this Sketchup artifact, but it is probably not worth the time since some hand finishing will be required anyway.
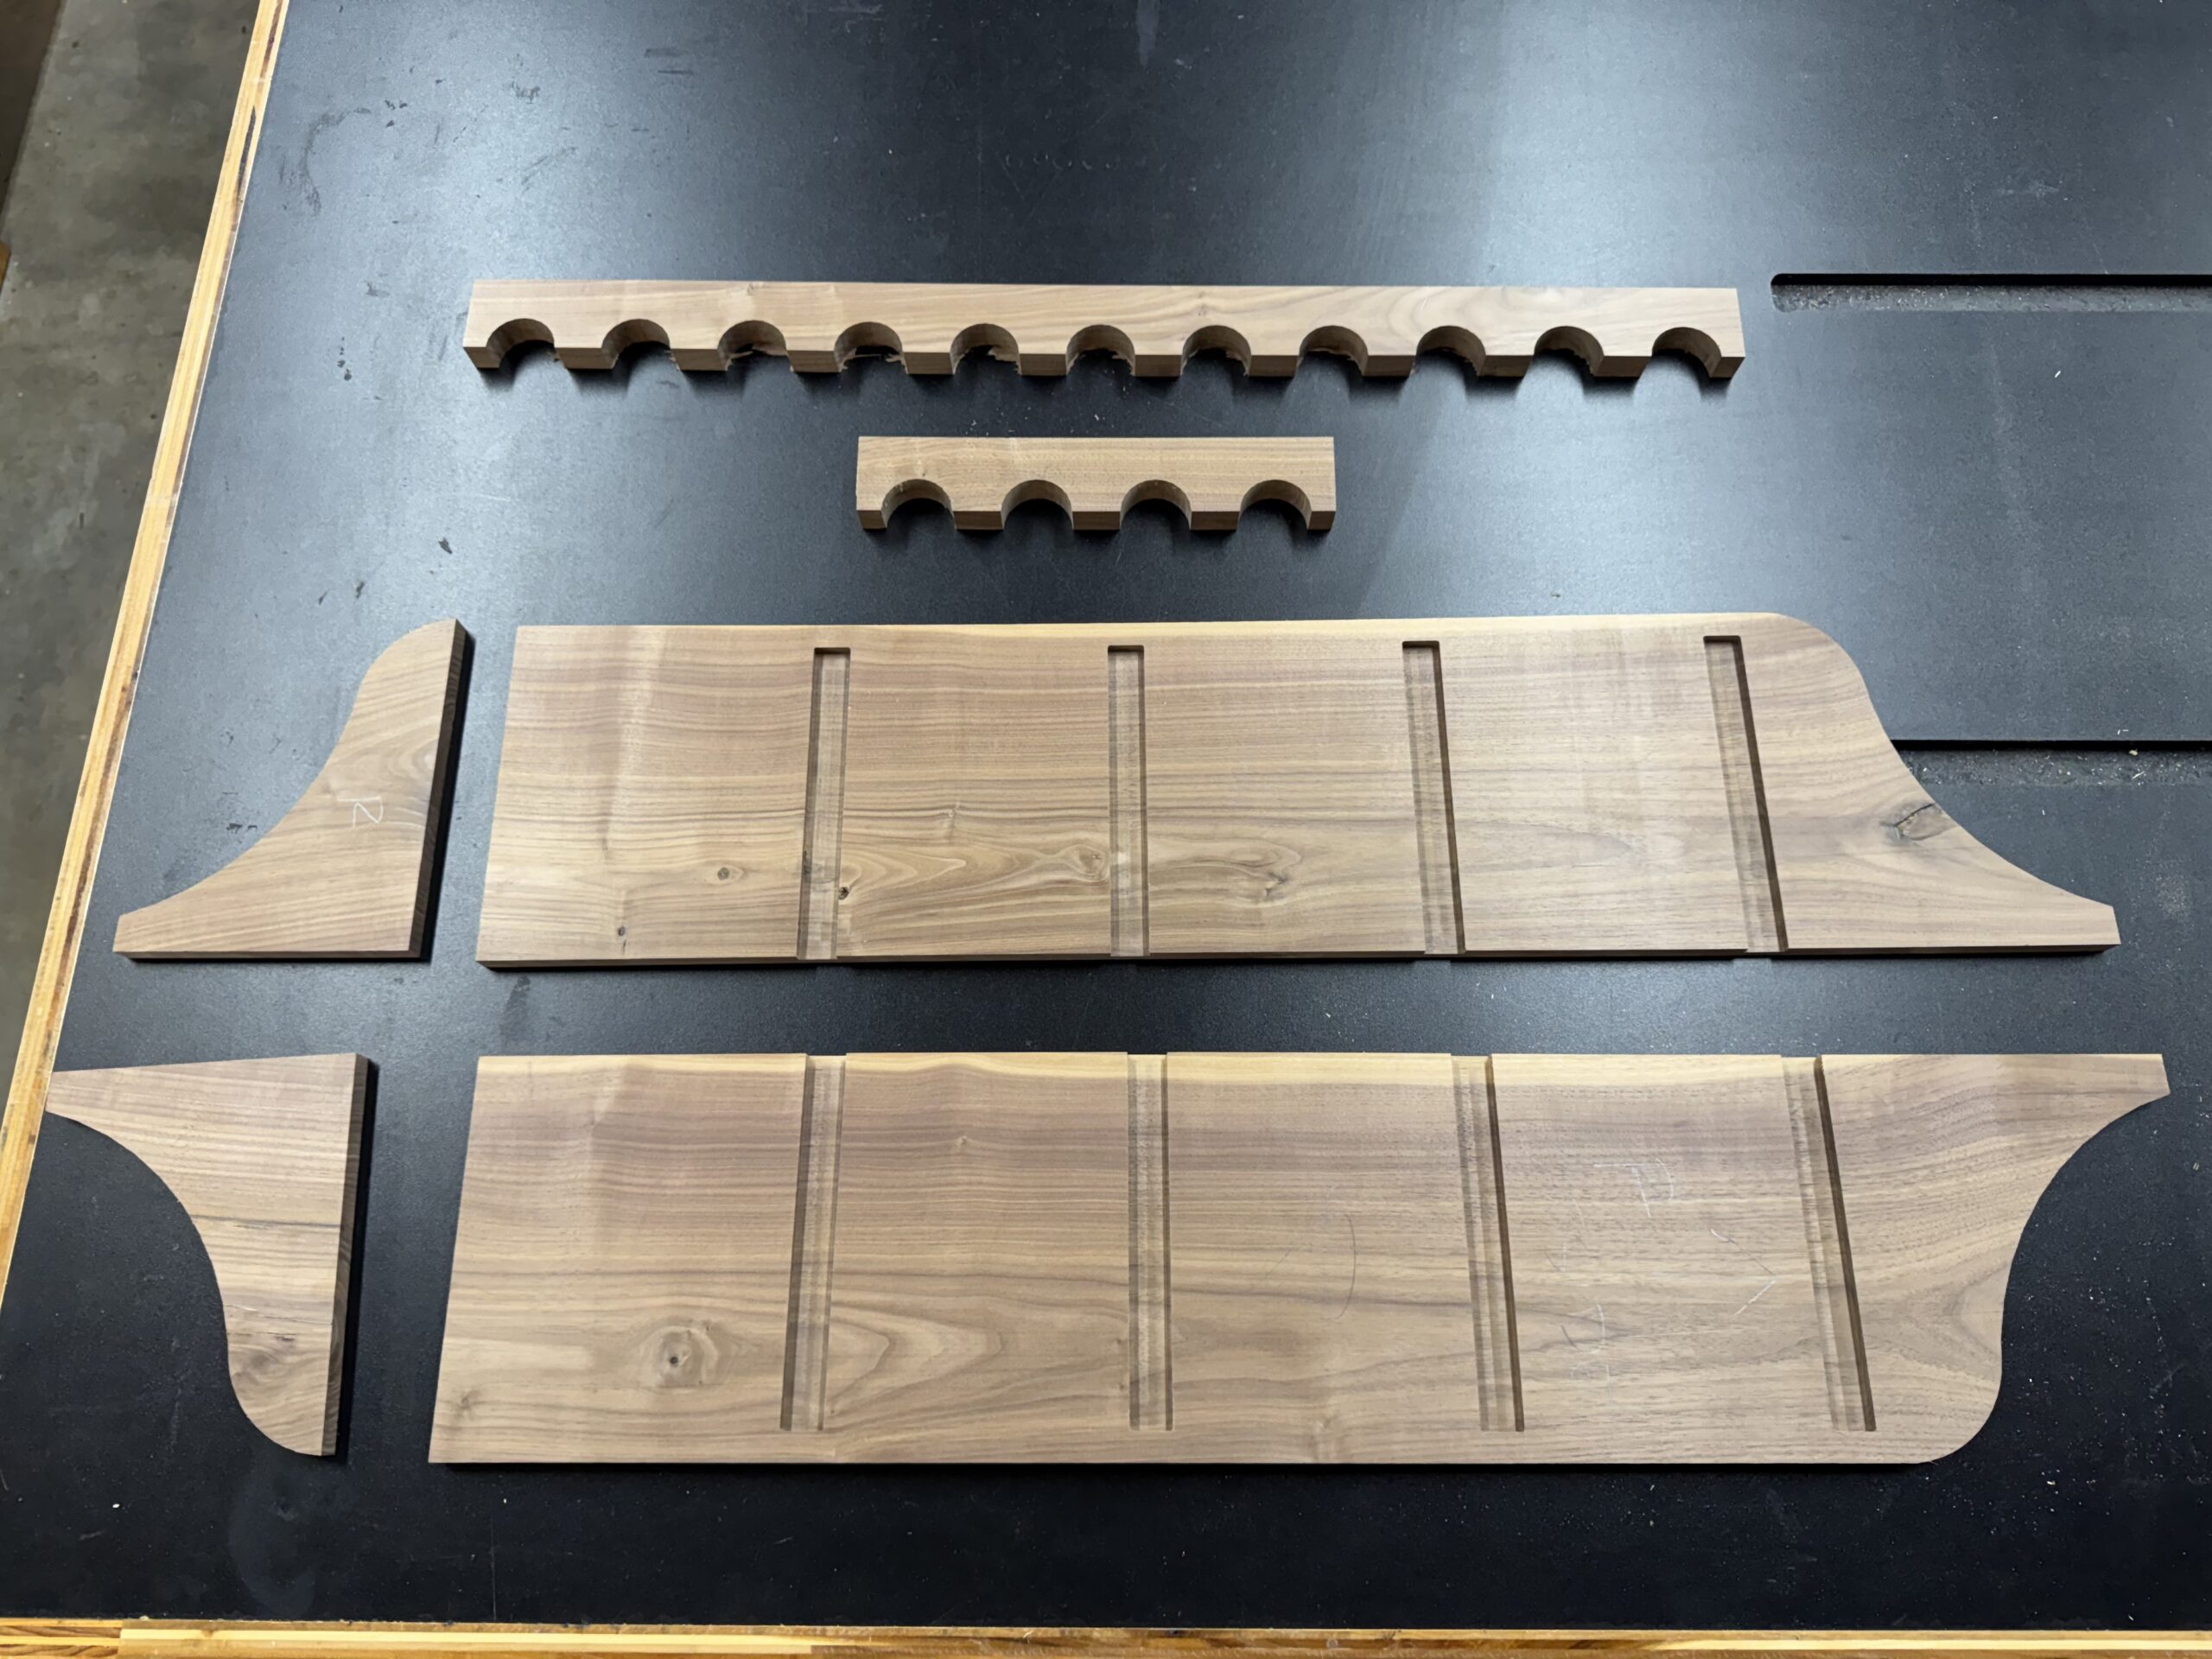
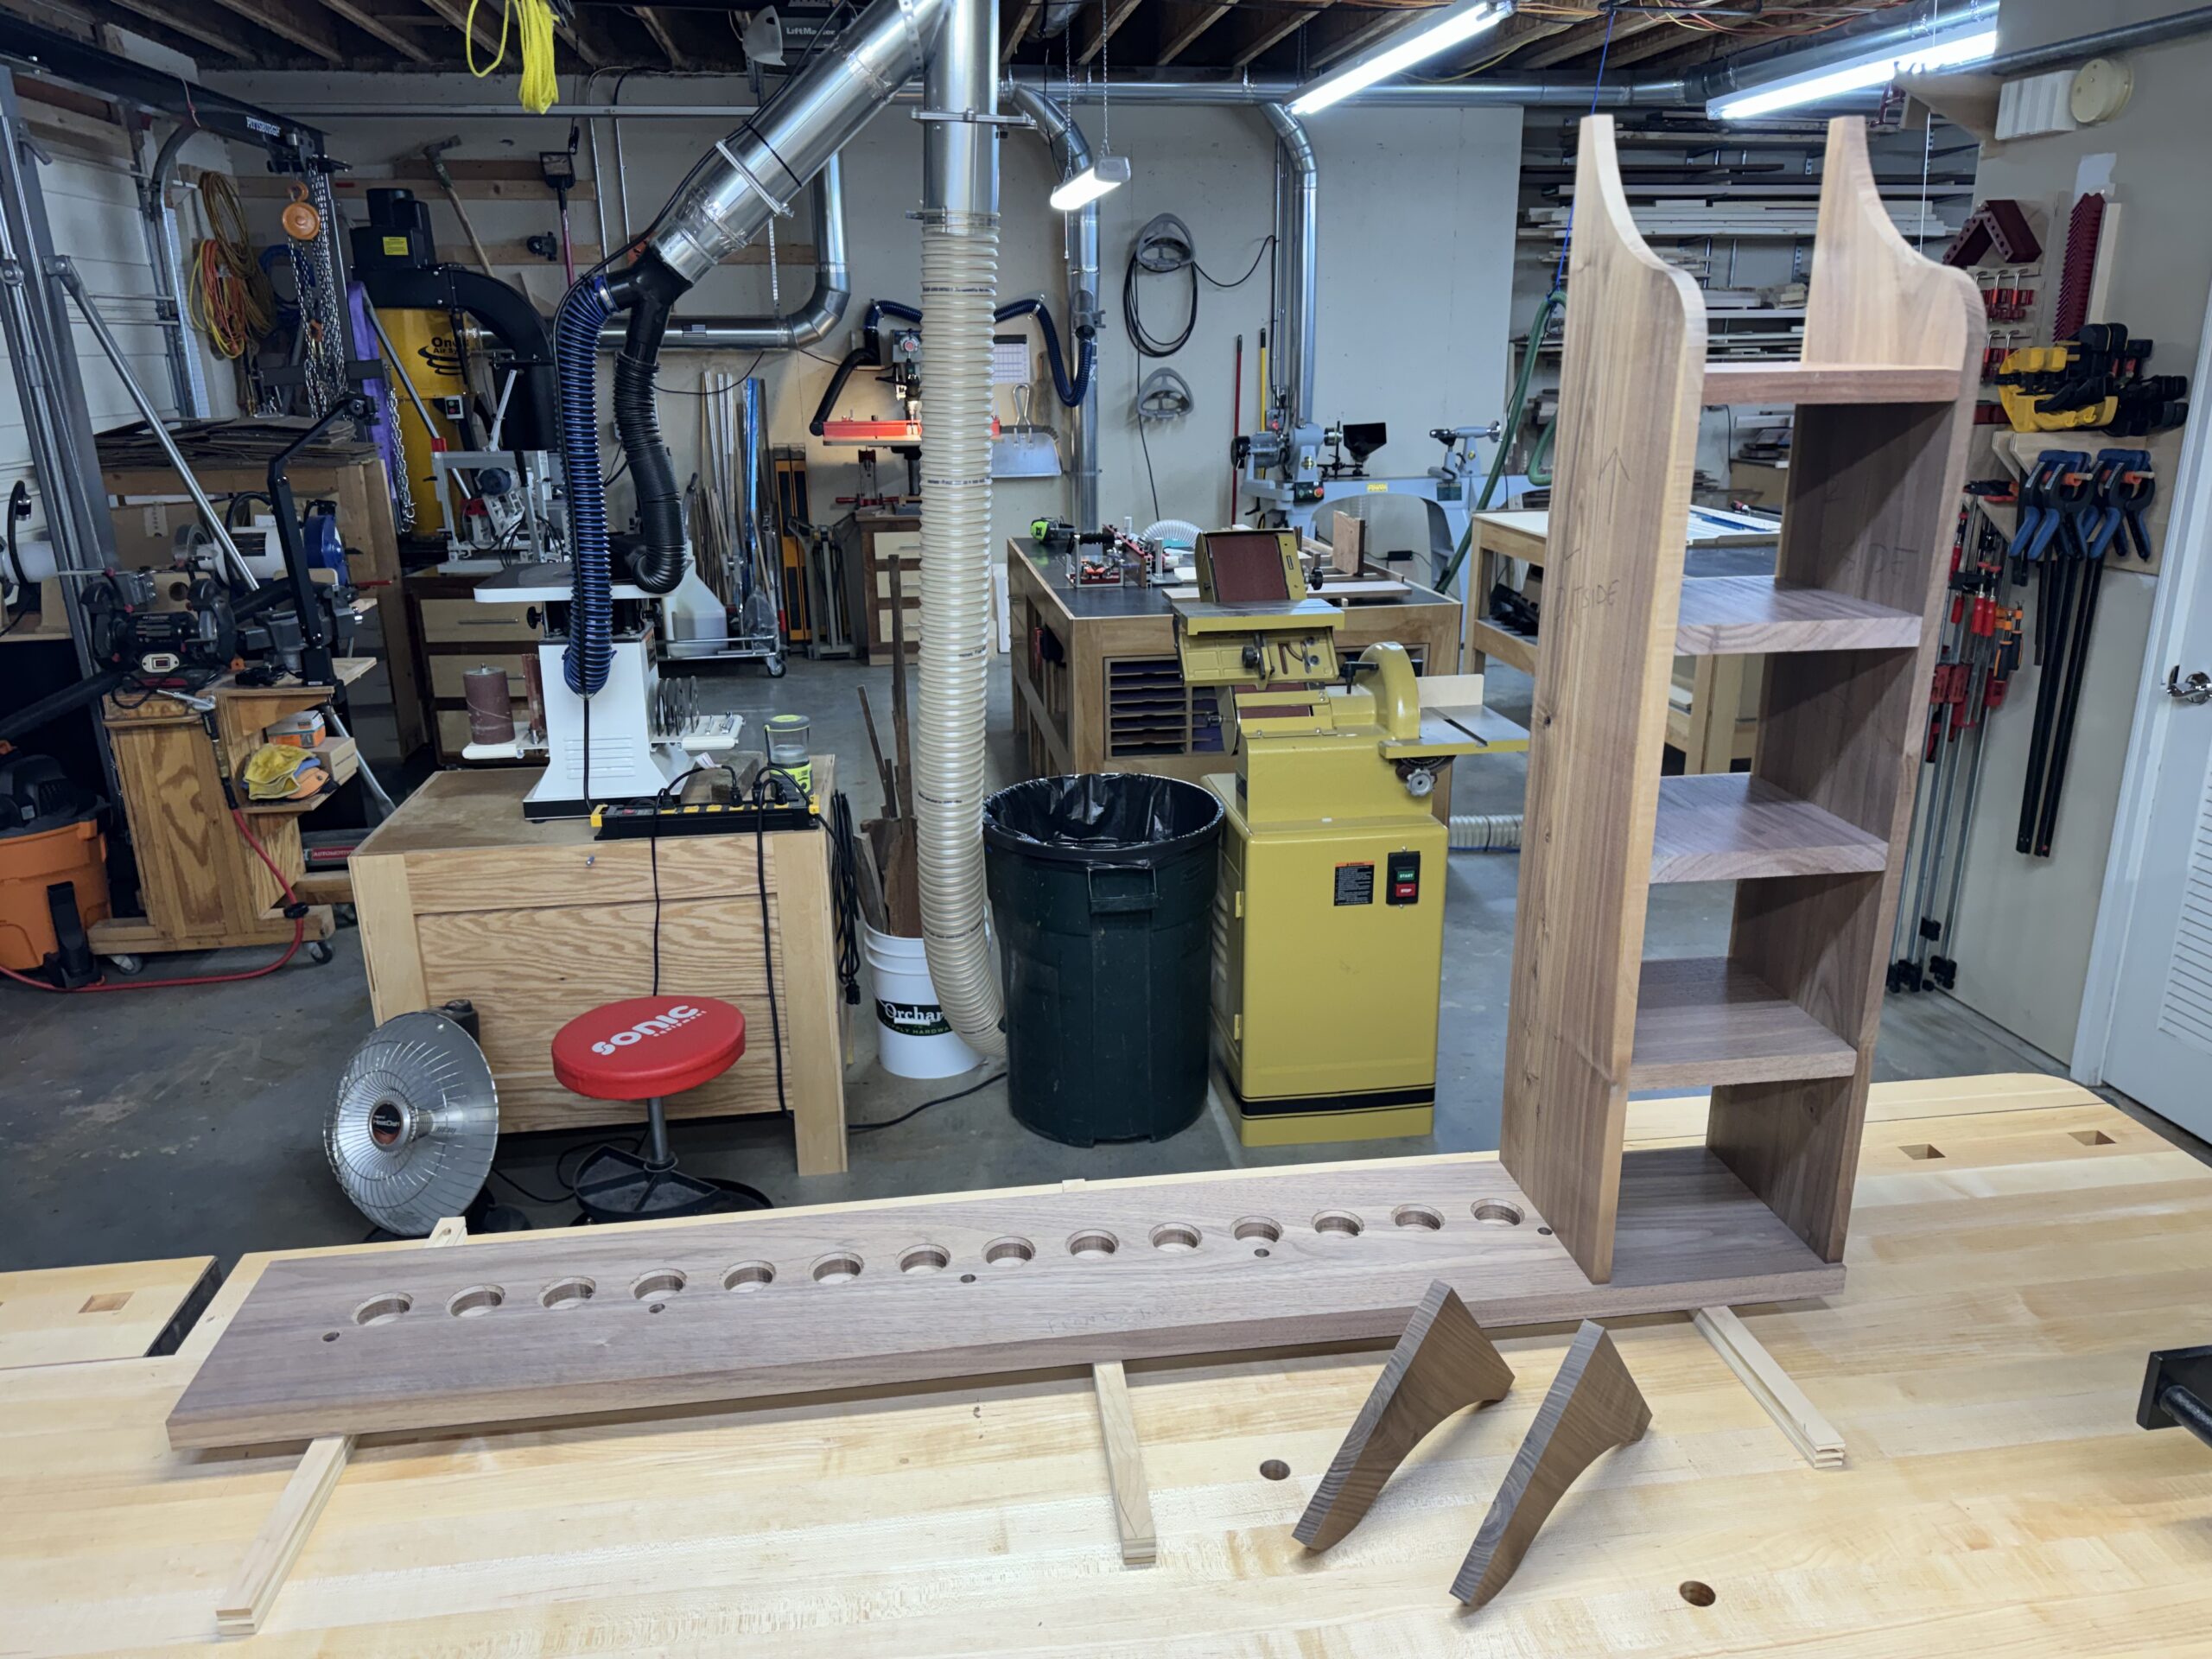
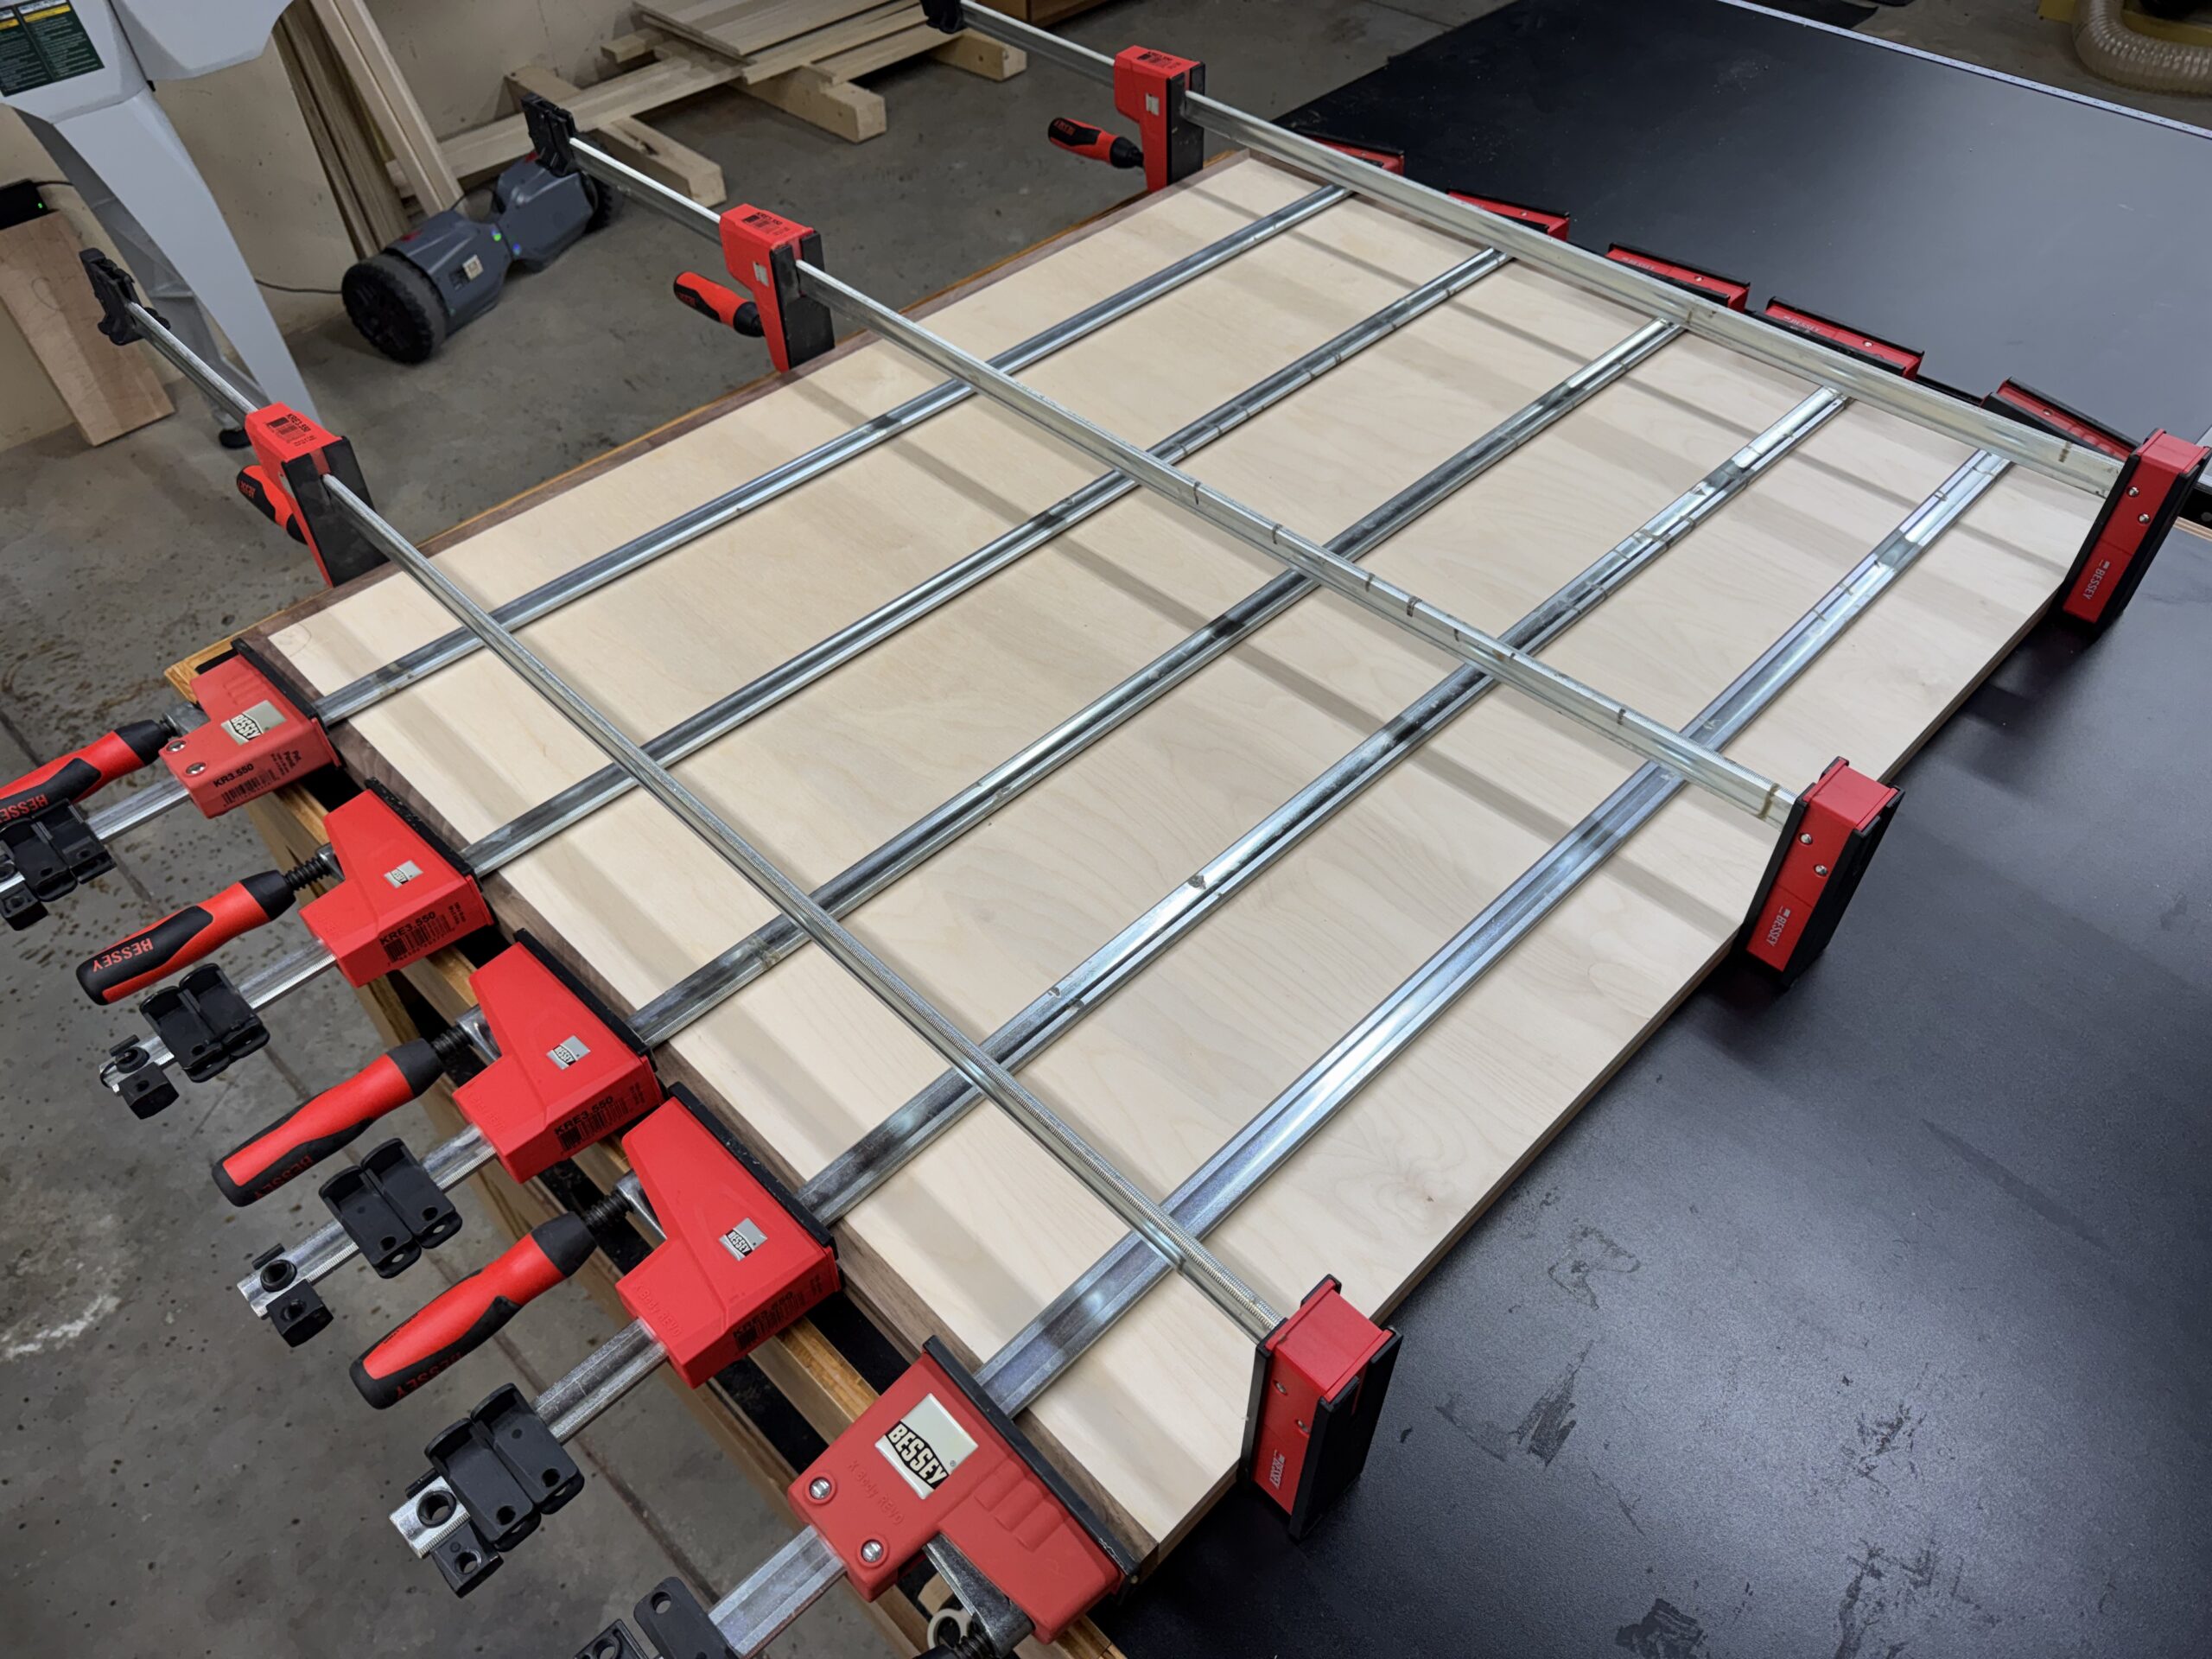
Next, the plywood back is cut and the walnut sides are mitered and glued to the back.
After dowelling the cubby sides and shelf supports to mate with the shelf, the parts are dry fit.
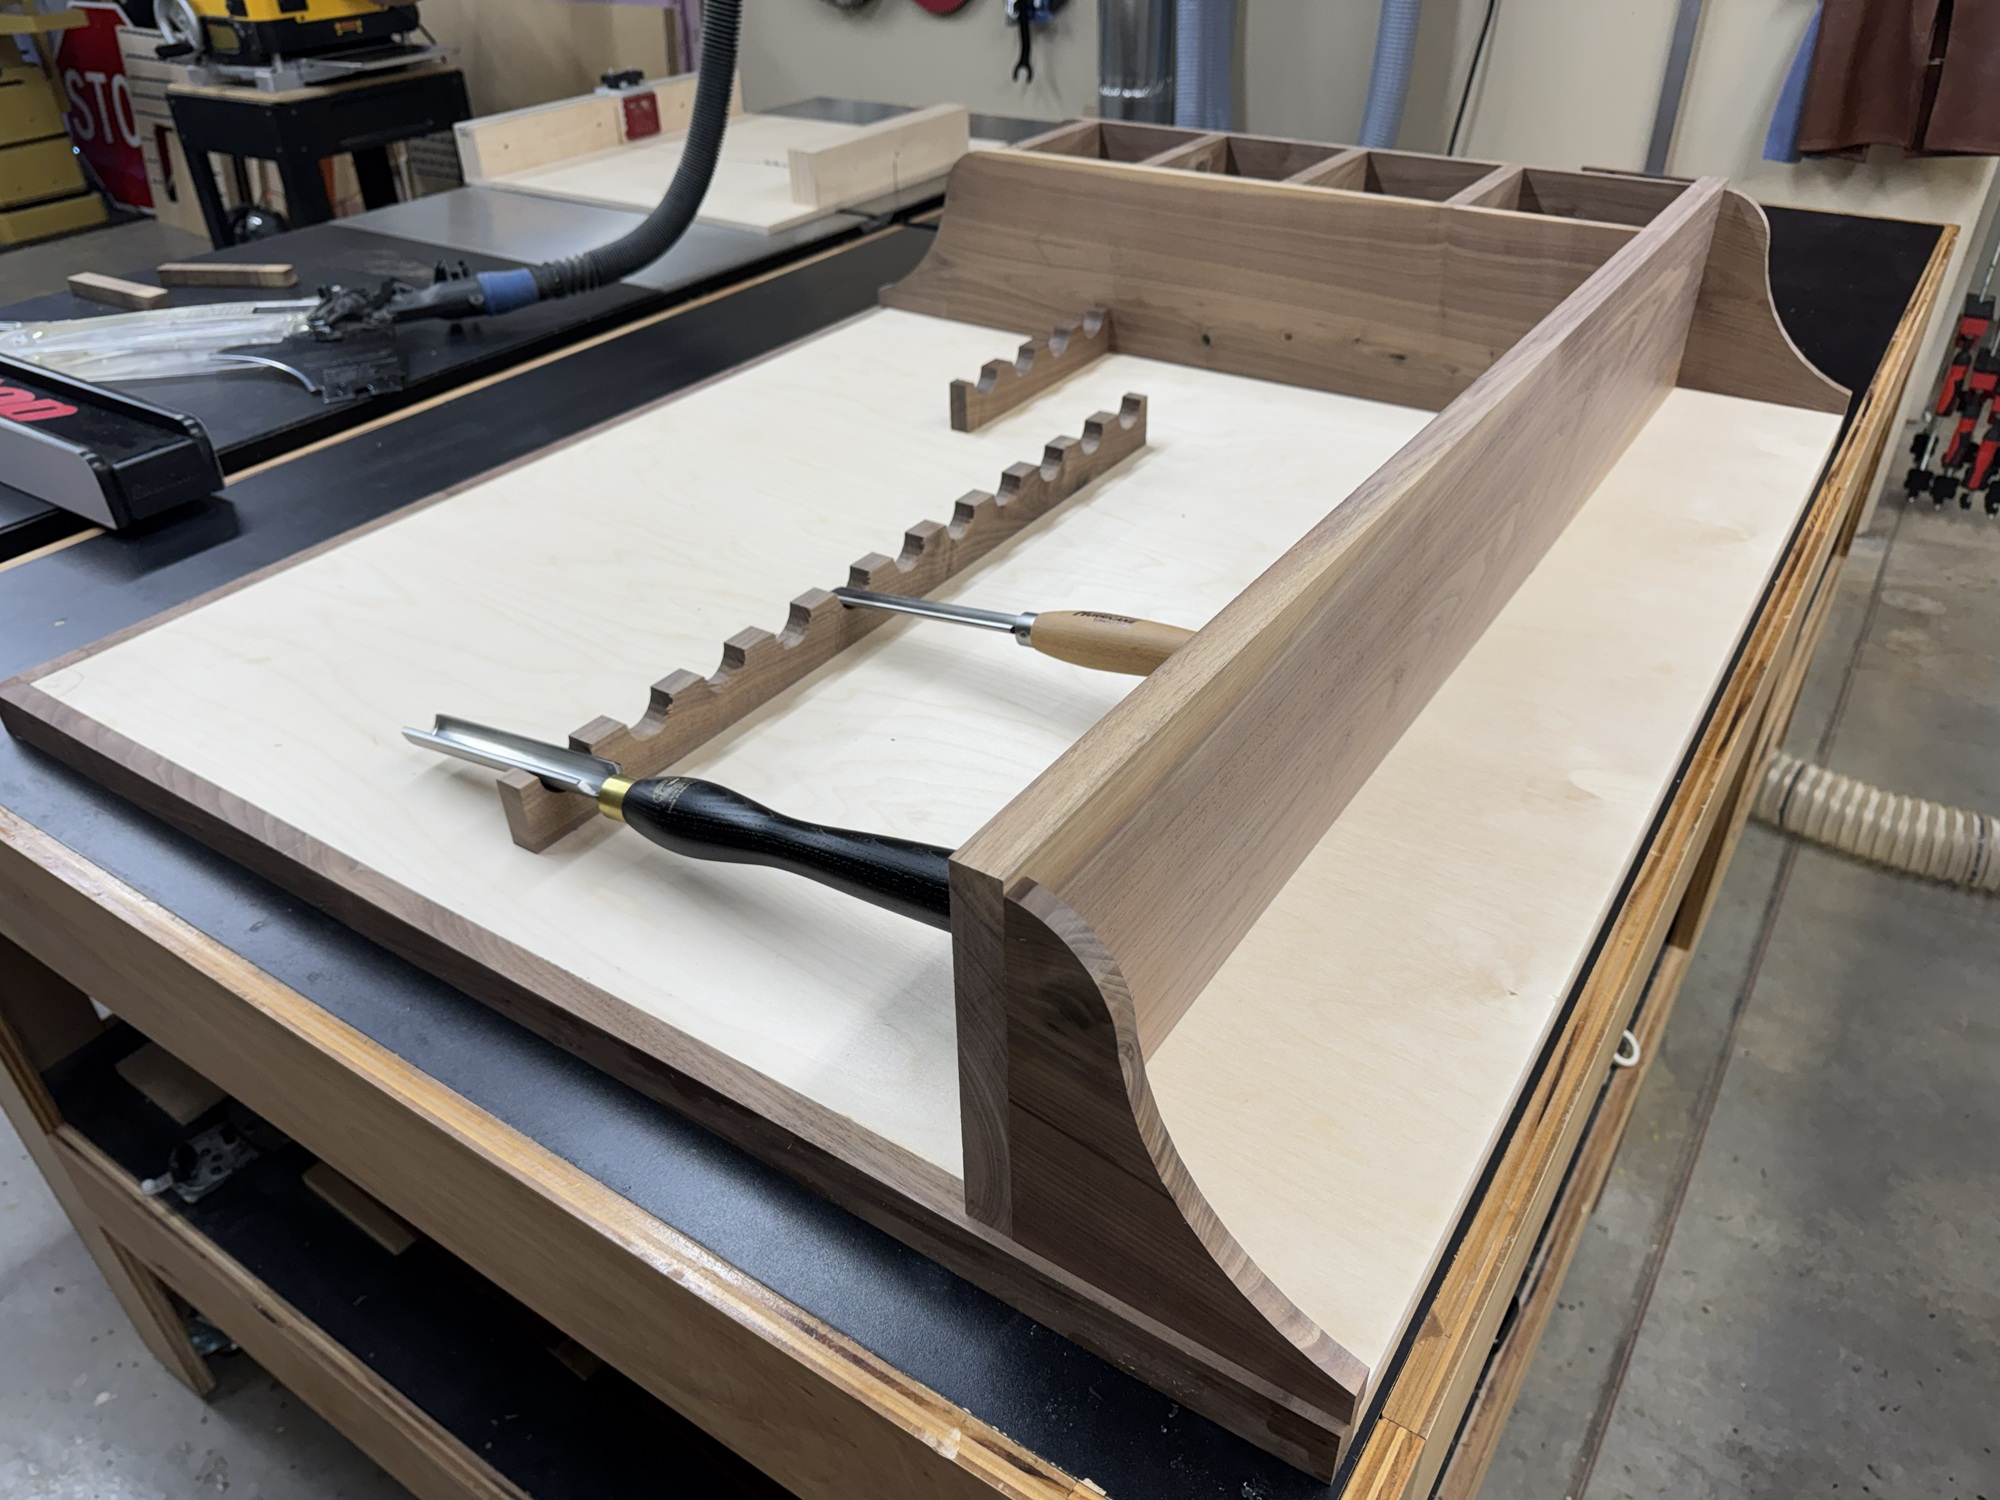
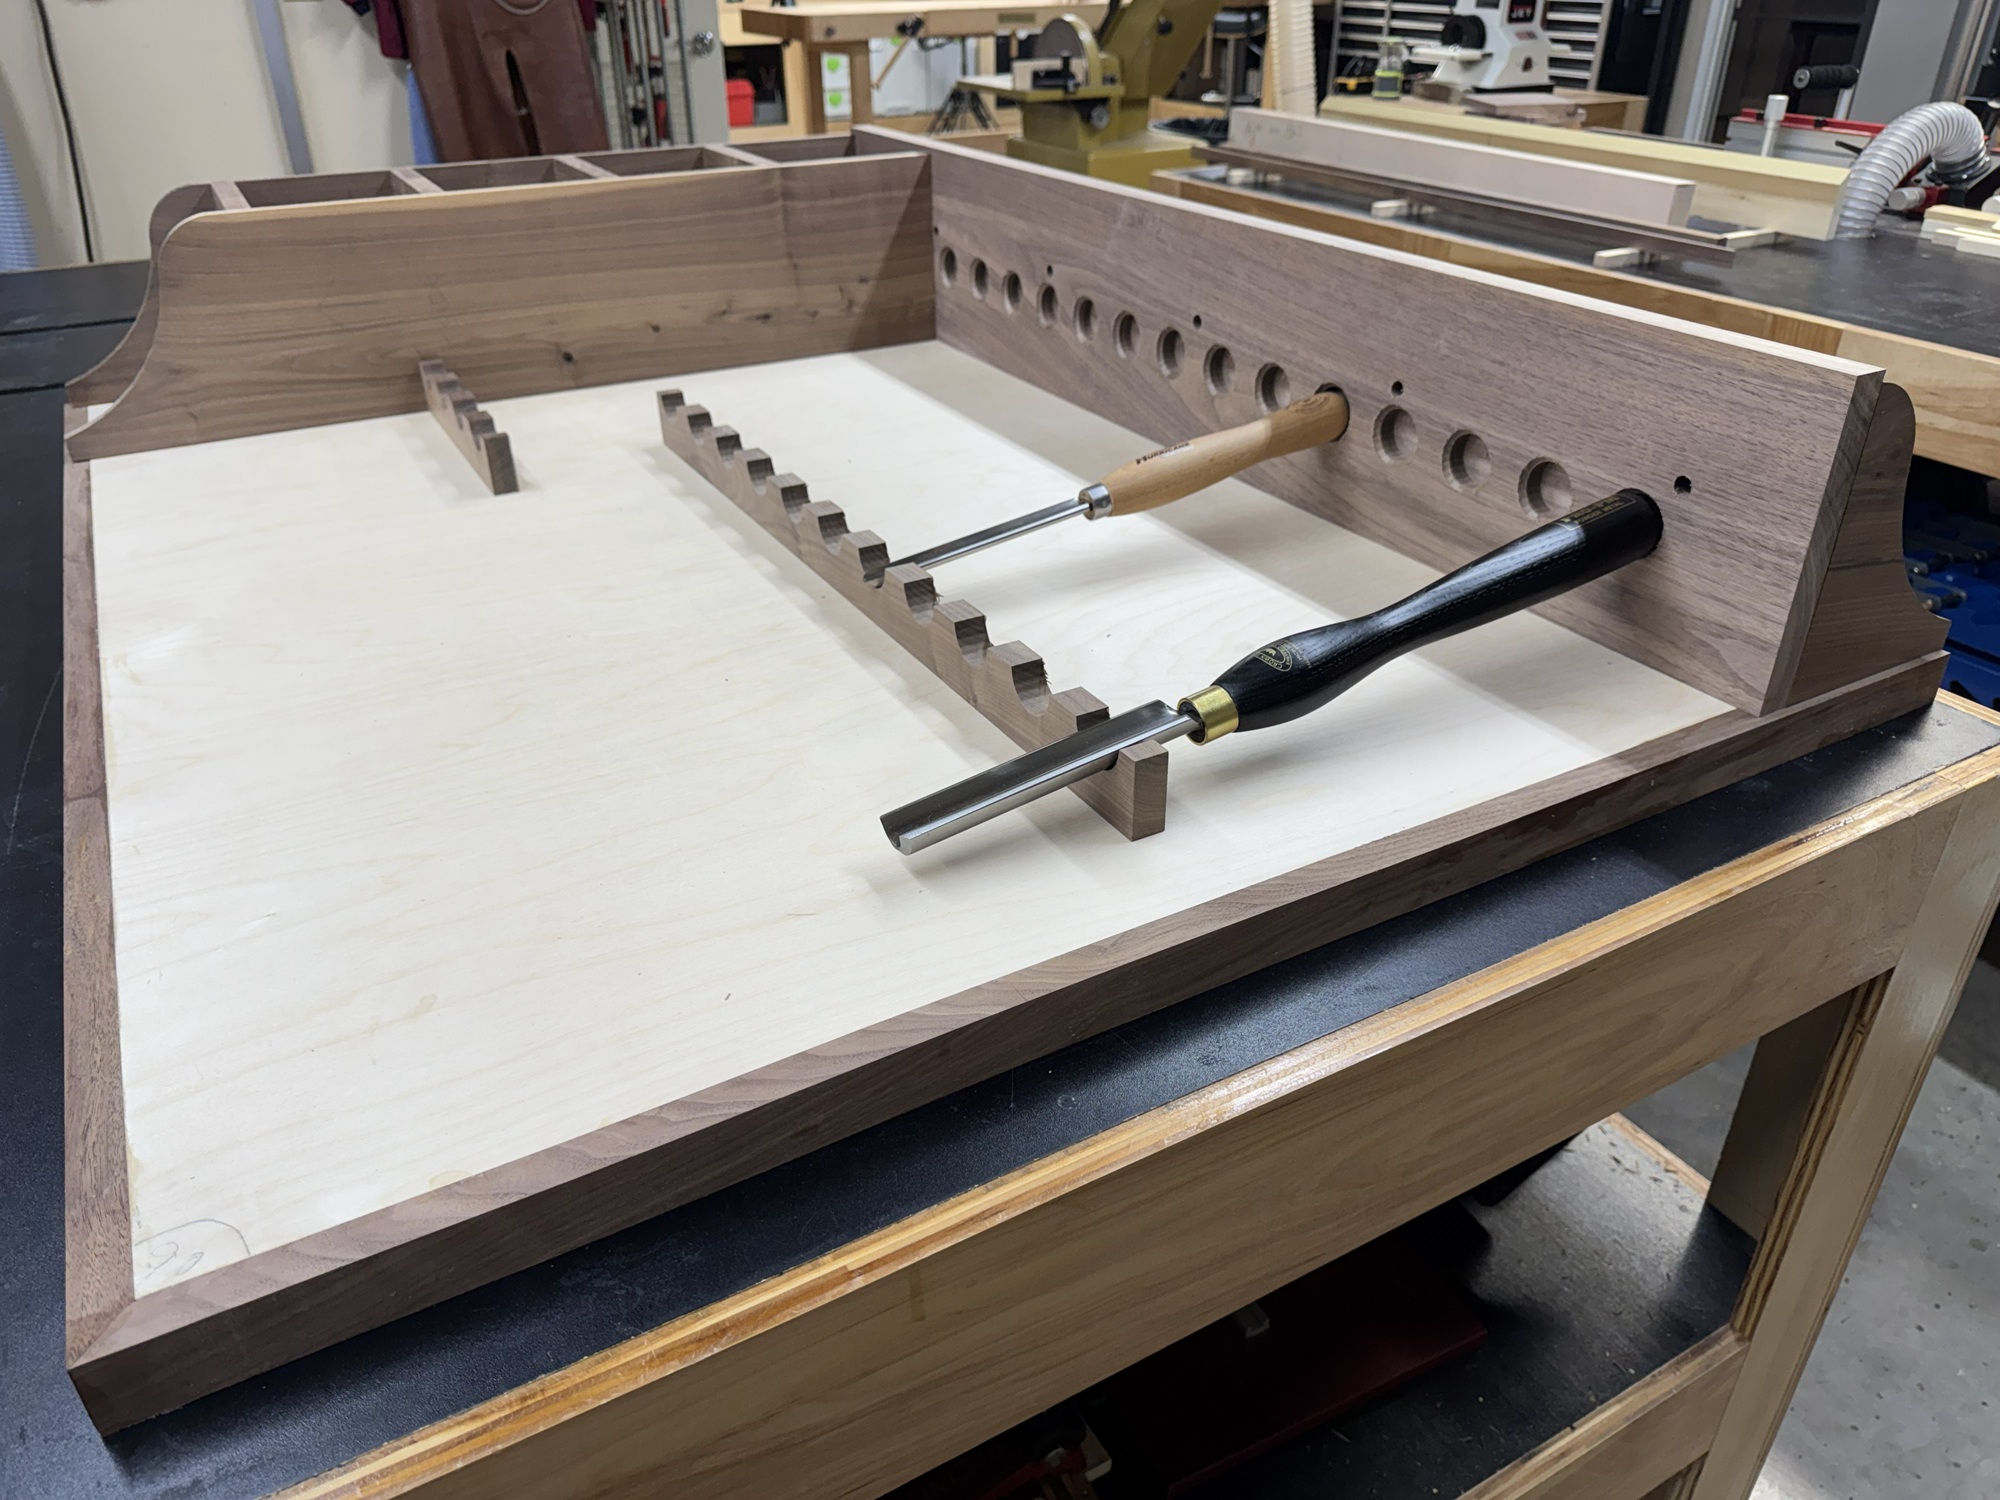
Next, the drawer slides are made and installed, and the interior faces of the cubby are sanded and finished.
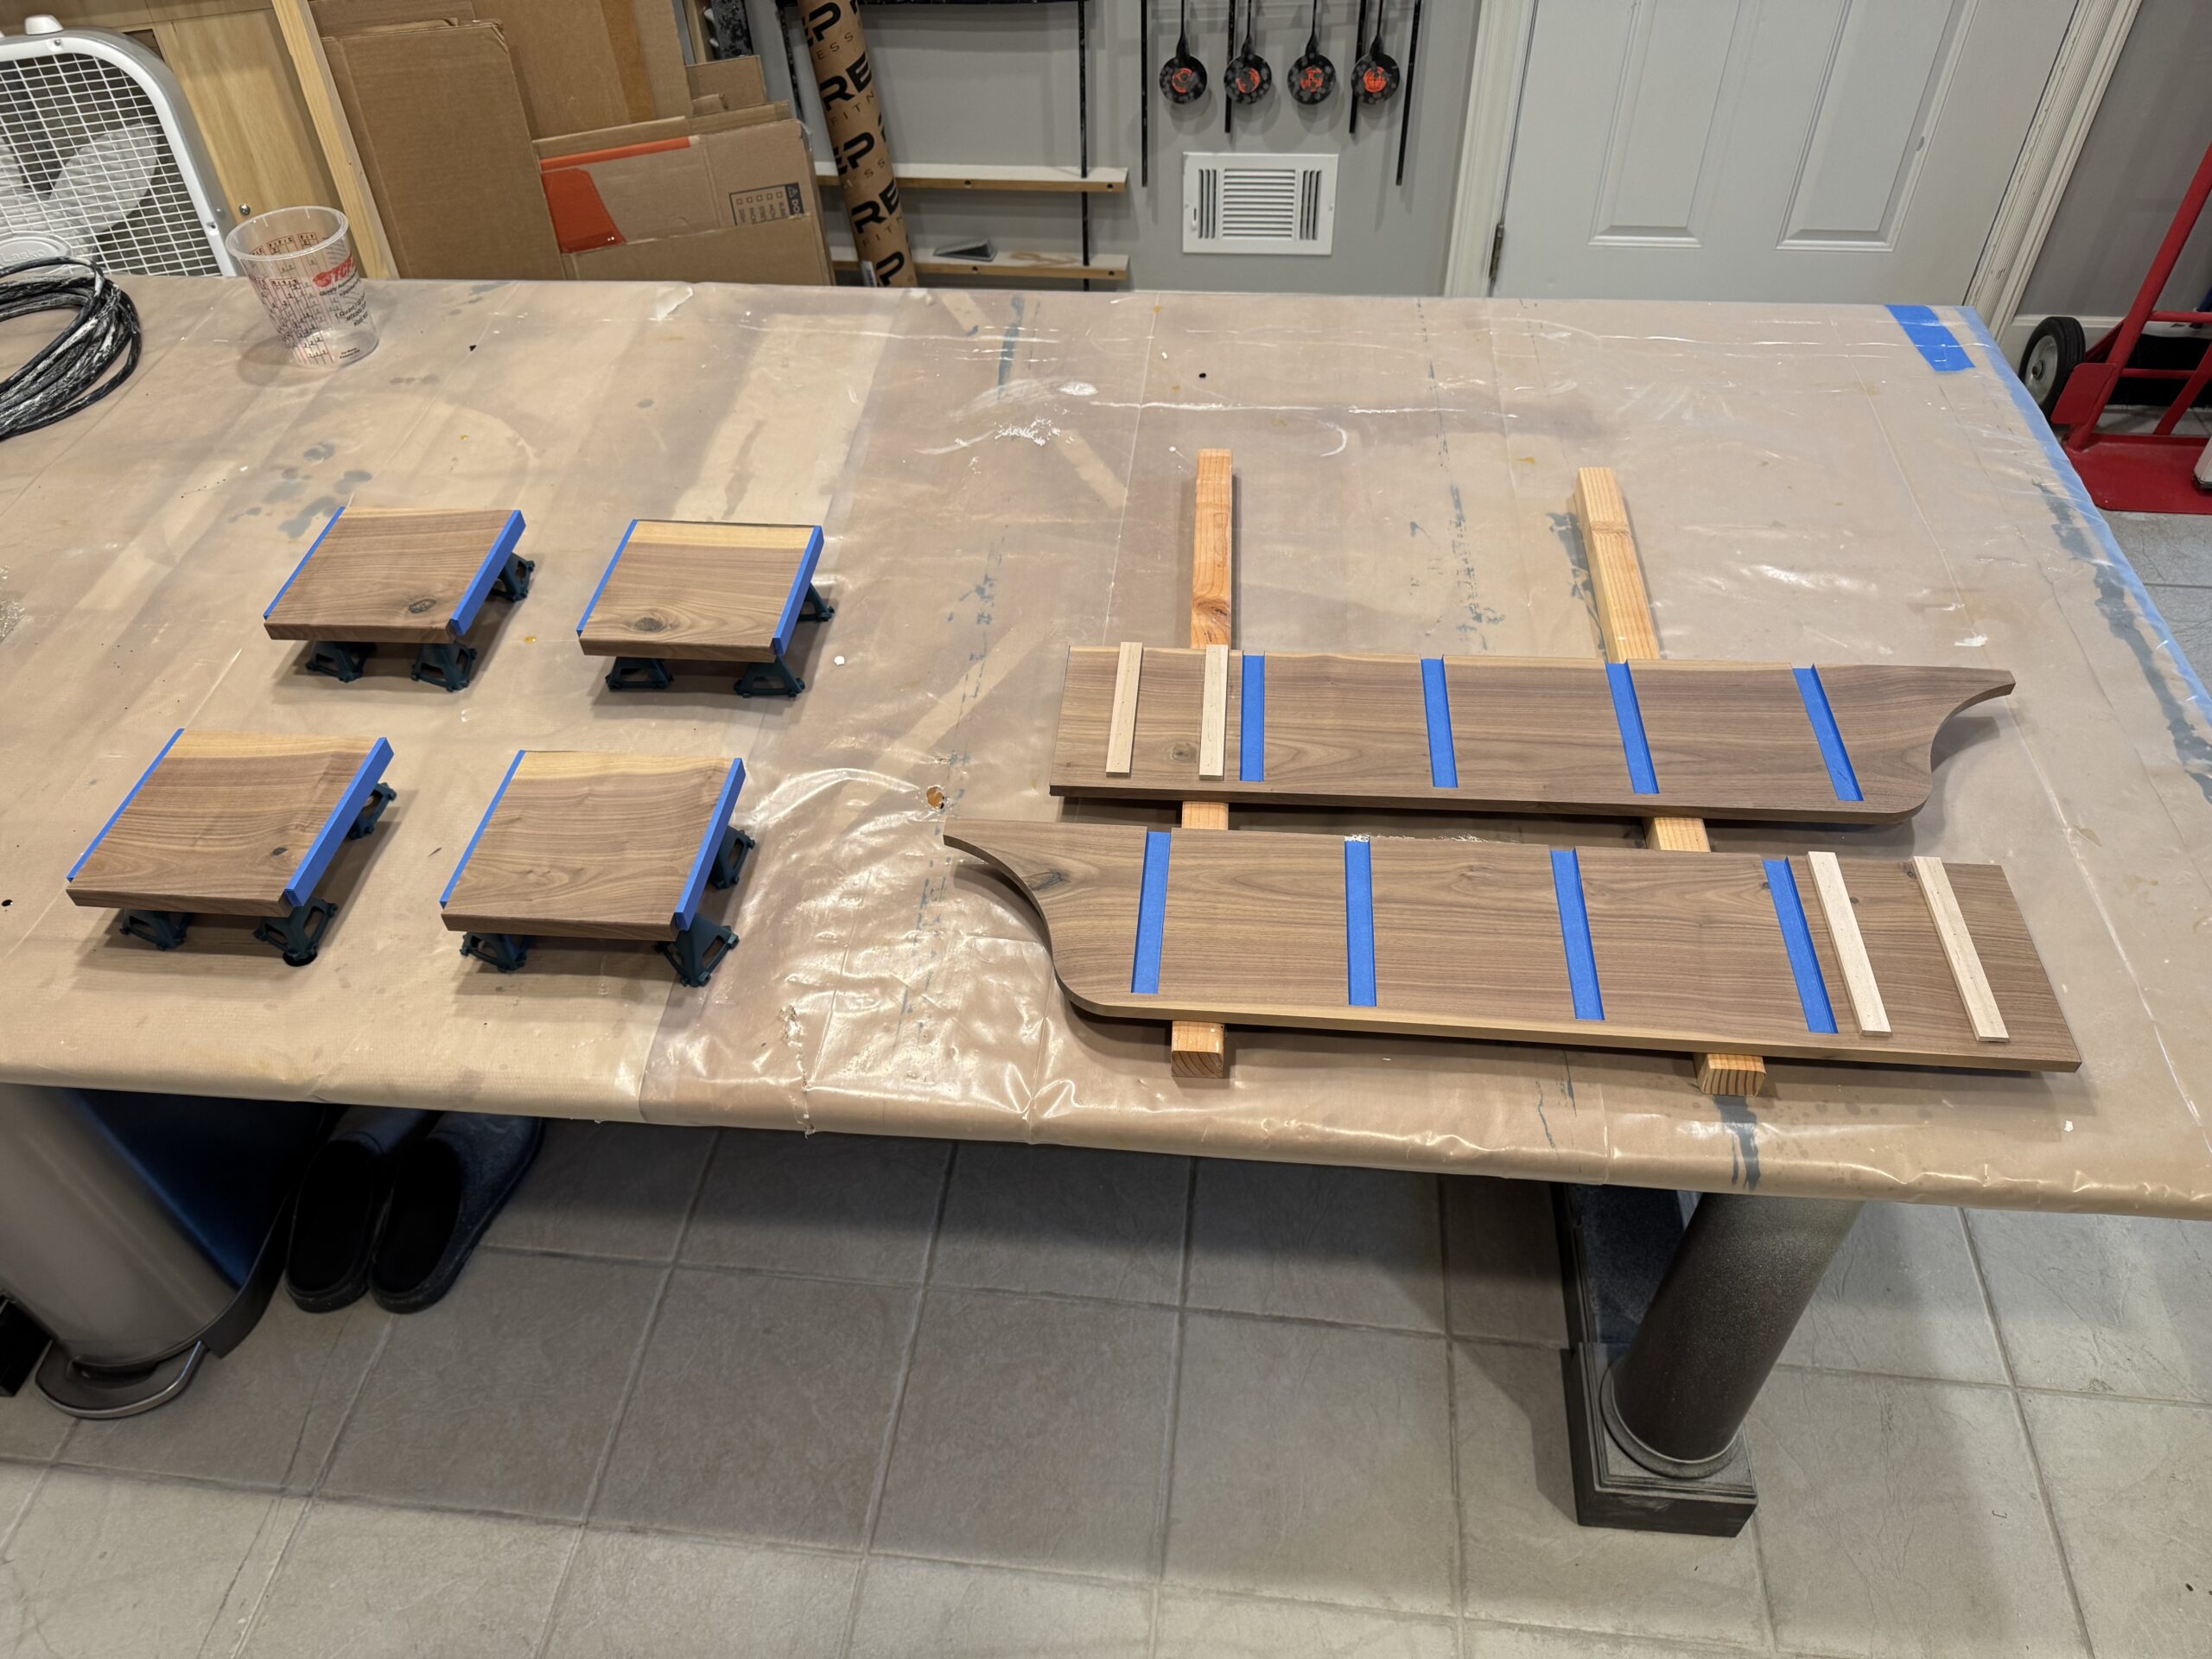
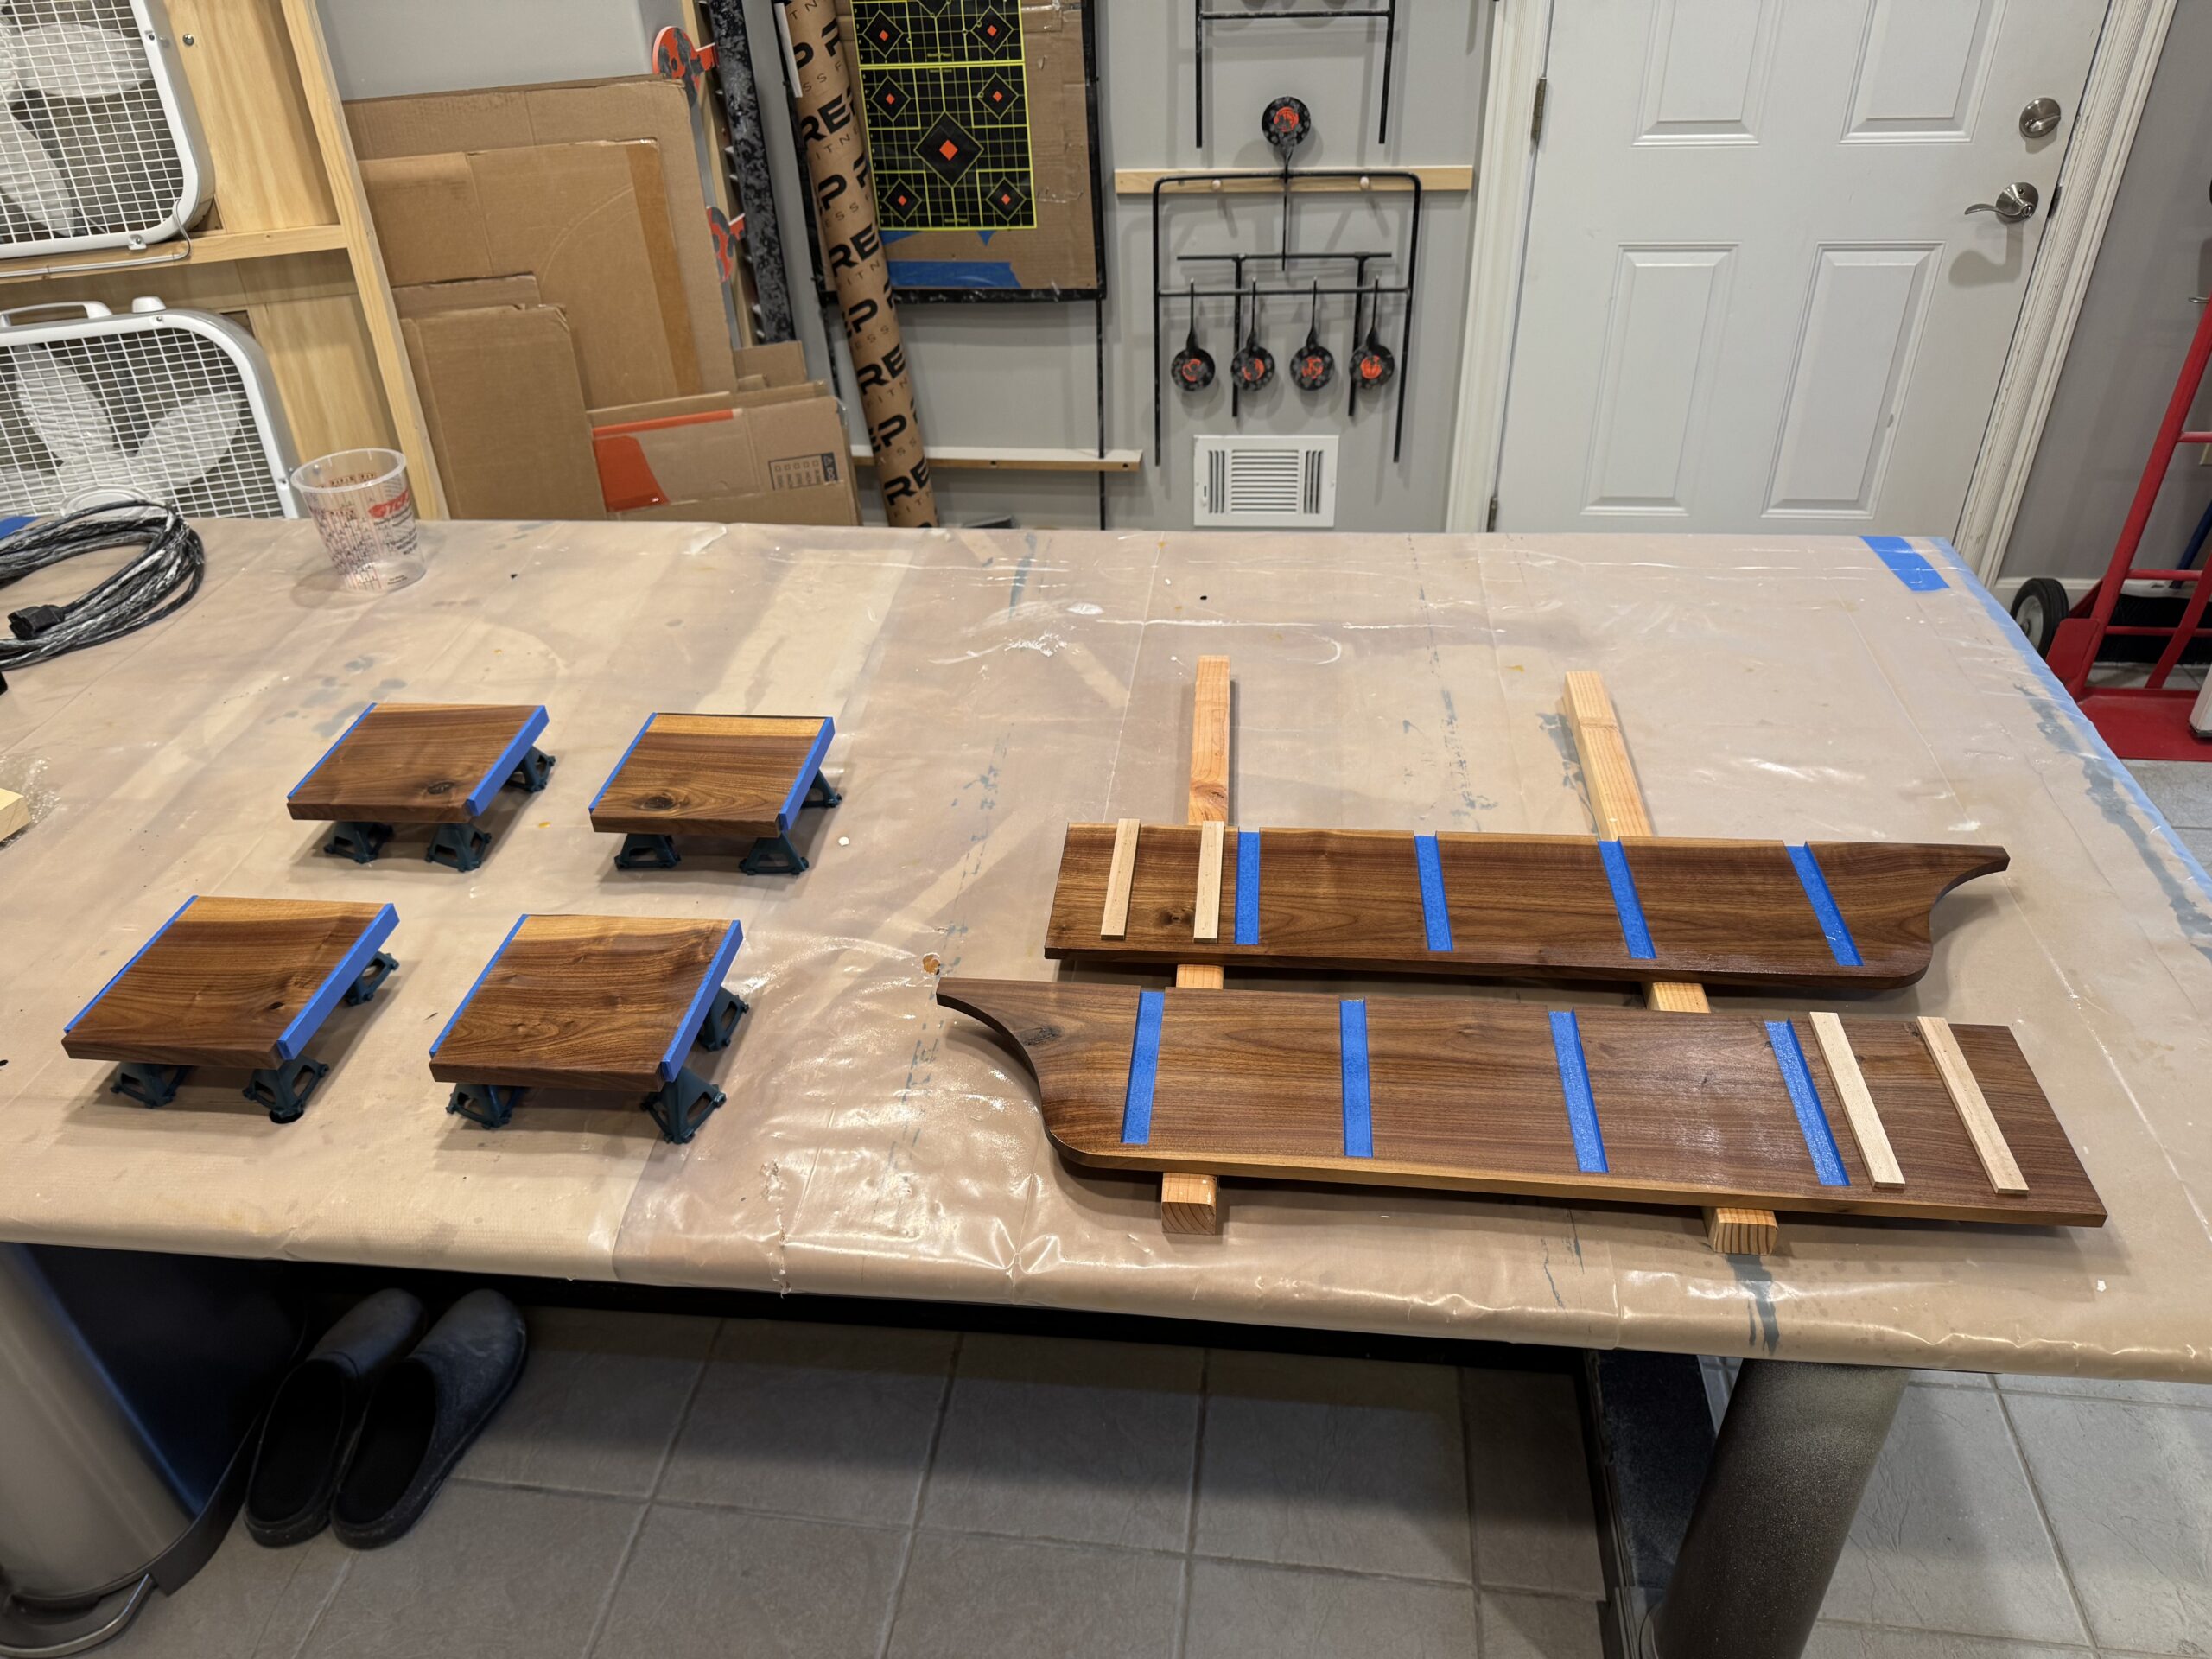
The cubby components are glued up.
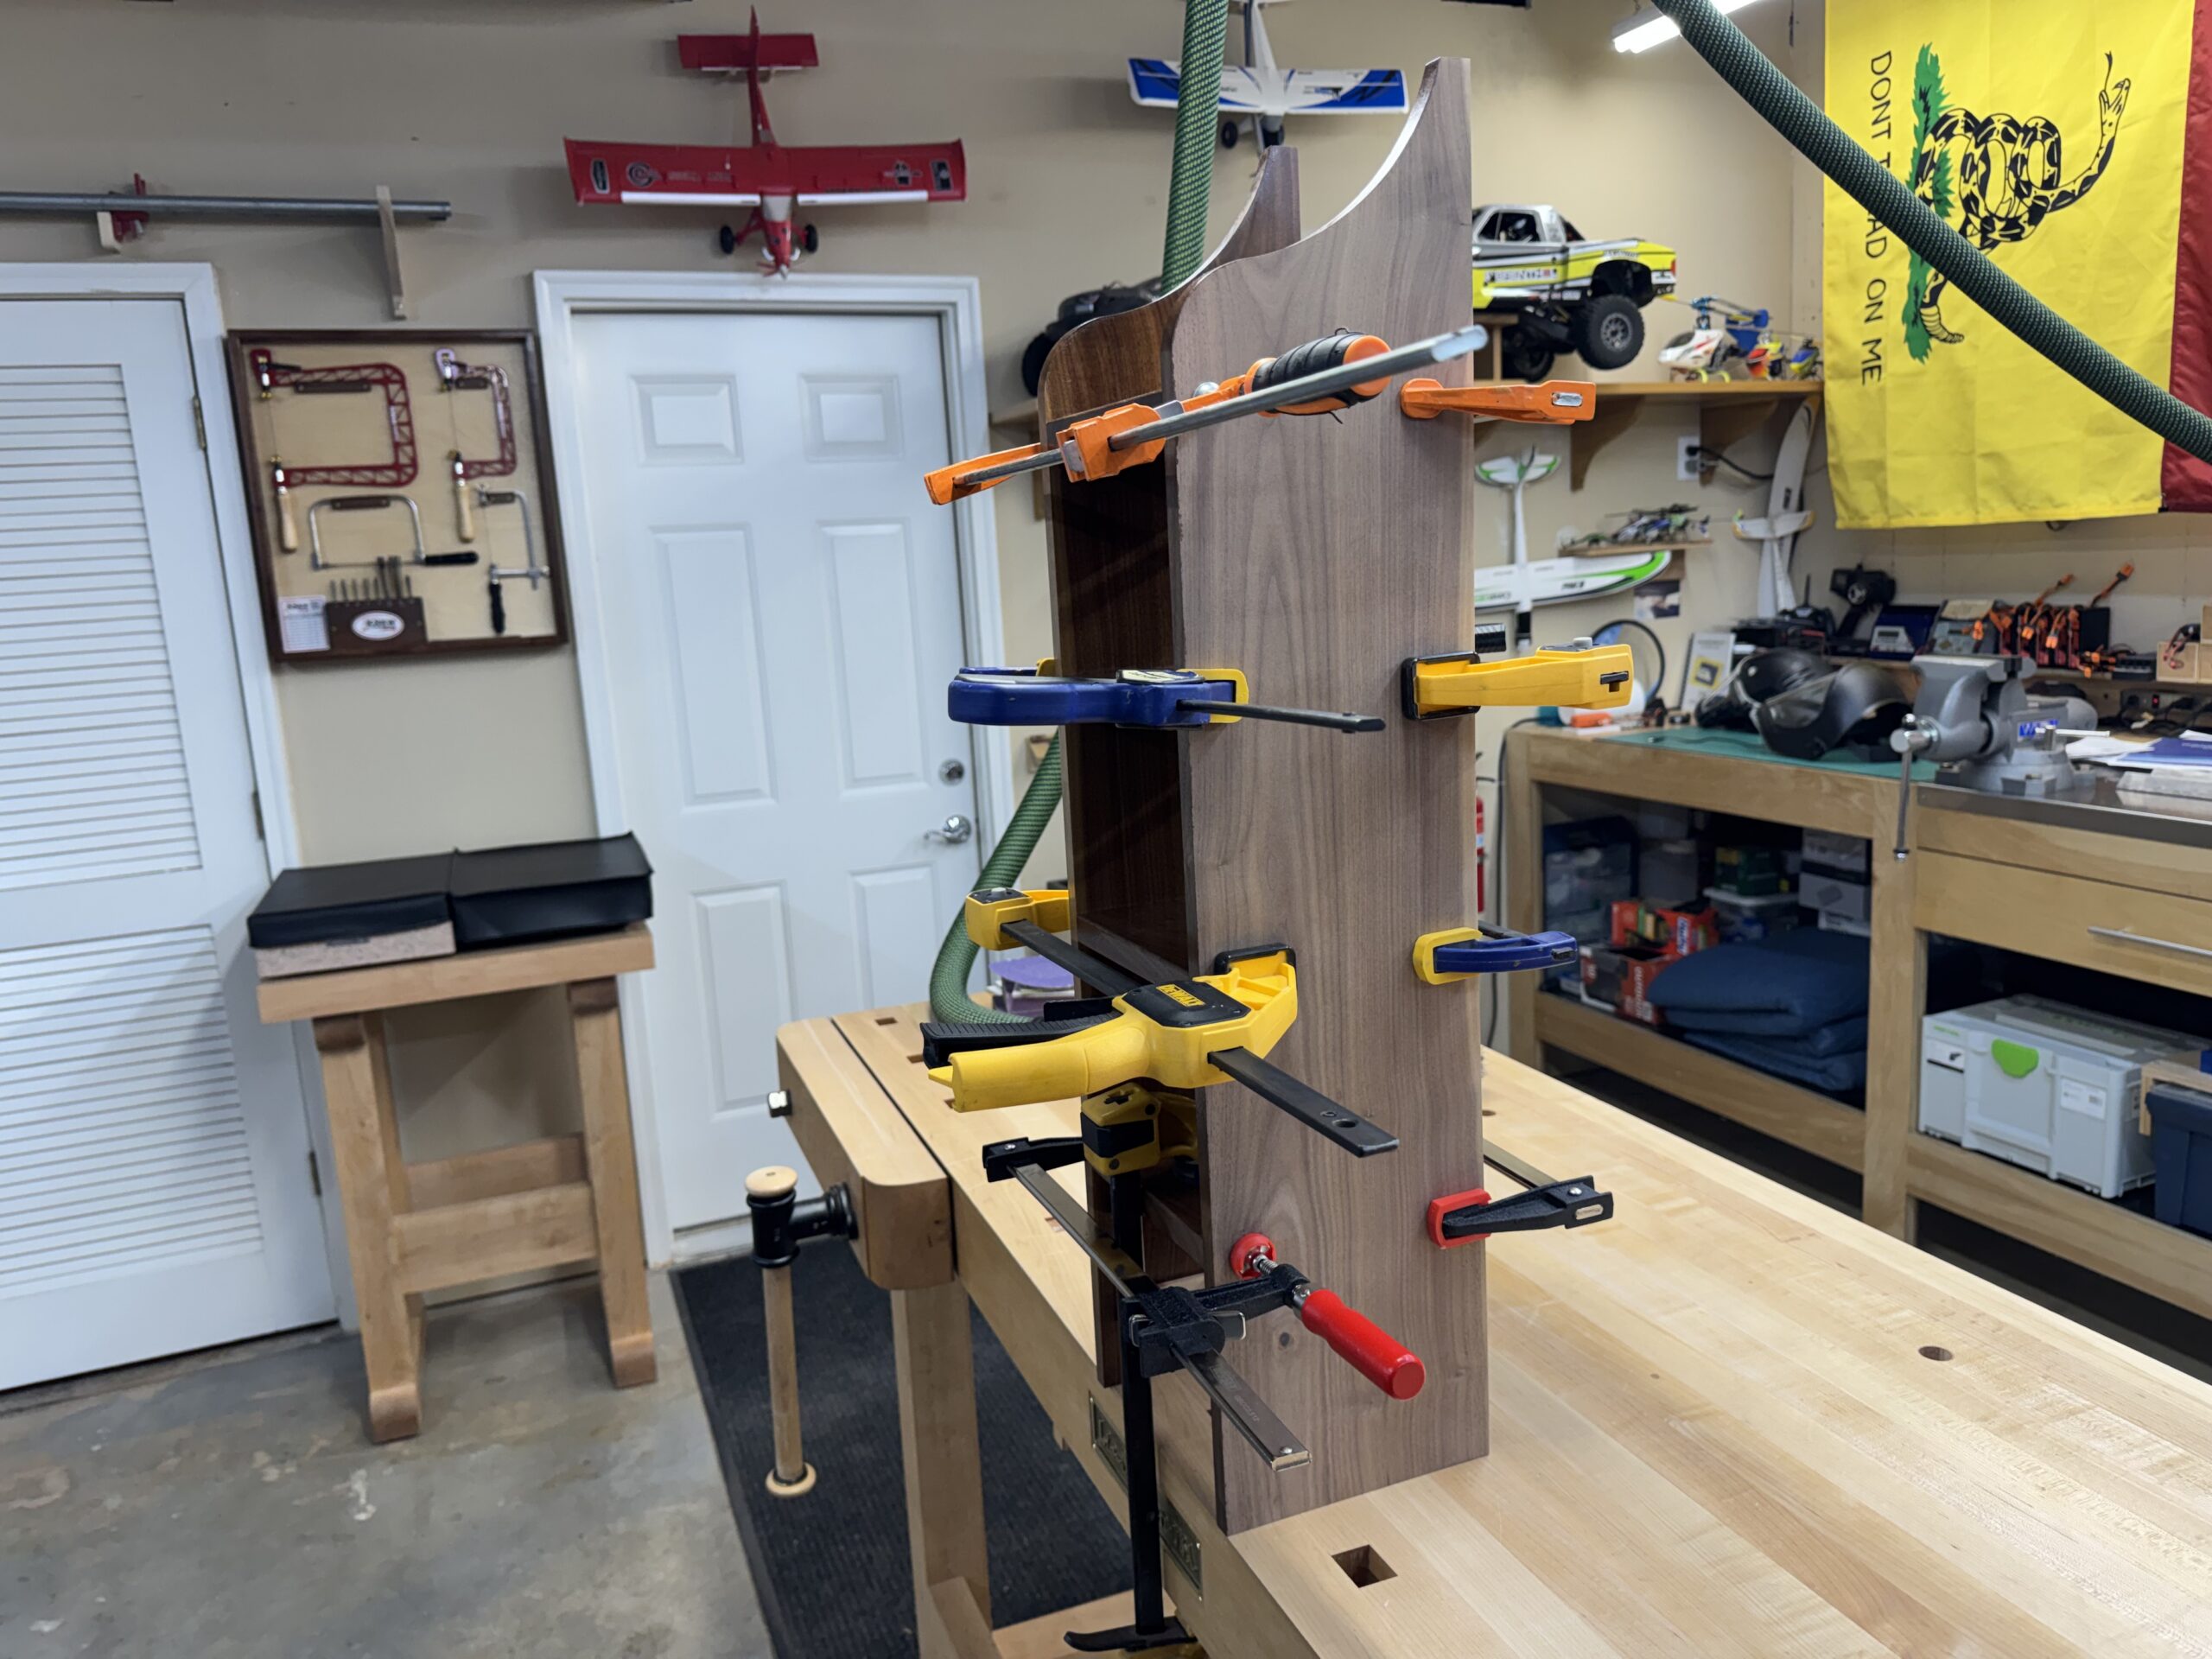
The back is sanded and finished.
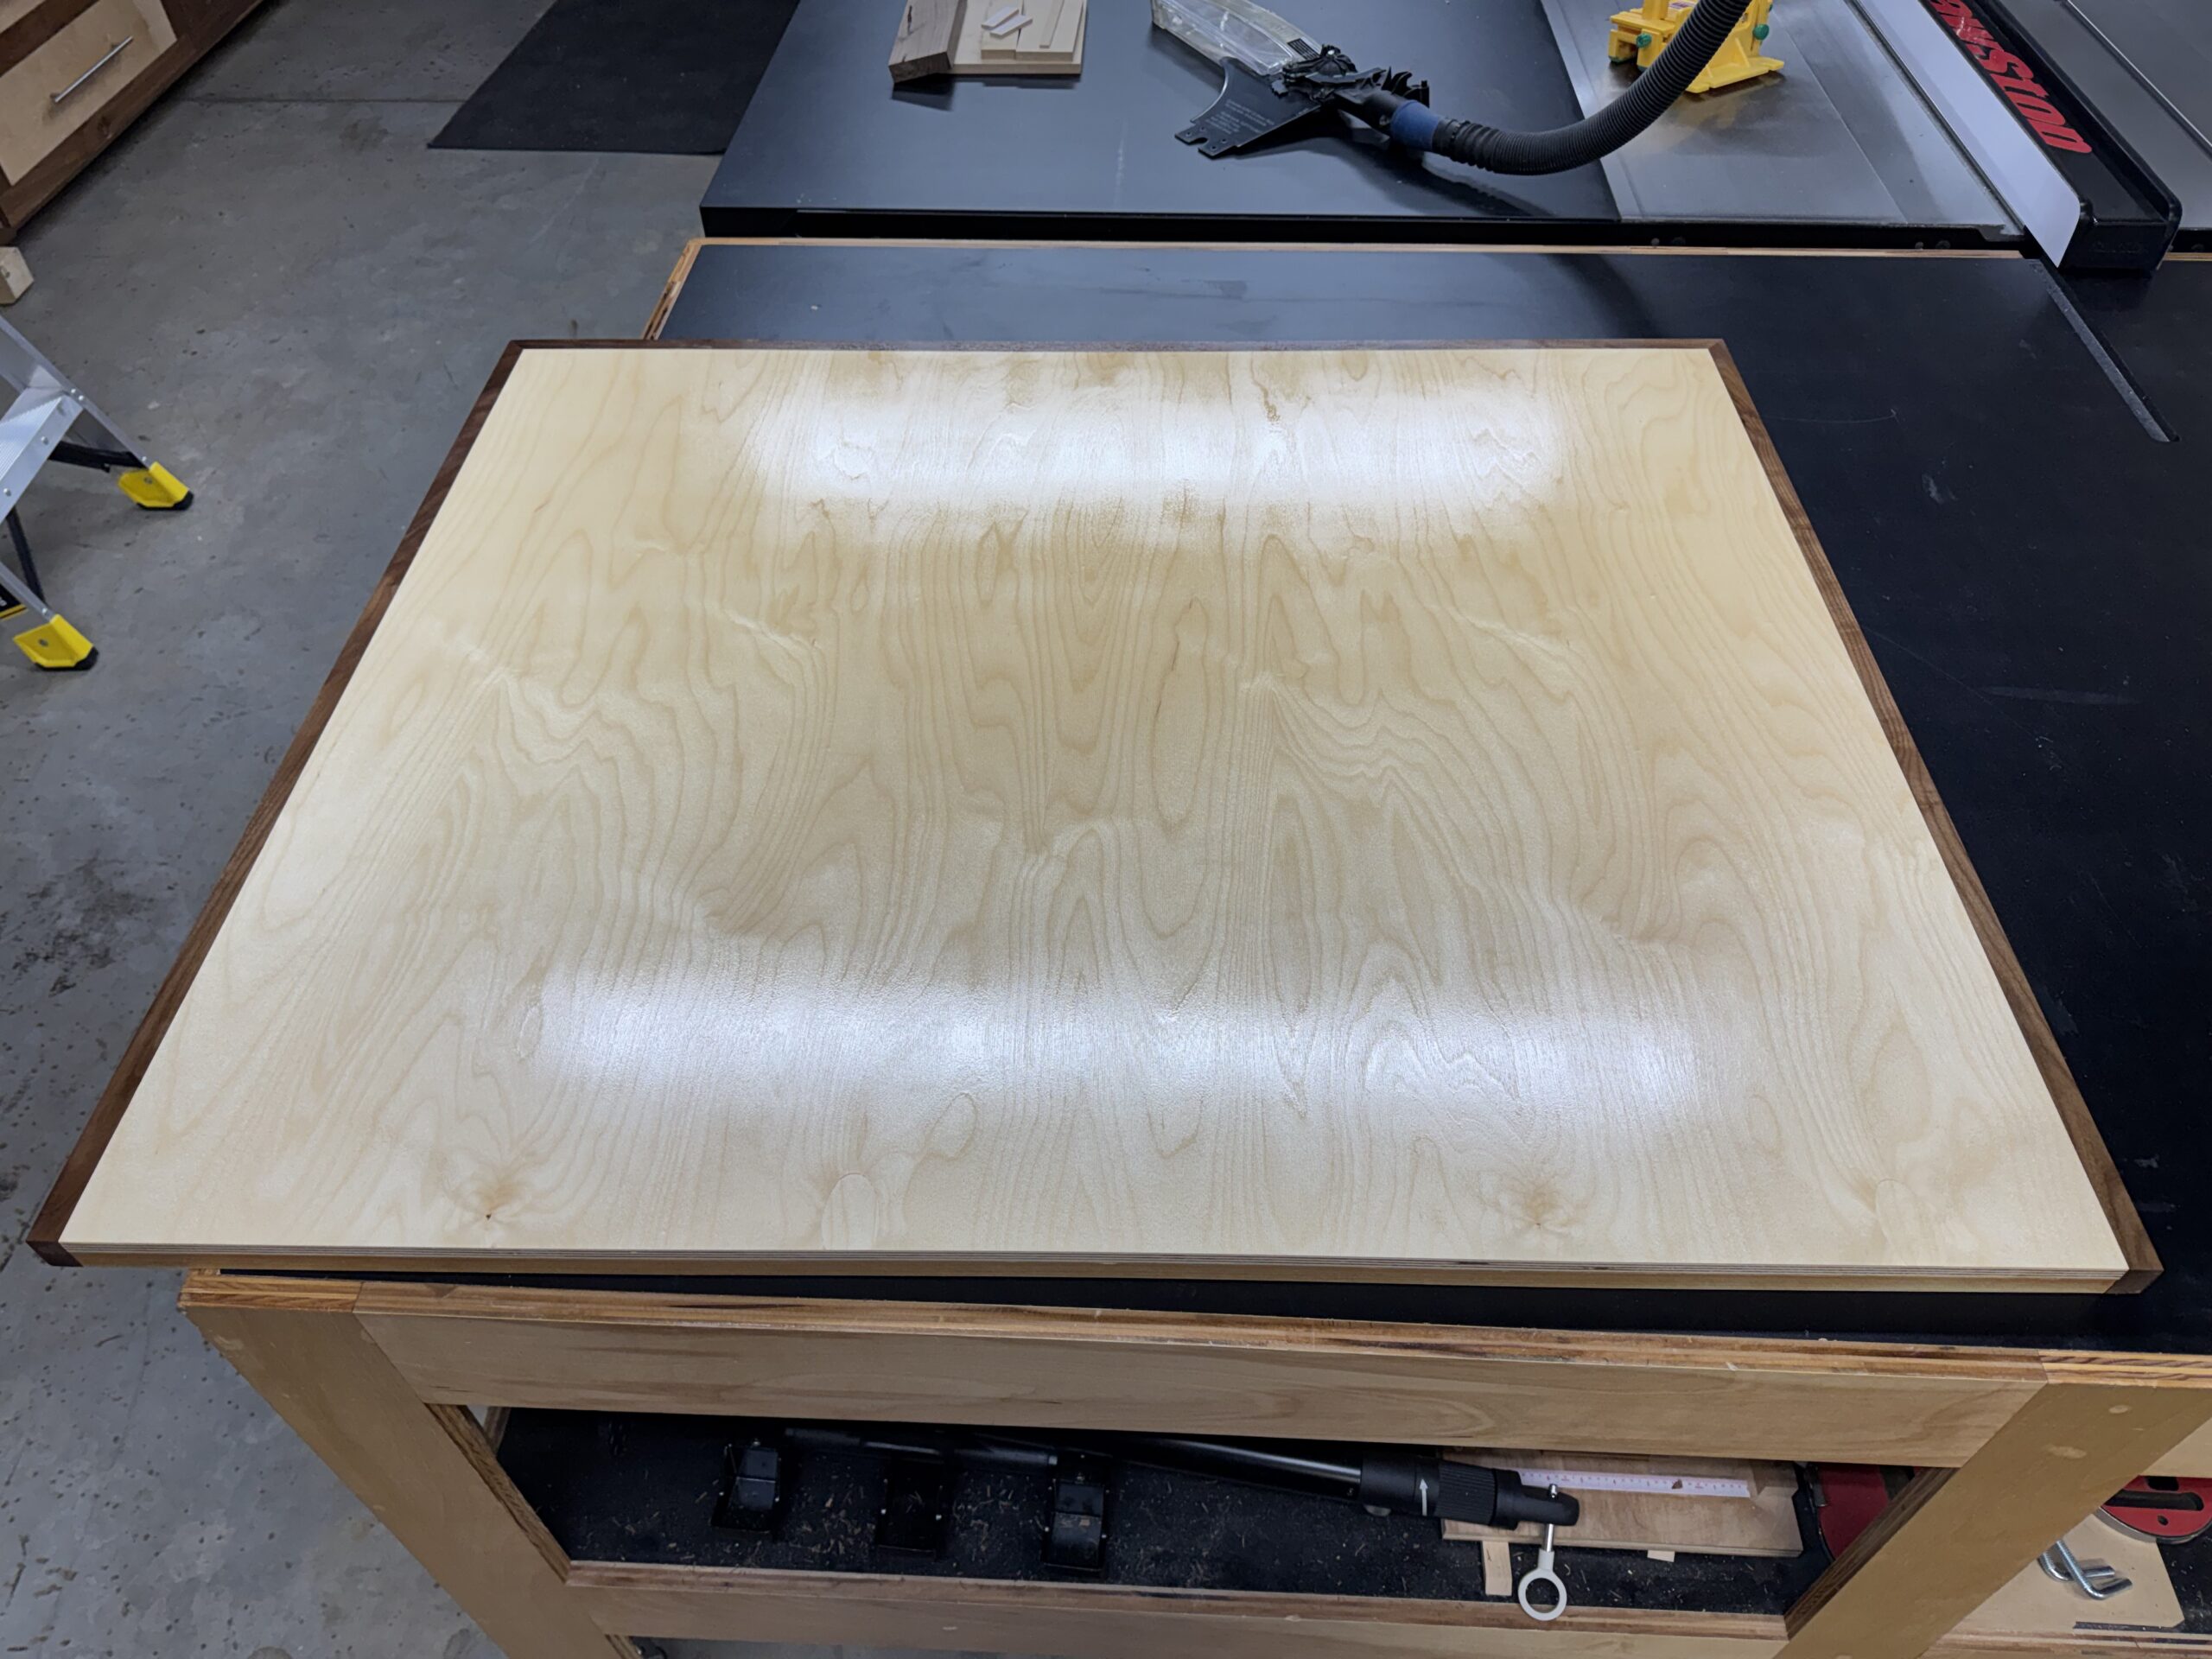
The shelf is sanded and finished.
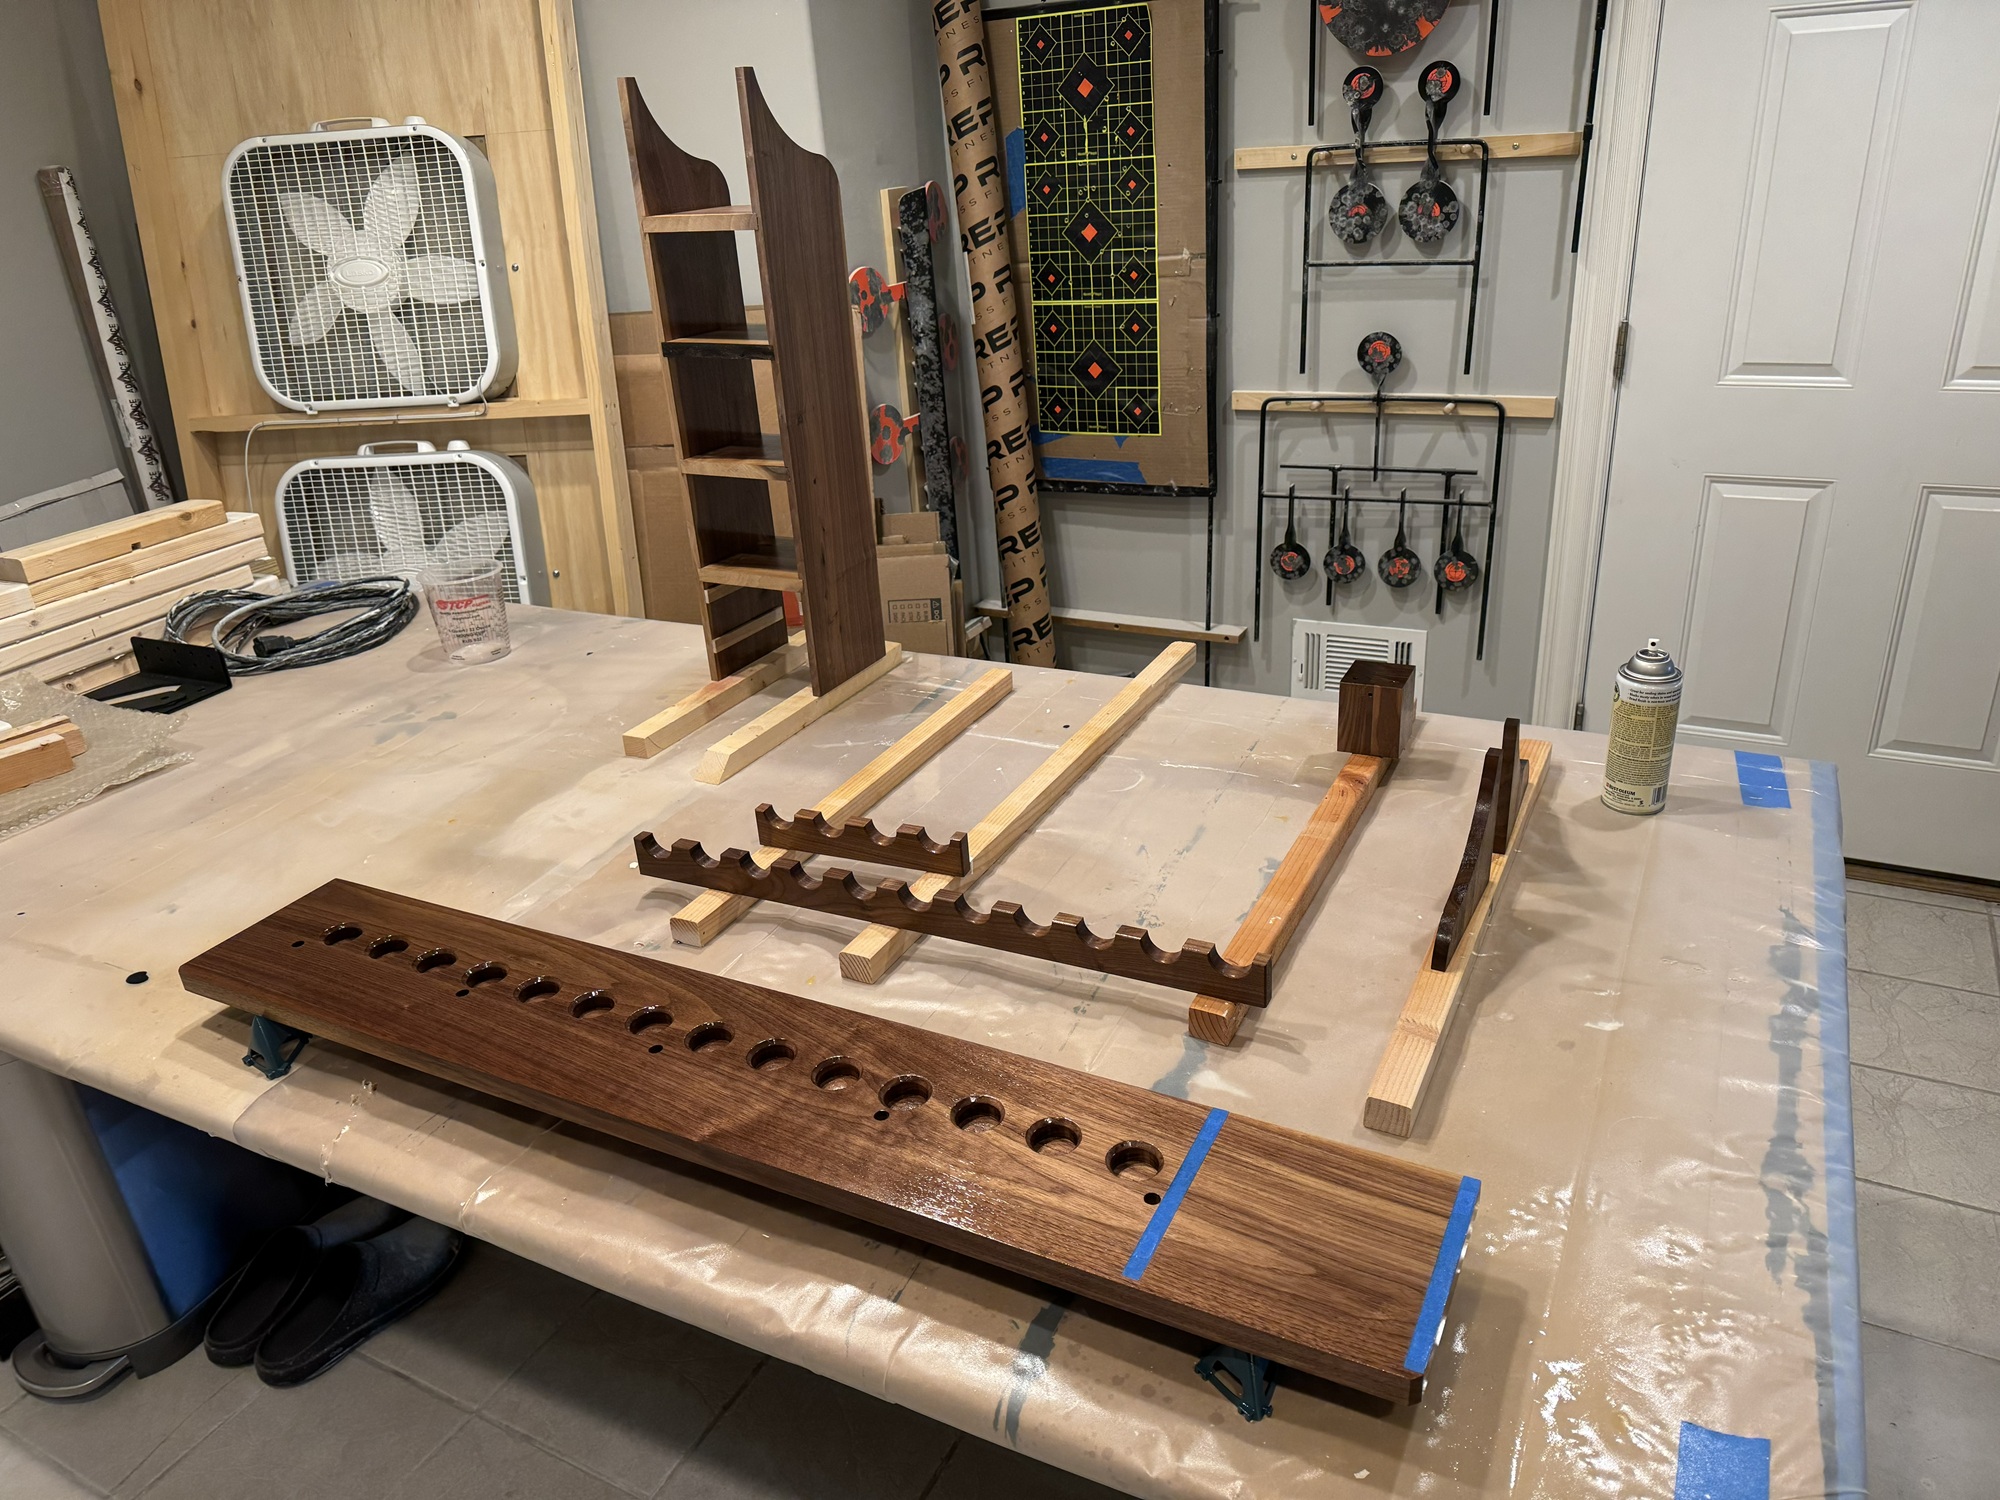
The shelf and cubby are glued up.
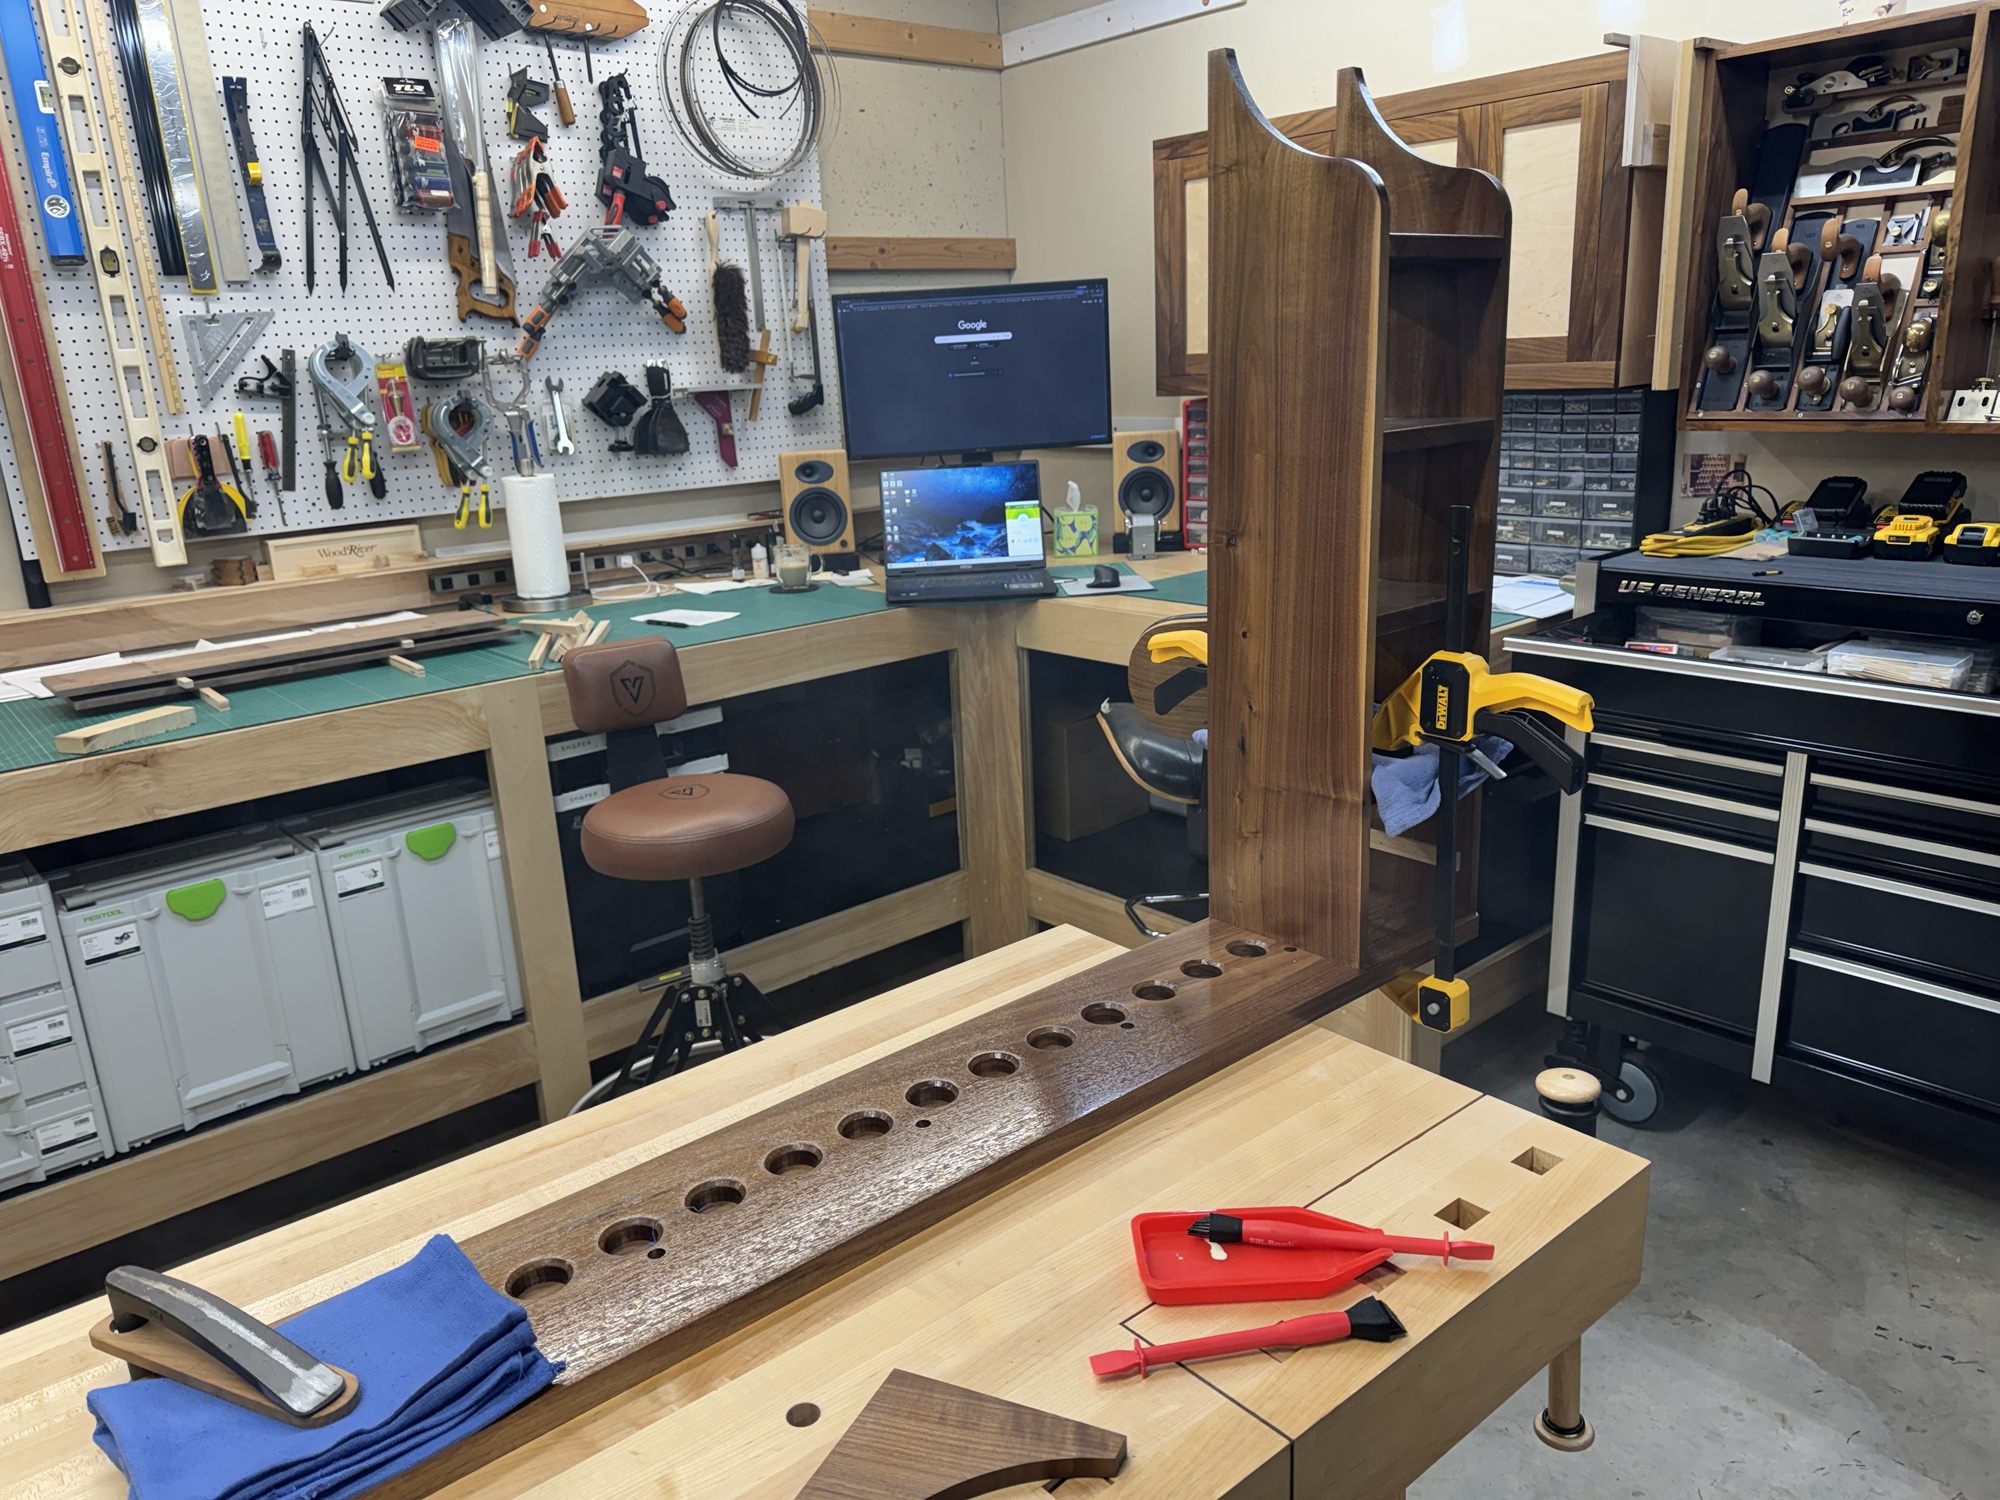
The shelf and cubby are mounted to the back.
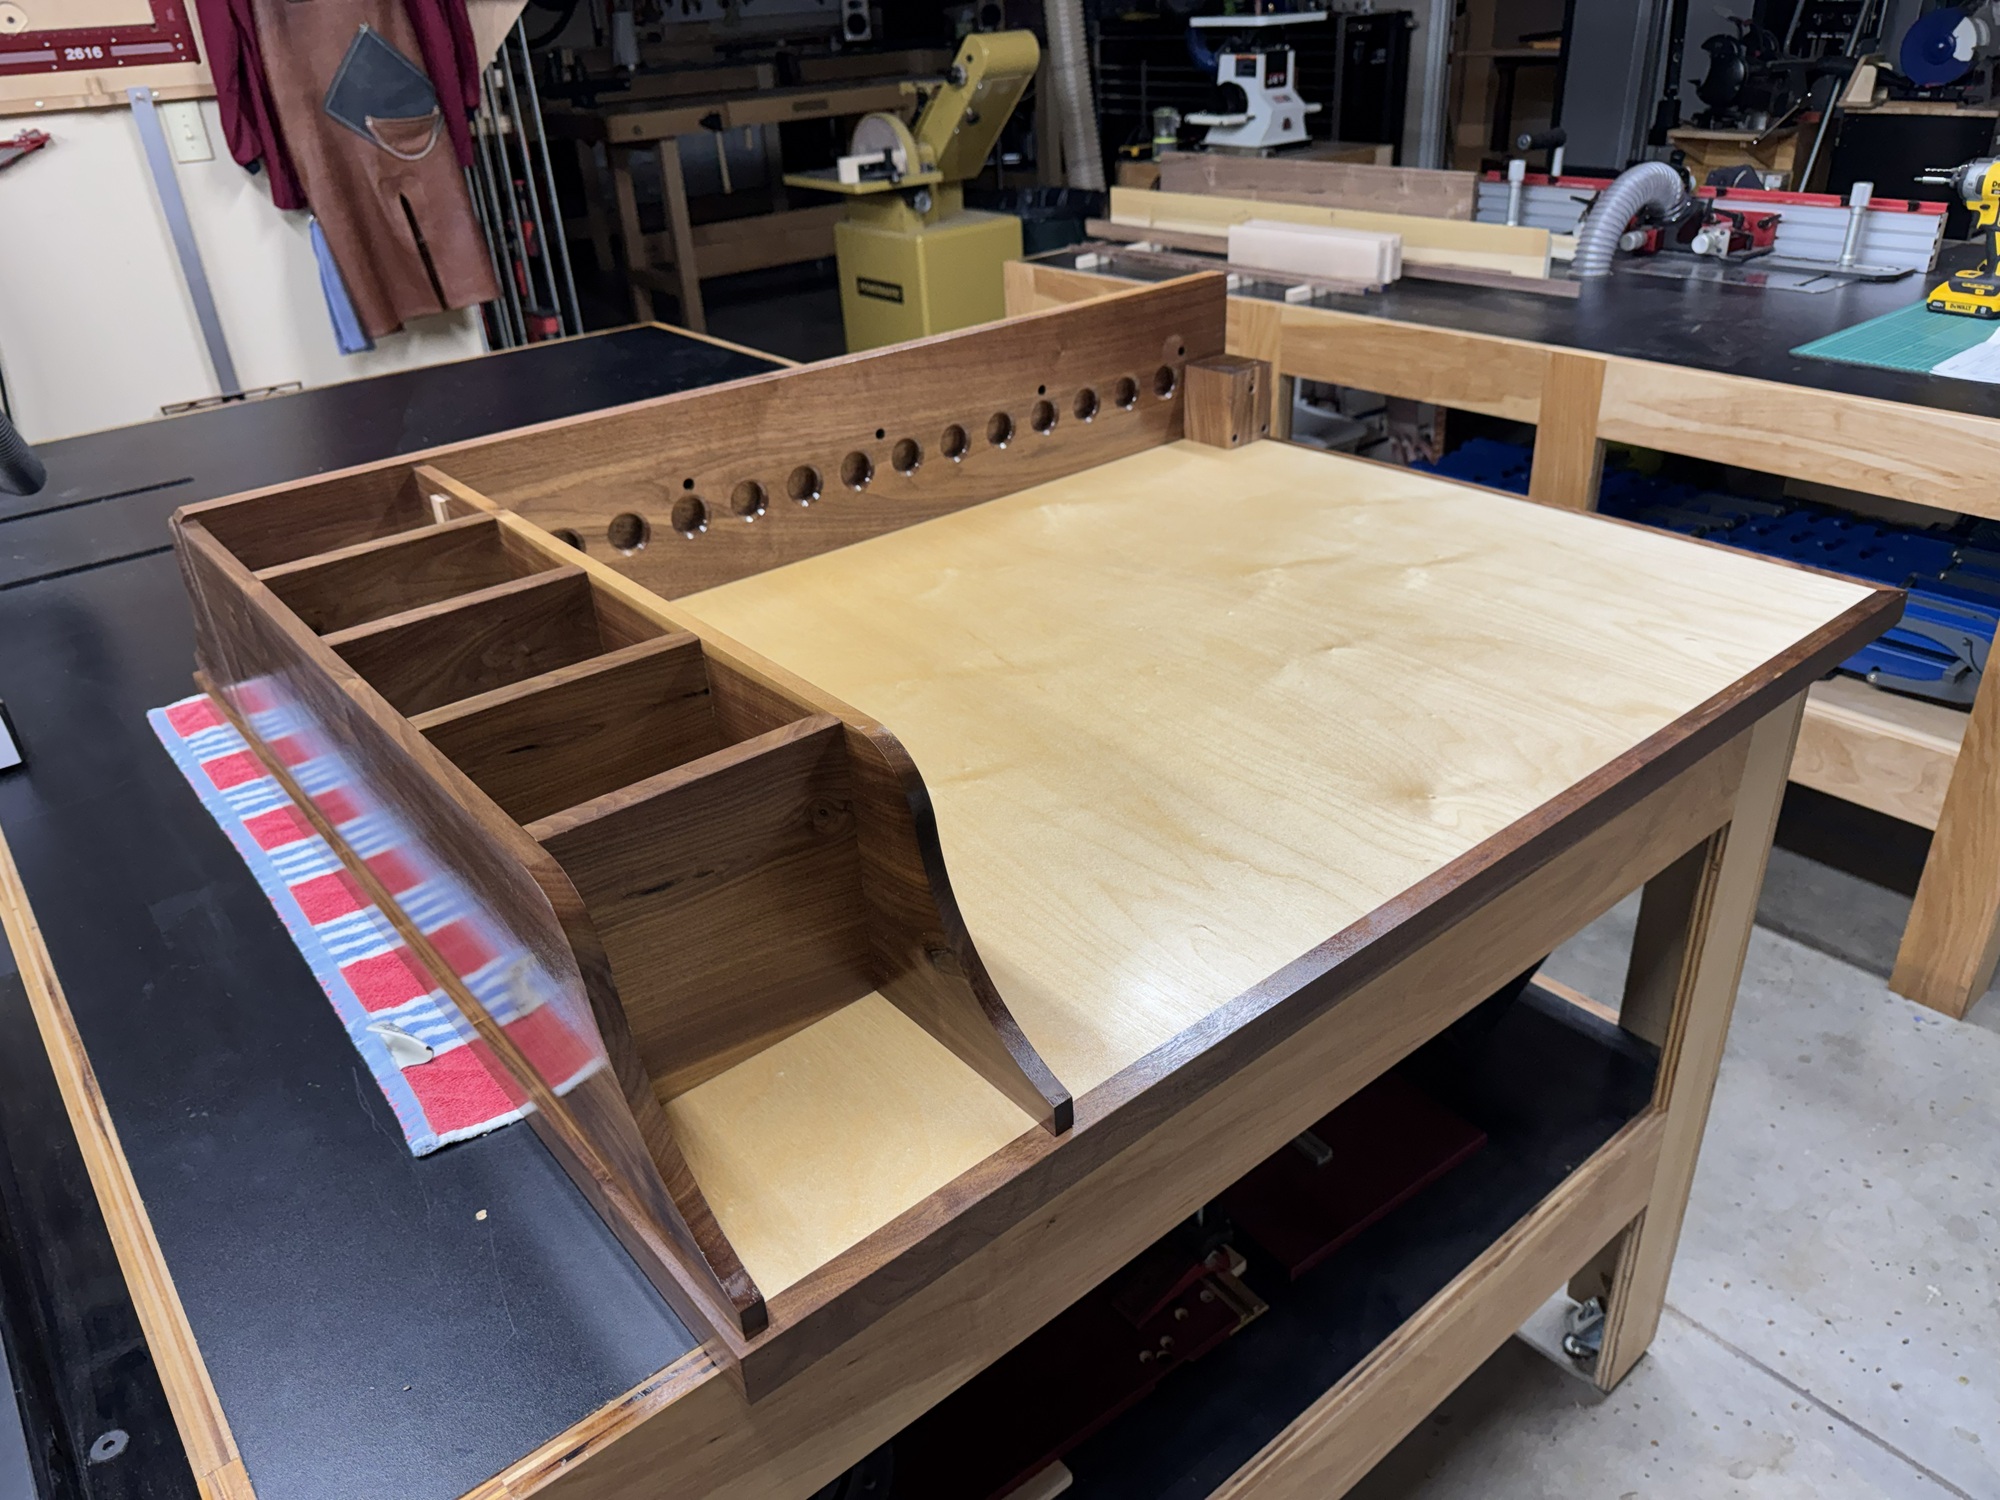
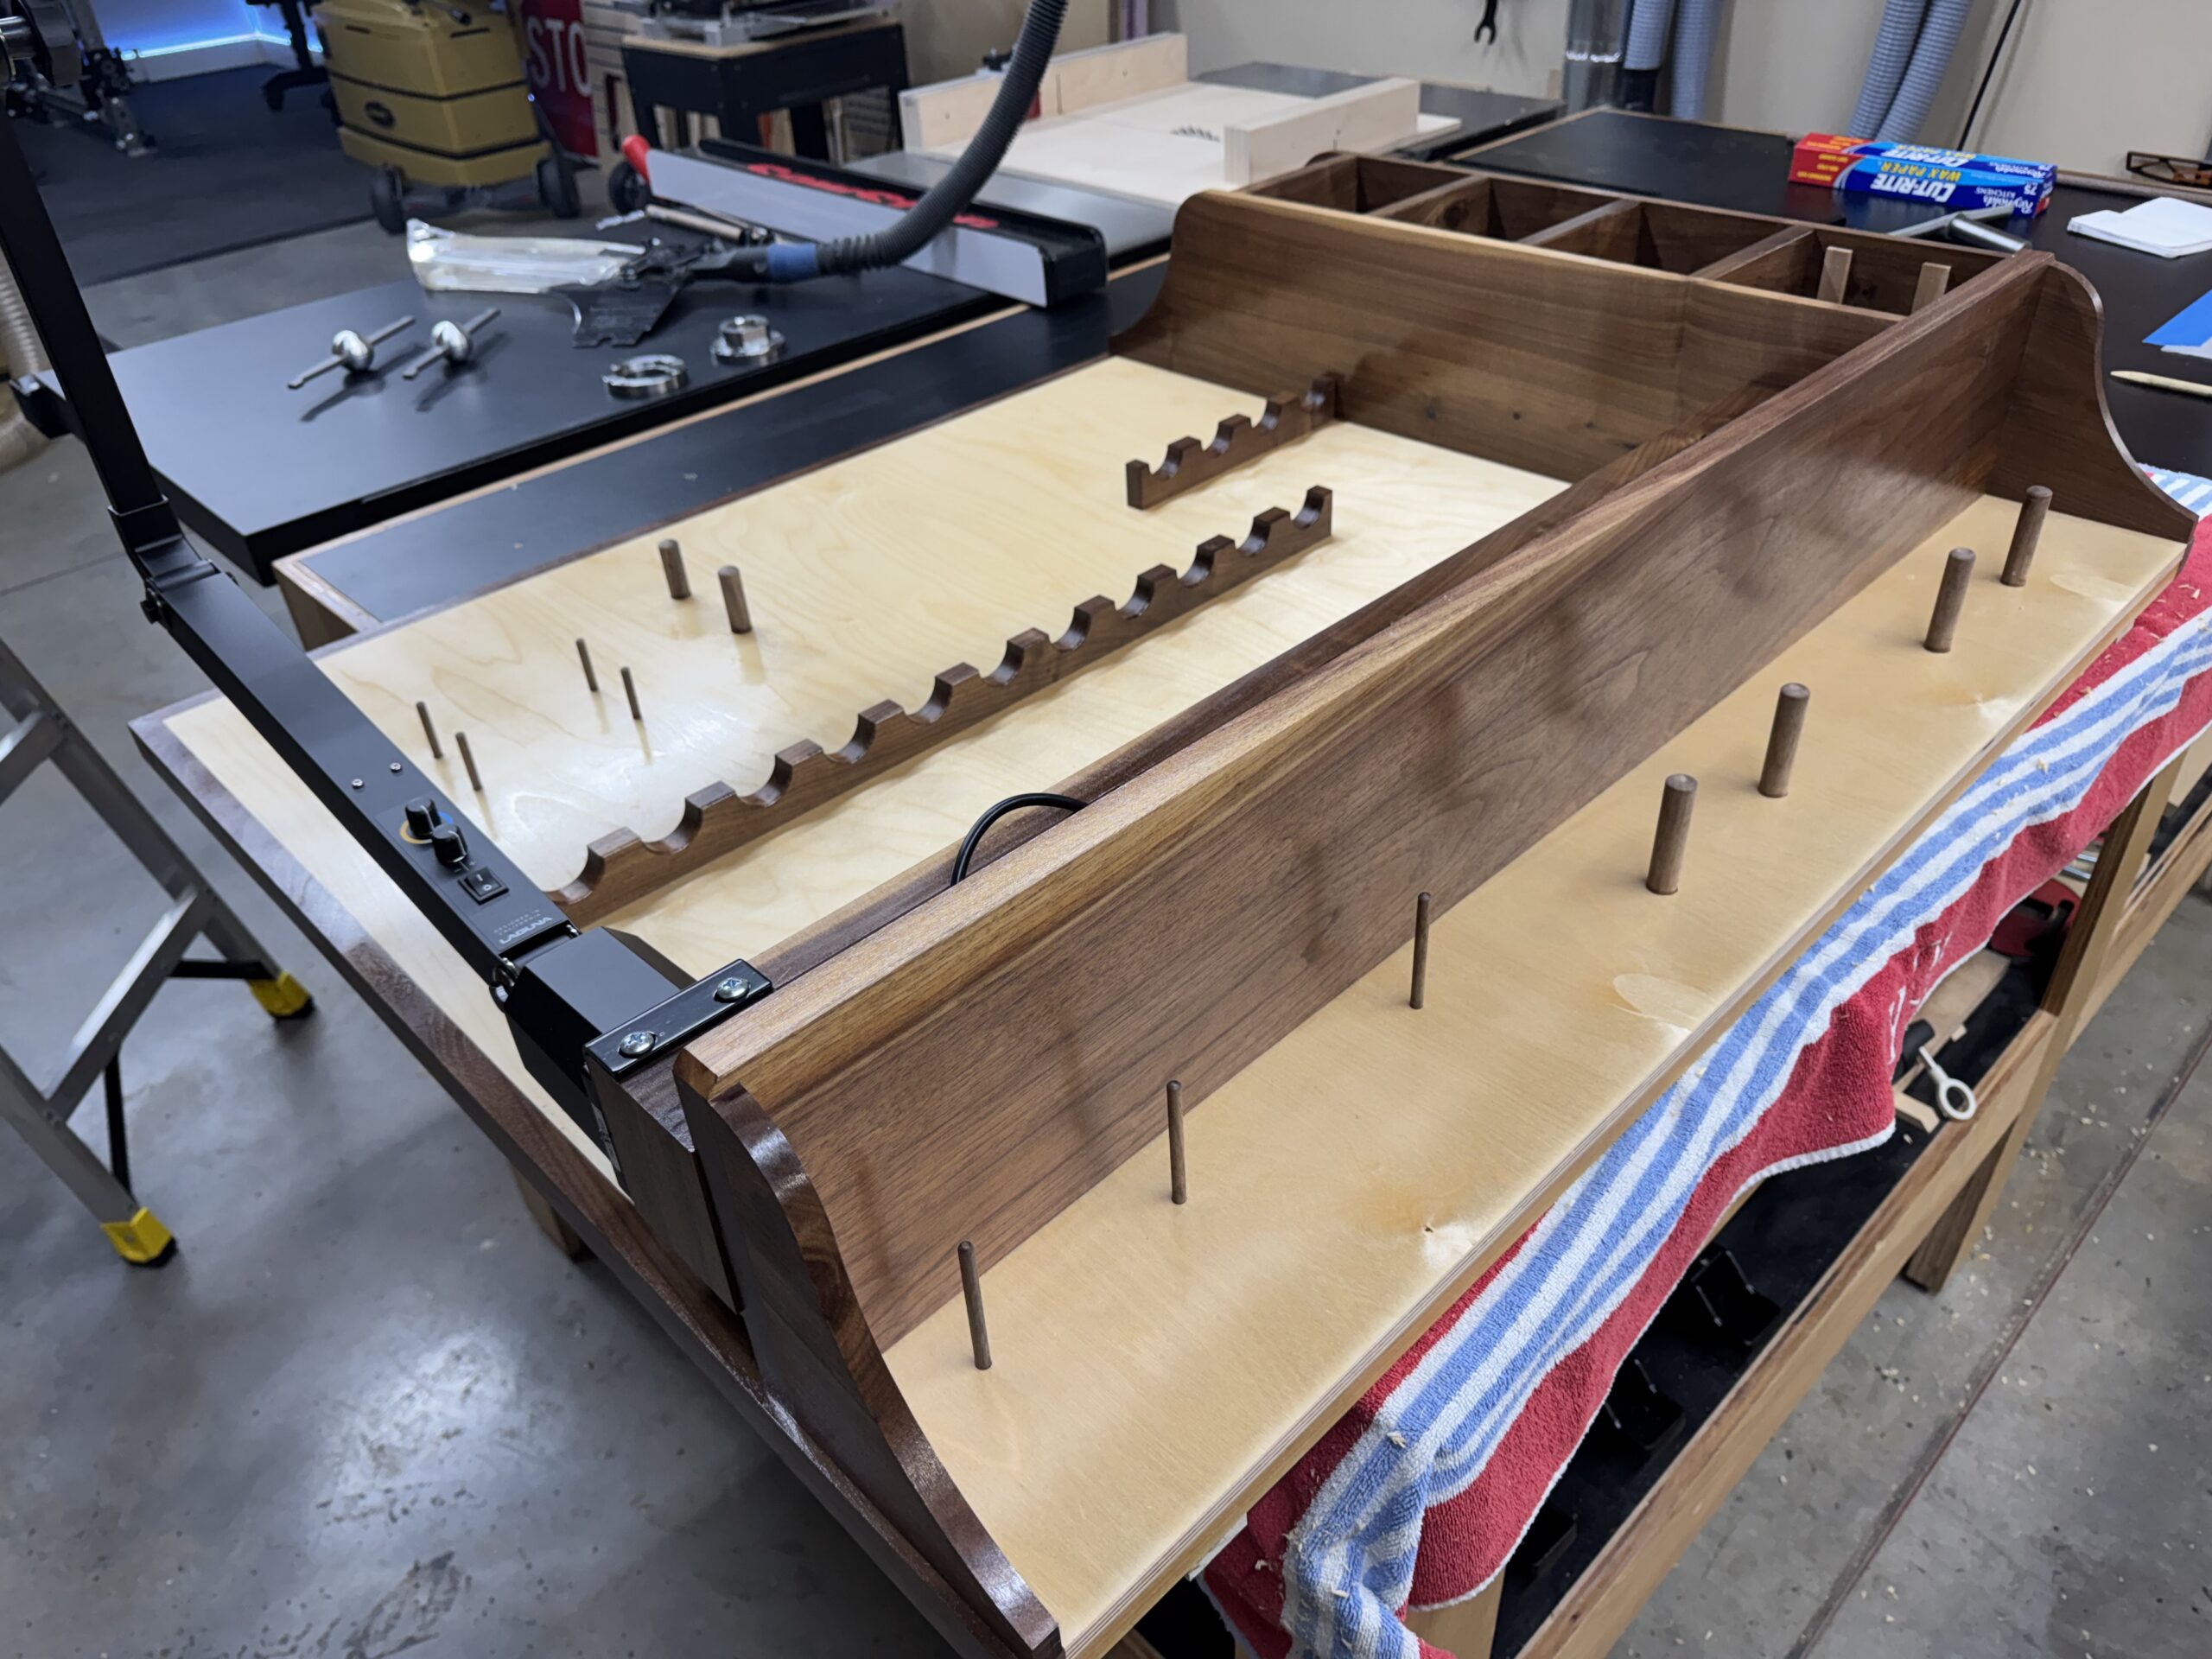
The tool rail and balusters are made and dry fit.
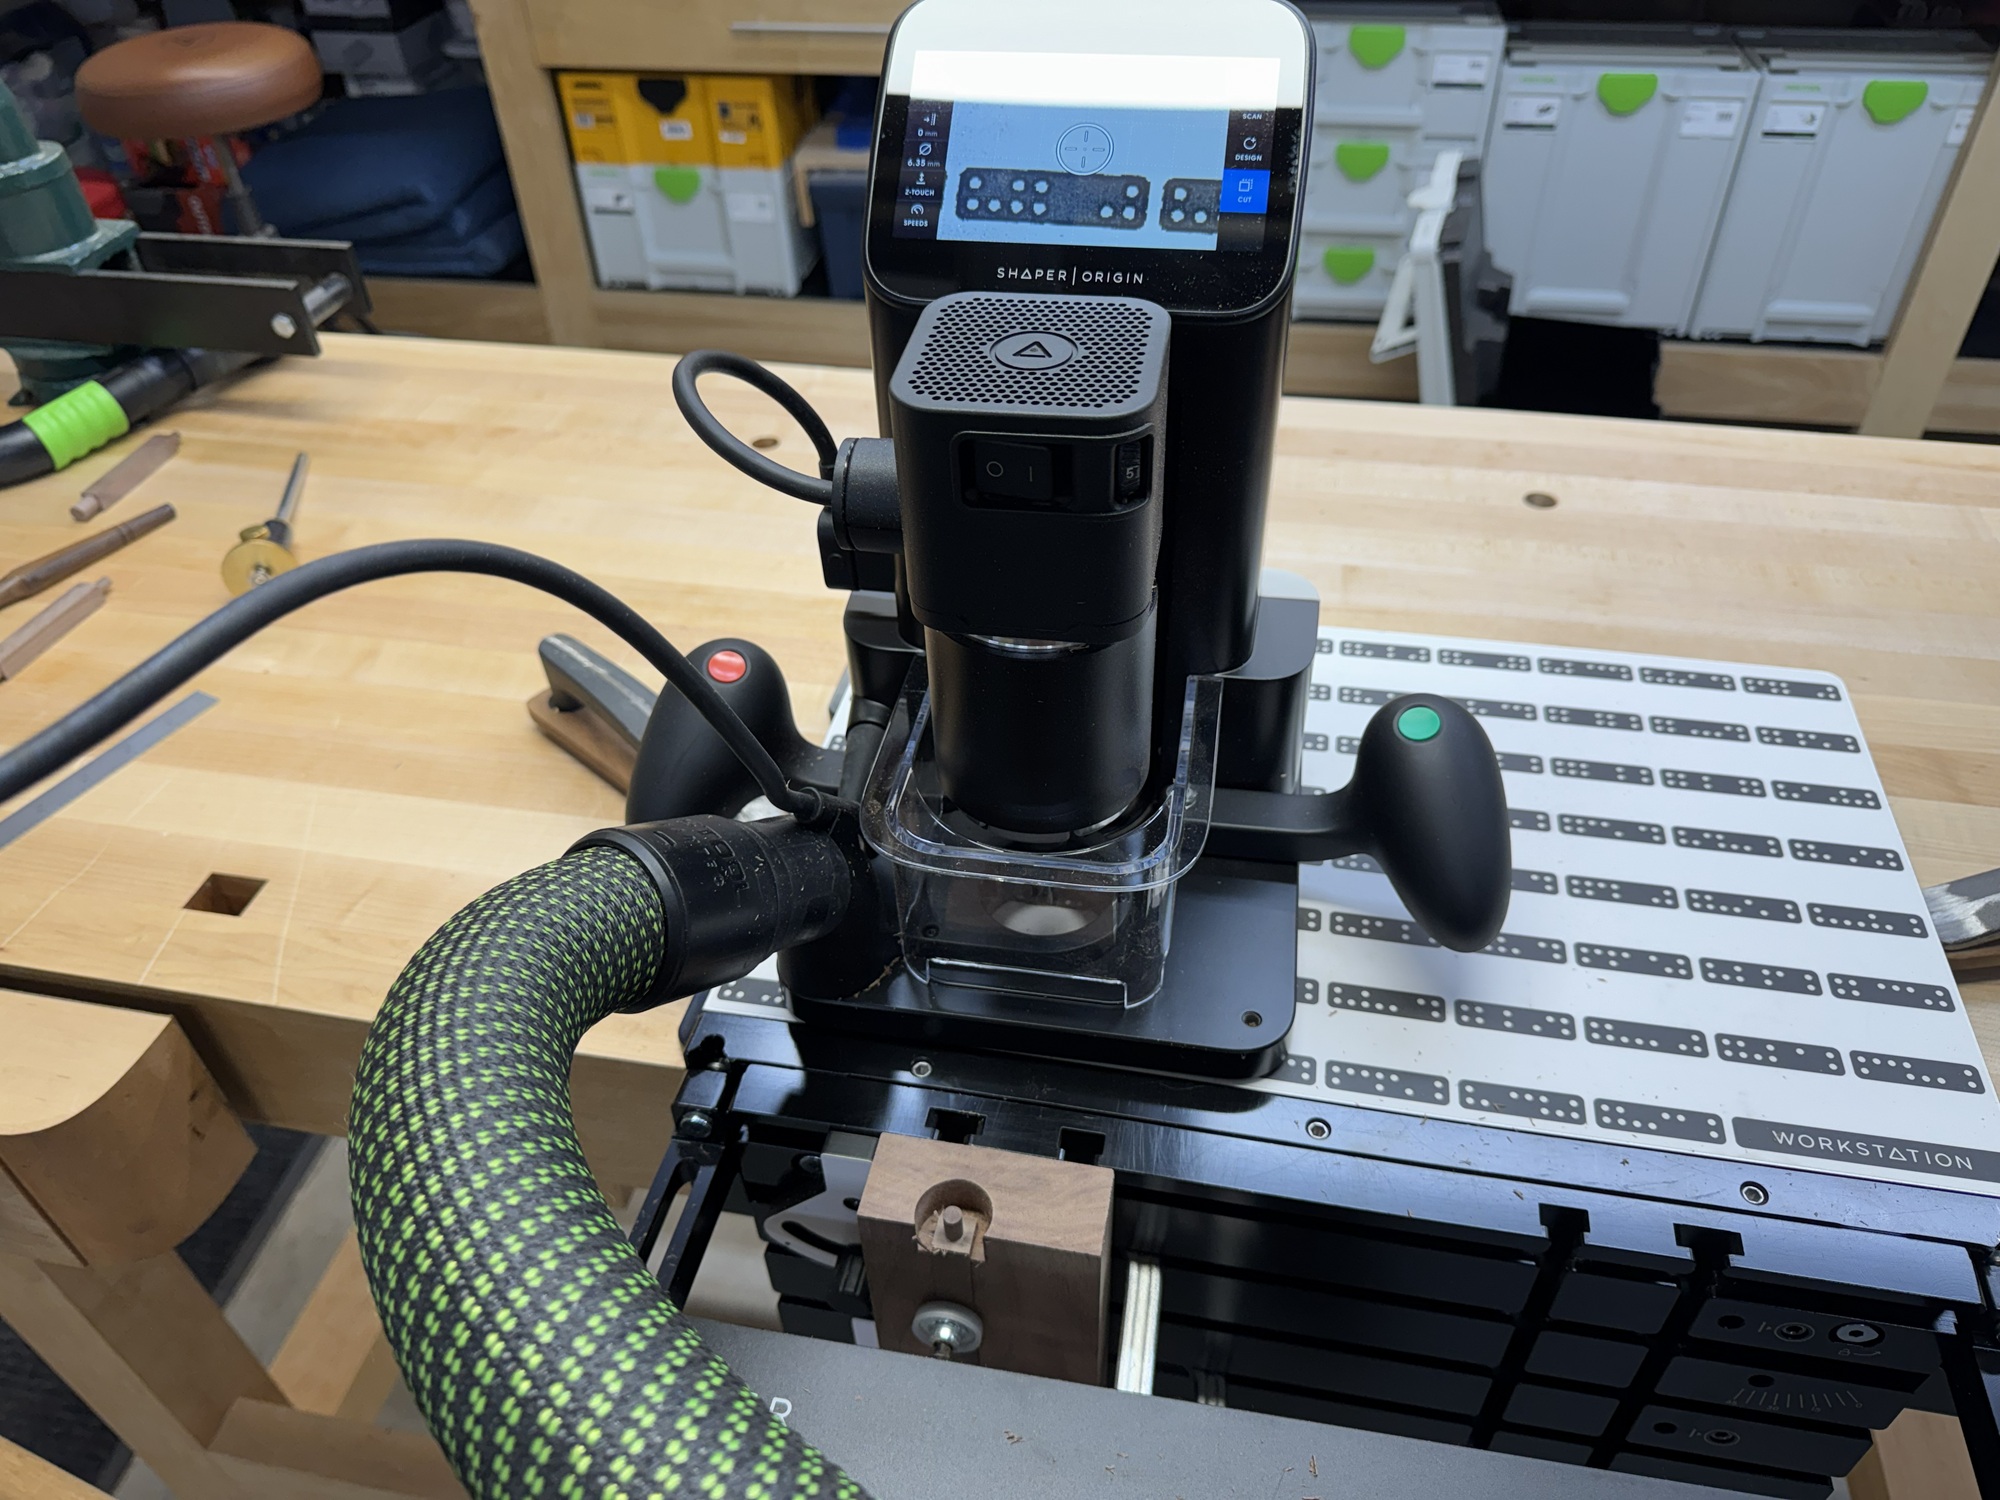
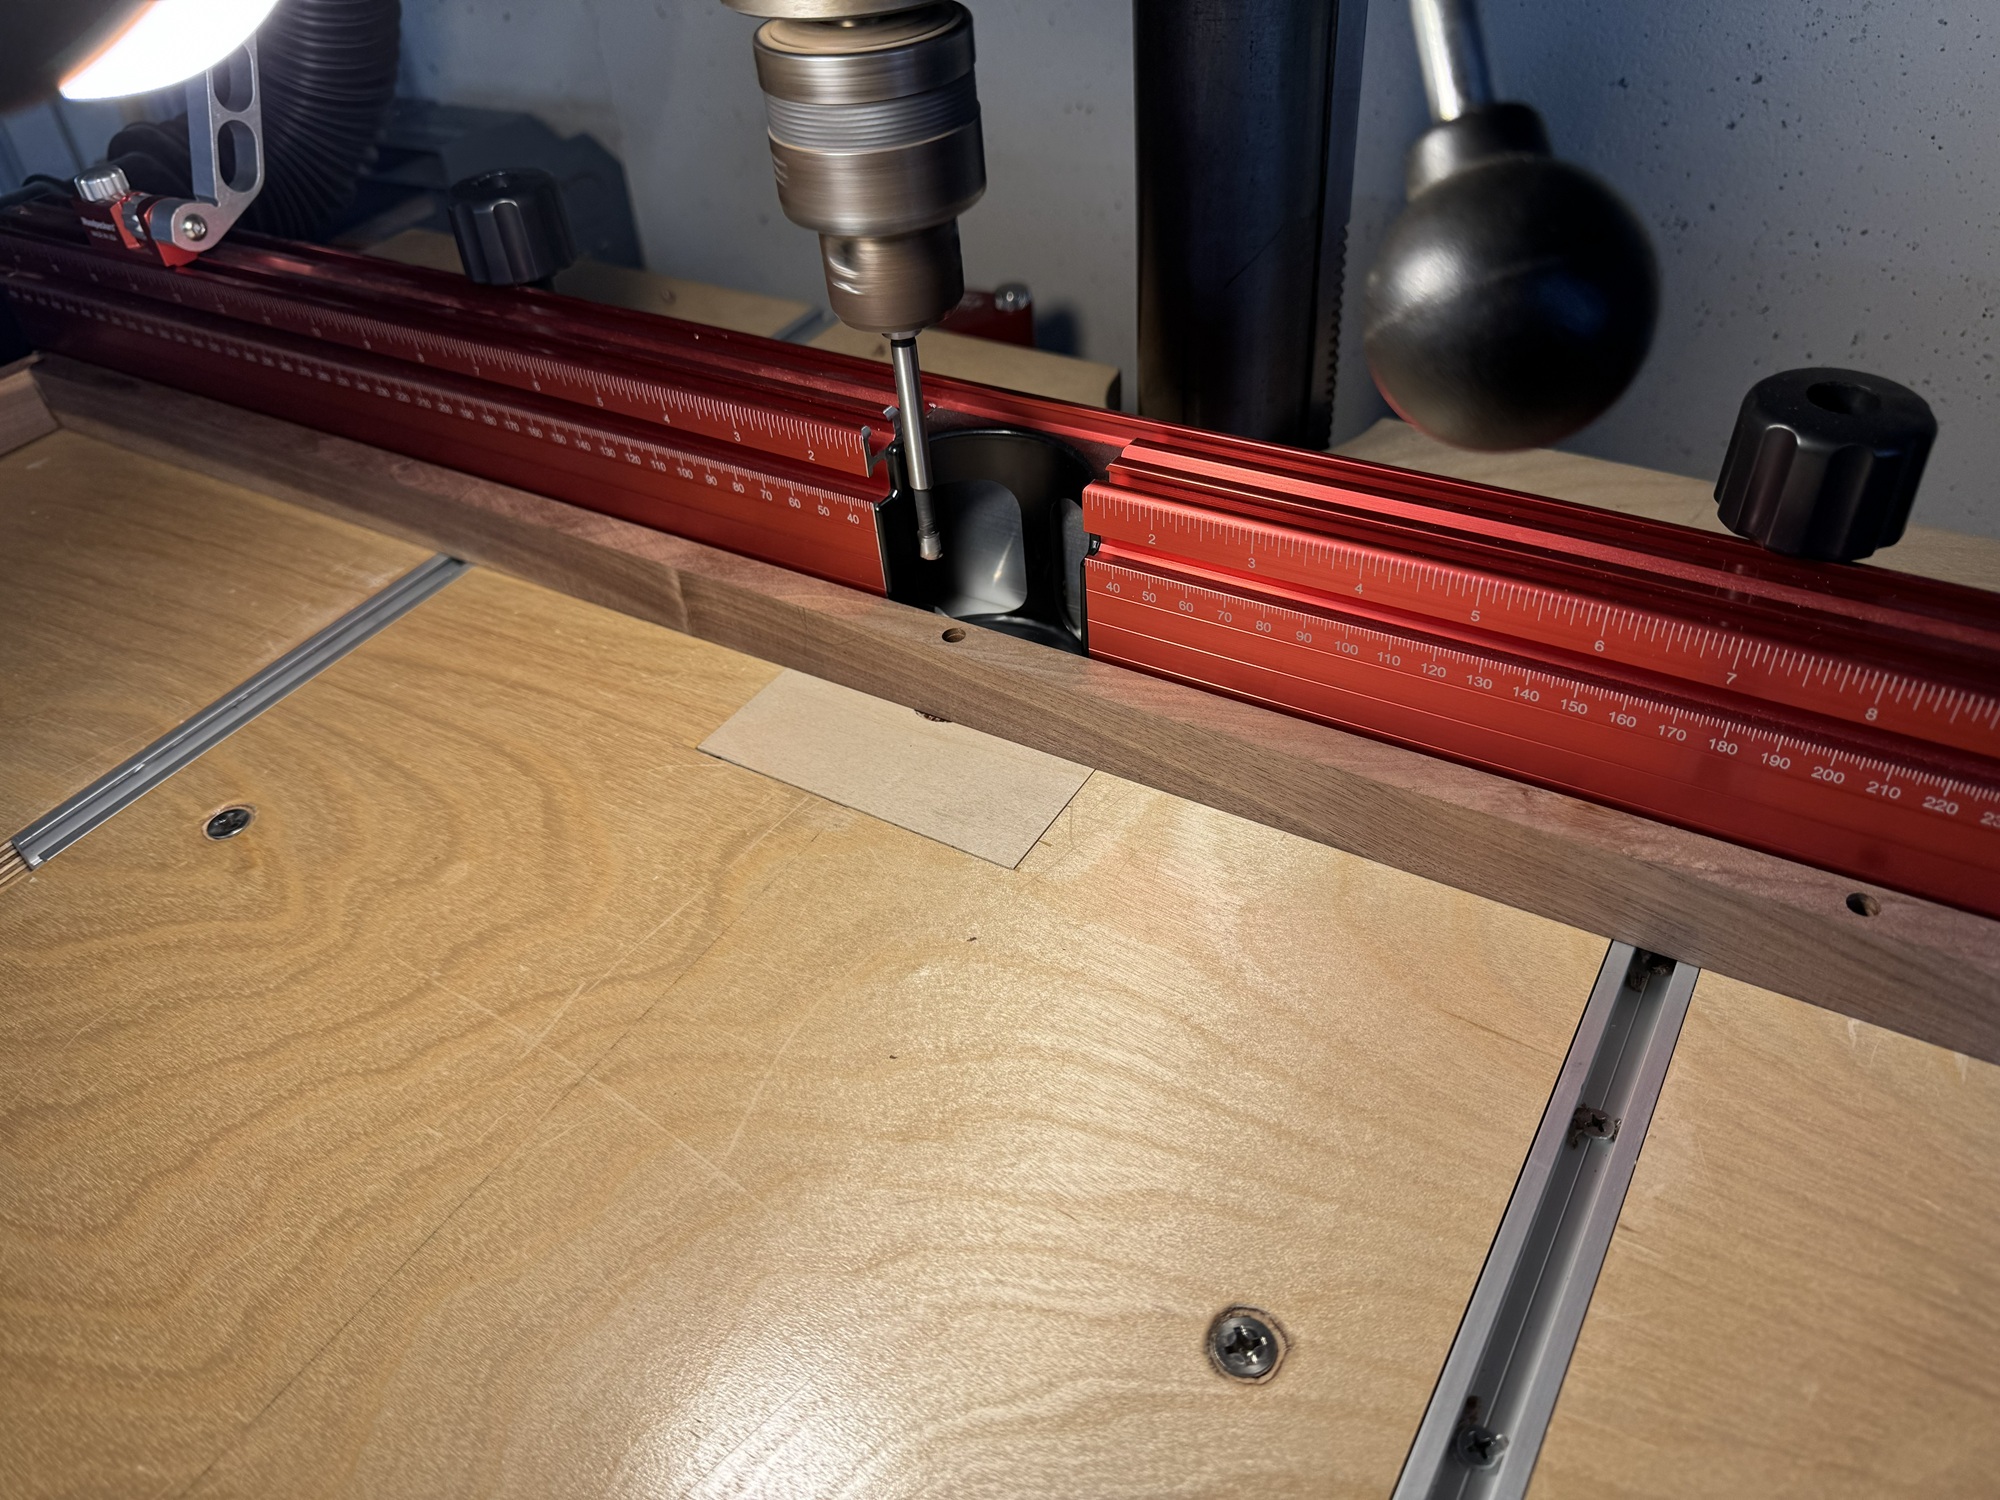
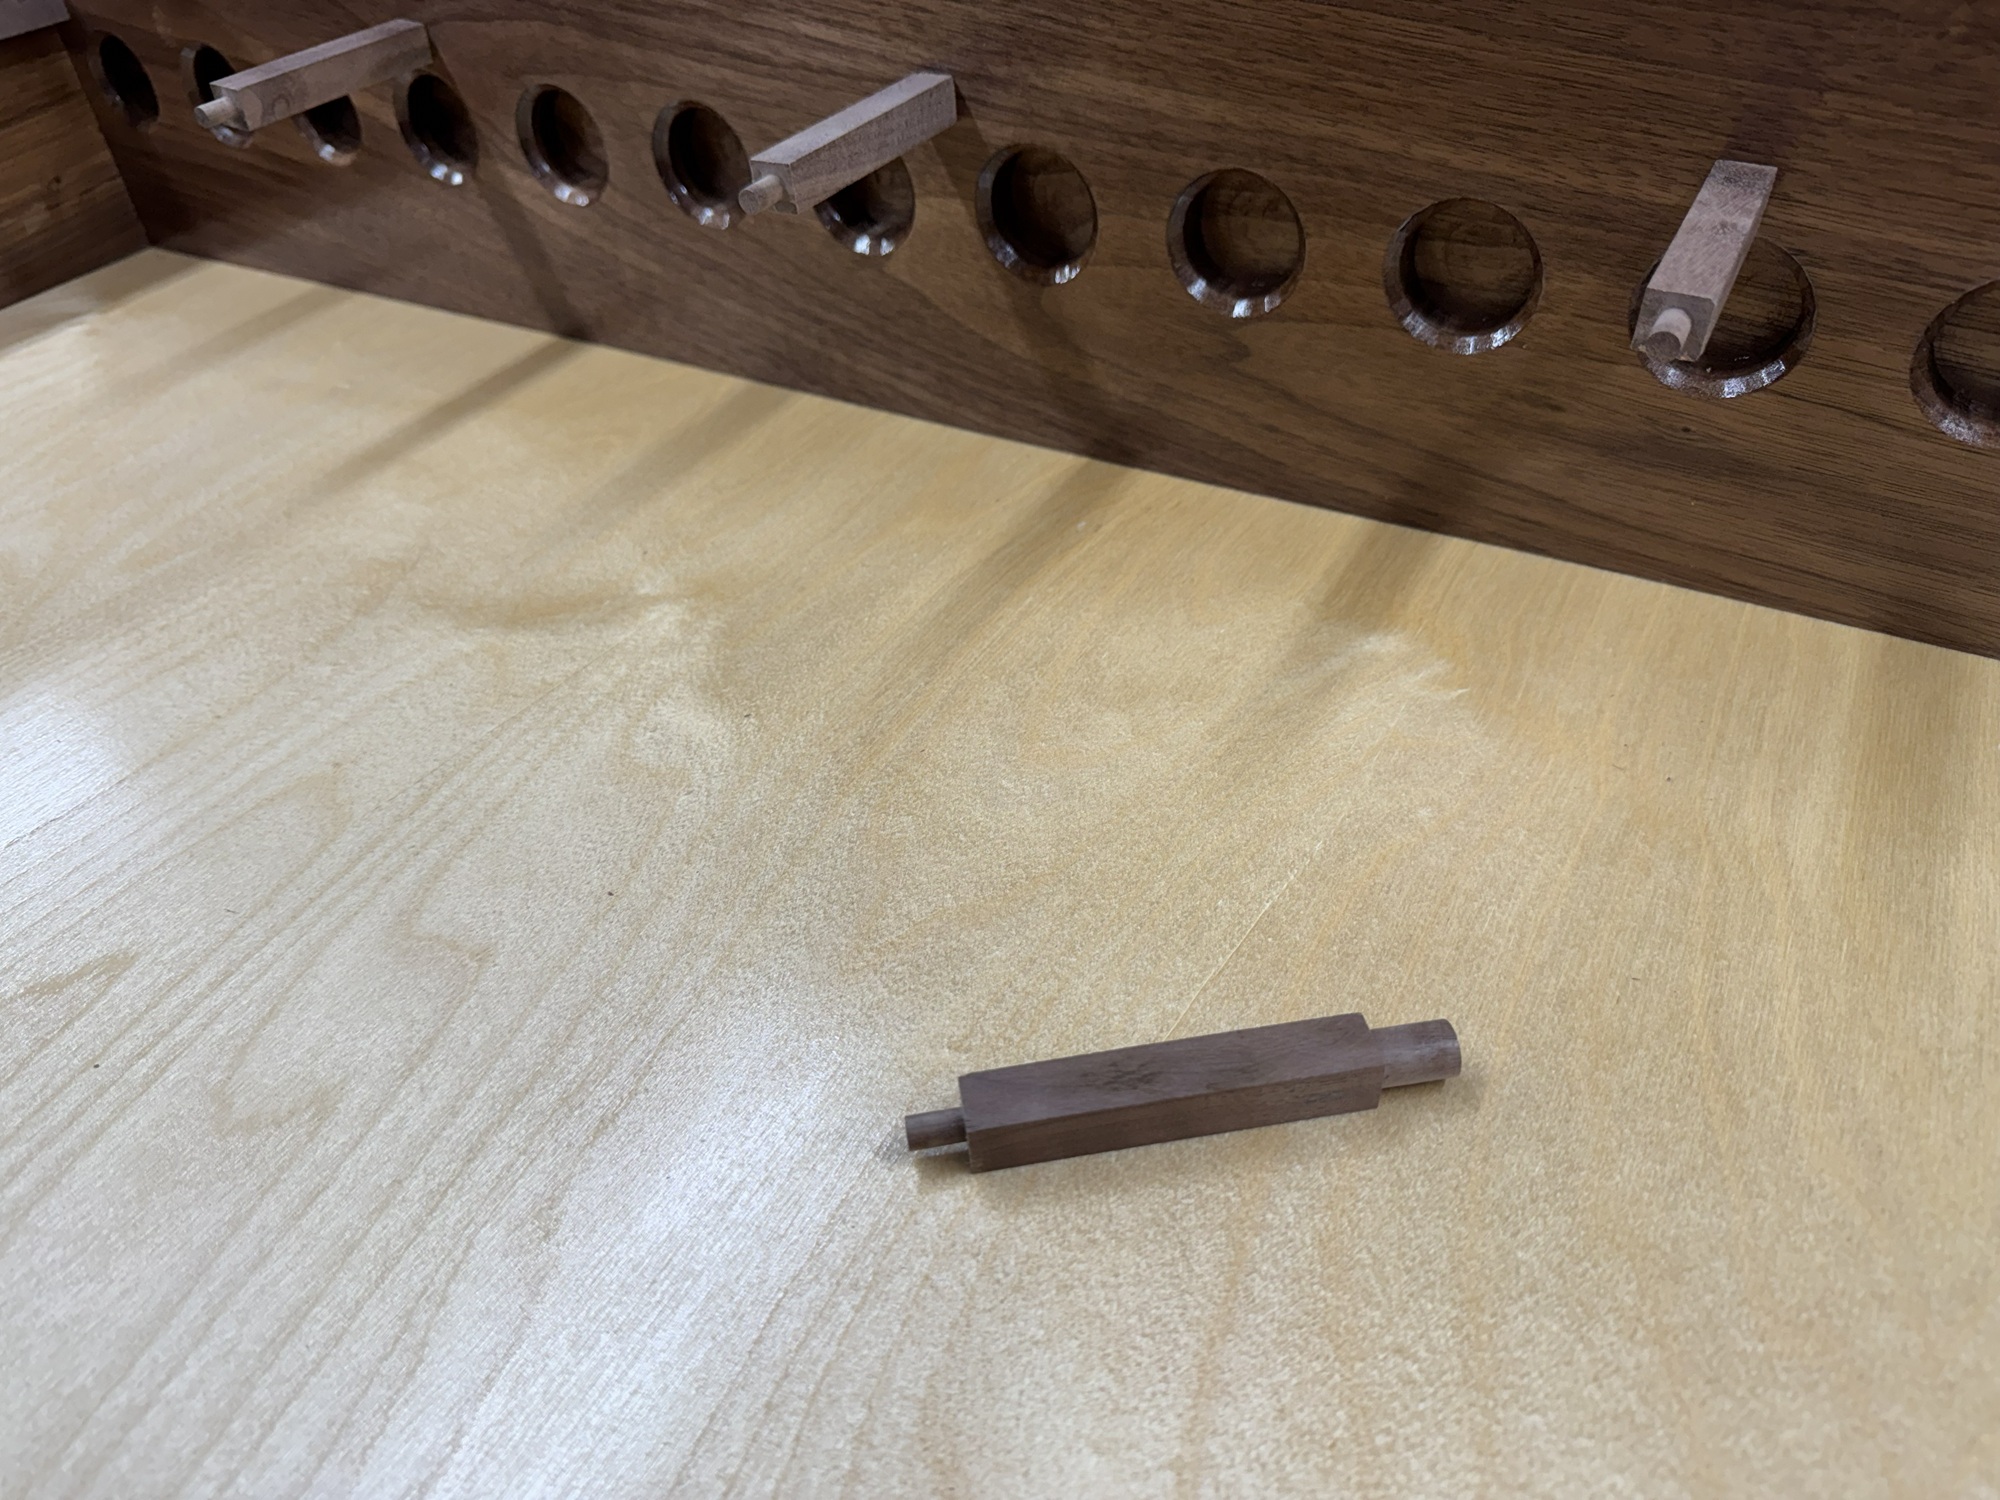
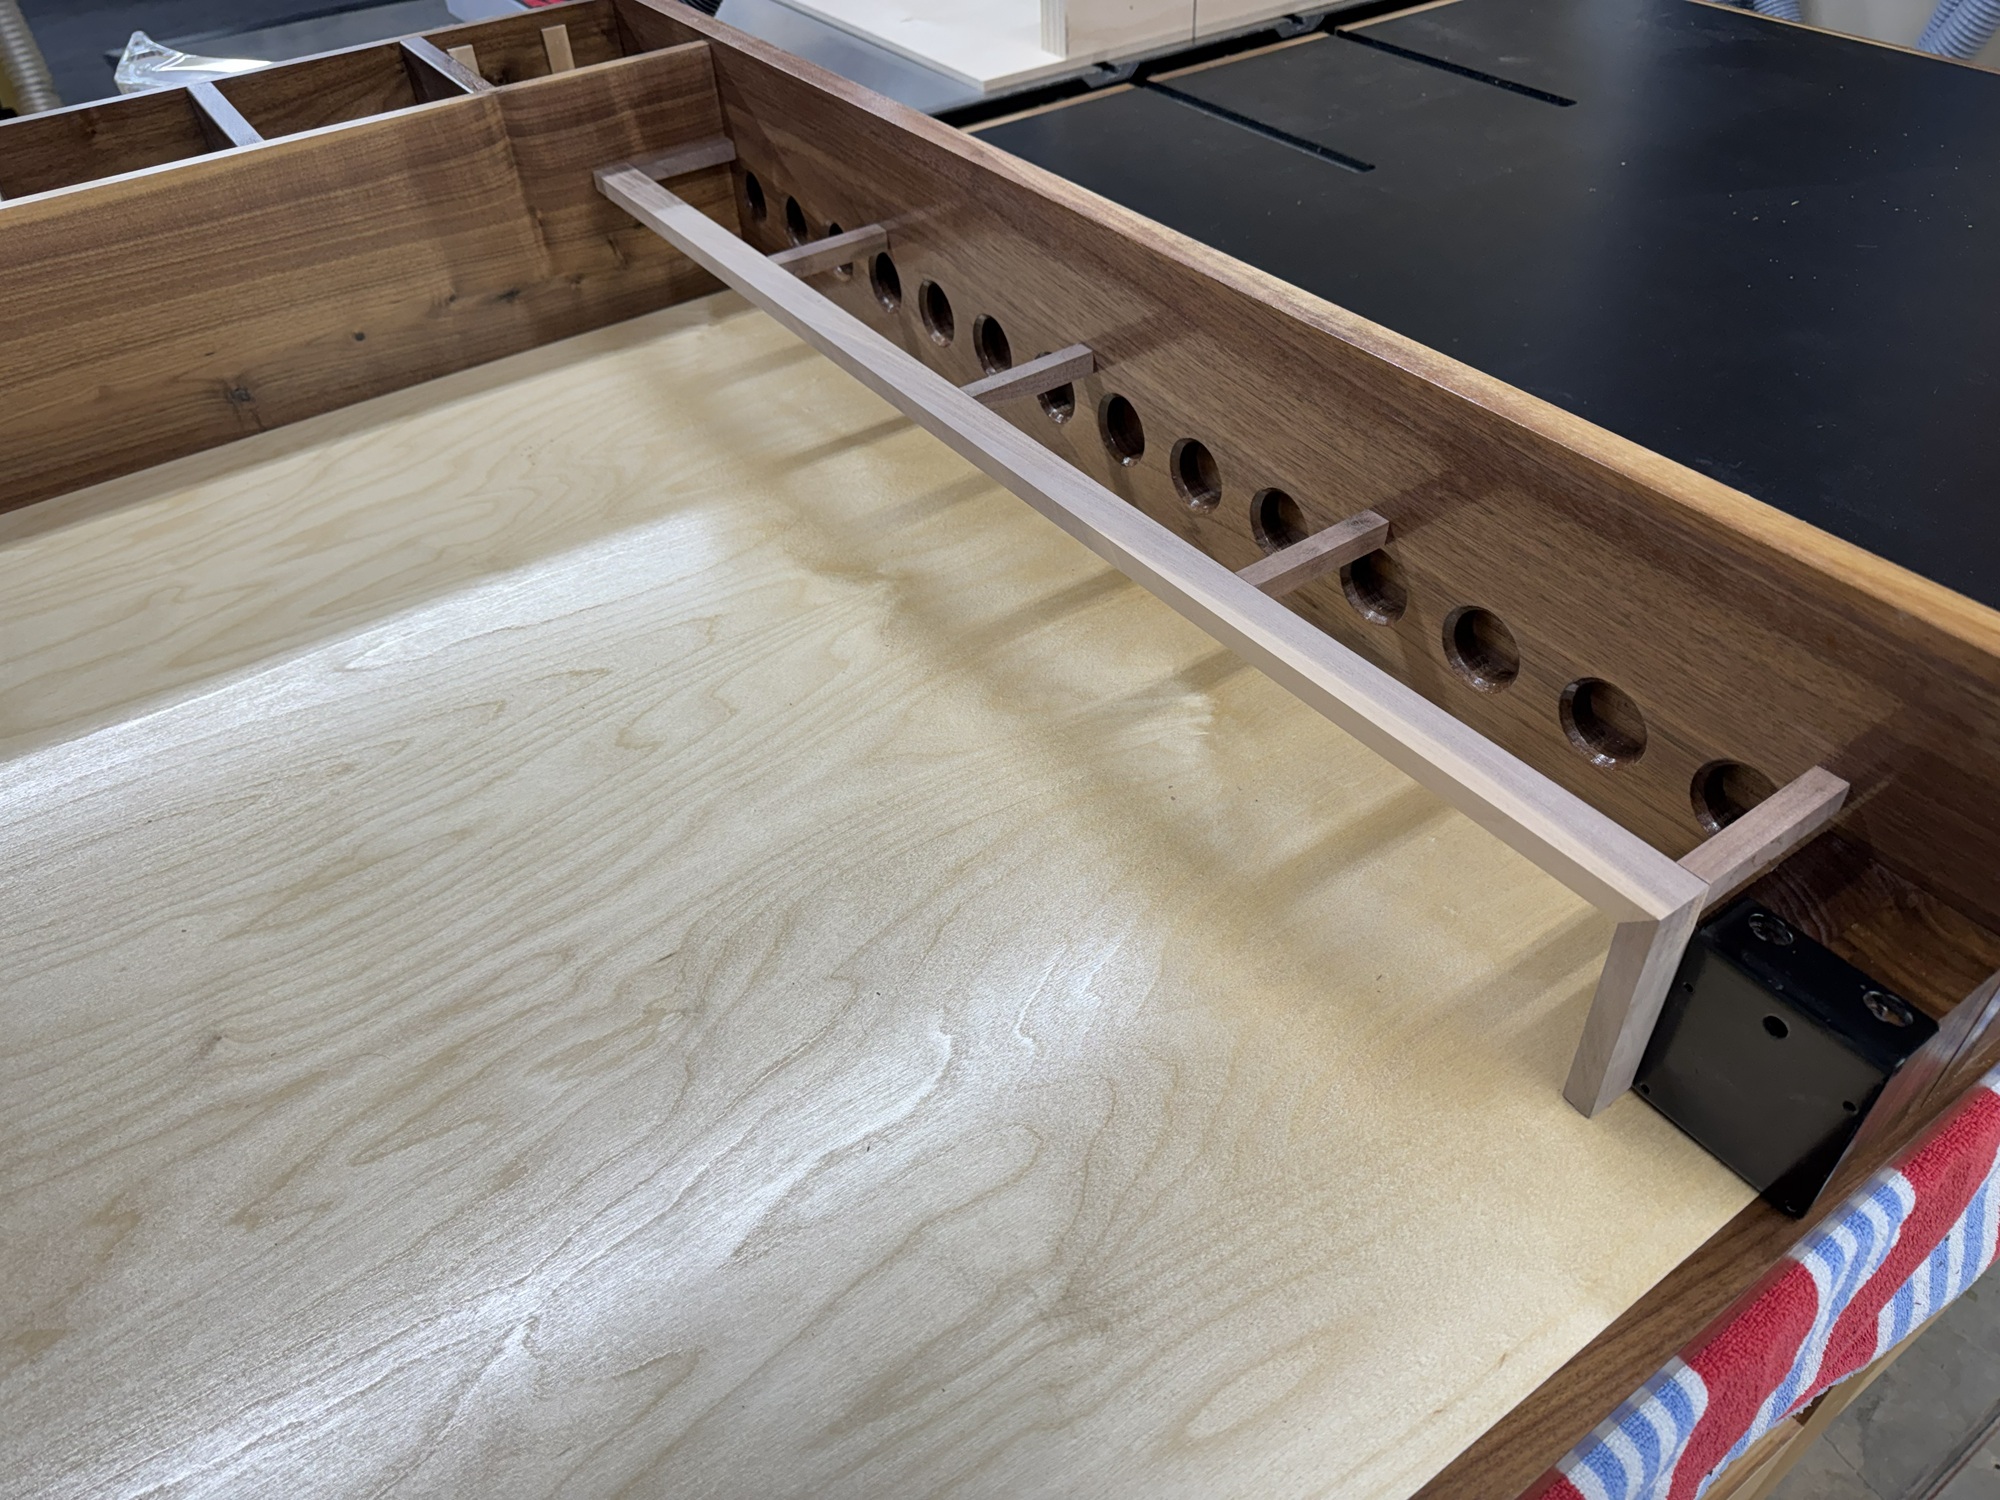
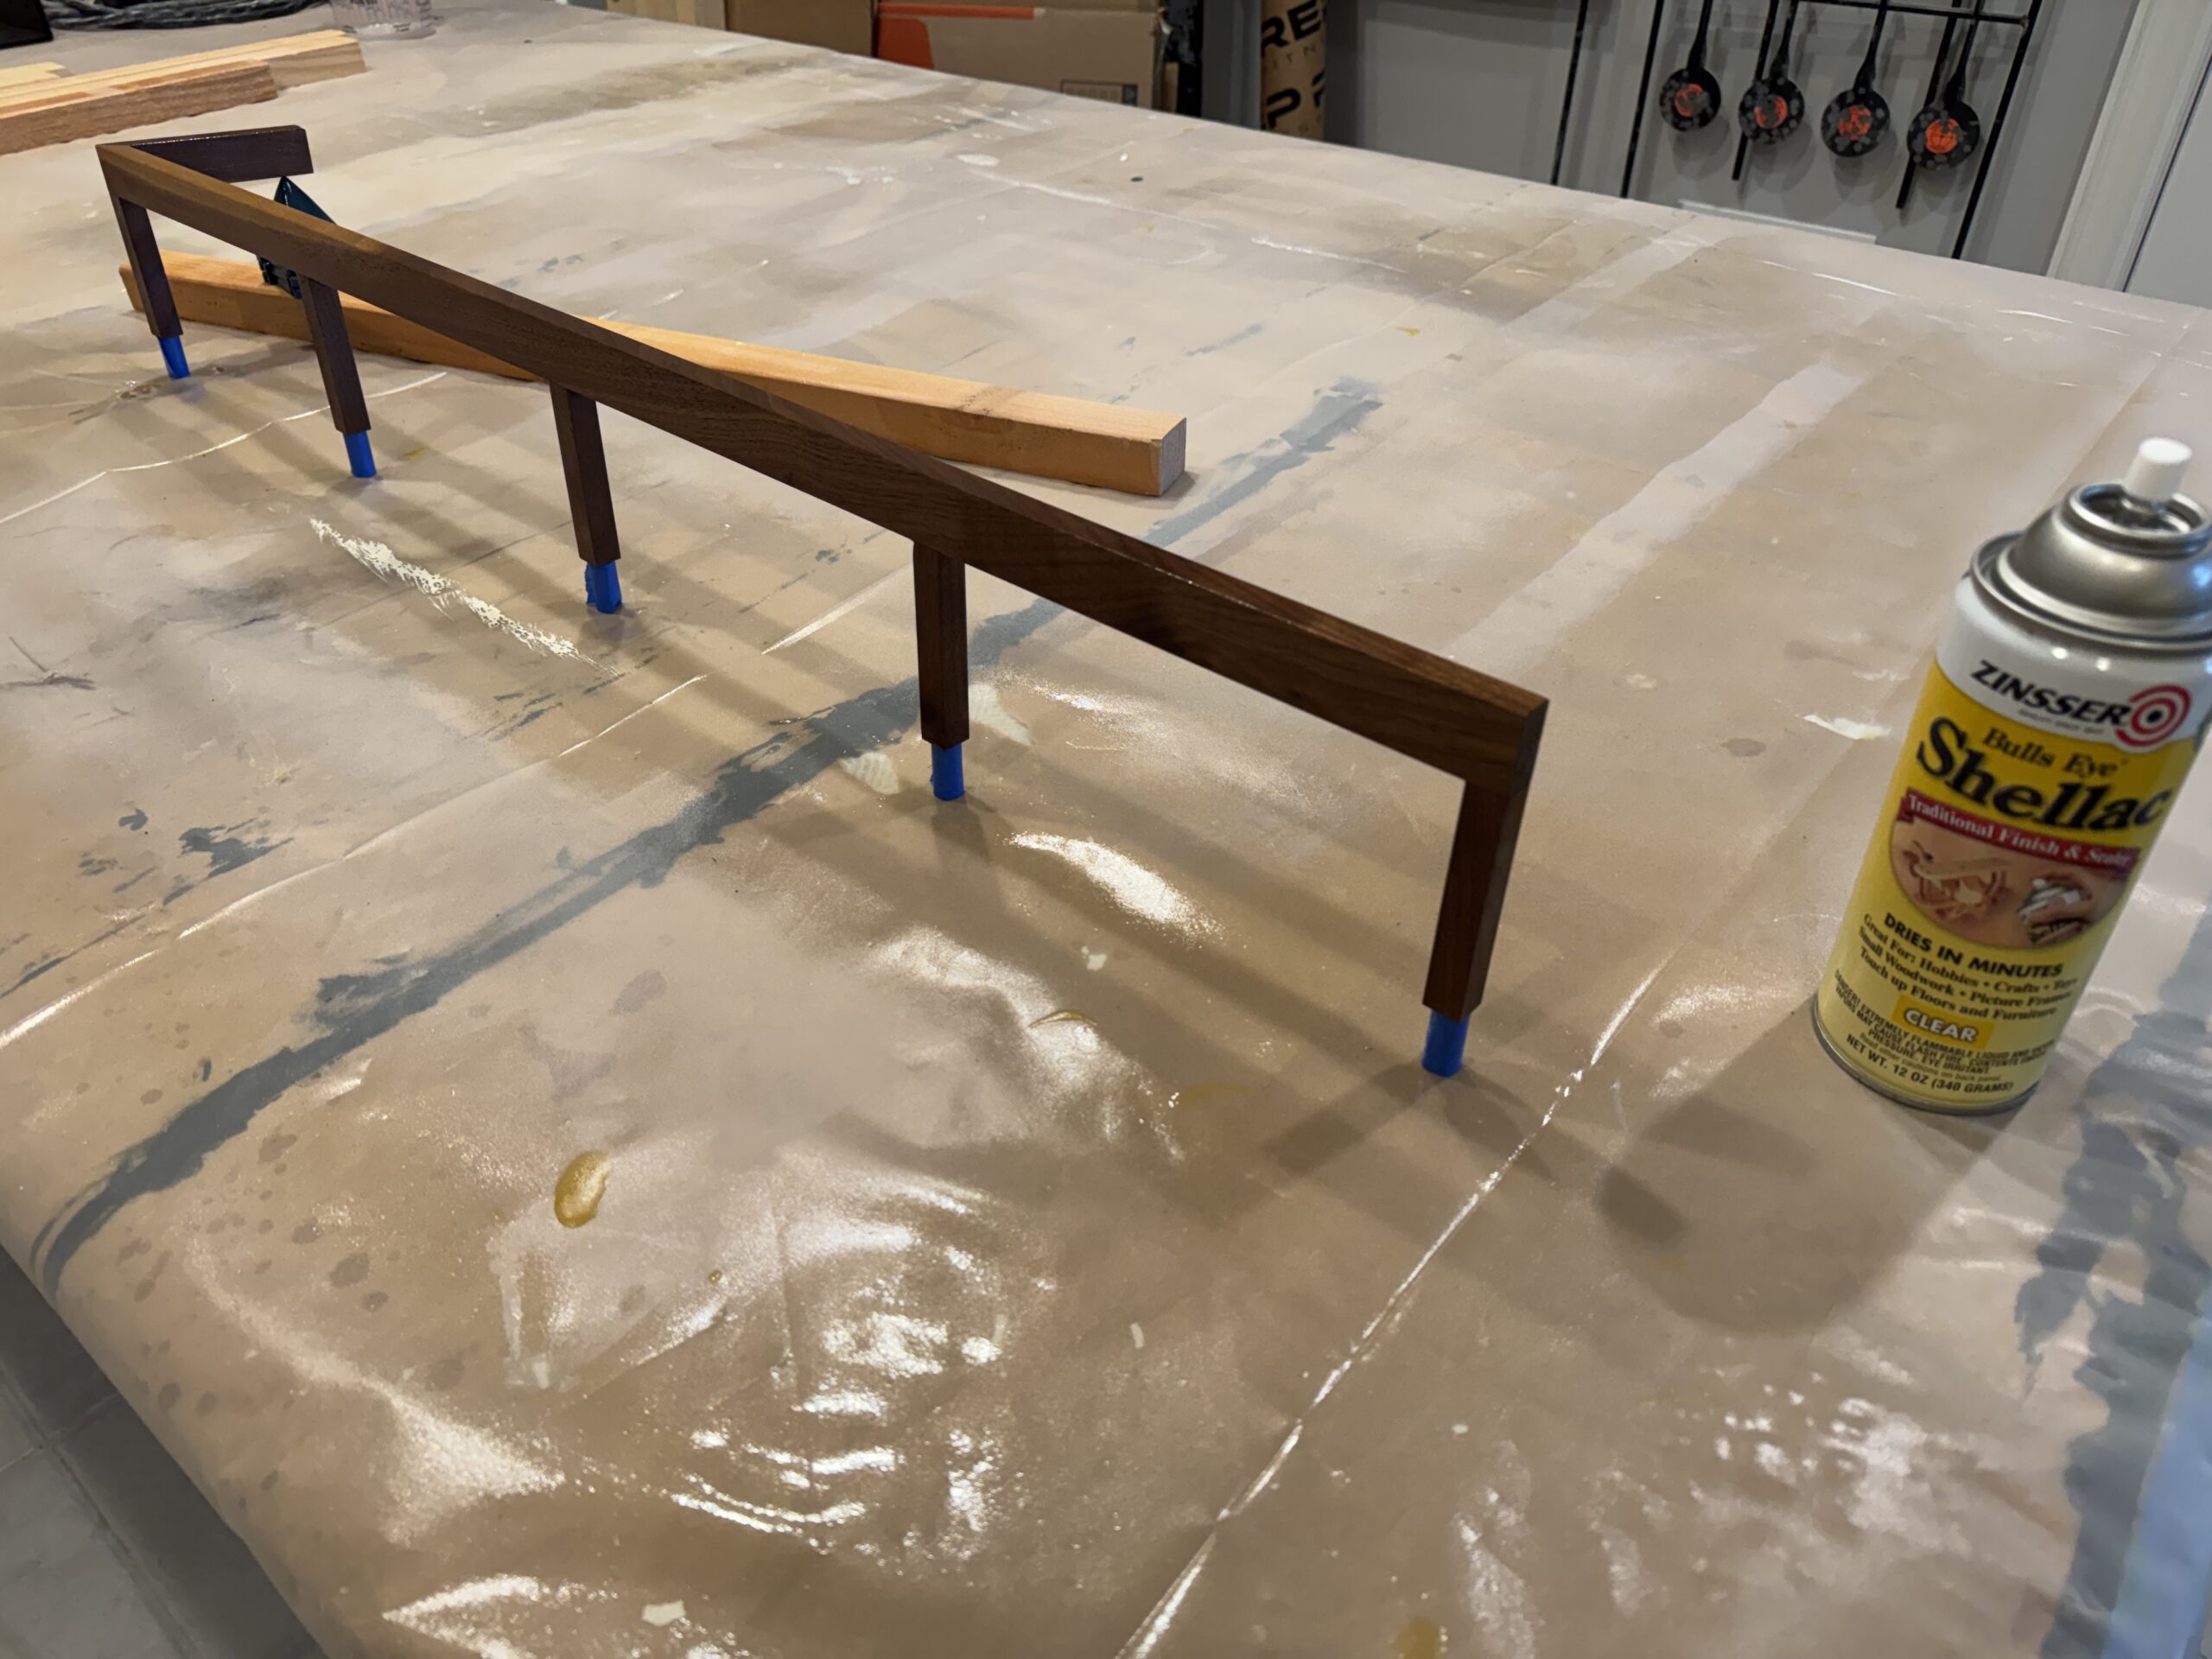
The tool rail is glued up and finished.
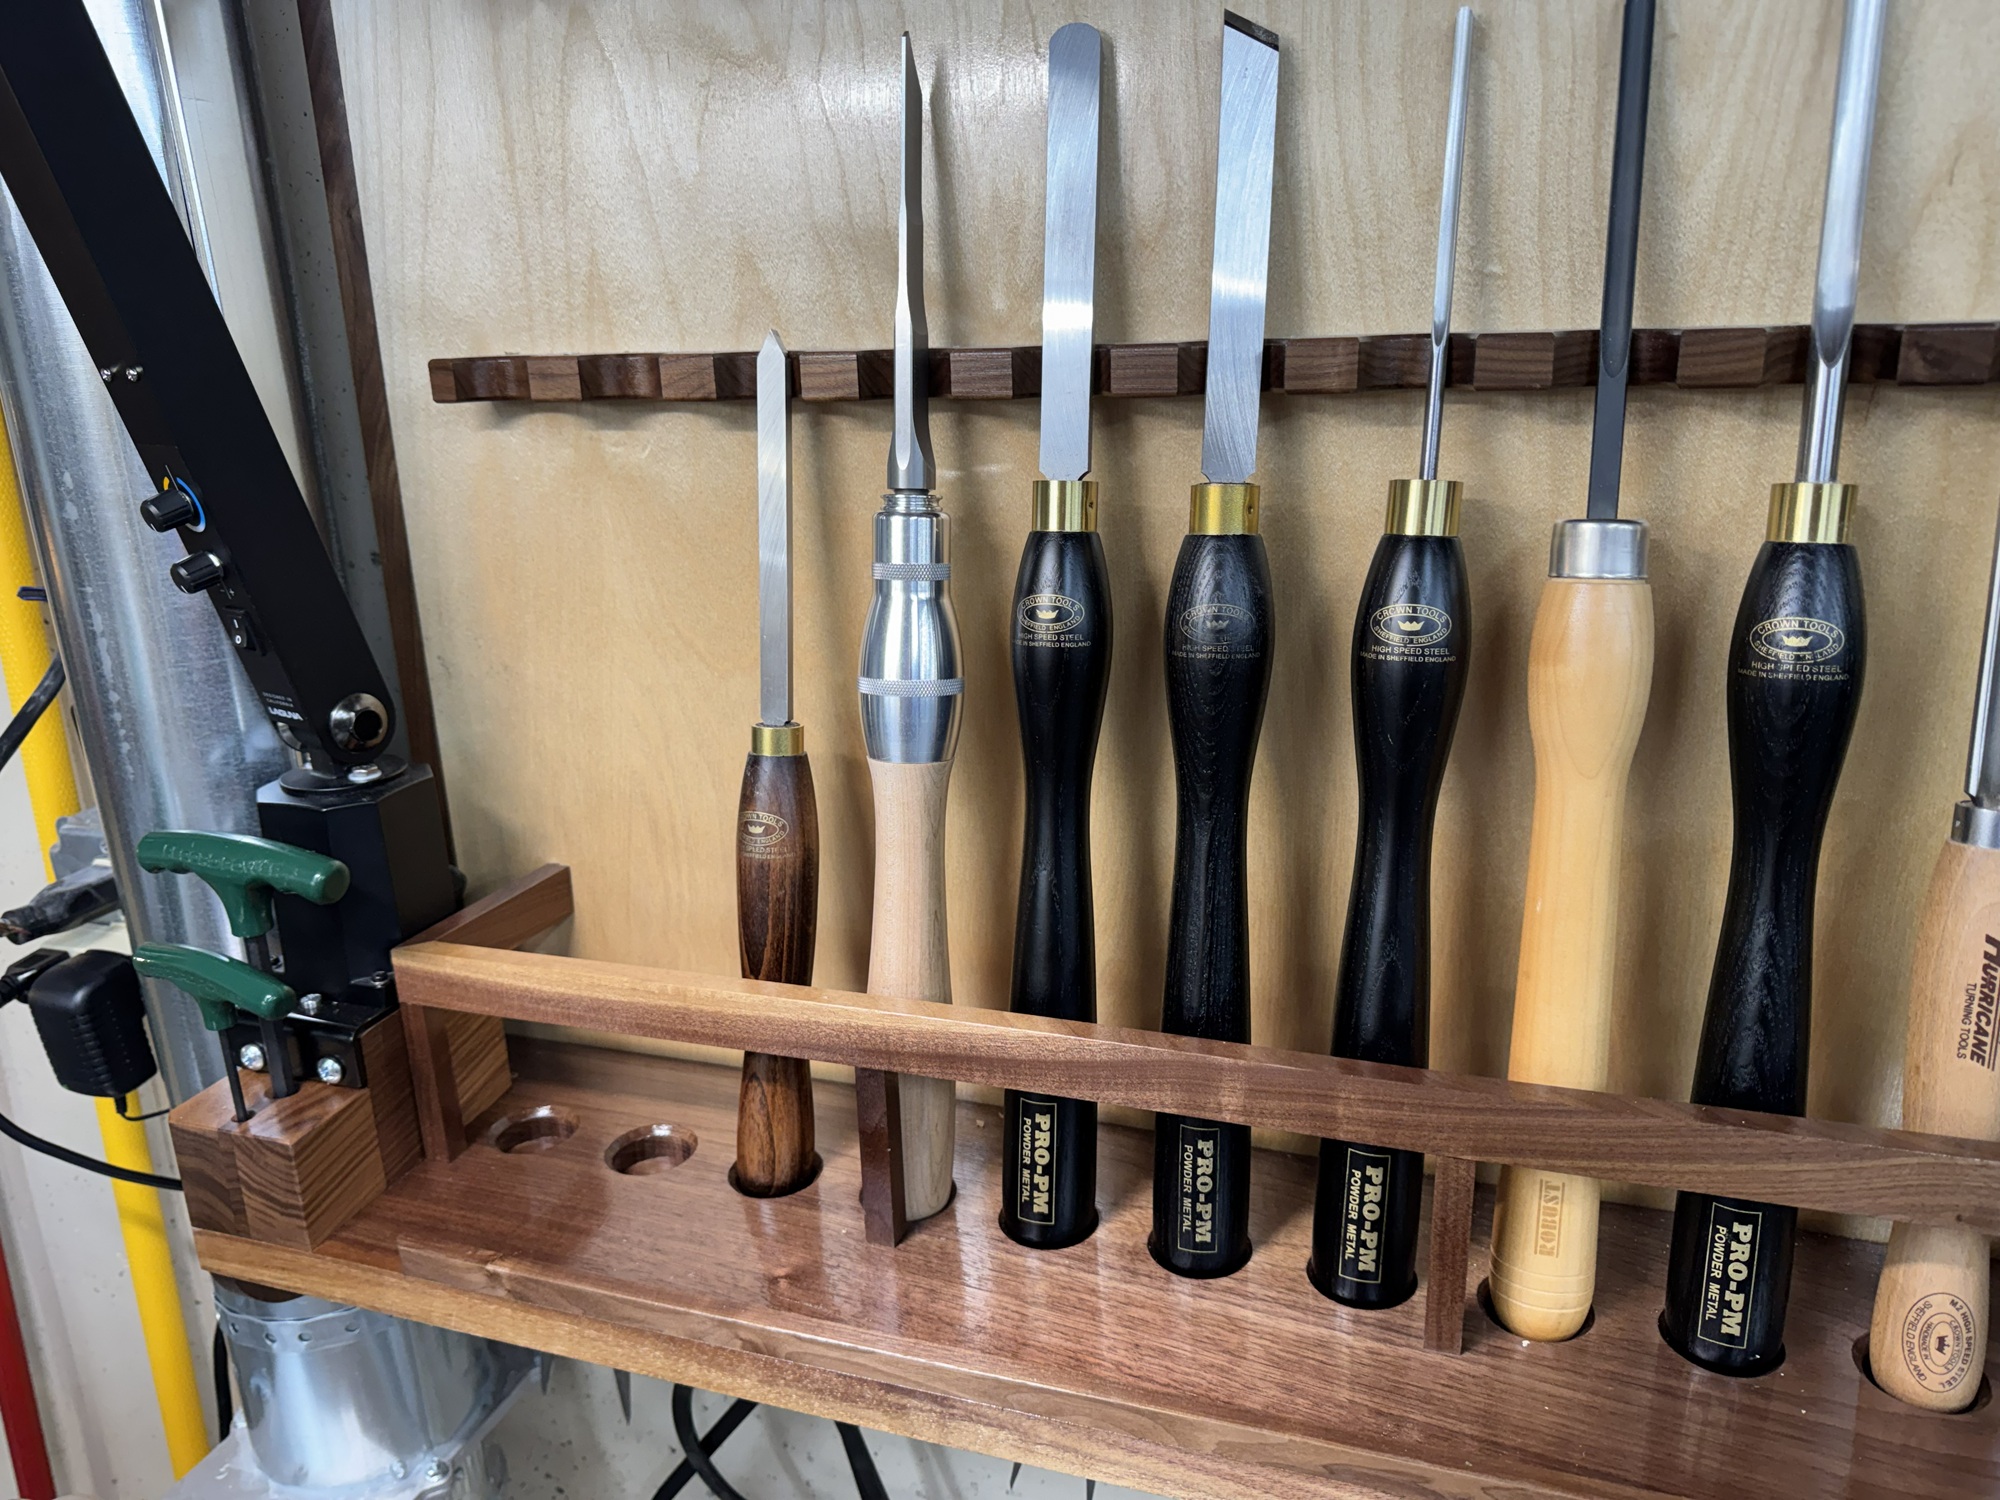
The tool racks are installed.
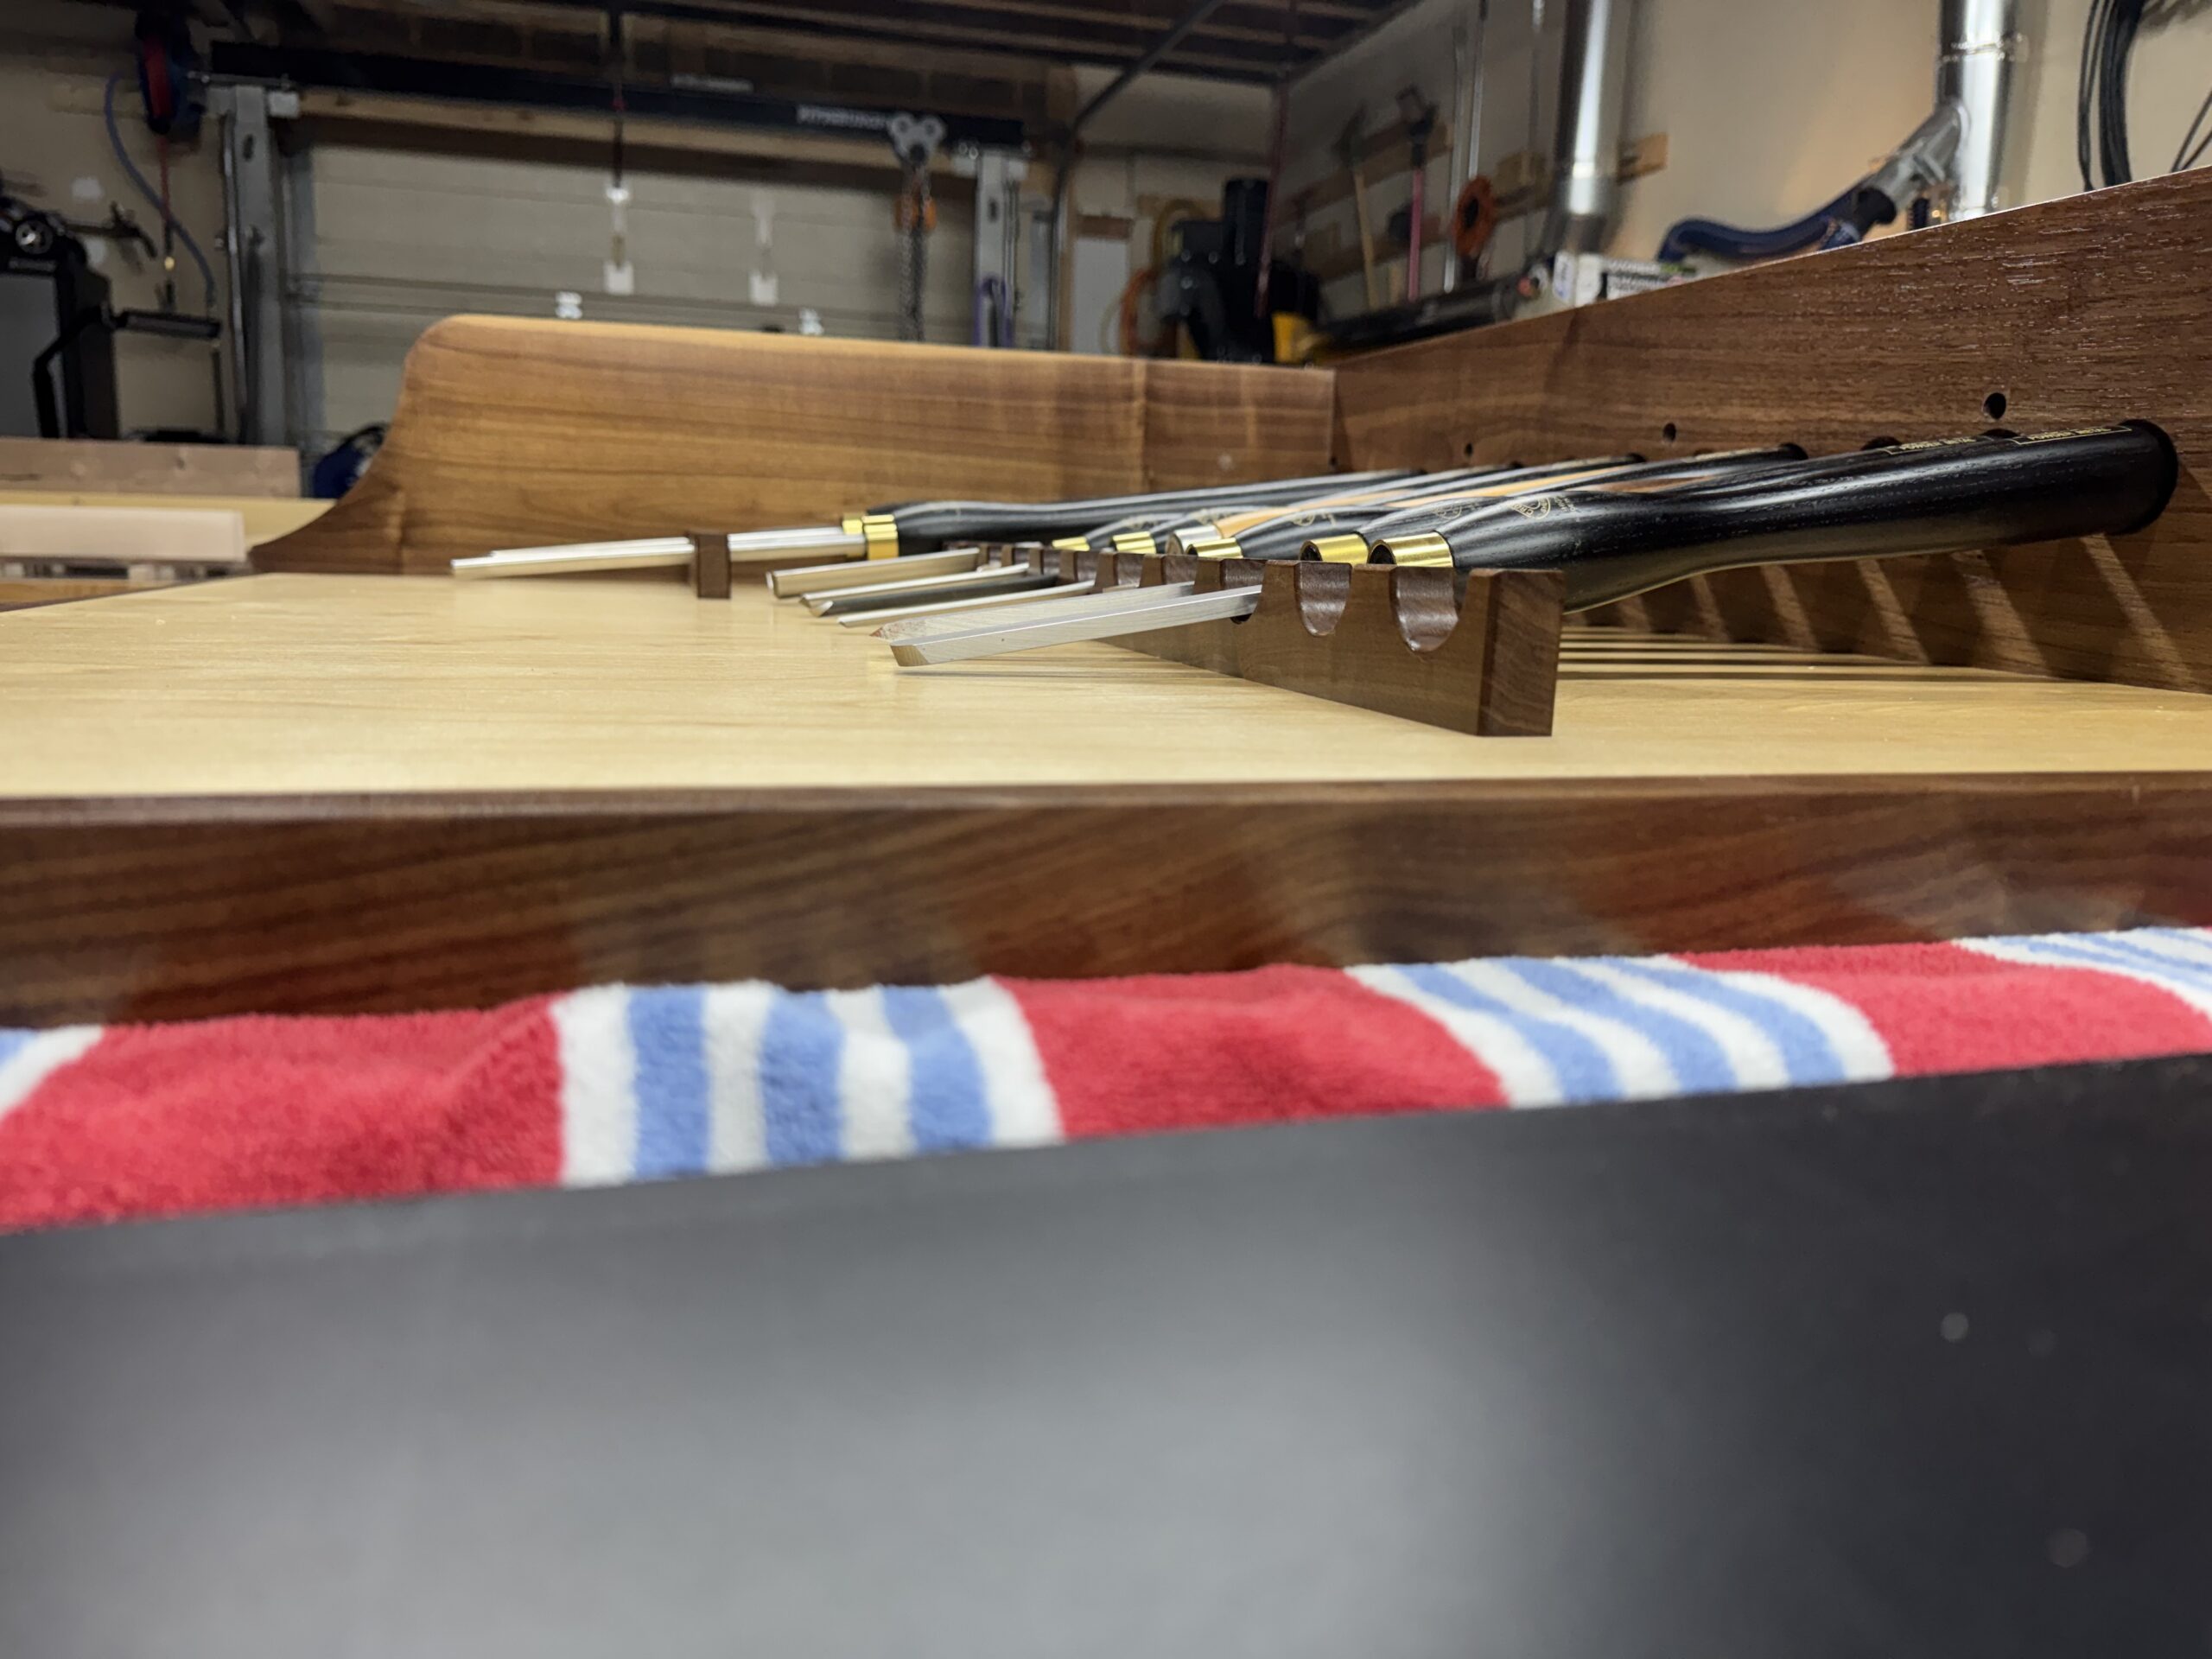
The tool rail and lamp block are installed.
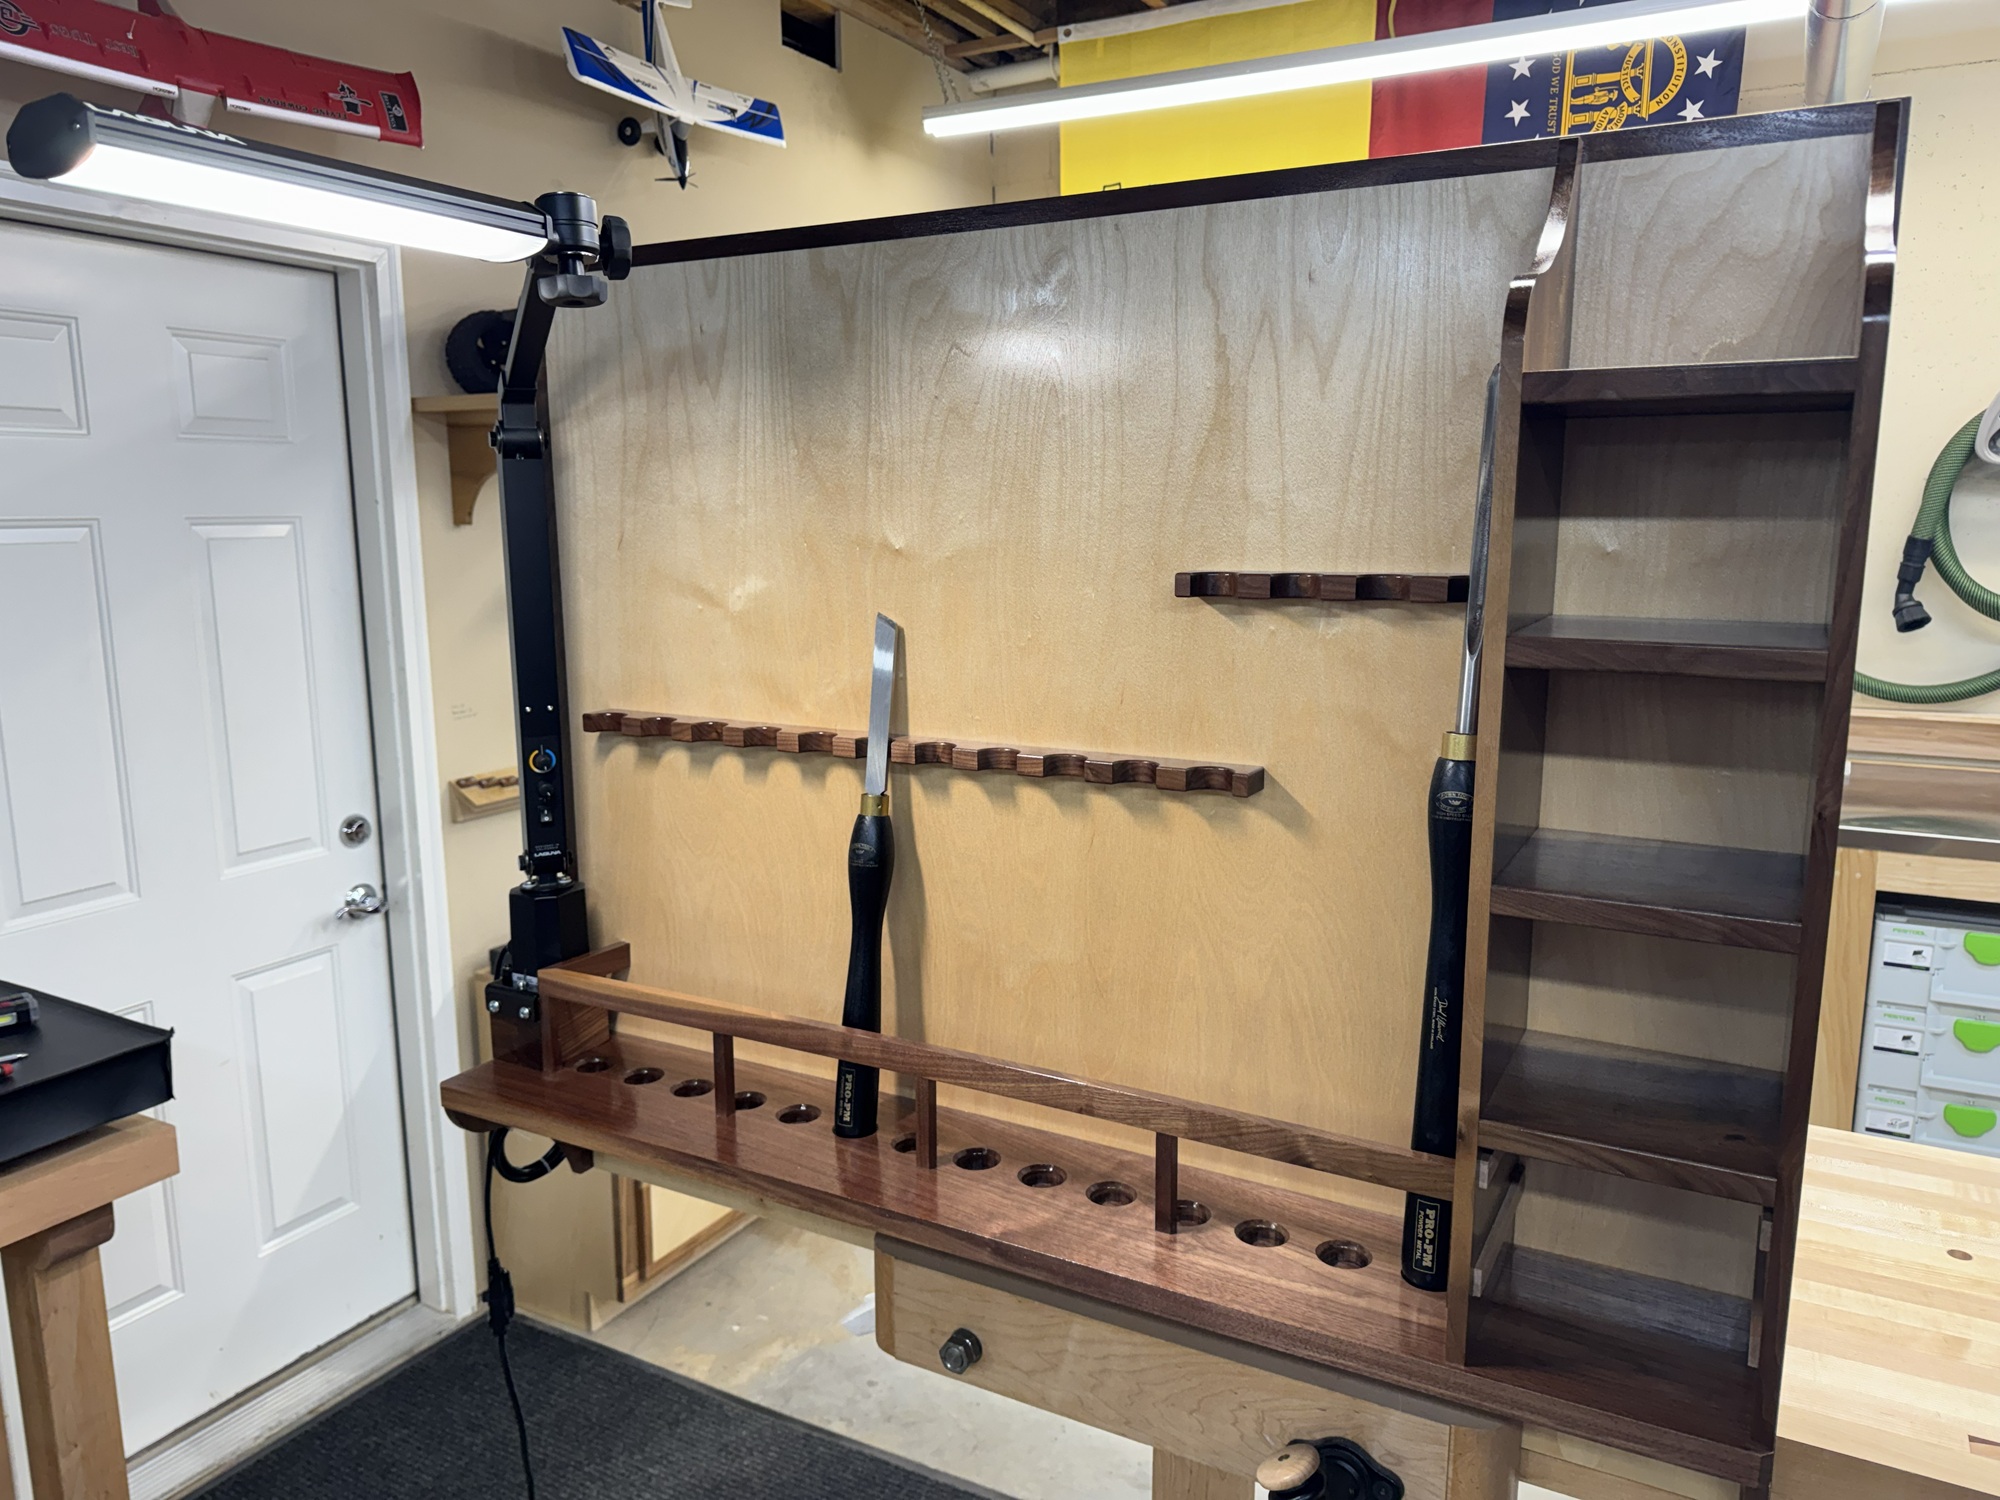
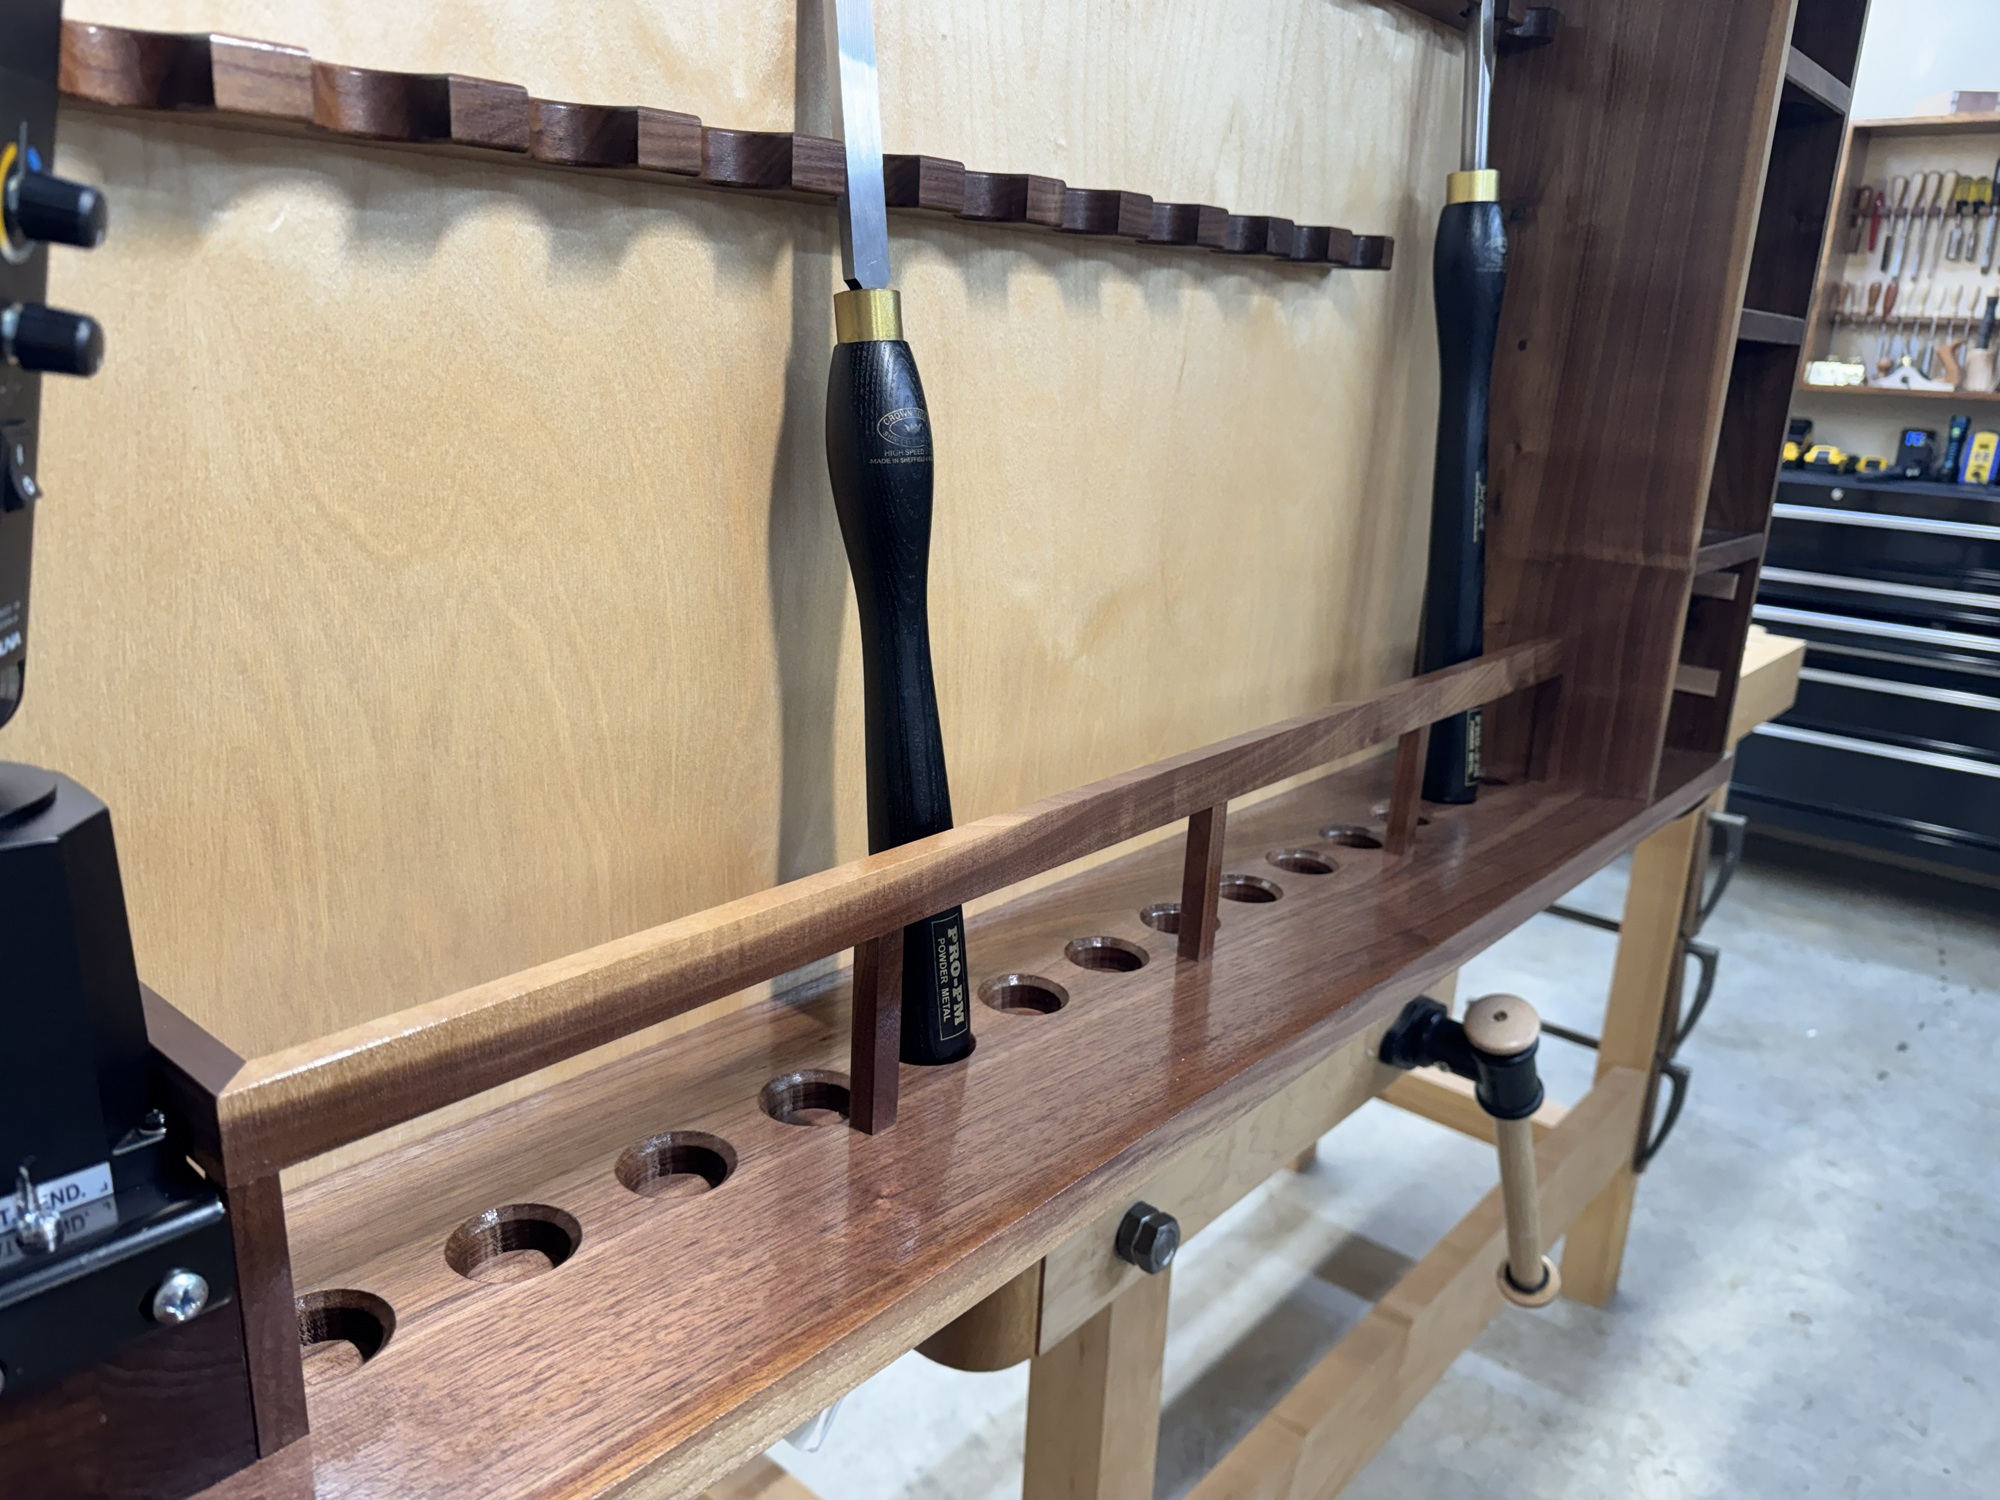
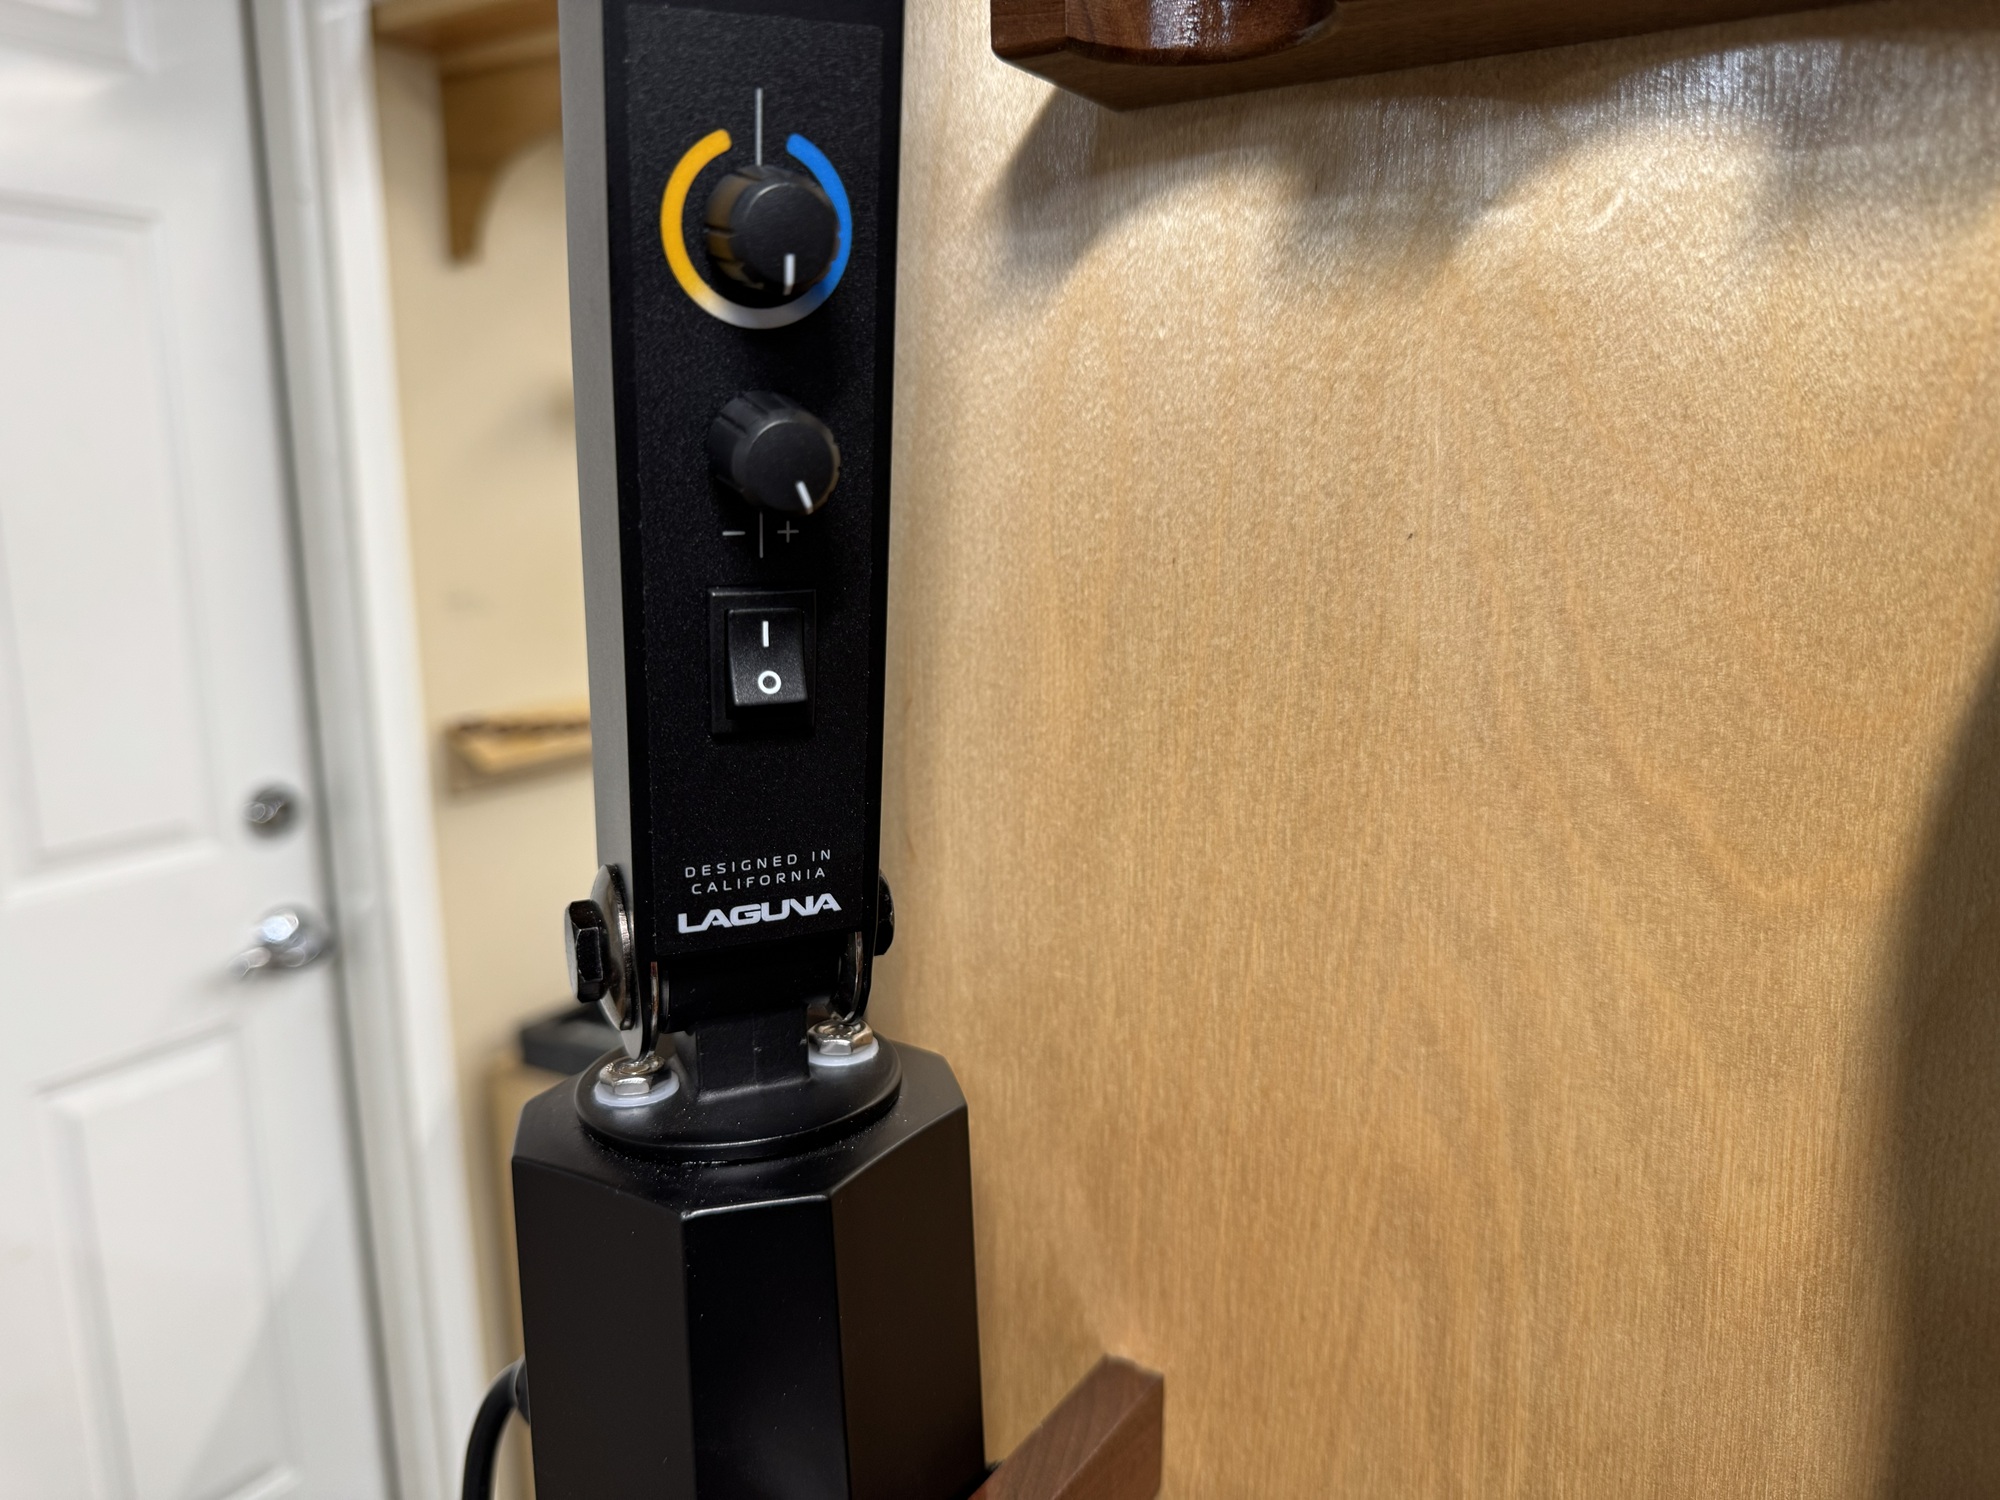
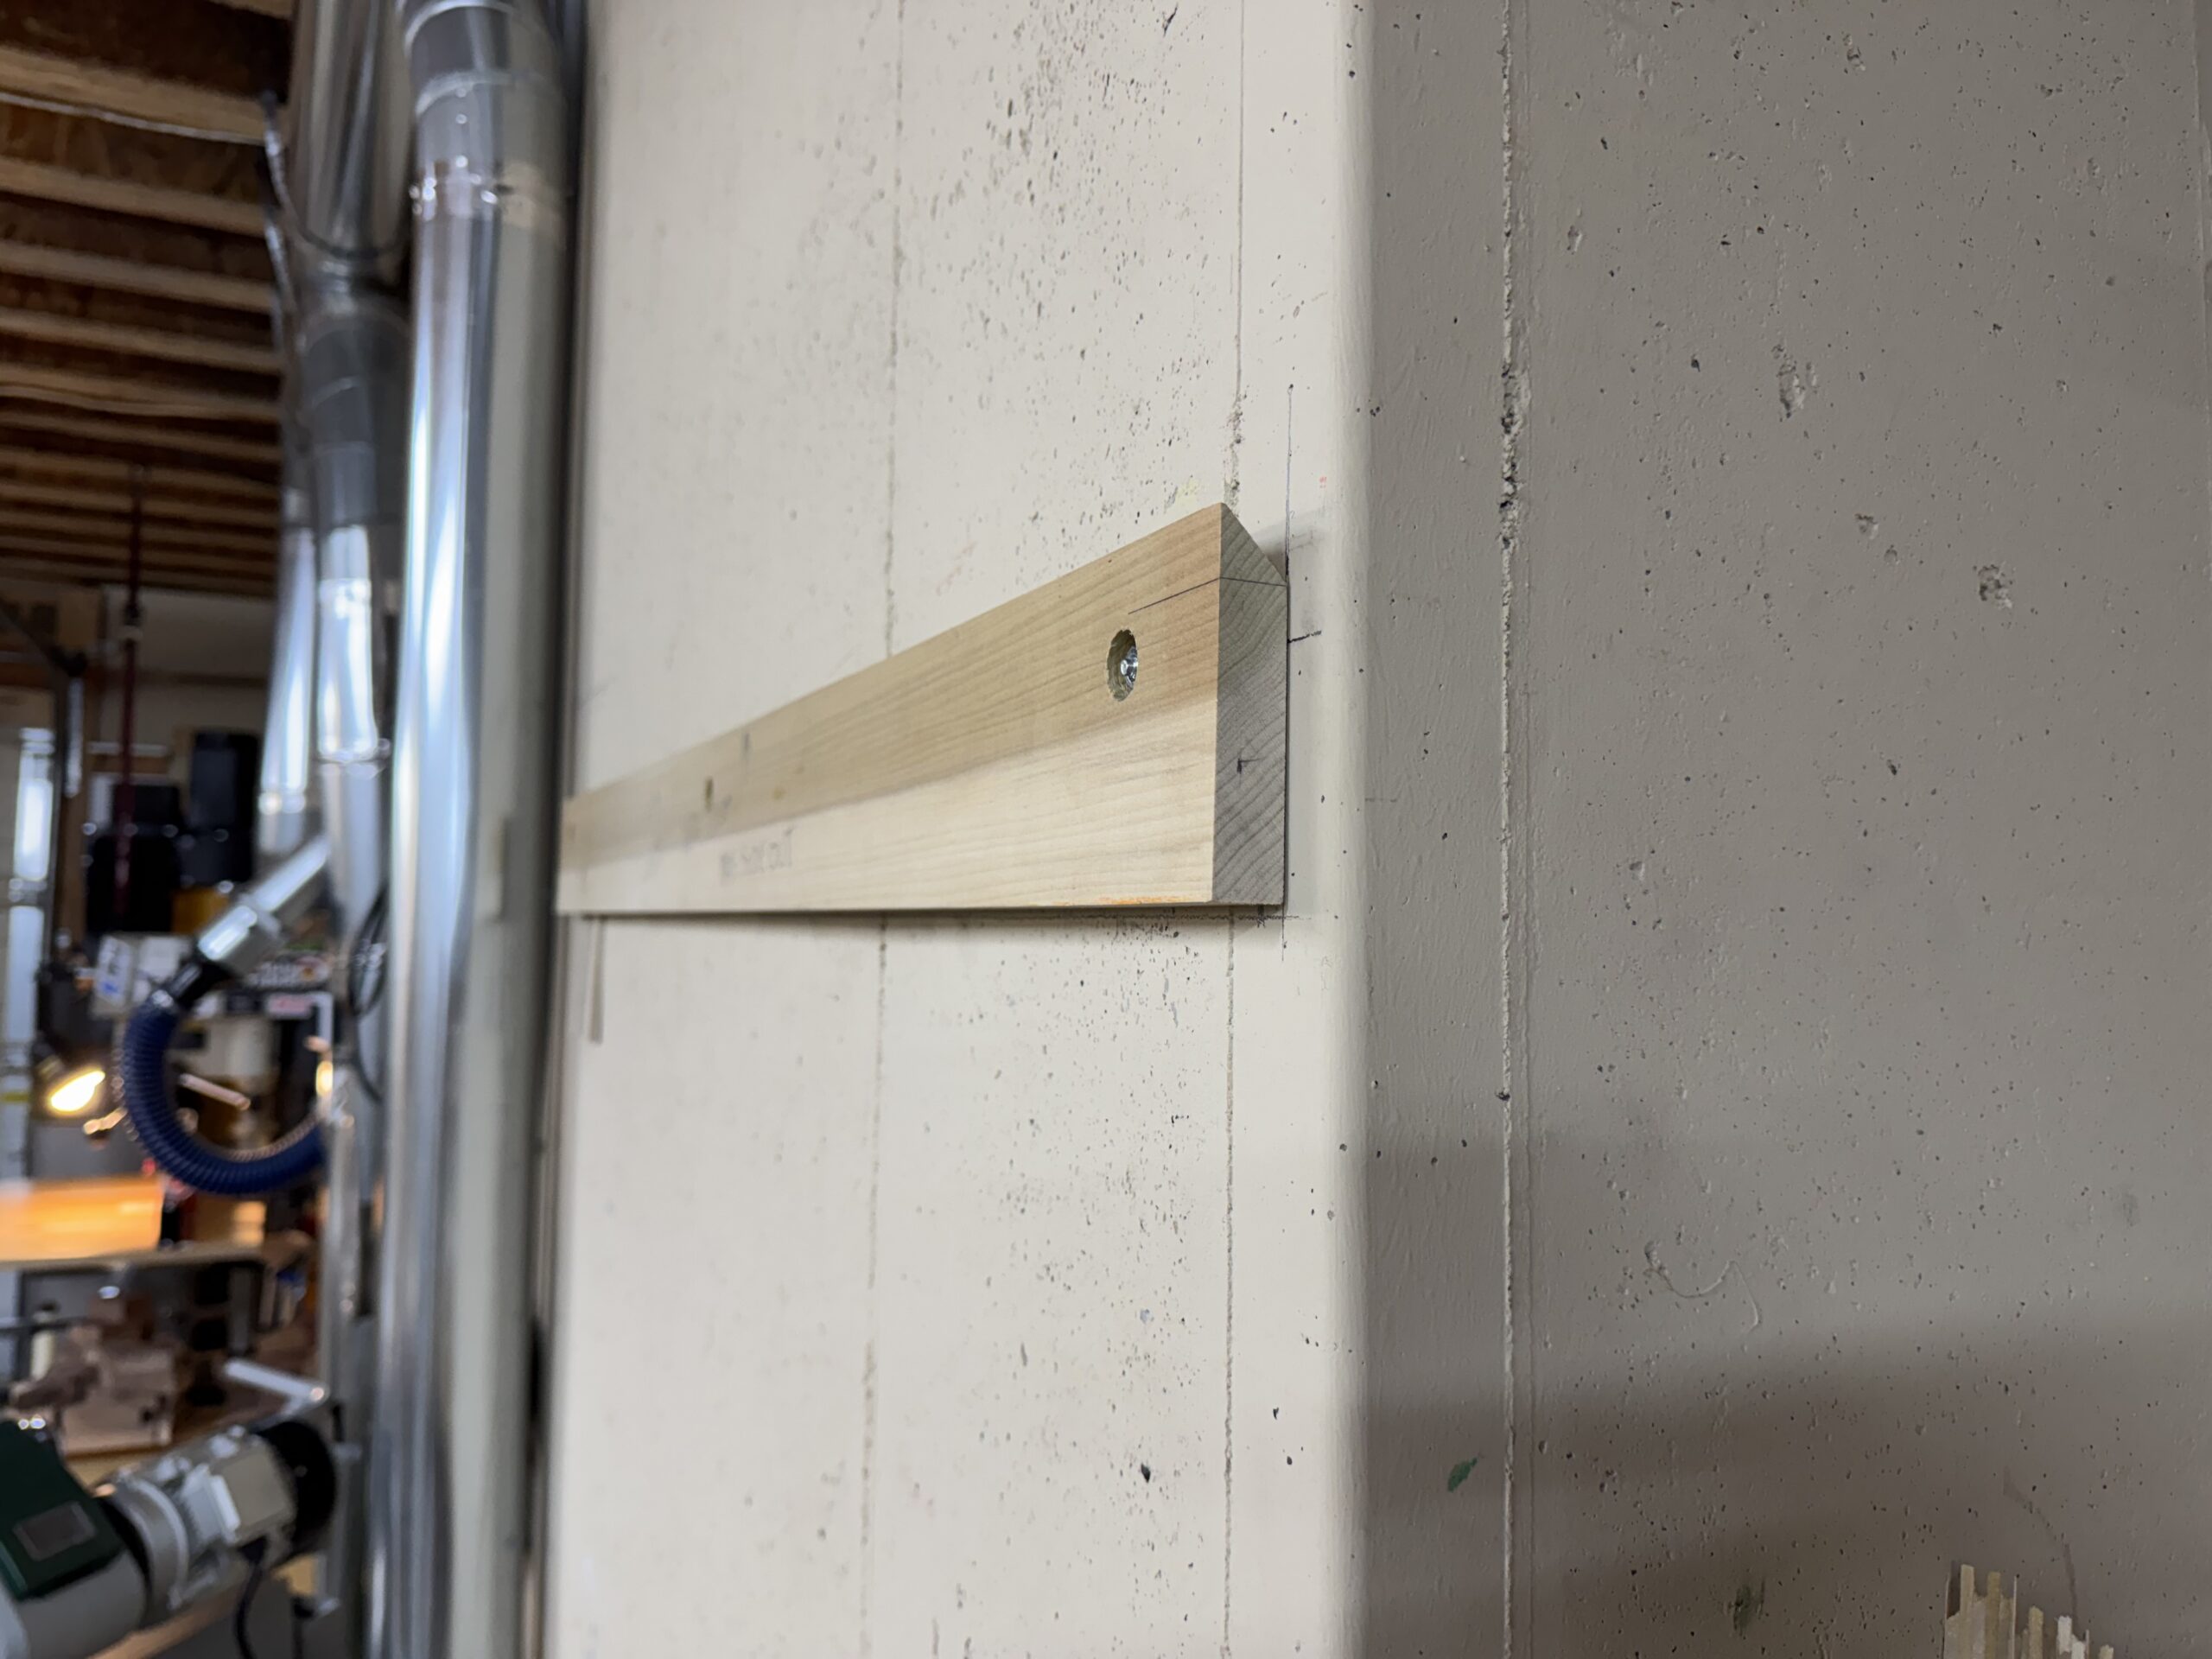
The cabinet is hung on the wall with a French cleat, making removal and replacement easy for future modifications. The cabinet just hangs on the cleat without fasteners.
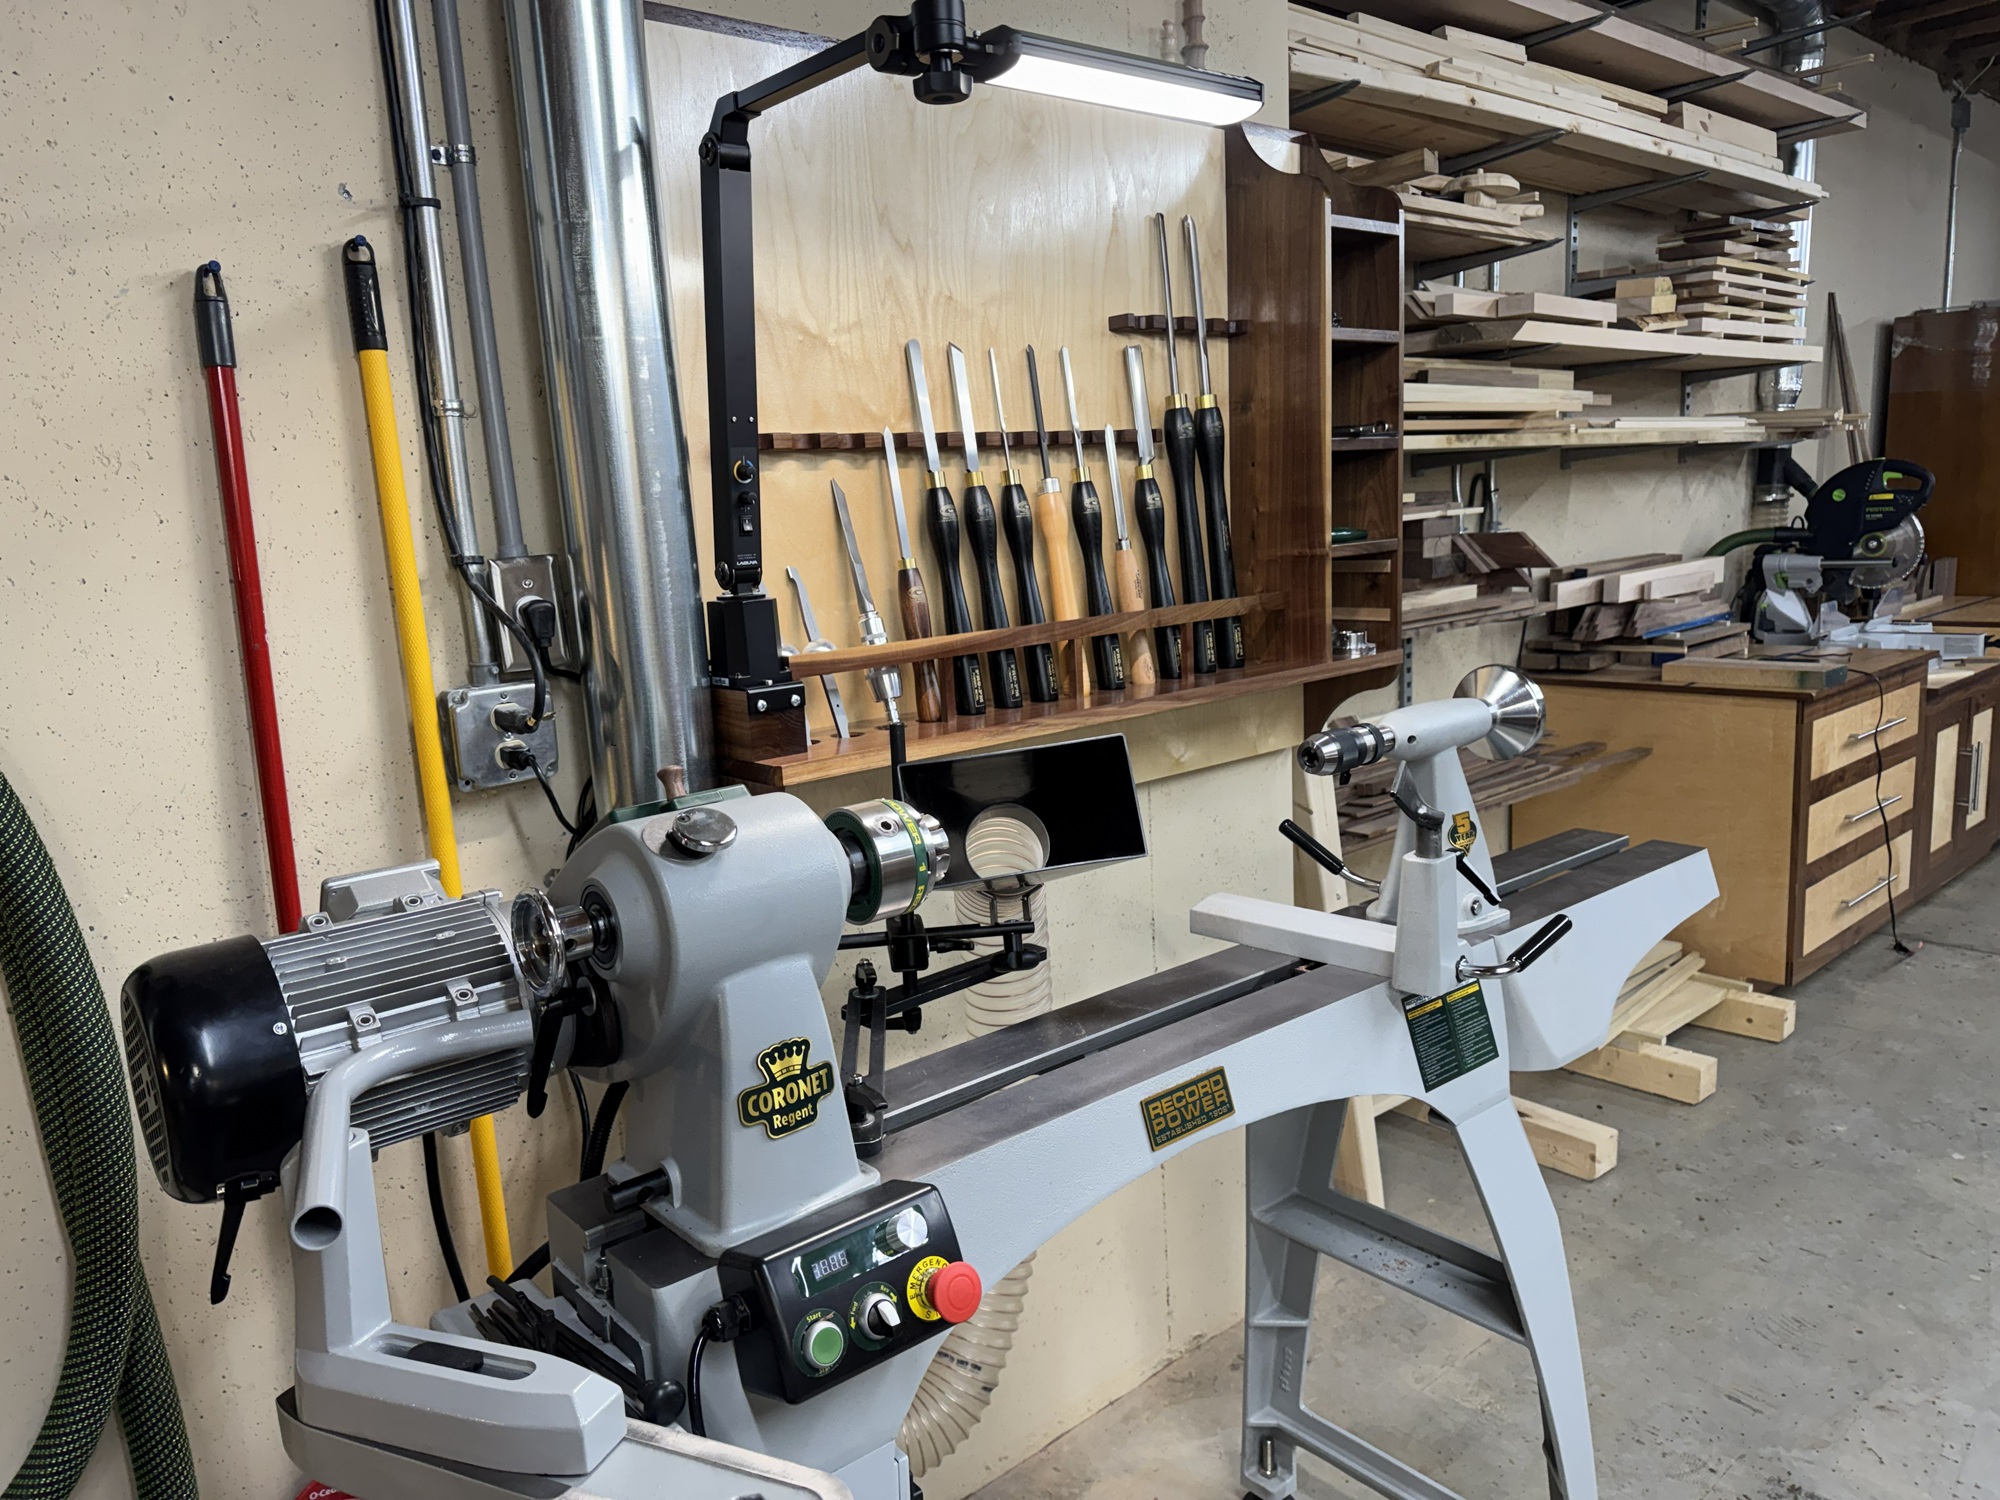
Several tasks remain: making the dust collection mount; installing tool storage pegs; making wrench storage to sit in front of the lamp; making the face shield hooks for the side of the cabinet; and making the drawers.
It seems obligatory to use the lathe for something on this project.
Back up on the wall, as the drawers, face shield pegs and other items can be installed in situ.
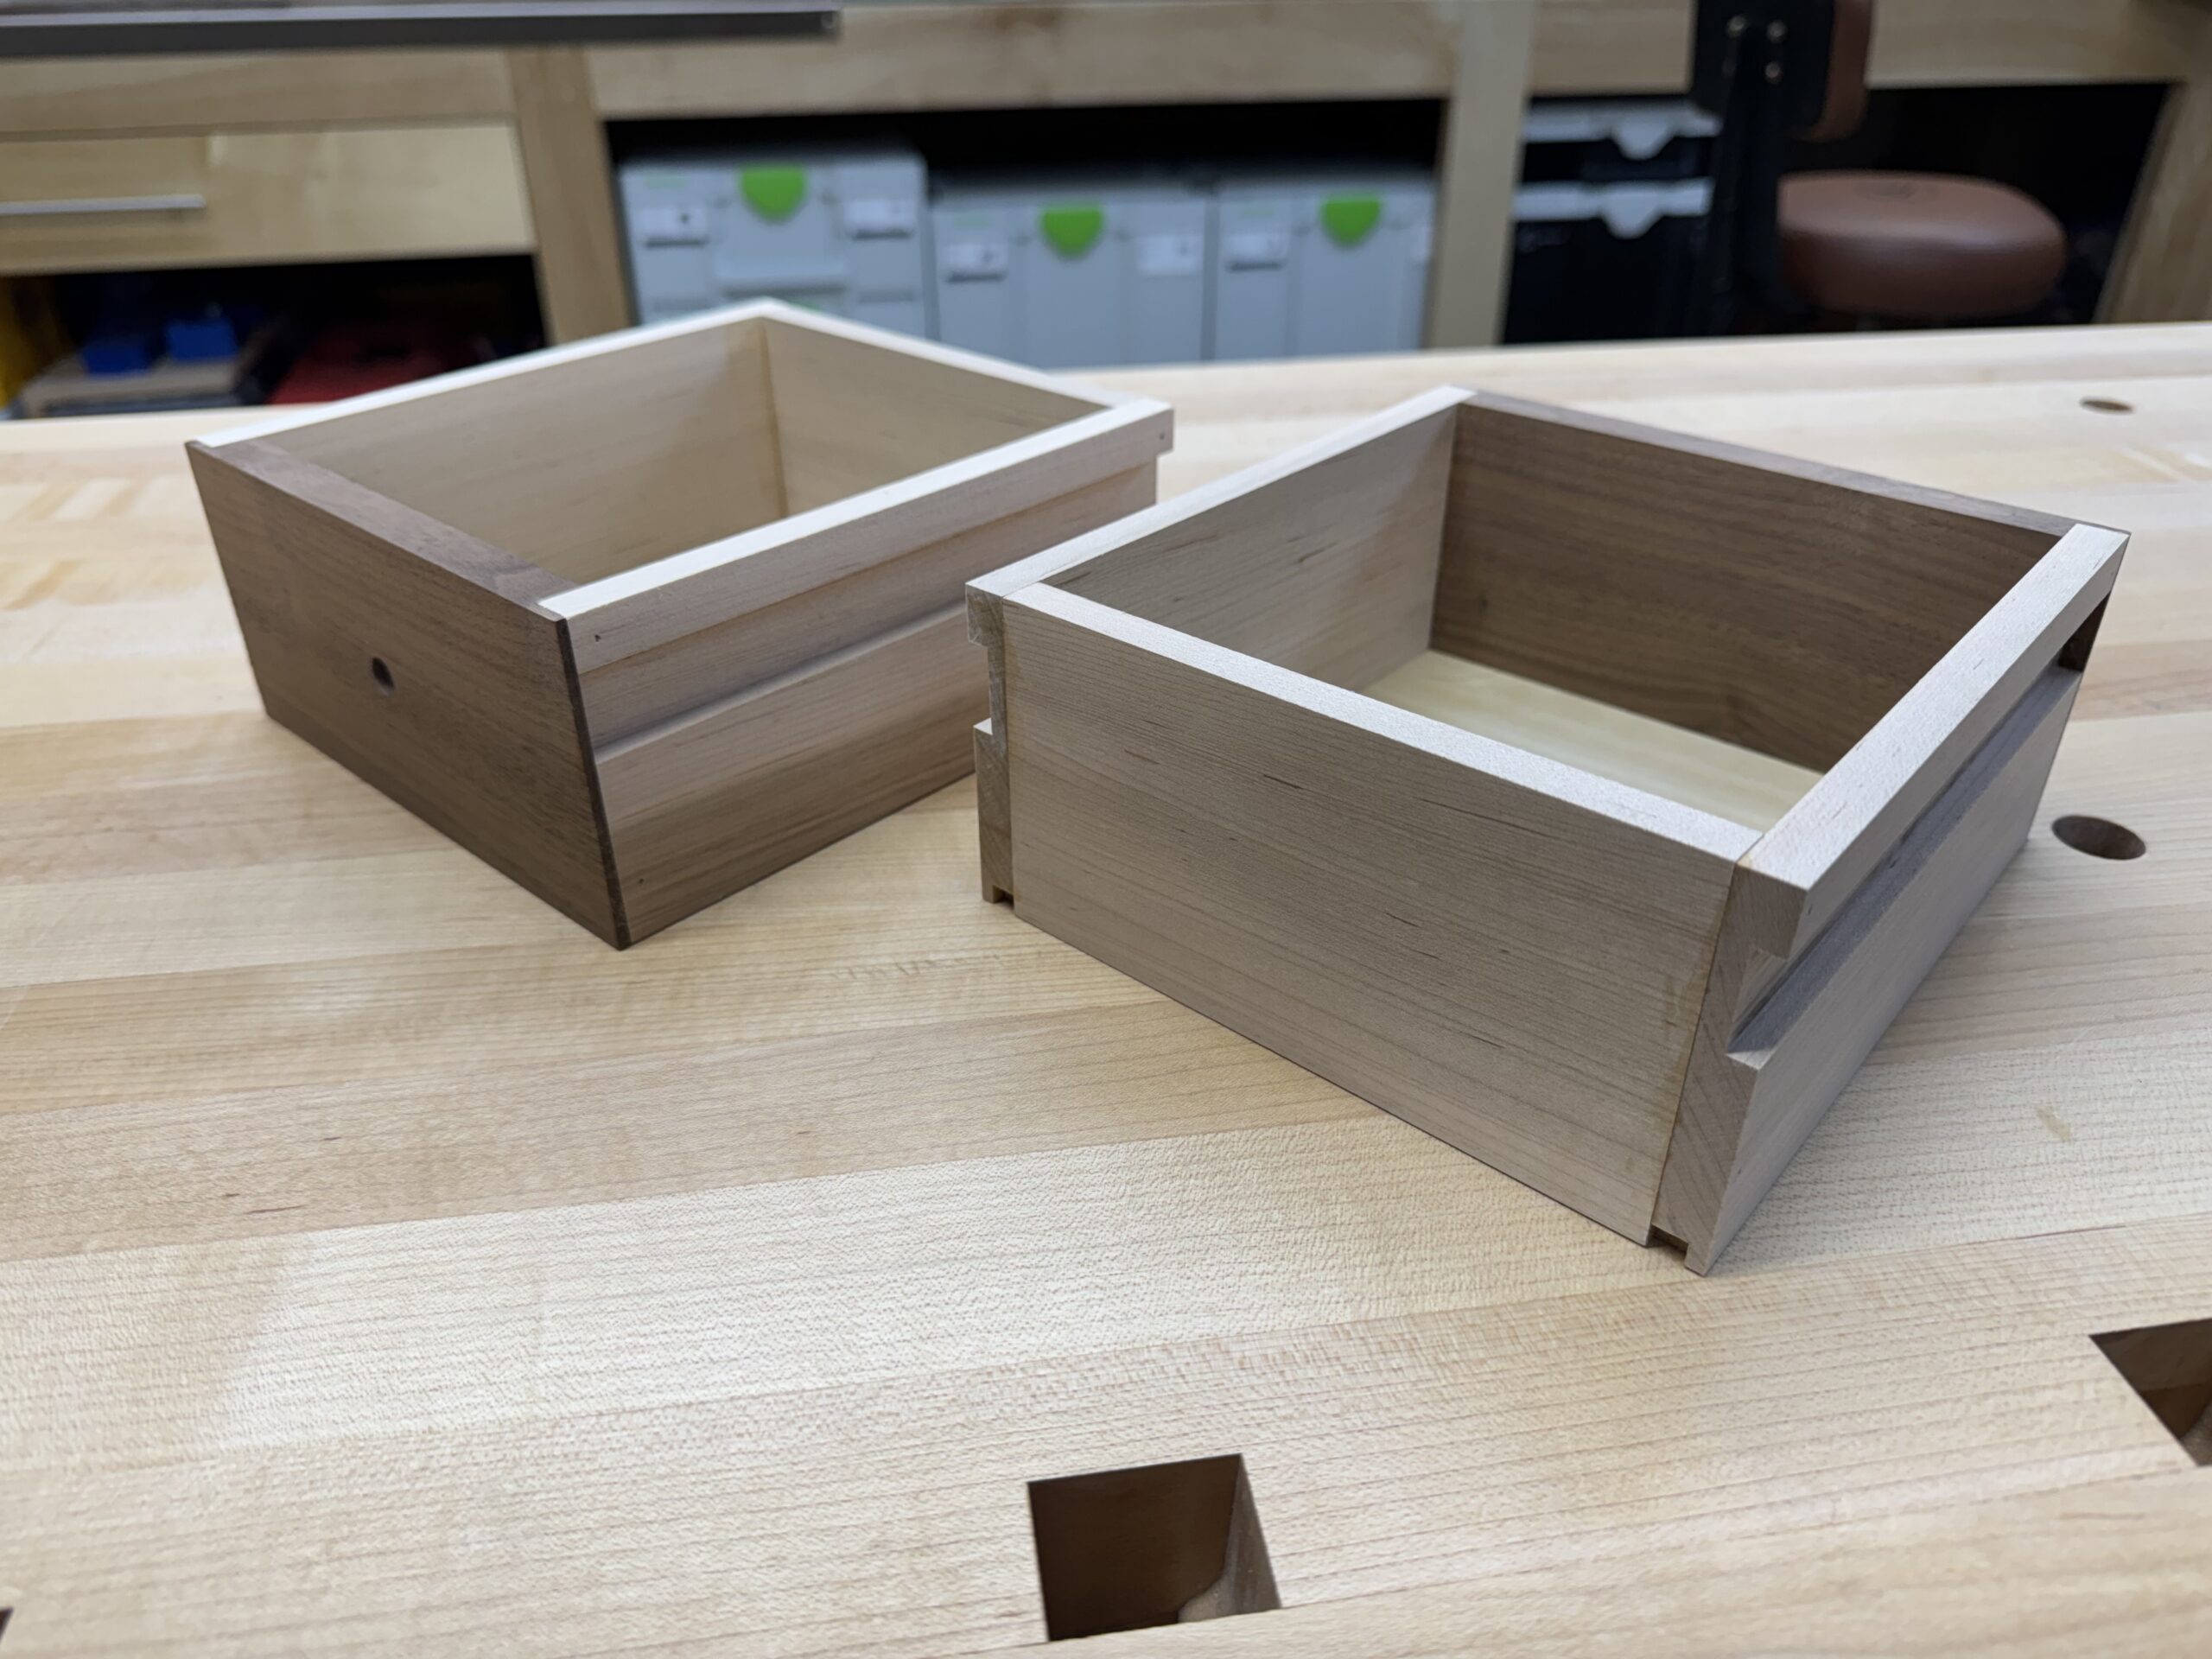
Drawers are banged out on the table saw, glued and pin nailed. They are needed in service. Maybe something nicer will be made later.
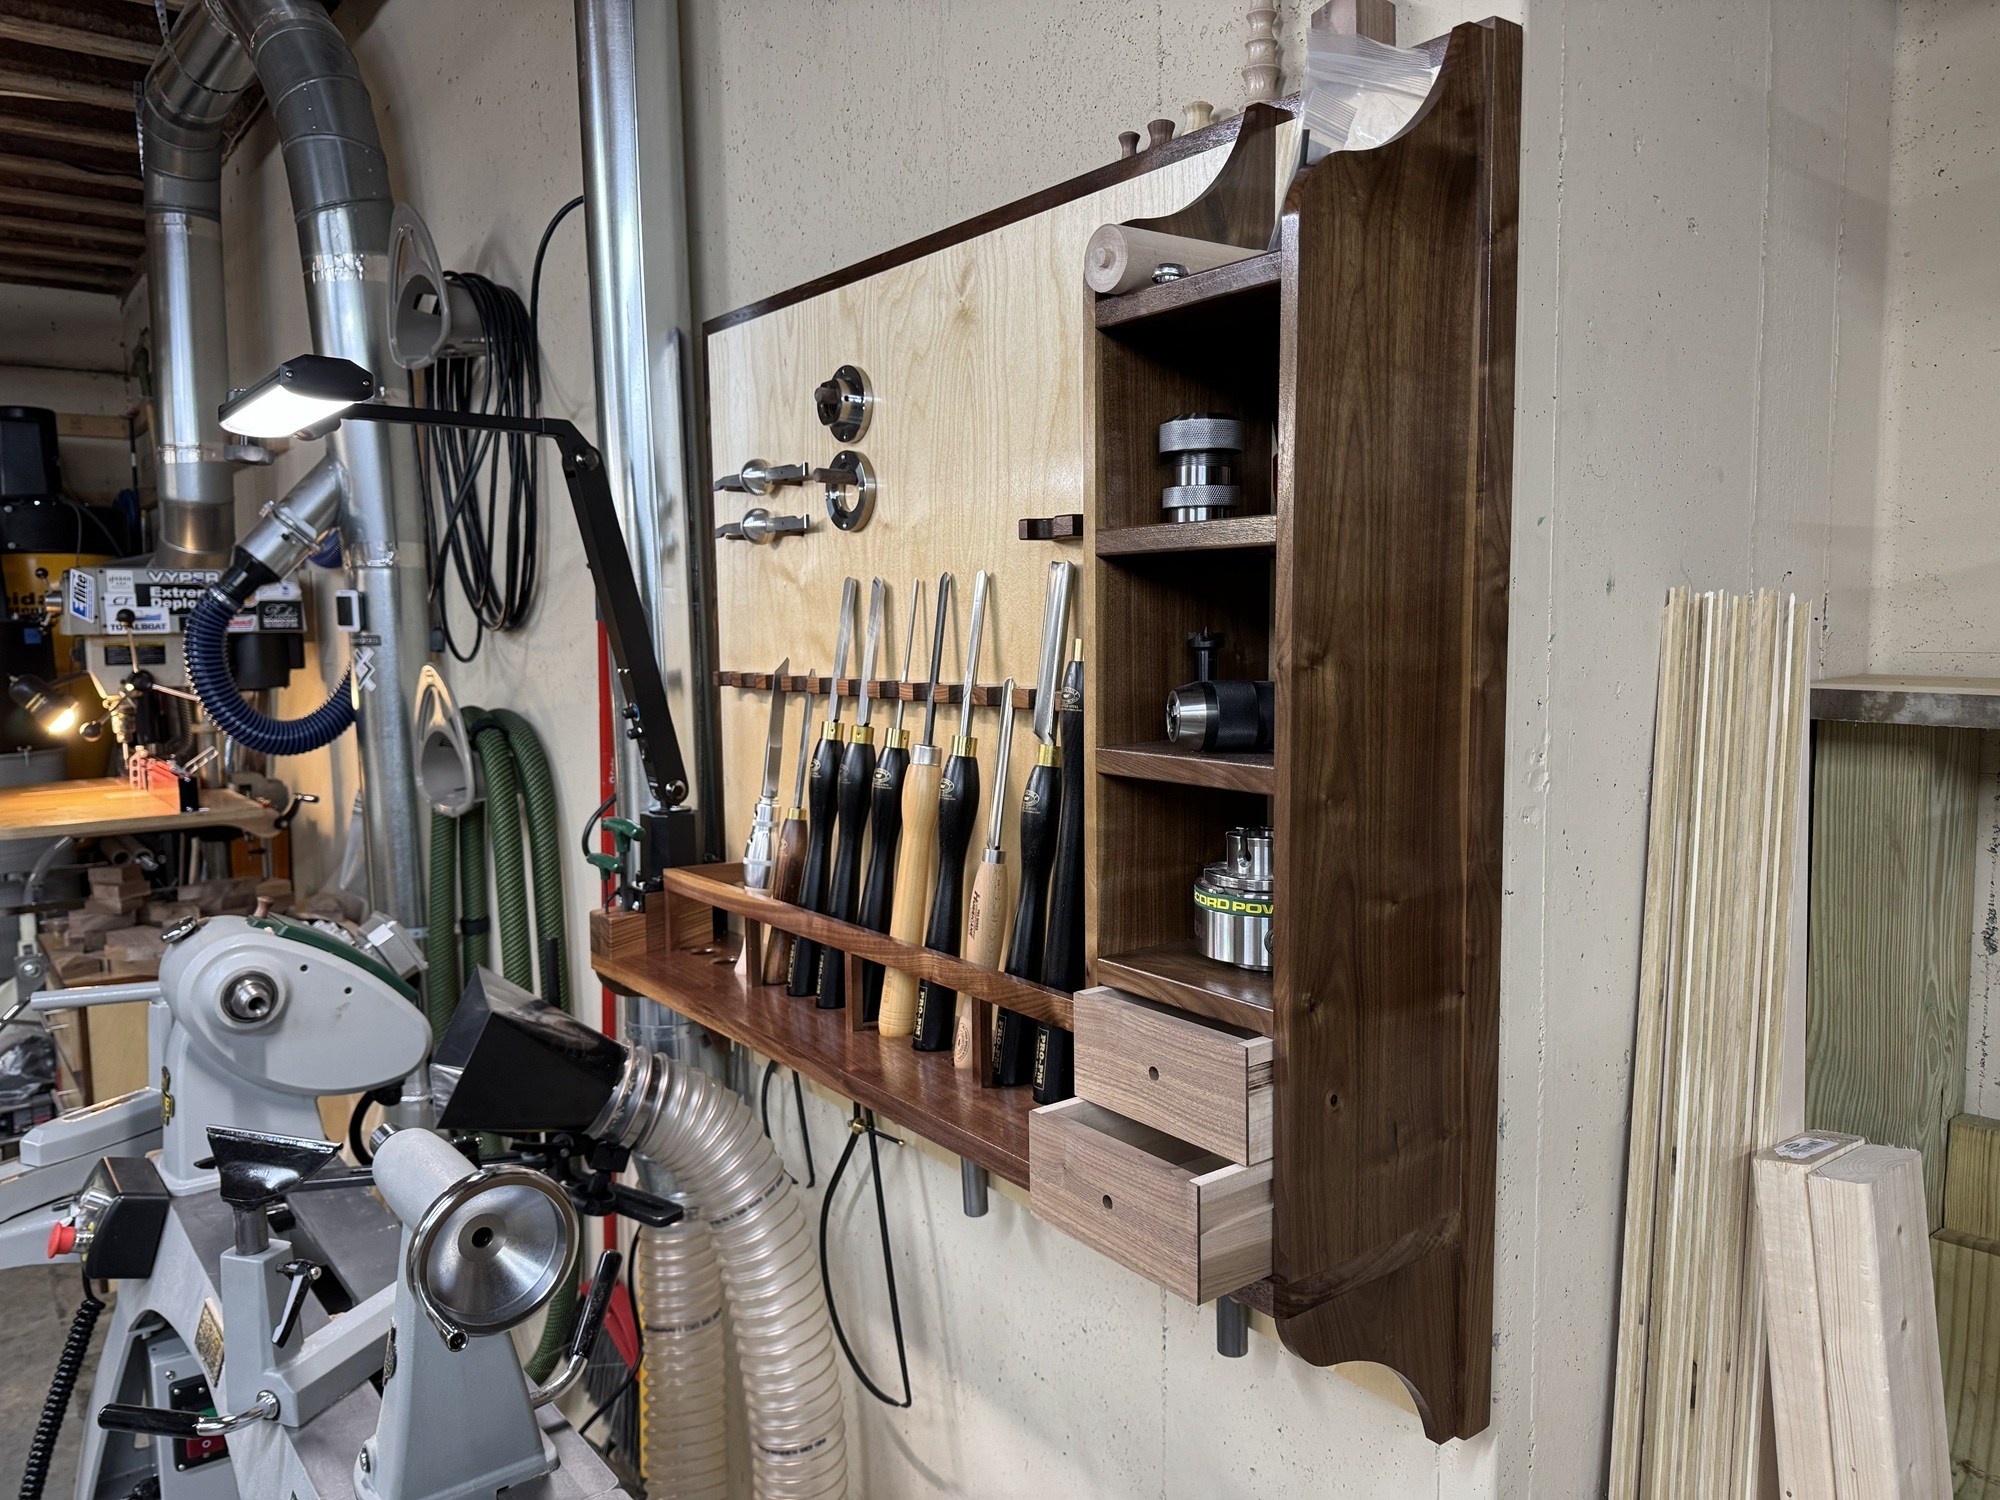
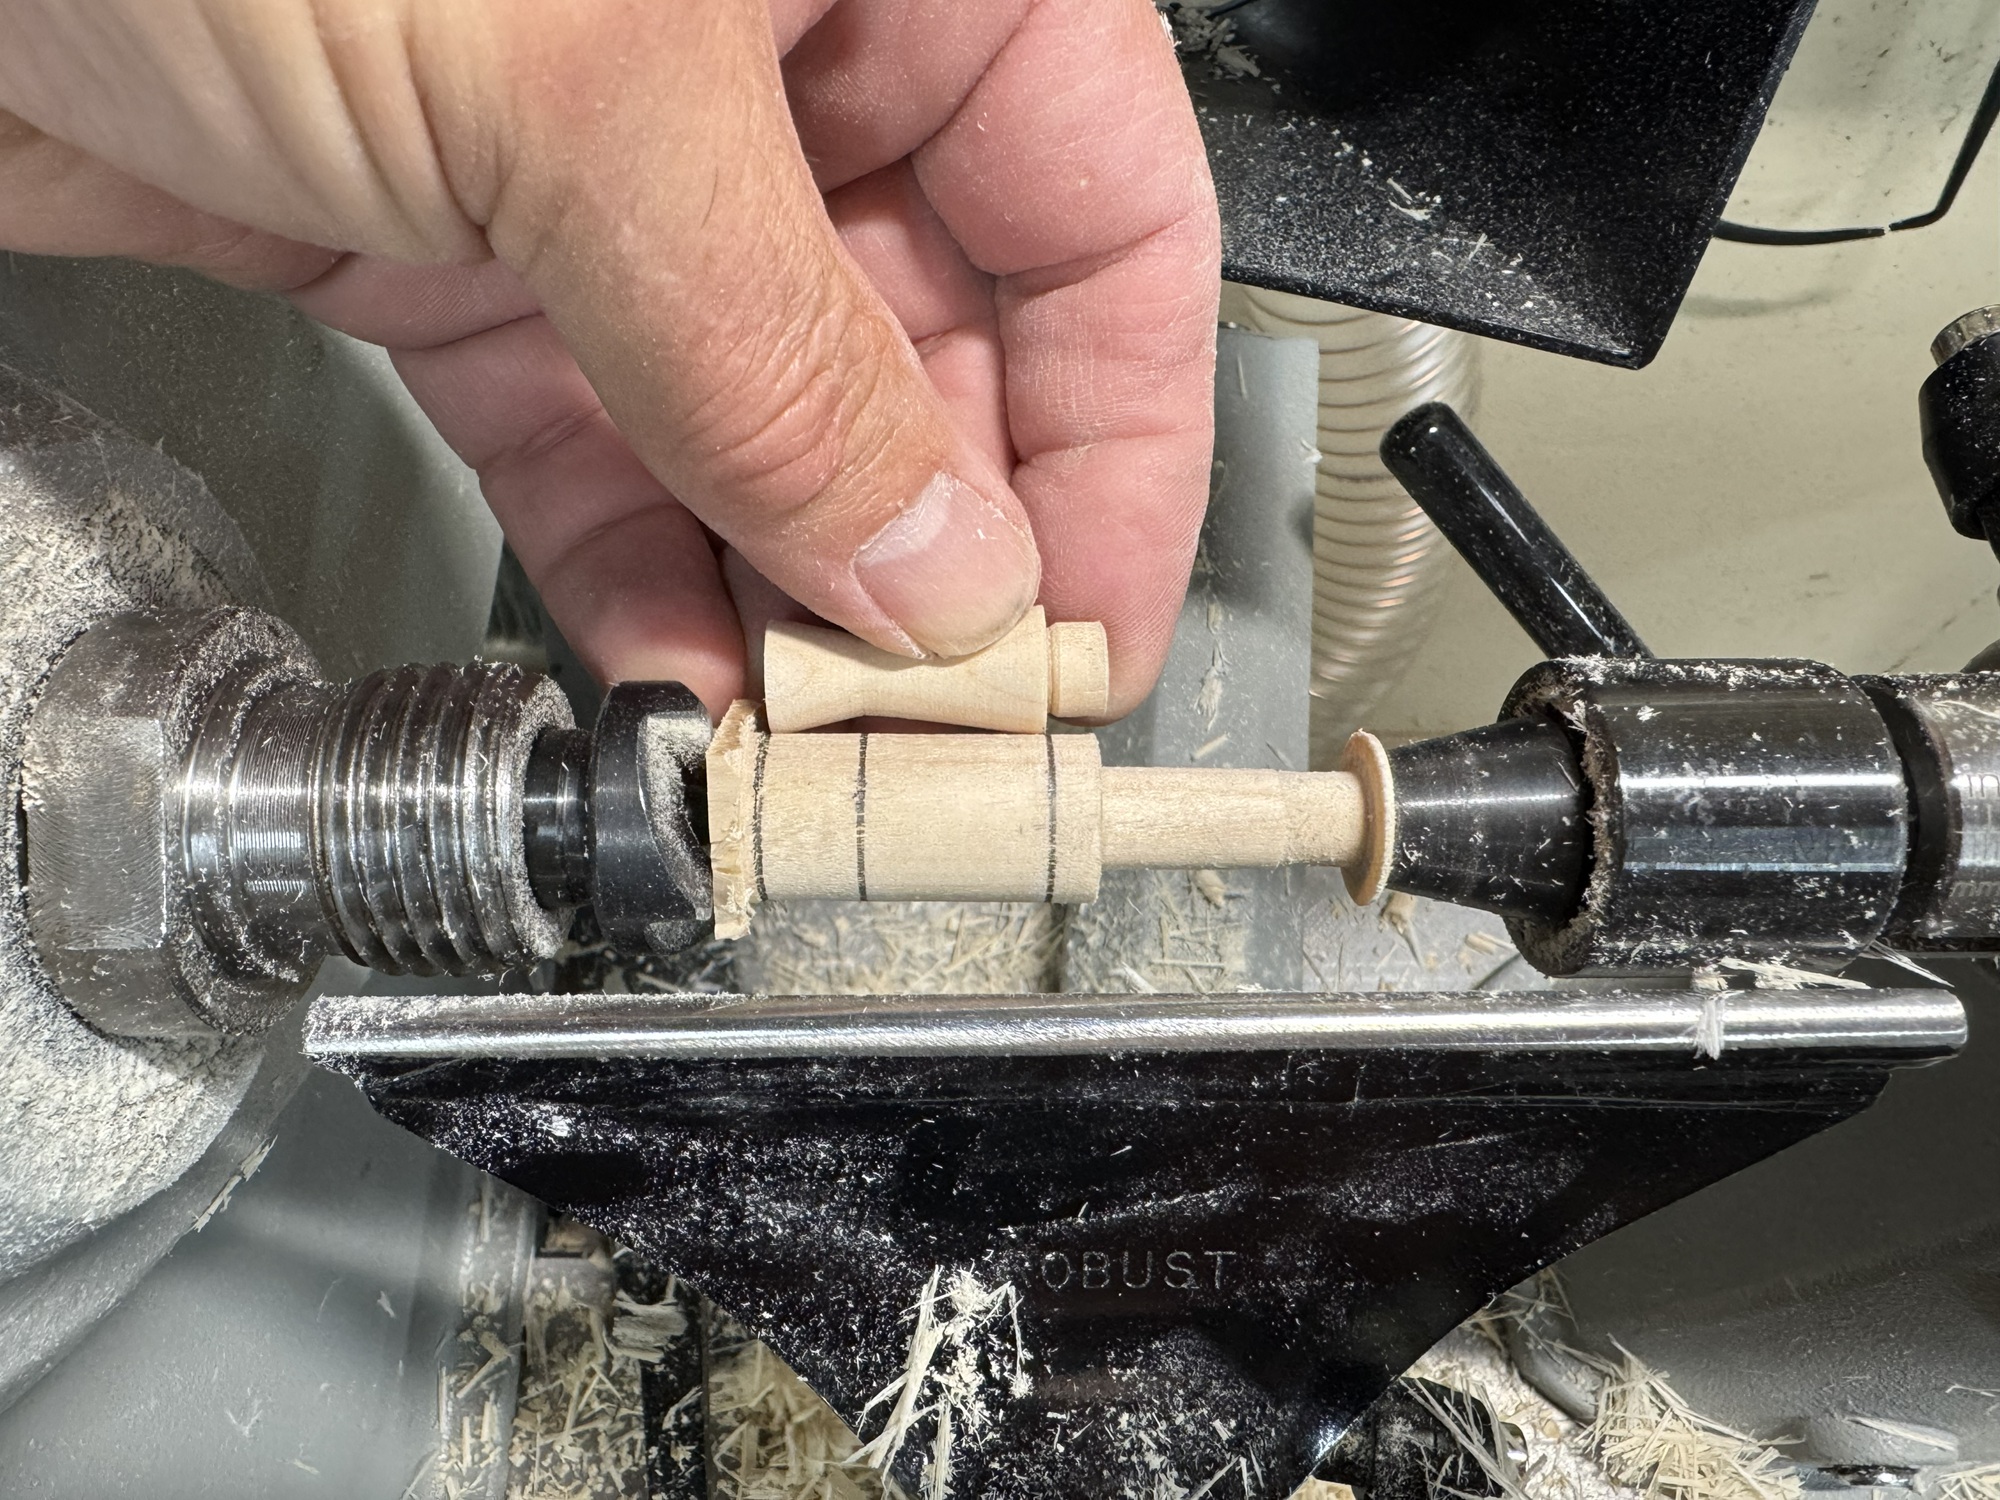
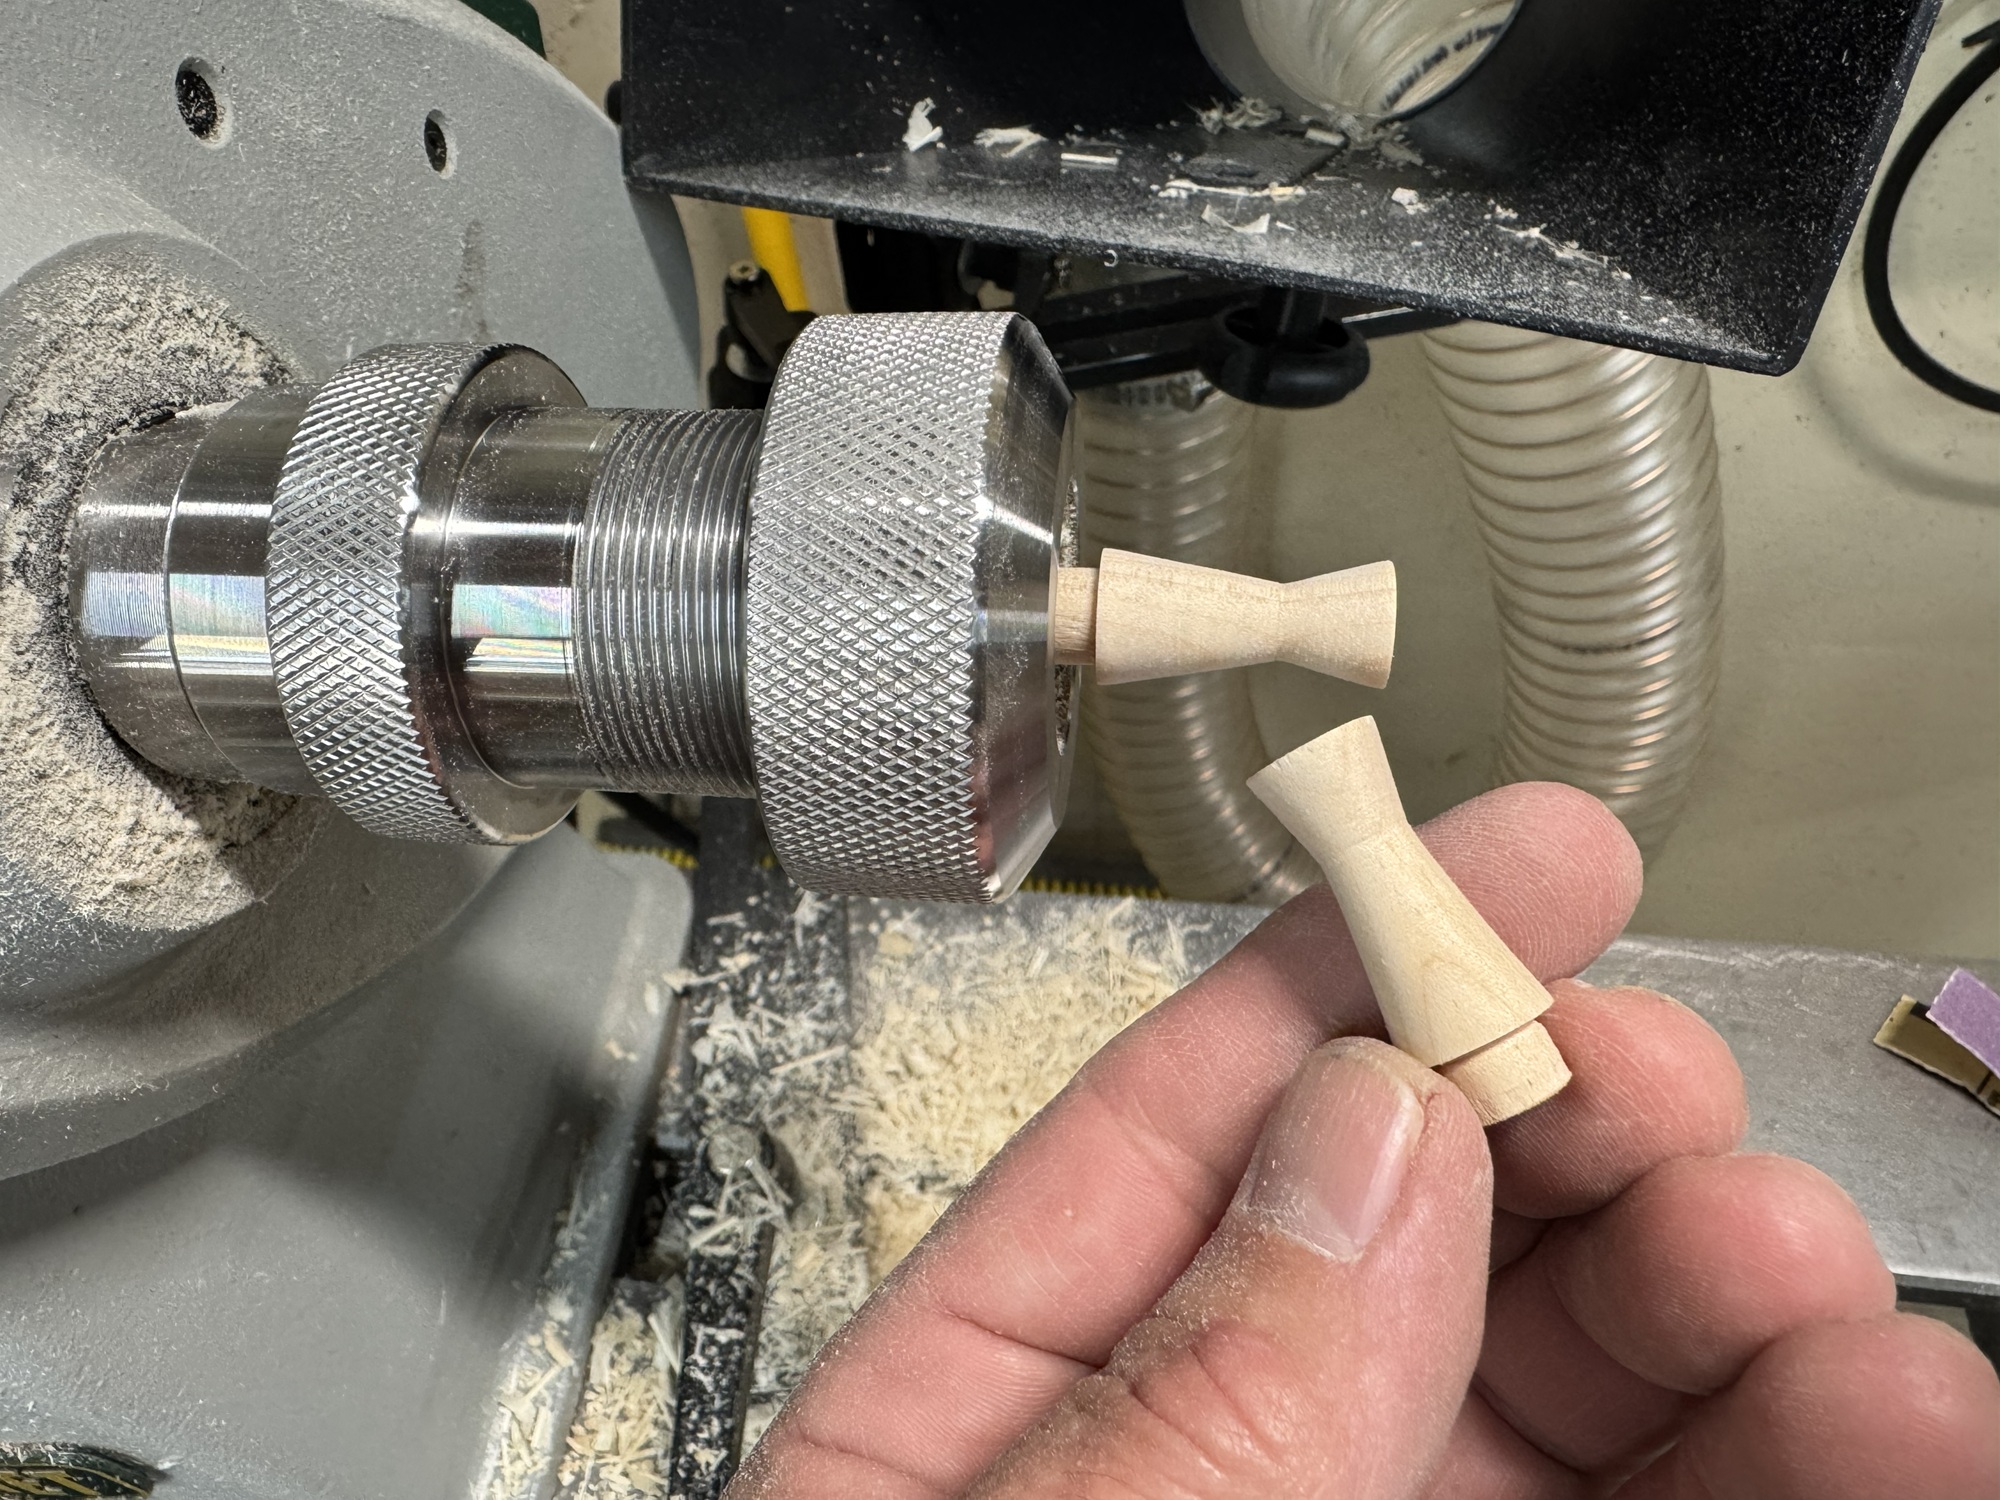
The knobs are turned.
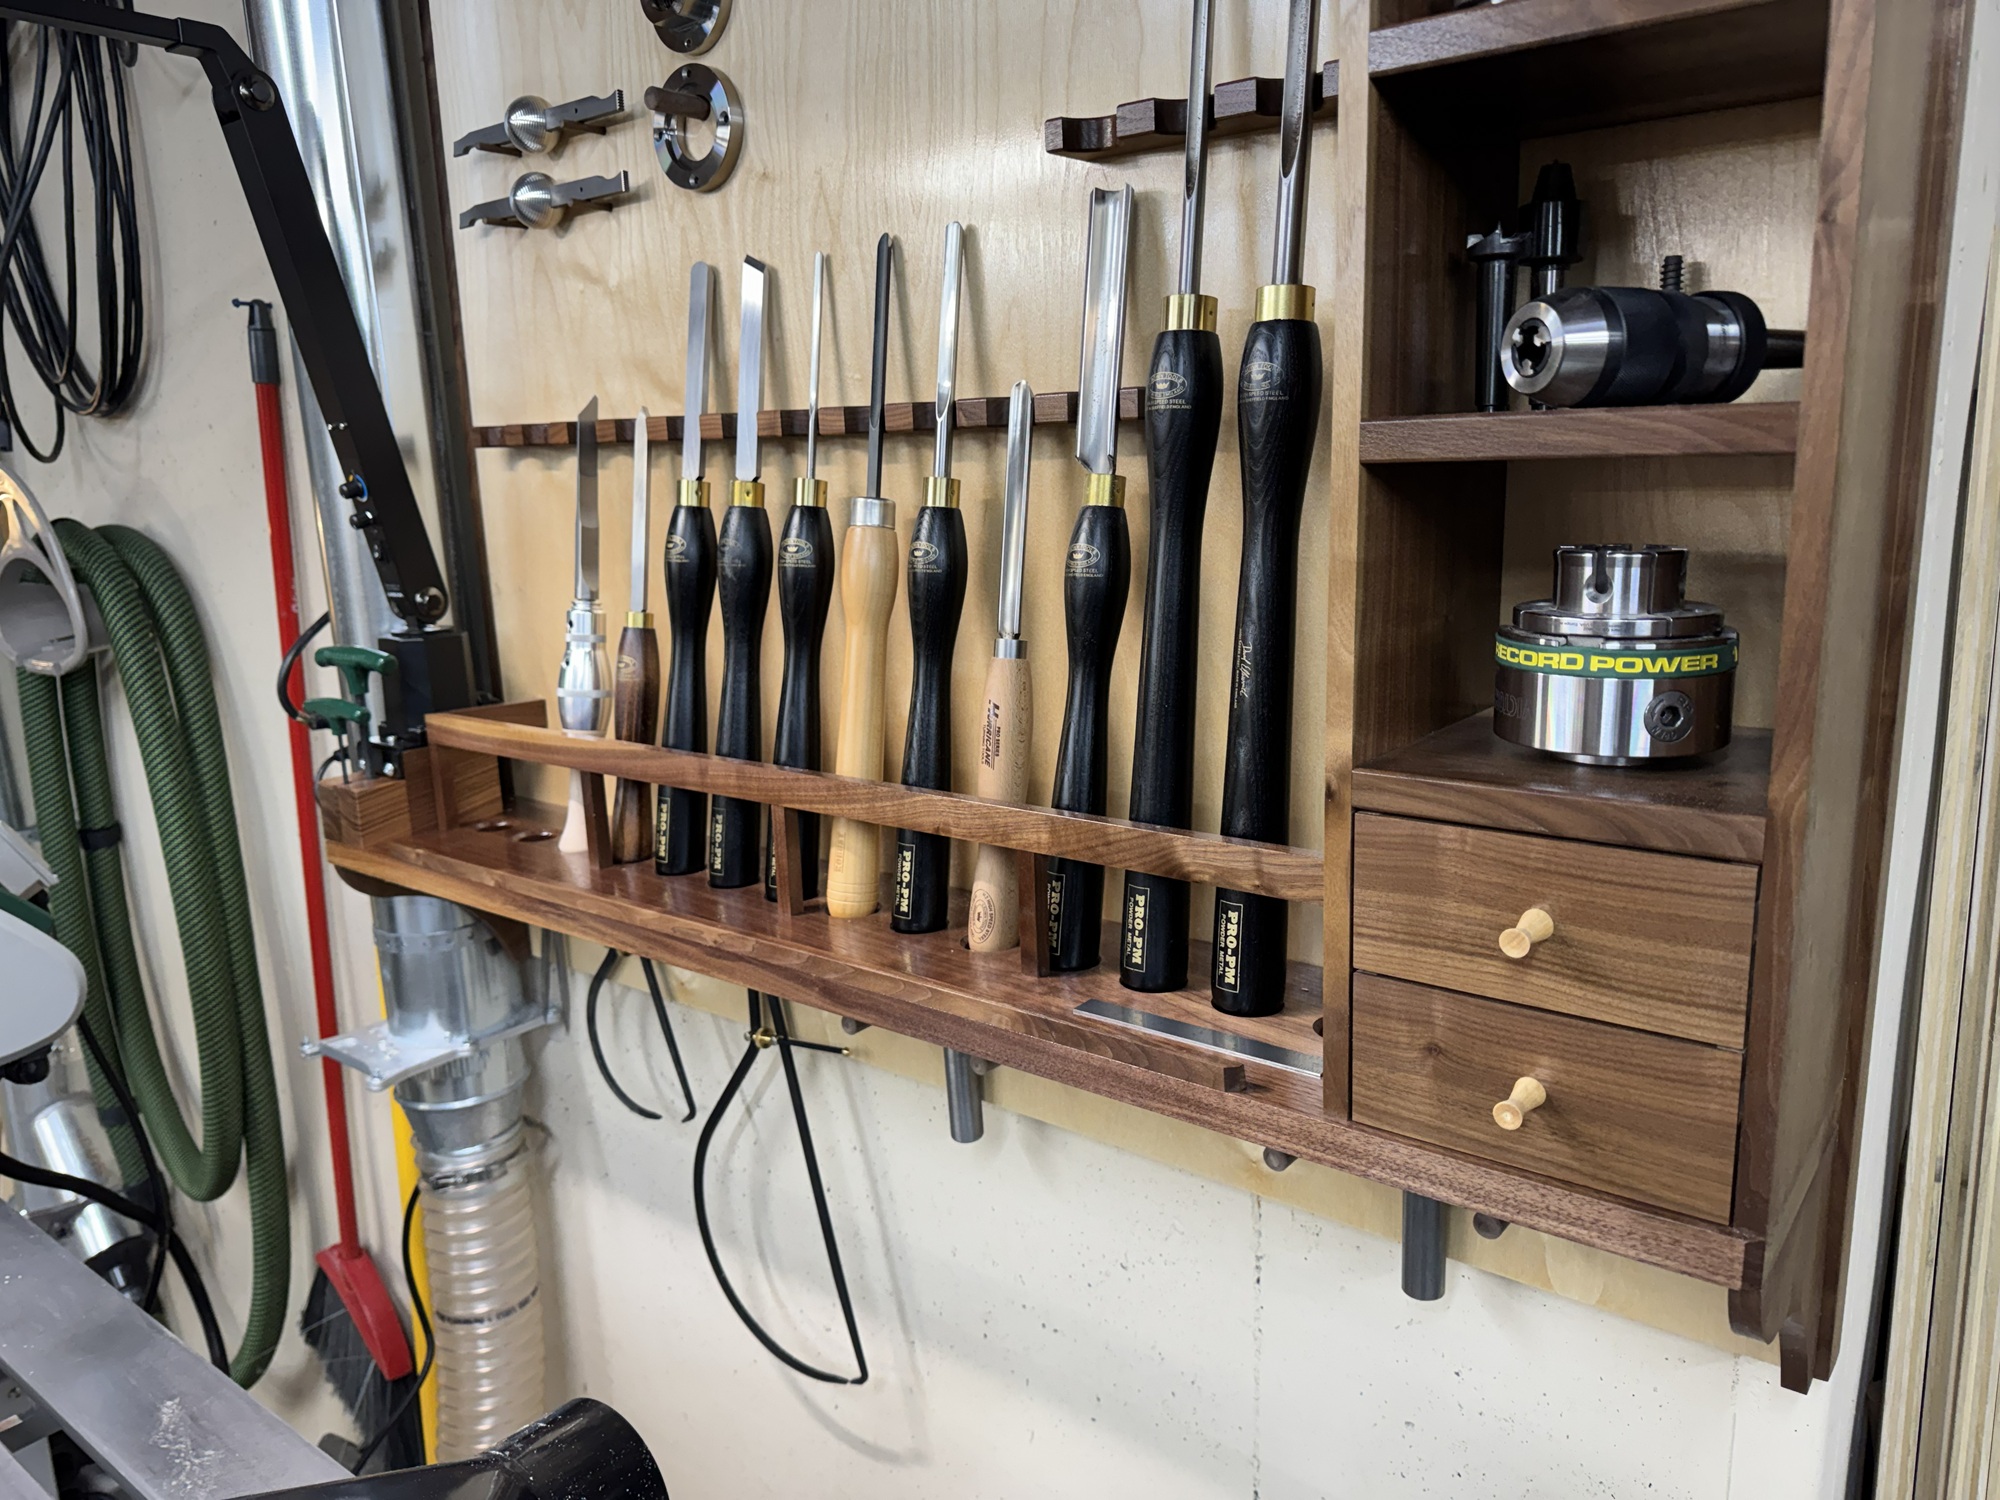
A chuck wrench rack is made.
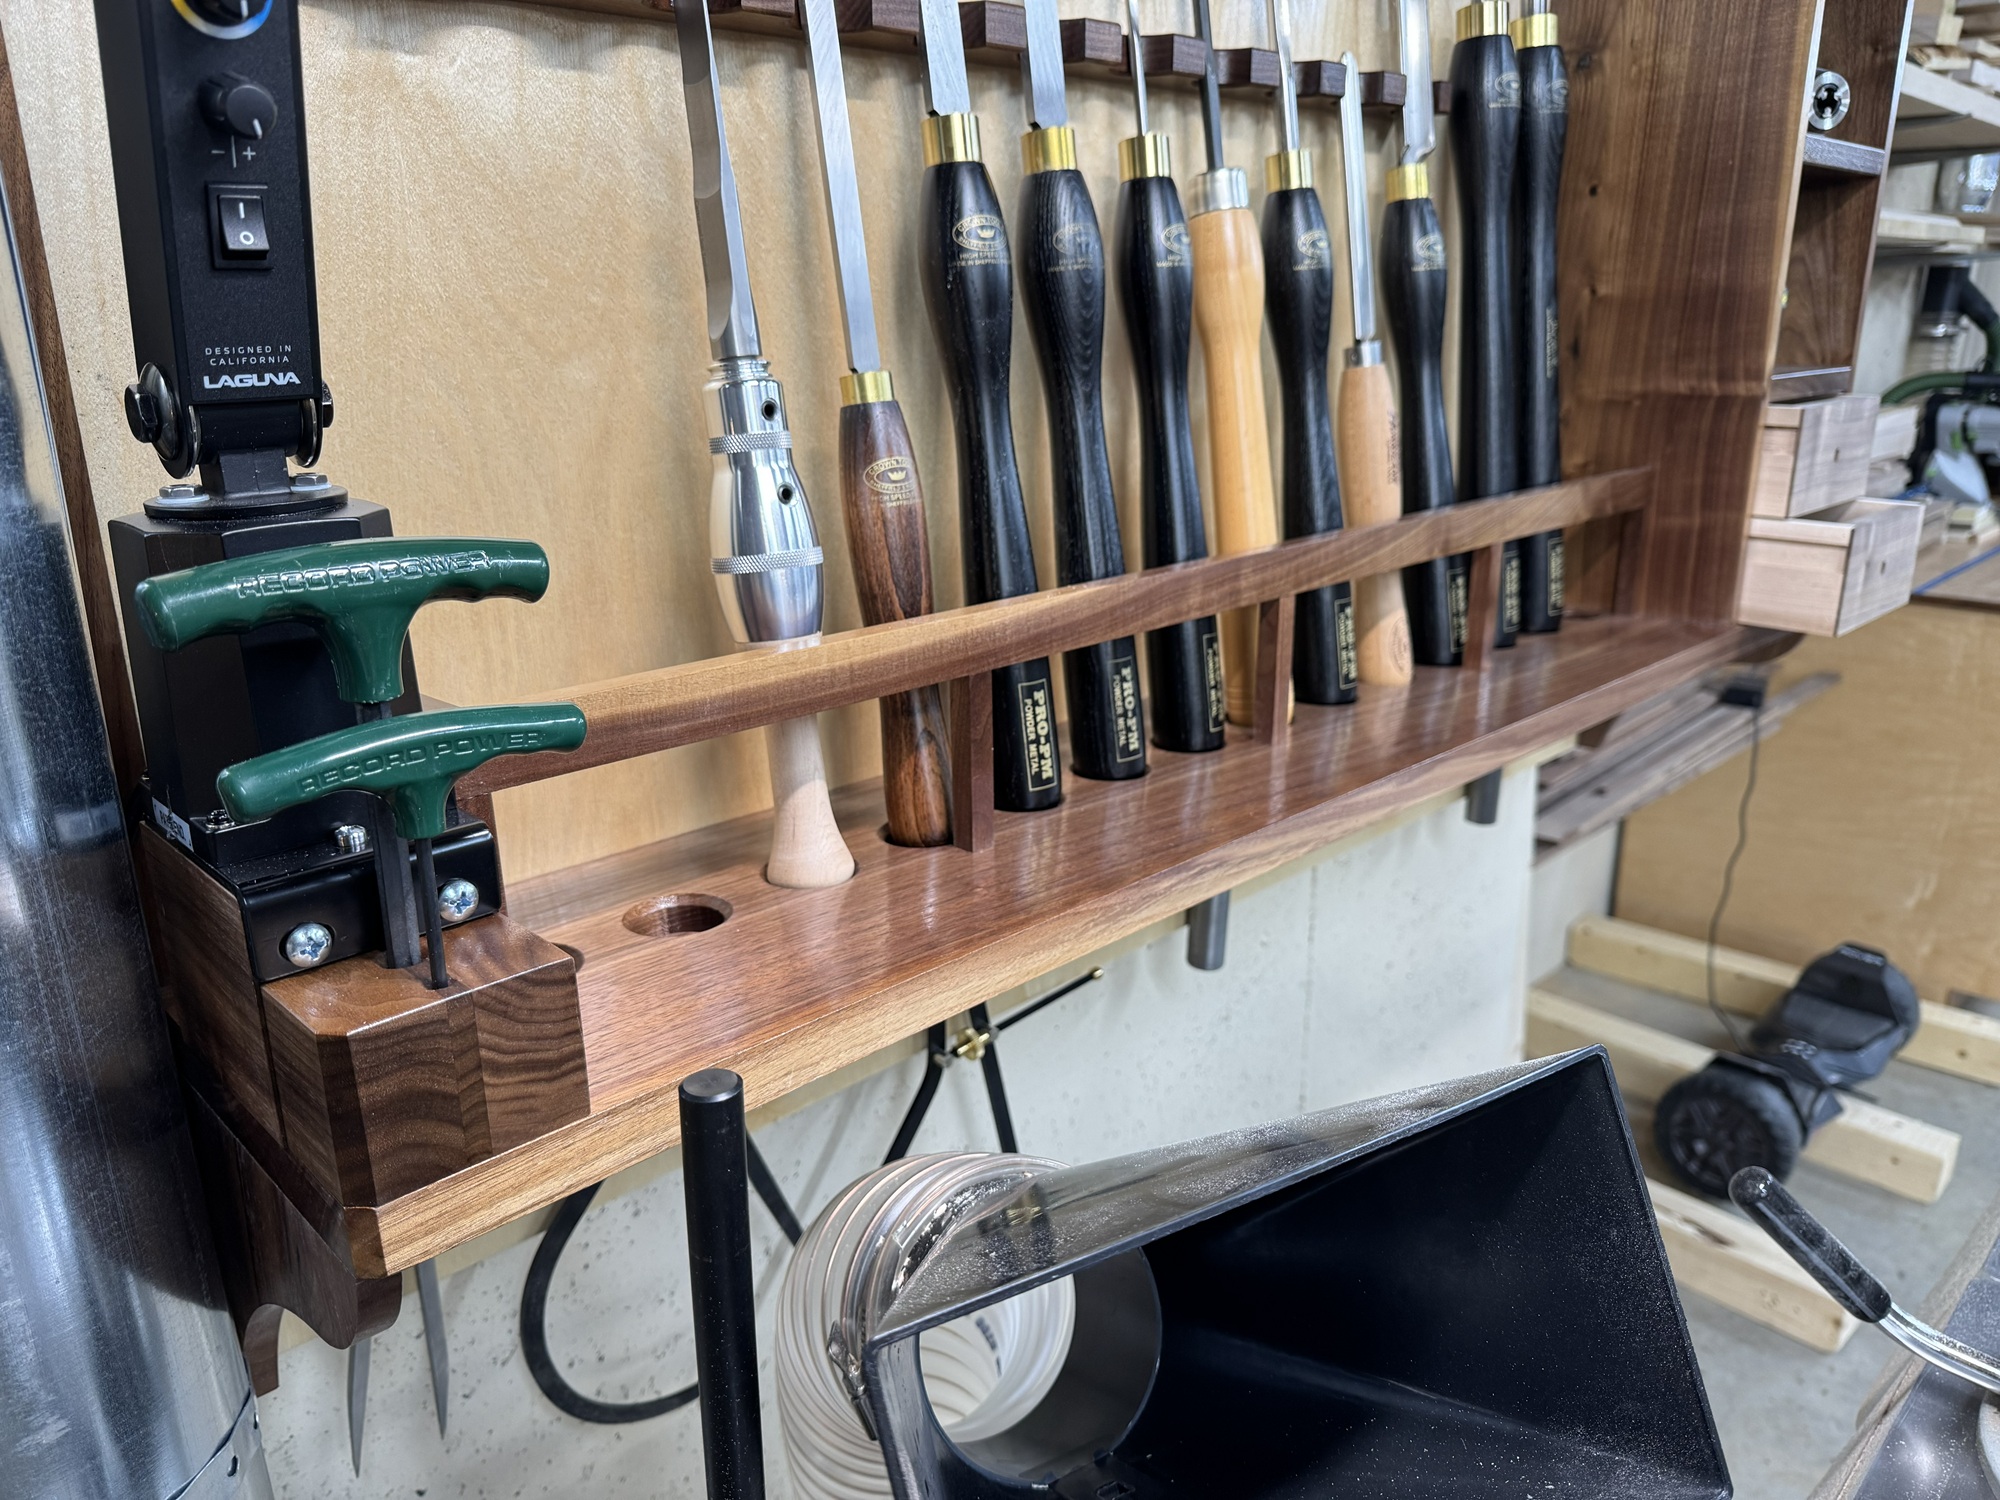
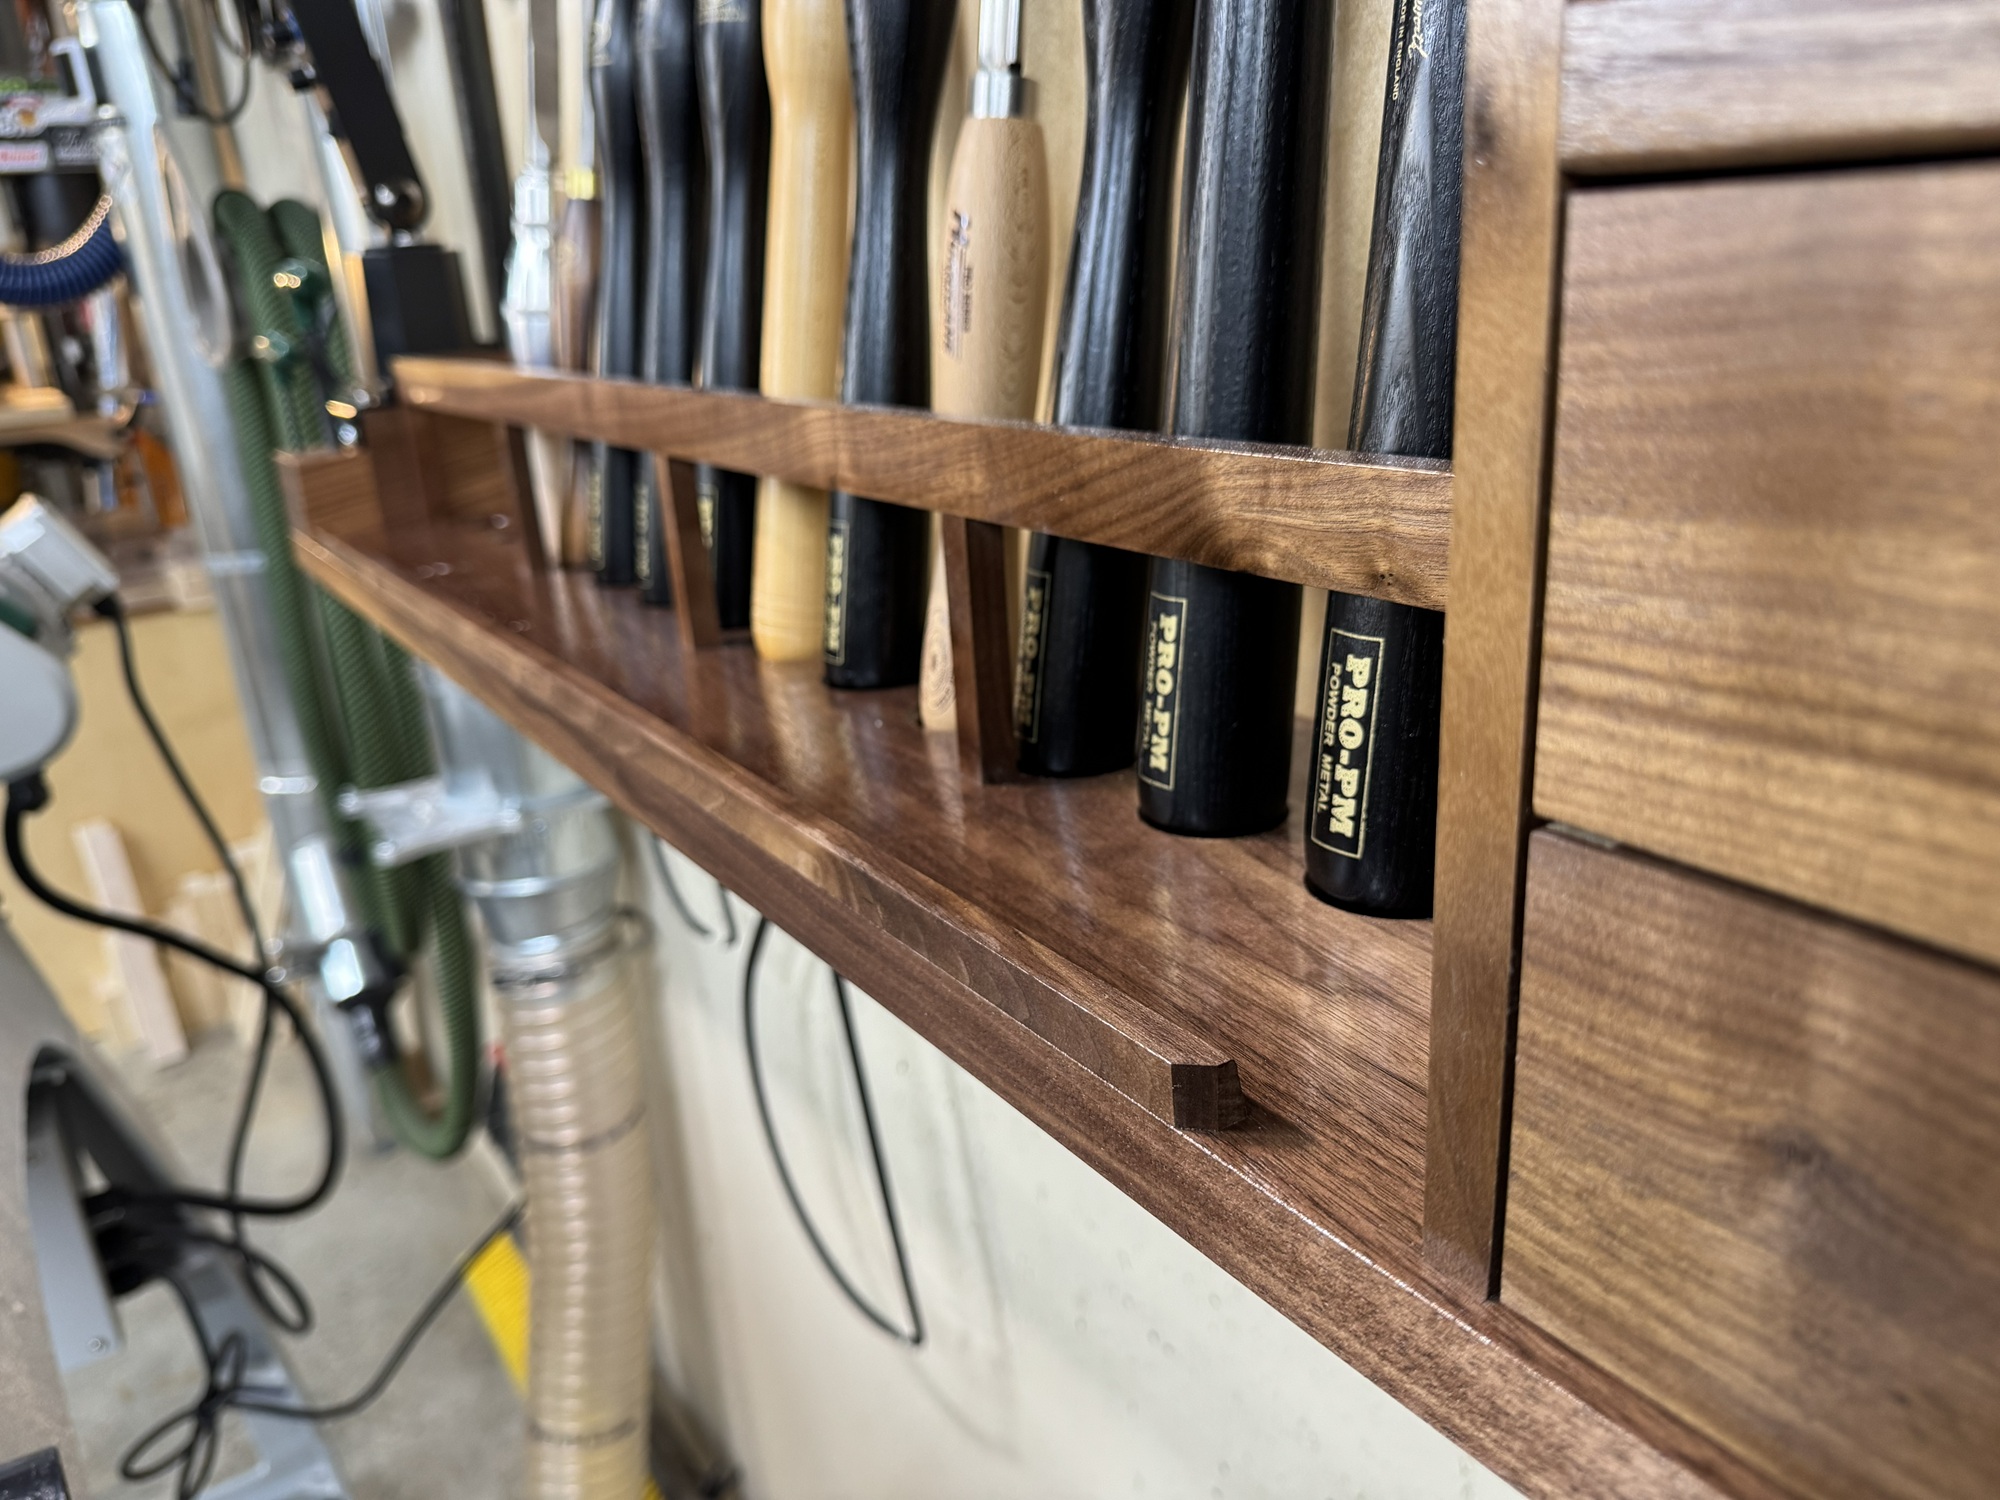
A dam is installed at the front edge of the shelf so tools will not roll off.
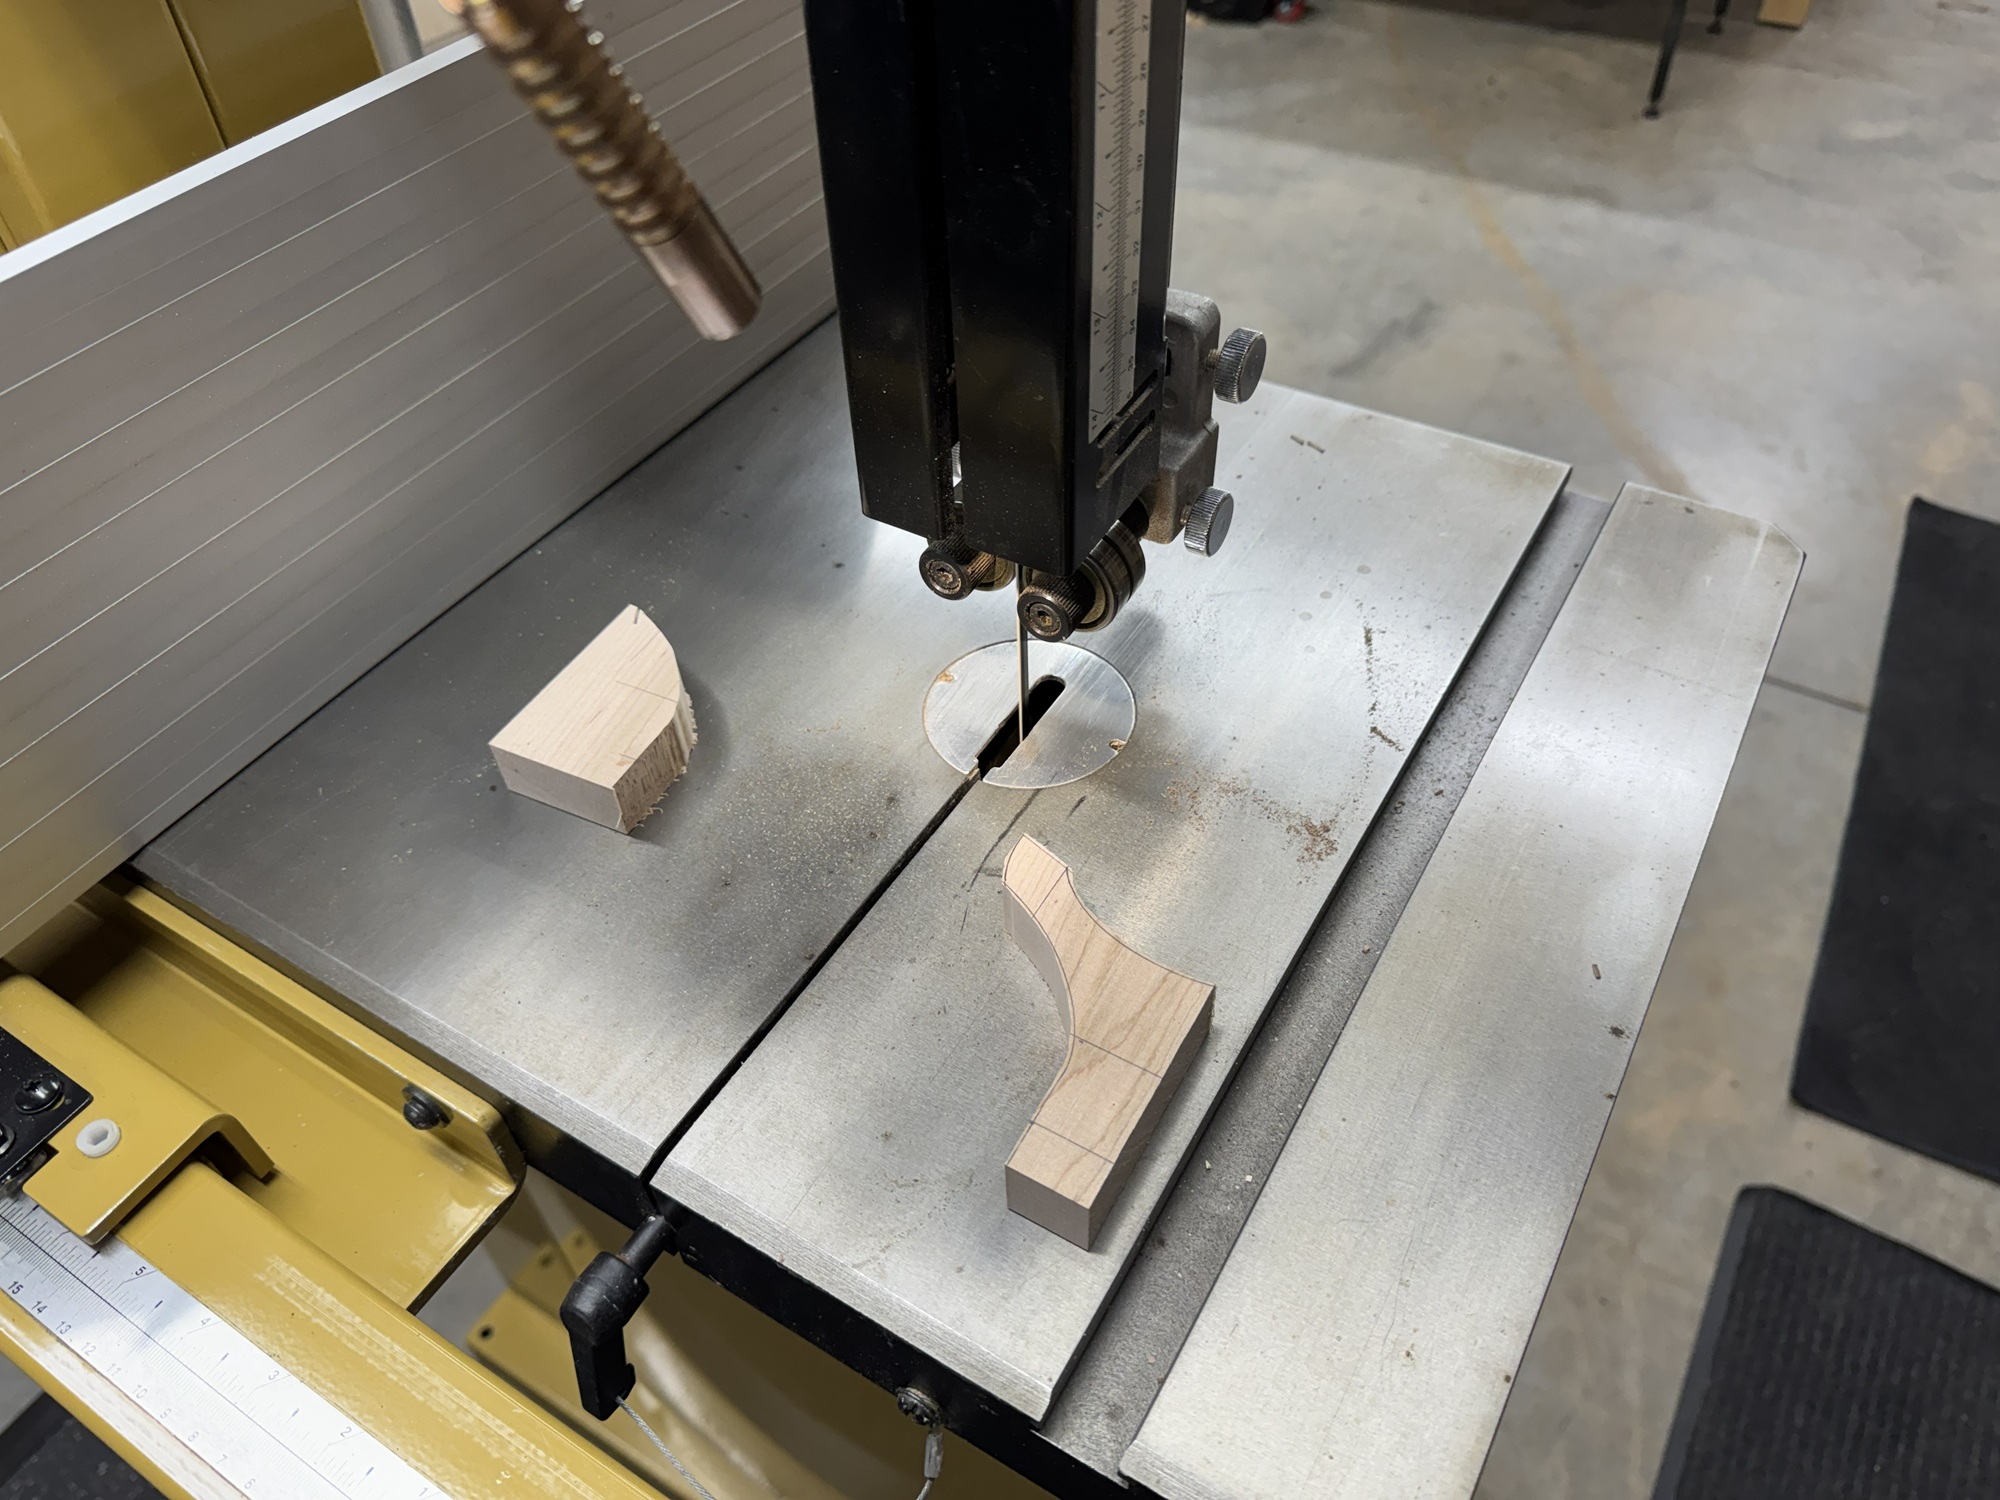
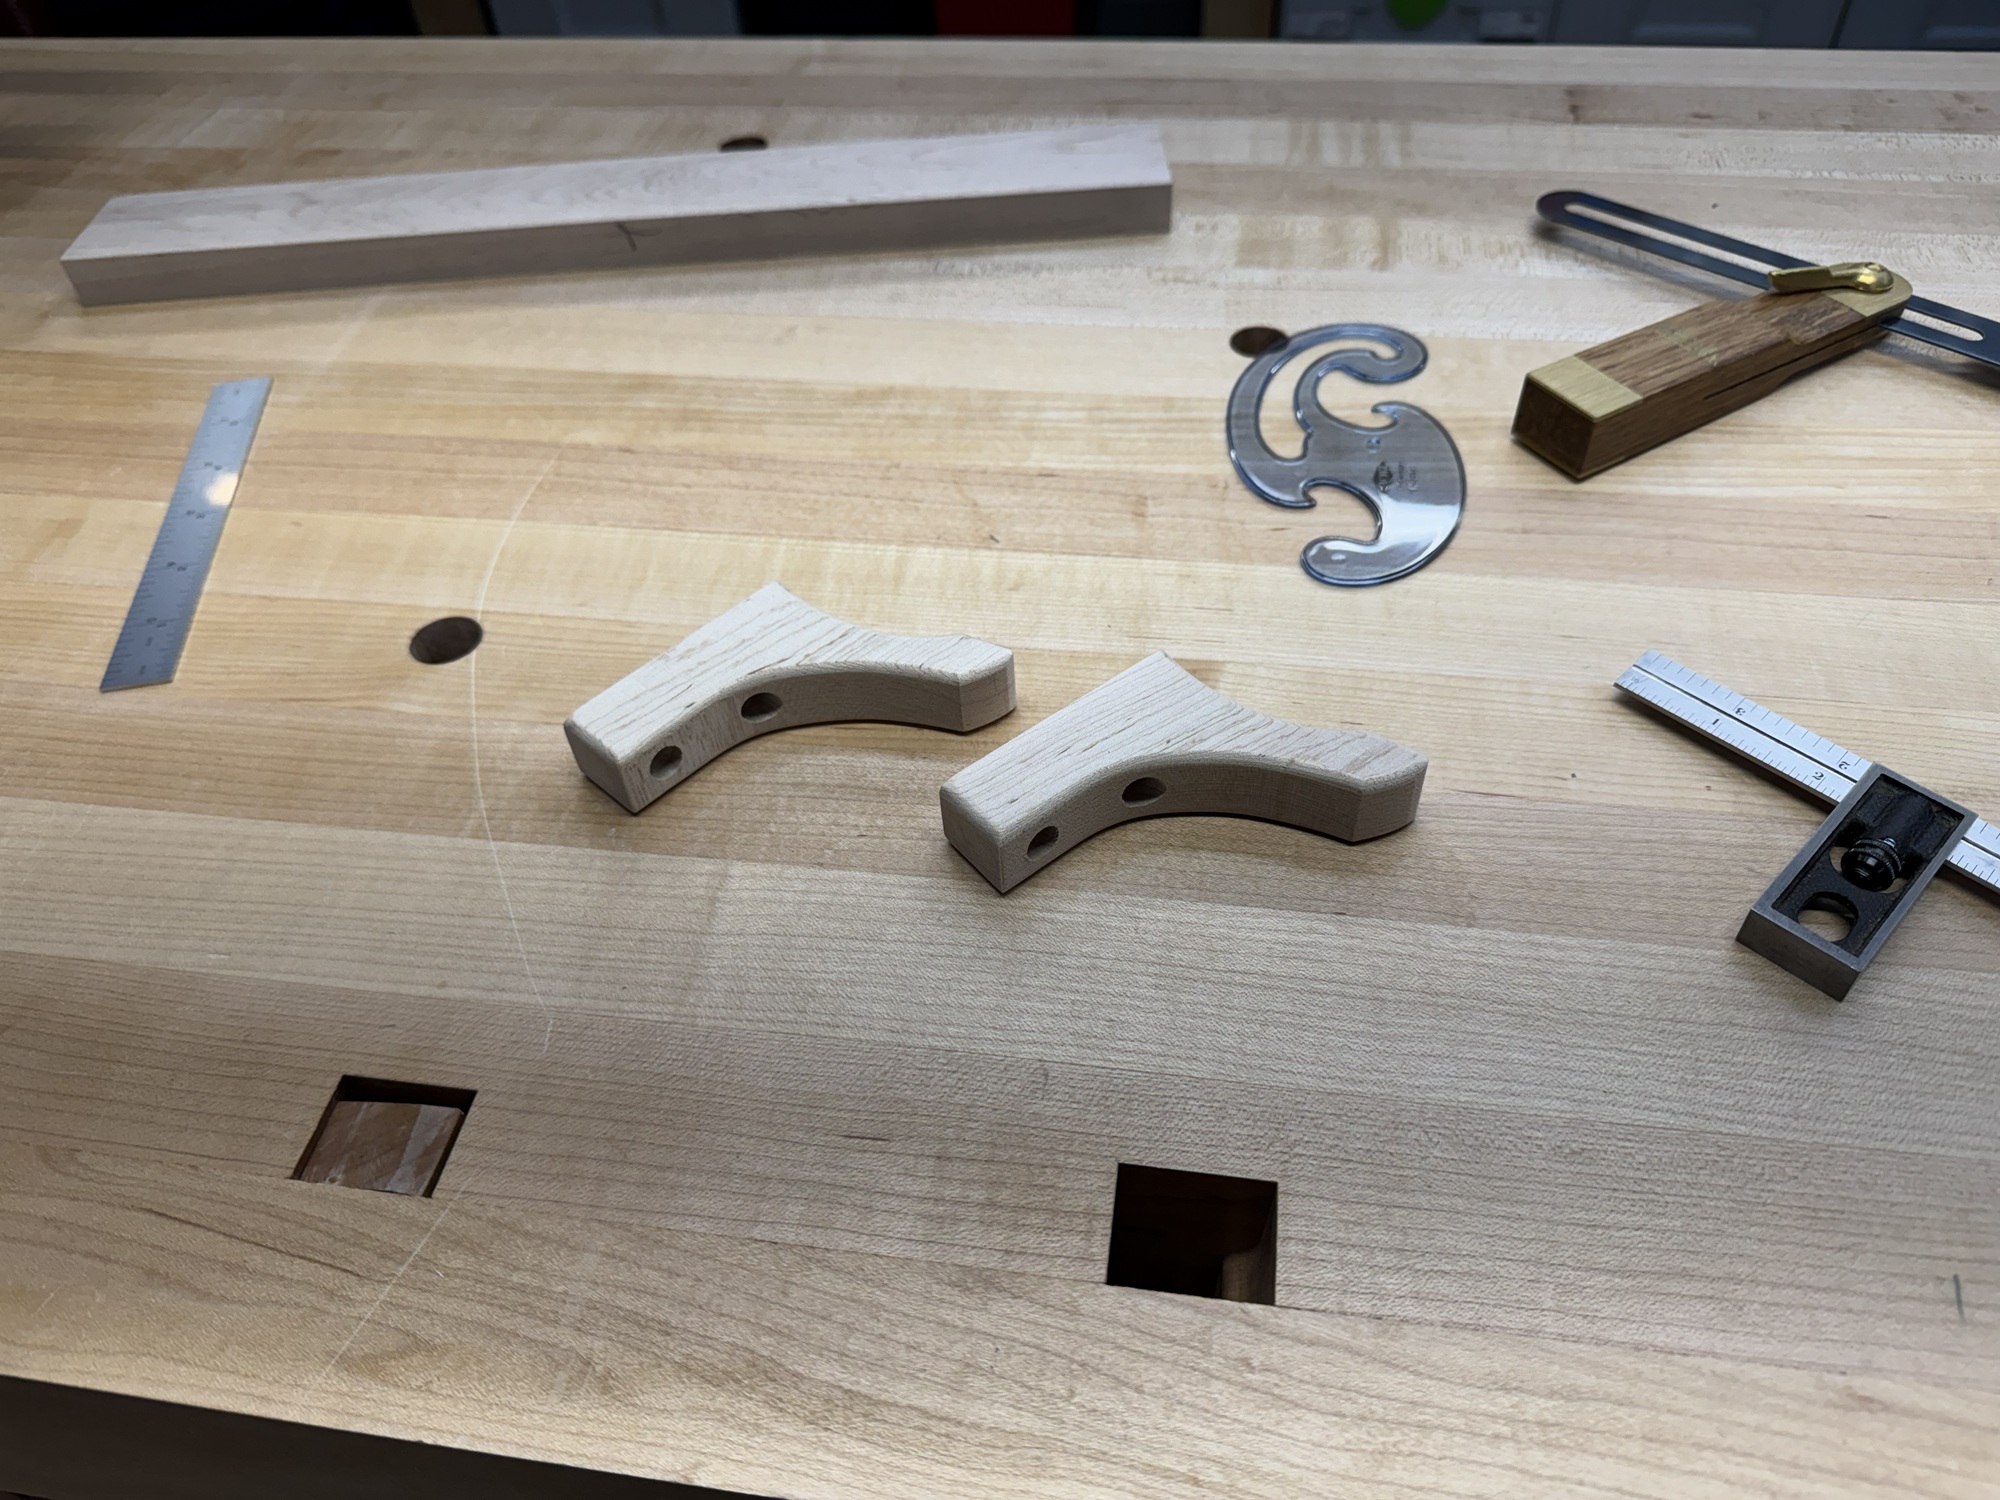
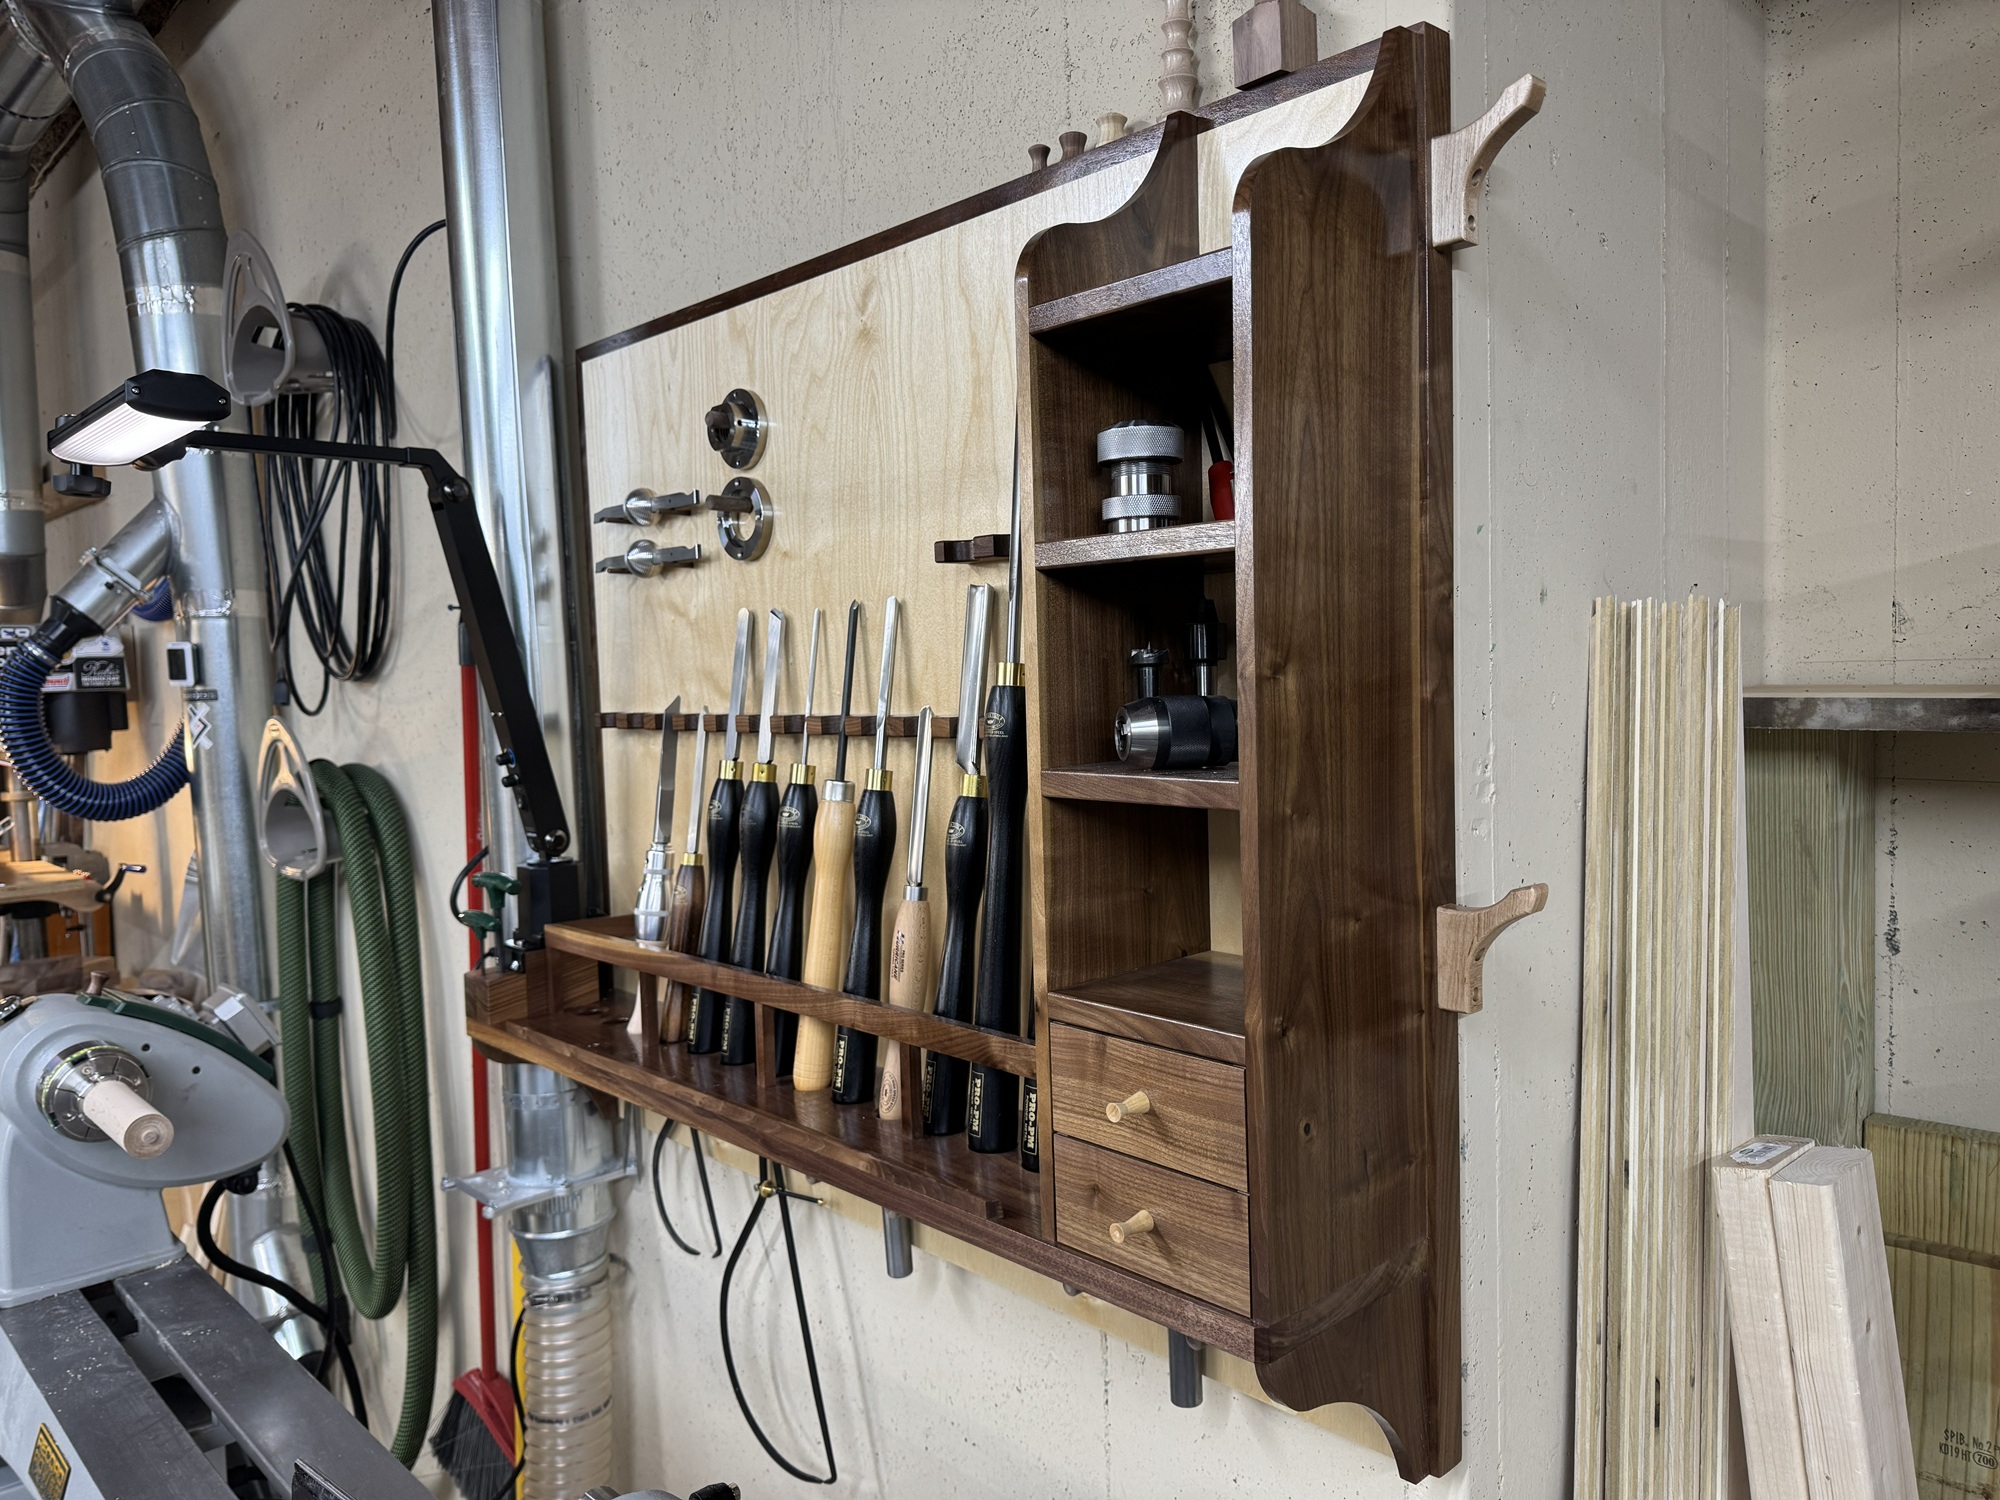
Face shield hooks are made and installed on the side of the cabinet.
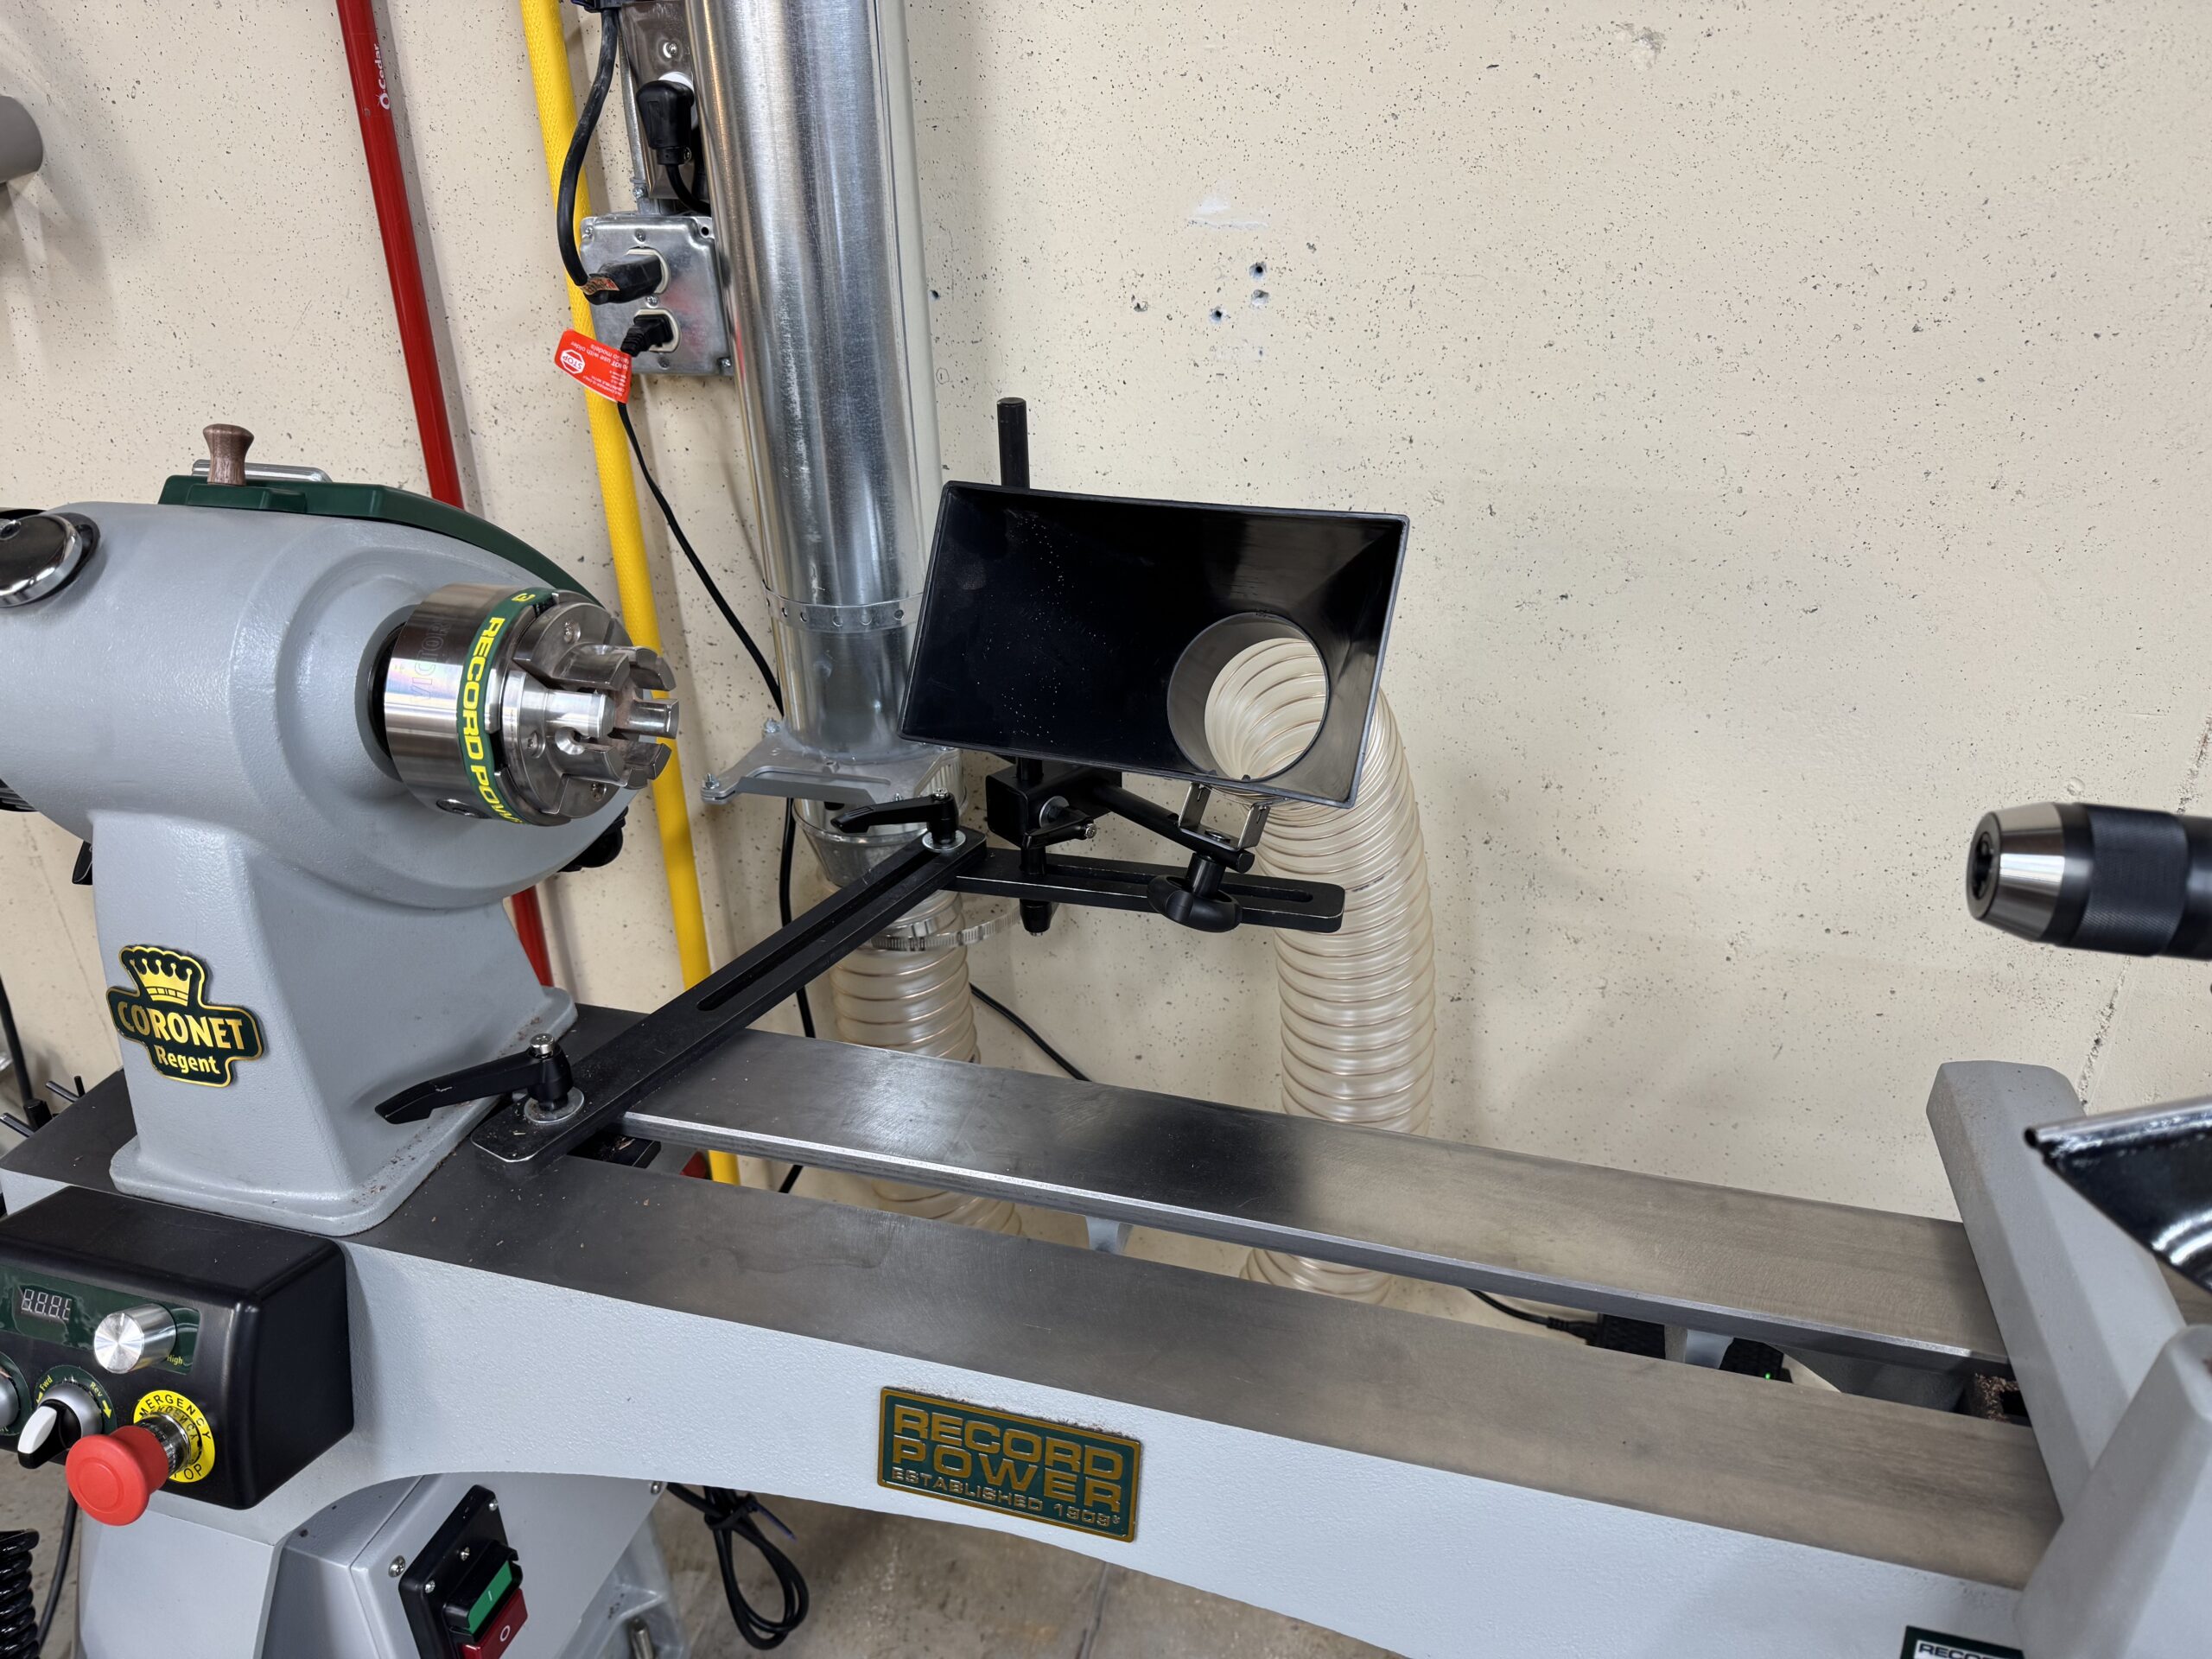
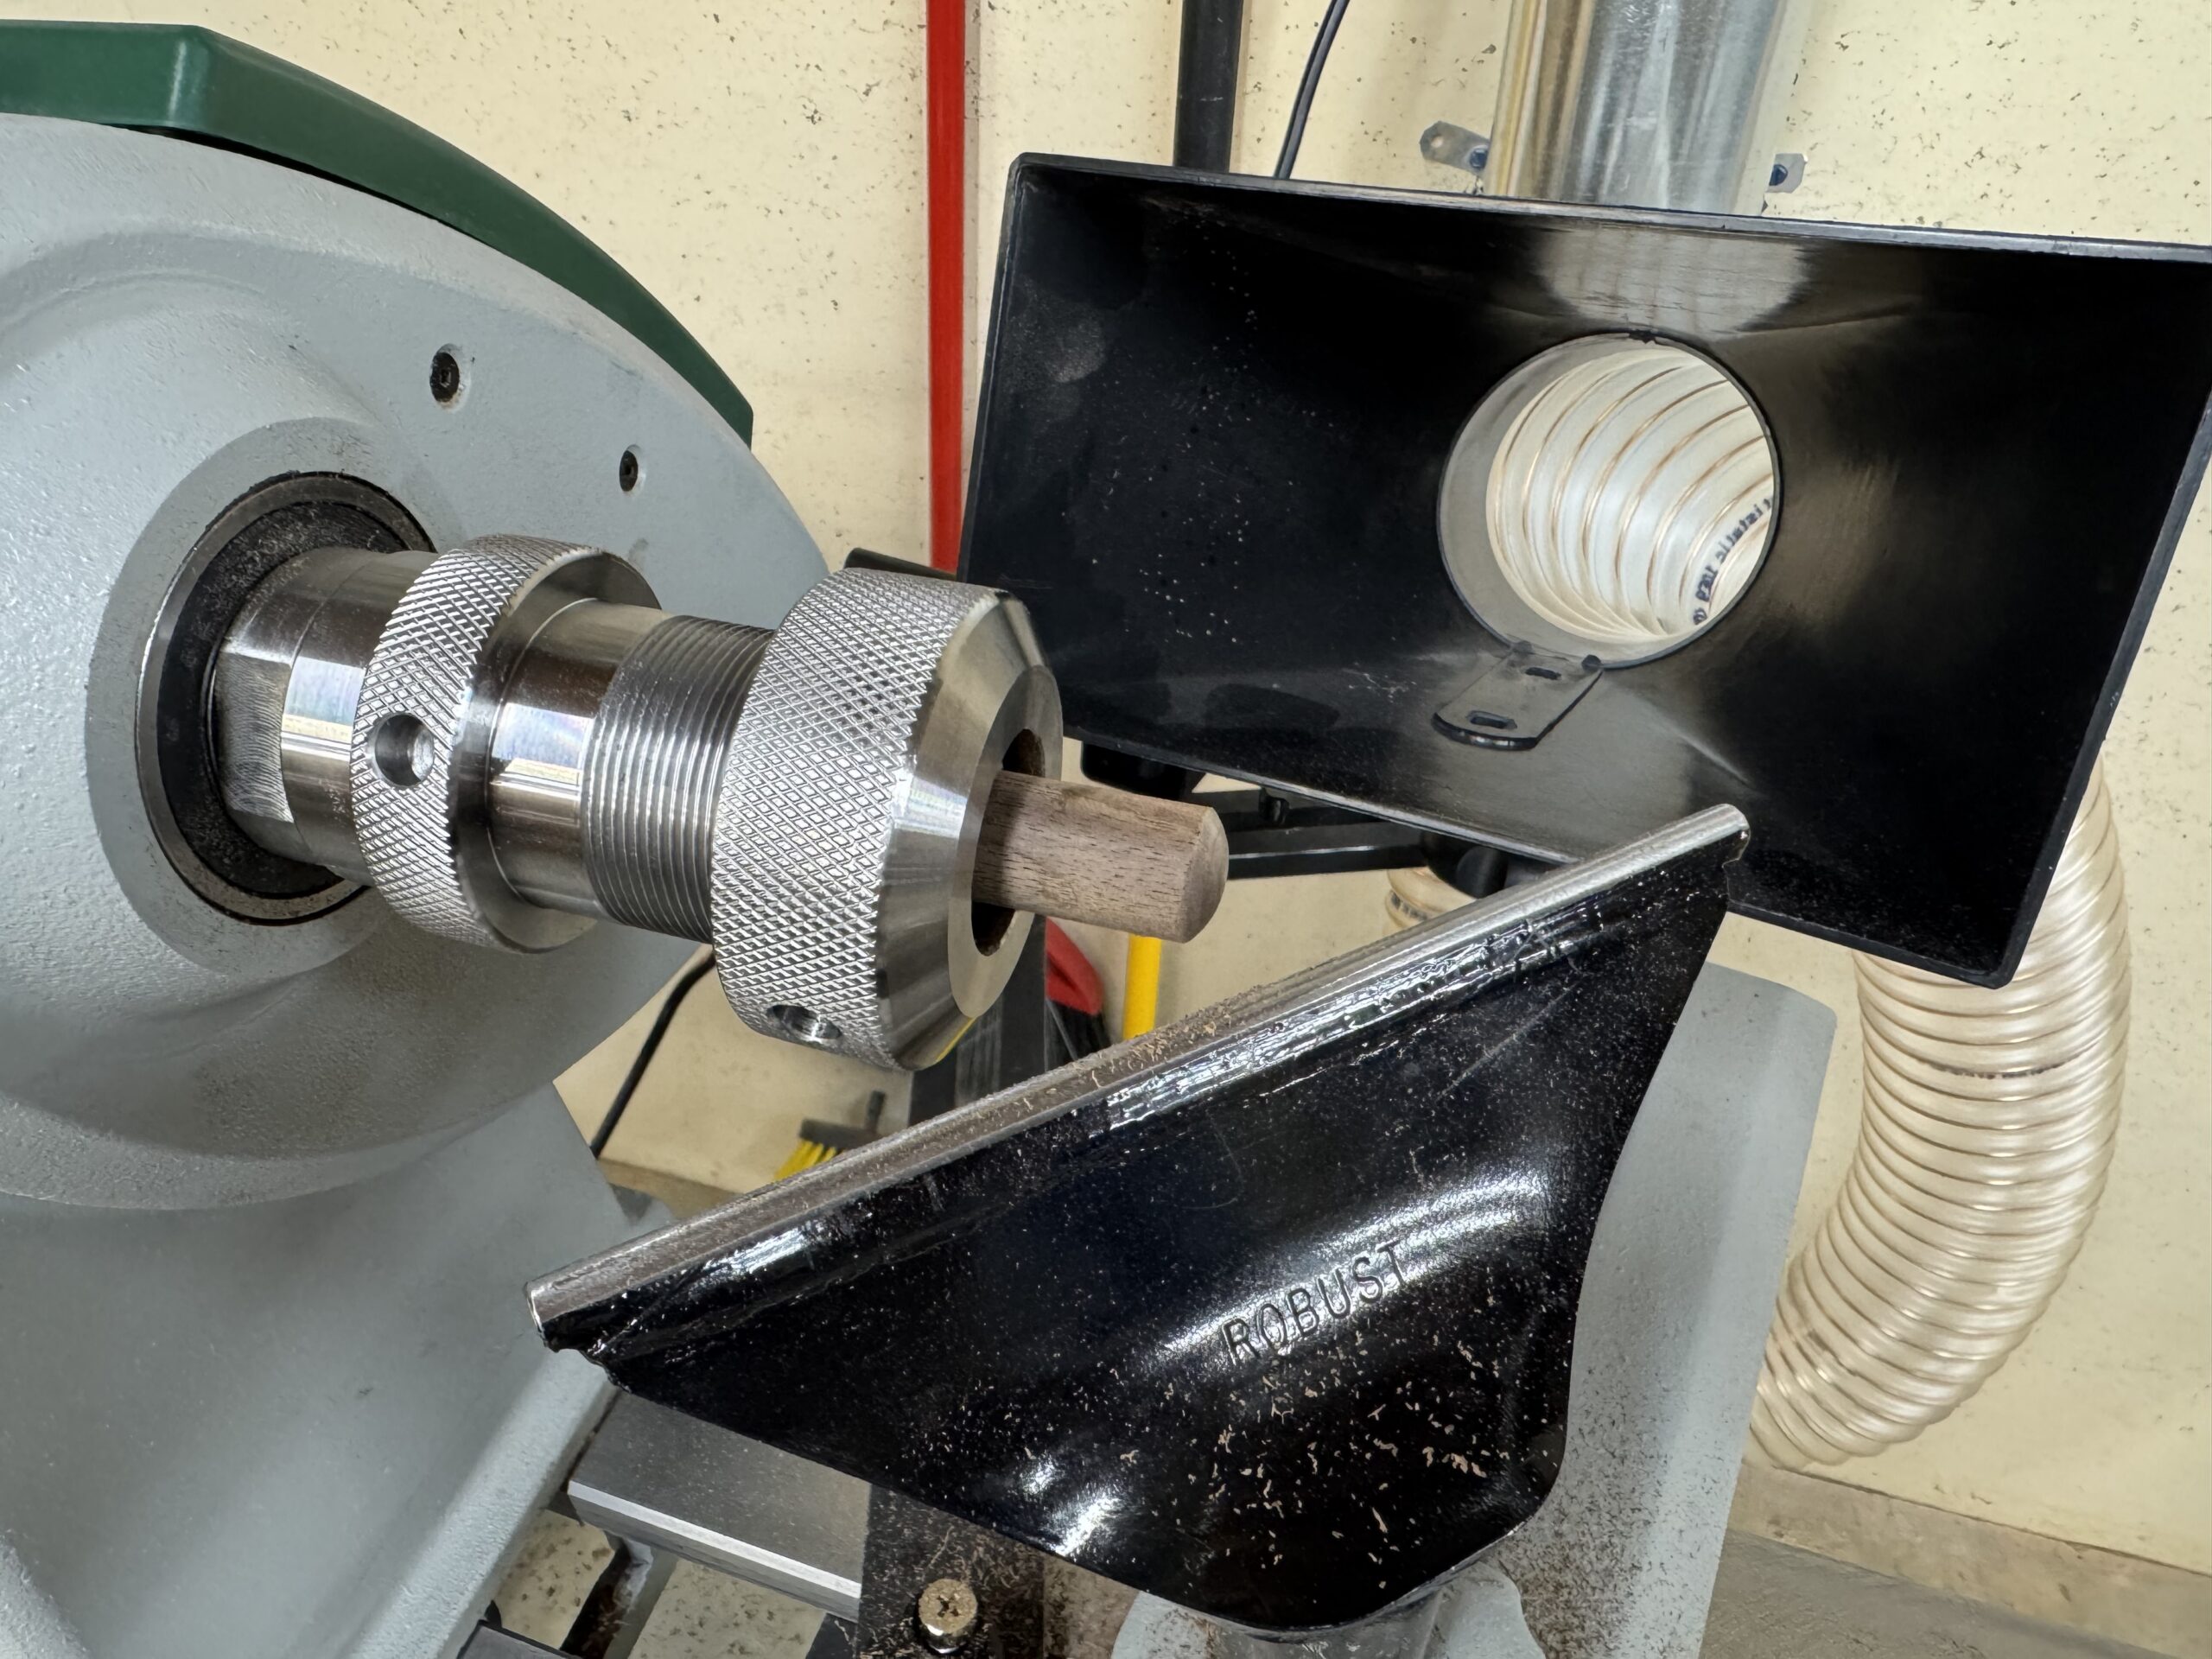
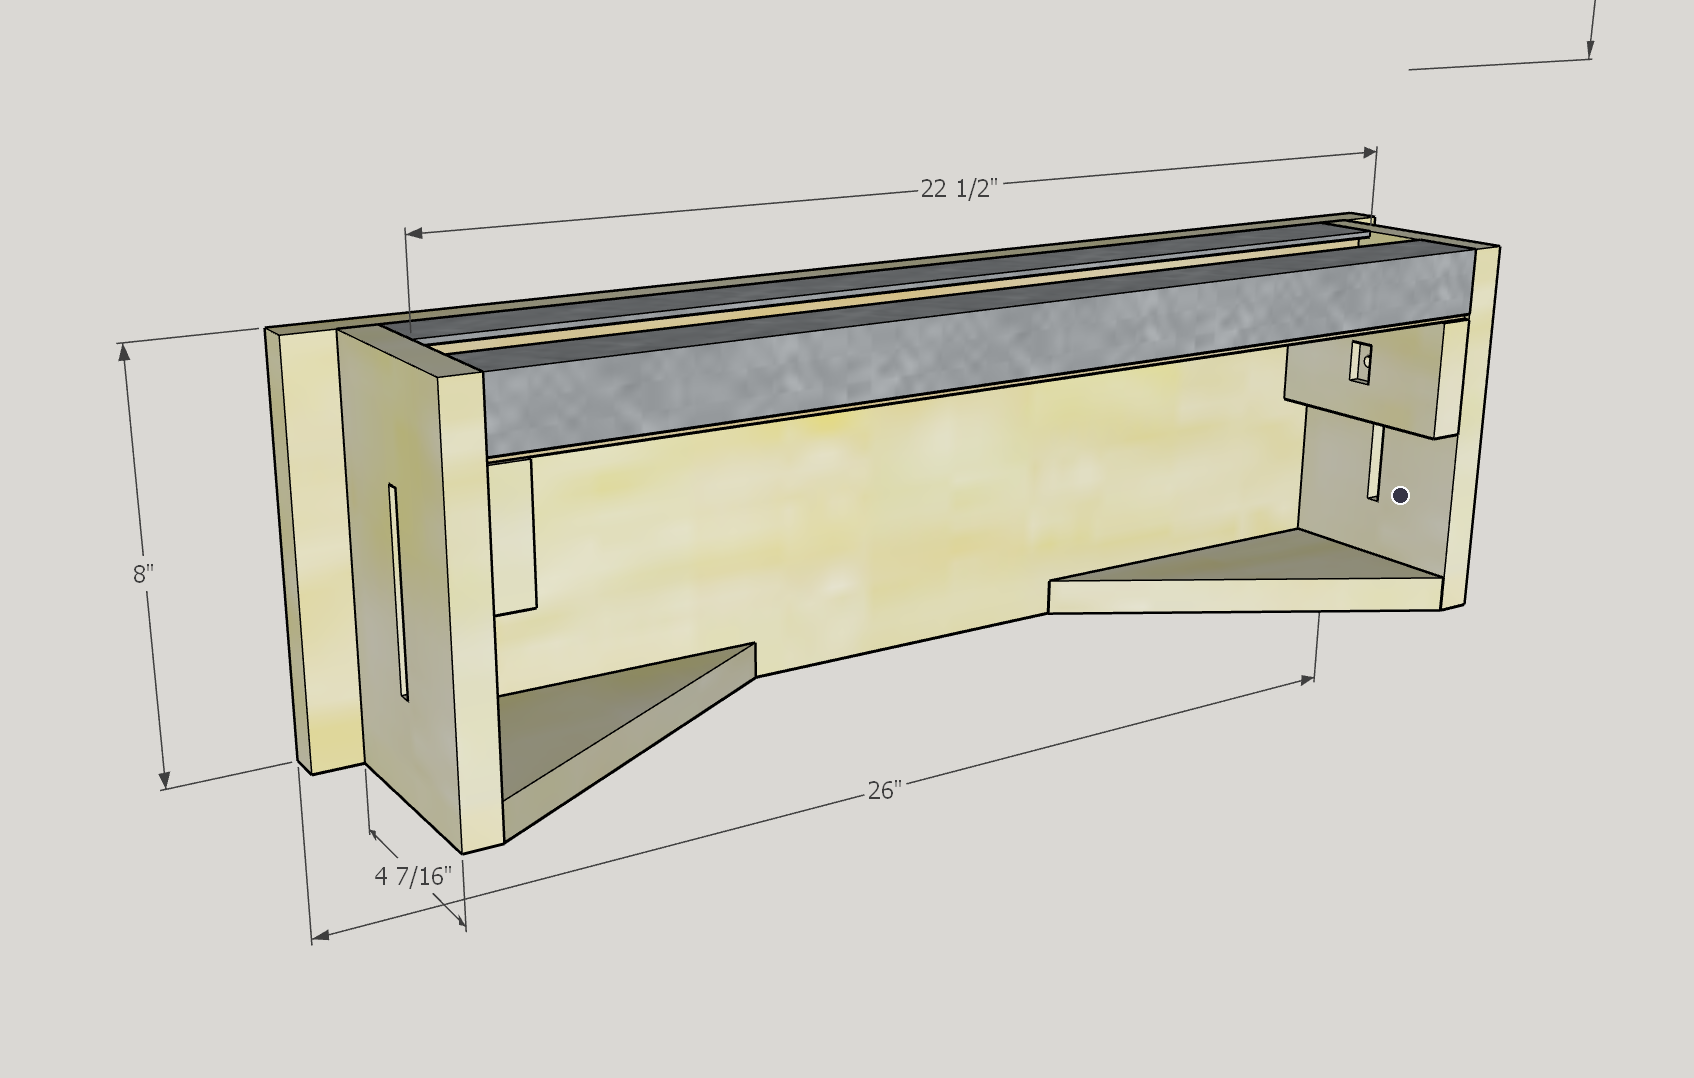
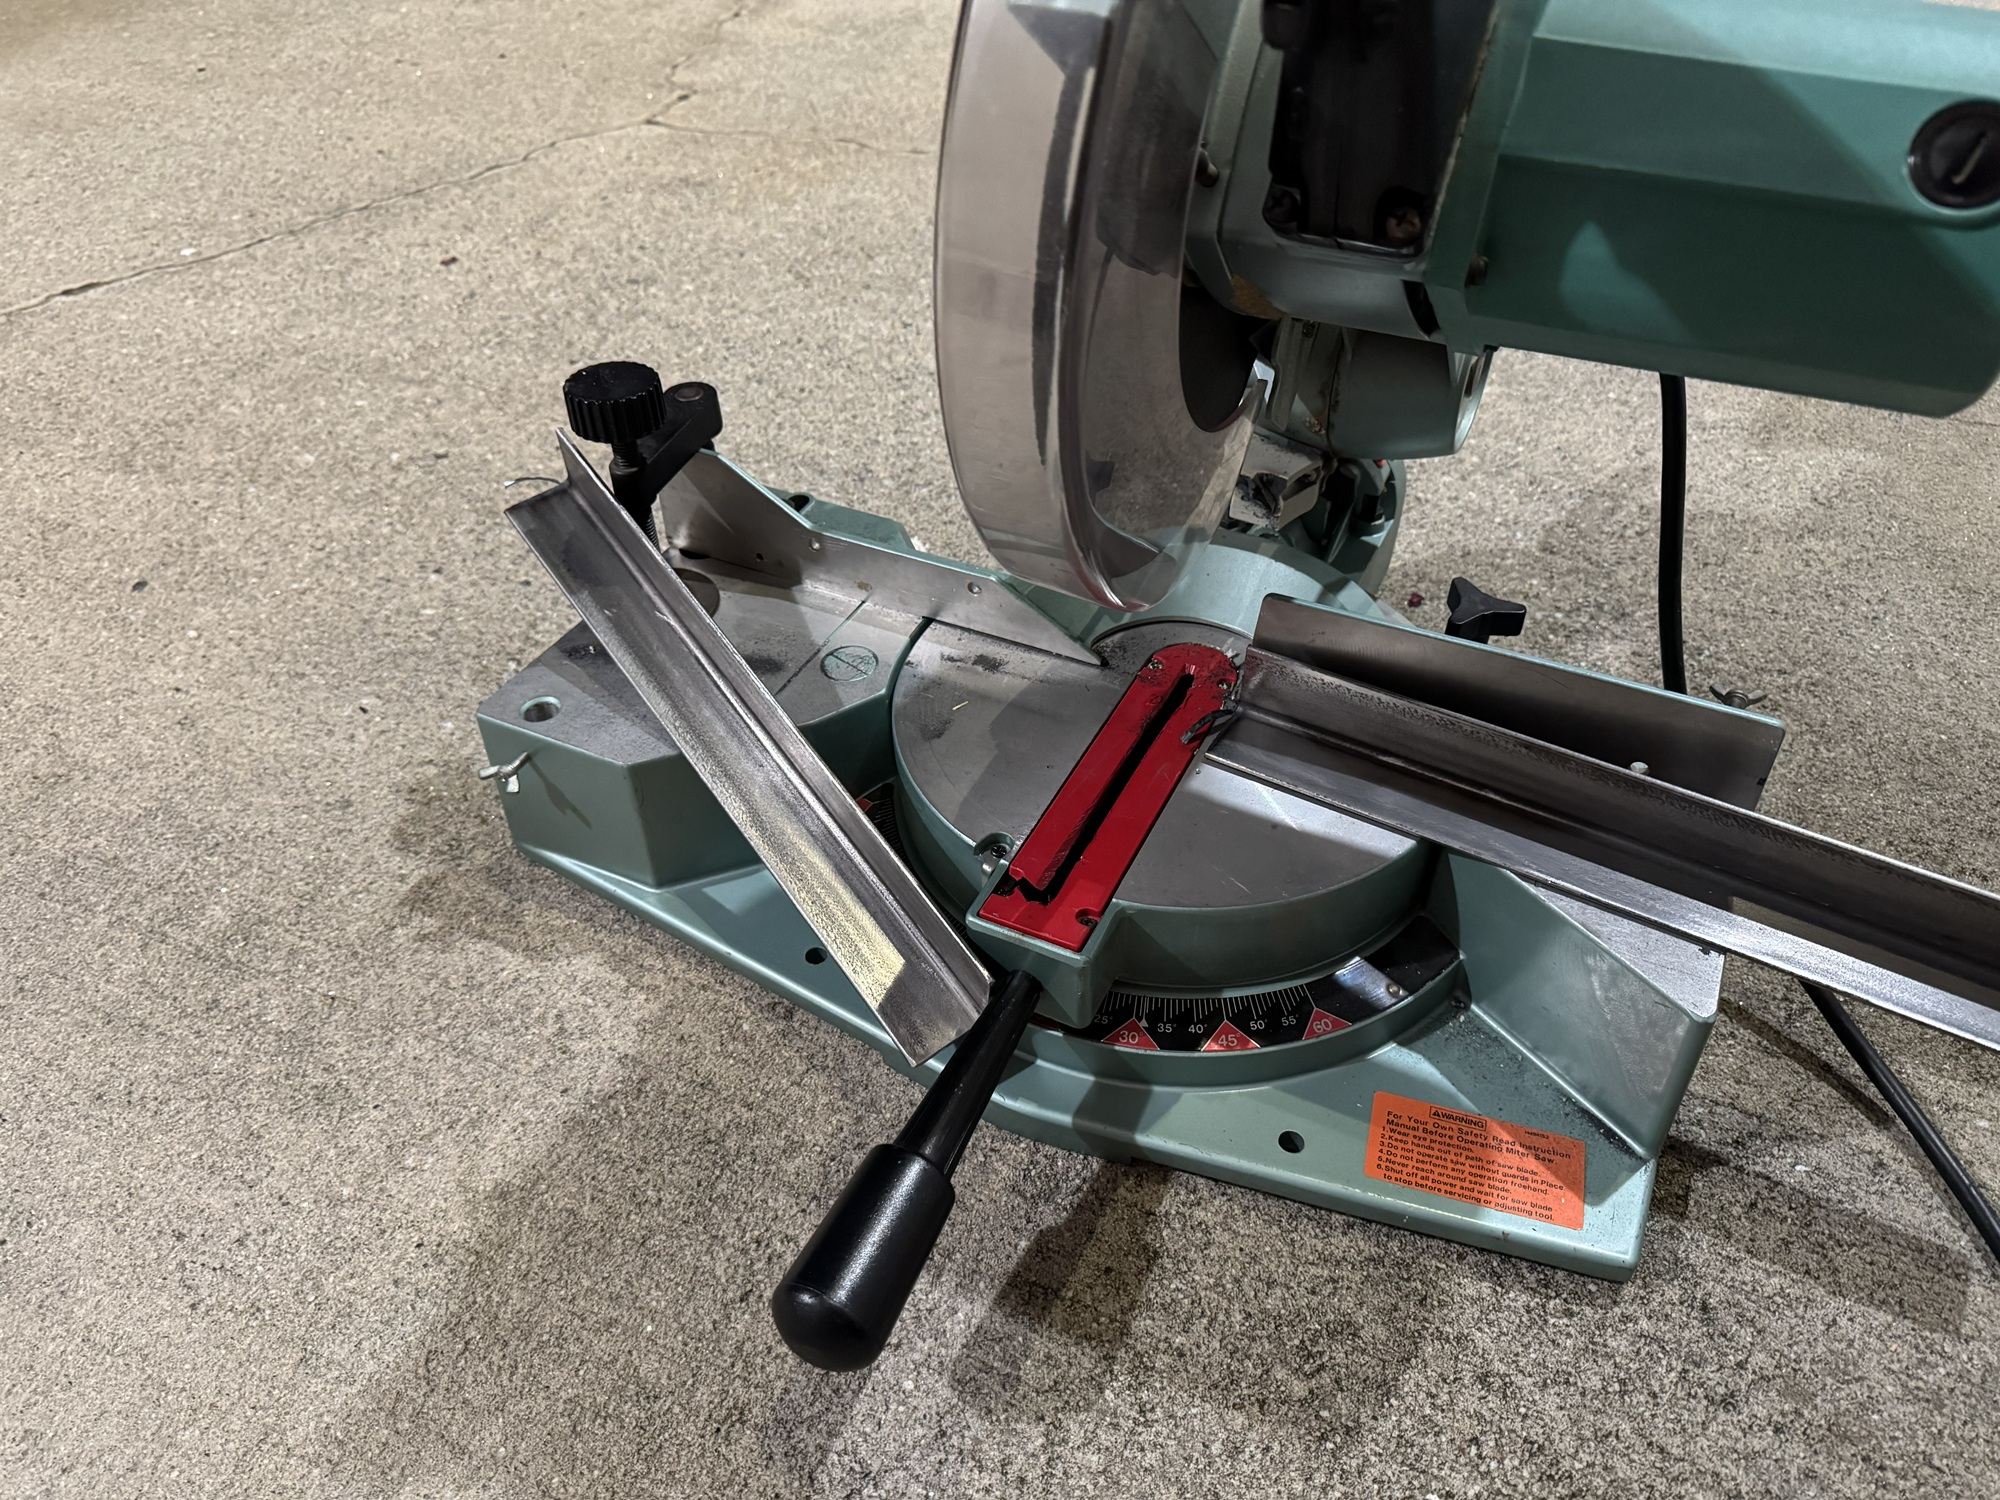
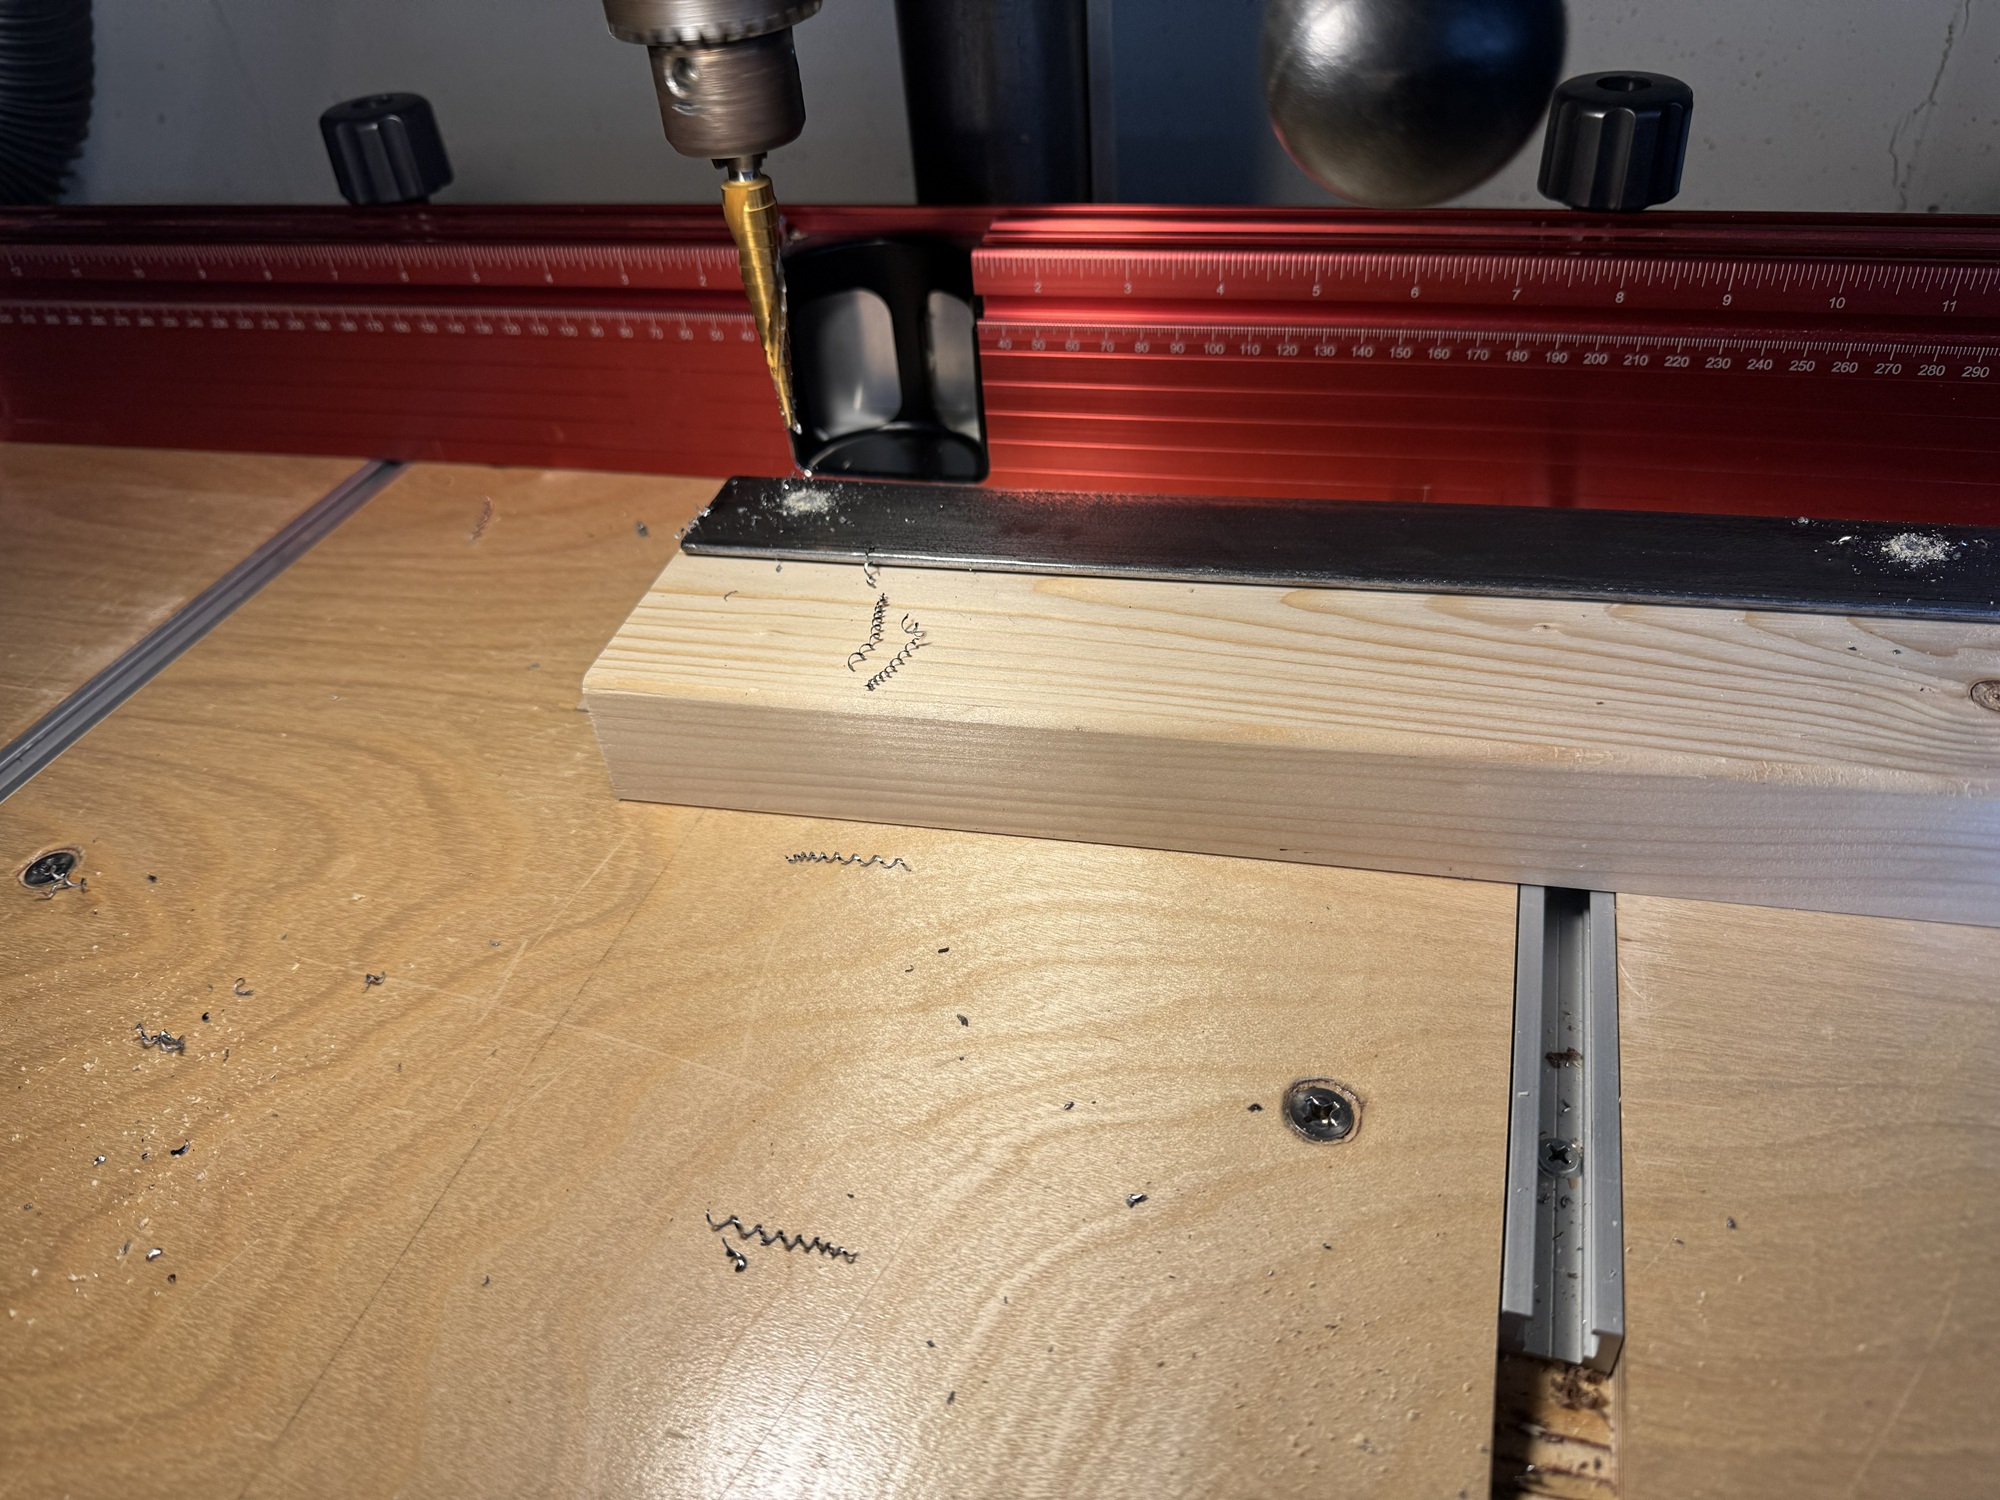
The height adjustable dust collection wall mount is made to get this gear off of the lathe bed, which is annoying. The angle iron bed can be raised flush with the bed of the lathe if needed to attach accessories like a spindle copying template.
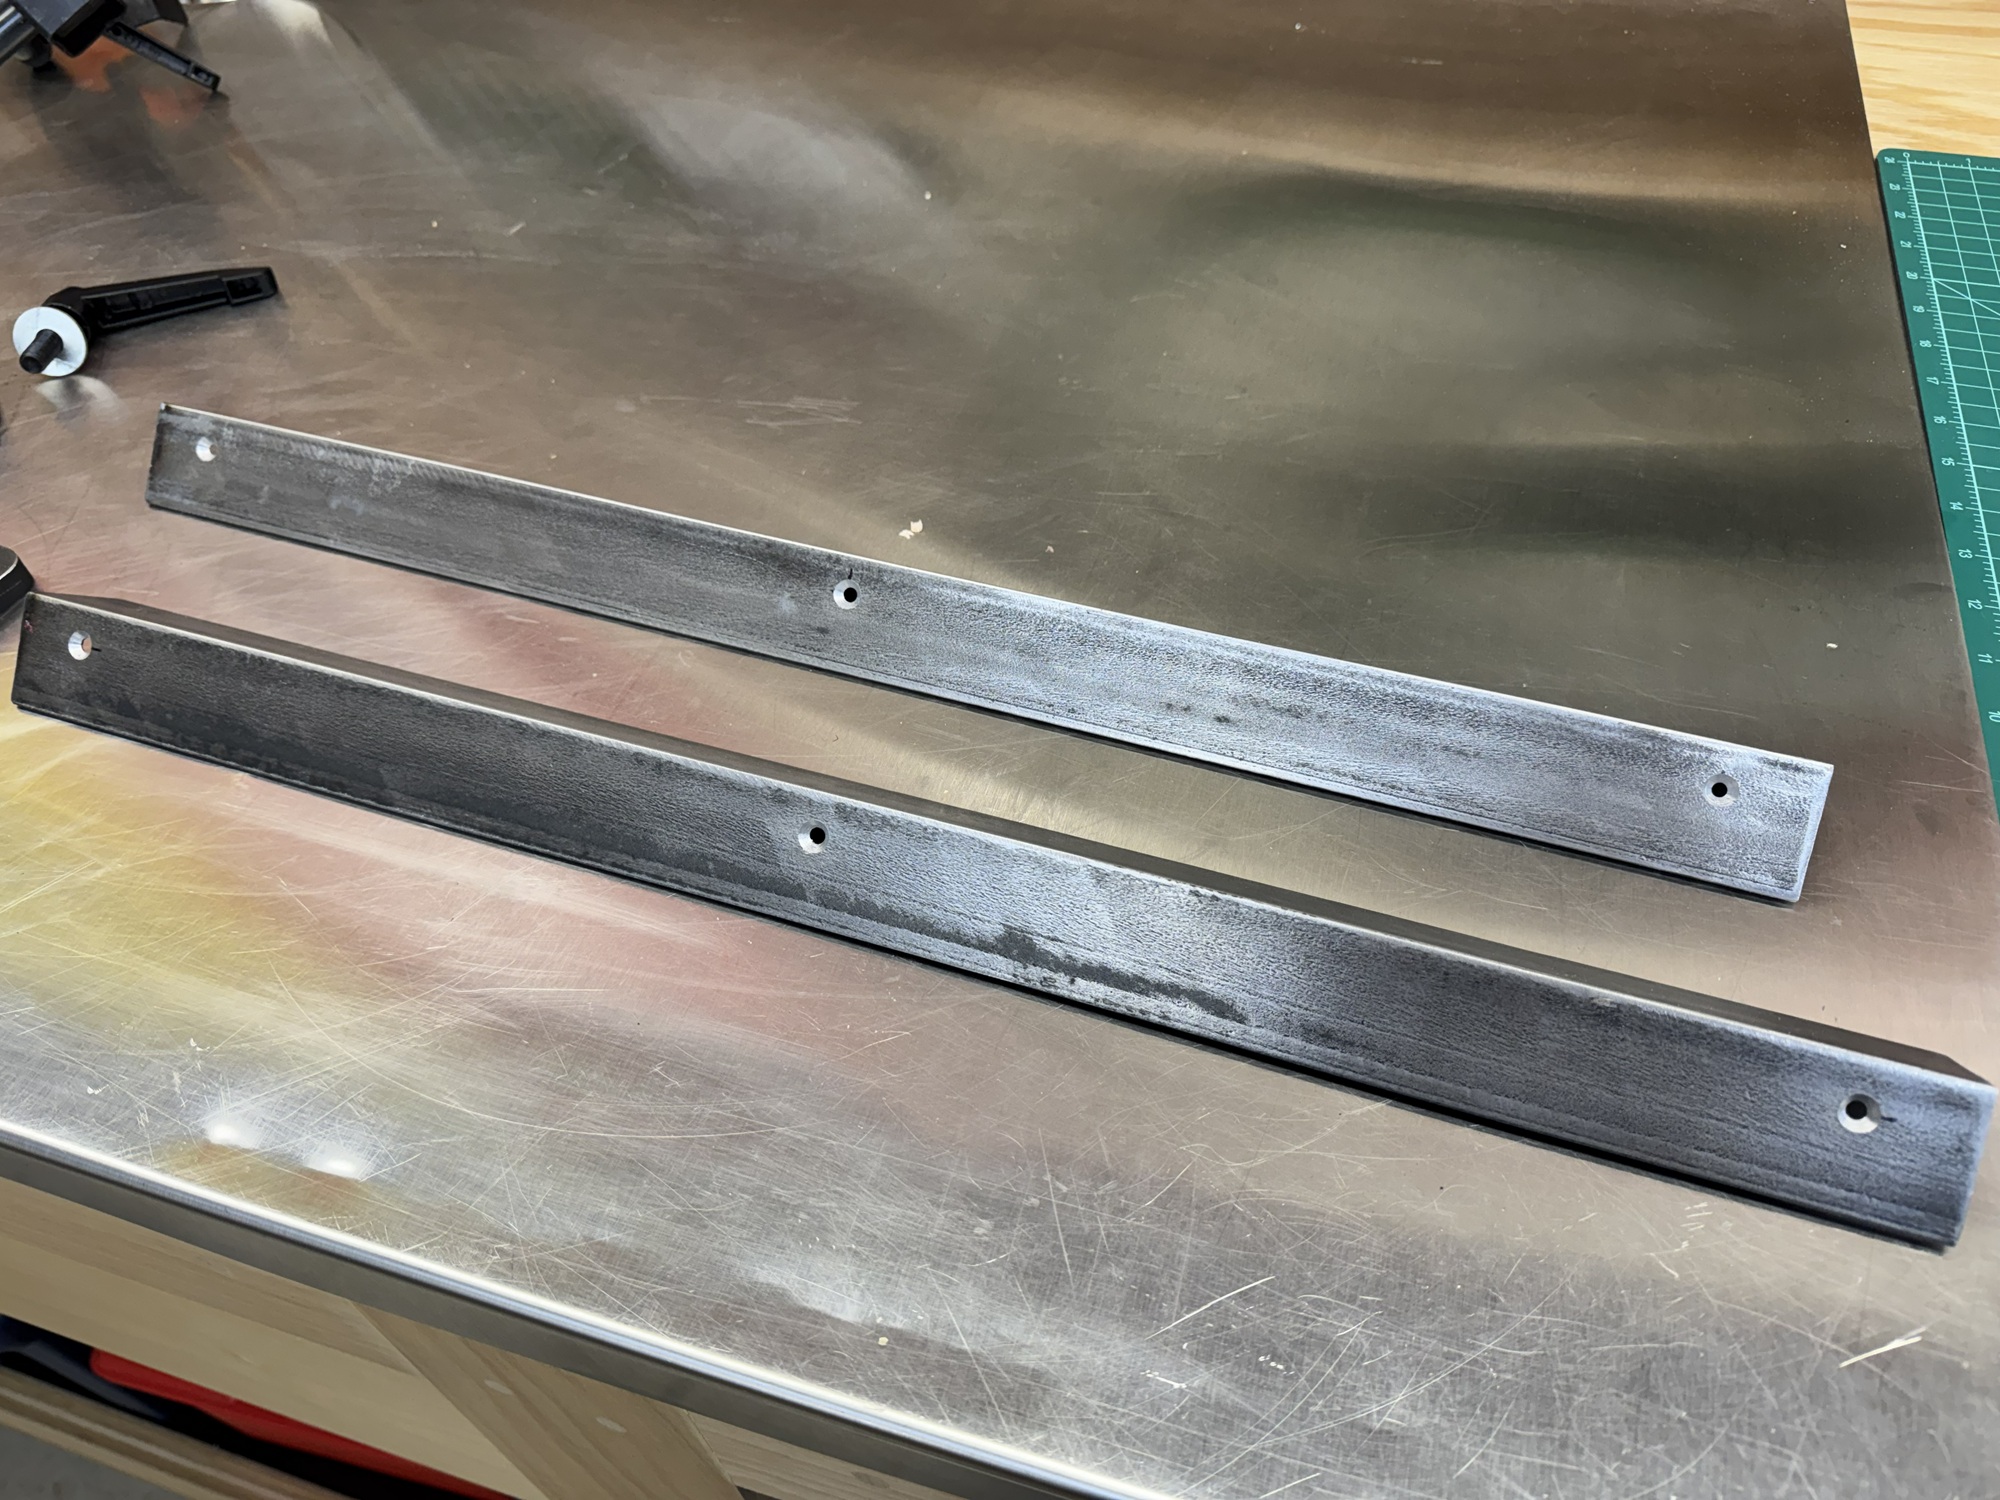
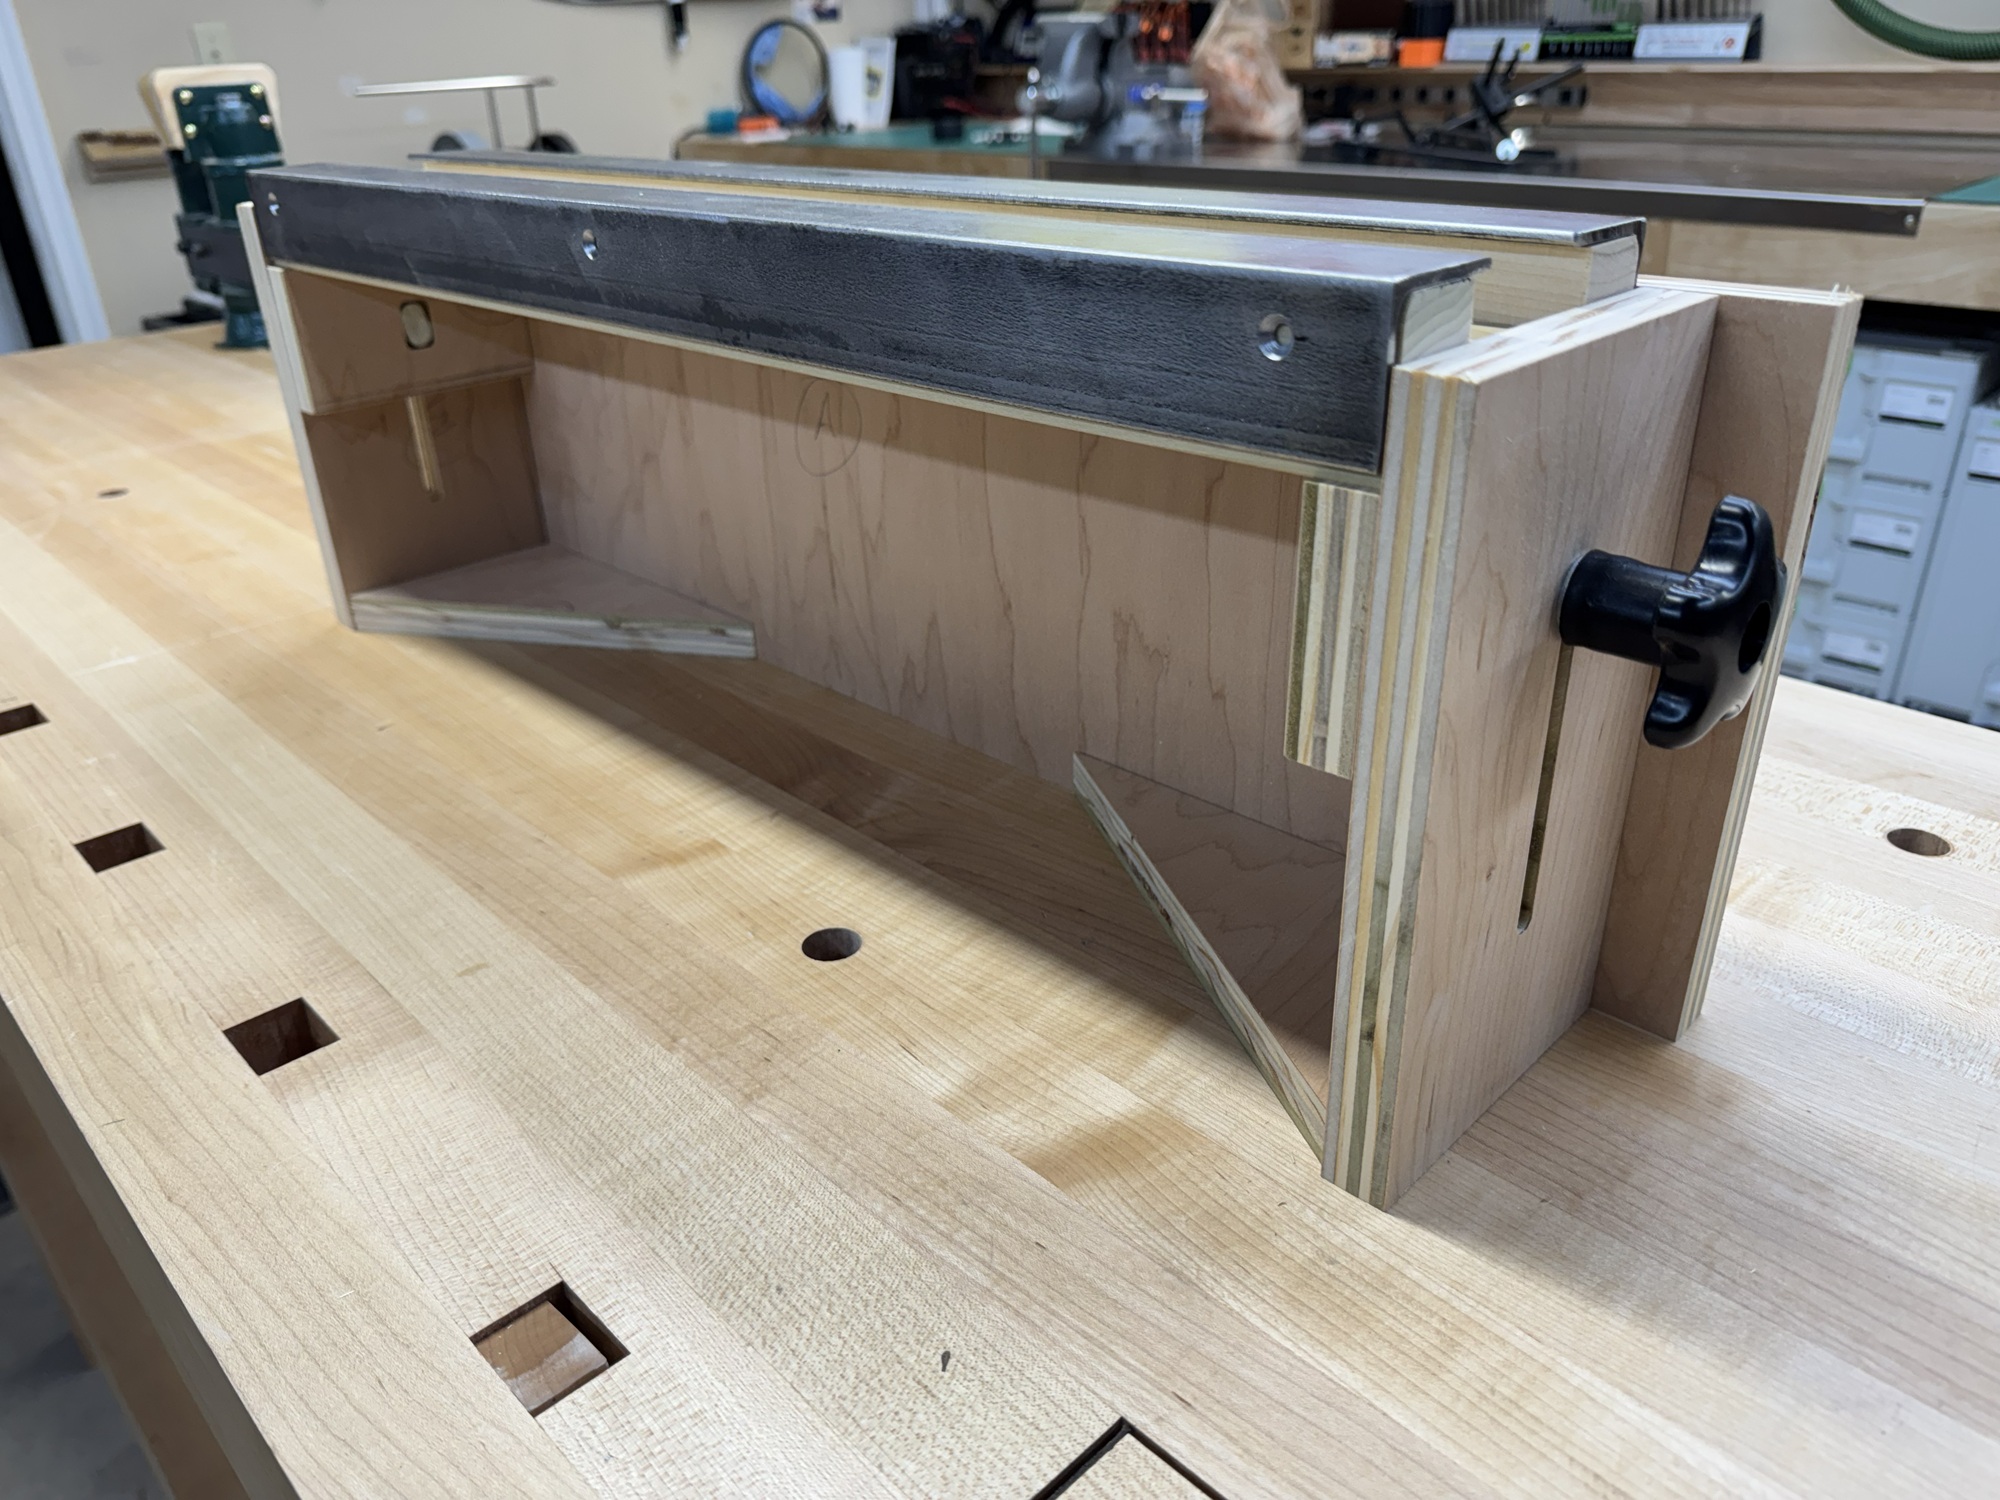
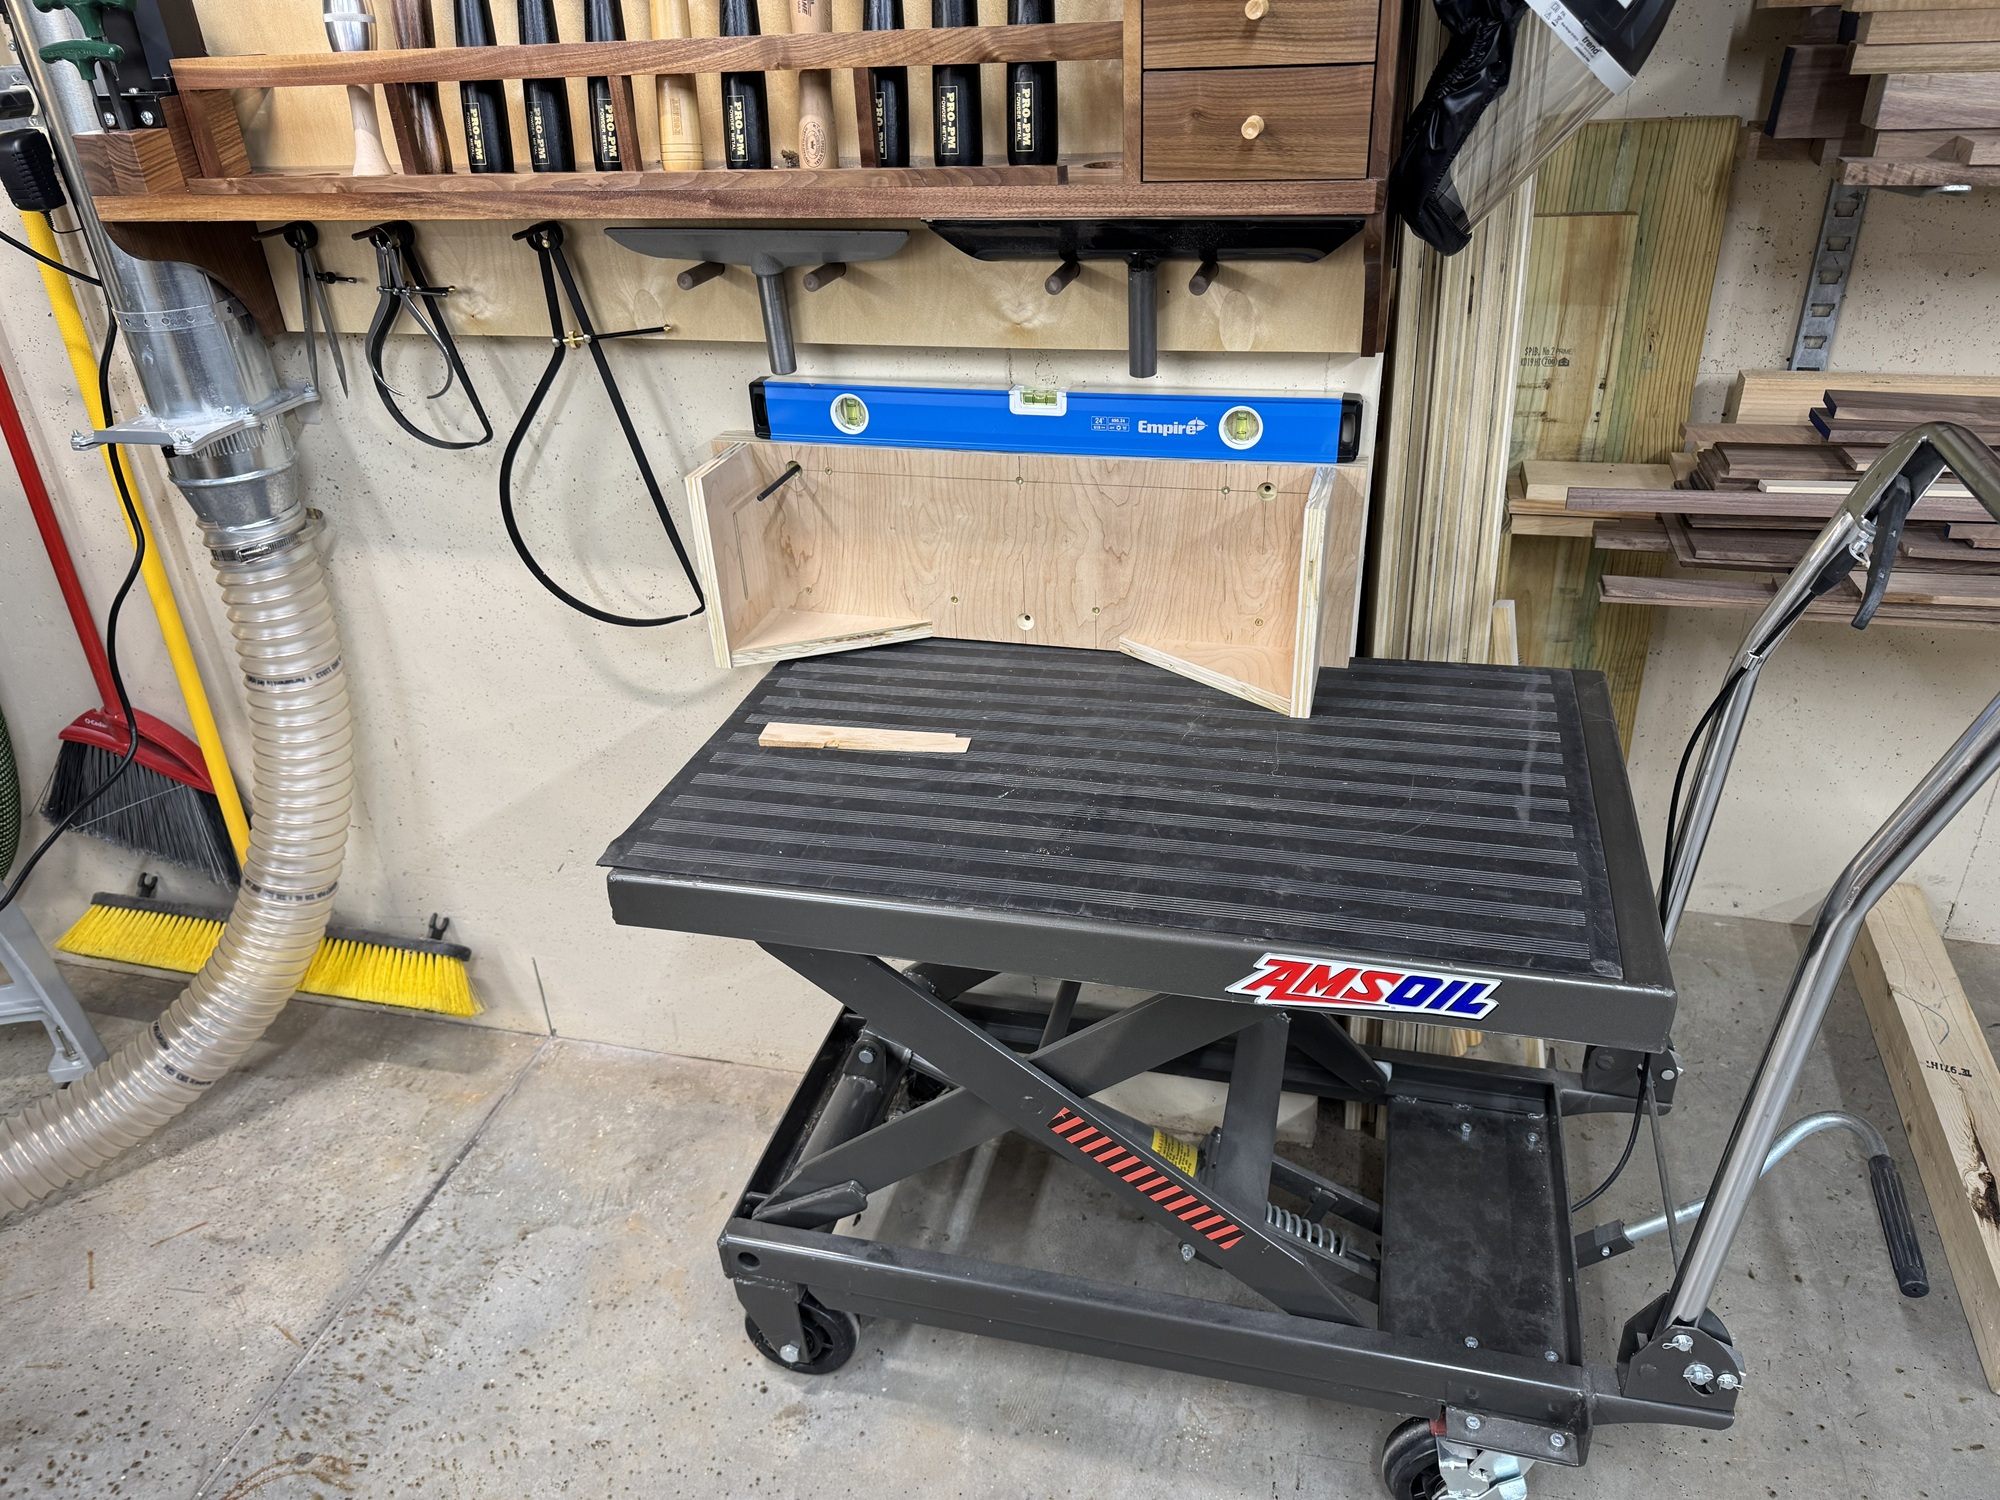
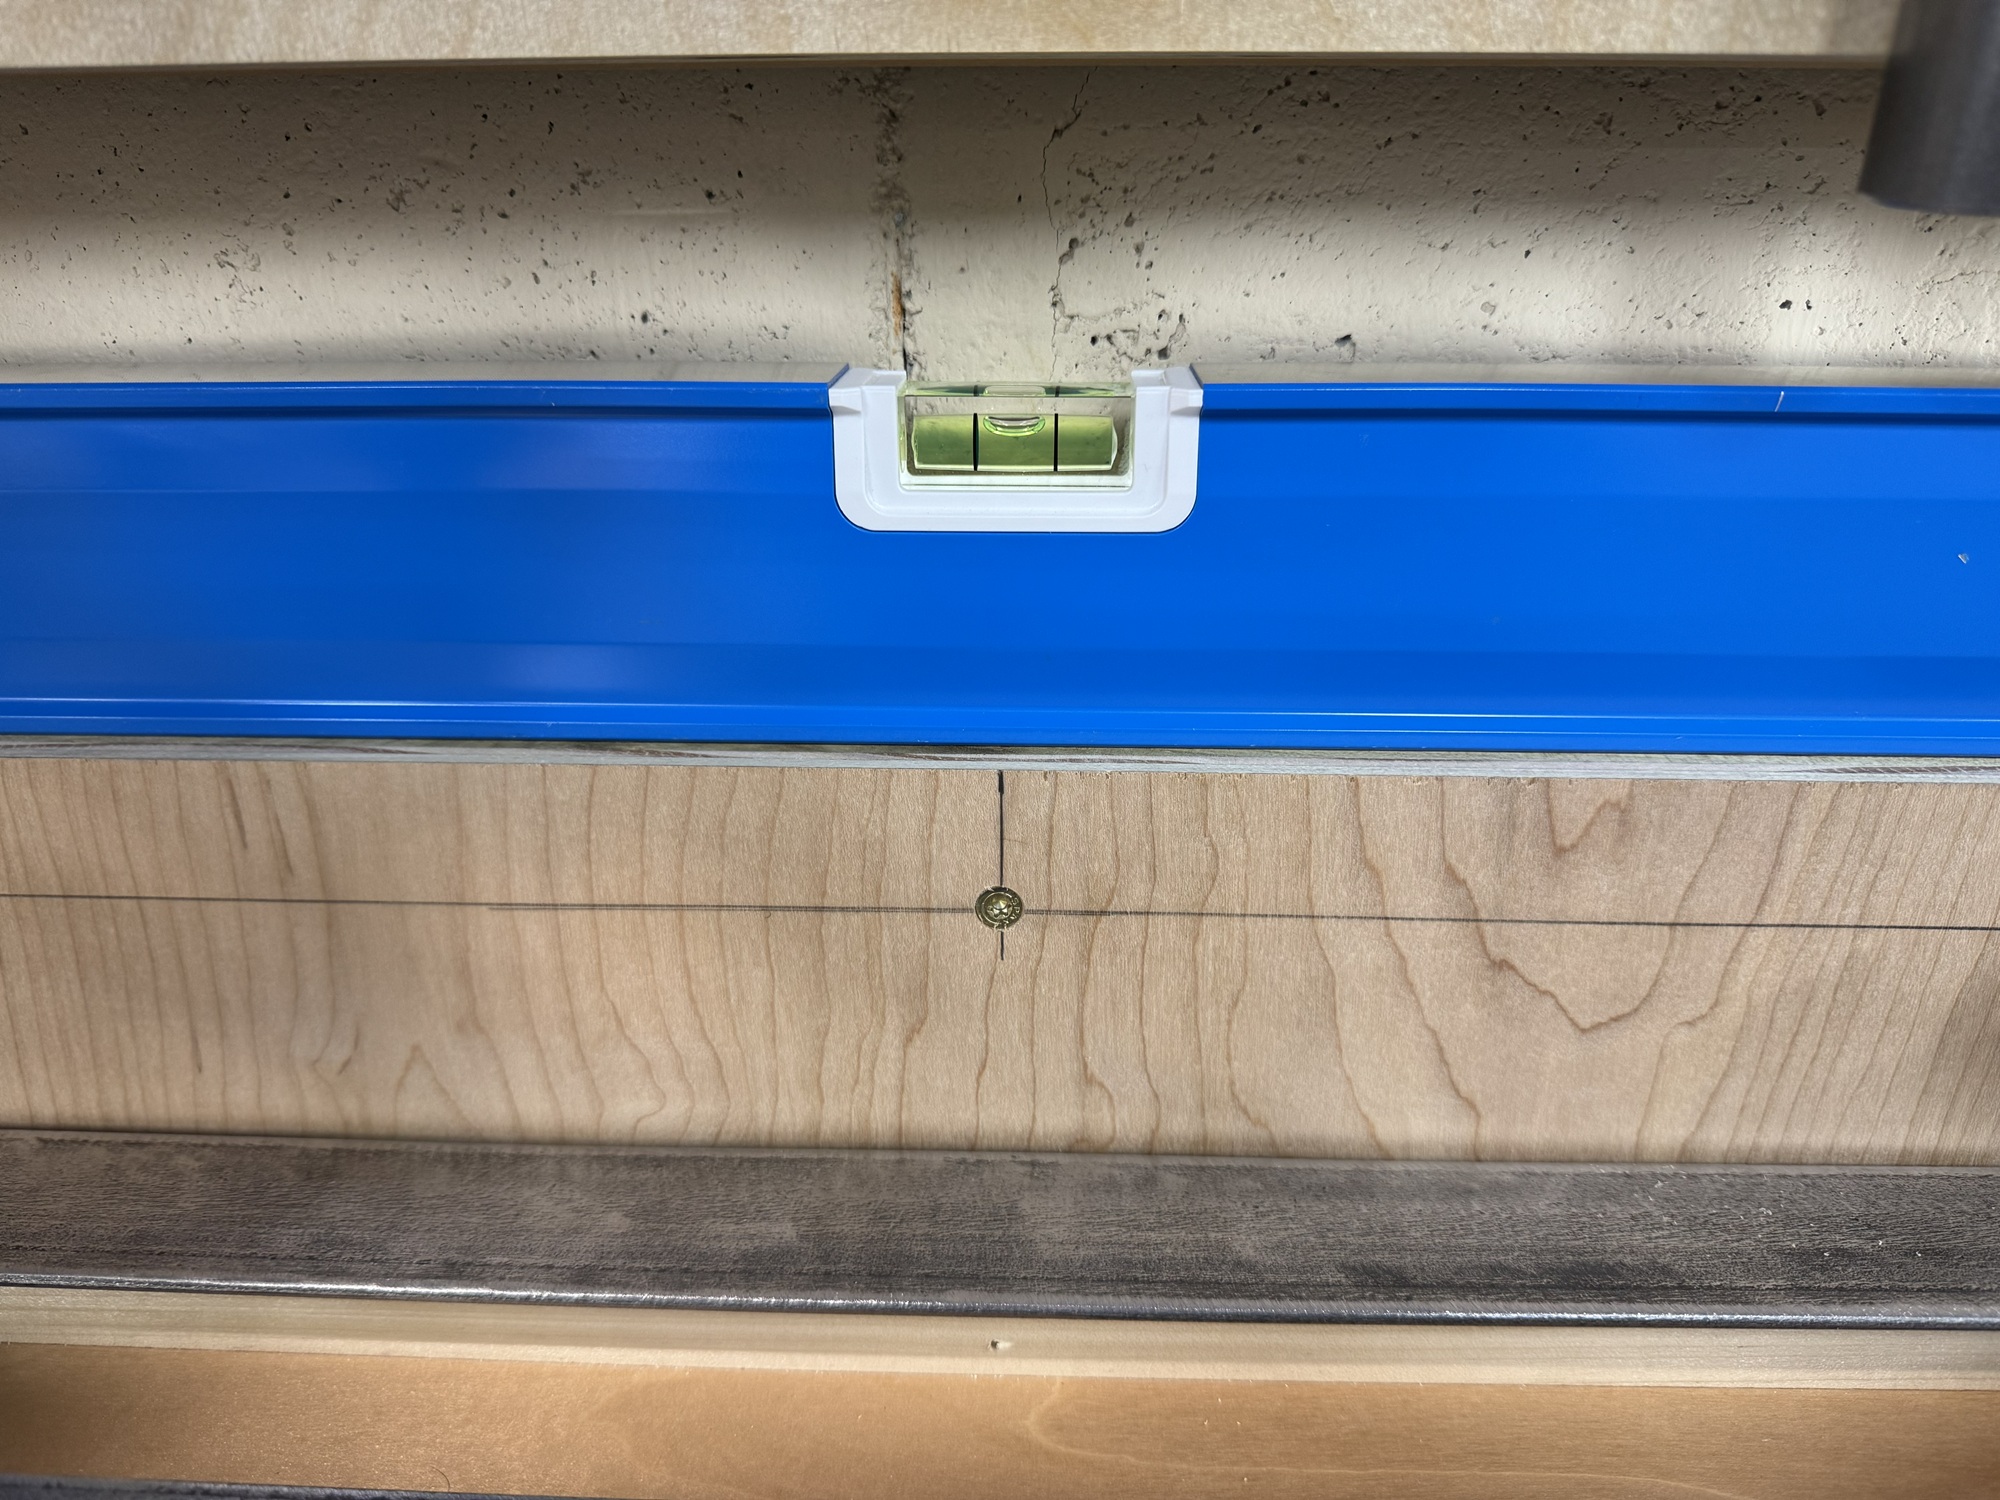
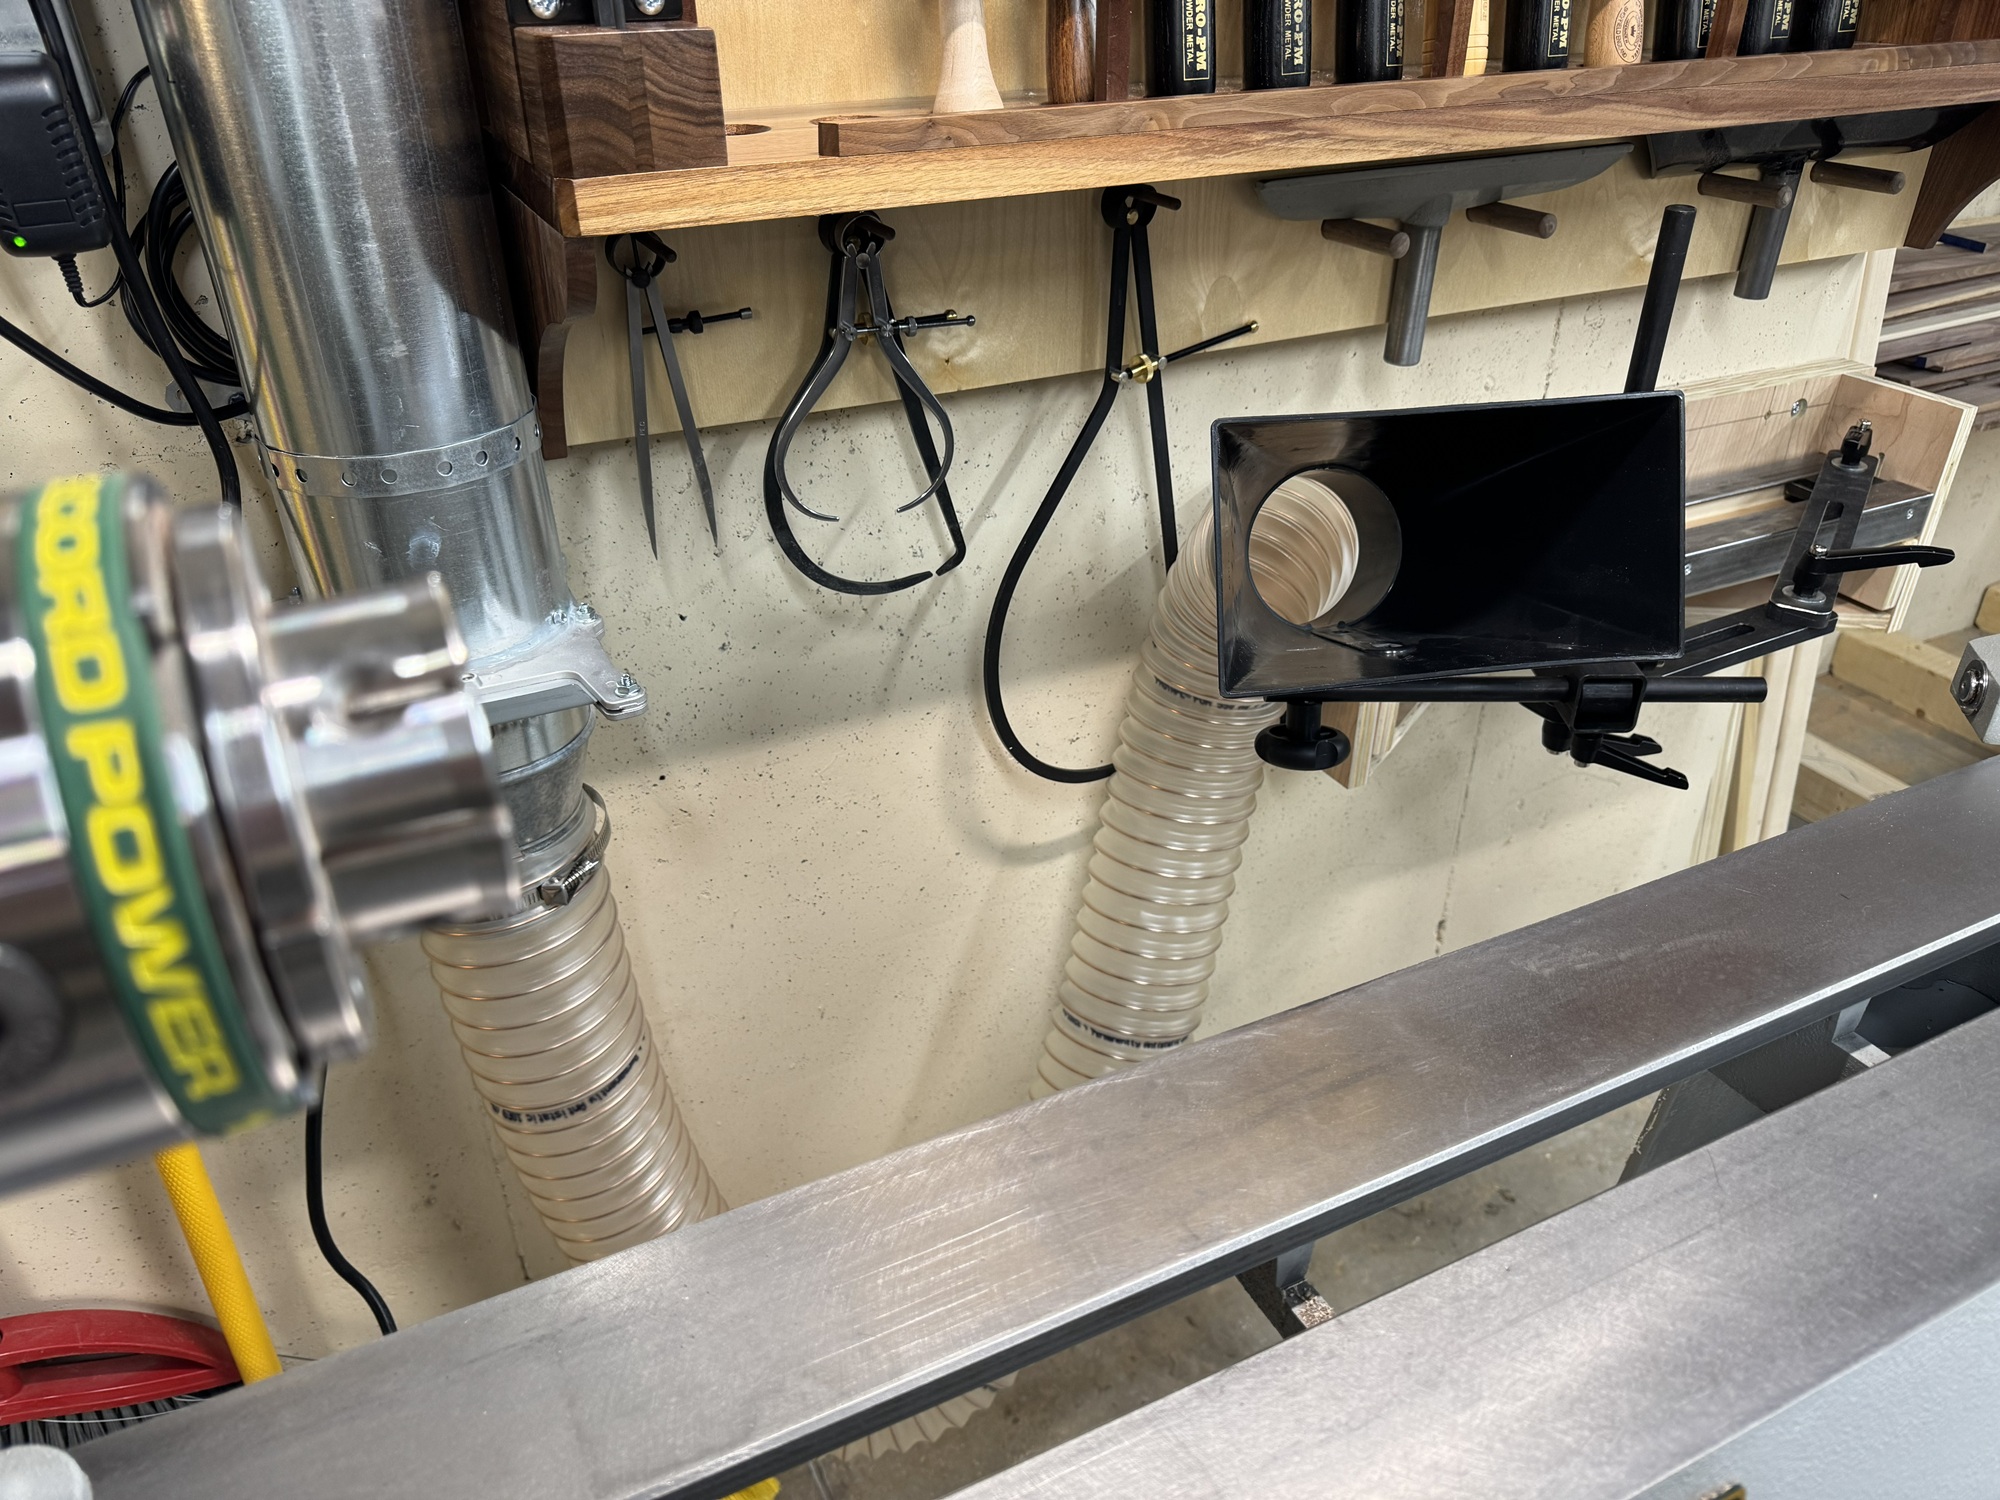
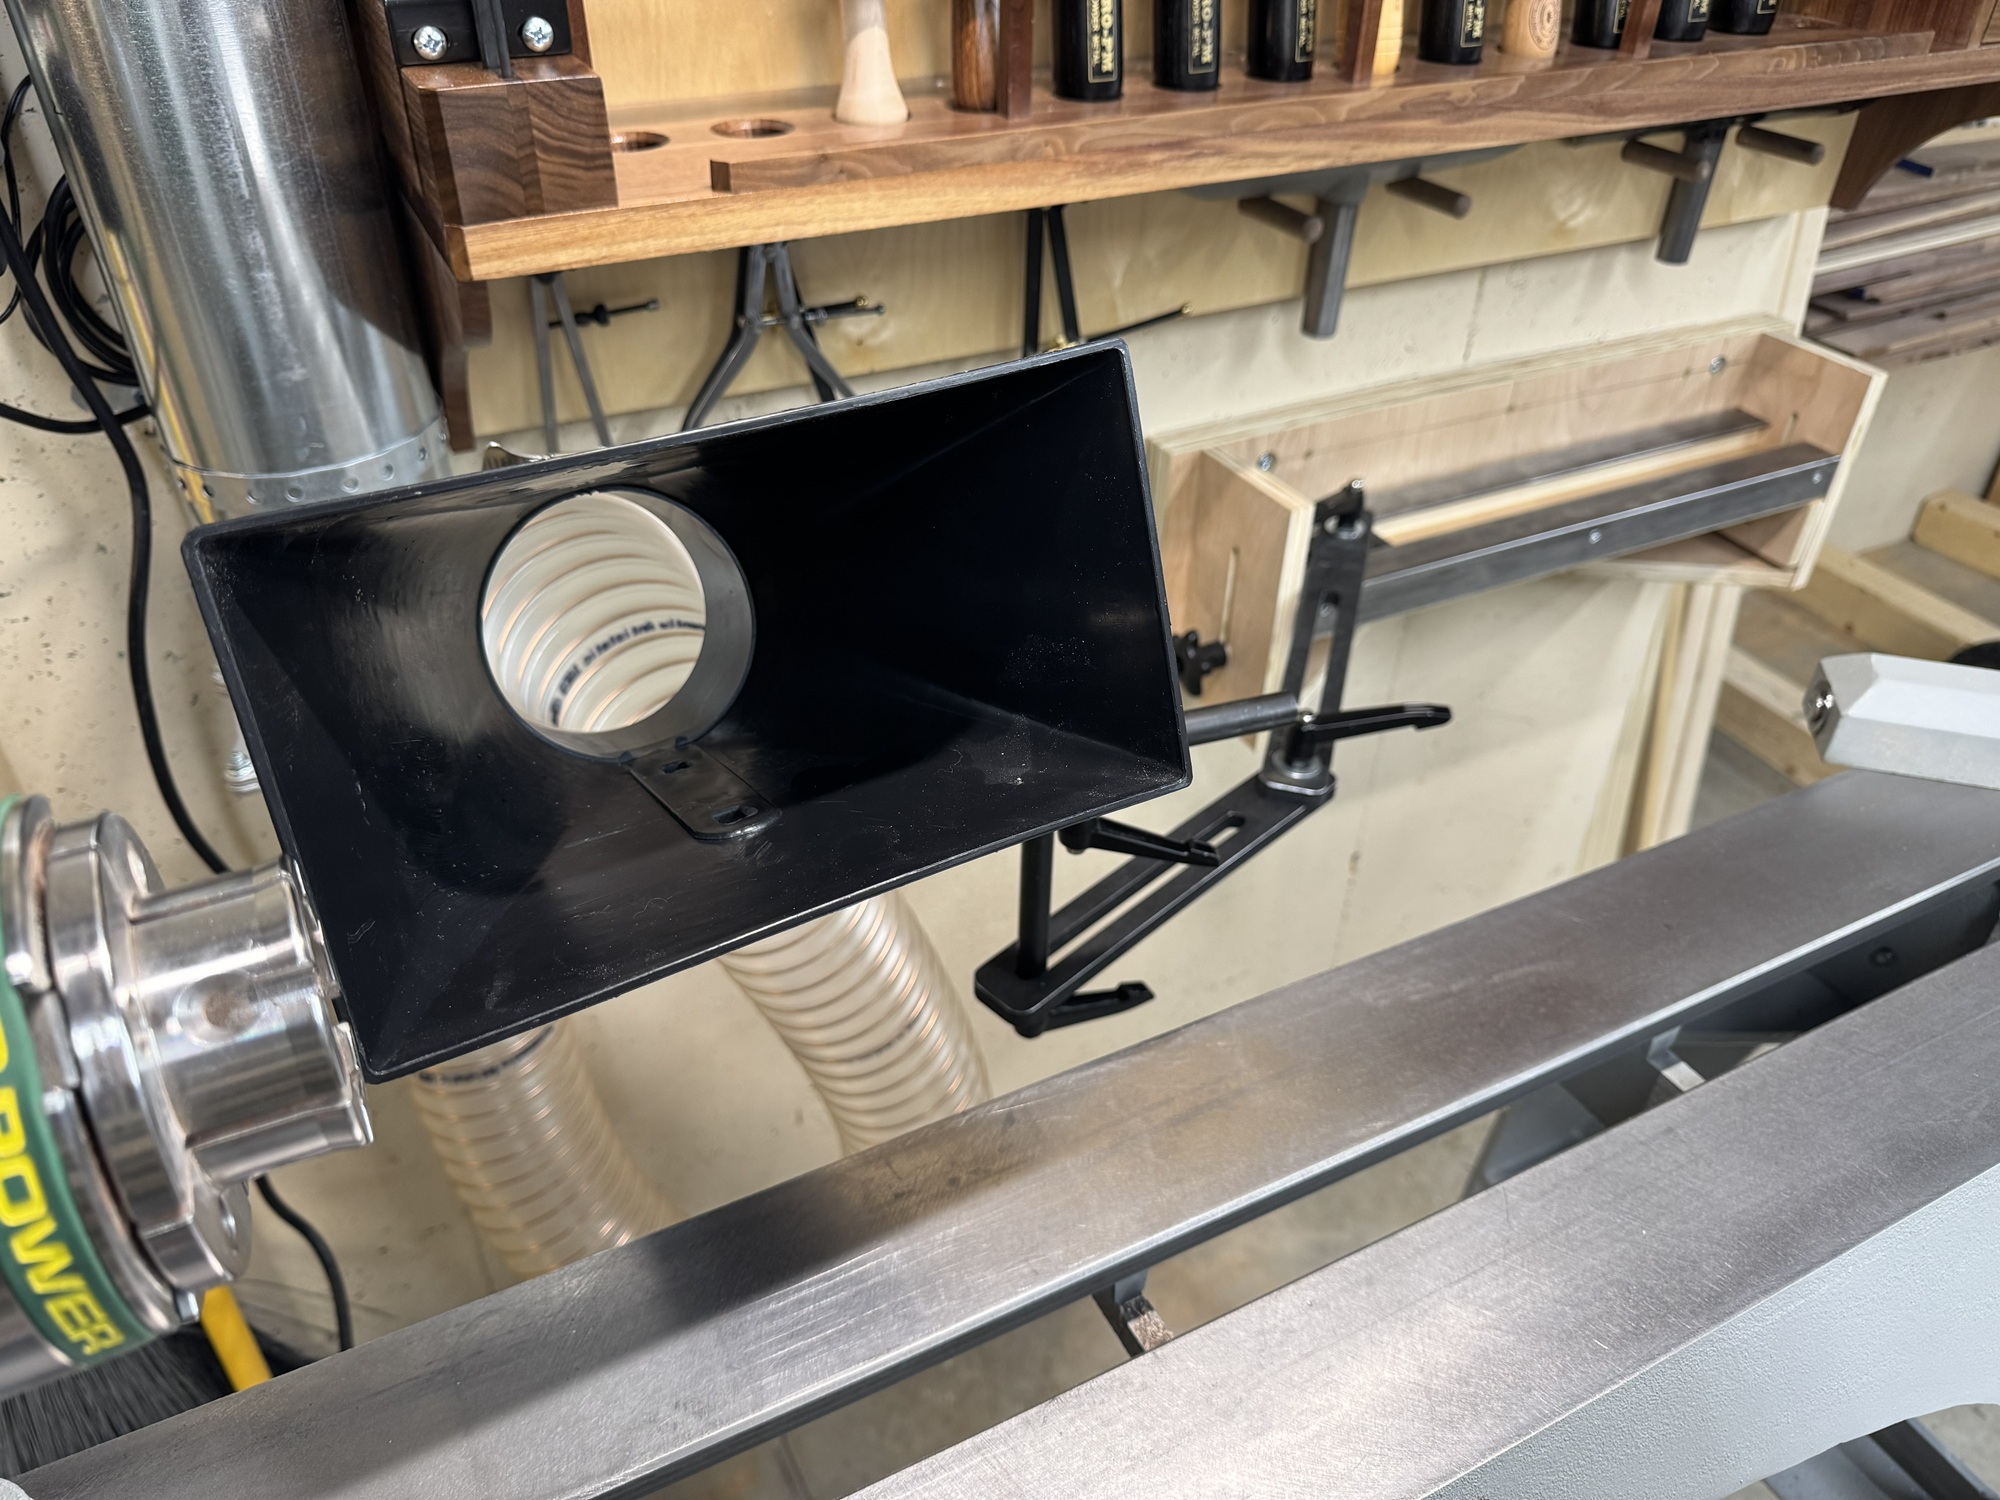
Some basic racks are made from blocks of pine.
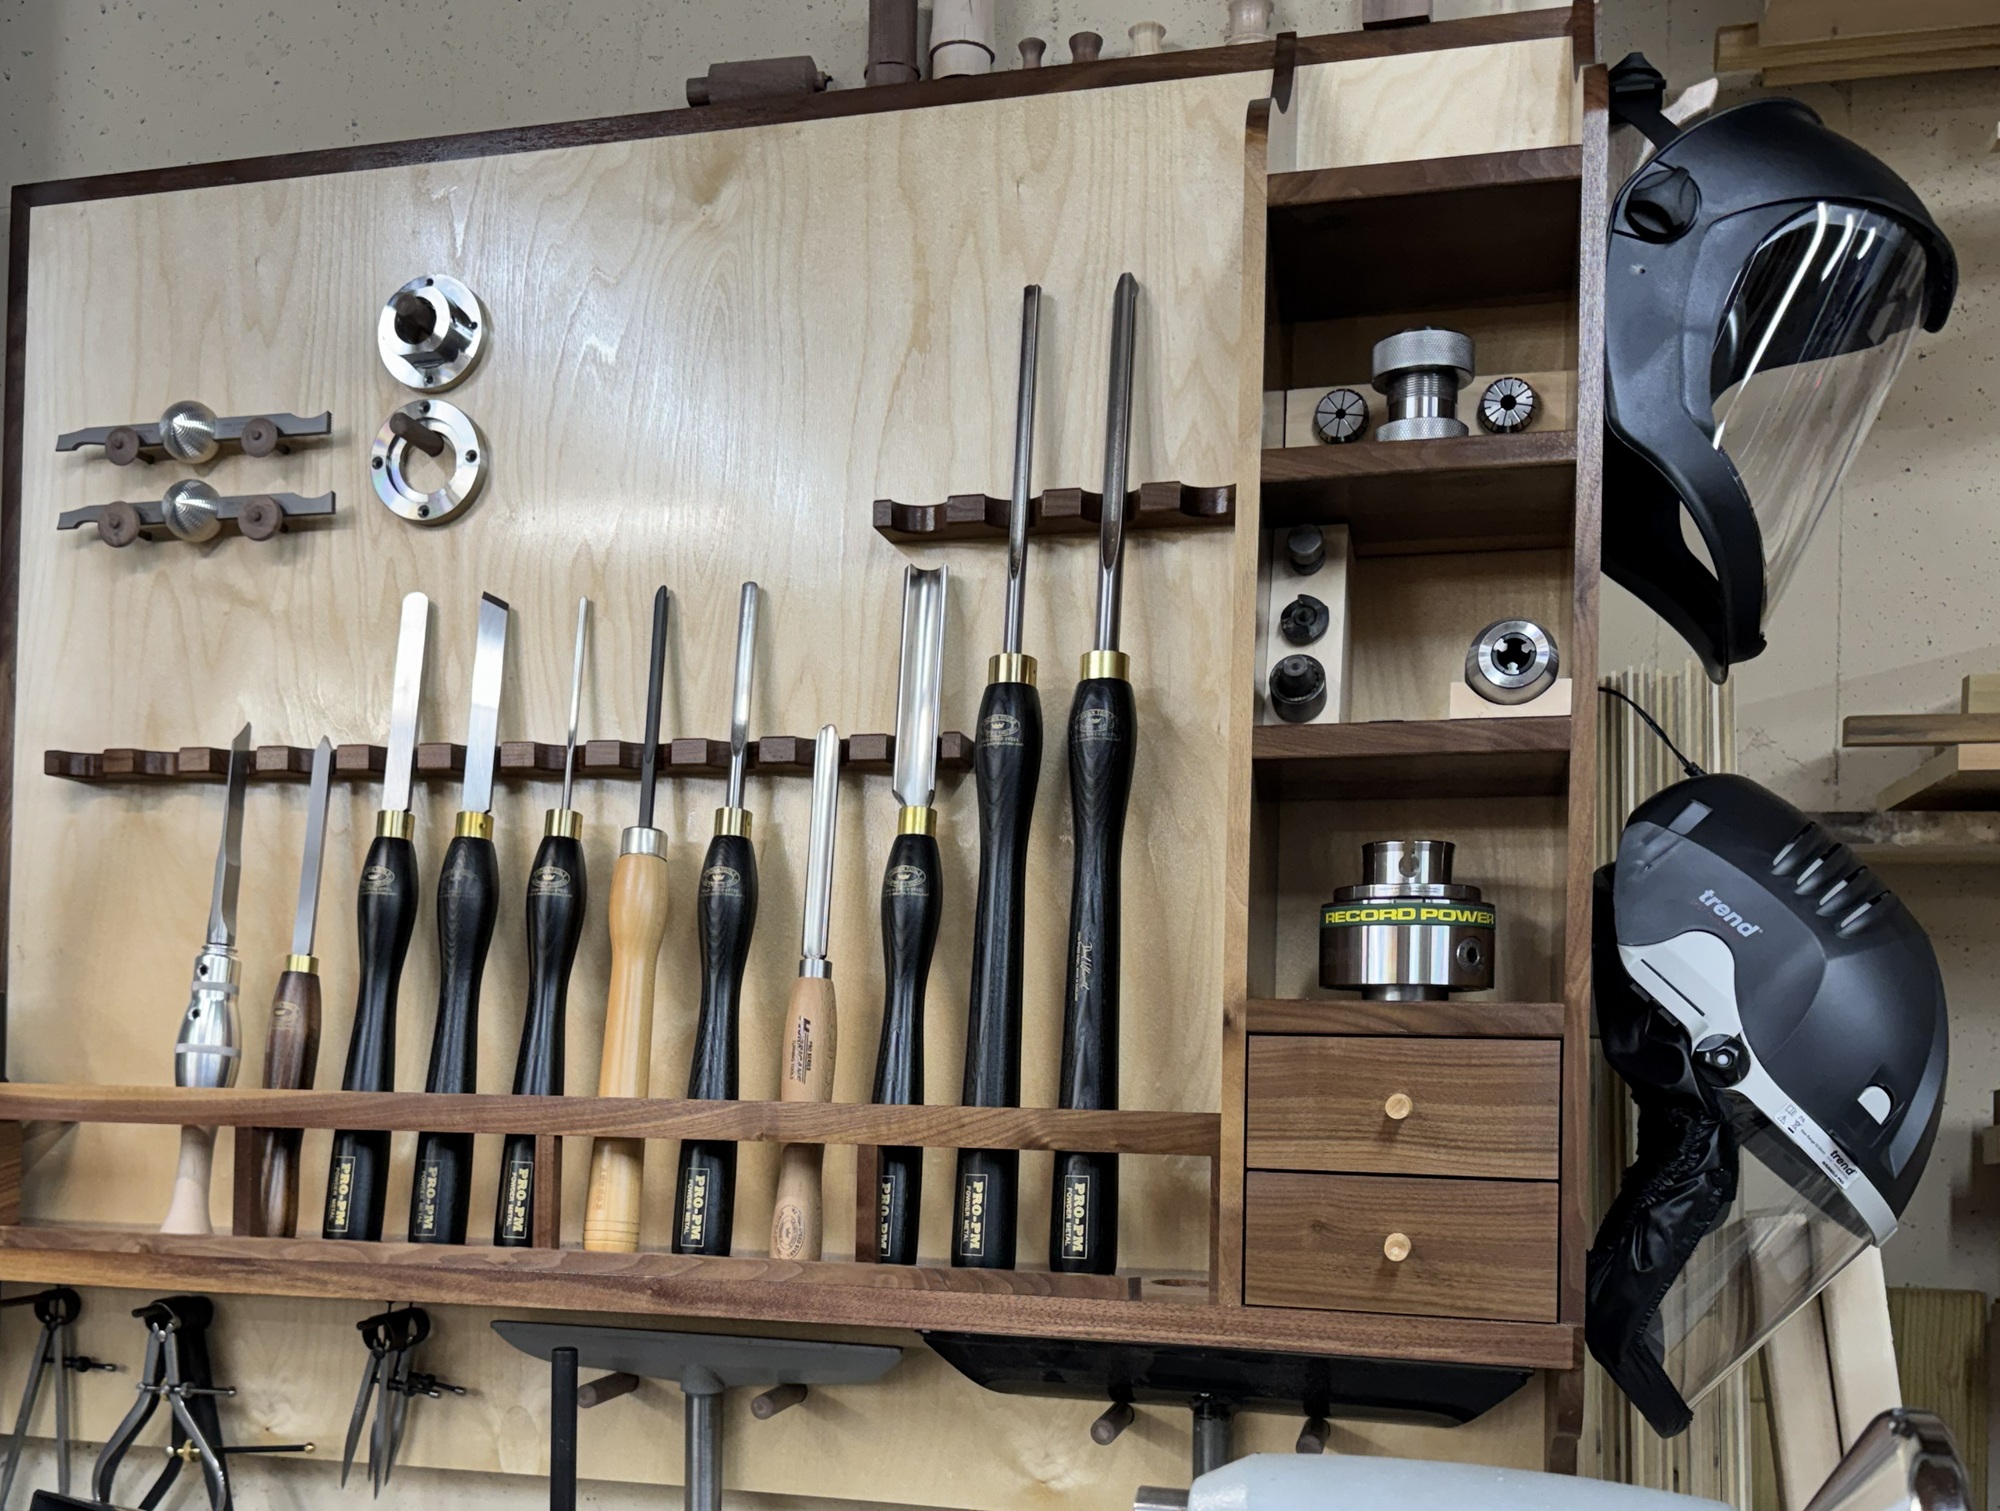
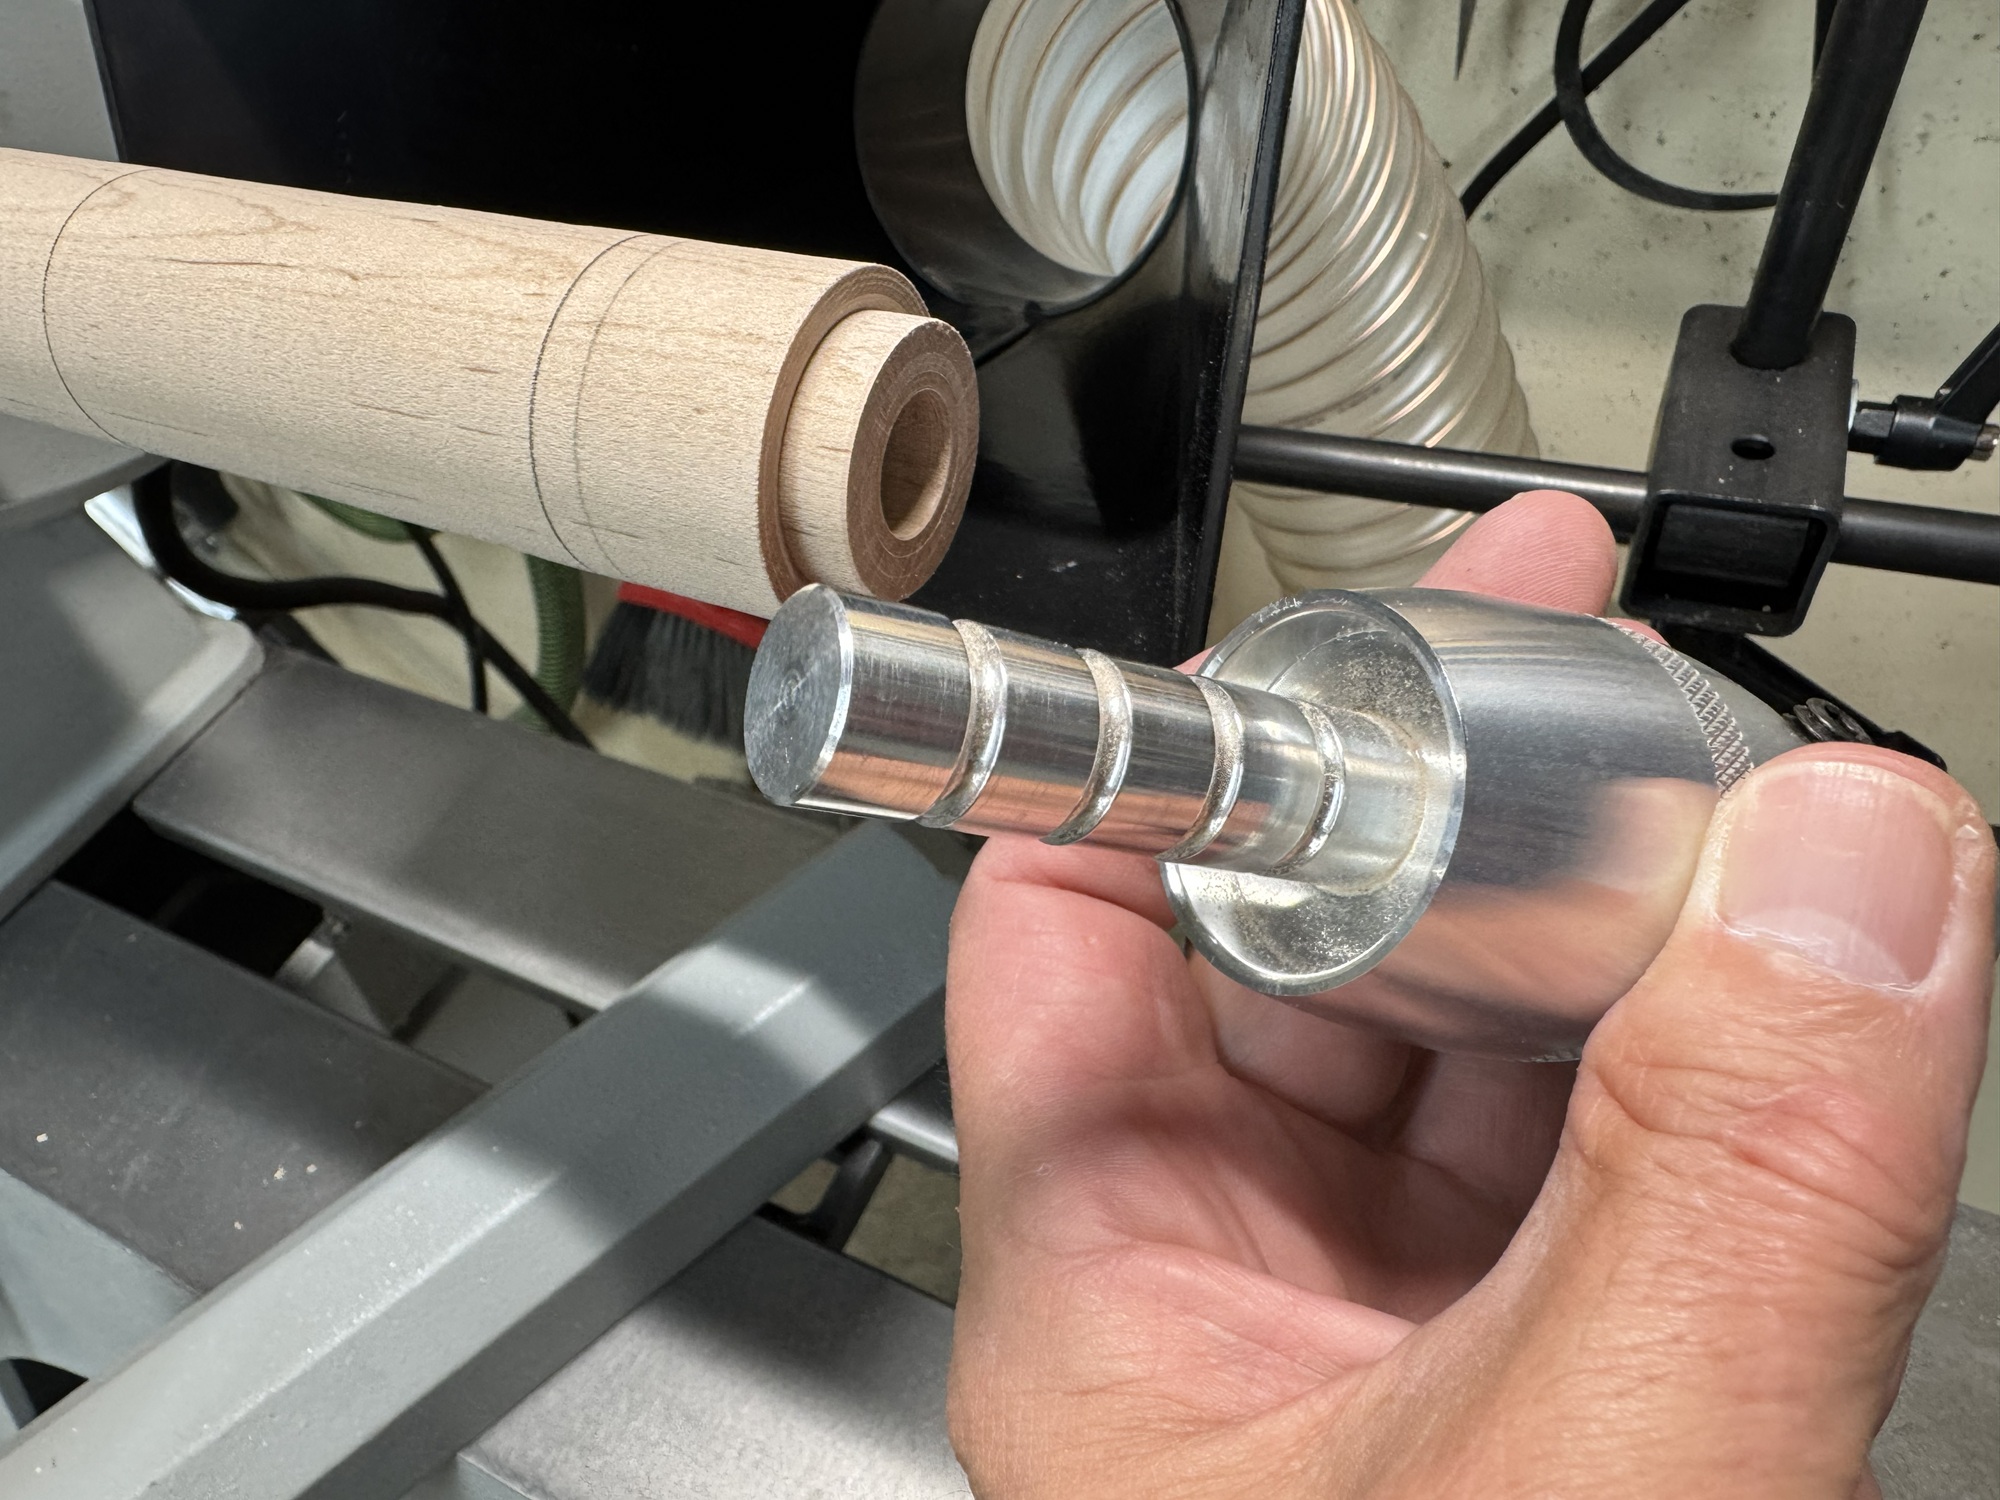
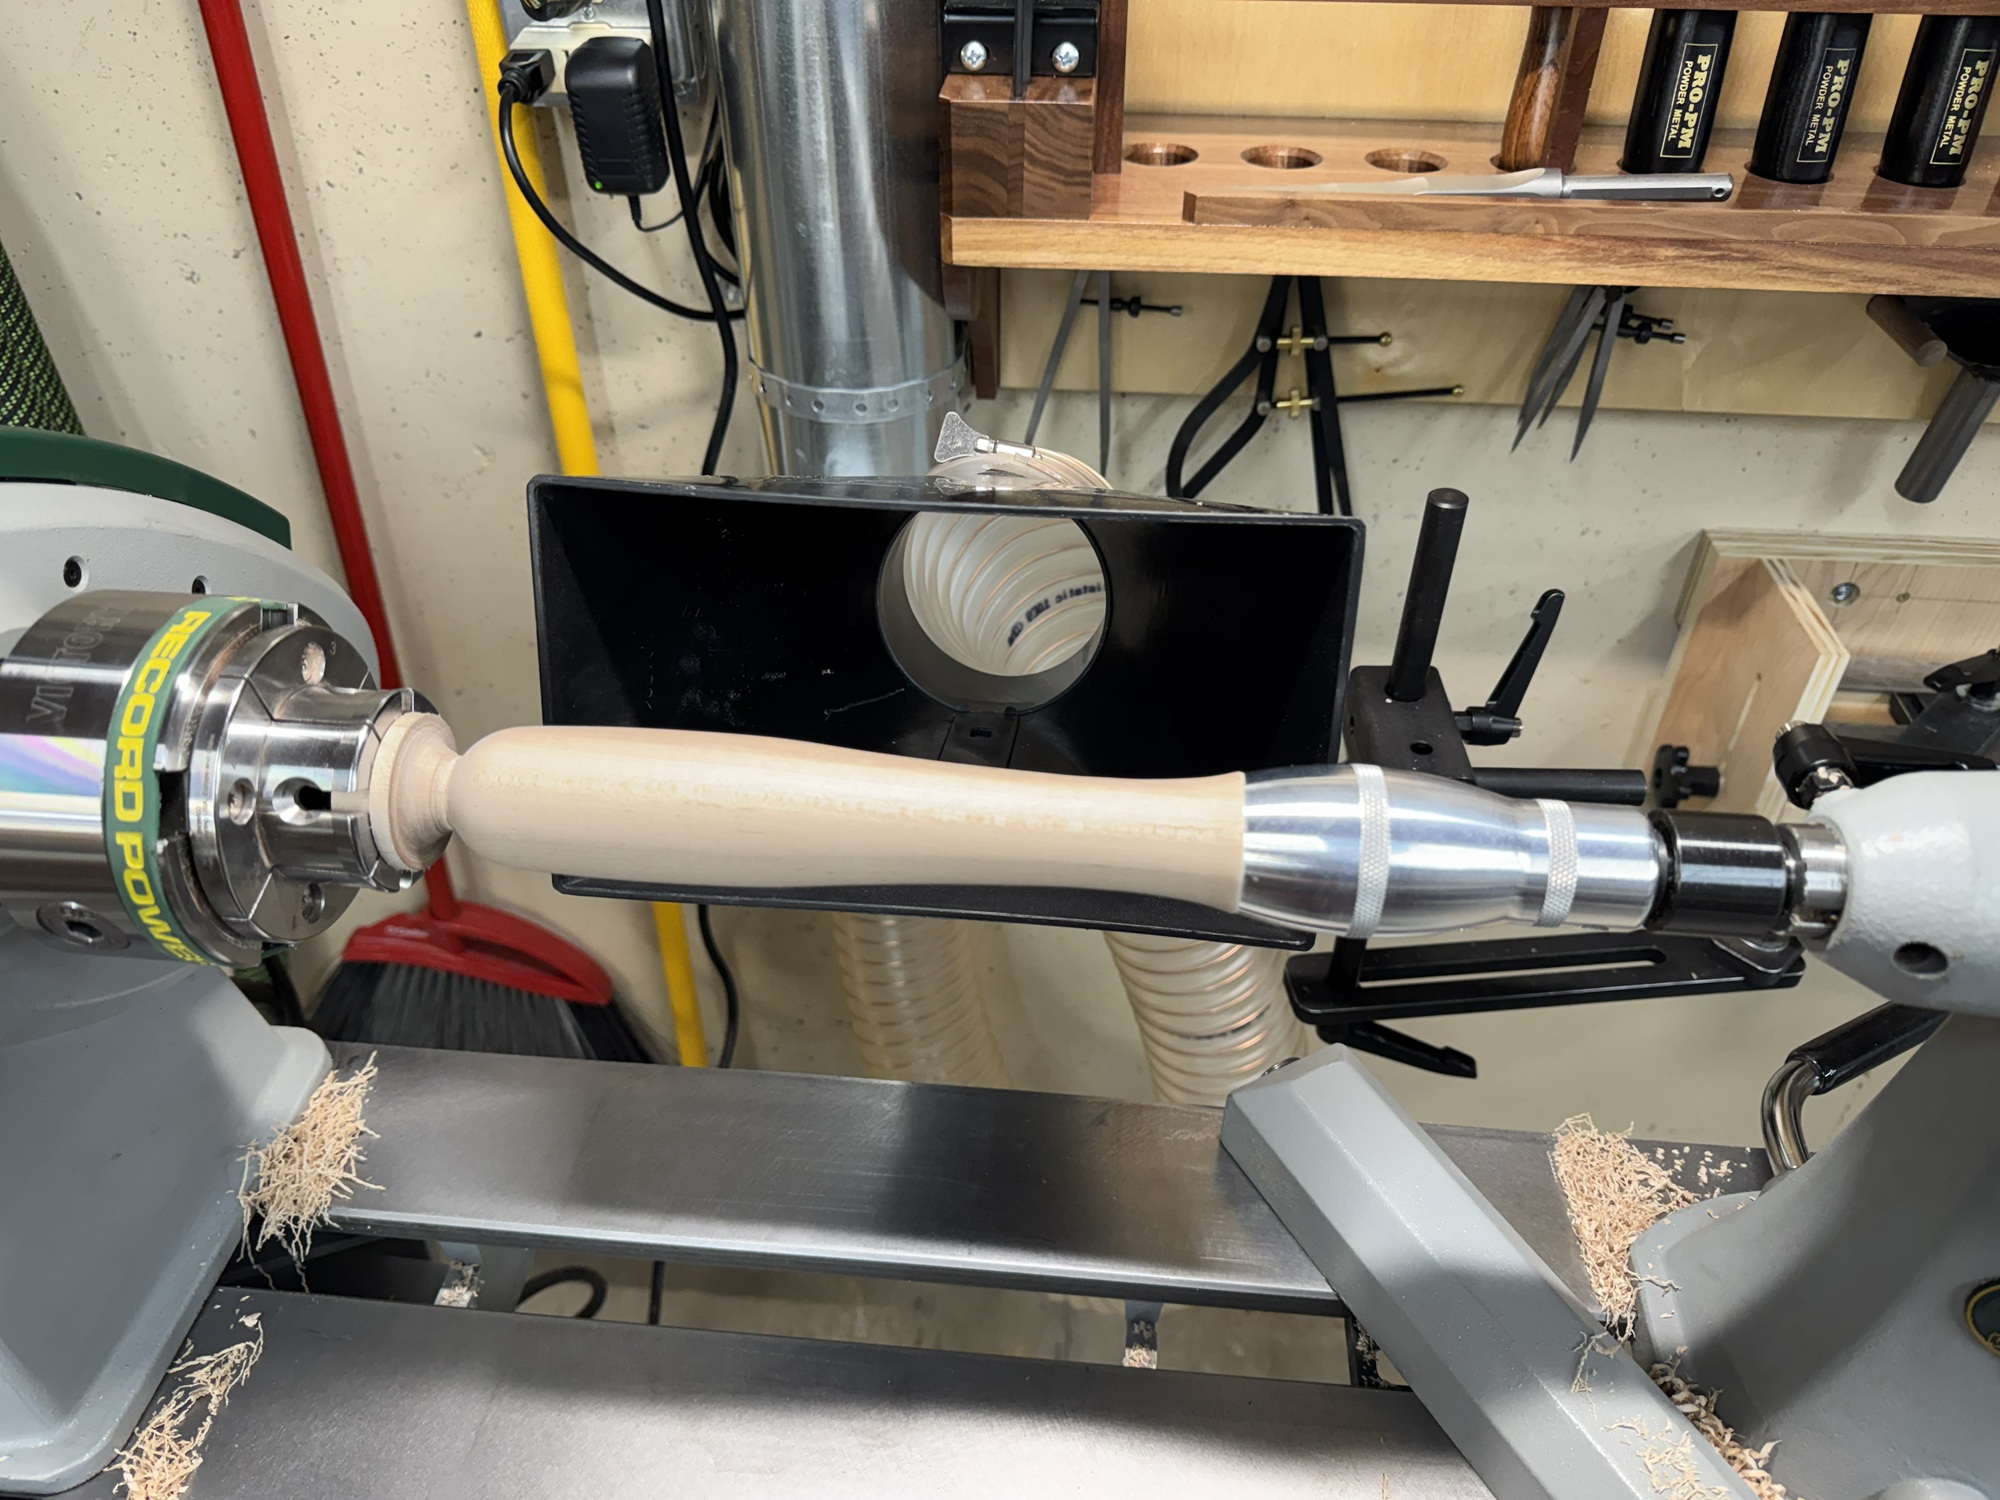
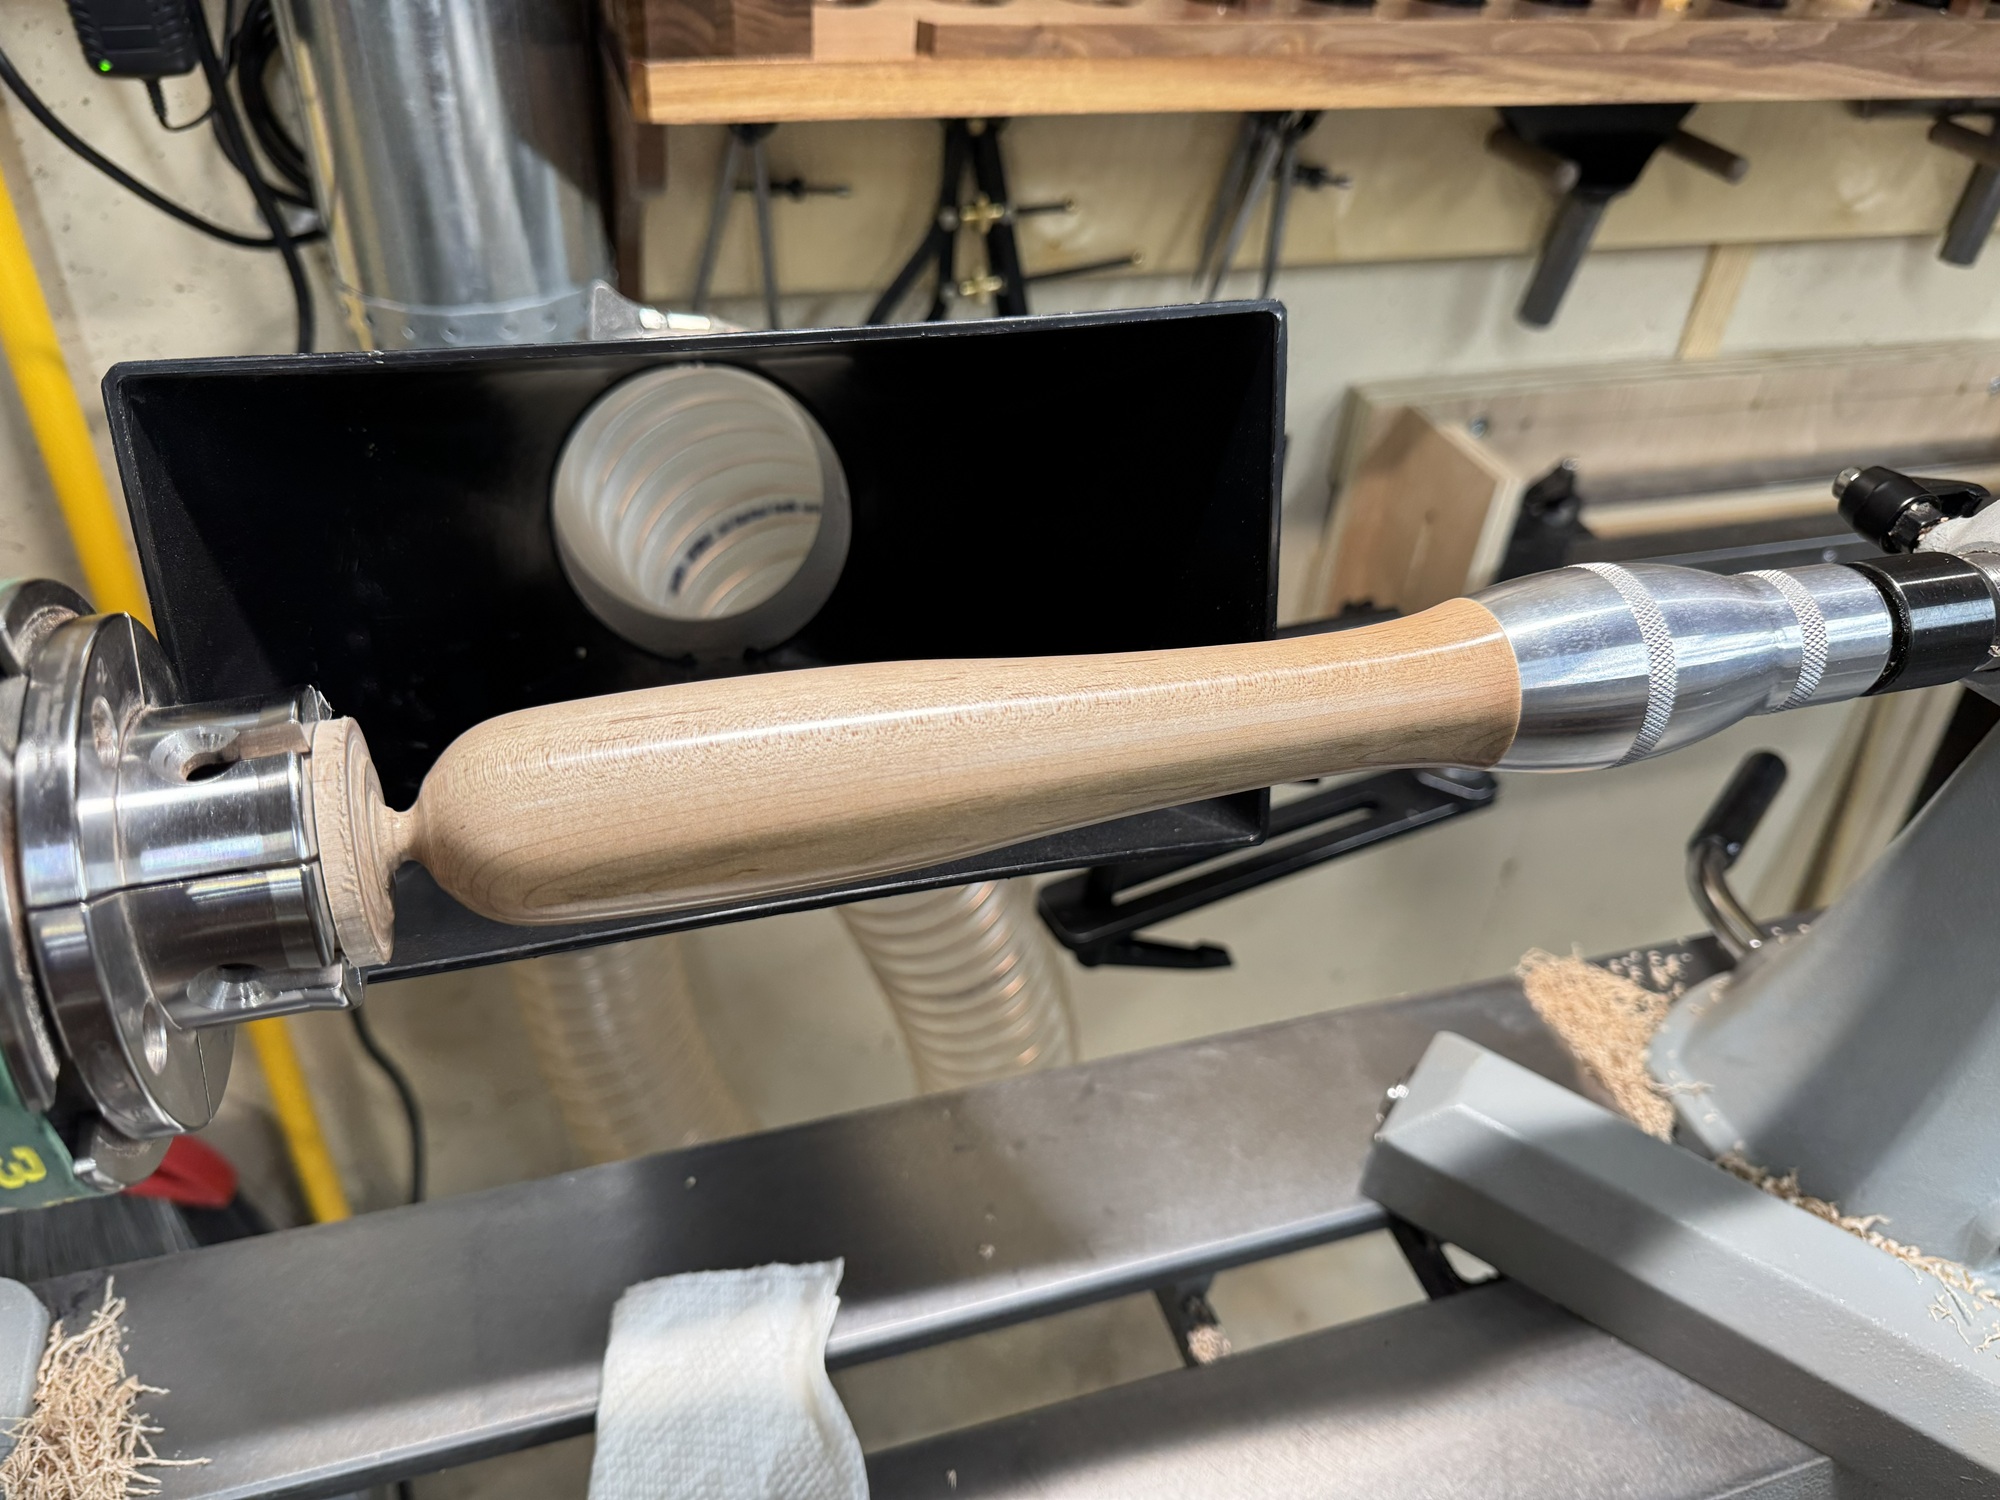
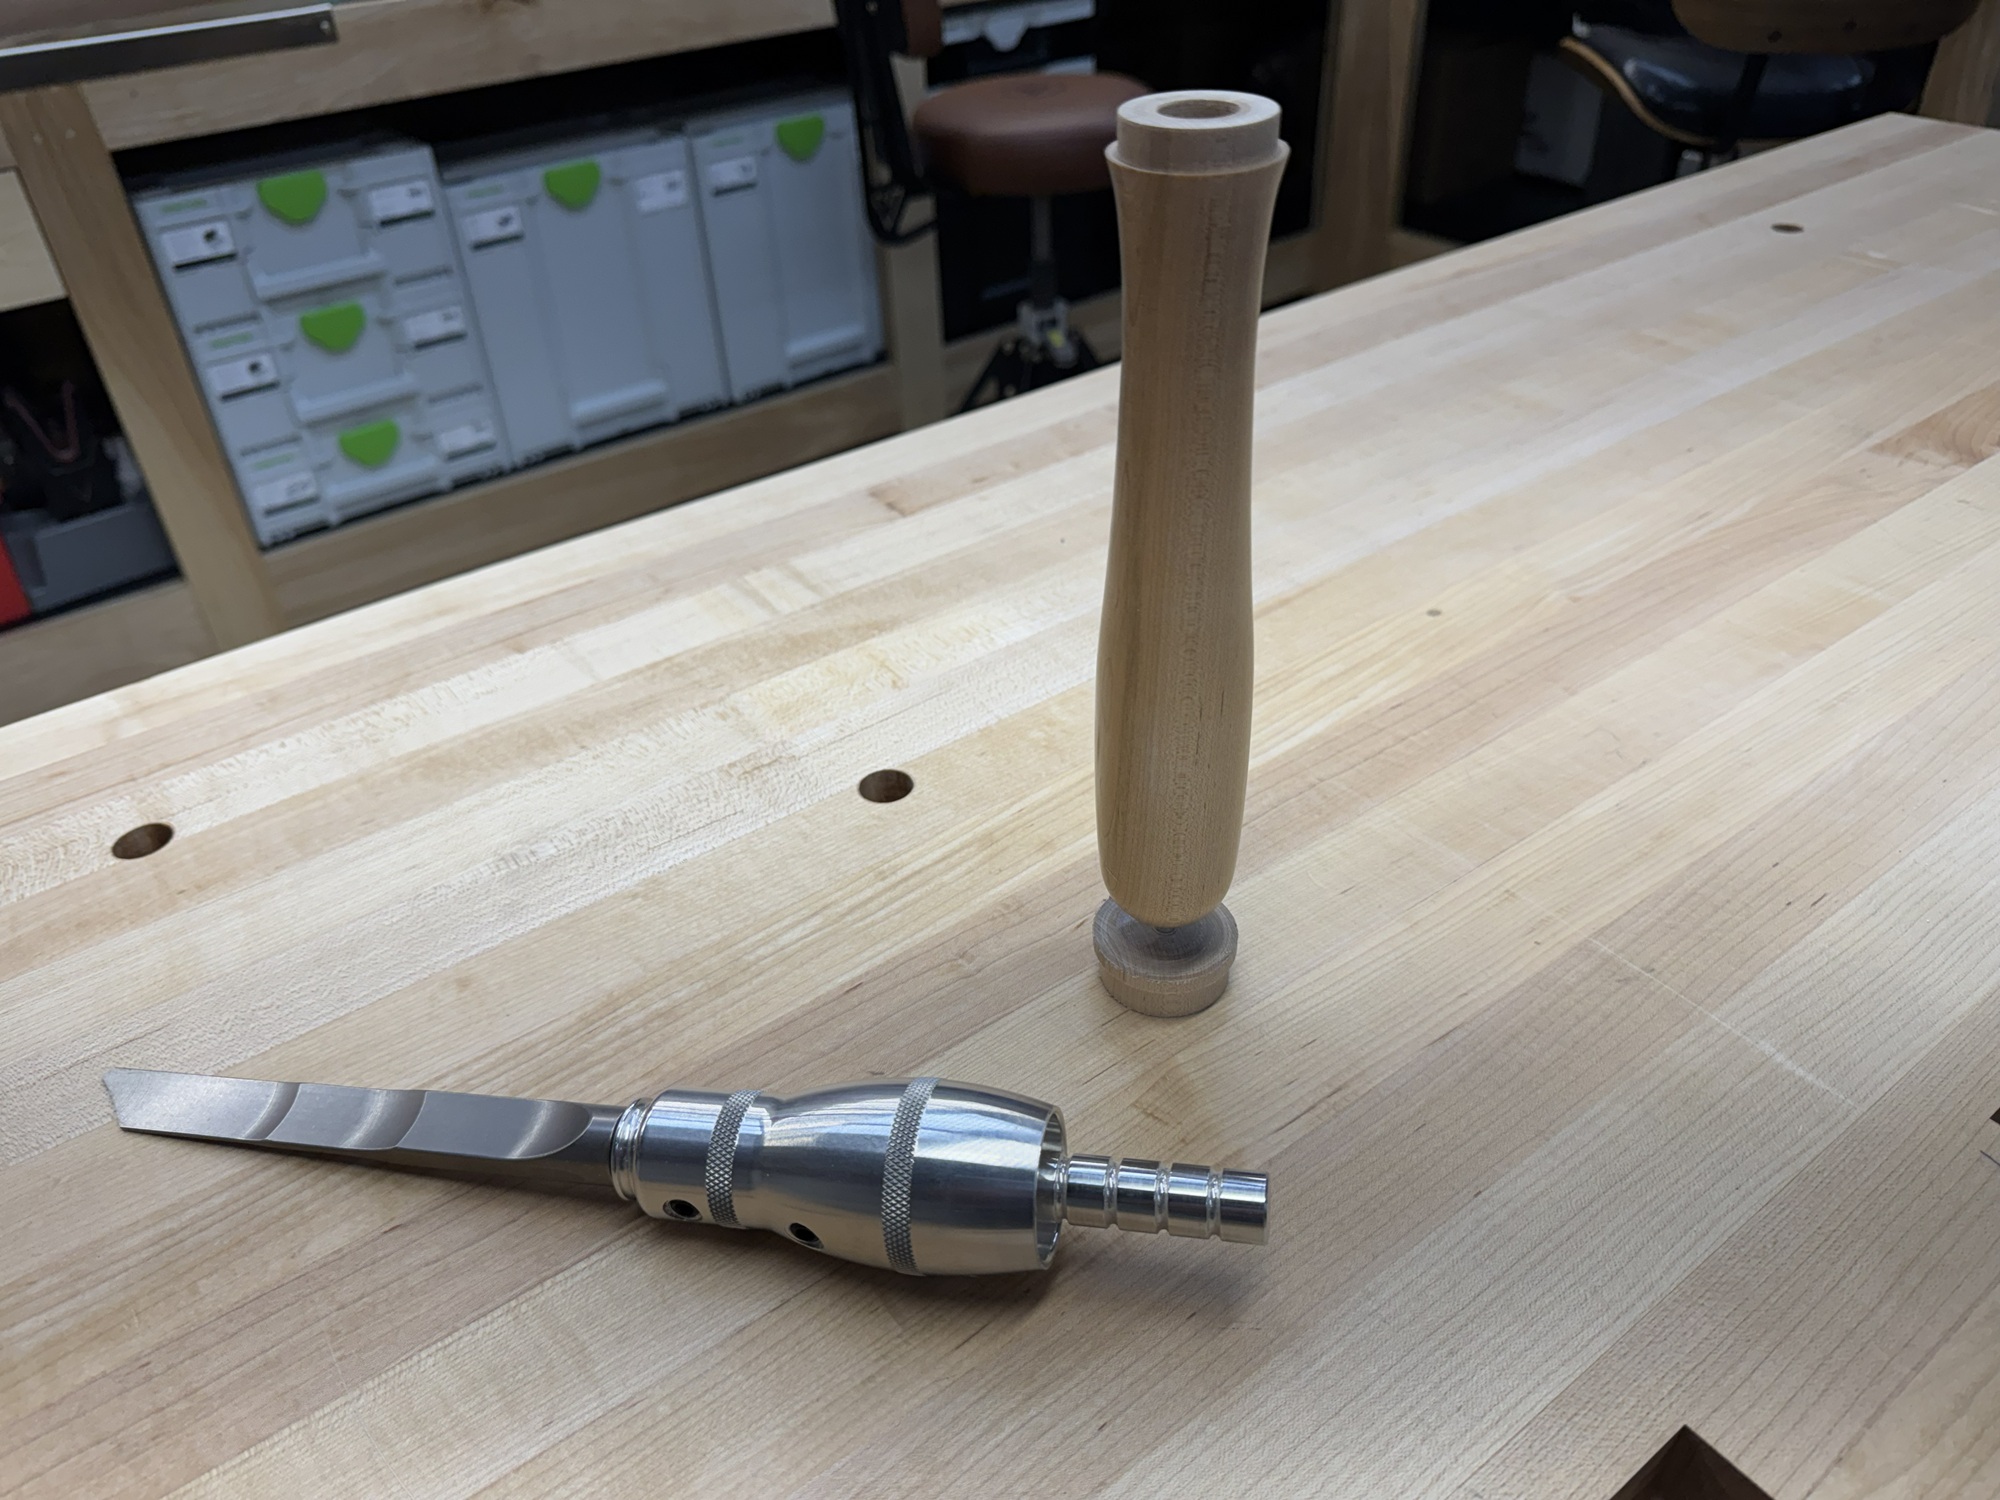
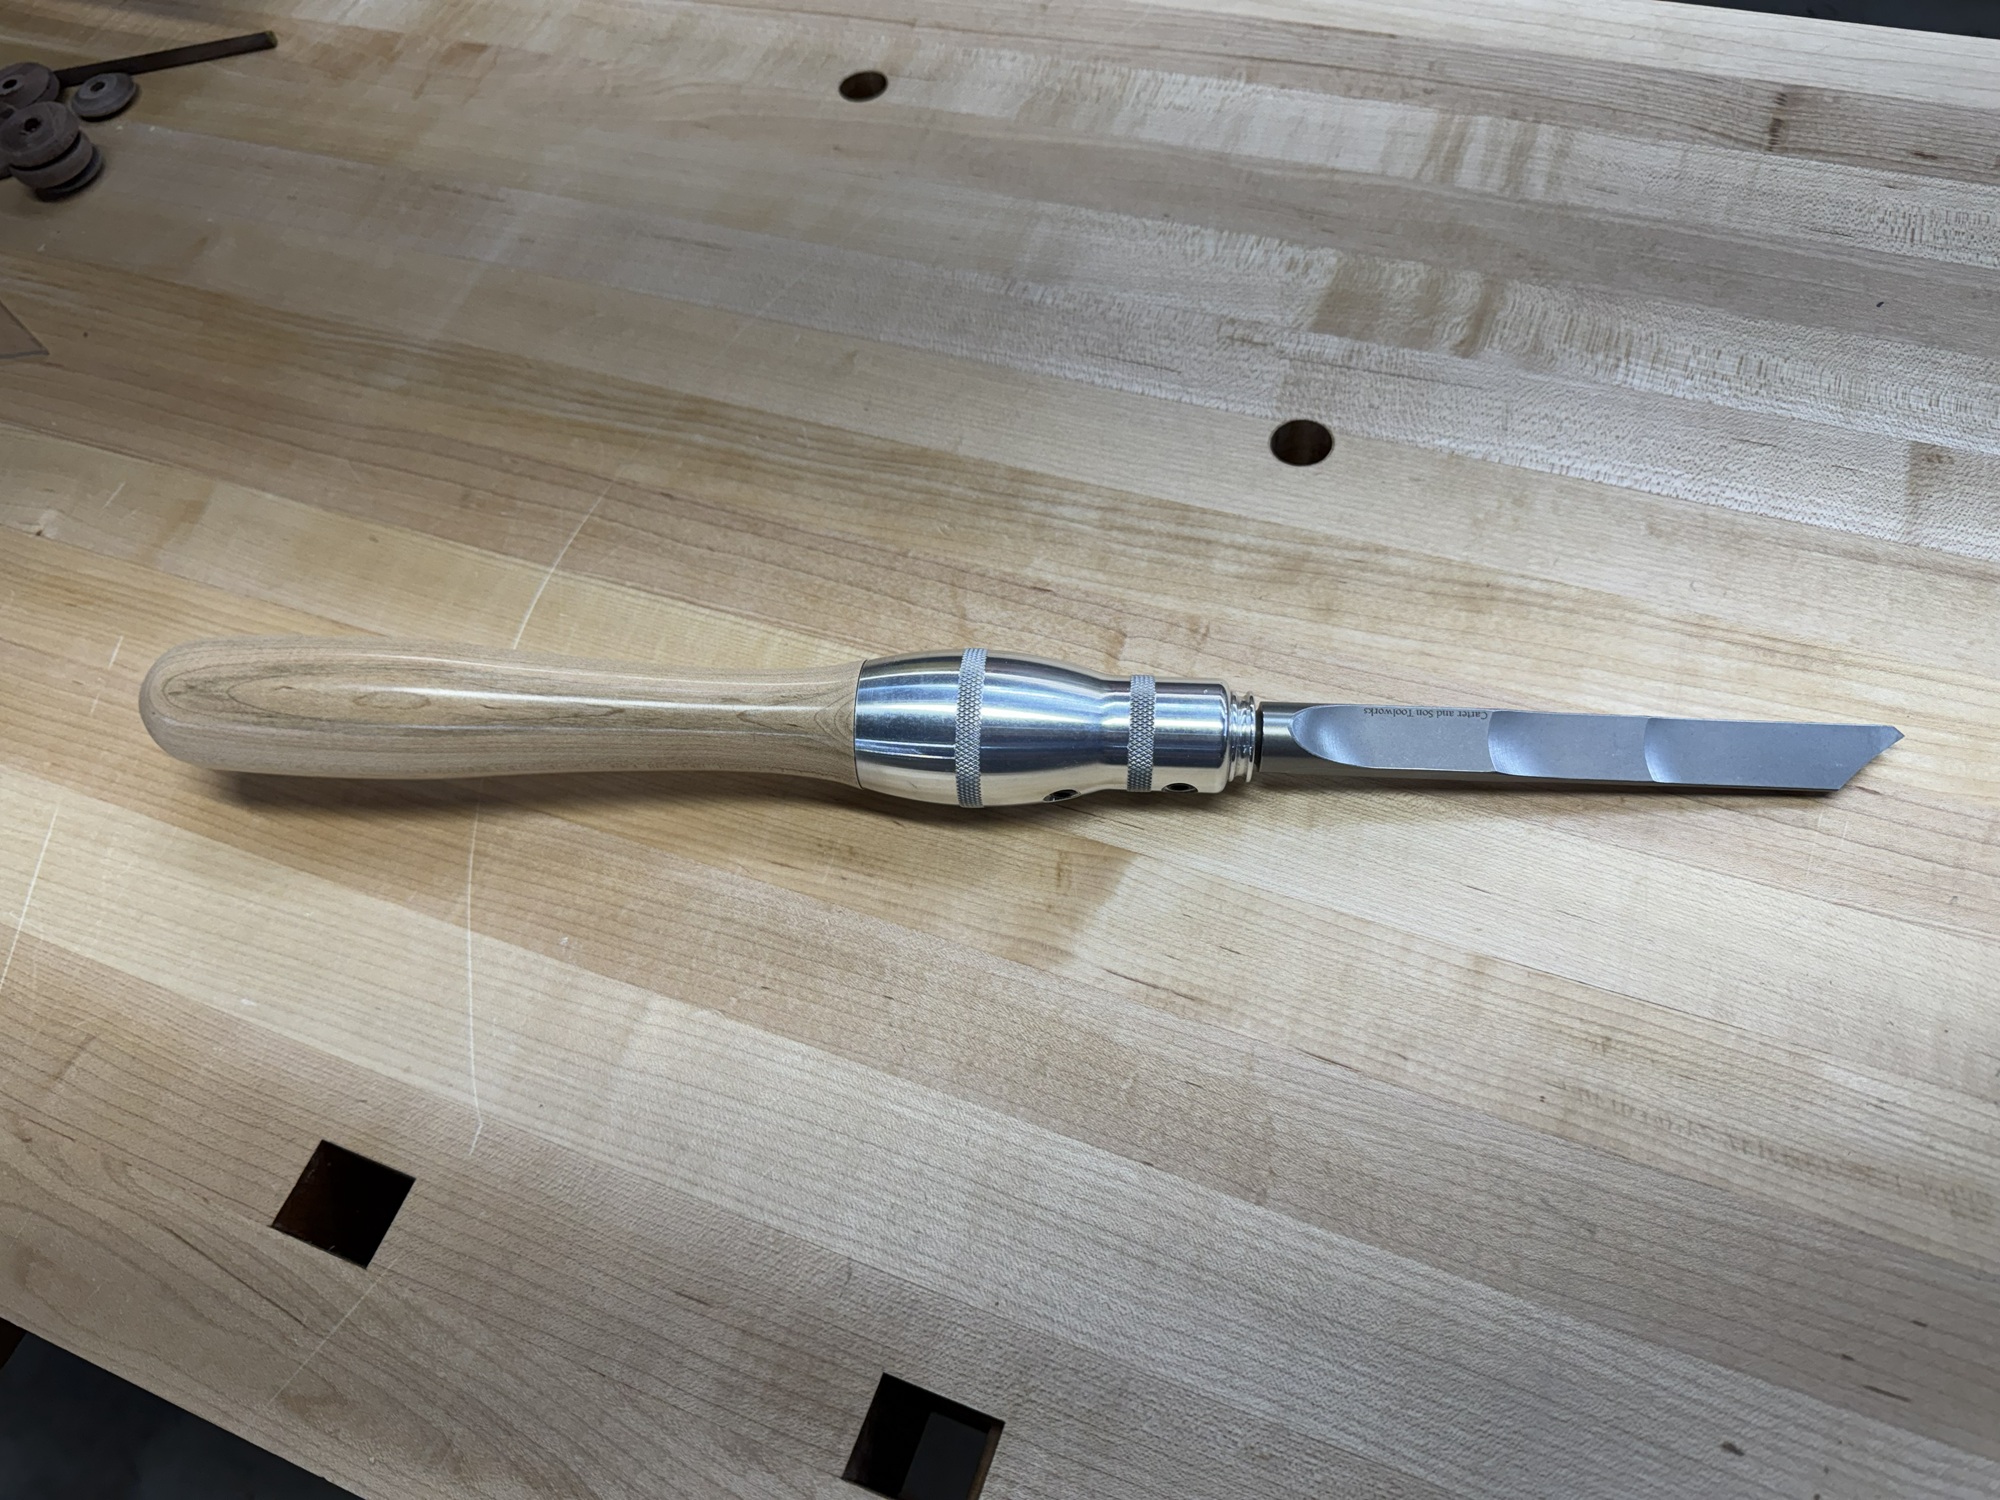
This completes the initial lathe setup. The first thing I made was a maple handle for my Carter and Son thin parting tool.
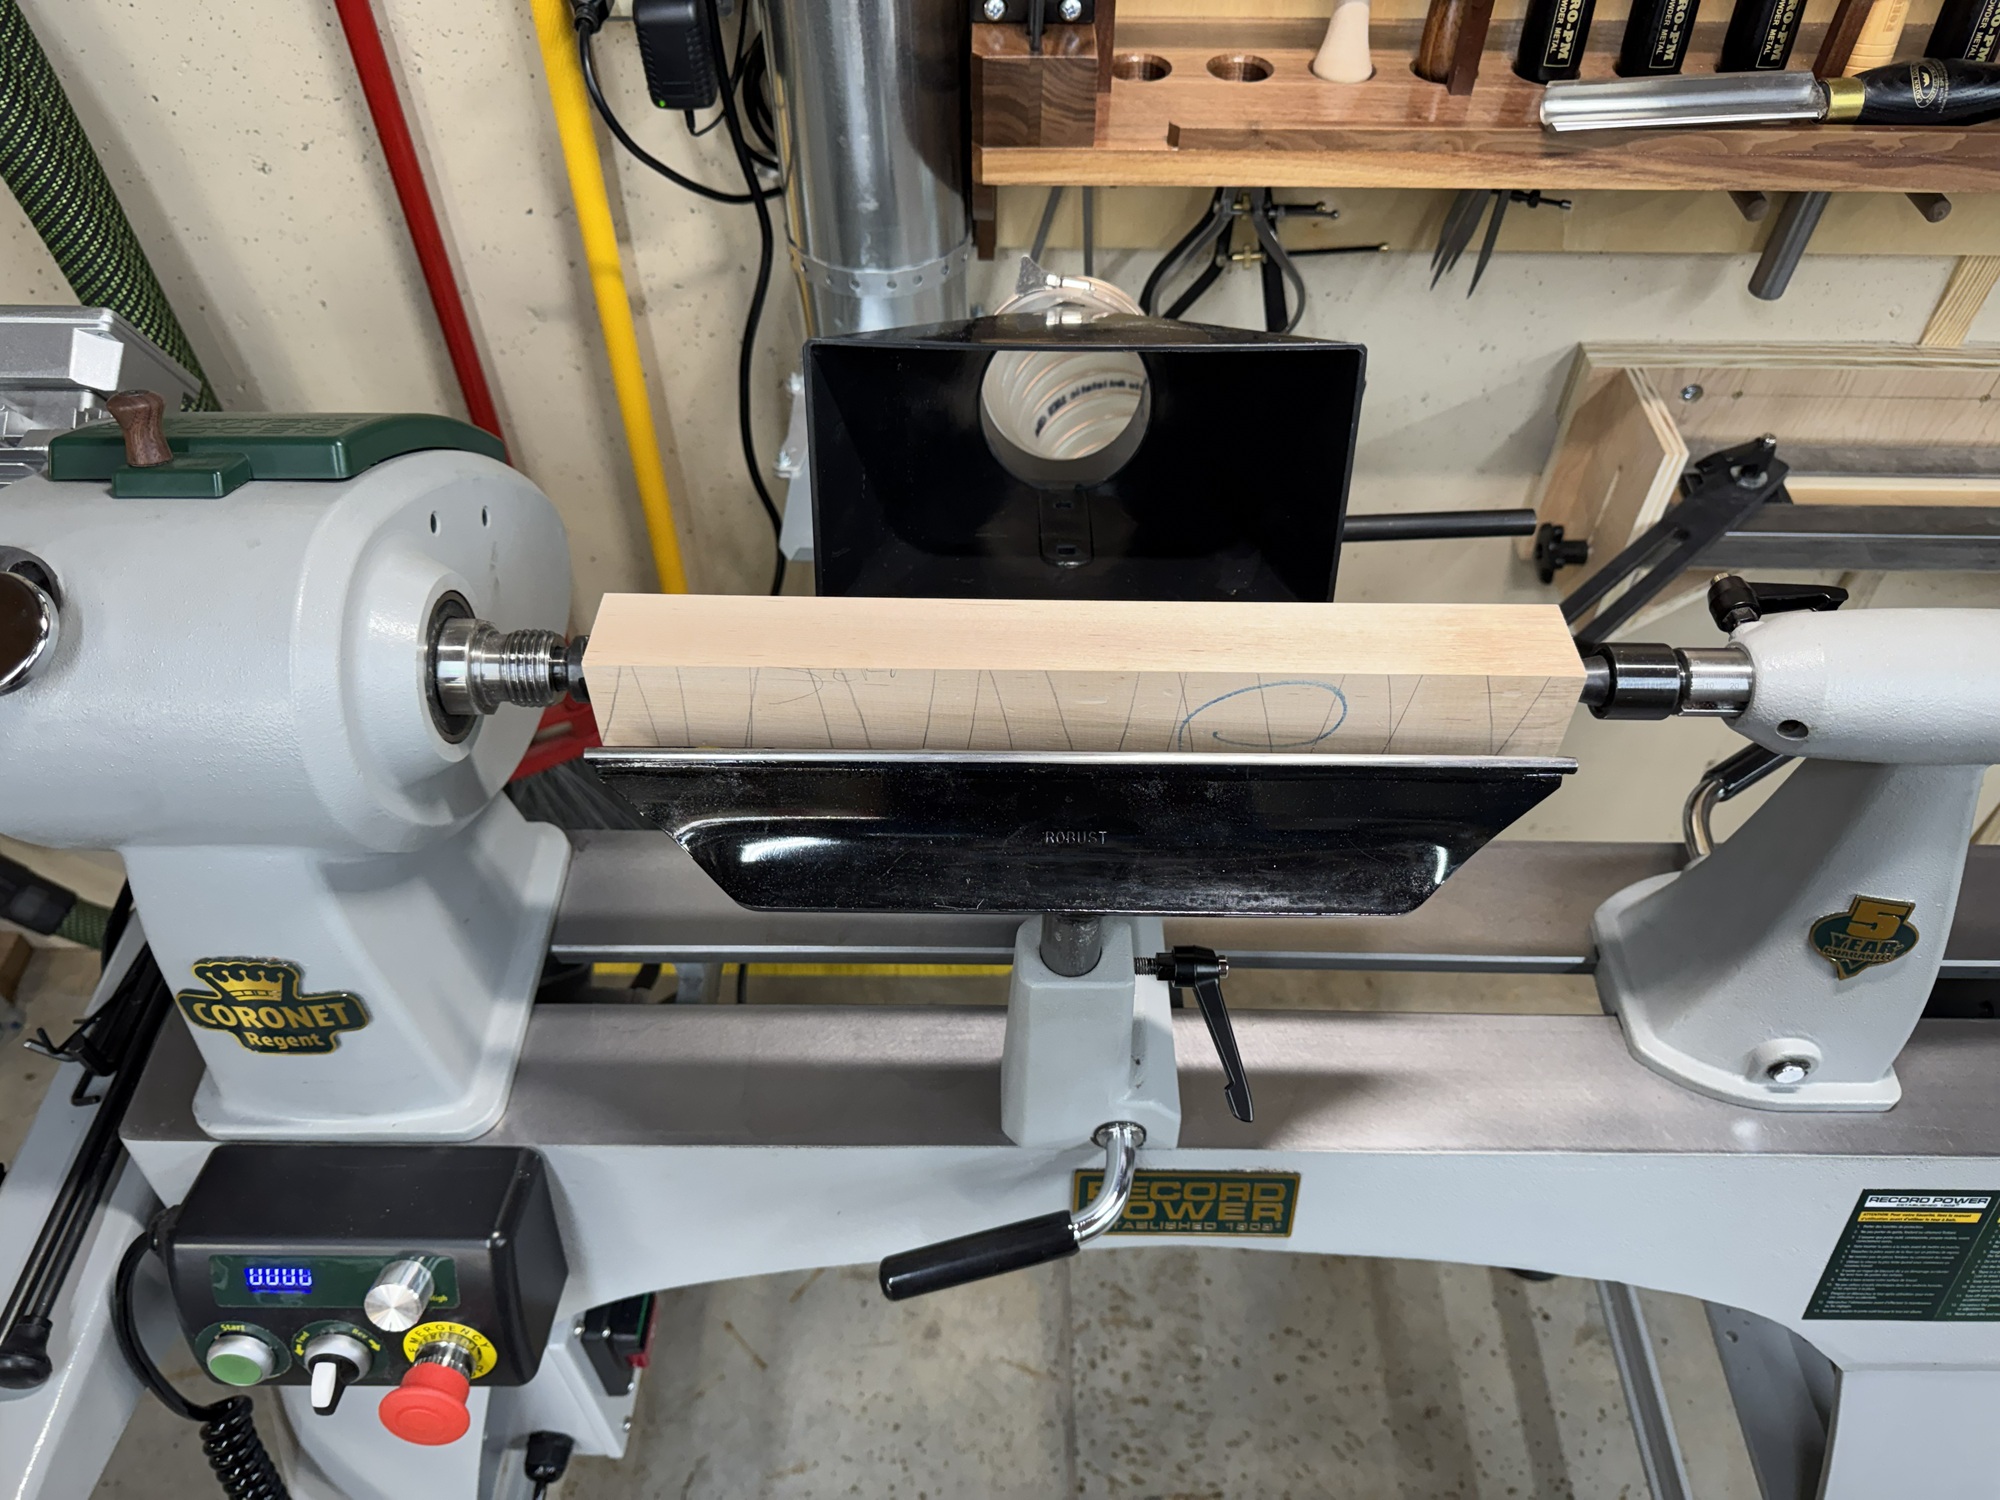
Thanks for your interest.